

hotaccord243
Well-Known Member
FINAL PICS ON PAGE 7!!!!
Figure i would post pictures of what i have been up to all winter. I have been re-upholstering my interior! I did all of the work by myself too up to this point. The door panel inserts/center console cover will be done professionally. All black Jacquard Sparco fabric from Italy to match the Sparco Torino II seats, I used Kryon Flat Black paint (started as glossy, and decided to go flat instead) as seen below and a hot glue gun from michaels, a 3m sticky adhesive as seen below too and a dremel tool (of course).


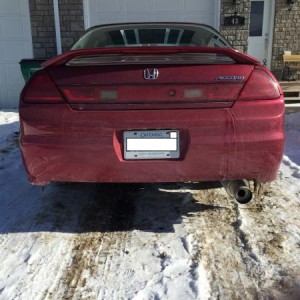
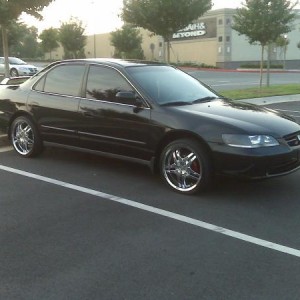
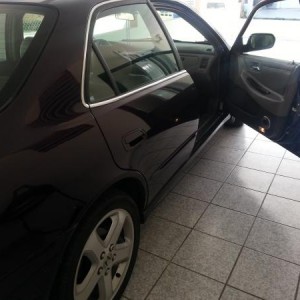
Before


And the pictures of progress so far:
The fabric:

to match the seats: (not my seats but same set)

Headliner removed/wrapped:


Sunroof removed/installed along with molding:


The floor carpet from ACCMats:


Rear Deck wrapped/installed along with painted speaker covers:


Misc items painted:


Dash Removed/Painted:


Center Console Painted:

Door Panels removed/stripped/disassembled/painted:


Sunvisors removed/stripped/wrapped/installed:


Everything installed minus door panels:


Rollbar Custom Powdercoated to match wheels along with bolts and steering wheel bolts:
-----My Wheels:

-----Rollbar:


The only thing left is the inserts on the door panels which will get embroidered with a matching thread to the roll-bar in a larger diamond pattern in both front/rear door insterts and handles area. and also the center console cover.
The last few things i have left are to find the door molding (frame side) in black, and black OEM seatbelts (because i don't have enough moola to buy the aftermarket black style from sparco or somebody similar). Finally the floor mats are left to buy from ACCmats.com to match the carpeting i have.
The rear seats are still kind of left in the open. I could have them custom made covers to match the front seats, or build a false floor and wrap that opening. (the second is only an option because i want to find a place to mount my nitrous bottle somewhere.... hehe) I would probably infill that opening with a sub box at a later date however. don't know for sure yet.
I will keep updating this as i come closer to the embroidery and the install of the door panels, roll bar, weatherstripping, and seat belts.
Just thought i'd share with you all what has been going on and such.... any thoughts?
Figure i would post pictures of what i have been up to all winter. I have been re-upholstering my interior! I did all of the work by myself too up to this point. The door panel inserts/center console cover will be done professionally. All black Jacquard Sparco fabric from Italy to match the Sparco Torino II seats, I used Kryon Flat Black paint (started as glossy, and decided to go flat instead) as seen below and a hot glue gun from michaels, a 3m sticky adhesive as seen below too and a dremel tool (of course).
Before
And the pictures of progress so far:
The fabric:
to match the seats: (not my seats but same set)
Headliner removed/wrapped:
Sunroof removed/installed along with molding:
The floor carpet from ACCMats:
Rear Deck wrapped/installed along with painted speaker covers:
Misc items painted:
Dash Removed/Painted:
Center Console Painted:
Door Panels removed/stripped/disassembled/painted:
Sunvisors removed/stripped/wrapped/installed:
Everything installed minus door panels:
Rollbar Custom Powdercoated to match wheels along with bolts and steering wheel bolts:
-----My Wheels:
-----Rollbar:
The only thing left is the inserts on the door panels which will get embroidered with a matching thread to the roll-bar in a larger diamond pattern in both front/rear door insterts and handles area. and also the center console cover.
The last few things i have left are to find the door molding (frame side) in black, and black OEM seatbelts (because i don't have enough moola to buy the aftermarket black style from sparco or somebody similar). Finally the floor mats are left to buy from ACCmats.com to match the carpeting i have.
The rear seats are still kind of left in the open. I could have them custom made covers to match the front seats, or build a false floor and wrap that opening. (the second is only an option because i want to find a place to mount my nitrous bottle somewhere.... hehe) I would probably infill that opening with a sub box at a later date however. don't know for sure yet.
I will keep updating this as i come closer to the embroidery and the install of the door panels, roll bar, weatherstripping, and seat belts.
Just thought i'd share with you all what has been going on and such.... any thoughts?
Last edited: