*Update*
I thought I'd do a little write up as this ended up being a lot more work than I thought, and I don't want someone to make the same silly mistakes I did.
Alright, I picked up a new mirror at pepboys for 10 bucks. For anyone looking for generic mirrors locally, some are mirrored on both sides so it will work for left and right mirror replacements. This could be the case if you can only seem to find one orientation. It was really confusing for me and the clerk as it didn't appear it'd fit, but it just needed to be flipped.
Alright application..(for swapping the cracked mirror out of the existing bracket)
First of all,
do not hammer the mirror like the instructions say(at least mine did). It's barbaric and I broke half the bracket off with the first whack, fortunately it was just the side so the part wasn't needed to re-attach the mirror.
To Remove the mirror, there's just a tiny square of adhesive directly behind the mirror. Either put on some gloves, put a bag over the mirror, and pry the mirror from the bracket with a larger flat head screw driver(stick it in behind the mirror and twist it so the adhesive pulls away). After this It's as simple as removing the old adhesive, applying new adhesive over the original placement and sticking the new mirror back. Use this method if you can, but if you feel you need to remove the bracket read on.
Method 2 of removing the mirror
Put a towel on the edge of the painted part of the mirror and mirror bracket, and wedge the whole thing out starting at the bottom, you'll here a pop. There's two pivoty-bits(I know very technical) at the top, and one more non motorized joint at the bottom. Once it's out you can use the screw driver method and pry off the mirror from the adhesives. If it's really stuck on you could use a hair dryer on the back to then attempt the screwdriver method again. I just don't suggest using a hammer, too risky for plastic that's over a decade old.
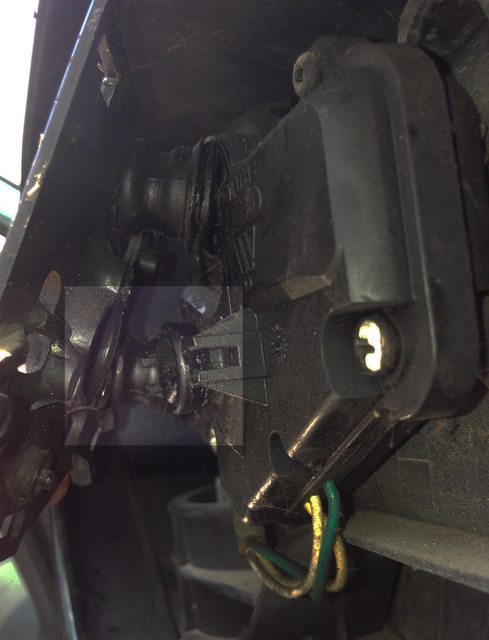
Removing and re-attaching greased joint to mirror bracket
this may happen to you when pulling the mirror out, but it's easily fixed
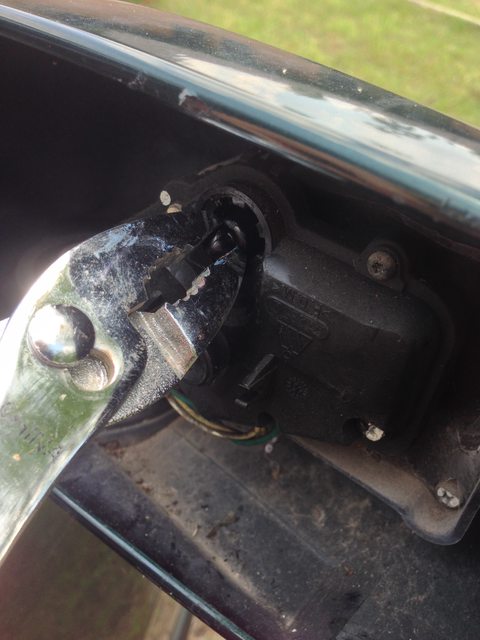
As you can see, only one greased joint came out, the other one is still in the mirror housing.
take a pair of pliers and with just enough force to grip the tip of the ball, pull
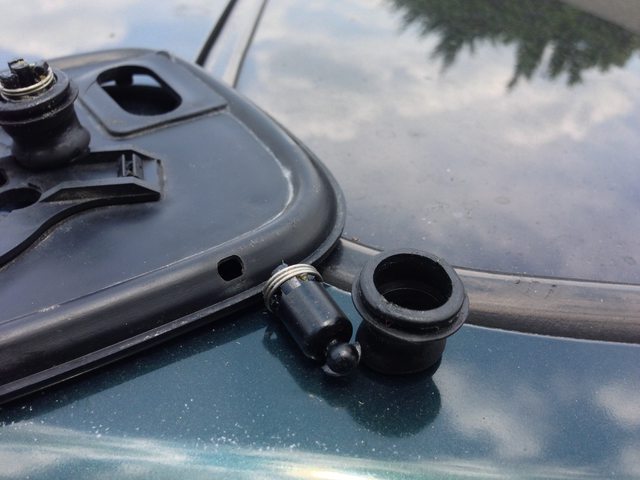
You'll be left with a rubber sleeve and the greased joint. Make sure to slide this back on if it came off.
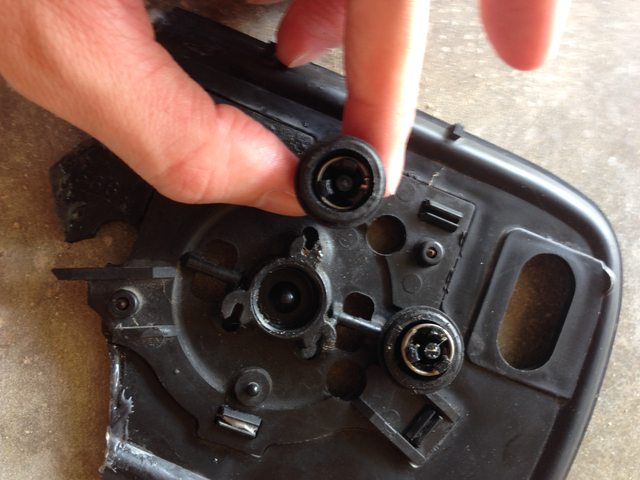
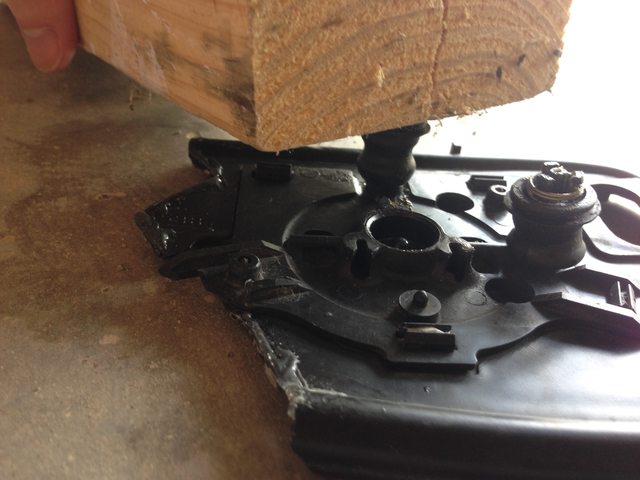
Set the ball end over the notch for it in the mirror housing
Lay a piece of scrap wood over the piece and give it a firm whack with a hammer, you should hear the piece pop in.
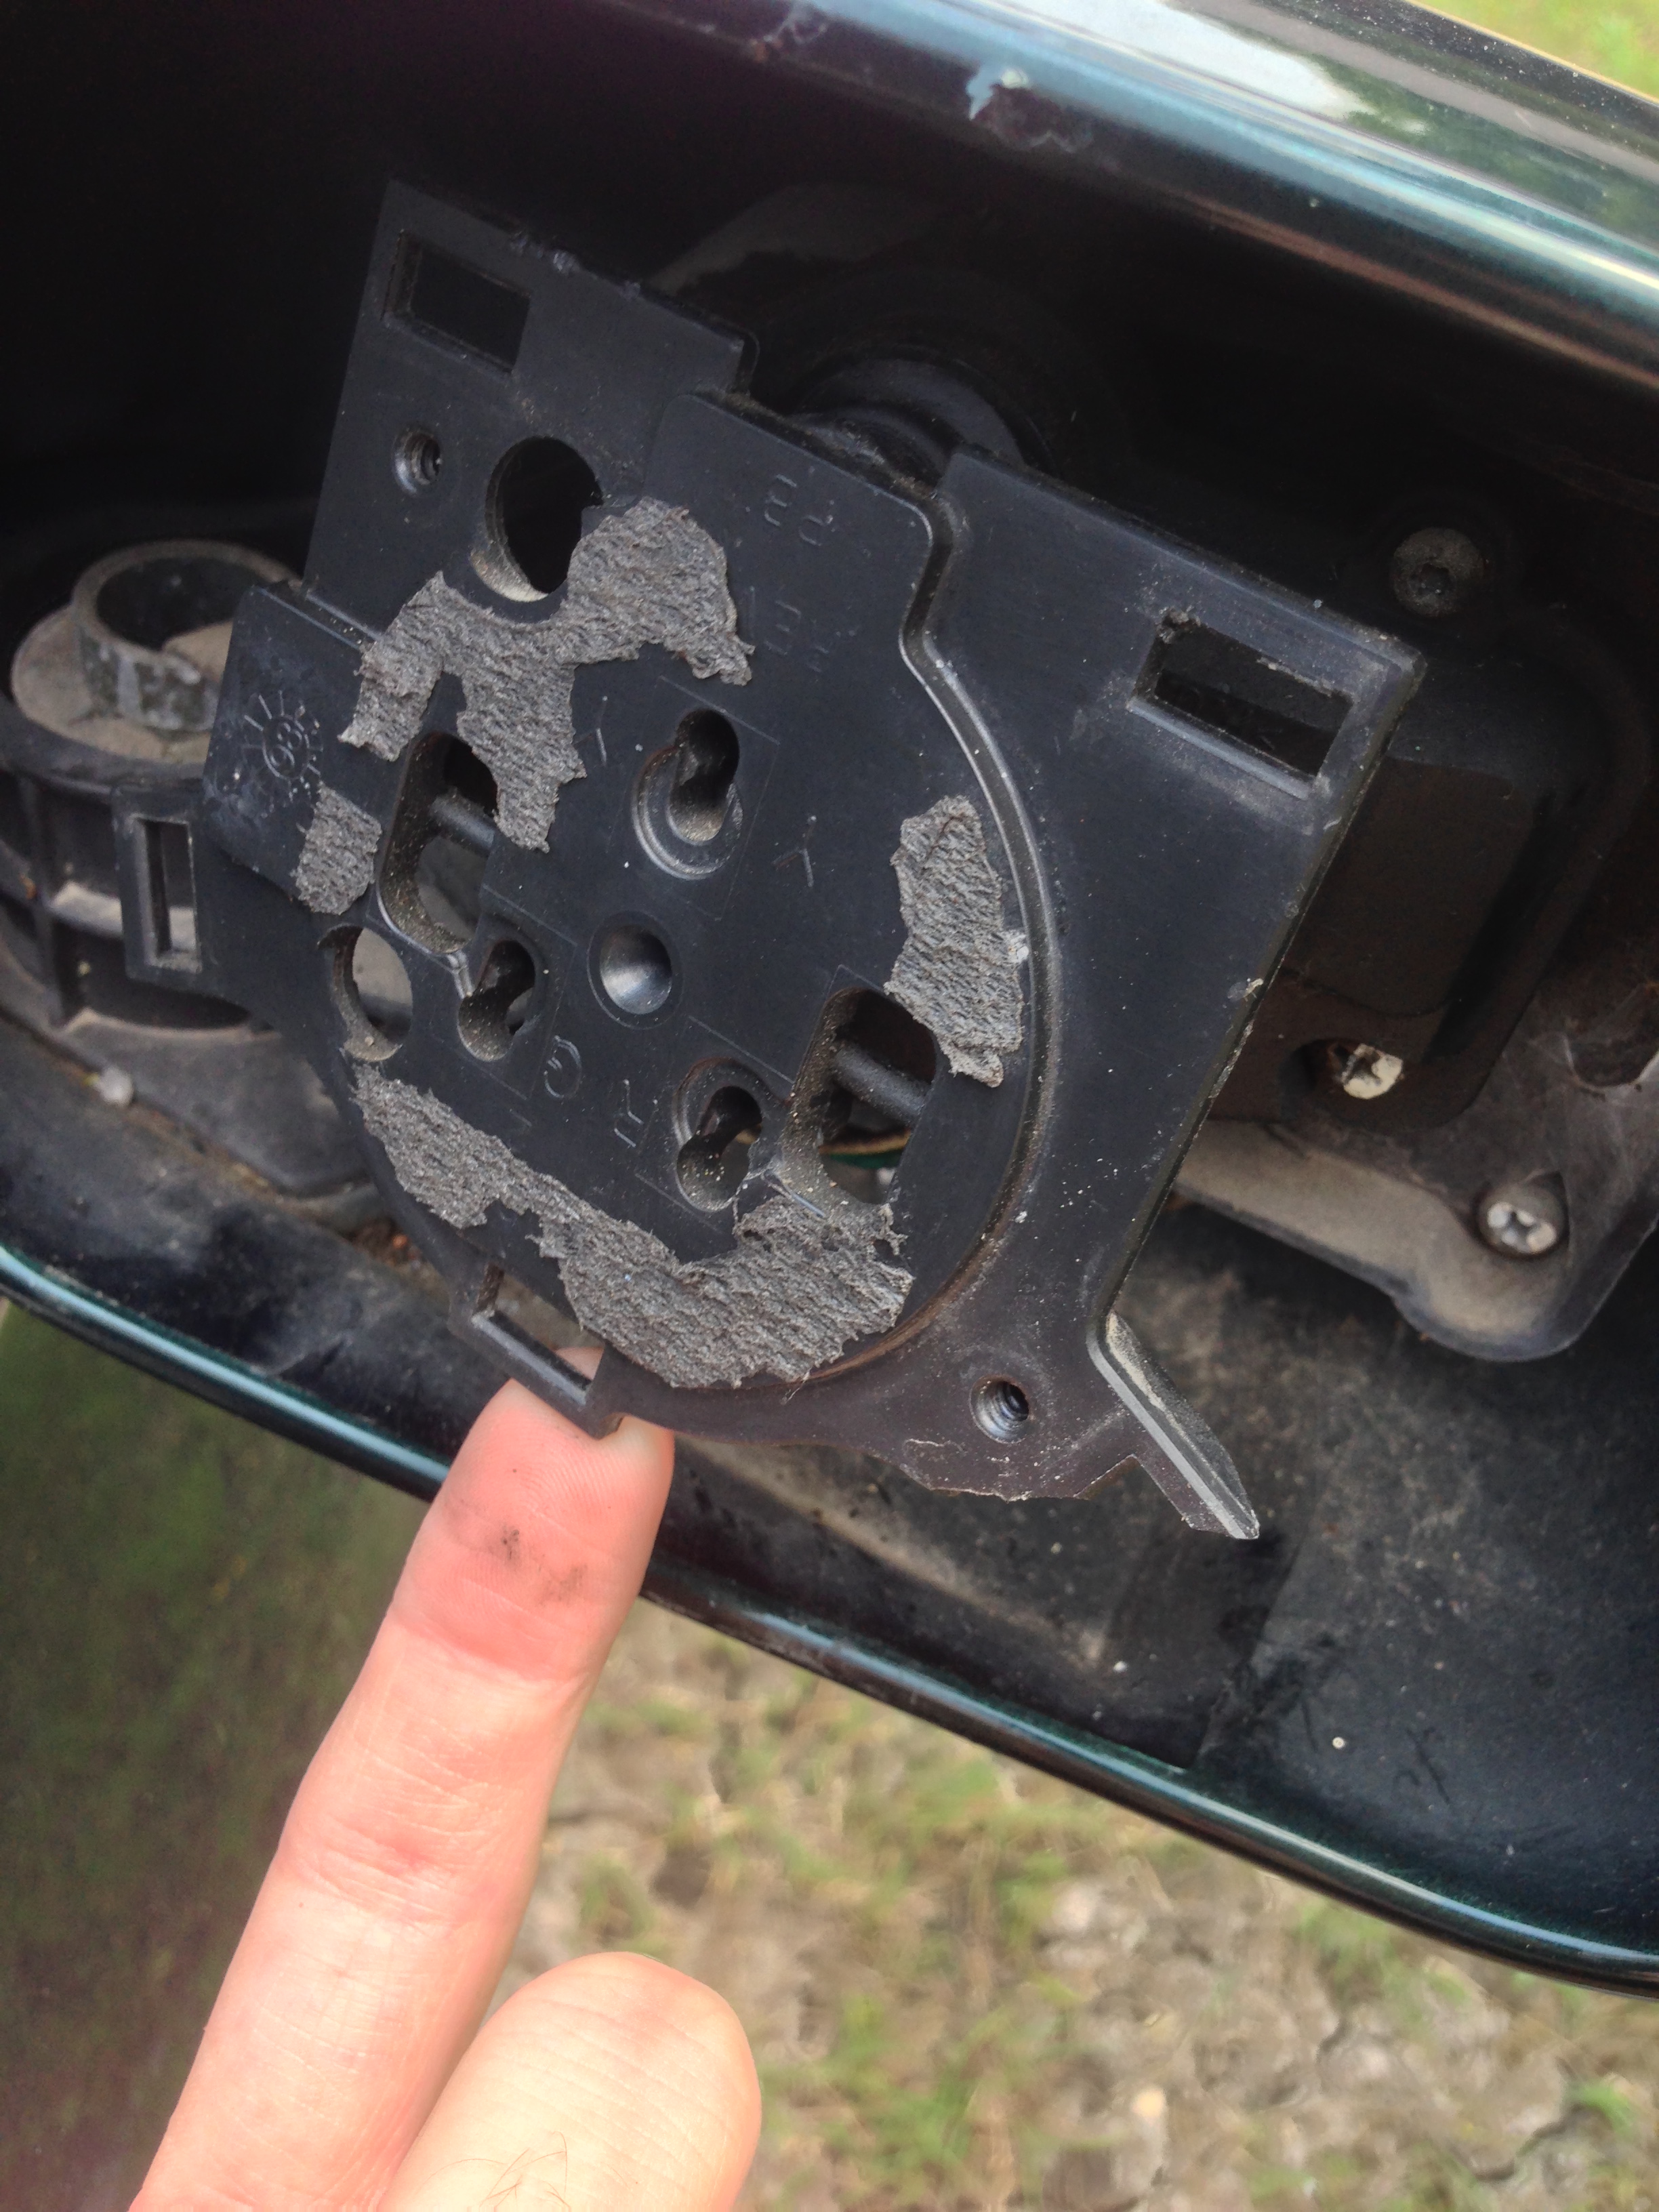
Re-Attaching the damn bracket
Do not re-attach the mirror to the bracket yet! (I made the mistake of doing this and I had to remove the mirror to finally get it) Once the old mirror is off, and the bracket is cleaned up, attach that first.
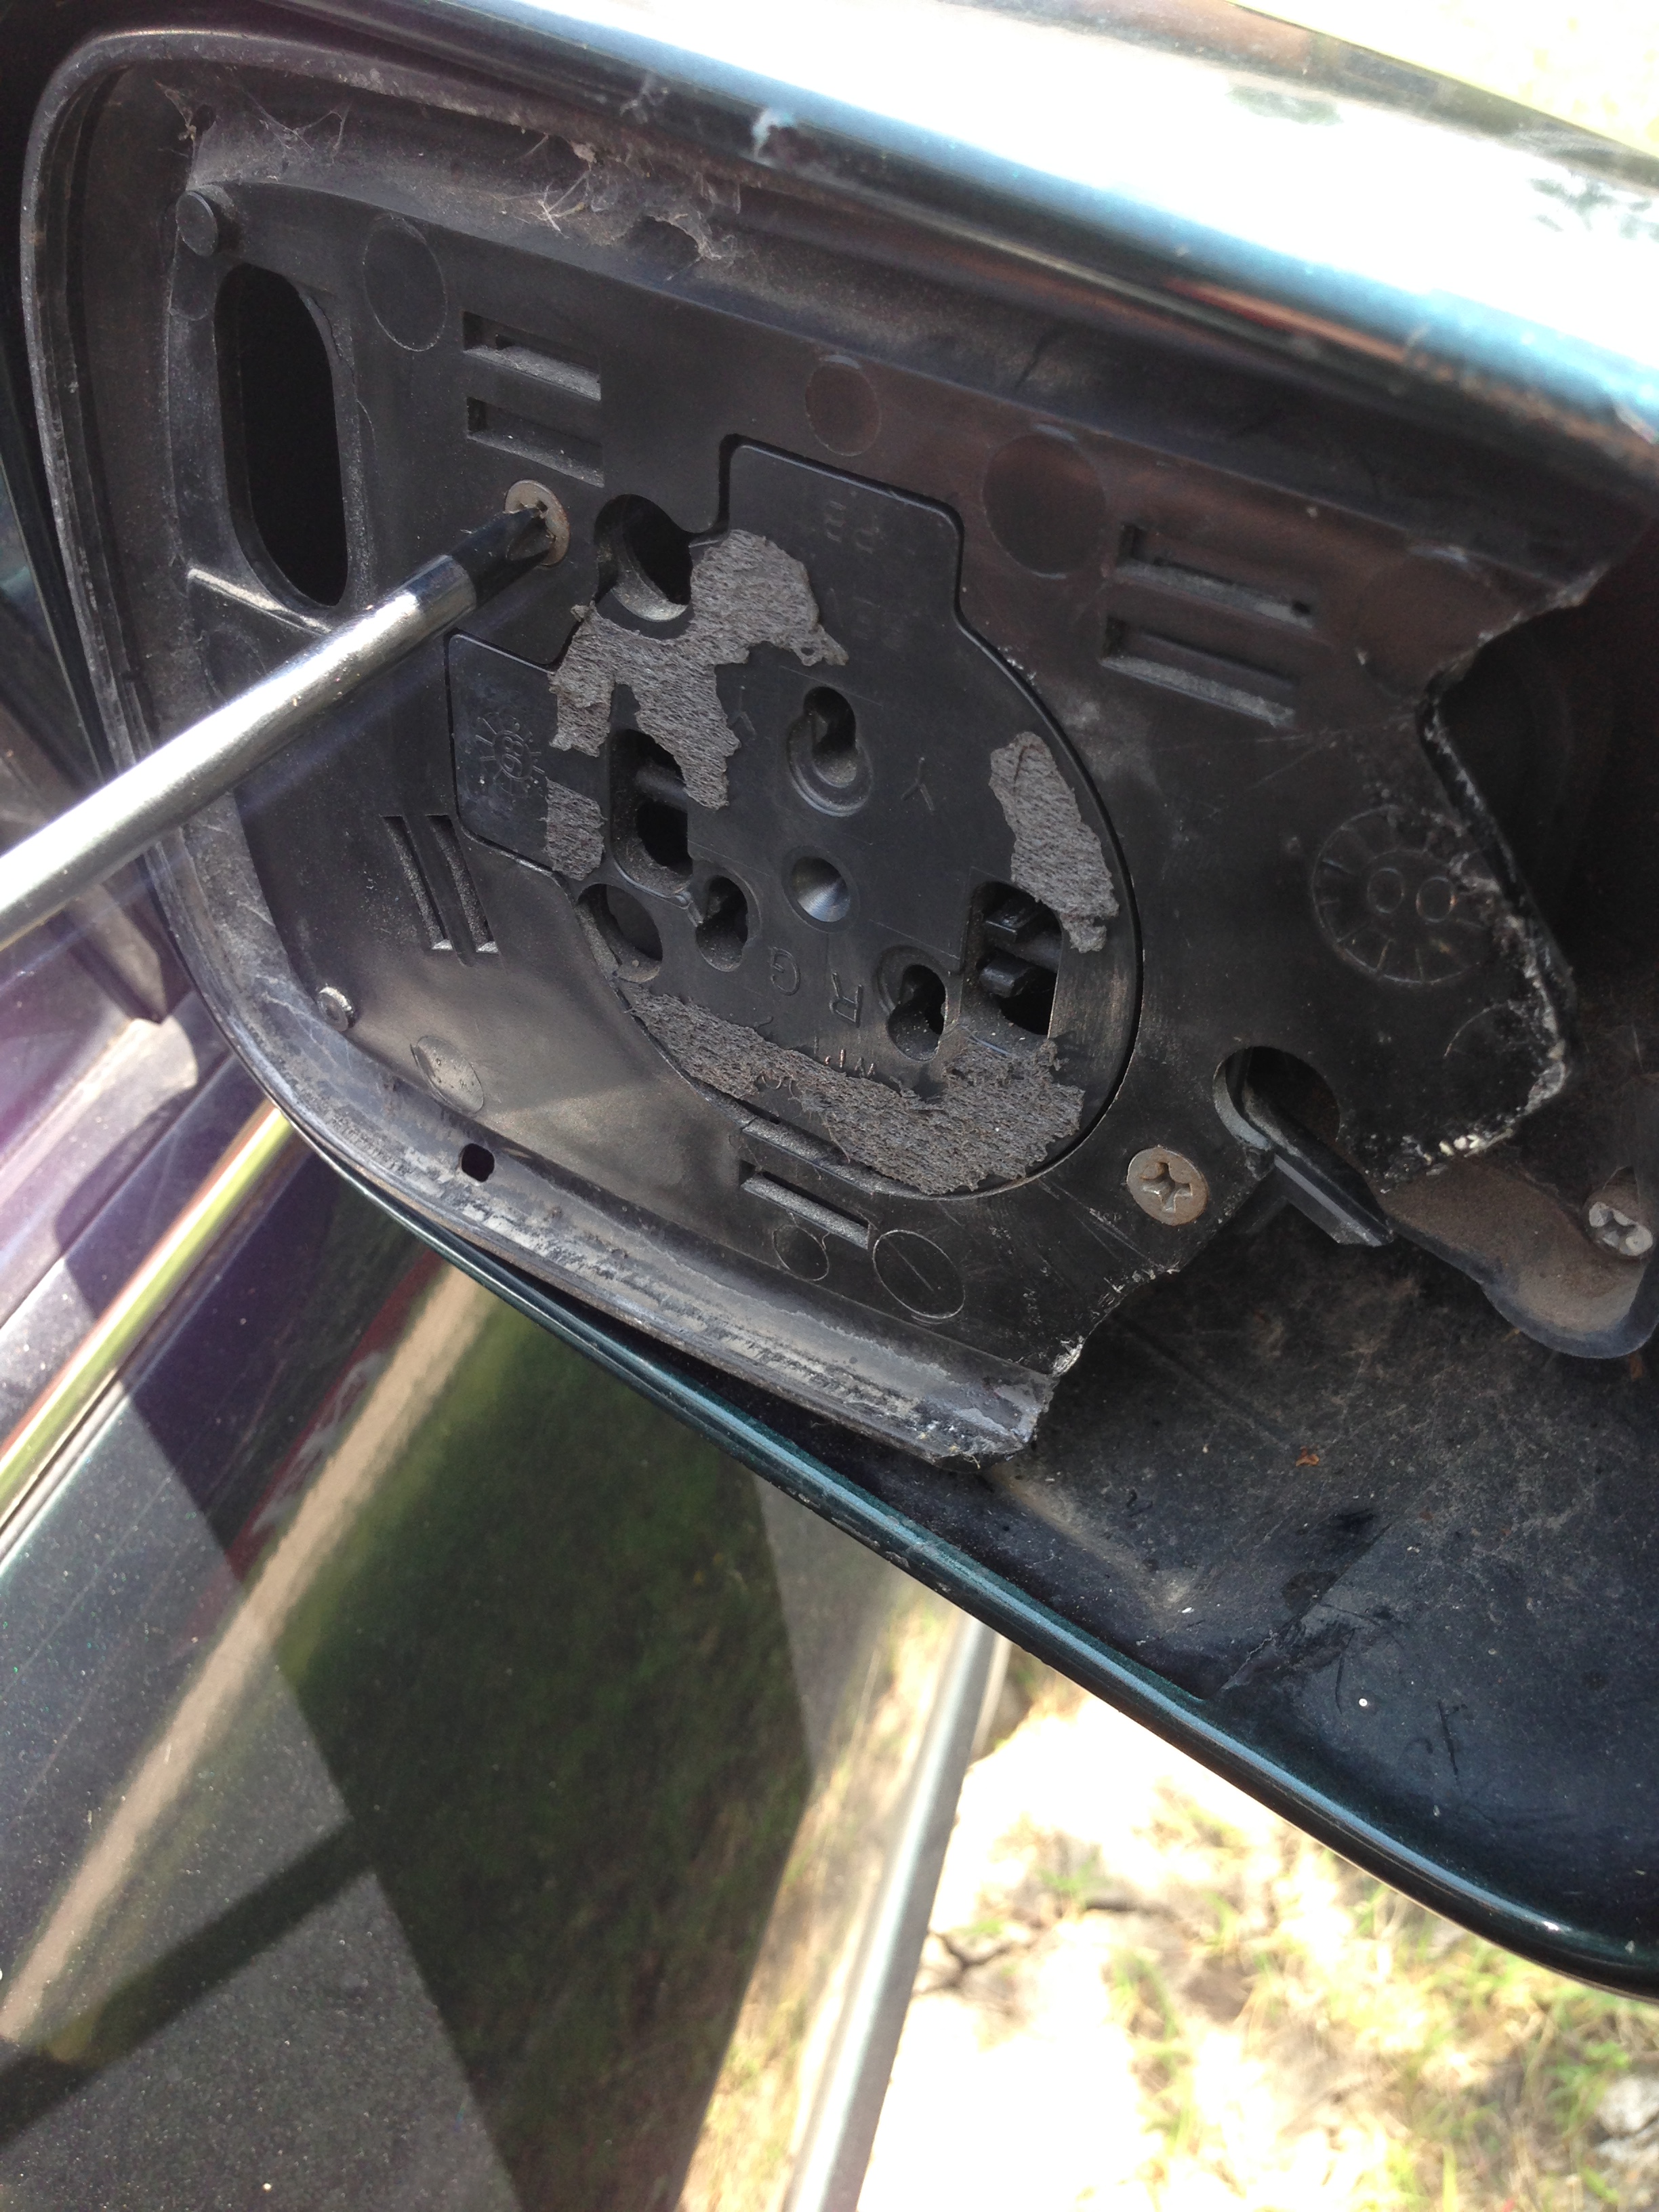
To make things easier, we will temporarily remove the mirror trim bracket from the smaller inner bracket.
This isn't completely necessary to do, but you'll have a lot more room to see what you're doing when re-attaching
Remove the two phillips screws
Use a pair of pliers and squeeze the highlighted clips, pushing them out as you go
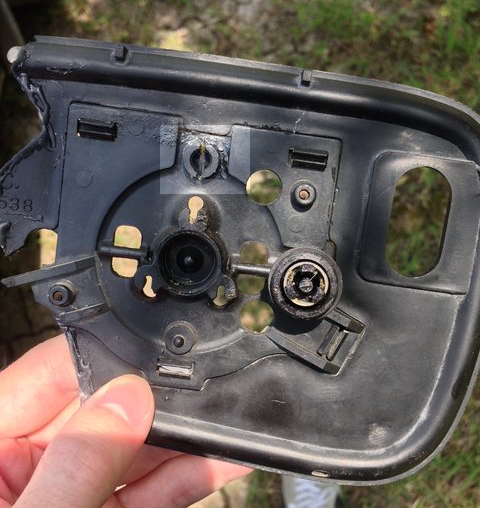
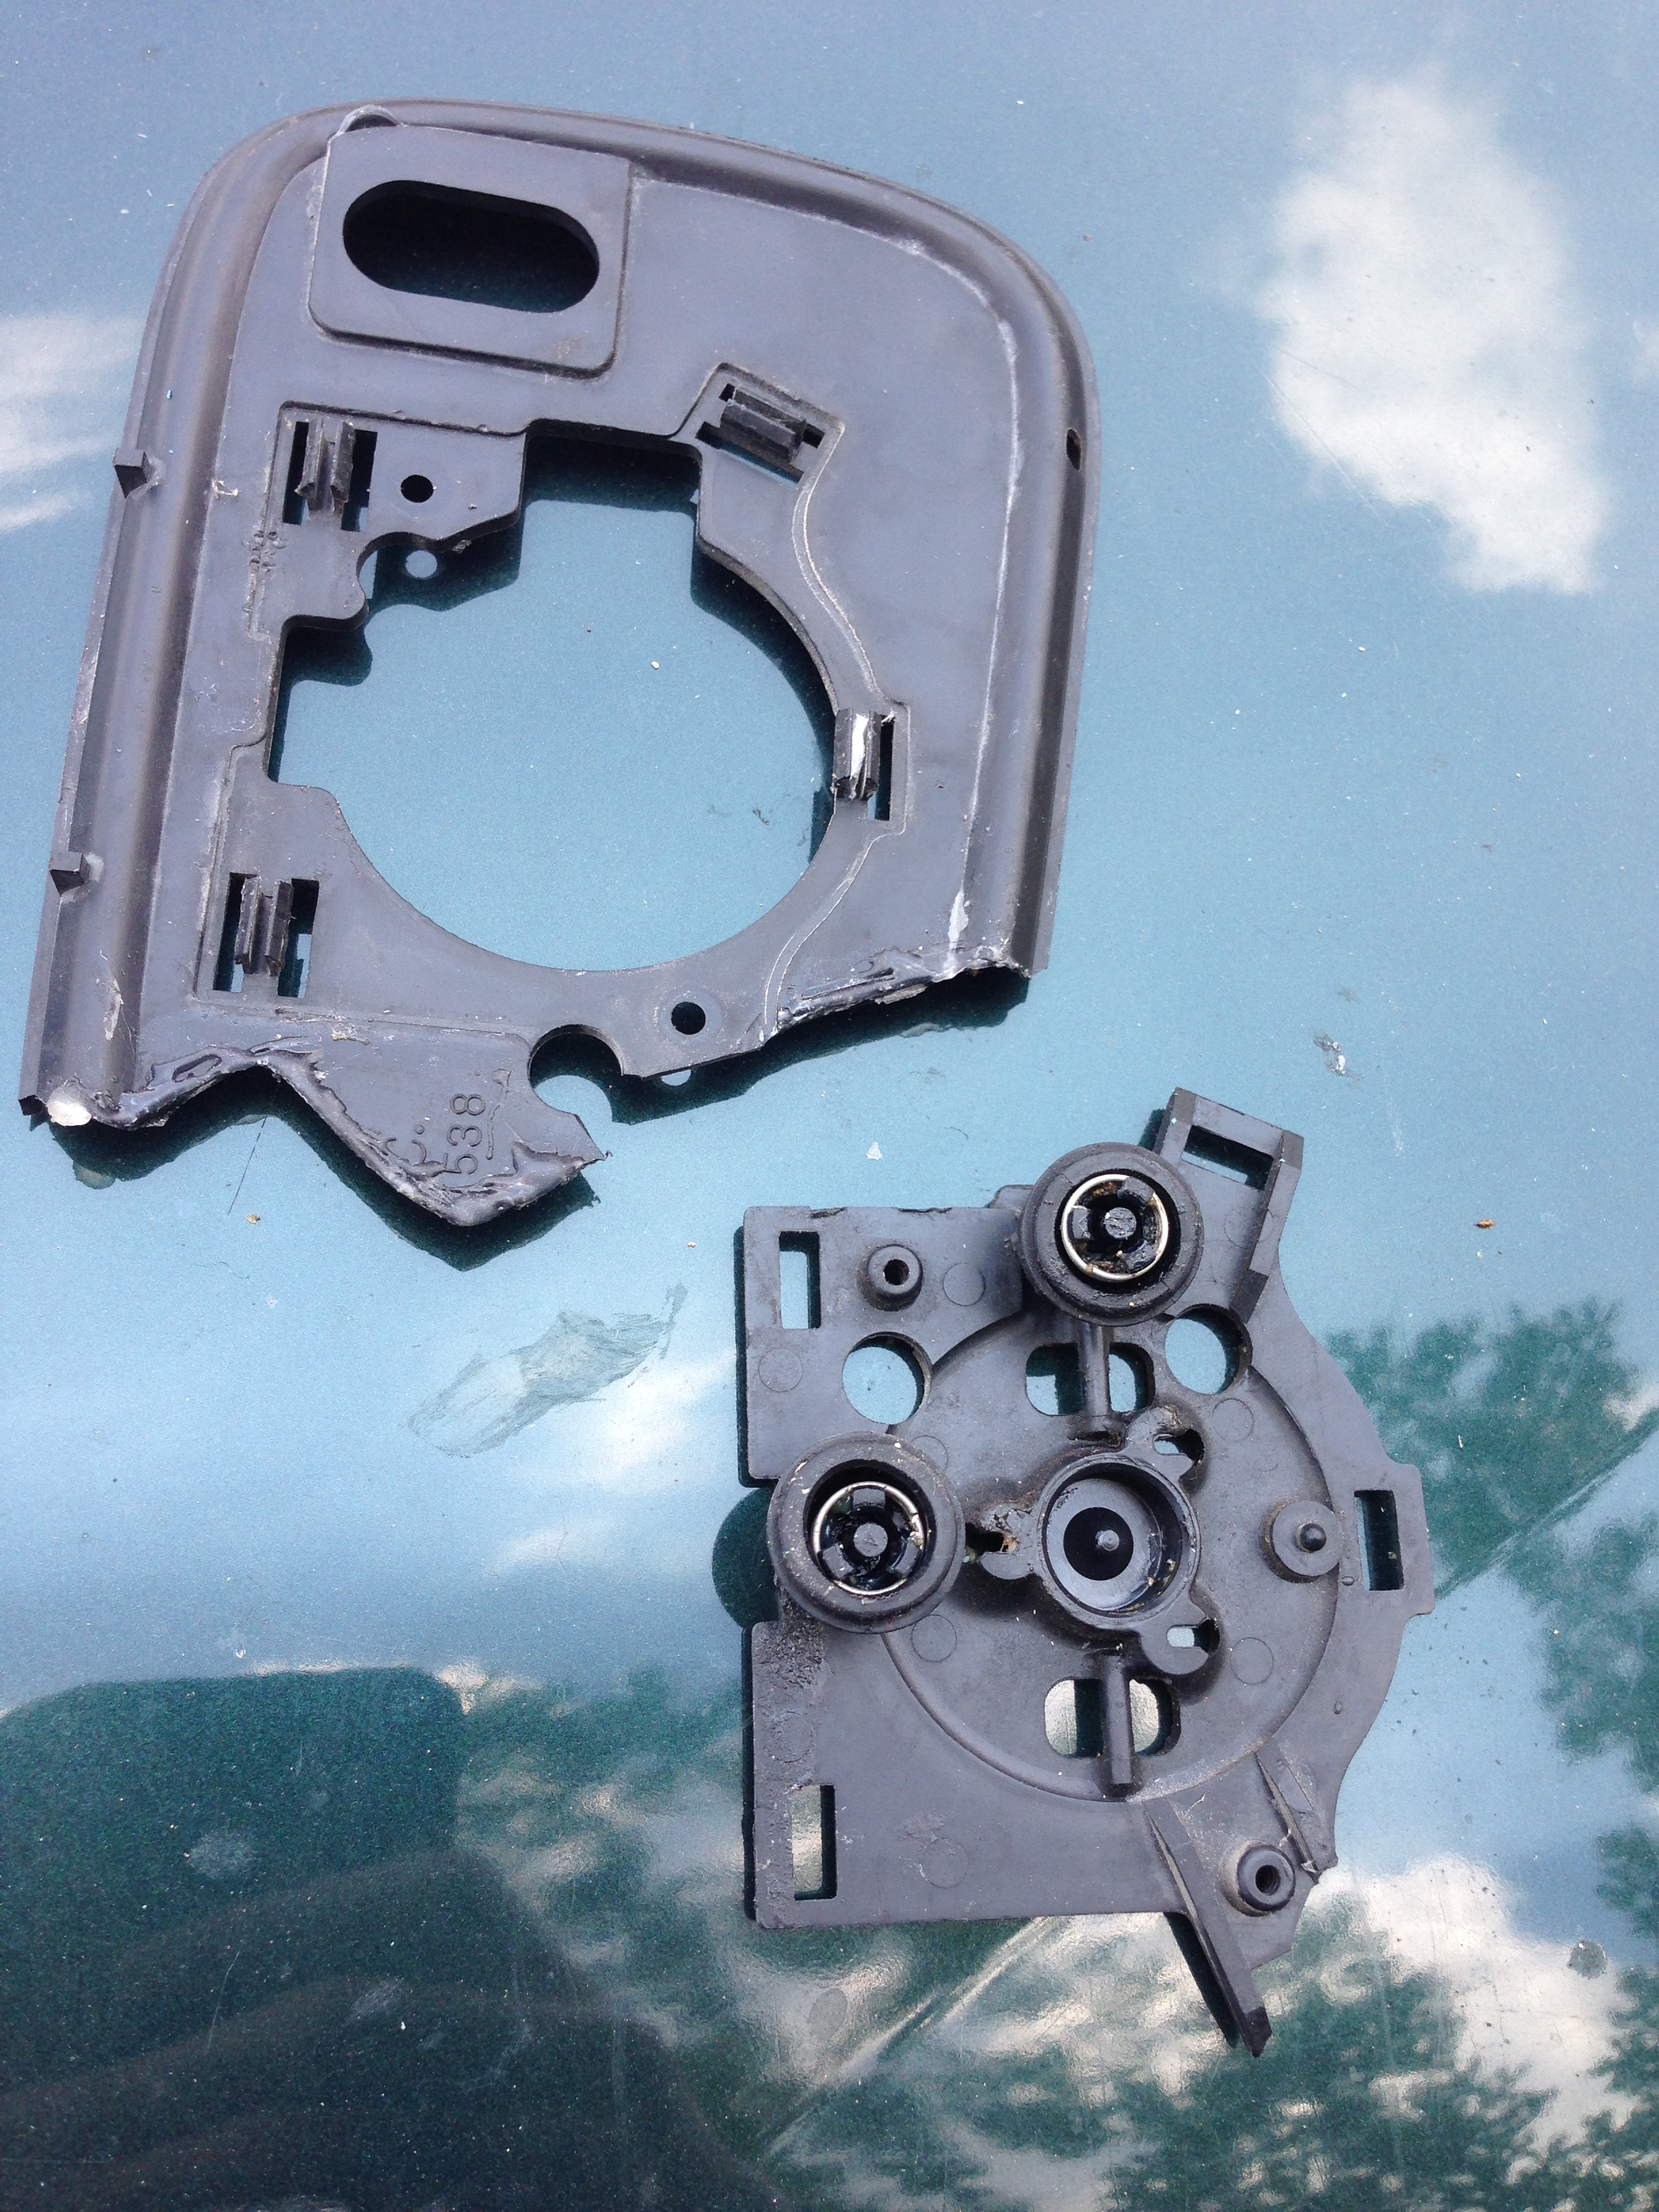
We're left with these two parts
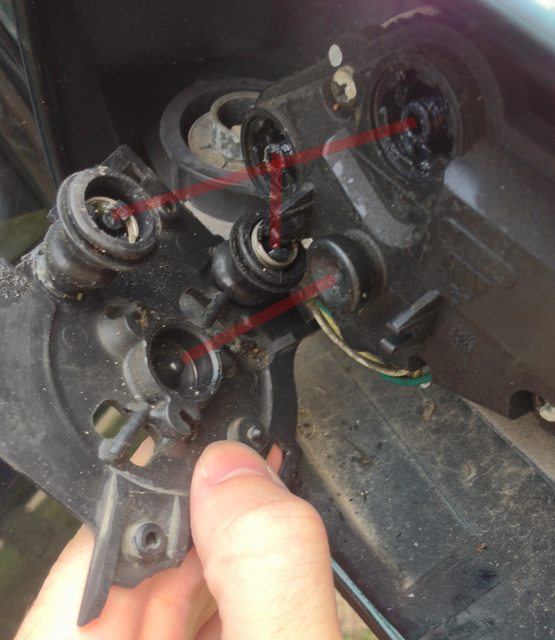
These red lines show the connecting points for each part. There are a total of 3. Line up the upper greased joints first, and push them into place, you should hear a lot of clicking, this is good.
You'll notice that the bracket wiggles a lot after connecting it to those upper two joints.
This is the culprit. There is one non-mechanical pivot point that needs to be attached. Line up these two points as best you can. Put your palm on the center of the mirror bracket, and your other hand on the back of the mirror housing. Now give a very firm push, it should pop right into place. If it doesn't, peer in and try lining it up better, I did this twice and was able to get it popped in within a few seconds of alignment. Push the bracket around, it should feel firmly in place.
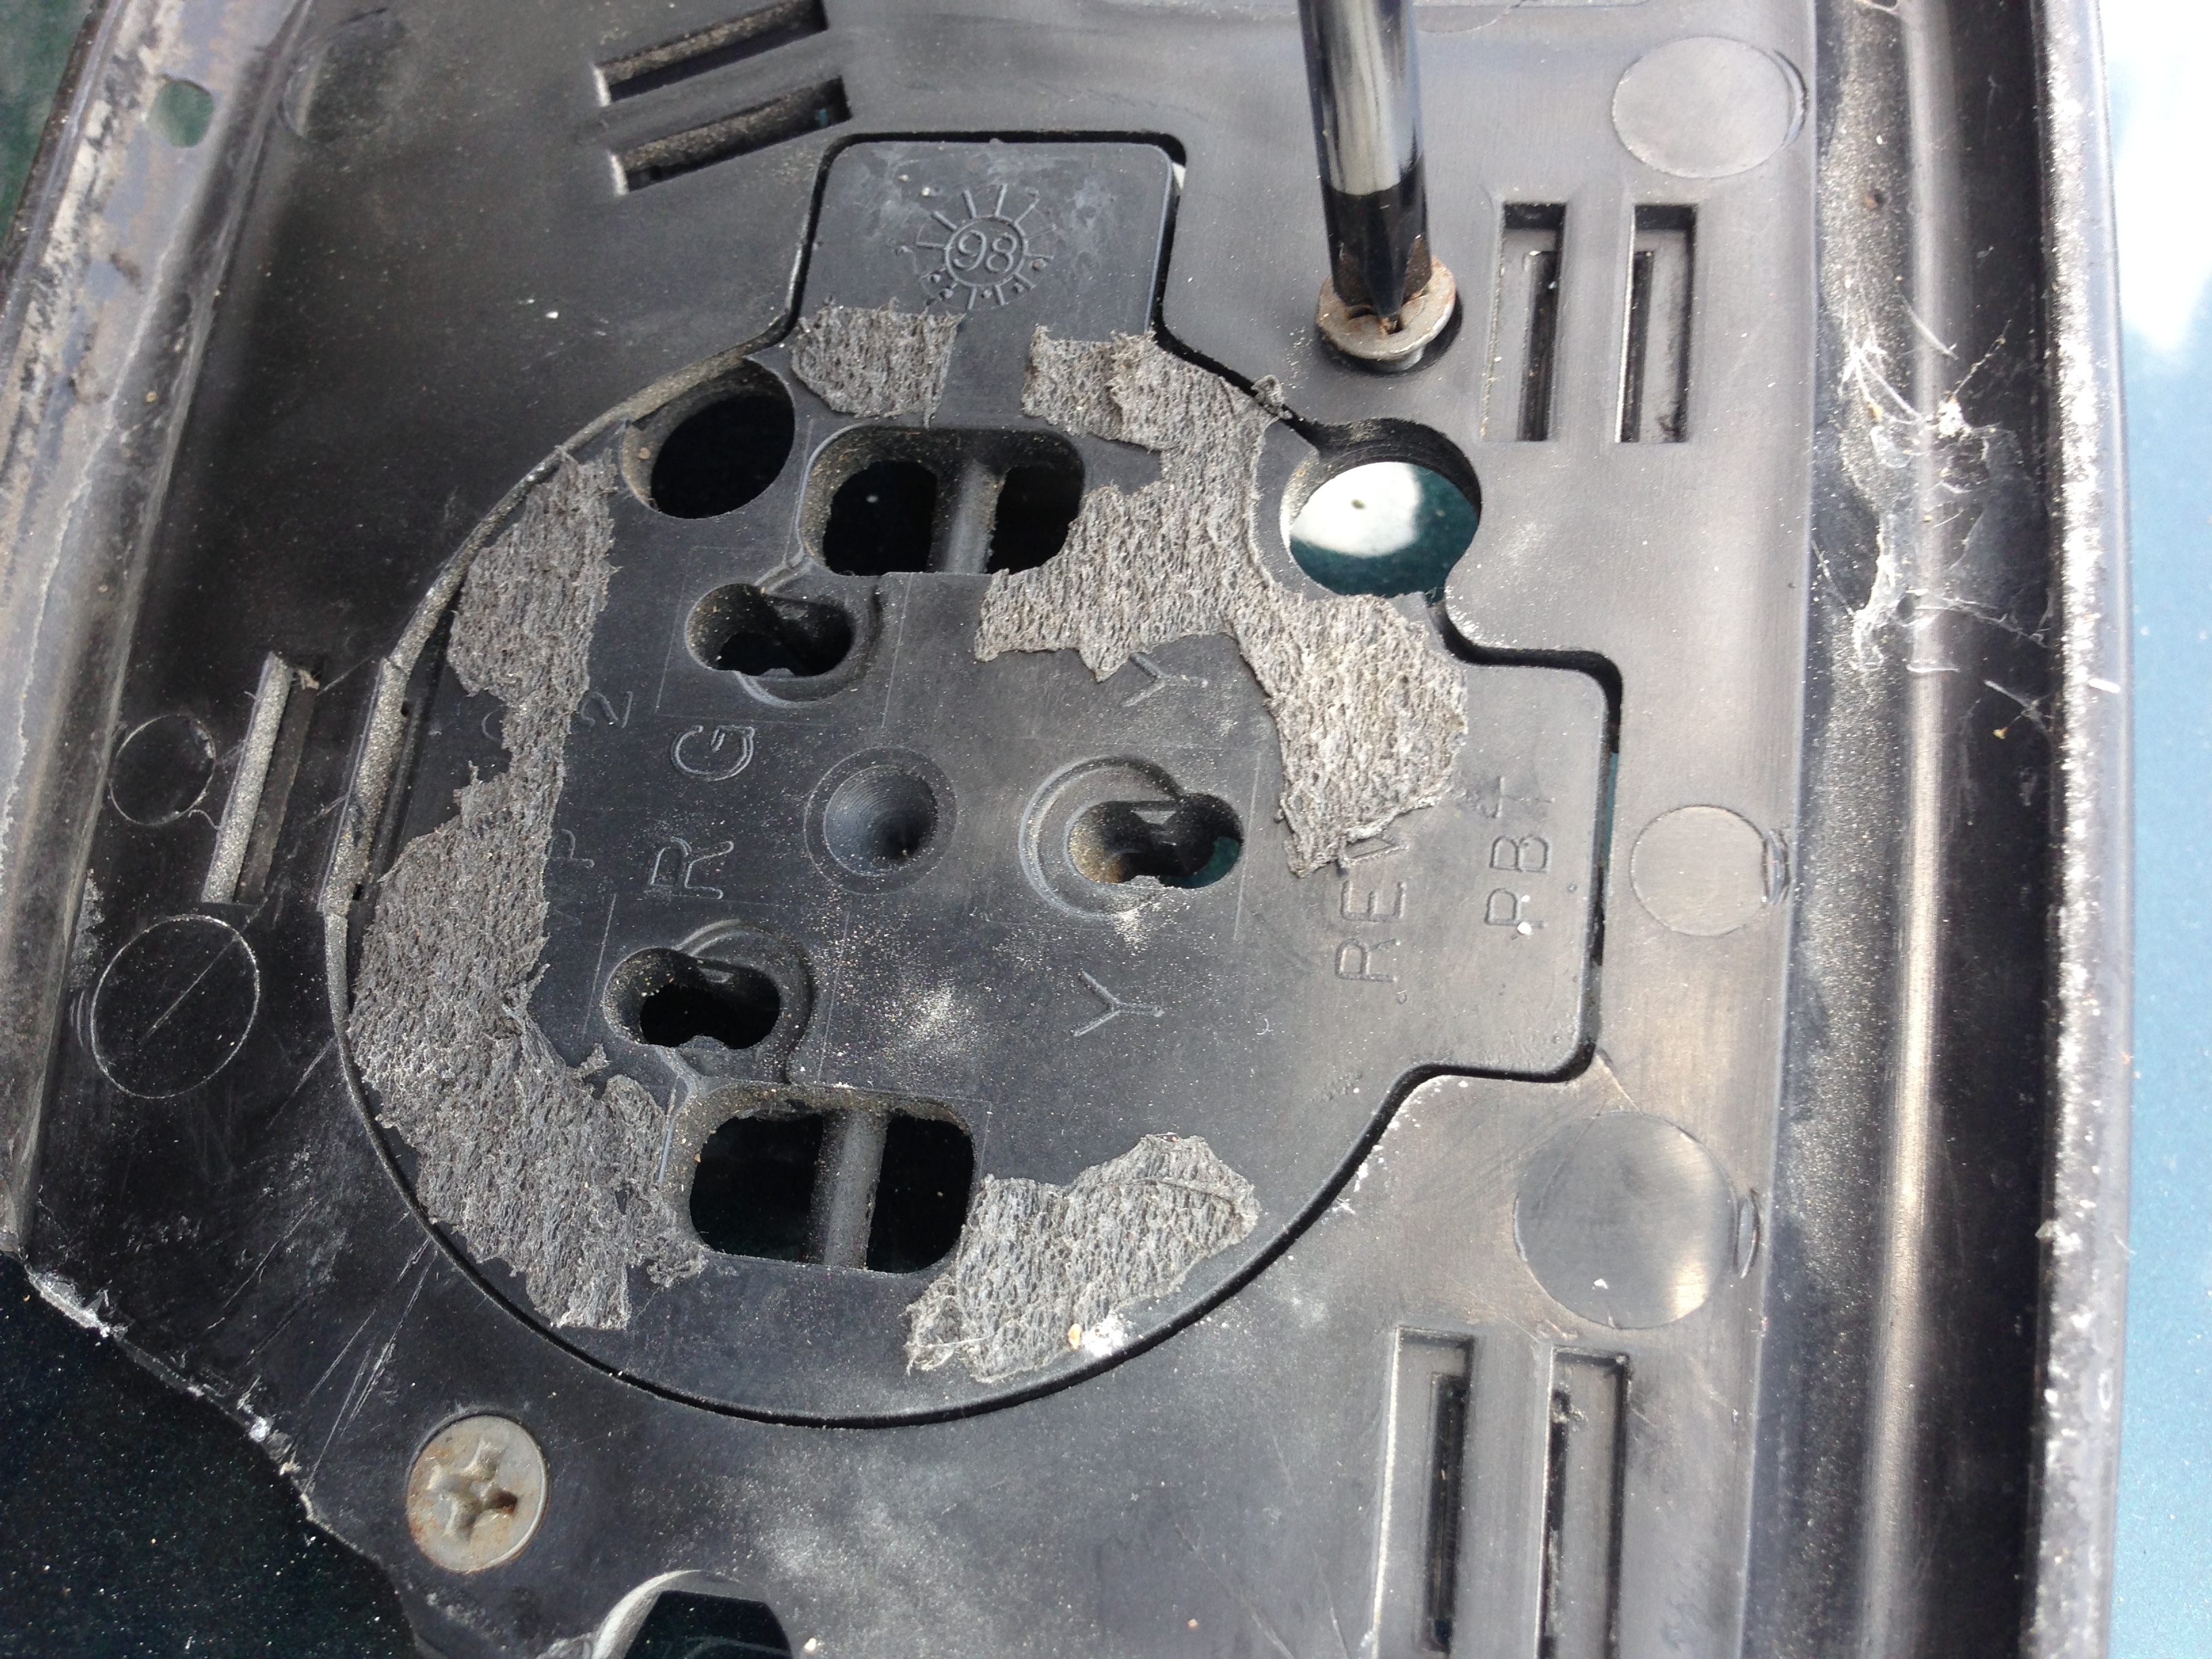
You'll be able to tell when it's firmly in place as you'll now be able to see these two Y brackets through the two rectangular holes on either side. This means that the plastic joint behind the bracket is now in position.
Now push the larger mirror bracket we removed earlier over the smaller one and clip it in place, then add your screws.
Finally, apply your new mirror's adhesive to the center piece and attach your new mirror
")
I really do not suggest putting the mirror and bracket on at the same time, for me, it was very difficult. It still may be possible to re-attach the mirror, but I spent a great part of my afternoon fooling with it to no avail. If you already attached your mirror to the bracket before attaching it to the car, it's no the end of the world, I was able to remove mine using the screw driver method, and the mirror came off in one piece with no cracks.
Hopefully this helps someone out and makes enough sense!