What did you do today Auto Detailing related?

spacemonkee23

Well-Known Member
Joined
Aug 26, 2014
Posts
351
Reaction score
3
Location
Placentia, CA
Purchased a dual action polisher from harbor freight yesterday, on sale for 70 bucks. Washed and clayed yesterday. Tested it out on the trunk, bumper and quarter panels at lunch today. Got rid of the oxidation and swirl marks... Meguiars Medium cut compound, Meguiars polish, Meguiars Gold wax. Now I just have to finish up the rest of the car. Oh and cleared up the headlights too.

DBaqBHf.jpg

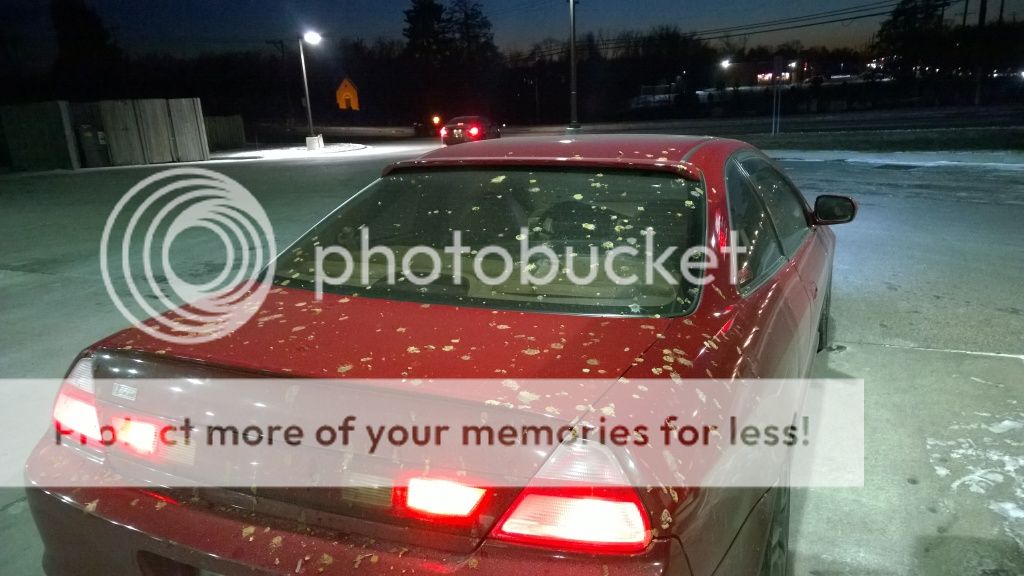
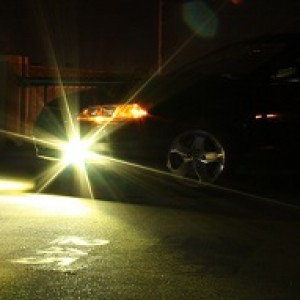
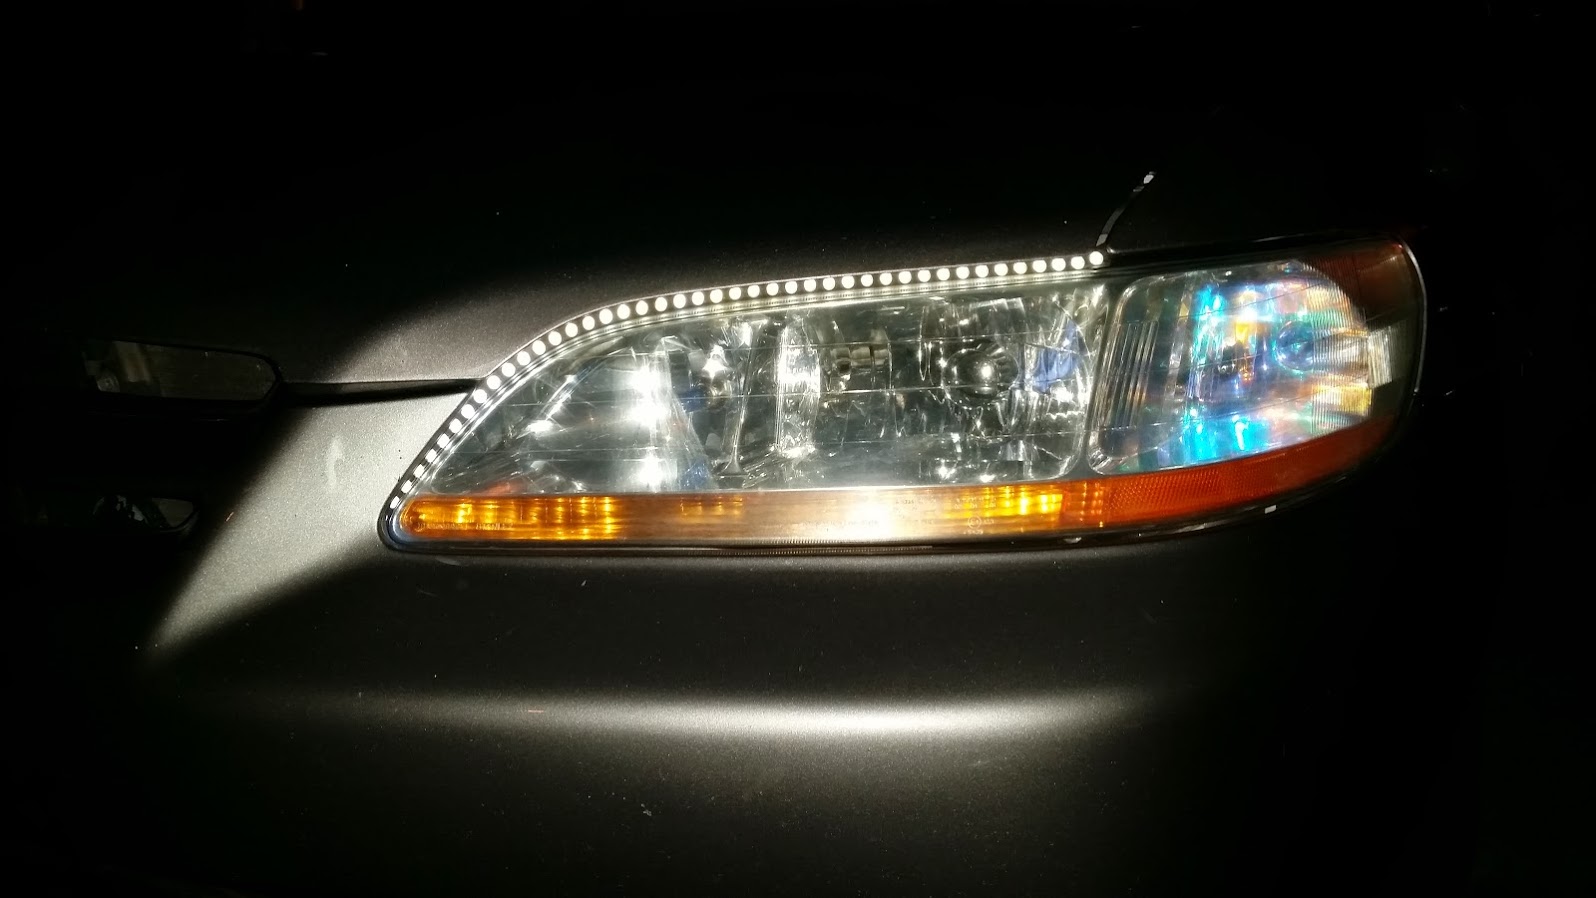
Headlight Before (Didn't take a before but this pic I took at night a while ago)
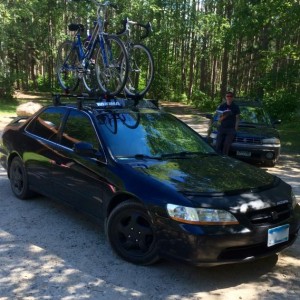
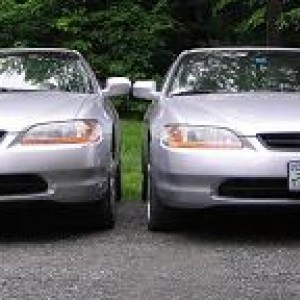
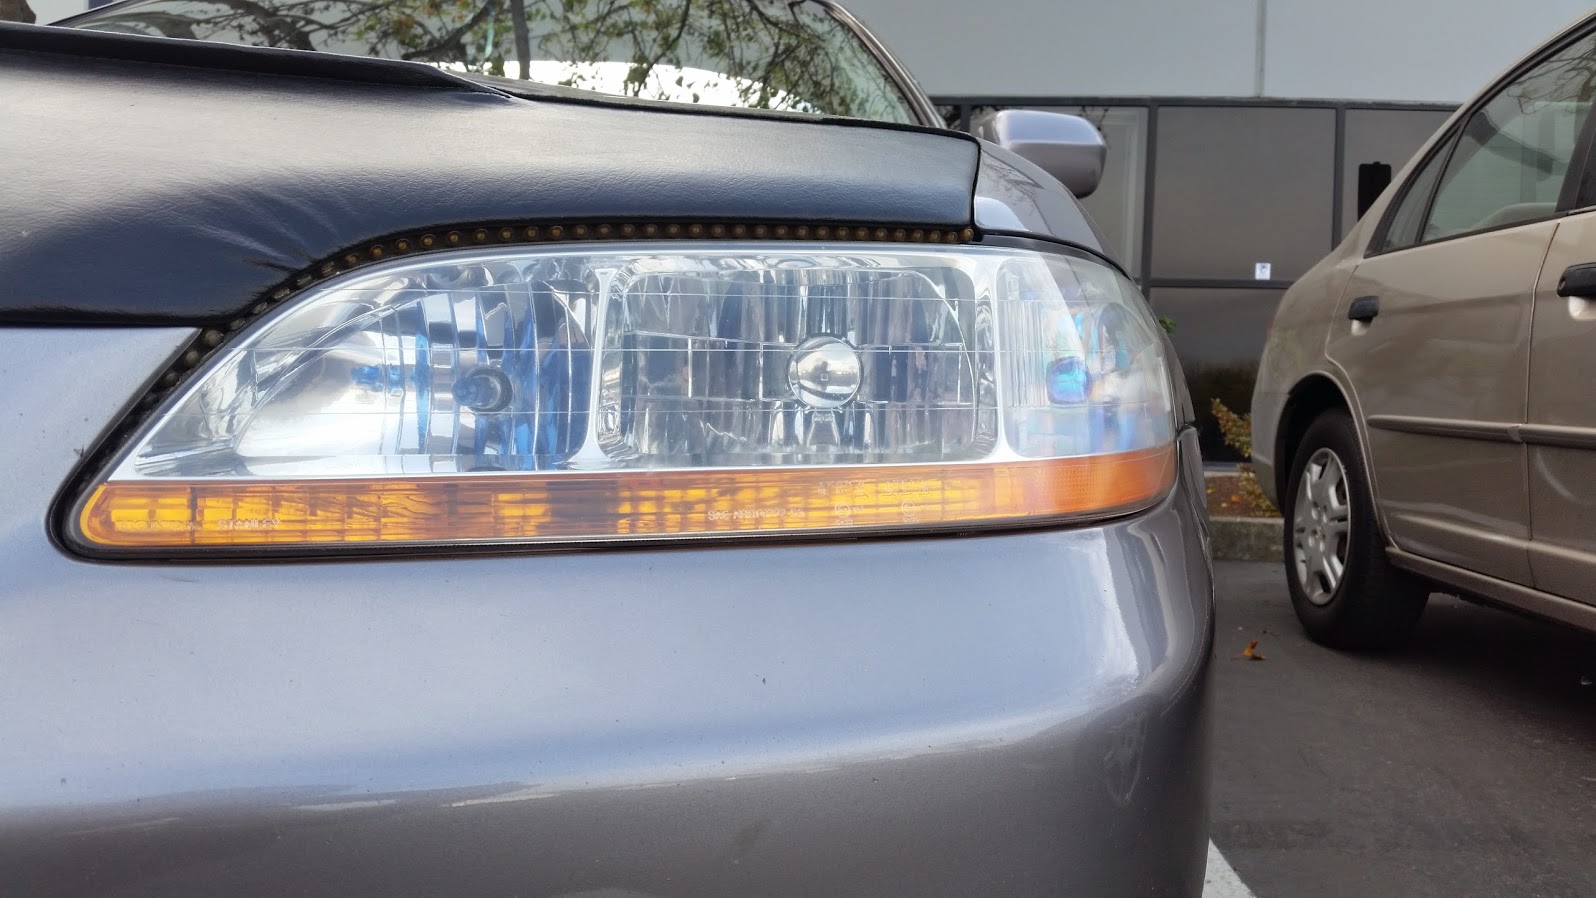
6pUBcTa.jpg

Headlight After
hphRnXv.jpg
 

CG6Lemon

Detailing Enthusiast
Joined
Jun 6, 2008
Posts
7,715
Reaction score
45
Location
S.F Bay Area, CA
Purchased a dual action polisher from harbor freight yesterday, on sale for 70 bucks. Washed and clayed yesterday. Tested it out on the trunk, bumper and quarter panels at lunch today. Got rid of the oxidation and swirl marks... Meguiars Medium cut compound, Meguiars polish, Meguiars Gold wax. Now I just have to finish up the rest of the car. Oh and cleared up the headlights too.


Congrats on the purchase. It is a good investment for starting out. You have solid paint correction products as well. :thumbsup:
 

00Accord4cyl

The Orange Skittle
Joined
Mar 1, 2006
Posts
7,589
Reaction score
15
Location
Nashville, TN
Are there any good sprays for the car just for small spots, specifically bird crap? The new place I work at seems to have lots of birds, and almost daily I find my car covered. I have a quick wash product I use now, but it doesn't seem to work that well. I just need something to use for between washes.
 

00Accord4cyl

The Orange Skittle
Joined
Mar 1, 2006
Posts
7,589
Reaction score
15
Location
Nashville, TN
Well if it makes you feel any better when I walked outside to see my car covered you were the first person I thought of haha.
 

CG6Lemon

Detailing Enthusiast
Joined
Jun 6, 2008
Posts
7,715
Reaction score
45
Location
S.F Bay Area, CA
Thanks Chris for searching through the thread for the recommendation and picture! Eric, that's my recommendation as well. The problem with bird crap is not when it's fresh. Any lubricant will do when it's fresh, but the problems come after it dries up. Usually the type of method used to remove dried bird crap is too aggressive which ends up causing scratches to the paint. Which is taking some water and a rag/towel and rubbing/scrubbing the crap outta it. The product above provides lubrication and at the same time breaks it down to safely wipe it away.
 

CG6Lemon

Detailing Enthusiast
Joined
Jun 6, 2008
Posts
7,715
Reaction score
45
Location
S.F Bay Area, CA
What does it mean if water beads or does not bead on your paint?


Water beading on top of the cars paint is an indication of both clean paint/protected paint. What does clean paint mean? Water will bead if the paint's pores are clean, and the above surface is free of contamination. A freshly painted car will naturally bead water because it's free of contamination. A car that have been polished before and wiped down with IPA, or any IPA alternative to remove the polishing oils beforehand will bead water even without wax, sealant, or a paint coating.


The second indication is the paint have been applied with a layer of protection. All types of wax, sealants, and coatings will allow water to bead, but beading patterns will vary depending on different products used.


This is an example of protected paint. I applied a wax one month ago after claying the paint, but have not washed it yet. The paint is still in good condition.


If I desired stronger beading at this moment, proper wash will be required to remove/lift off all the loose dirt/embedded dirt/road film from the paint to achieve the beading picture below again when the wax was freshly applied. All wax, and sealants will degrade over time. Reapplying will be the only way to achieve the tight beading again in some circumstances.


If your paint does not bead water then it's time for a proper cleaning. The picture below shows water characteristics being flat and holding tension. No sign of any water beading.


A basic procedure would be:

Wash
Decontaminate iron particles embedded in the paint's pores(Using Iron X or similar products) (Optional step, but highly recommended for best results)
Claybar
Apply choice of protection


Spring is almost here so time to clean up your ride fellas! Feedback is always welcomed and appreciated.
 

CG6Lemon

Detailing Enthusiast
Joined
Jun 6, 2008
Posts
7,715
Reaction score
45
Location
S.F Bay Area, CA
It's been a while since I've updated this thread. I have been focusing on myself hence the reason for the lack of updates on the garage. I am able to put aside a bit more money now so hopefully things will progress at a faster rate....


I recently stepped up my washing set up game and purchased a foam cannon and a electric pressure washer.


My old set up with one faucet, hose nozzle, shut off valve


Purchase a high flow Y connector with 2 shut off valves


The reason why I opted for a high flow one is because most valves inside are very restricted and that will slow down the water pressure. I needed one to not restrict as much water flow as possible. Pictures of the valves.


Installed and tested both shut off valves at the same time


The shut off valve on the hose nozzle started to not function as well so I replaced it with a new one


Out with the old and in with the new side by side


New one in


Temporary set up until I purchase a second water hose and a hose stand


Foam cannon attached to wand. I am still waiting on a attachment from online so I don't need the extension part. I am also going to purchase a 40 ft hose feed instead of using the stock 20ft hose feed. I'm not going to drag the pressure washer around so I need more slack.


Foam cannon filled up with 2 oz soap and rest with water ready to go


Lastly, tidy up the wiring cord


CG6Lemon

Detailing Enthusiast
Joined
Jun 6, 2008
Posts
7,715
Reaction score
45
Location
S.F Bay Area, CA
How to debadge your emblems


I finally decided to debadge my rear emblems. This is one method of doing it. I will be debadging, removing adhesive residue, sanding, polishing, and waxing.


Our starting point


I used a hair dryer to soften up the adhesive. For 1 min hover 1 inch off the emblems using a left to right sweeping motion


I like to use fishing string to slide it in between the adhesive and back of emblems


Emblem removed and old adhesive left


Other side


Both completed


Grab a bottle of adhesive remover


I used a plastic razor blade in conjunction with the adhesive remover. I bladed off the bulk stuff first then proceeded to using a microfiber towel with the adhesive remover


After the adhesive been removed, the dreaded ghosting is left


Compounded, and polished it up. Still a little bit left though....


I decided to sand it to see if there would be any improvement. Started to take measurements with the paint thickness gauge. Highest reading was 84 microns and lowest was 78


Taped off area to prep for sanding. I did not want to sand the perimeter of the emblem ghosting to preserve clearcoat


Used a block pad w/3000 grit


I took consistent readings while sanding. I sanded a bit, wiped it off to check texture, took some readings then rinse and repeat. I took it down to 72 microns which is almost 10% from 78 microns. I decided to stop at that point and not push my luck.


Much better but I can still see a little bit at the end with the letter D. Comparing it to the right side, it's a day and night difference


End result. I would say I achieved a 85%-90% rate of removing the ghosting. The car is old, so I'm not worried about being perfect in this scenario.


Enjoying the debadged look.


Back
Top