

Ok first project is done! Lot of pictures coming so beware. This is a mini-DIY for removing the interior door panels and mirrors.
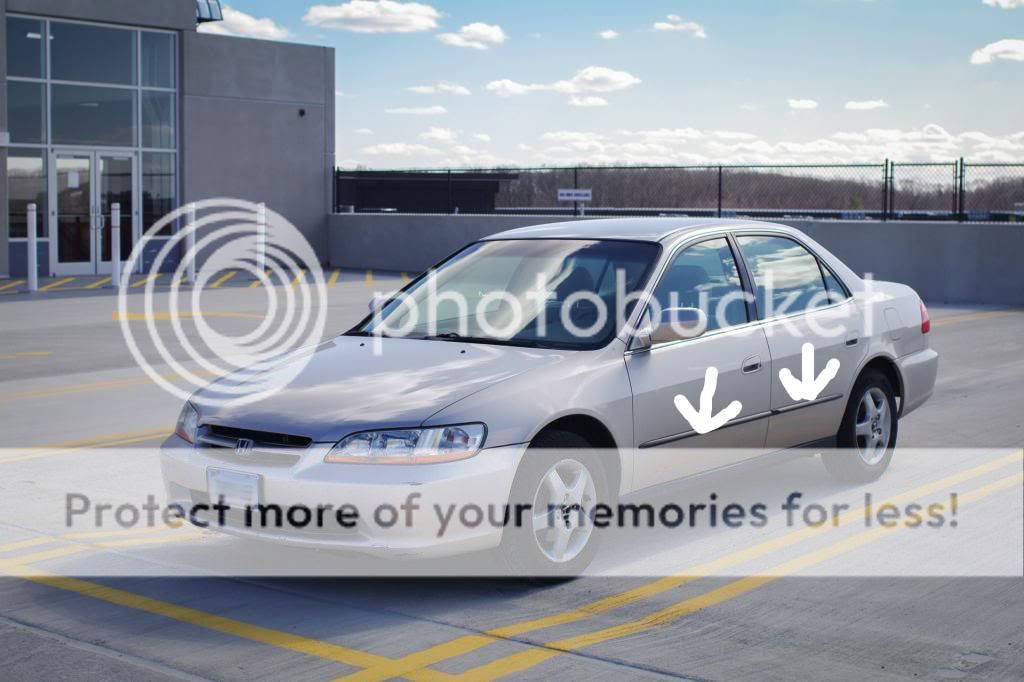
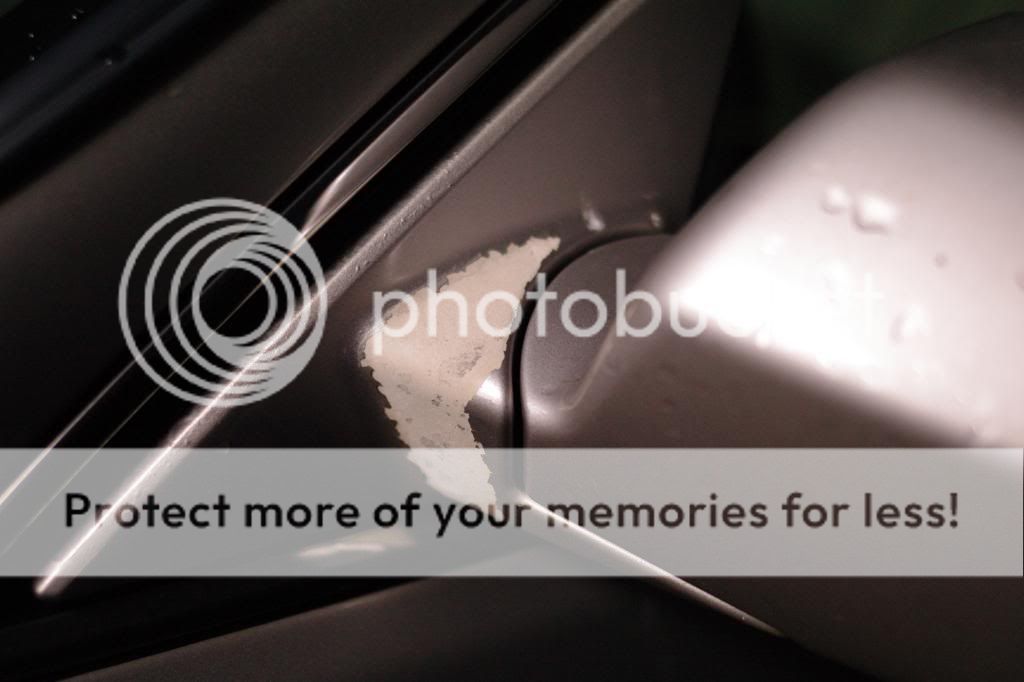
The paint on my side mirrors was starting to chip so I wanted to paint over them. This is my first time doing any type of automotive painting so please don't be too harsh on the shoddiness of it.
Materials Used:
Philips screwdriver
Flat head screwdriver
10mm socket wrench
Sandpaper
Painter's tape
Dust mask (though an actual paint respirator/mask would be better)
Duplicolor Grey Filler/Primer
Duplicolor Heather Mist Mica
Duplicolor Clear Top Coat
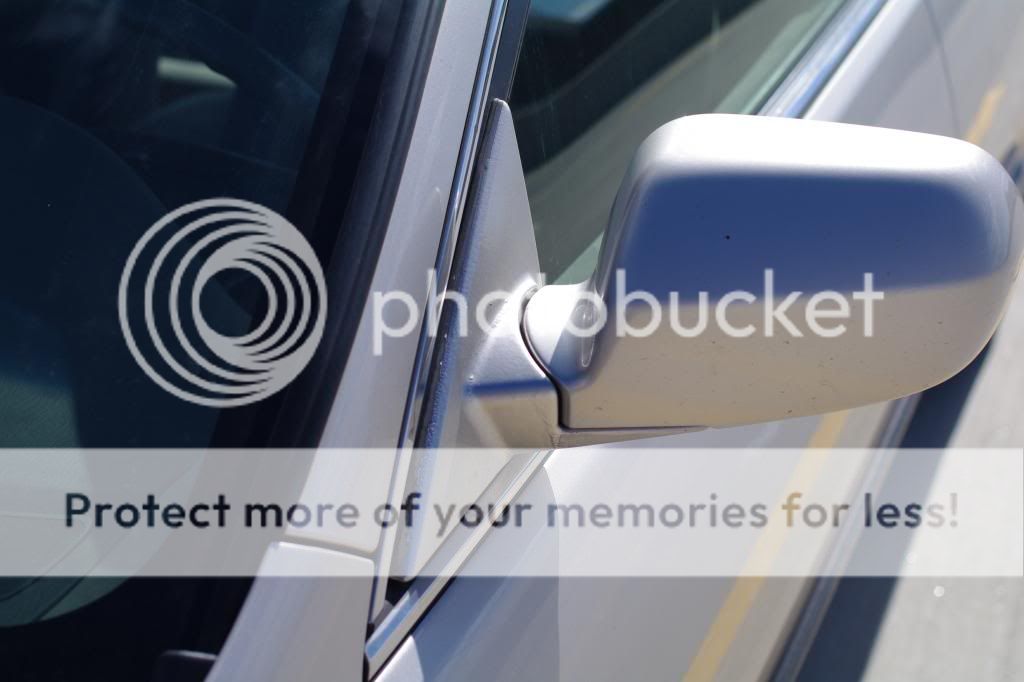
Driver's side:
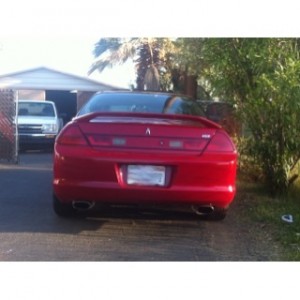
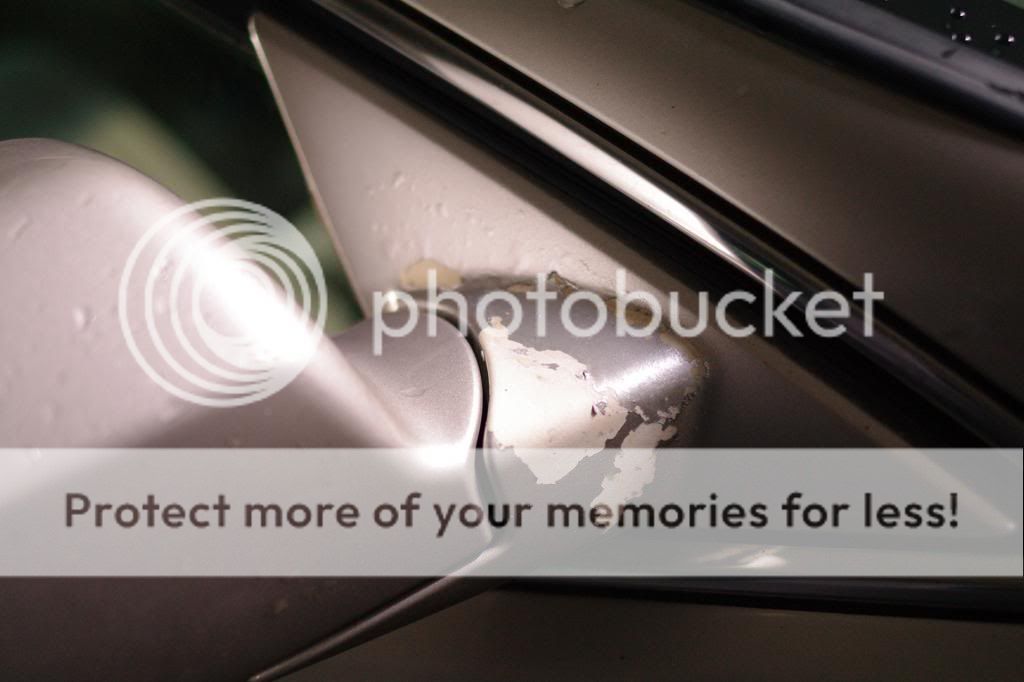
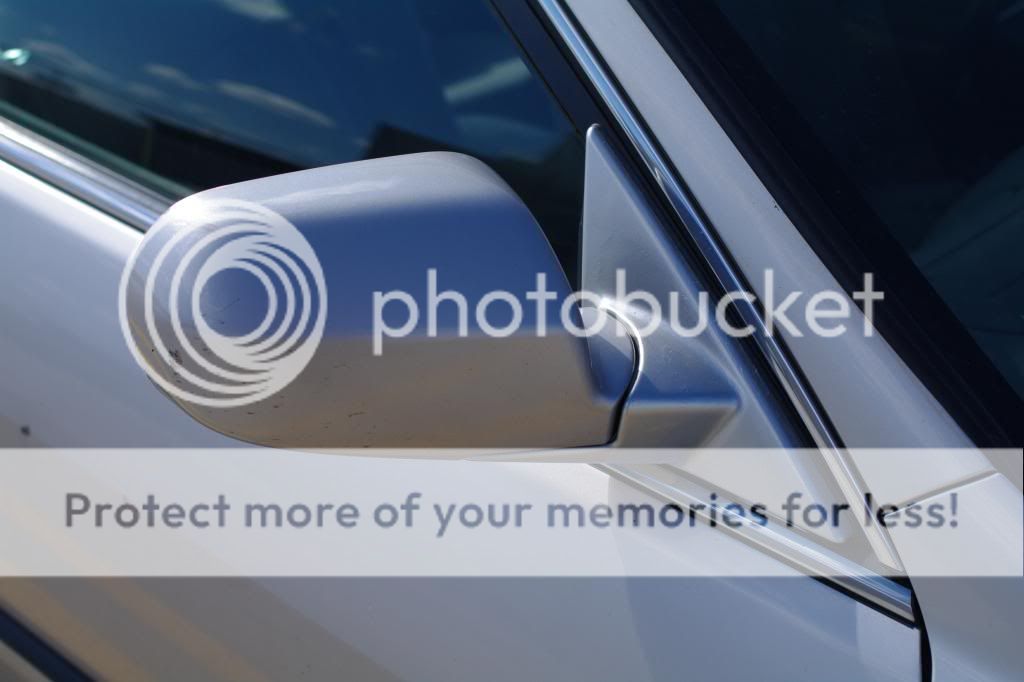
Passenger's side:
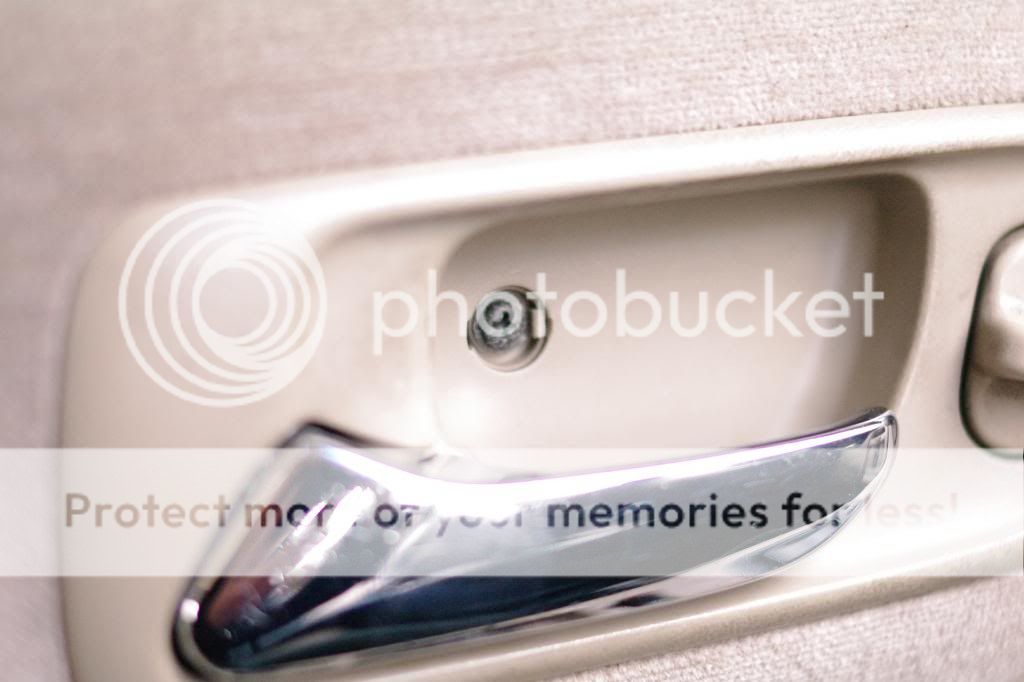
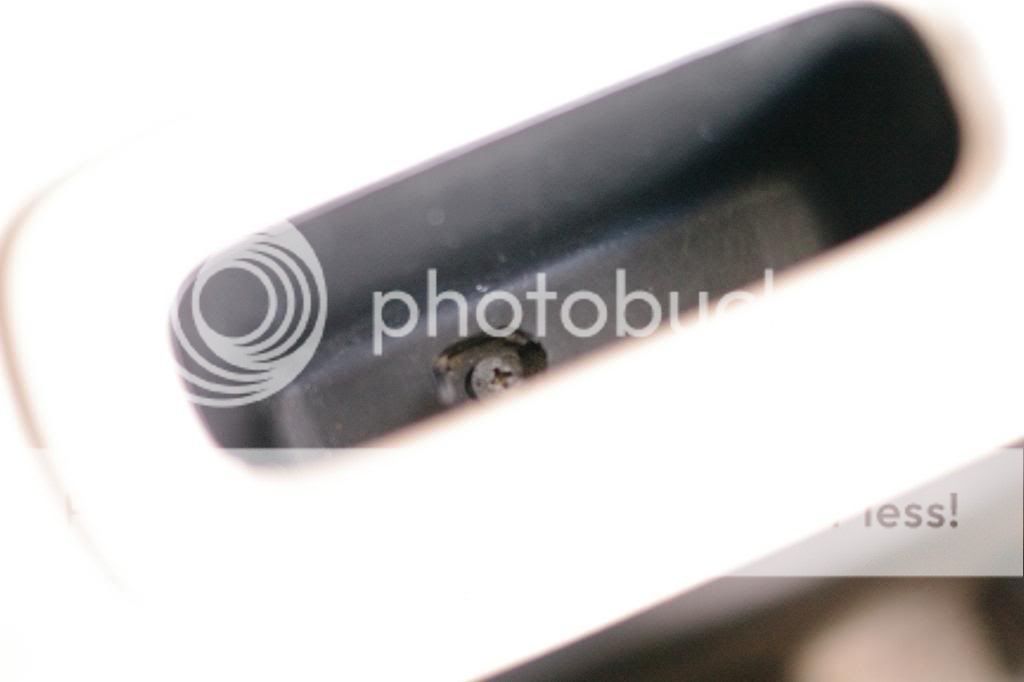
Start by removing the door latch. Remove the round plastic cover to expose the screw and unscrew. I haven't figured out how to remove the plastic covers without them snapping off. I think they're just old and brittle. Then slide the latch forward to pull it out.
Unplug the power lock cable.
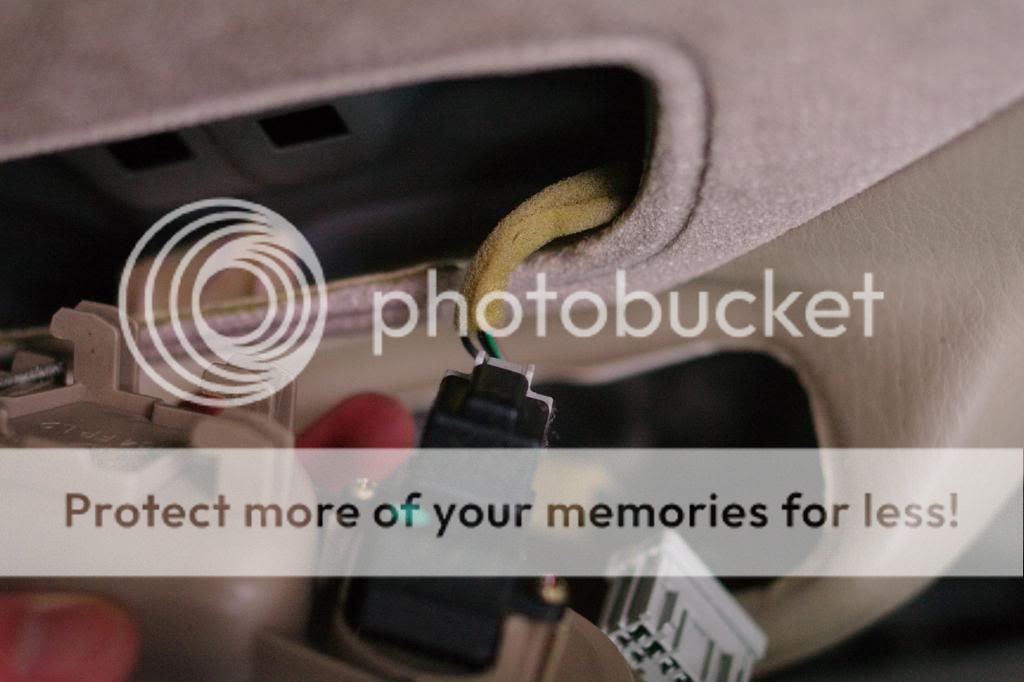
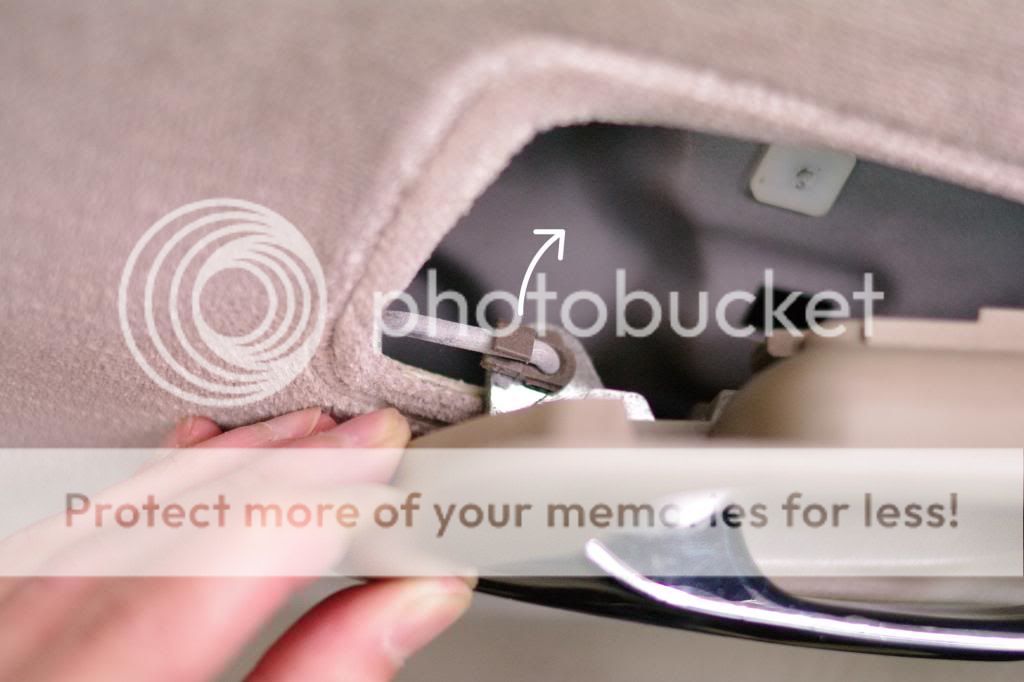
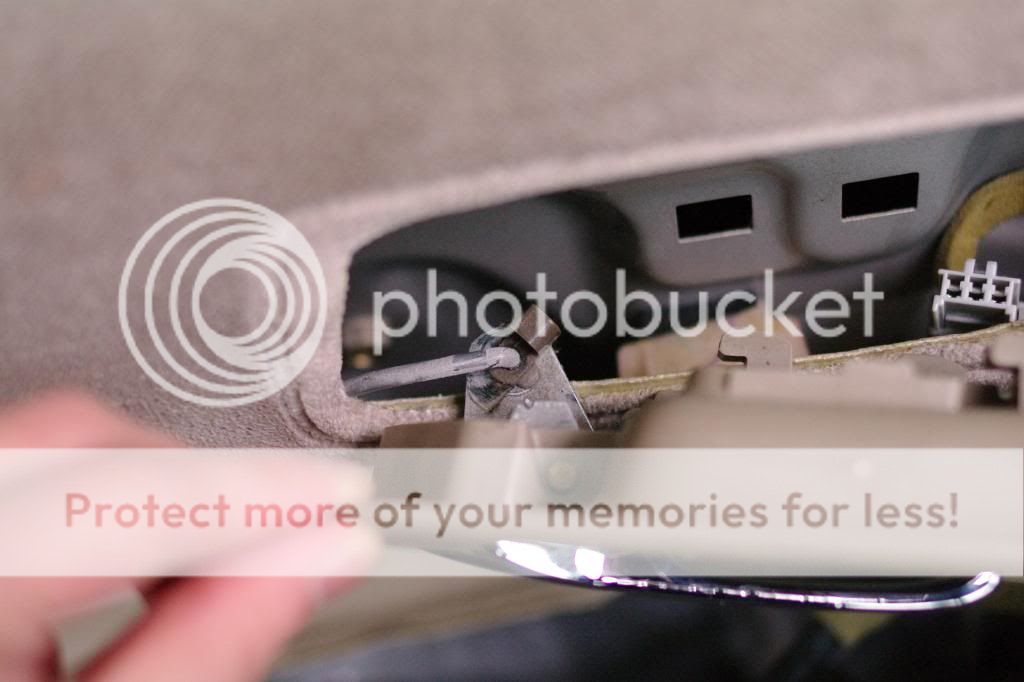
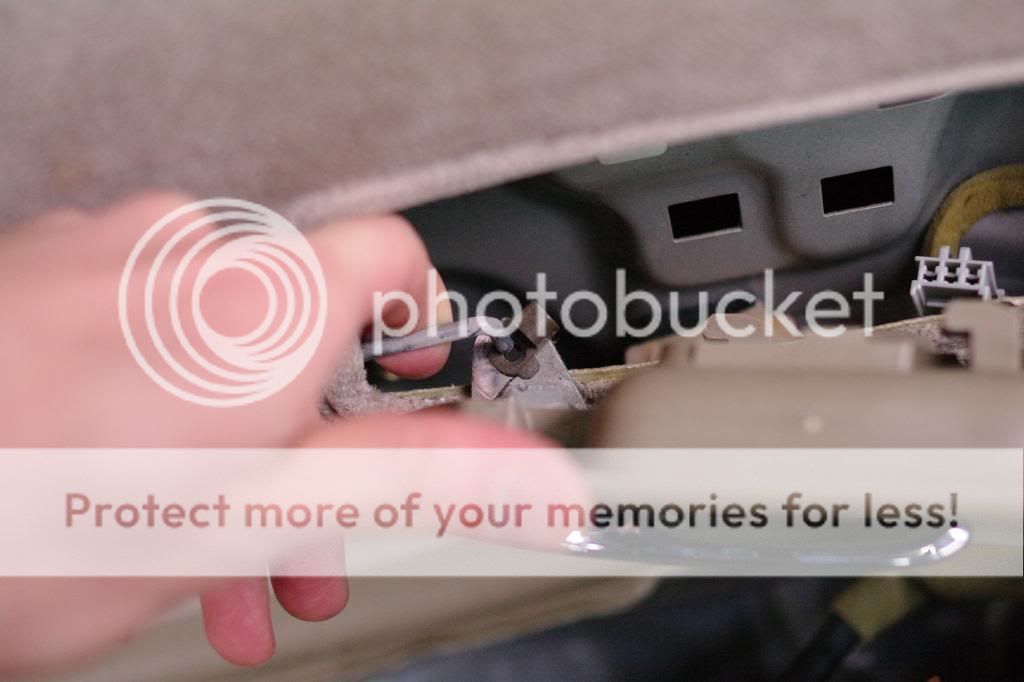
To remove the door latch, swing the small plastic piece out and pull the metal bar up out of the hole.
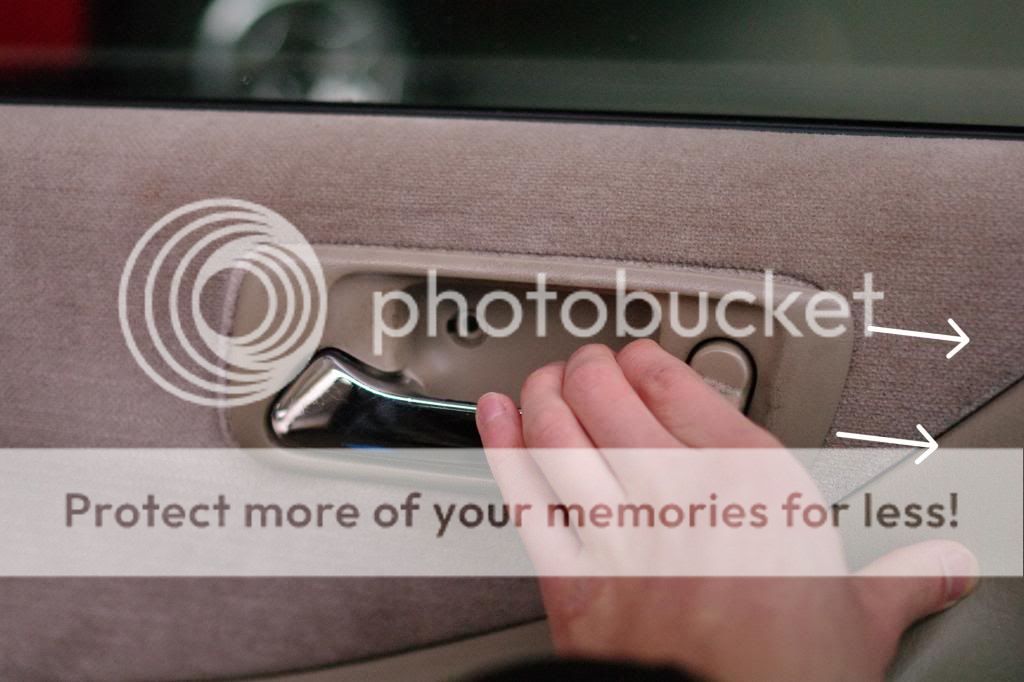
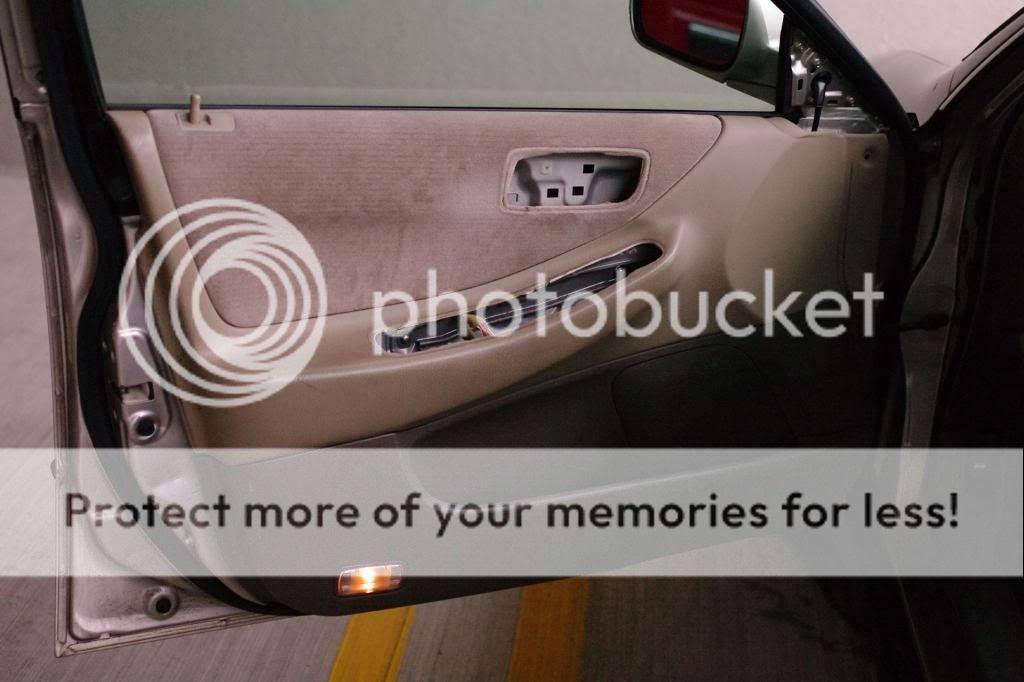
Now remove the door handle. Flip up the black tab in the middle and remove the screw.
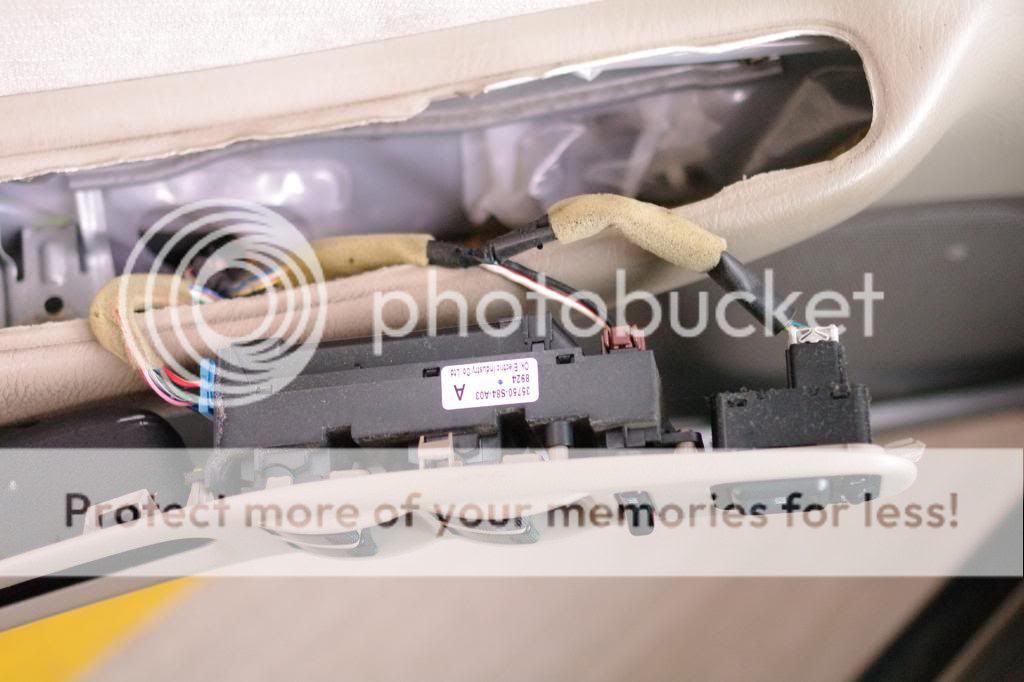
Pull up from the rear to pull it out of the slot. Remove the three cables for the windows and power mirrors.
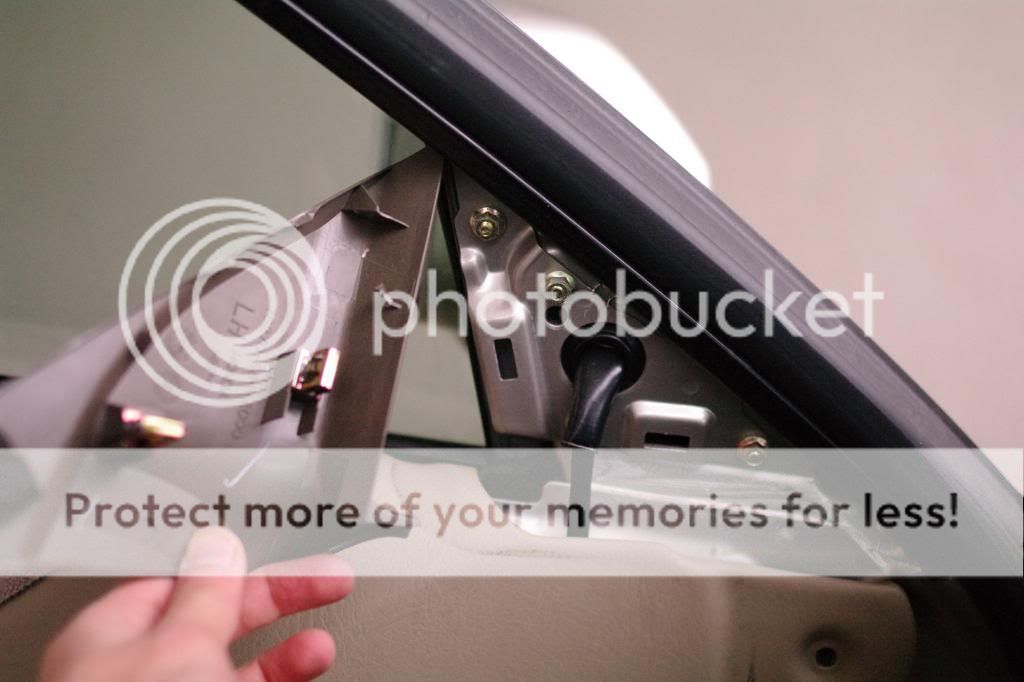
To remove the door panel, use a flat head screwdriver to pop out the piece covering the mirror bolts. There are two clips.
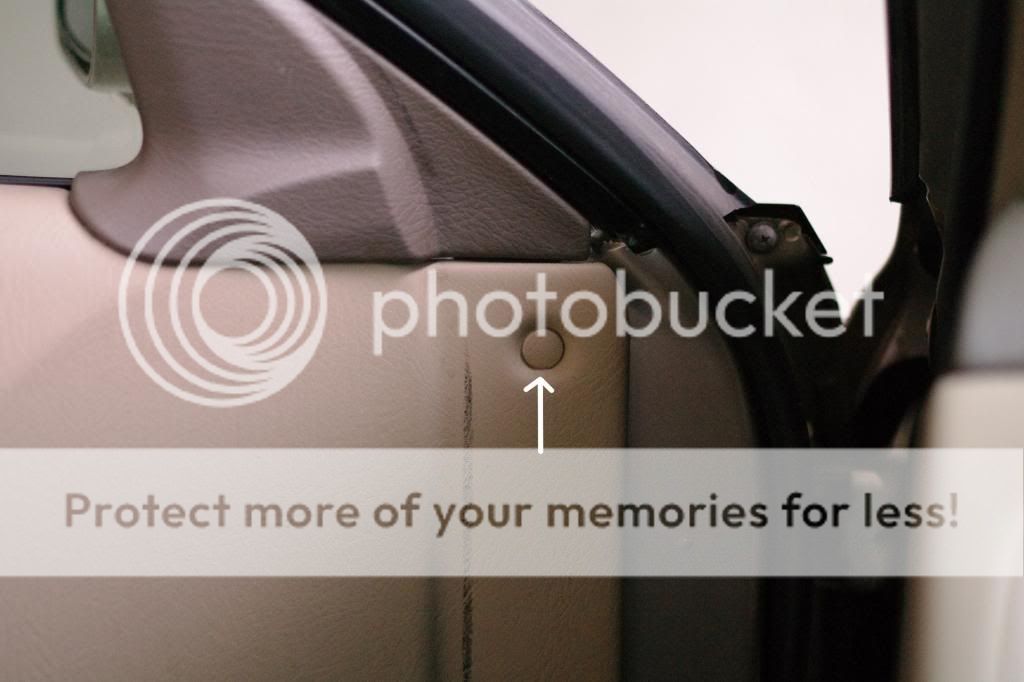
Pop out this round thing.
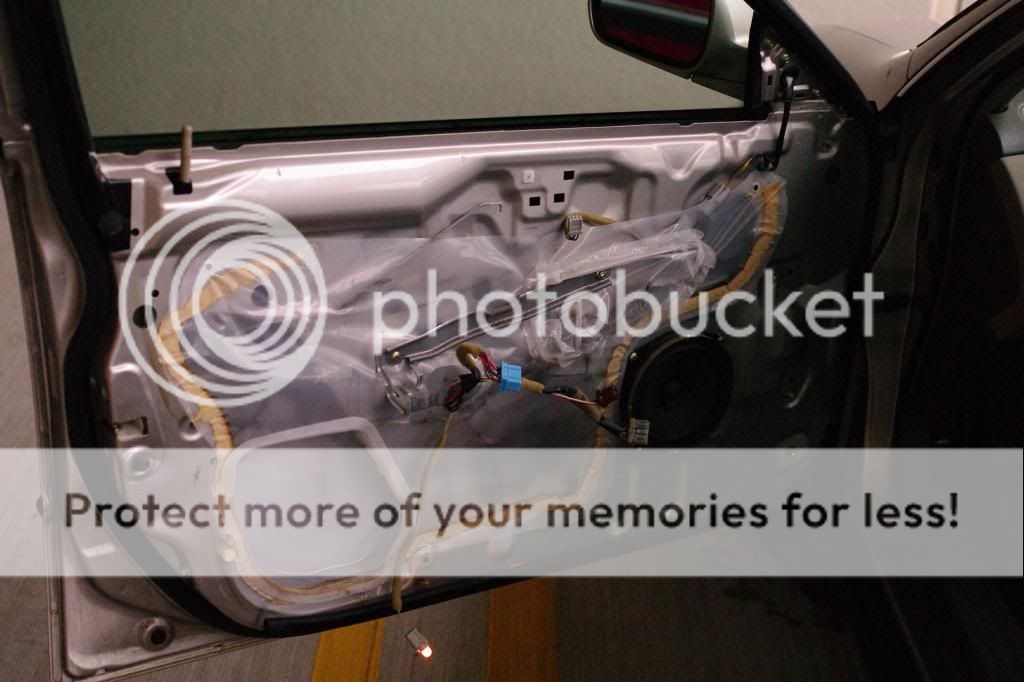
Unclip the door panel on the left bottom and right side then pull the whole panel straight up. Twist the courtesy light bulb and pull out to completely remove the door panel.
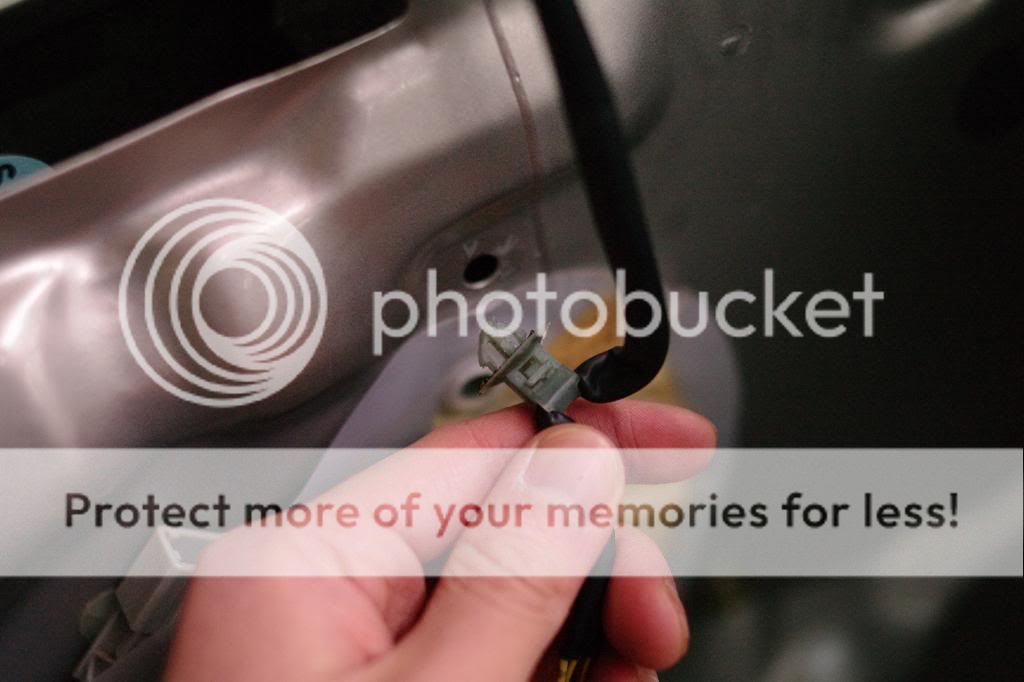
Next unplug the mirror and detach this clip. There's adhesive around the clip so you need to work your flat screwdriver around the clip to loosen it first then wiggle it out.
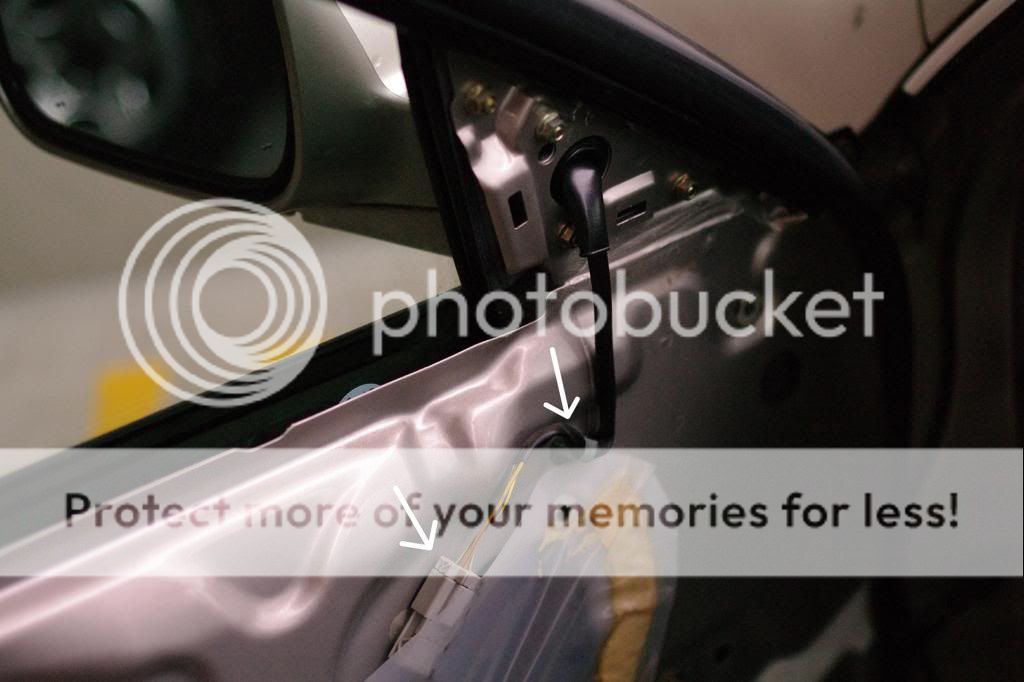
There are three 10mm nuts to be removed to pull off the mirror. Make sure you're holding onto the mirror with your other hand when removing the last nut so that the mirror doesn't fall off.

That's it! Mirrors off. I was gonna finish this post with prep and painting but UCONN WINS THE MOTHER EFFIN NATIONAL CHAMPIONSHIP so I'll finish this tomorrow. Good night all!
Okay here's the rest:
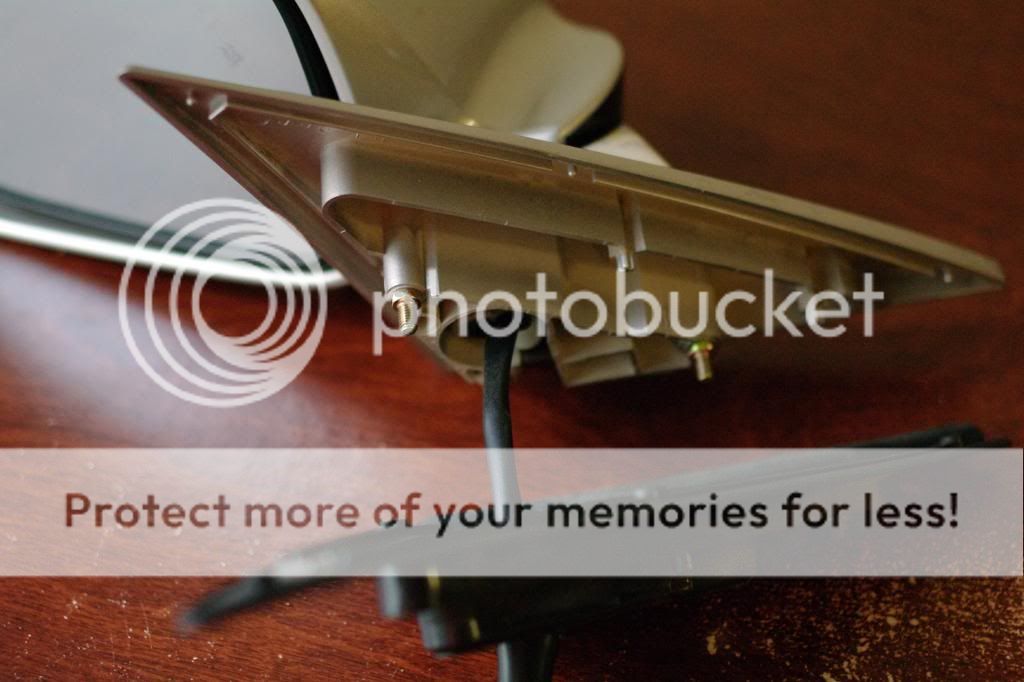
I only needed to paint the triangular part of the mirror that attaches to the car, not the mirror cap so I wanted to disconnect it. To do this pull off the black rubber covering on the back and remove this screw and plastic piece.
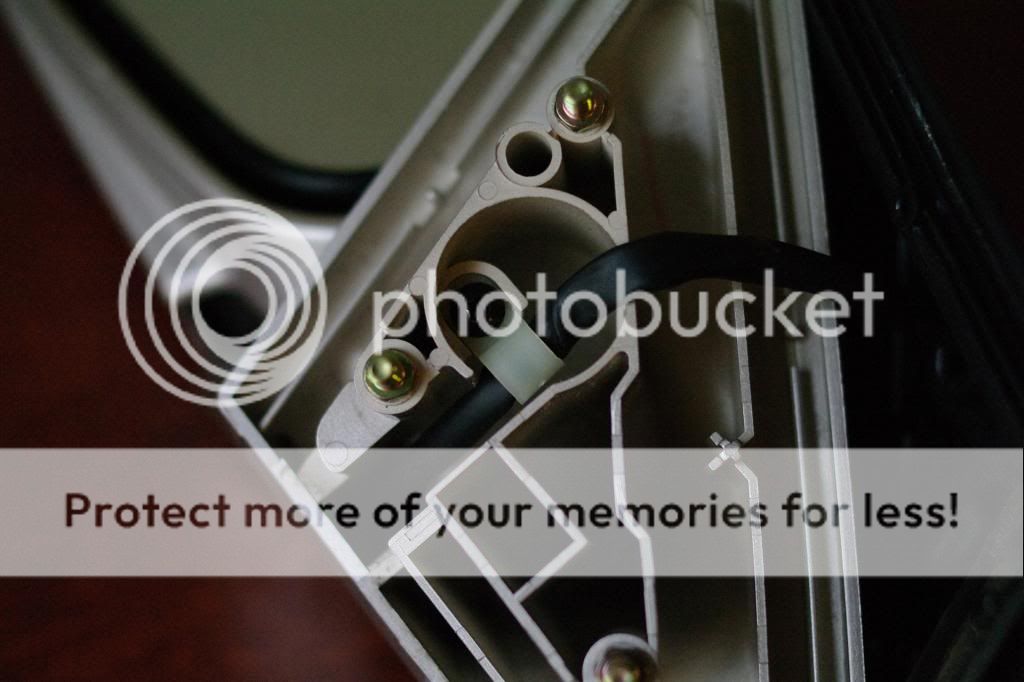
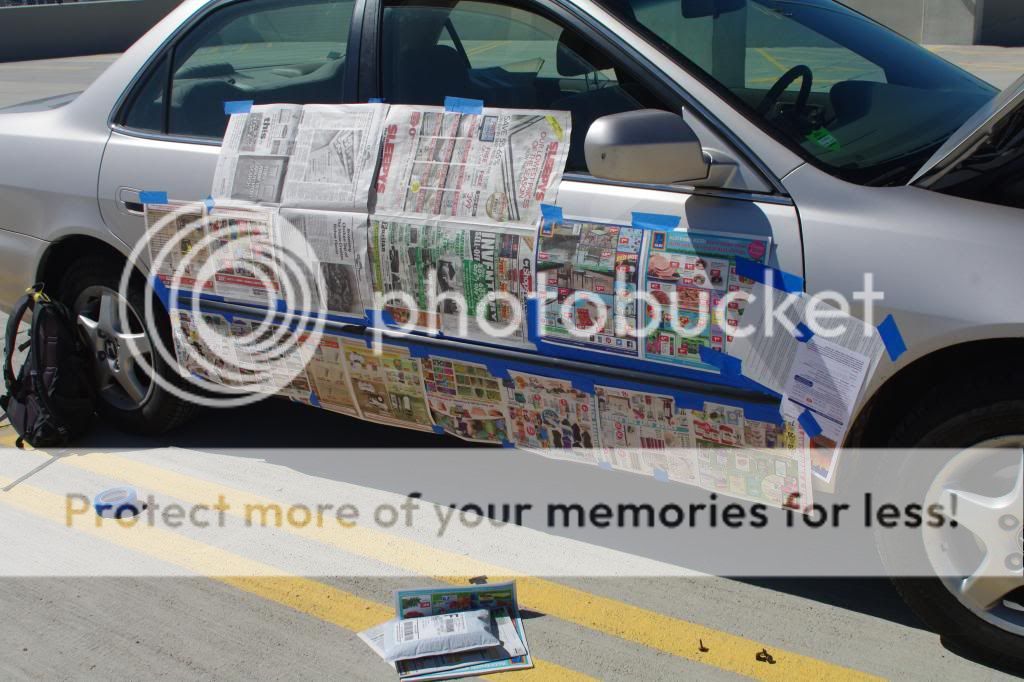
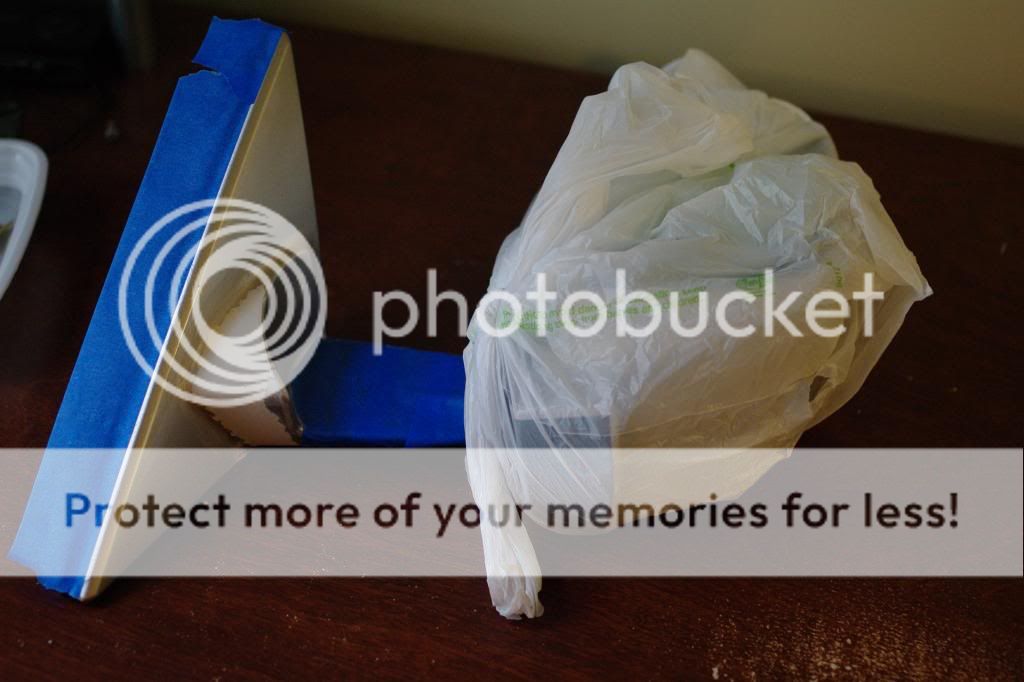
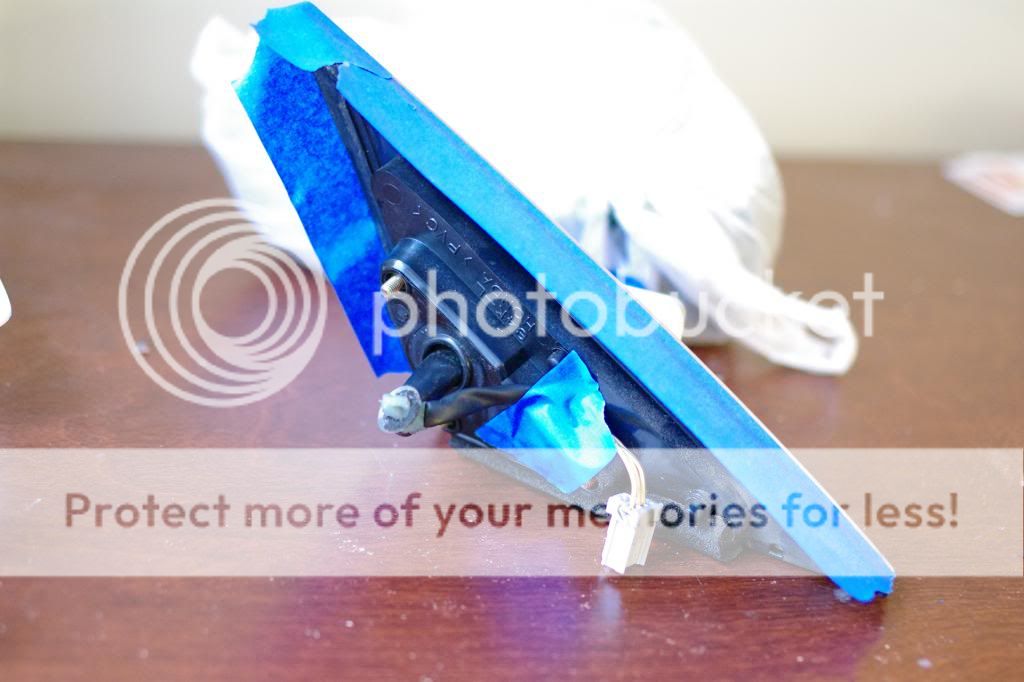
Remove the three screws at the bottom of the mirror and pull the two pieces apart. The purpose of removing the plastic piece in the previous step was so that you can feed the wire through and pull the two parts further apart. I wasn't able to figure out how to completely separate the pieces but this was good enough. After a little bit of wet sanding and wiping down with alcohol, I wrapped the mirror with a plastic bag and masked off the rest.
For paints I used duplicolor primer, heather mist mica (honda color matched), and duplicolor clear coat.
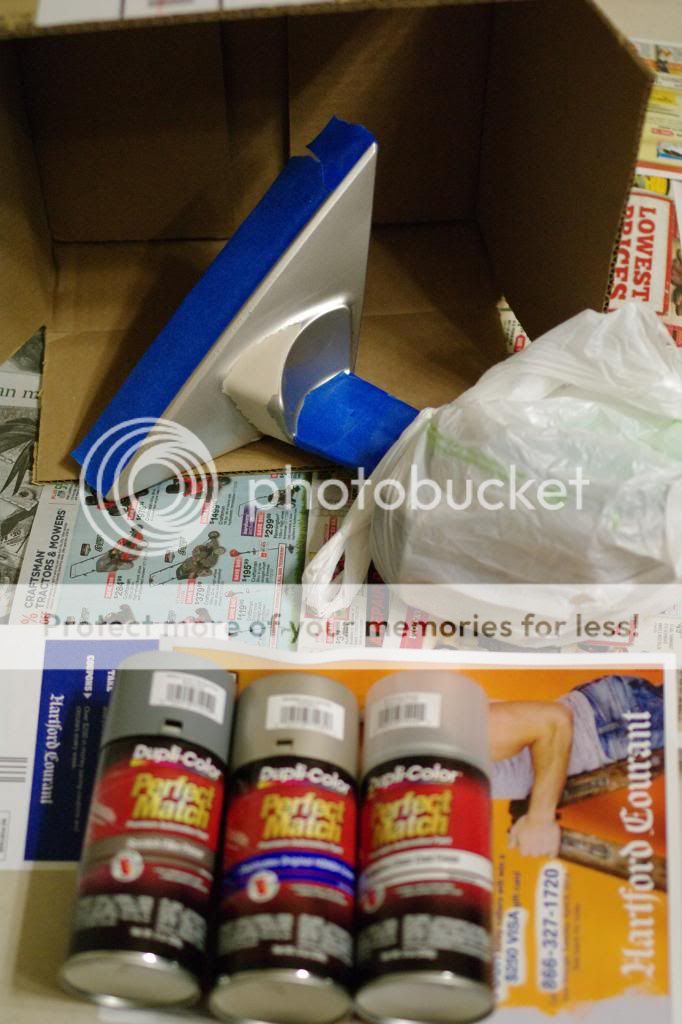
So here's where I screwed up. When taking off the cap of the spray paints, there's a little white plug. I thought that was just a plug to prevent leaking but apparently its a nozzle for a smooth even spray. The three coats of primer and first two coats of paint were done without nozzle so it was extremely runny as you'll see in the pictures. The last couple coats I did with the nozzle on and it didn't look too bad.

See how splotchy the paint is when you don't use the nozzle? It doesn't look as bad once it dries though.
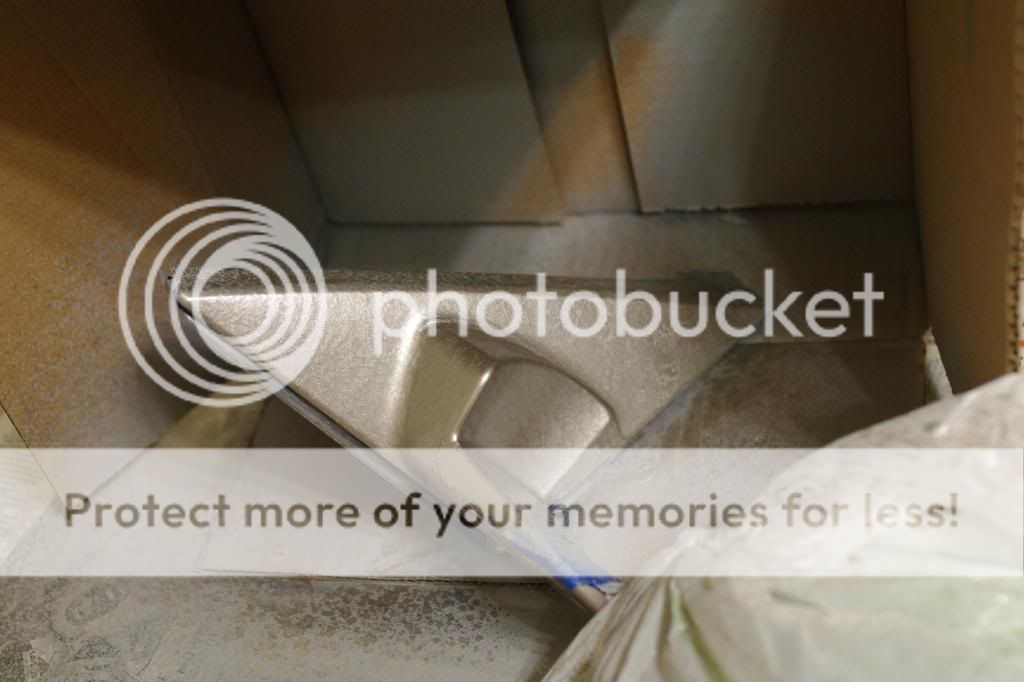
Final coat of paint before clear coat
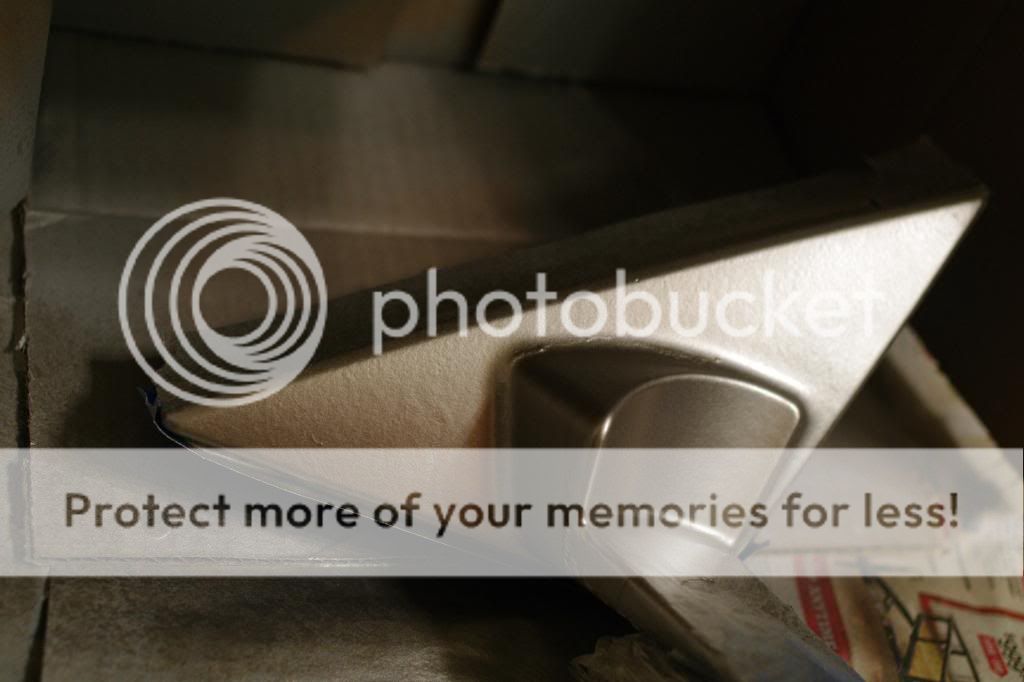
I got really lazy with the prep work and didn't completely remove all the original paint so if you look really closely you can still see the lines where the original paint was chipping and where it was intact. Also, sanding with really fine sand paper in between primer coats would have helped smooth things out, but again I got lazy. After a couple clear coats, let it dry and put it all back together. Again its not perfect if you look closely but from 3+ feet away you can't tell. Good enough for now. Now that I look at it the mirror caps could use some touching up.
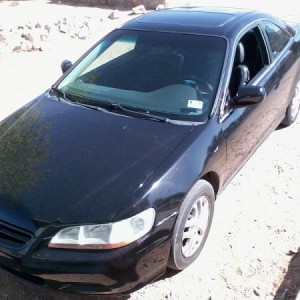
Finished Product:
The paint on my side mirrors was starting to chip so I wanted to paint over them. This is my first time doing any type of automotive painting so please don't be too harsh on the shoddiness of it.
Materials Used:
Philips screwdriver
Flat head screwdriver
10mm socket wrench
Sandpaper
Painter's tape
Dust mask (though an actual paint respirator/mask would be better)
Duplicolor Grey Filler/Primer
Duplicolor Heather Mist Mica
Duplicolor Clear Top Coat
Driver's side:
Passenger's side:
Start by removing the door latch. Remove the round plastic cover to expose the screw and unscrew. I haven't figured out how to remove the plastic covers without them snapping off. I think they're just old and brittle. Then slide the latch forward to pull it out.
Unplug the power lock cable.
To remove the door latch, swing the small plastic piece out and pull the metal bar up out of the hole.
Now remove the door handle. Flip up the black tab in the middle and remove the screw.
Pull up from the rear to pull it out of the slot. Remove the three cables for the windows and power mirrors.
To remove the door panel, use a flat head screwdriver to pop out the piece covering the mirror bolts. There are two clips.
Pop out this round thing.
Unclip the door panel on the left bottom and right side then pull the whole panel straight up. Twist the courtesy light bulb and pull out to completely remove the door panel.
Next unplug the mirror and detach this clip. There's adhesive around the clip so you need to work your flat screwdriver around the clip to loosen it first then wiggle it out.
There are three 10mm nuts to be removed to pull off the mirror. Make sure you're holding onto the mirror with your other hand when removing the last nut so that the mirror doesn't fall off.
That's it! Mirrors off. I was gonna finish this post with prep and painting but UCONN WINS THE MOTHER EFFIN NATIONAL CHAMPIONSHIP so I'll finish this tomorrow. Good night all!
Okay here's the rest:
I only needed to paint the triangular part of the mirror that attaches to the car, not the mirror cap so I wanted to disconnect it. To do this pull off the black rubber covering on the back and remove this screw and plastic piece.
Remove the three screws at the bottom of the mirror and pull the two pieces apart. The purpose of removing the plastic piece in the previous step was so that you can feed the wire through and pull the two parts further apart. I wasn't able to figure out how to completely separate the pieces but this was good enough. After a little bit of wet sanding and wiping down with alcohol, I wrapped the mirror with a plastic bag and masked off the rest.
For paints I used duplicolor primer, heather mist mica (honda color matched), and duplicolor clear coat.
So here's where I screwed up. When taking off the cap of the spray paints, there's a little white plug. I thought that was just a plug to prevent leaking but apparently its a nozzle for a smooth even spray. The three coats of primer and first two coats of paint were done without nozzle so it was extremely runny as you'll see in the pictures. The last couple coats I did with the nozzle on and it didn't look too bad.
See how splotchy the paint is when you don't use the nozzle? It doesn't look as bad once it dries though.
Final coat of paint before clear coat
I got really lazy with the prep work and didn't completely remove all the original paint so if you look really closely you can still see the lines where the original paint was chipping and where it was intact. Also, sanding with really fine sand paper in between primer coats would have helped smooth things out, but again I got lazy. After a couple clear coats, let it dry and put it all back together. Again its not perfect if you look closely but from 3+ feet away you can't tell. Good enough for now. Now that I look at it the mirror caps could use some touching up.
Finished Product:
Last edited:
 Can't wait to see your results tomorrow!