

F23A1AT
Well-Known Member
11/27/10
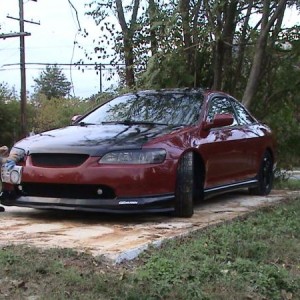
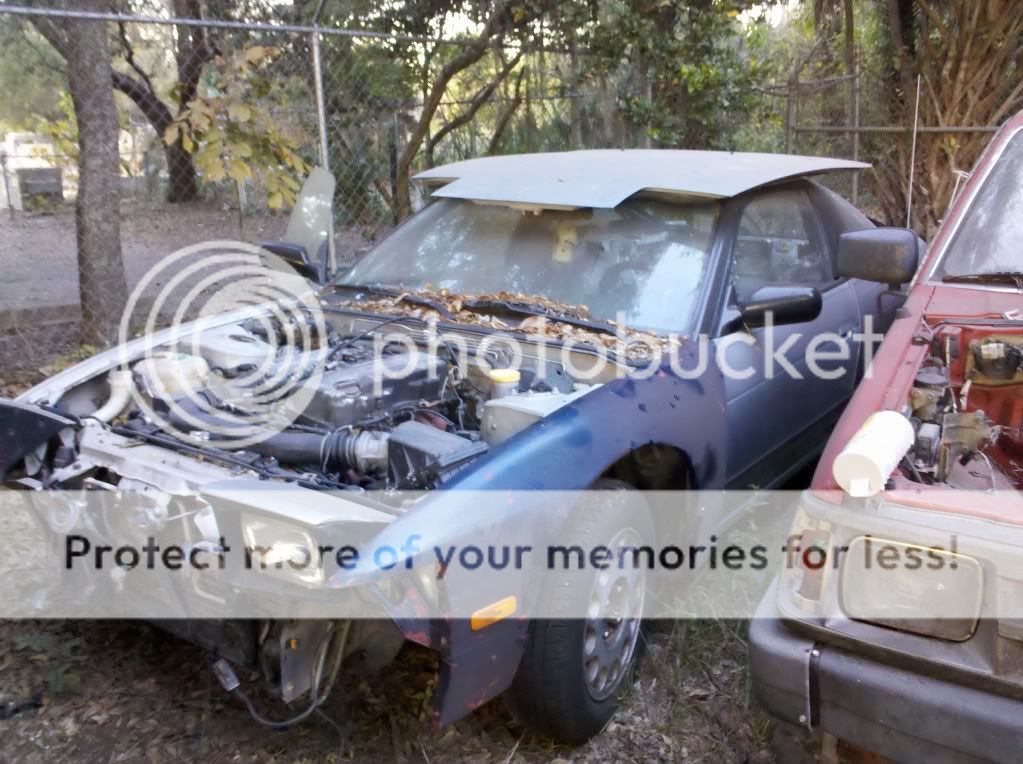
So having RWD is addicting, and I need another hit. First time having a 240 didn't work out, I exhausted my funds and couldn't reacquire enough to keep the car. So I'm starting over with a new and more extensive project, bought for much less so there is still some coin leftover for parts and whatnot. I think Phoenix is a fitting name as I will resurrect this beast from the ashes (leaves) and make it new again. This will be a slow and steady restoration, but I think this time I will succeed. Only one picture for now since my droid didn't save the other for some reason.
Mod list:
Deleted emissions
A/C delete (for now)
Battery relocation to the hatch
Ho-made CAI
Some kind of aftermarket exhaust
Goodyear Assurance 195/65/15
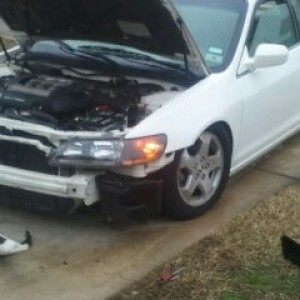
J30 brakes up front
Energy suspension bushings
Moog lower ball joints front/rear
Moog inner tie rod ends
Moog outer tie rod ends
I will update as progress is made, thanks for looking.
12/15/10
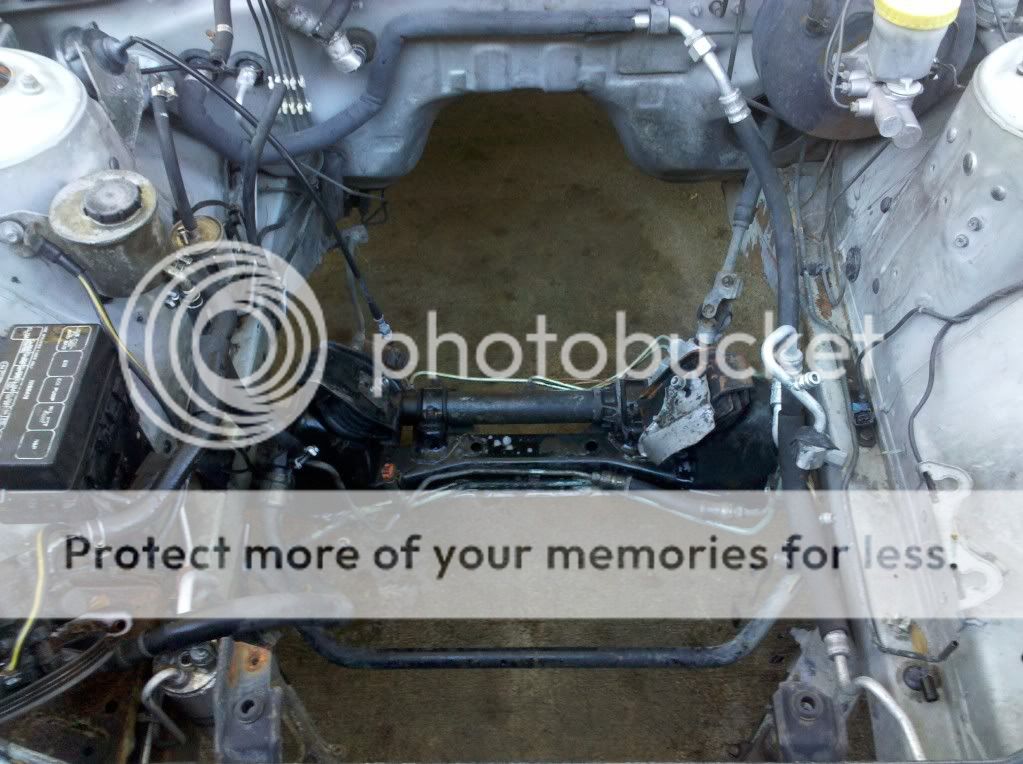
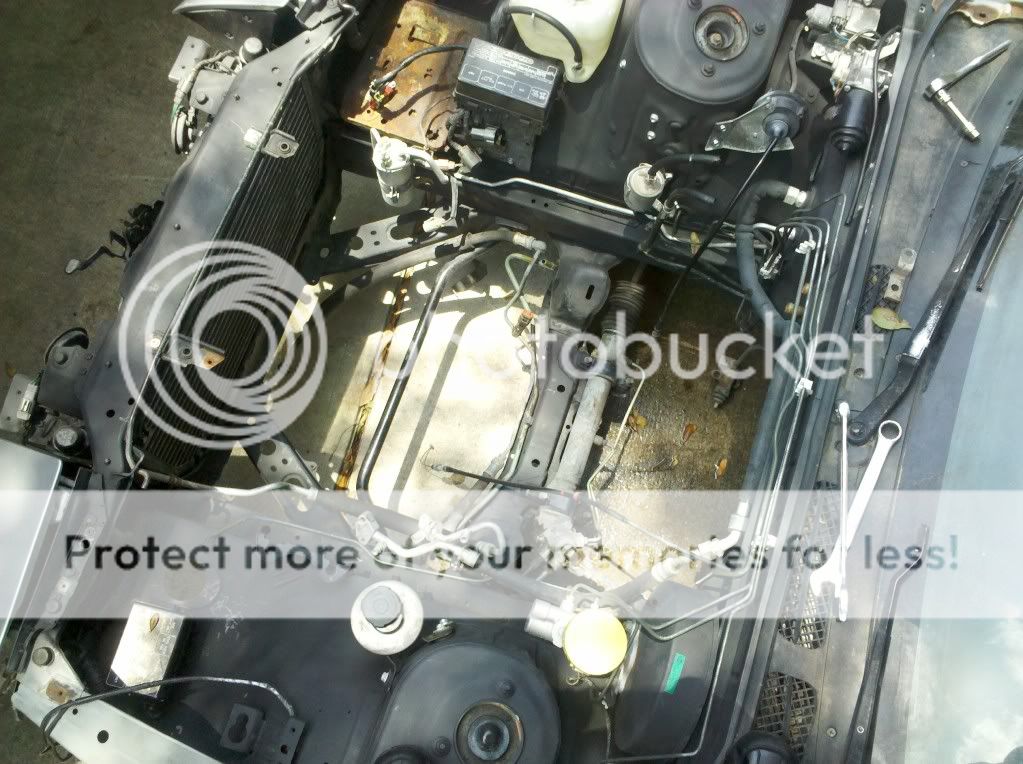
Got a few things taken off, slow but steady progress. Now Phoenix is minus a(n) intake, radiator, drive belts, and some other misc. brackets.
More progress soon, maybe the single slapper will come out next week.
01/08/11
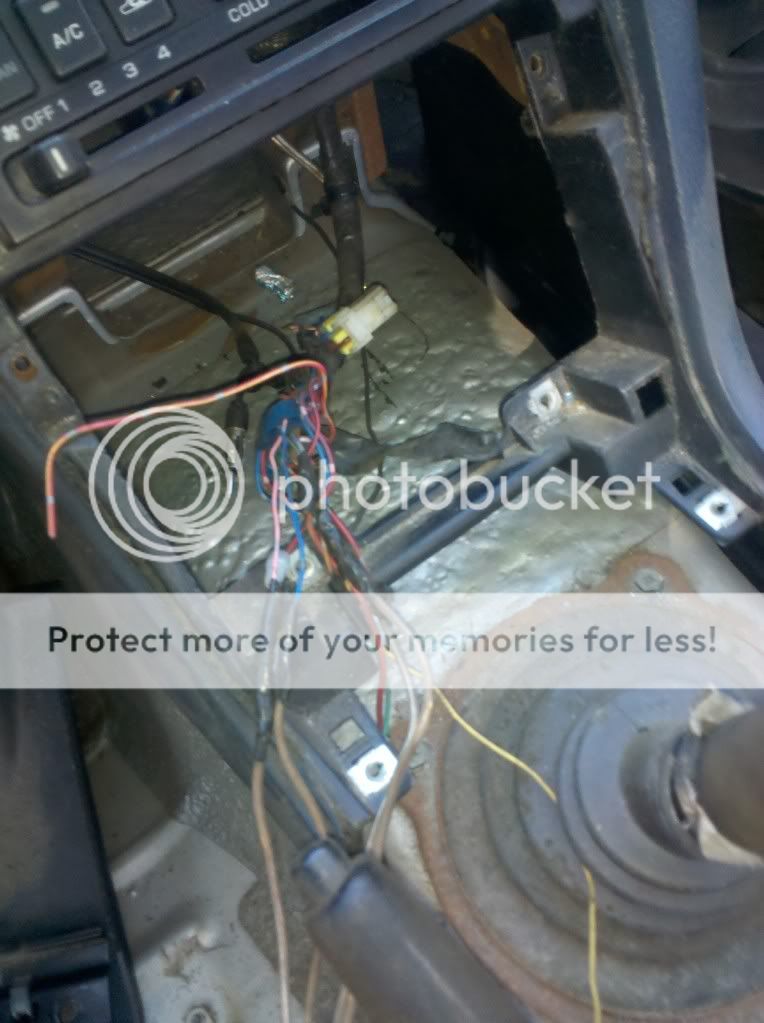
Very little progress made in the past couple weeks. A little taste of the hack job, half-assed wiring the n00b did on the audio.
01/29/11
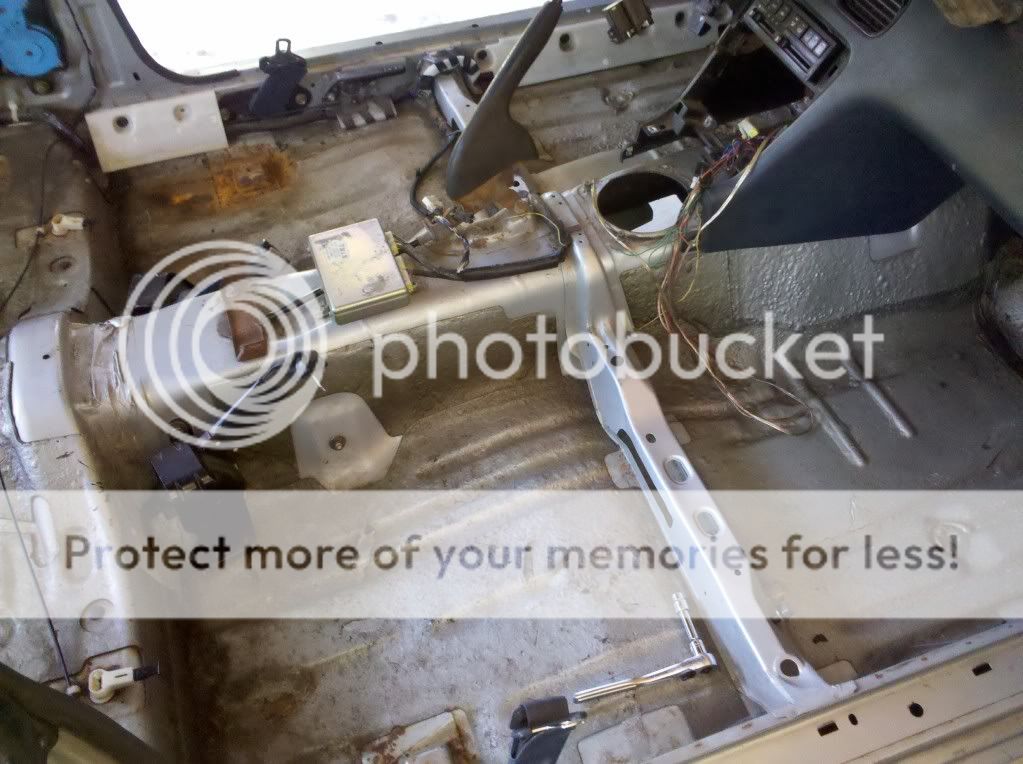
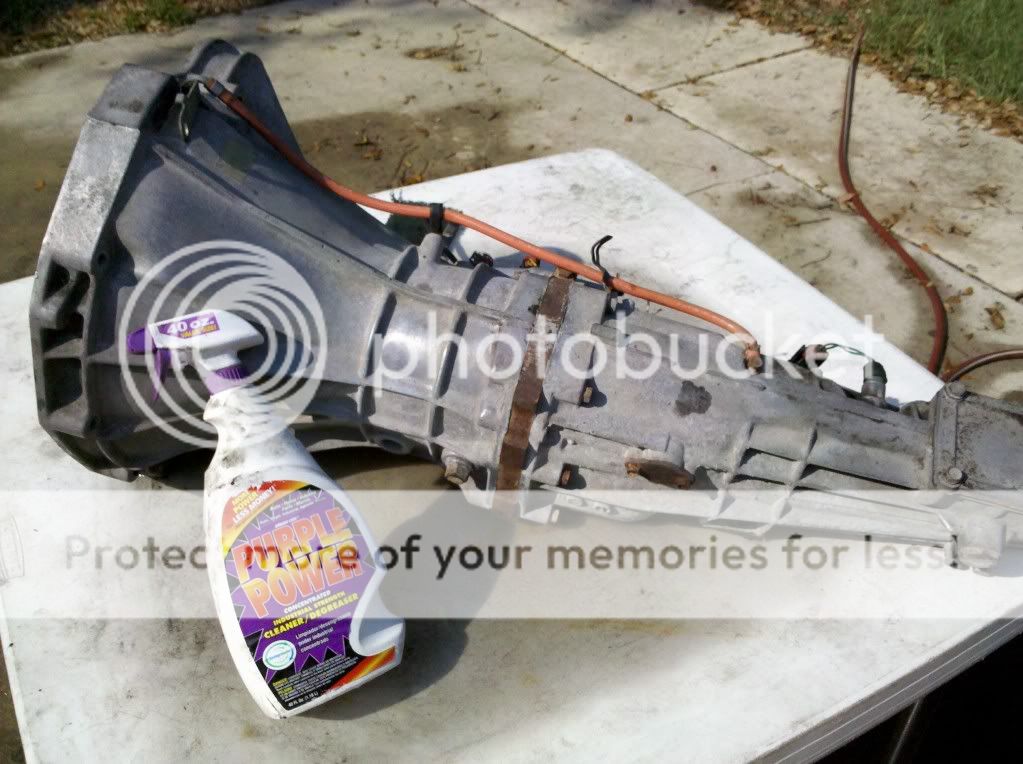
Got the single slapping ***** out today. Only took me an hour really surprising.
06/03/11
Update:
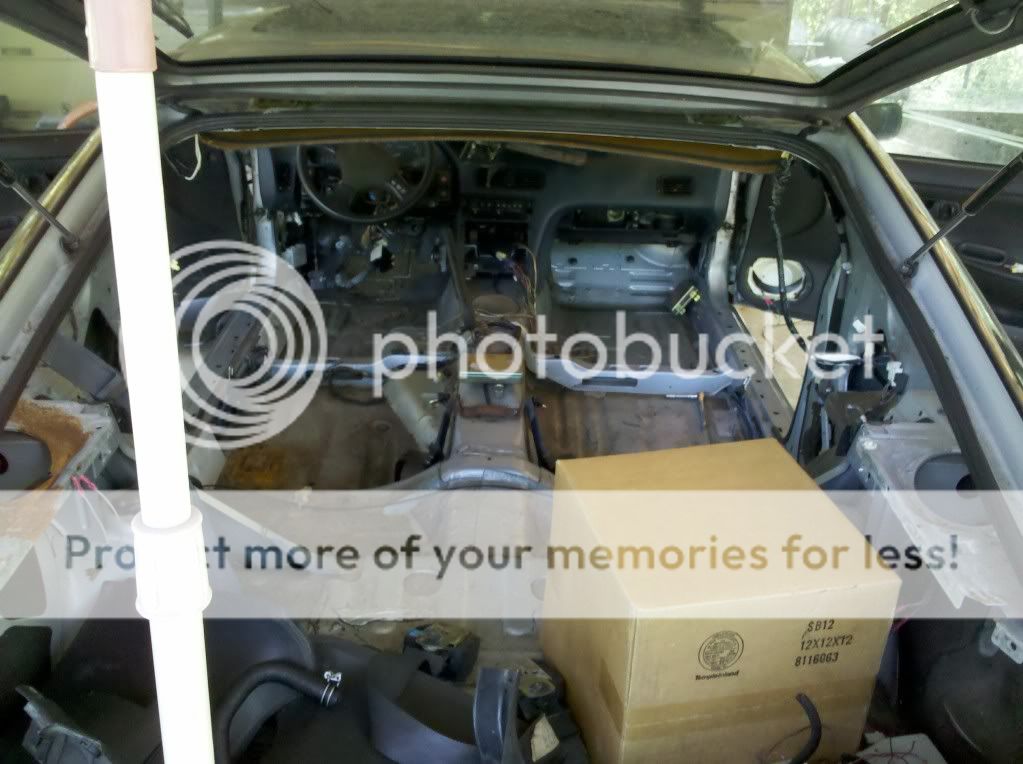
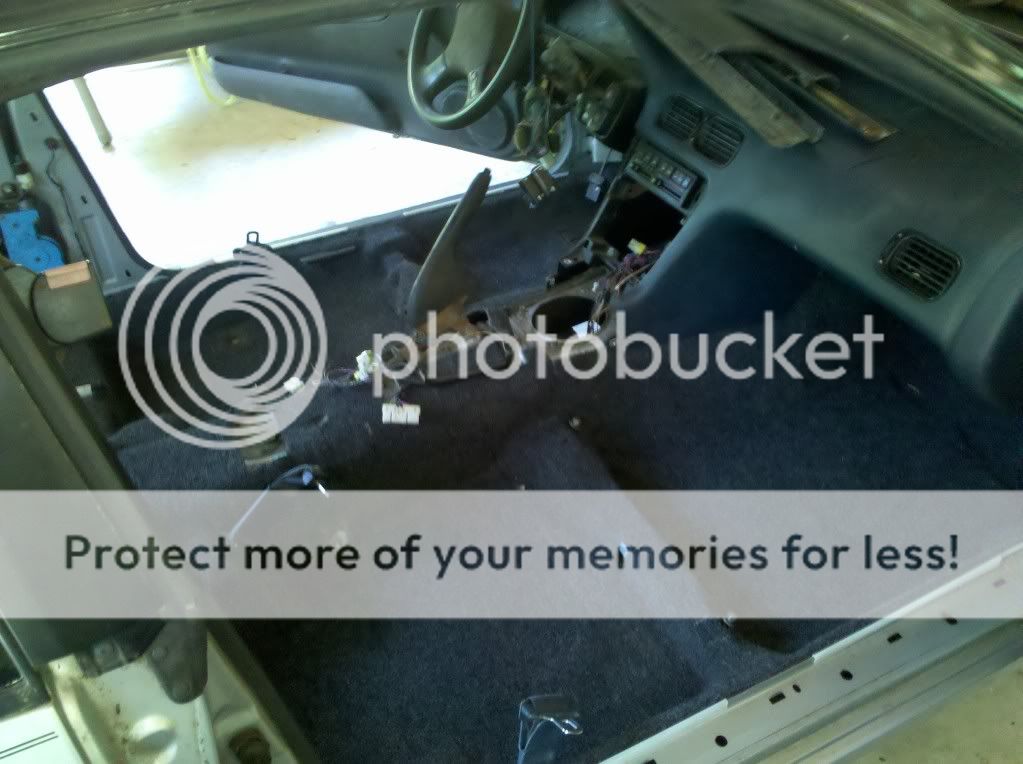
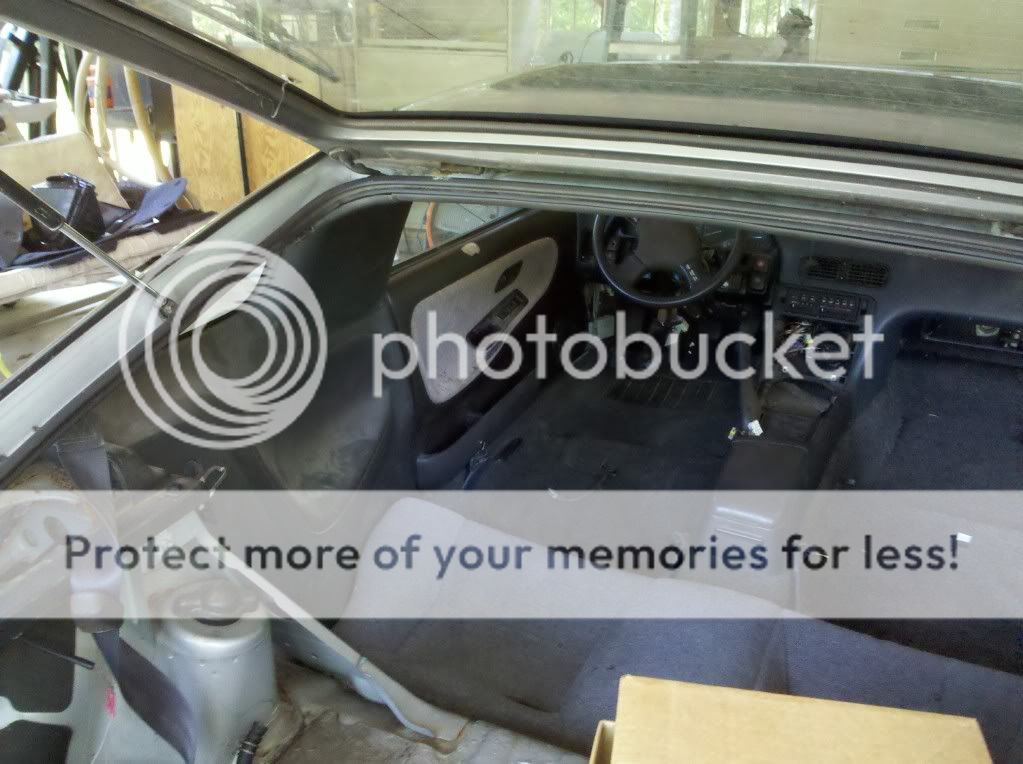
Got the interior all put back together today. I've got to say what a massive difference it makes having an interior in a car, I fell in love with it all over again.
Pics:


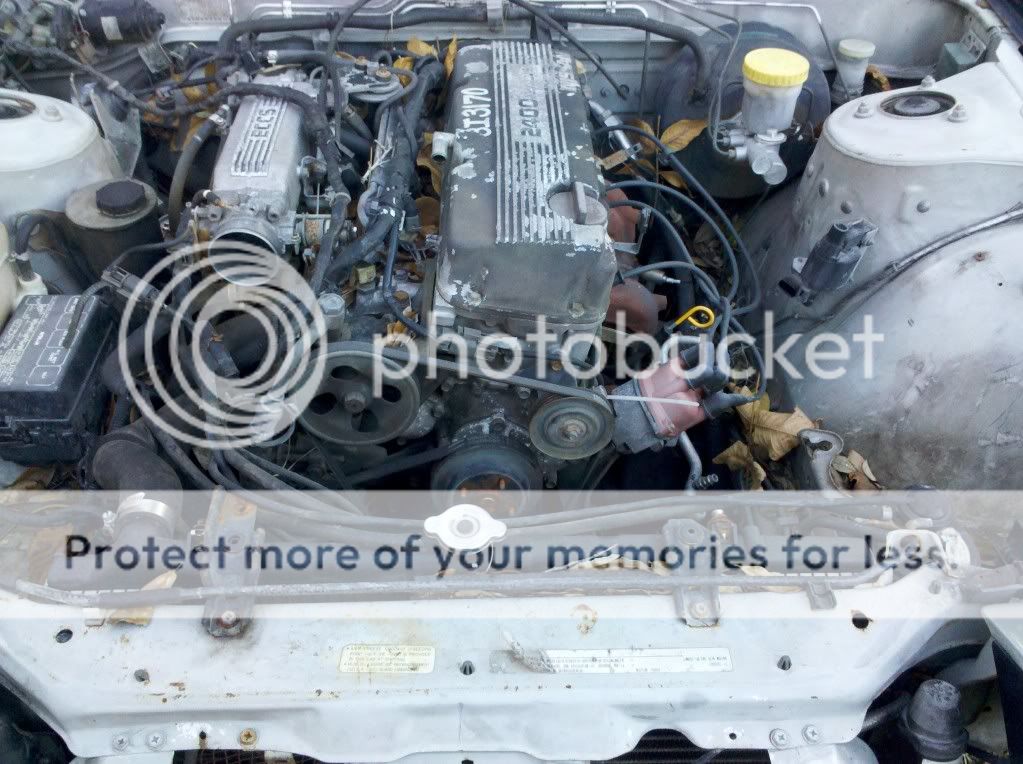
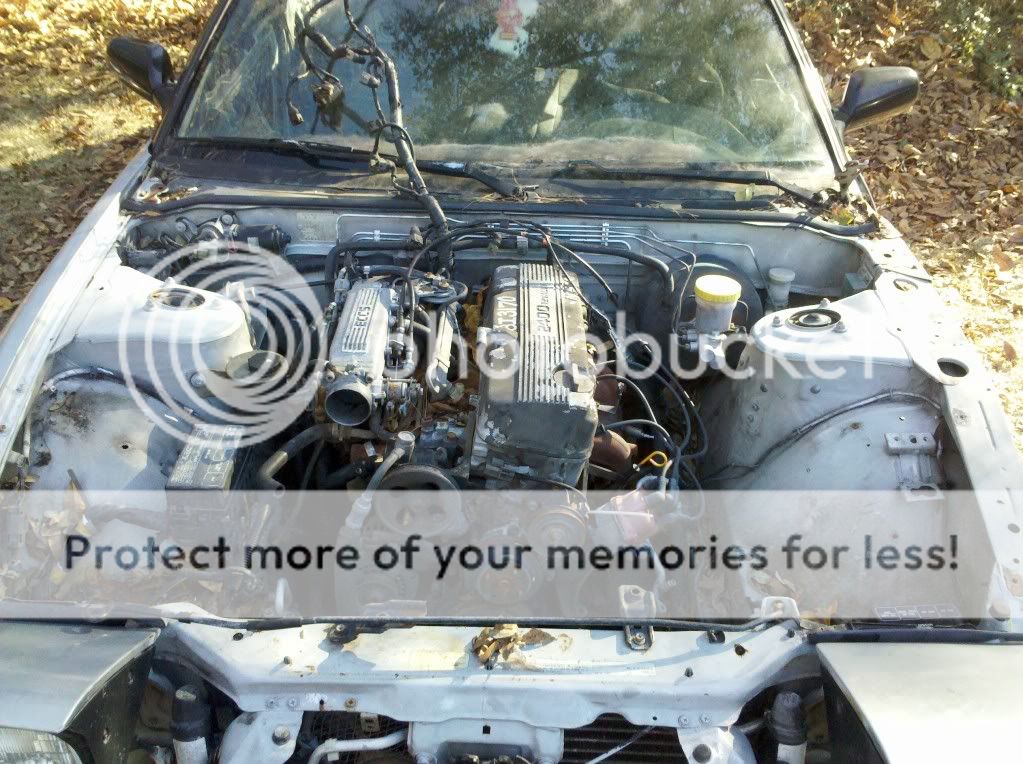
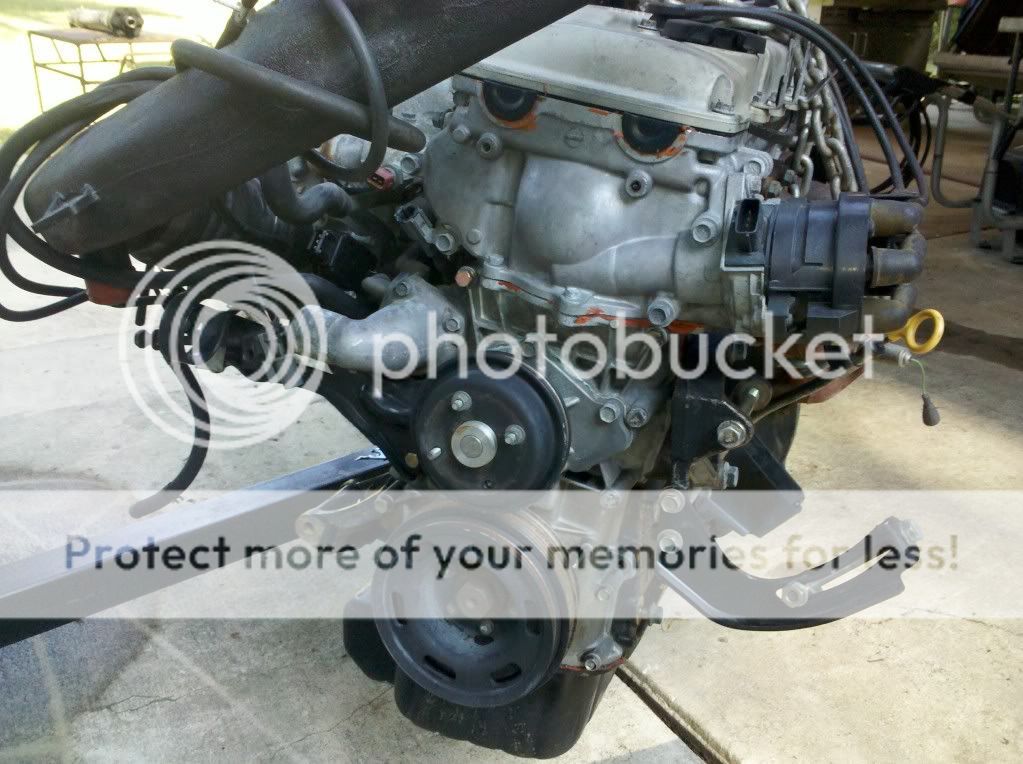
Also hunted down a dual cam engine, I should be able to get the car running very soon. After routine maintenance on the engine and some fresh paint in the engine bay and on the drive train it'll be installed.
06/04/11
Started taping stuff up for project black bay.
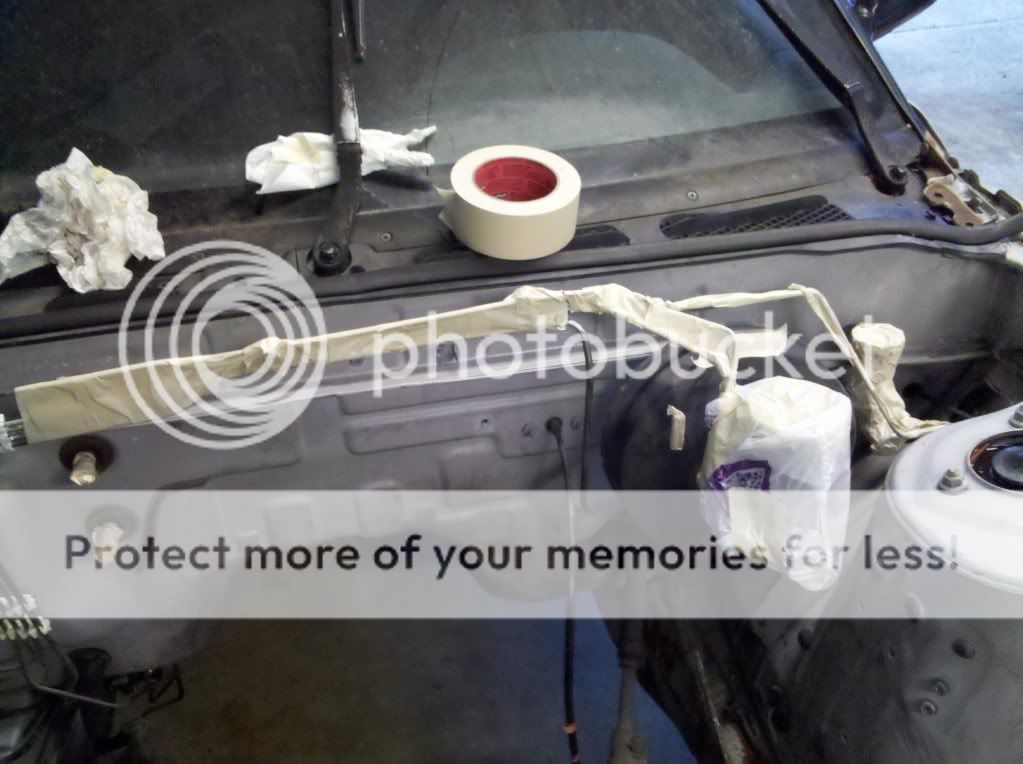
Some 320 and a wipe down with acetone will leave me with a flat black engine bay ready to take a motor.
06/08/11
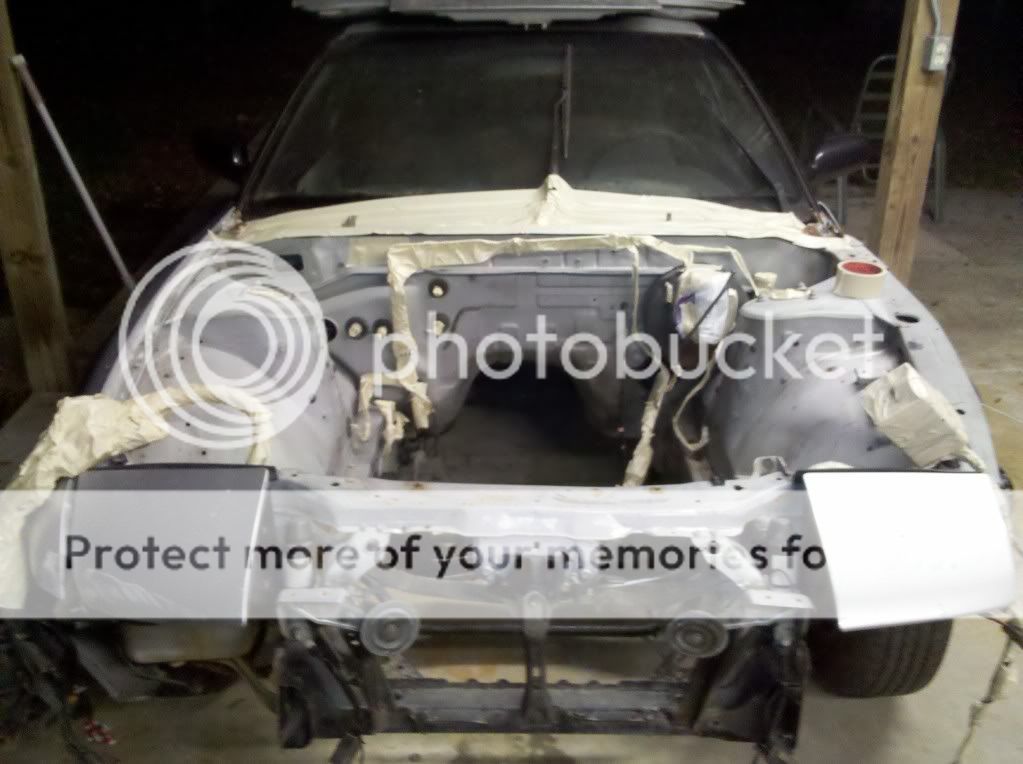
Fixed!
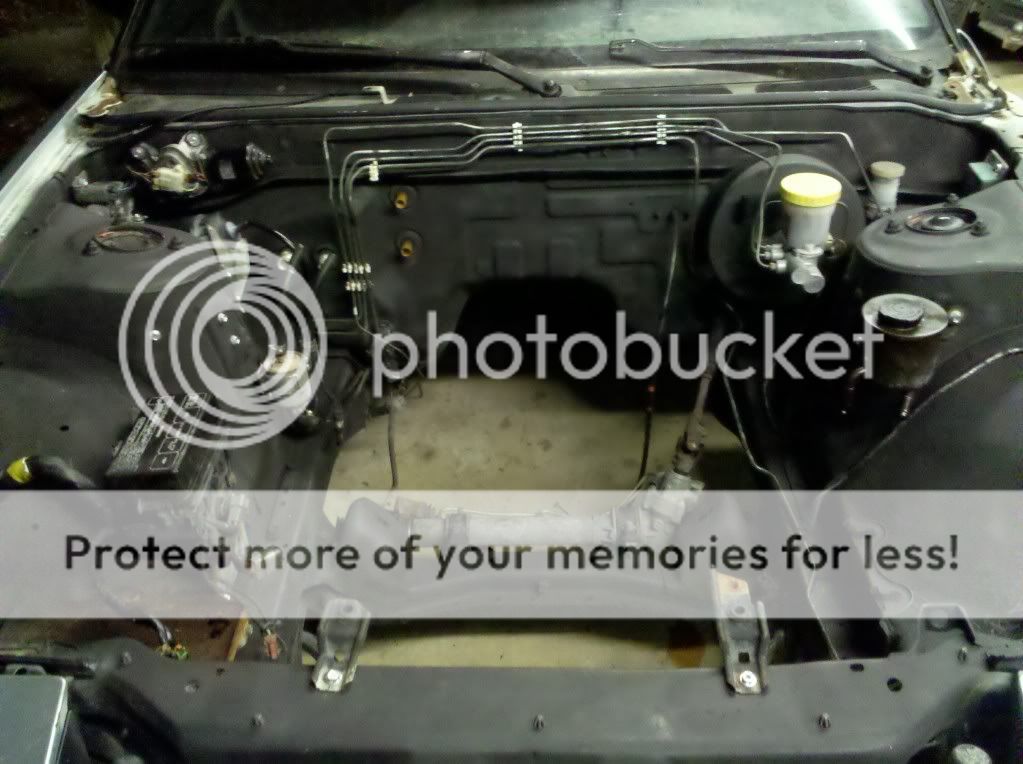
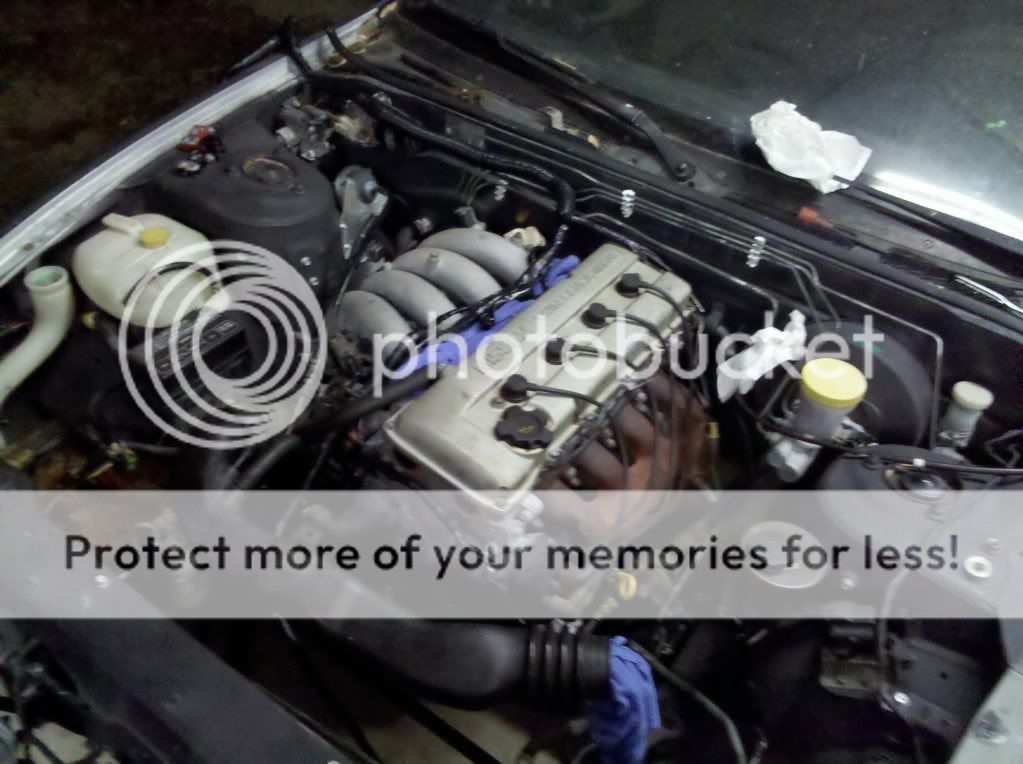
Next step is getting the last few bits back in the bay and putting my dual cam in.
06/10/11
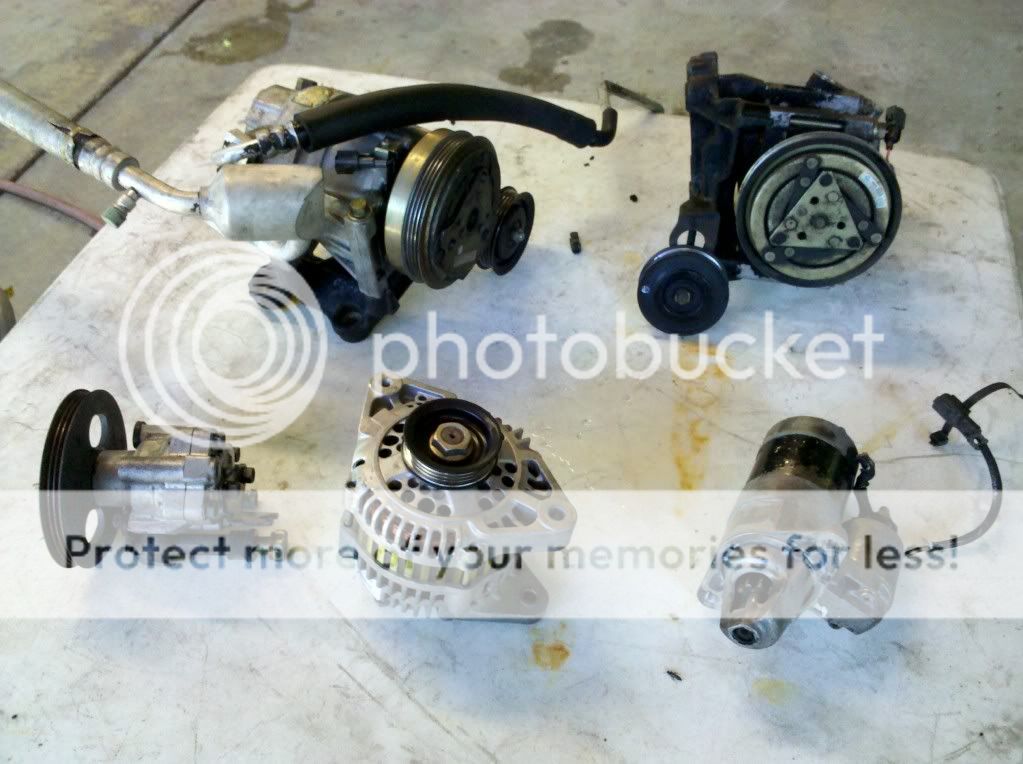
Getting it all cleaned up for the install. I anal about stuff being clean.
I don't think these parts have been this clean since they left Japan almost twenty years ago.
7/13/11
Got the iron beast in it's new home a few more bolts and it'll be in for a good while. I might be able to get it running next weekend, I have to get every single lubricant/oil for this car. PS, Oil, gear oil for trans and diff, coolant, brake fluid(clutch and brakes). Also I've fallen victim to those reliable Nissan fuel pumps :/ Hopefully I'll turn the key and it'll fire right up")
7/14/11
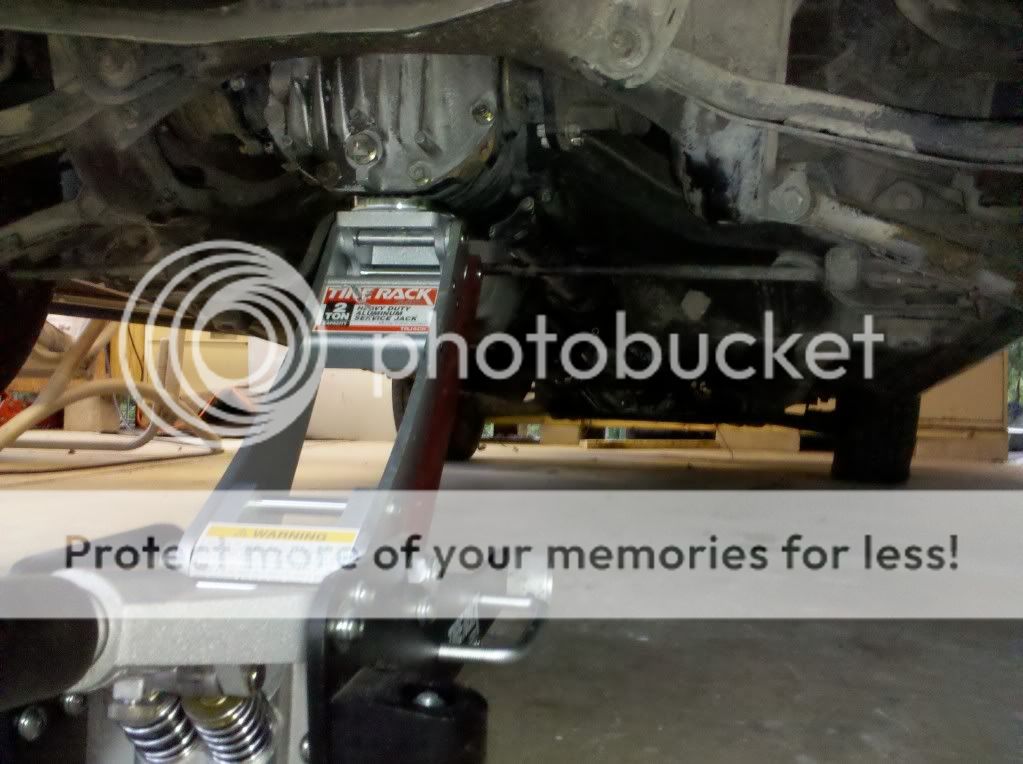
The pumpkin is back where it should be now. Words can't really describe how much of a pain in the *** that task was, it must've weight 50 pounds with no room to work in.
9/13/11
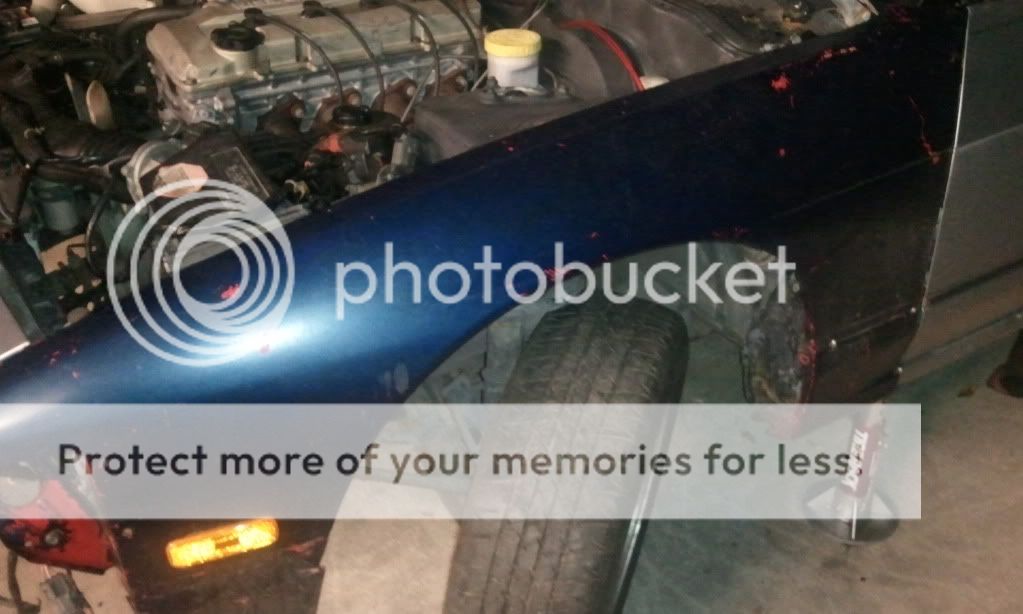
Got the dual cam fenders on tonight, the previous owner of these had a car that was DUMPED like really dumped. They are a little beat up, but I massaged them back into an approximate shape.

12/06/11
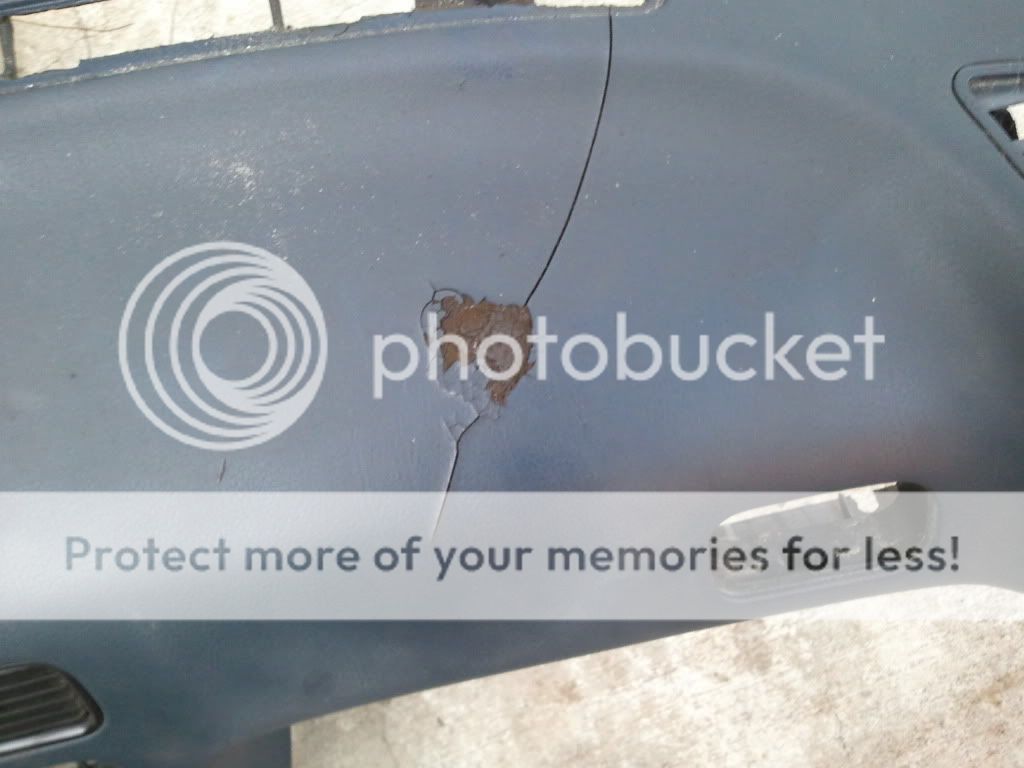
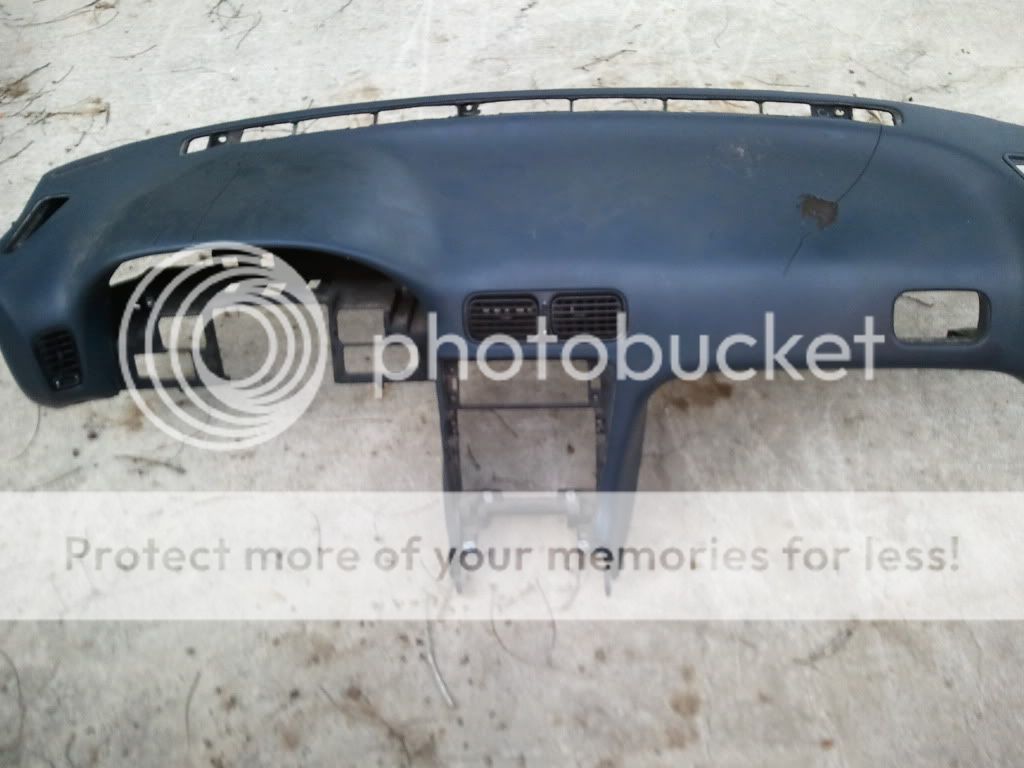
Took the dash out a few days ago for an attempt at repairing it.
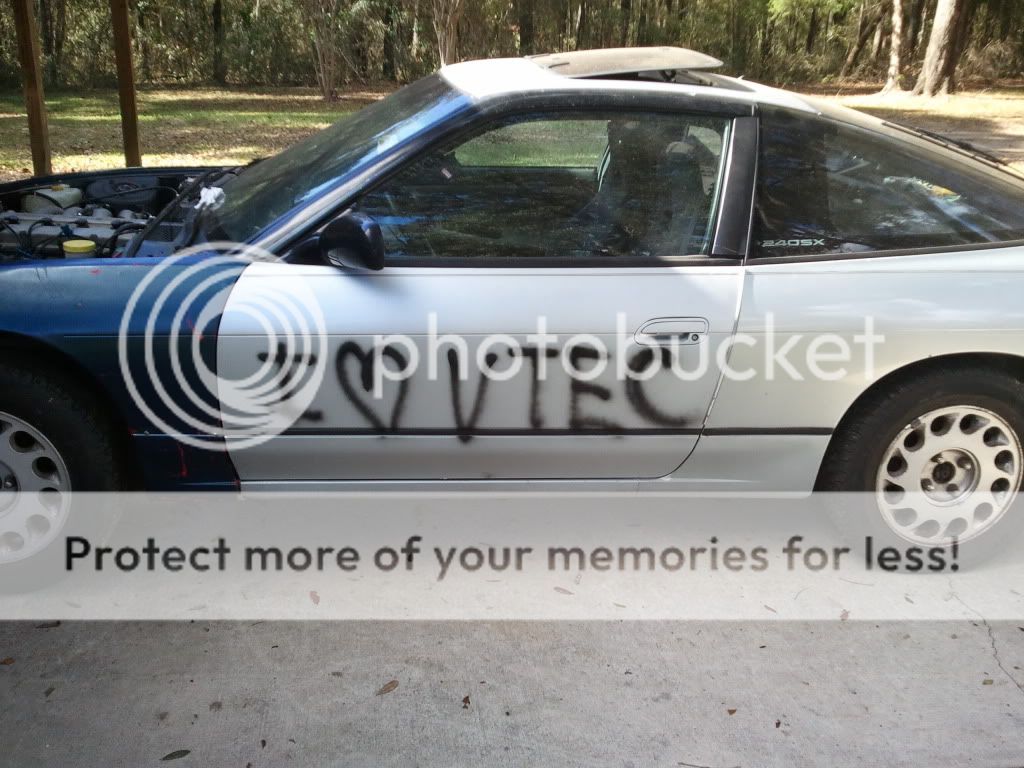
Also it lives for now
Pay no attention to the commentary, that was for the person who sold me the engine.
Click the pic

12/17/11
Lurkin' in tha woods, waiting on some 350's to beat on.
Also F*** yeah!!
07/26/2012
Brakes are now fixed, it stops like it should. The electrical problem was sorted out, it turns out I had bad combo lamp sockets in the front bumper causing the signal to short out the headlights. Now I need to finish up the tie-rods and get some other suspension pieces. Pics for today below.


The passenger side rods and bellow were absolutely trashed, both the inner and the outer. I just went ahead and did the drivers side because the bellow was gone and I didn't think I would be able to get the outer rod end off without destroying it.
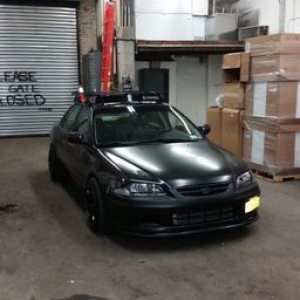
Next step is a coat of flat black paint.
07/27/1012
Paint today!


08/16/12
I have had some J30 brakes sitting around for a while, I felt constructive this afternoon so I made the necessary mods and installed them. They work really well considering all of the parts are used. (yes even the pads)


They are two pots, just like the legend GS brakes, they are however 2mm smaller in diameter. Also with the 240 being about 1200 pounds lighter than the accord they should work very well when bedded properly.

I'm not too sure what I'll be doing next, maybe a drop or something like that.
09/30/12
All of the suspension bushings were gone so... initiate energy bushing install!


The rest will be installed soon. Not looking forward to doing the rears there are so many arms to work on. More to come soon.
10/25/12
I finished up installing the bushings on the passenger rear arms and knuckle, what a PITA.
Some pictures from the old bushing removal.


01/05/13
The suspension was wayyyy out after I did the bushings all around.

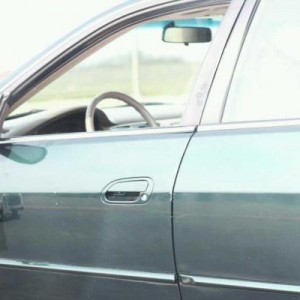
I got tired of hitting my head on the stupid automatic seatbelt receiver so I grabbed some S14 seatbelts, they're so much better and I feel more secure in the car now the old ones were really sloppy.

Then there is this gem, I swear I could have been making mixed drinks in the car because this thing is definitely busted.

This pretty much sums up the years first update, Hopefully in a couple more months I can get it lowered properly.
So having RWD is addicting, and I need another hit. First time having a 240 didn't work out, I exhausted my funds and couldn't reacquire enough to keep the car. So I'm starting over with a new and more extensive project, bought for much less so there is still some coin leftover for parts and whatnot. I think Phoenix is a fitting name as I will resurrect this beast from the ashes (leaves) and make it new again. This will be a slow and steady restoration, but I think this time I will succeed. Only one picture for now since my droid didn't save the other for some reason.
Mod list:
Engine
KA24DE swap Deleted emissions
A/C delete (for now)
Battery relocation to the hatch
Ho-made CAI
Some kind of aftermarket exhaust
Interior
S14 manual seatbeltsExterior
Flat black paint for + 15 HPRollers/Stoppers/Suspension
OEM 15-inch "Teardrops"Goodyear Assurance 195/65/15
J30 brakes up front
Energy suspension bushings
Moog lower ball joints front/rear
Moog inner tie rod ends
Moog outer tie rod ends
I will update as progress is made, thanks for looking.
12/15/10
Got a few things taken off, slow but steady progress. Now Phoenix is minus a(n) intake, radiator, drive belts, and some other misc. brackets.
More progress soon, maybe the single slapper will come out next week.
01/08/11
Very little progress made in the past couple weeks. A little taste of the hack job, half-assed wiring the n00b did on the audio.
01/29/11
Got the single slapping ***** out today. Only took me an hour really surprising.
06/03/11
Update:
Got the interior all put back together today. I've got to say what a massive difference it makes having an interior in a car, I fell in love with it all over again.
Pics:
Also hunted down a dual cam engine, I should be able to get the car running very soon. After routine maintenance on the engine and some fresh paint in the engine bay and on the drive train it'll be installed.
06/04/11
Started taping stuff up for project black bay.
Some 320 and a wipe down with acetone will leave me with a flat black engine bay ready to take a motor.
06/08/11
Fixed!
Next step is getting the last few bits back in the bay and putting my dual cam in.
06/10/11
Getting it all cleaned up for the install. I anal about stuff being clean.
I don't think these parts have been this clean since they left Japan almost twenty years ago.
7/13/11
Got the iron beast in it's new home a few more bolts and it'll be in for a good while. I might be able to get it running next weekend, I have to get every single lubricant/oil for this car. PS, Oil, gear oil for trans and diff, coolant, brake fluid(clutch and brakes). Also I've fallen victim to those reliable Nissan fuel pumps :/ Hopefully I'll turn the key and it'll fire right up
7/14/11
The pumpkin is back where it should be now. Words can't really describe how much of a pain in the *** that task was, it must've weight 50 pounds with no room to work in.
9/13/11
Got the dual cam fenders on tonight, the previous owner of these had a car that was DUMPED like really dumped. They are a little beat up, but I massaged them back into an approximate shape.
12/06/11
Took the dash out a few days ago for an attempt at repairing it.
Also it lives for now
Pay no attention to the commentary, that was for the person who sold me the engine.
Click the pic
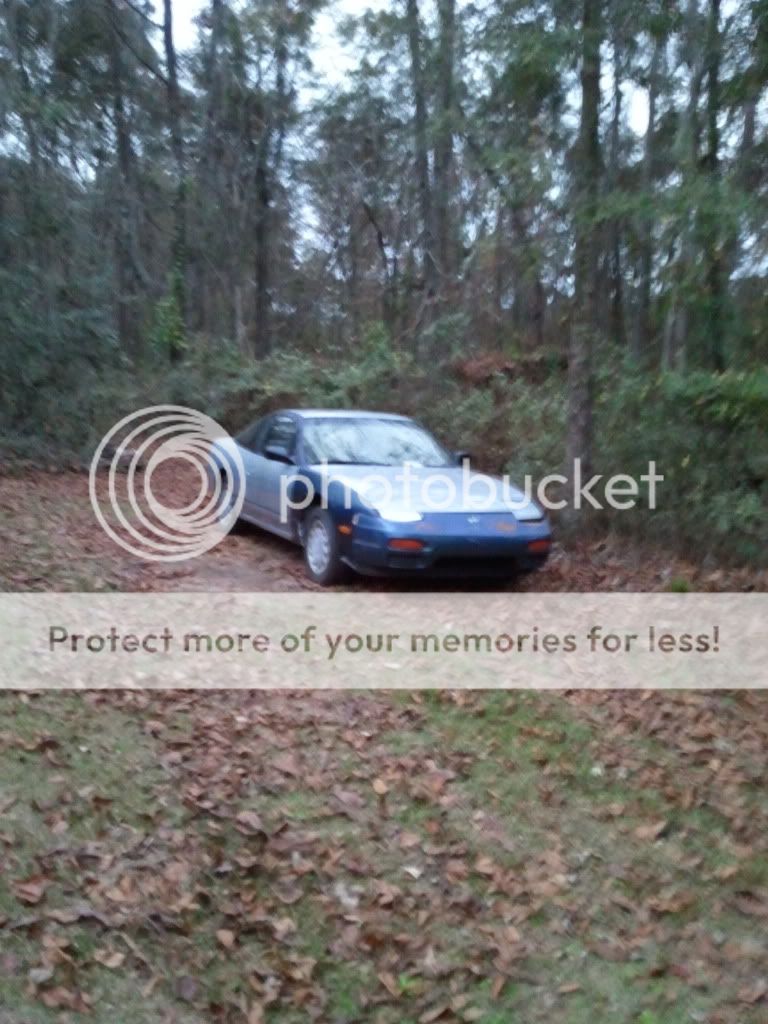
12/17/11
Lurkin' in tha woods, waiting on some 350's to beat on.
Also F*** yeah!!
07/26/2012
Brakes are now fixed, it stops like it should. The electrical problem was sorted out, it turns out I had bad combo lamp sockets in the front bumper causing the signal to short out the headlights. Now I need to finish up the tie-rods and get some other suspension pieces. Pics for today below.
The passenger side rods and bellow were absolutely trashed, both the inner and the outer. I just went ahead and did the drivers side because the bellow was gone and I didn't think I would be able to get the outer rod end off without destroying it.
Next step is a coat of flat black paint.
07/27/1012
Paint today!
08/16/12
I have had some J30 brakes sitting around for a while, I felt constructive this afternoon so I made the necessary mods and installed them. They work really well considering all of the parts are used. (yes even the pads)
They are two pots, just like the legend GS brakes, they are however 2mm smaller in diameter. Also with the 240 being about 1200 pounds lighter than the accord they should work very well when bedded properly.
I'm not too sure what I'll be doing next, maybe a drop or something like that.
09/30/12
All of the suspension bushings were gone so... initiate energy bushing install!
The rest will be installed soon. Not looking forward to doing the rears there are so many arms to work on. More to come soon.
10/25/12
I finished up installing the bushings on the passenger rear arms and knuckle, what a PITA.
Some pictures from the old bushing removal.
01/05/13
The suspension was wayyyy out after I did the bushings all around.
I got tired of hitting my head on the stupid automatic seatbelt receiver so I grabbed some S14 seatbelts, they're so much better and I feel more secure in the car now the old ones were really sloppy.
Then there is this gem, I swear I could have been making mixed drinks in the car because this thing is definitely busted.
This pretty much sums up the years first update, Hopefully in a couple more months I can get it lowered properly.
Last edited: