donpisto's '01 Accord sedan complete build

donpisto

Well-Known Member
Joined
May 18, 2008
Posts
107
Reaction score
0
Location
Los Angeles, CA
Hey everyone, thought I would share my build log for my audio system. I have posted this on a couple audio forums so I'll be doing a direct copy and paste. Here we go.

This is my first build log because I finally have decided on the equipment to use and those who know me, know I haven't had a complete setup because it has always been changing. First, I'll list what I'll be running.

Headunit: Alpine W200
Mids & Tweeters: Zapco Competition (6.5")
Subwoofer: 18" TC Sounds TC-5200 (Quad Voice Coil)
Fronts Amp: Alpine PDX 4.150
Sub Amps: 4 Alpine PDX 1.1000 (1 per coil)
Processor: Alpine H701
Navigation: Alpine Blackbird B100 via dock connected to the W200
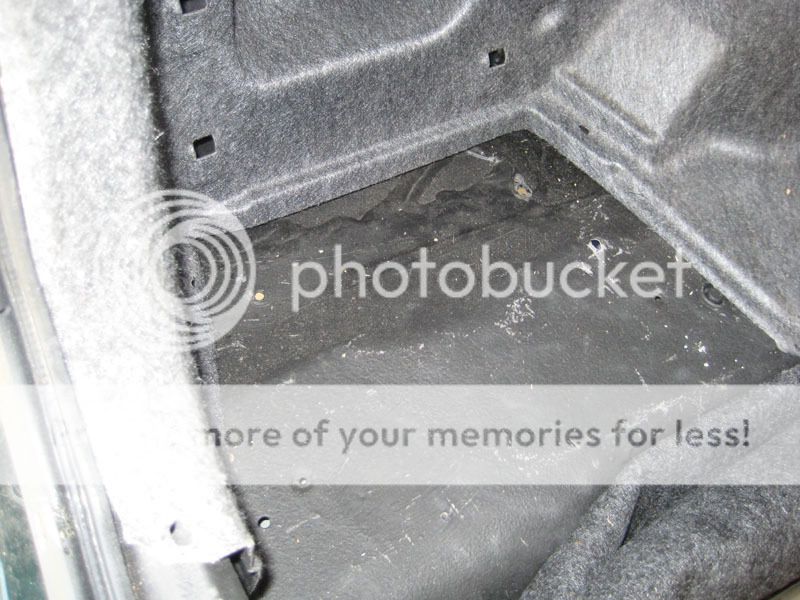
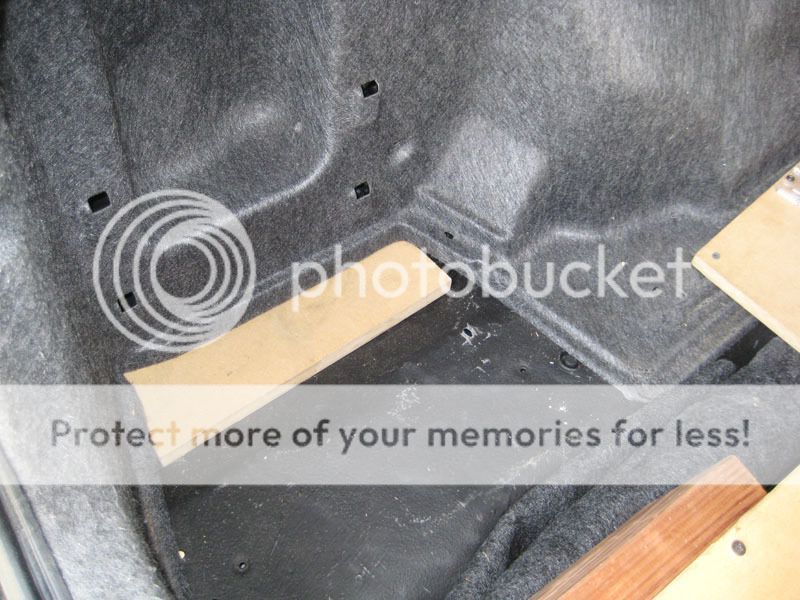
Enclosure: Wedge style, approximately 2.5 - 3.5 cu. ft. sealed
Power and ground wire: Kicker Hyperflex
RCA's: Custom (Canare cable and Tara Labs RCA)
Optical Cable: Tara Labs
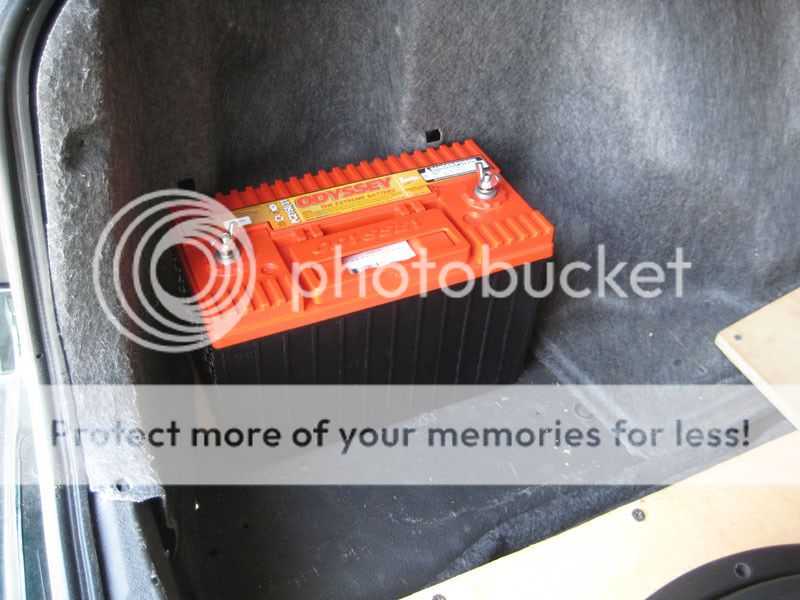
Batteries: Odyssey PC 1200 under hood, Odyssey PC 2150 in trunk
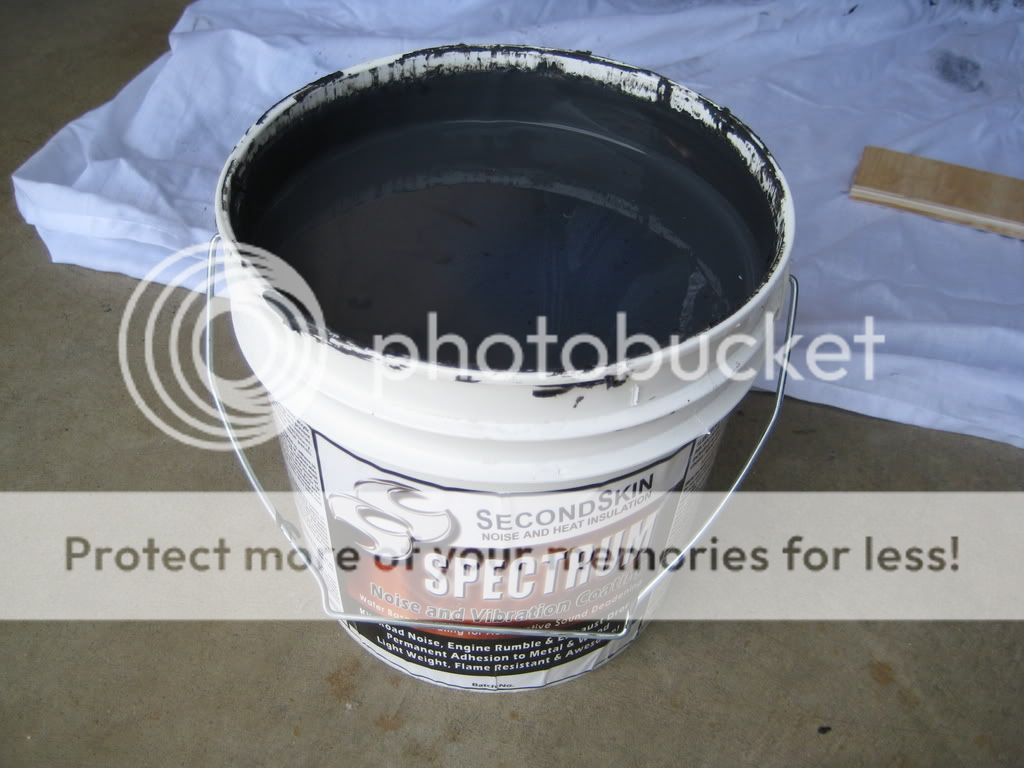
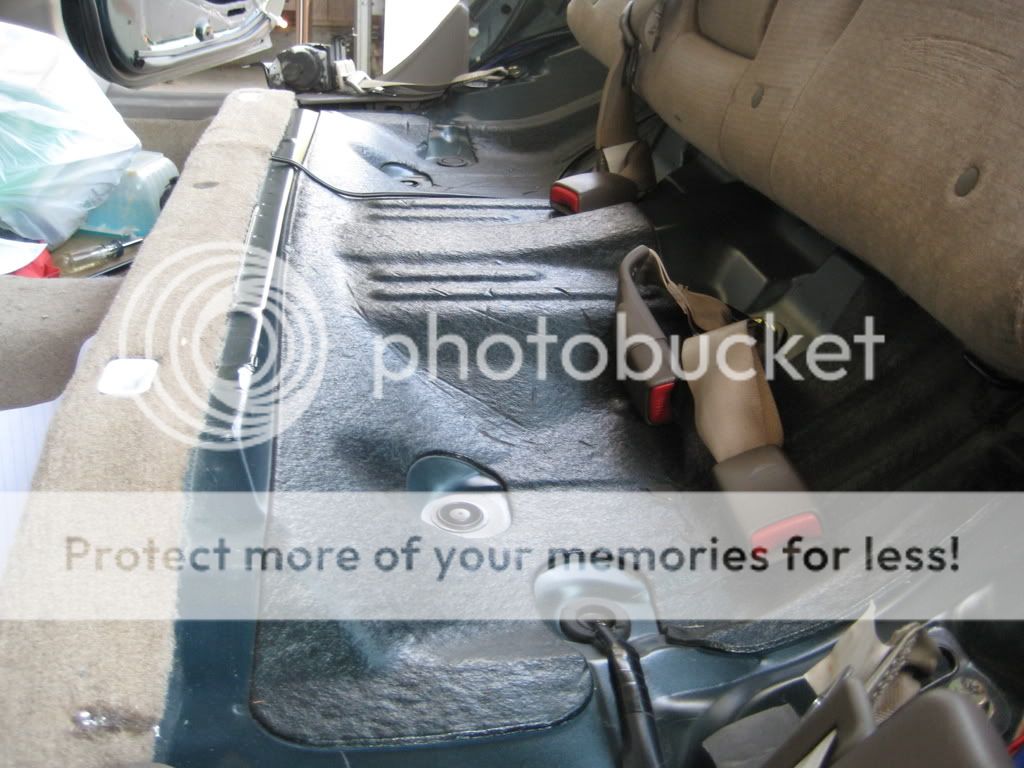
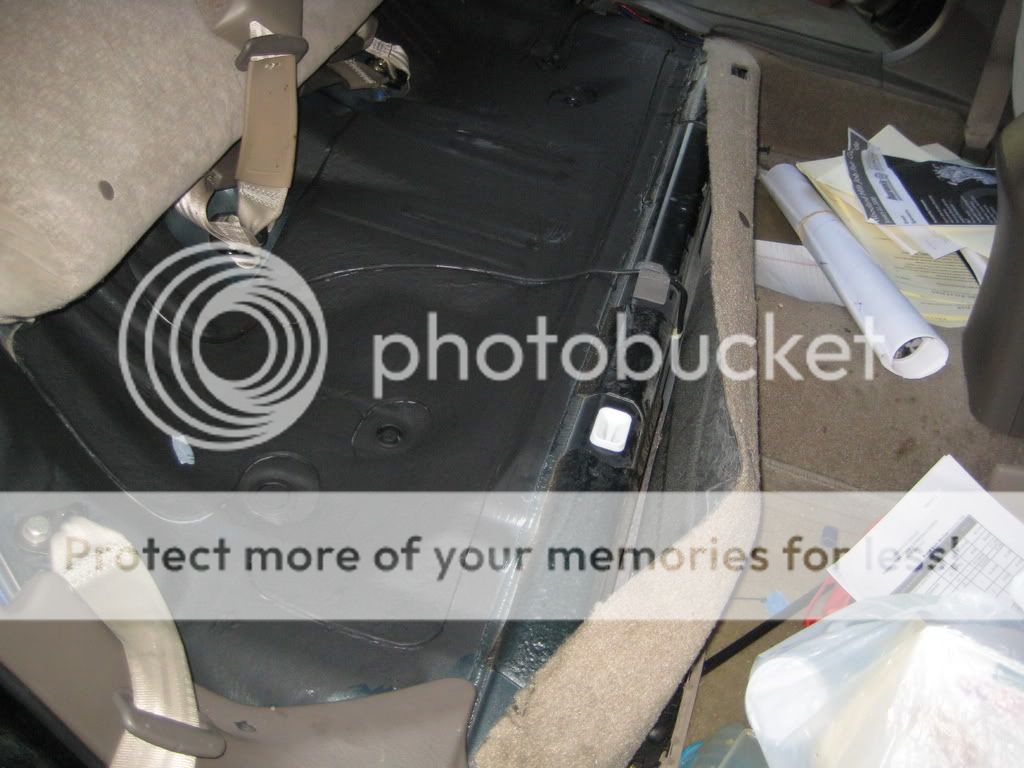
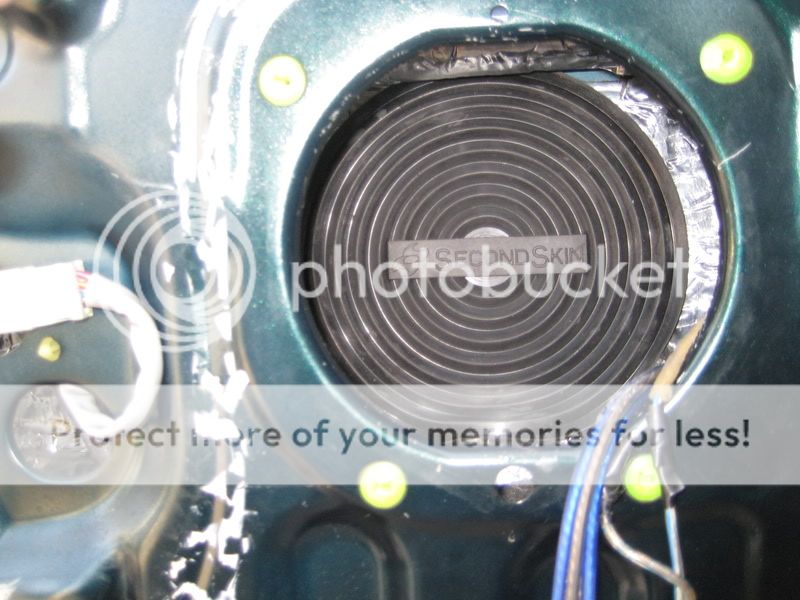
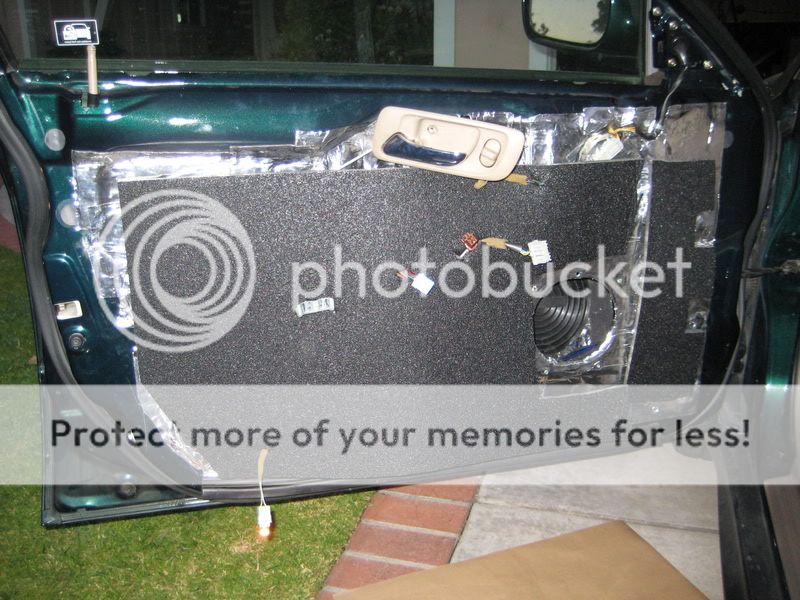
Deadener: Second Skin
- Trunk lid - 1 layer damplifier, 3 layers (soon to be 4 or 5) of Spectrum
- Trunk walls and floor - 3 layers of Spectrum
- Top of rear deck - 3 layers (soon to be 4 or 5 layers of spectrum)
- Bottom of rear deck - 2 layers (soon to be 3 or 4 layers of spectrum)
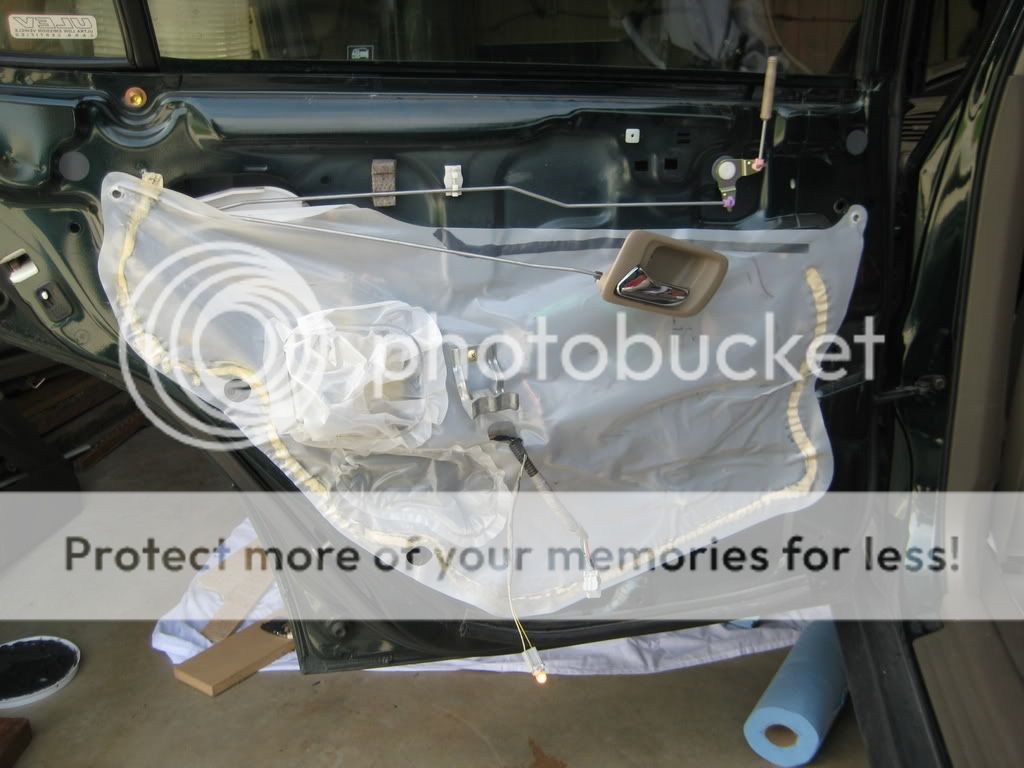
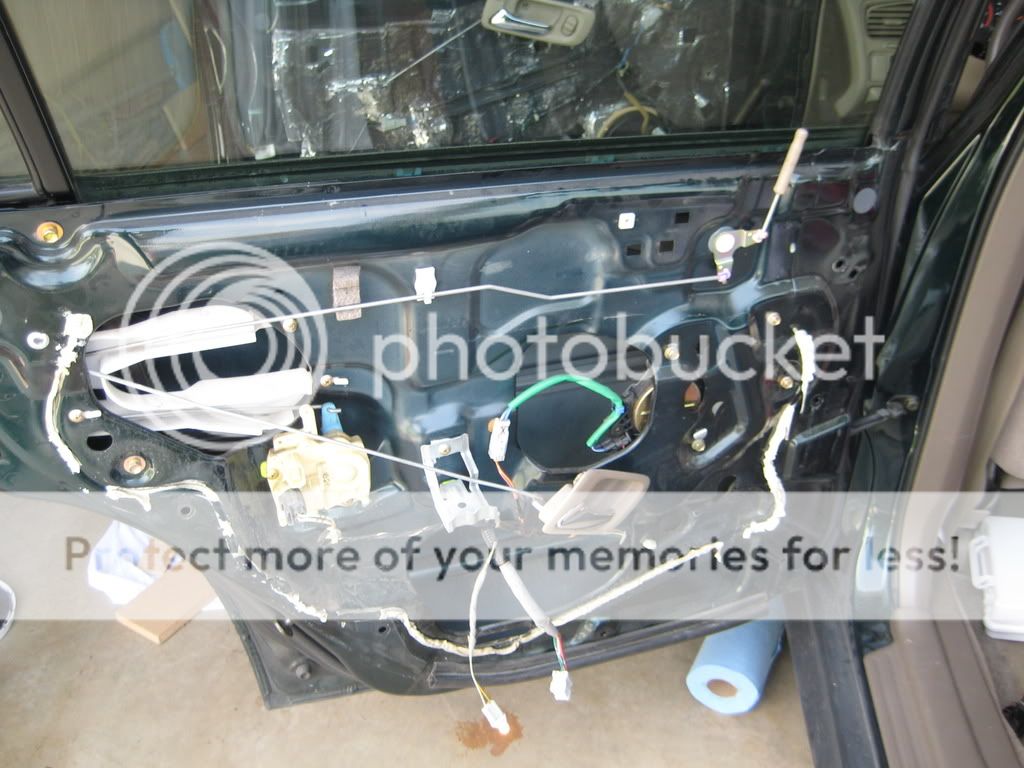
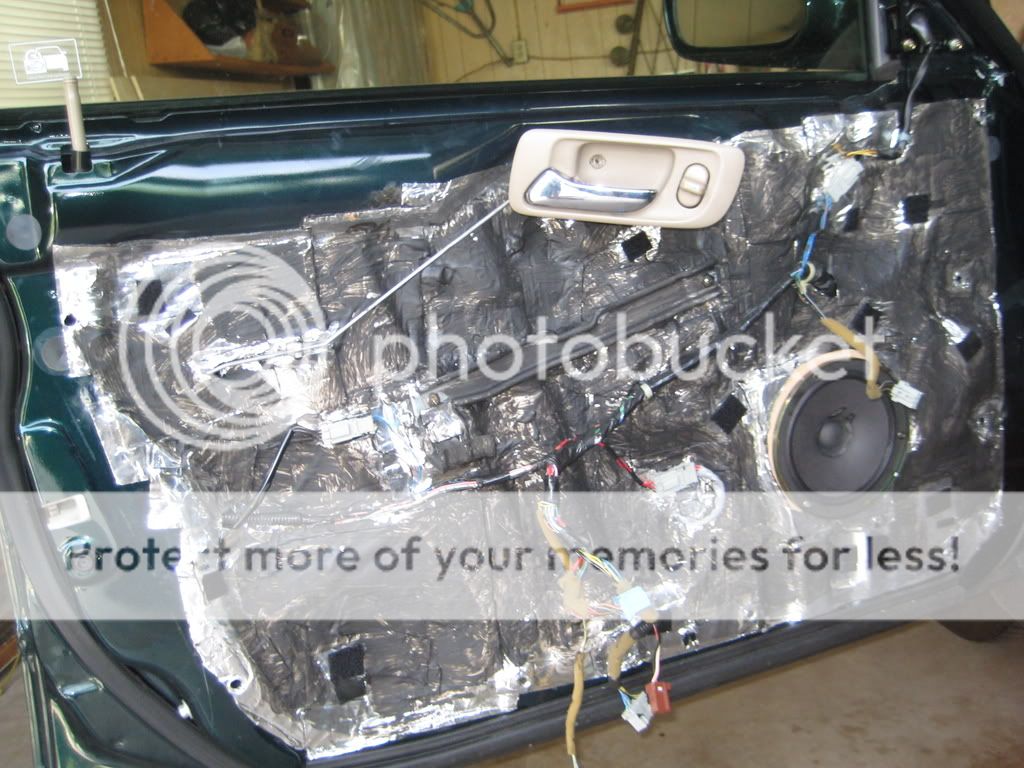
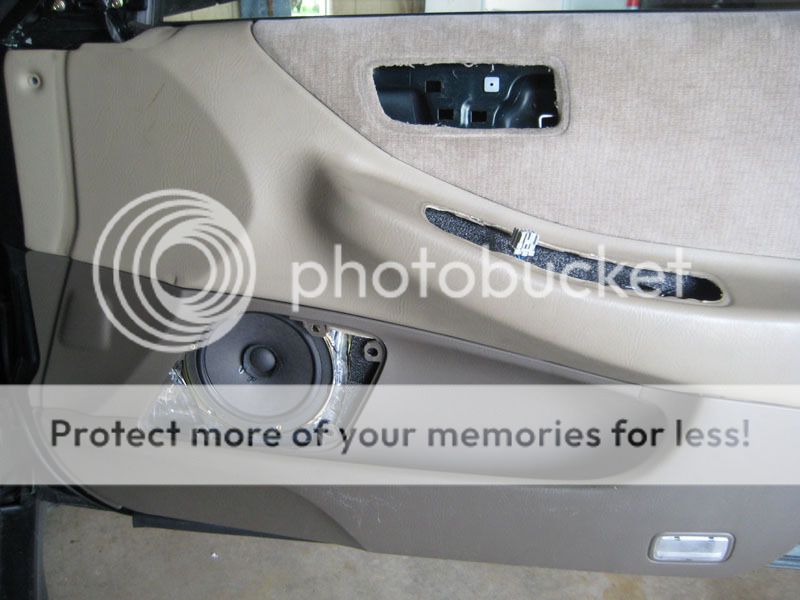
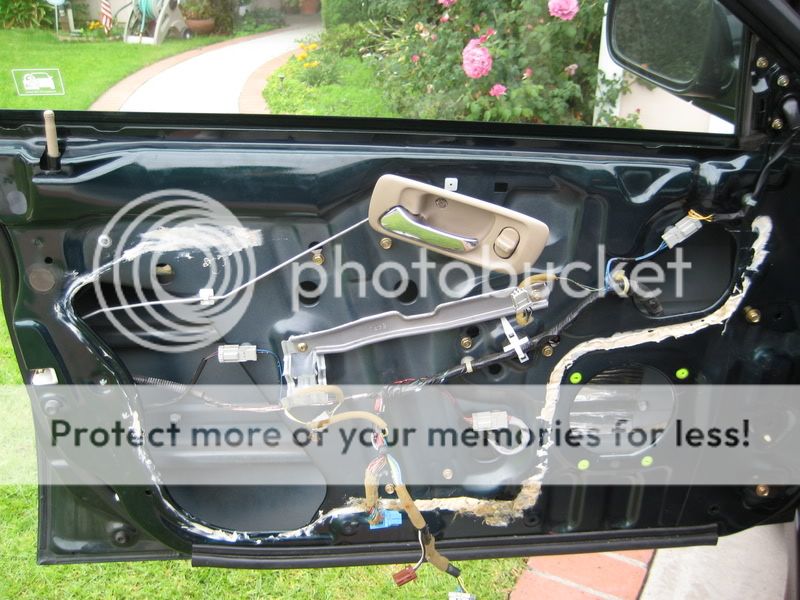
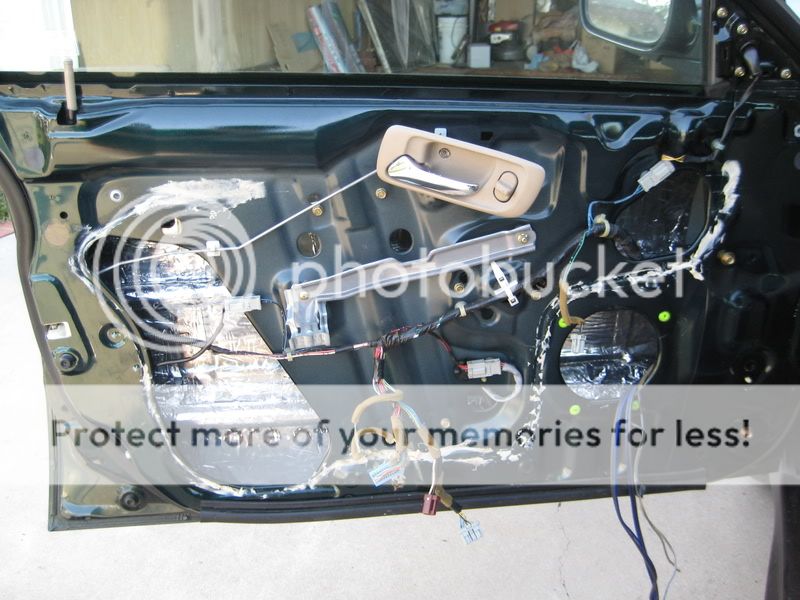
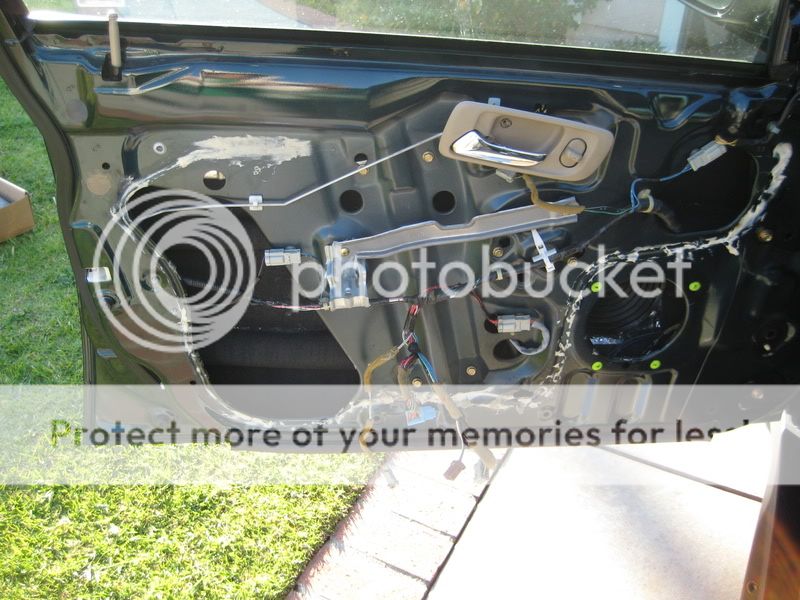
- Front doors inner portion - 1 layer of Damplifer, 1 layer of Ultra Kill, speaker tweaker pad
- Front door outter portion - 1 layer of Damplifier, 1 layer of Rattle Pad

I really don't know how long this will take me and things take longer than I expect so I have no set completion date. Some of the work has been done already, but a good part hasn't.

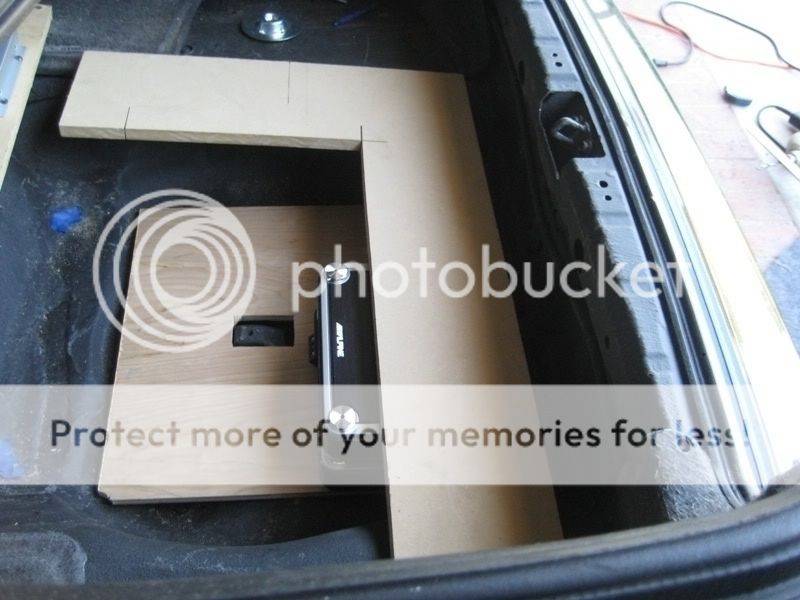
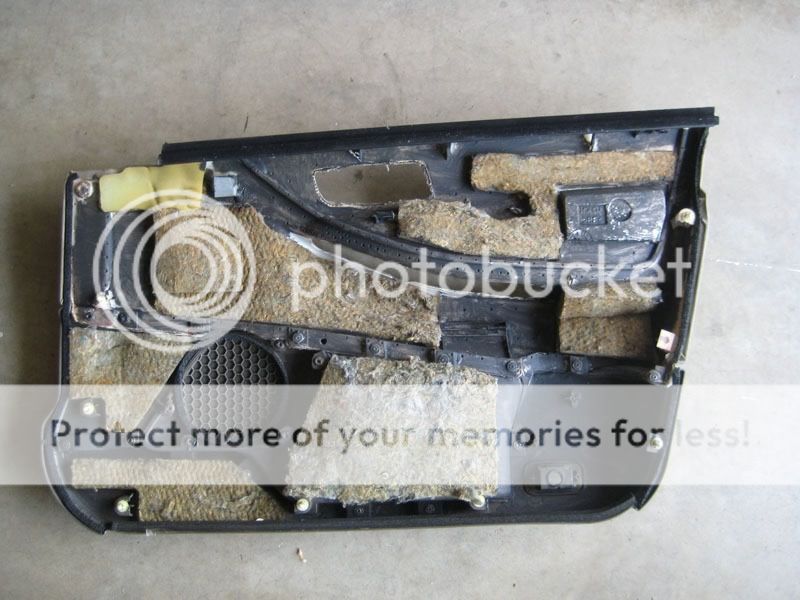
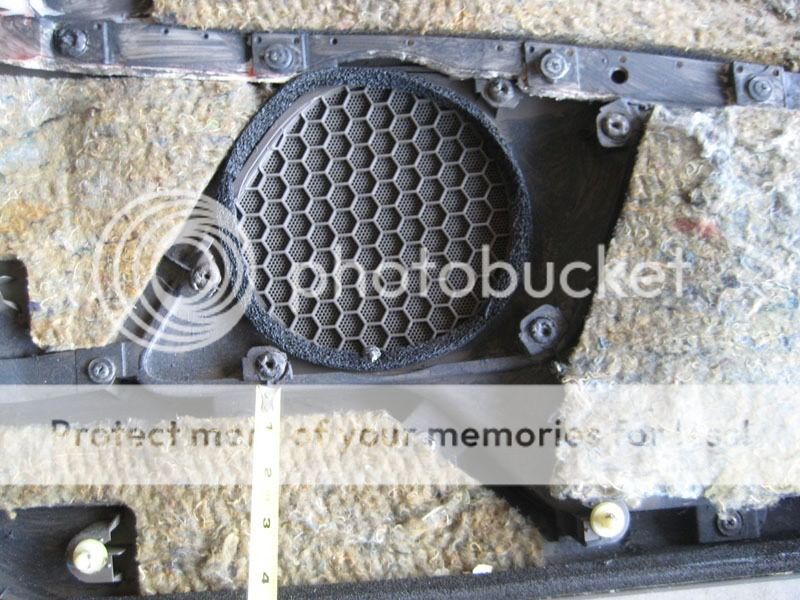
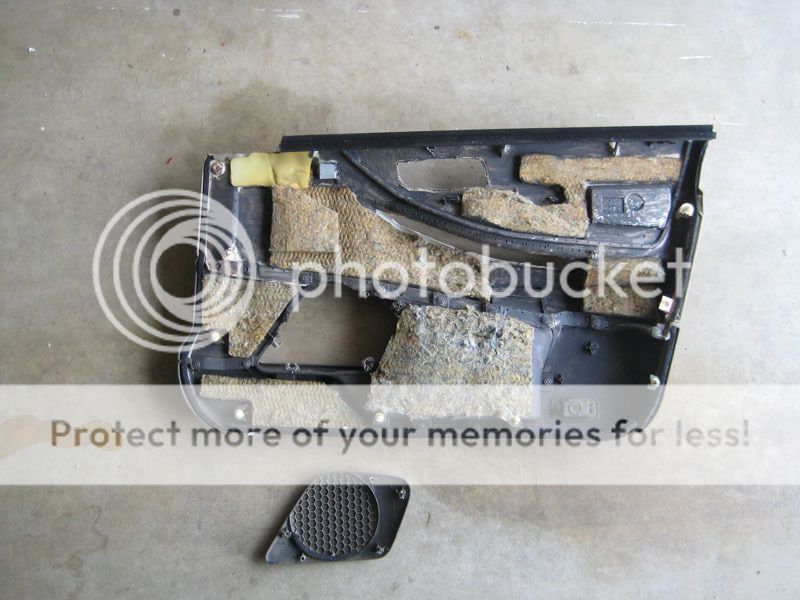
I will be getting the Zapco CK 16.2 set on Friday and hopefully I can get them to fit. I will more than likely have to cut my speaker grill off the door panel and fab up my own grilles since depth will more than likely be an issue. Right now I want to get the design ready to go, which it pretty much, just need to make the RCA's, and once I get the enclosure built, all that is left is install.

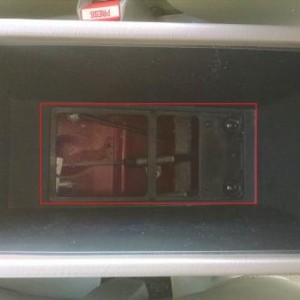
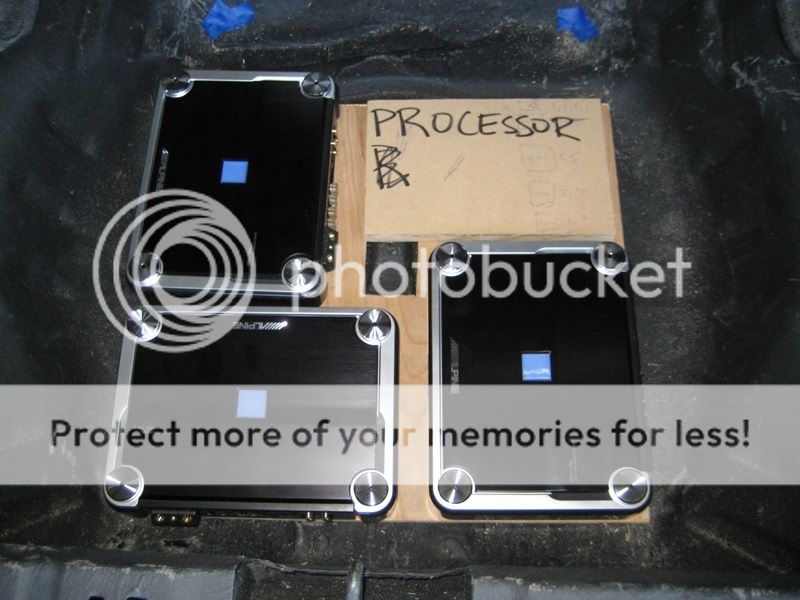
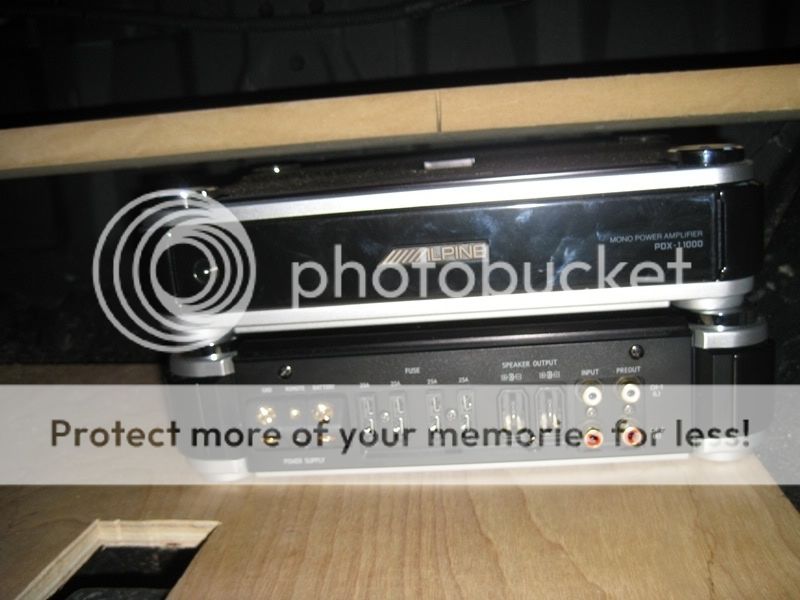
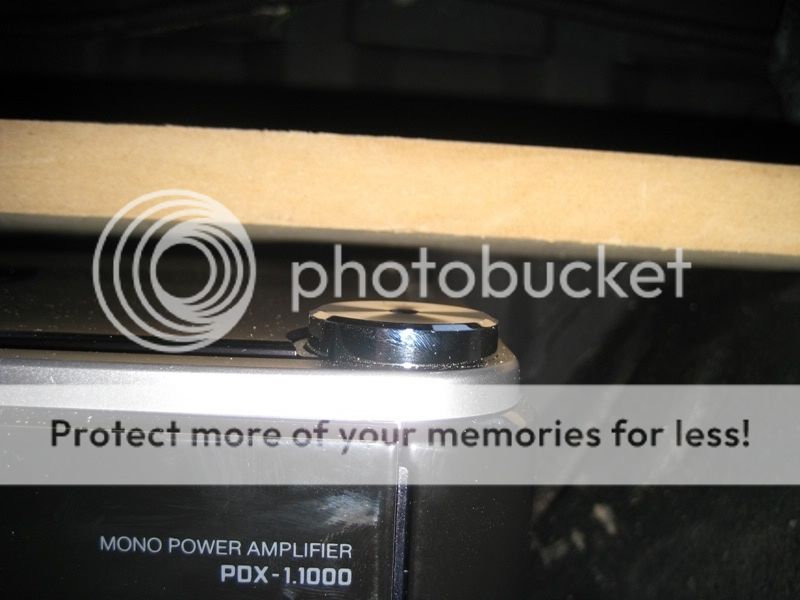
Here is my layout for the amps and processor. As shown in the first pic below, this is how it will look. However, I will have 2 amps stocked on the bottom portion. Those will be the 1.1000's while the one on the top to the left of where the processor will be is the 4.150. I have just barely enough room for everything to fit and barely enough room for clearance.

IMG_1394.jpg


IMG_1393.jpg


IMG_1391.jpg


IMG_1390.jpg


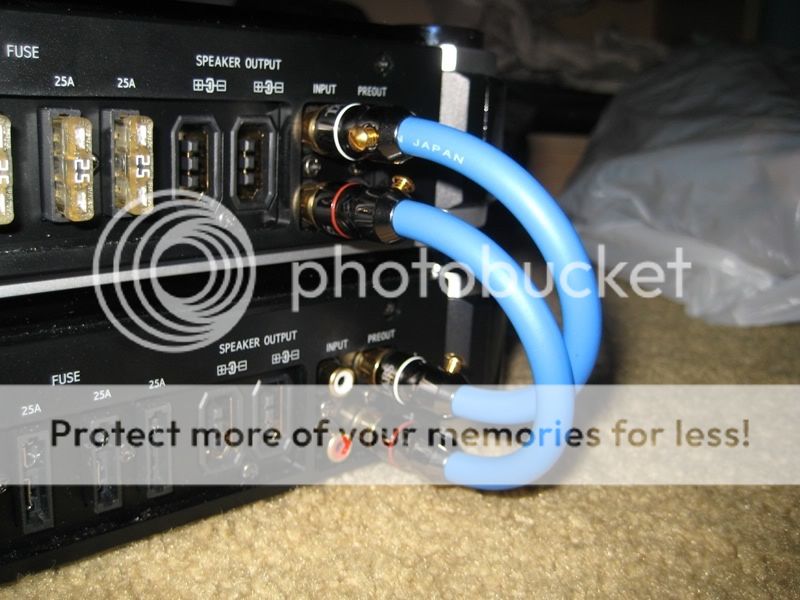
Test fit of the RCA's is shown below. I will be daisy chaining the 1.1000's.

IMG_1395.jpg
 

donpisto

Well-Known Member
Joined
May 18, 2008
Posts
107
Reaction score
0
Location
Los Angeles, CA
The goal of this setup isn't necessarily to get loud. I know the first thing that comes to one's mind when you see 4,000w and an 18" sub is SPL. I'm more into being able to hear my music. I will be playing mostly at moderate levels, but every now and then I have the urge to crank the volume.

Started doing some more planning. Here is where the battery will go. As you can see it is uneven.

IMG_1402.jpg


To solve this, I found a scrap piece of 3/4" MDF and it did the trick. It's pretty even. There is a block of wood for comparison.

IMG_1399.jpg


IMG_1400.jpg


Here is how the battery will be placed. I will be making a box for it and bolt it to the chassis.

IMG_1398.jpg


Onto the doors. I will need to use 3/4" and possibly 1" baffles instead of the 1/2" baffles that are currently installed once I get the Zapco's in and the speaker will be pushing up against the grill so I have to take them off. I wish it were clips that were holding them in place, but the clips were actually melted, thanks Honda (bastards). I used a hot razor blade to cut them and popped them off with a screwdriver. Some pics as shown below.

IMG_1406.jpg


IMG_1407.jpg


The tape measure shows the melted clips.

IMG_1408.jpg


IMG_1409.jpg


IMG_1410.jpg


IMG_1412.jpg
 

donpisto

Well-Known Member
Joined
May 18, 2008
Posts
107
Reaction score
0
Location
Los Angeles, CA
Continued from above.

IMG_1411.jpg


I'll be needing to make a custom grill, though I'm not quite too sure how to go about that, so any suggestions would be great. Here's how it looks with the P.O.S. stock mid.

IMG_1404.jpg


And for the bass heads, captured a quick video. The enclosure is actually 2.5 cubes sealed net and you will hear an odd sound in the video. I have a couple air leaks and I sealed those up after taking the video. The rattle you hear comes from some foam tape I put on a metal bar that attaches to the bumper. It actually created rattles so I will be taking that off and replacing it with rattle pad. As mentioned in the video, it is seeing 1,000w. The enclosure that I will be using will be about the same size, possibly .5 - 1 cu. ft. larger and will be a wedge style. It will also face into the cabin and I'll be sealing it off. It will also see 4 times the power.

In comparison to when I had the sub running off 3kw and in 5 cubes sealed, I lost a lot of lowend, but it gets pretty loud off just 1k.

http://youtube.com/watch?v=wK--xWab1eE
 

donpisto

Well-Known Member
Joined
May 18, 2008
Posts
107
Reaction score
0
Location
Los Angeles, CA
Since it might take up to 3 weeks to get the proper wire that I need for the RCA's, there really is not much I can do so I'll entertain you guys with some pictures of previous work I have done to the vehicle, such as deadening the doors, installing the navigation, and anything else I come accross in my old pics.

I will be using butt plugs (try not to laugh) for connecting the TR-7 bypass to the W200 since I have them twisted and electrical tape around. I will also be re wiring my Ai-Net cable since it partly goes through the center of the vehicle and along the side, I was in a hurry at the time of the install. The current optical cable will also be replaced so I'll be doing those two in the meantime as well.

I'll start with the doors. I have a picture somewhere of how the factory door looks without the panel. There was a plastic sheet covering the door so I took that off and also took off some of the tacky dough, or whatever was used on the door to keep the plastic in place.

IMG_0642.jpg


One layer of Damplifier on the inner door.

IMG_0784.jpg


One layer of Ultra Kill over the Damplifier.

IMG_0836.jpg


Speaker tweaker pad over the Damplifier.

IMG_0785.jpg


One layer of Damplifier on outer portion of the door.

IMG_0839.jpg


One layer of Rattle Pad over the Damplifier. It looks a bit different now since I had issues of the door panel clips staying on. I also used velcro to keep the Rattle Pad in place.

IMG_0840.jpg


Onto part of the trunk and the trunk lights. Here is a before picture, quite dirty as you can see.

IMG_0768.jpg


IMG_0769.jpg


IMG_0770.jpg
 

donpisto

Well-Known Member
Joined
May 18, 2008
Posts
107
Reaction score
0
Location
Los Angeles, CA
Cleaned it up a little bit.

IMG_0773.jpg


IMG_0771.jpg


IMG_0772.jpg


Applied Spectrum.

IMG_0776.jpg


IMG_0777.jpg


IMG_0778.jpg


I added some 3/4" foam tape, but I'm going to replace it since it makes the lights stick out a tiny bit, just a few mm. I might use some Ultra Kill or Rattle Pad or even strips of Damplifier.

IMG_0779.jpg


Completed picture, looks like nothing was done :)

IMG_0782.jpg


Also, now that I have the time and I have nearly a full gallon of spectrum leftover, along with putting more of it on the rear deck, trunk lid, and such, I will put a couple layers on the front doors and maybe a layer or two on the rear doors. Rear doors don't have any deadener, but they could be deadened to reduce some road noise. I think I will also order another 20 sq. ft. of Damplifier and some Rattle Pad or Ultra Kill.
 

donpisto

Well-Known Member
Joined
May 18, 2008
Posts
107
Reaction score
0
Location
Los Angeles, CA
I messed up putting that foam tape behind the lights. I thought it would help, and it does slightly, but as mentioned it pushes the lights out by a good half inch. I will use some rattle pad or ultra kill for that, not sure which to use or maybe there is another solution, gonna ask Ant at Second Skin. If you have an Accord from the same gen, a lot rattle comes from a tiny piece on the trunk lid. I'll snap a quick picture when I get off work and upload when I get home of what I'm talking about. Basically, it's a weight so the trunk lid doesnt just close when wind is blown. With so much deadener, I don't have to worry about that, but it SIGNIFICANTLY reduced the rattles.

I ordered some more deadener, rattle pad, and sludge activator. Going to deaden the hood. I also did some deadening and I'll post pictures, probably tomorrow.

This is how much Spectrum I have left...more than I thought :D

IMG_1418.jpg


Decided to do the rear doors. Originally I had mentioned I would post a pic of what the front doors looked like, well it is exactly how this one looks.

IMG_1420.jpg


IMG_1421.jpg


Took the plastic cover off and you can see 7 years of dirt, ew!

IMG_1422.jpg


IMG_1424.jpg


This is the sticky residue, kind of like a sticky dough.

IMG_1423.jpg


Cleaned the door and took off as much of the sticky residue without spending too much time on it since it really doesn't matter.

IMG_1425.jpg
 

donpisto

Well-Known Member
Joined
May 18, 2008
Posts
107
Reaction score
0
Location
Los Angeles, CA
All dried up after 1 layer

IMG_1427.jpg


IMG_1428.jpg


I ended up doing one more layer on the inside of the door. I noticed that it did help a little, I haven't driven the car yet, but I'm sure road noise will decrease as well.

Decided to do the front door. This picture is with 1 layer of Spectrum. I did 2 layers but forgot to take a picture after the 2nd layer was on. It looks much better with the 2nd layer.

IMG_1426.jpg


Not sure how those two layers will help, probably will elimante some road noise, maybe not, I just did it for the heck of it.

Here is underneath the rear seats, quite dirty as you can see.

IMG_1429.jpg


IMG_1430.jpg


Vacuumed and cleaned with a damp towel.

IMG_1431.jpg


IMG_1432.jpg


And one layer applied.

IMG_1433.jpg


IMG_1434.jpg


I might do another layer, but for now I want to save for what is more important, like the top and bottom of the rear deck, trunk lid, hood, and tire wells. If I have any leftover I will go over the bottom of the rear seats and anything else I come across. I have also put expanding foam in the rear quarter panel and it help ALOT! I do not have pictures, but once I take the panels off in the rear I will take some quick photos. I plan to put expanding foam in the C pillars sine they are pretty dense. I'm supposed to pick up the Zapco's today so hopefully they'll be there when I pick up :D. Pics of those will be up possibly tomorrow, but Sunday for sure.
 

donpisto

Well-Known Member
Joined
May 18, 2008
Posts
107
Reaction score
0
Location
Los Angeles, CA
Ended up painting spectrum on all of the wheel wells. I did two layers on the front ones and 1 layer on the rear. The front had panels that needed to come off, very simple. Just a few clips and screws.

Three wheel riding :D

IMG_1435-1.jpg


7 years of dirt, debris, and miscellaneous crap.

IMG_1436.jpg


IMG_1437.jpg


IMG_1439.jpg


Cleaned up a tad.

IMG_1440.jpg


IMG_1441.jpg


IMG_1442.jpg


This is just off one wheel well.

IMG_1447.jpg


This was very handy :p

IMG_1448.jpg
 

donpisto

Well-Known Member
Joined
May 18, 2008
Posts
107
Reaction score
0
Location
Los Angeles, CA
After two layers.

IMG_1456.jpg


IMG_1458.jpg


IMG_1459.jpg


IMG_1460.jpg


I ended up doing the plastic piece as well, but I did not take pictures of that. Gonna head out shortly so I'll take pics and upload them when I get home later this evening.

I hope I notice a difference in road noise. This entire job took about 4 hours. It was very tiring, my arms and face came out 50% darker, and my back aches...hopefully the lady gives me a nice massage :)
 

donpisto

Well-Known Member
Joined
May 18, 2008
Posts
107
Reaction score
0
Location
Los Angeles, CA
Here are the additional pictures. A bit difficult to see since I have the tire on. I noticed a substantial decrease in road noise, even engine noise decreased. I found myself doing 90 on the highway instead of 80 since I go by the sound of the engine, so I'd say it was well worth it. Can't wait till I do the hood and firewall :D

IMG_1461.jpg


IMG_1462.jpg
 
Back
Top