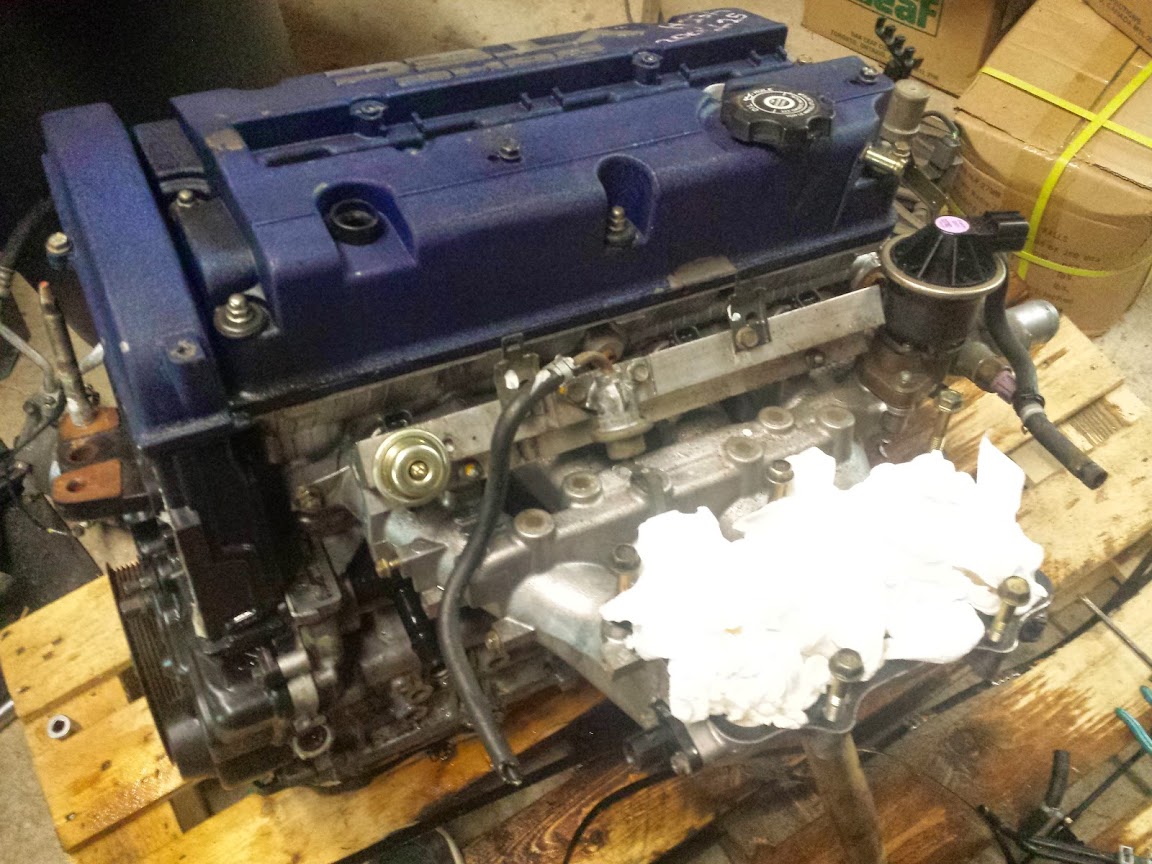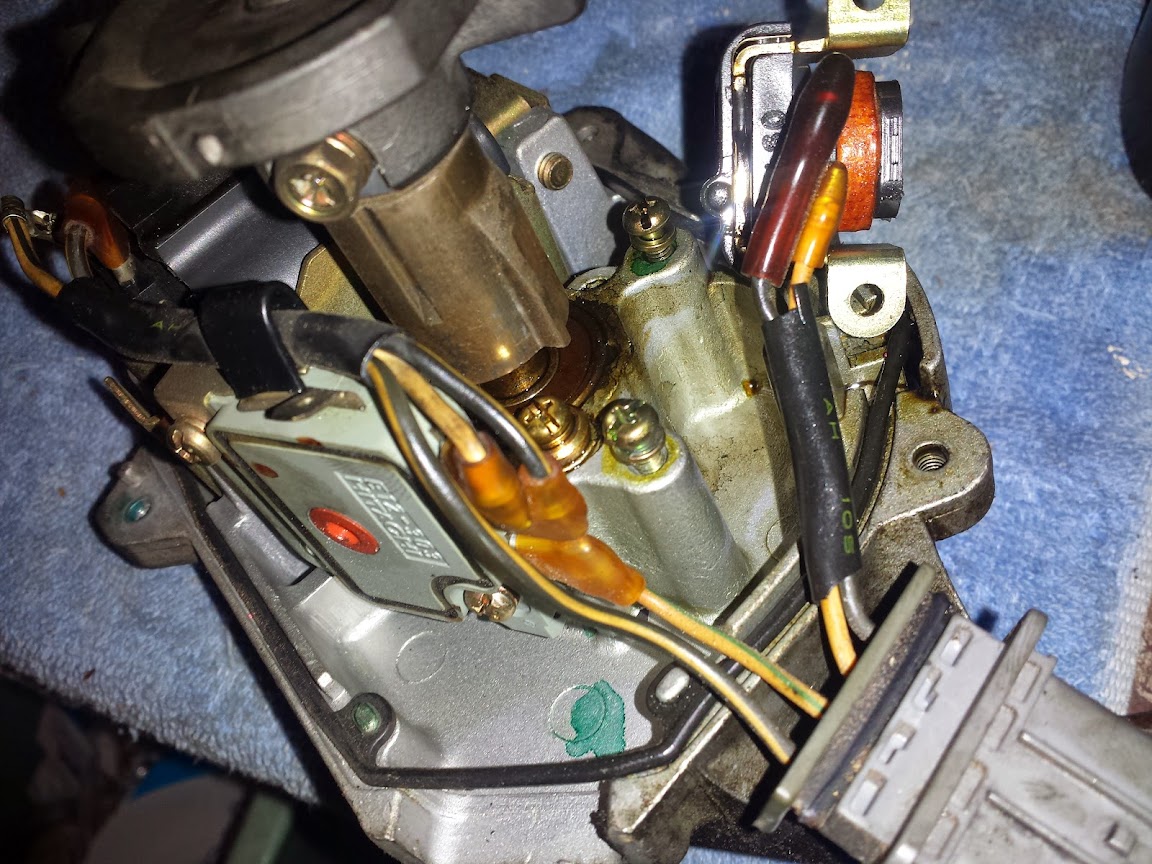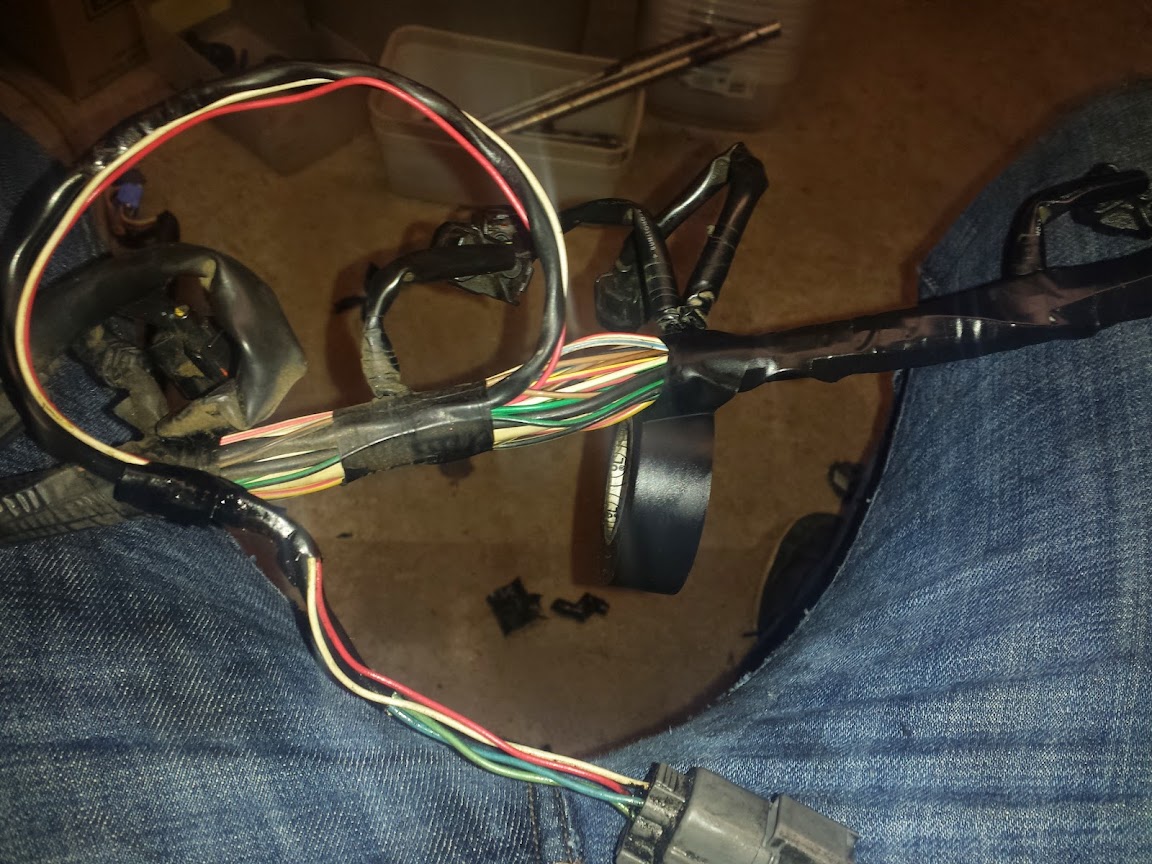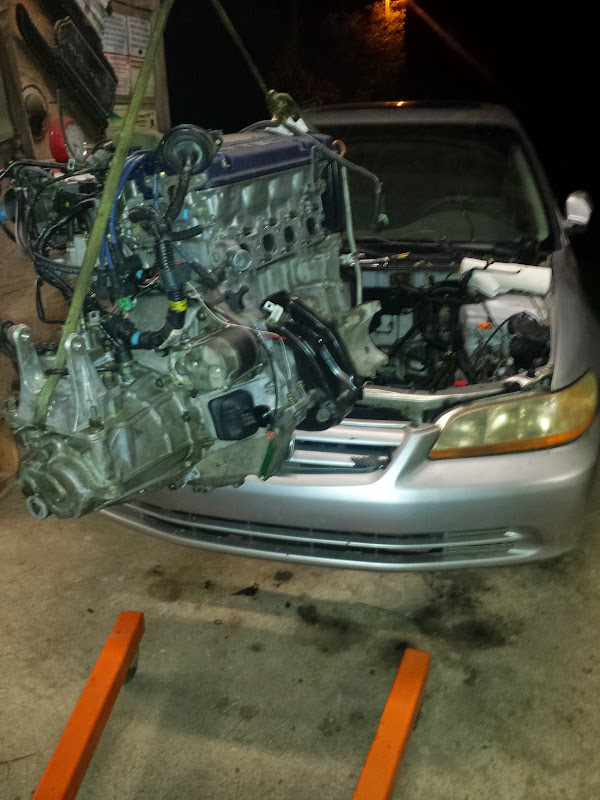


Swap is certainly still being worked on about every other day. I have taken my time with every single step along the way. Things that are covered in grease, crud have been purple powered and scrubbed. Rather than extending the CKP sensor wires over to the distributor, I unwrapped my harness section by section and re-threaded the CKP wires back towards the distributor. I did the same with the o2 sensor plug, and whatever else needed it.
So far, in this project I have:
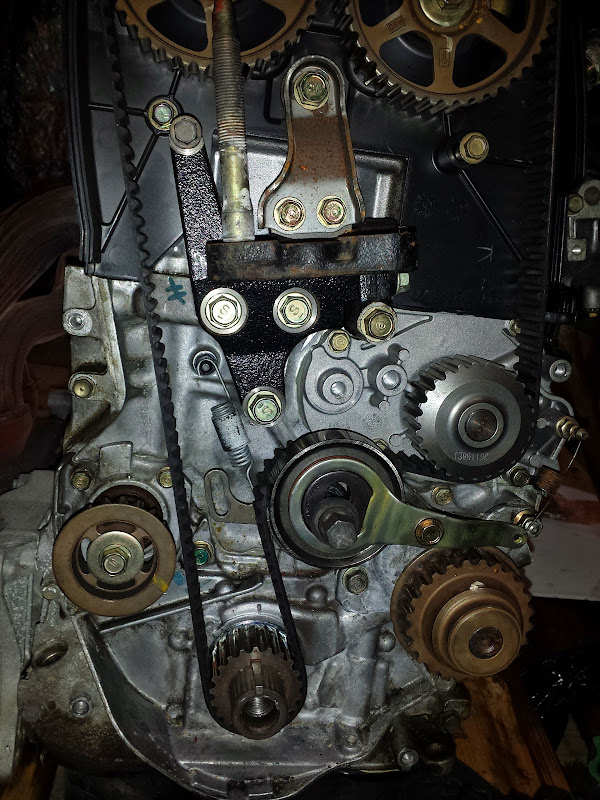
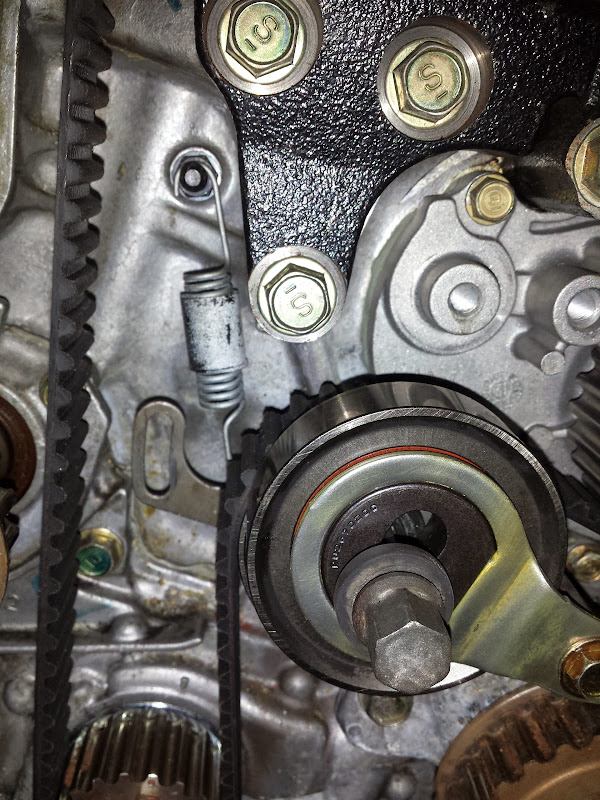
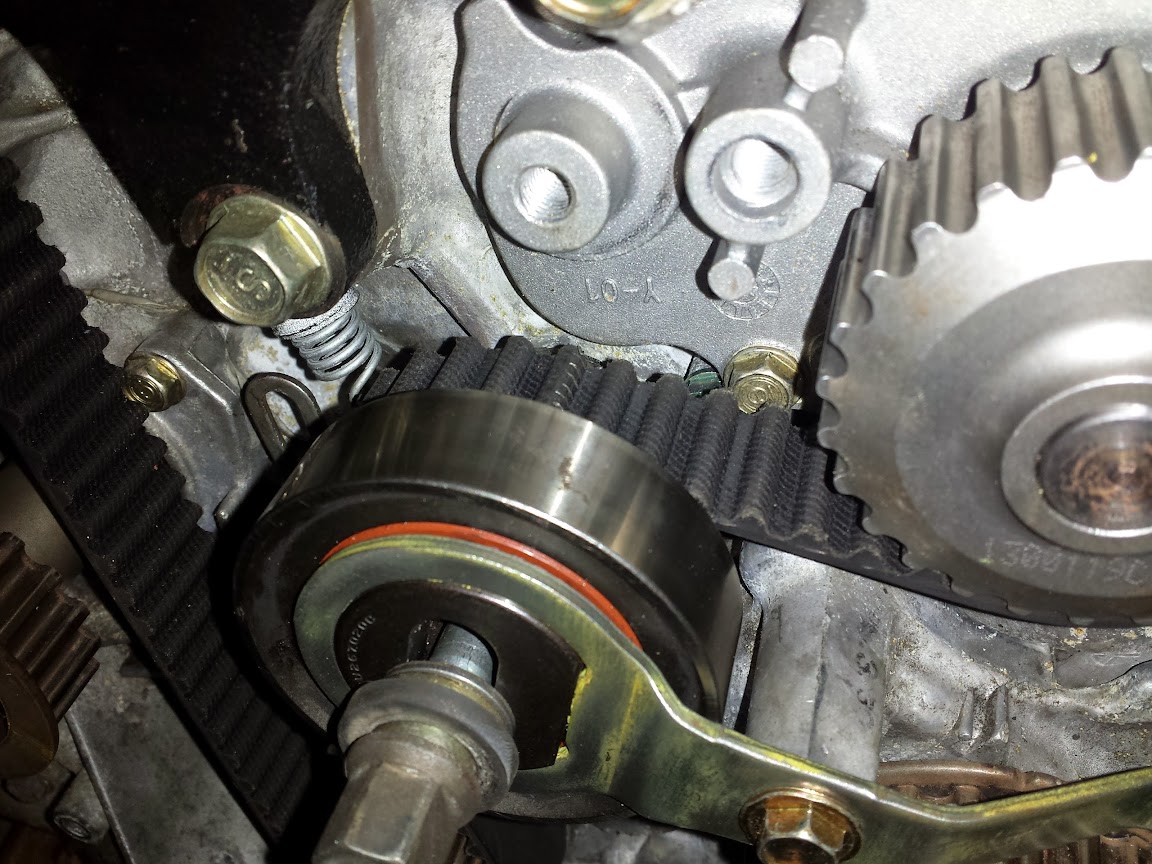
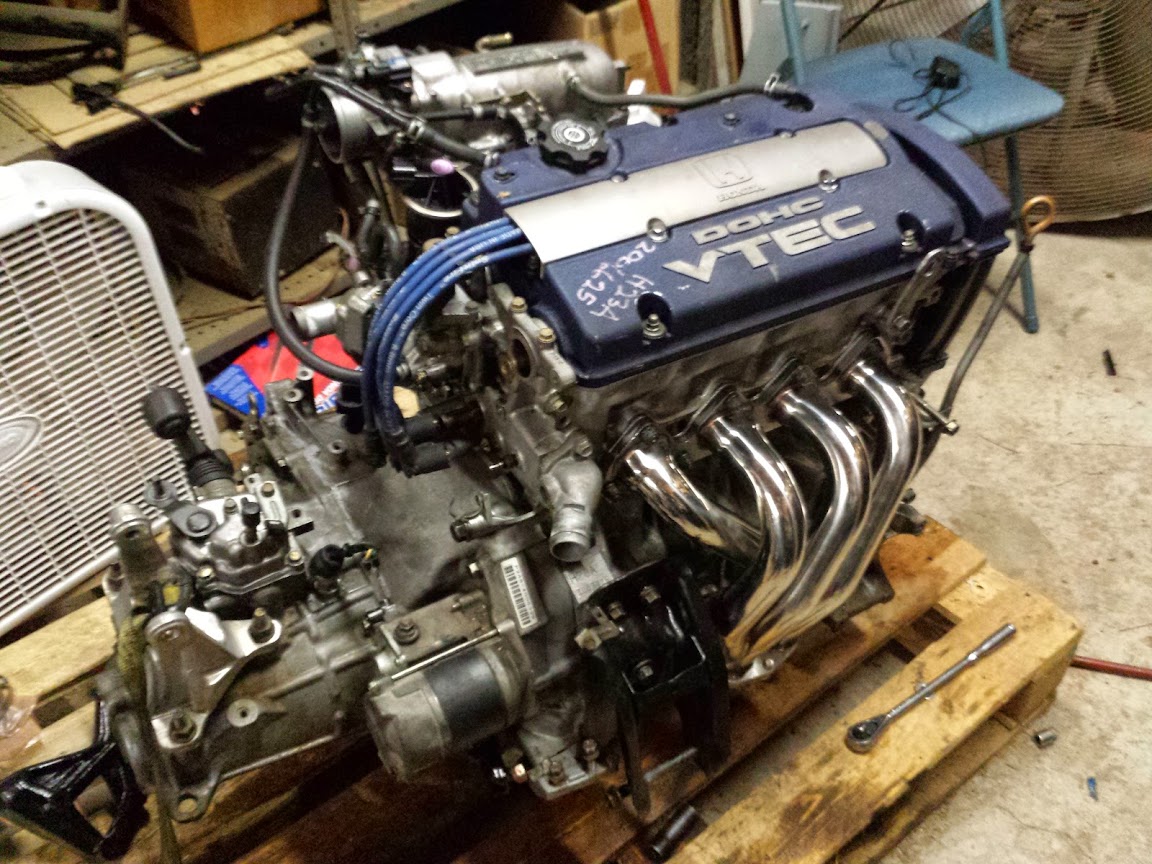
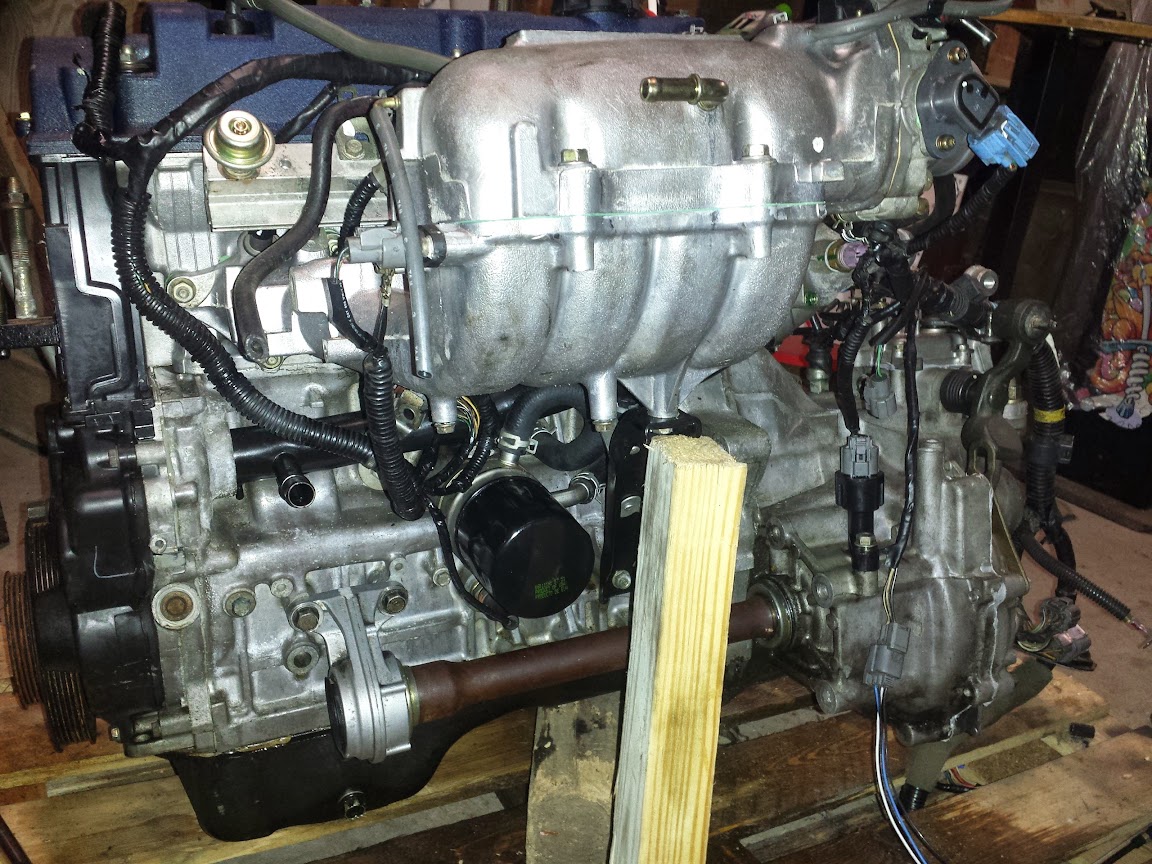
* replaced timing belt and water pump
* h23a1 manual timing belt tensioner swap
* removed balance shaft belt
* removed IAB butterfly plate
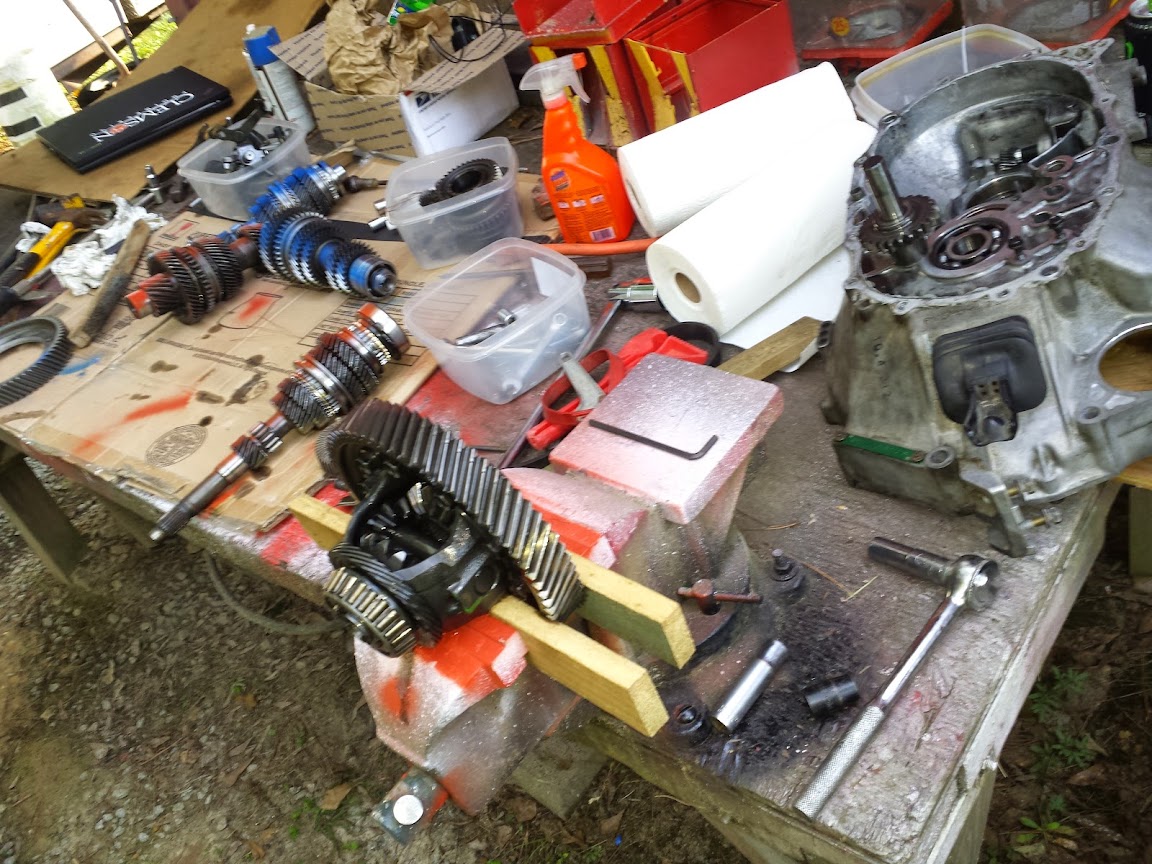
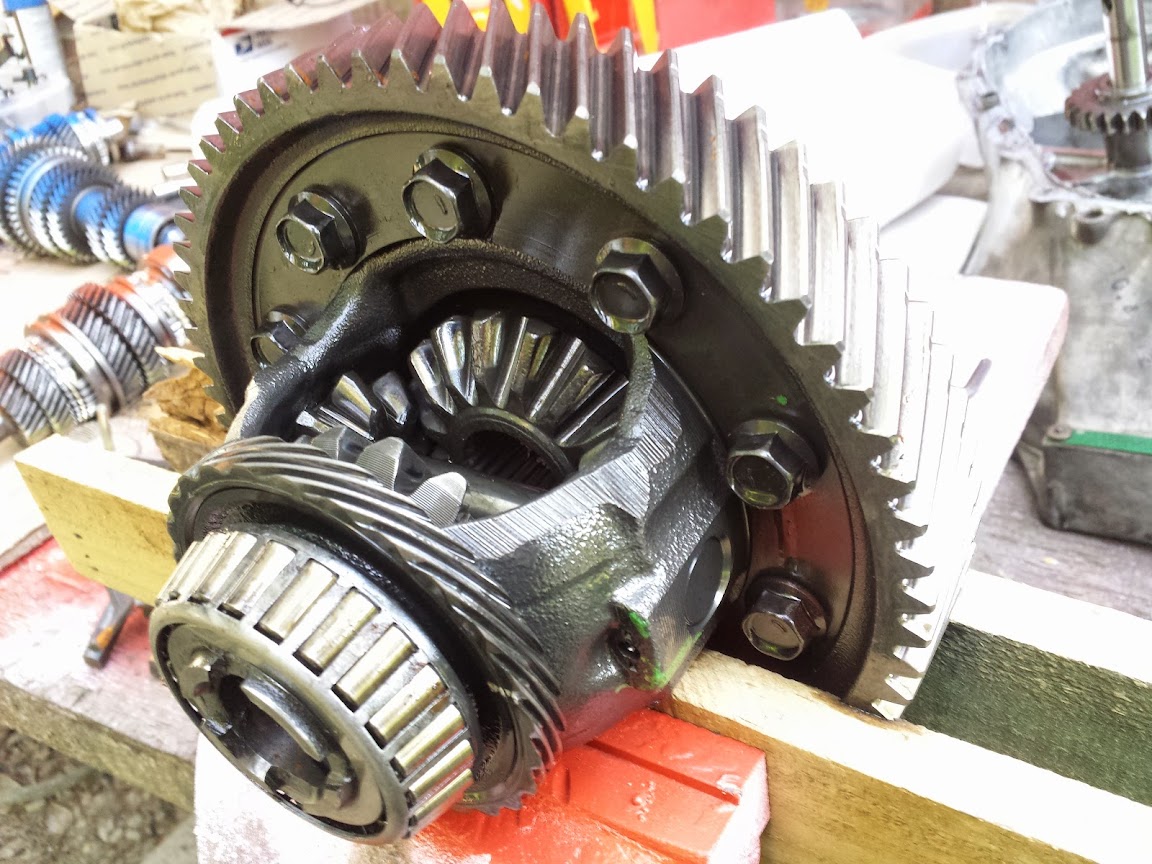
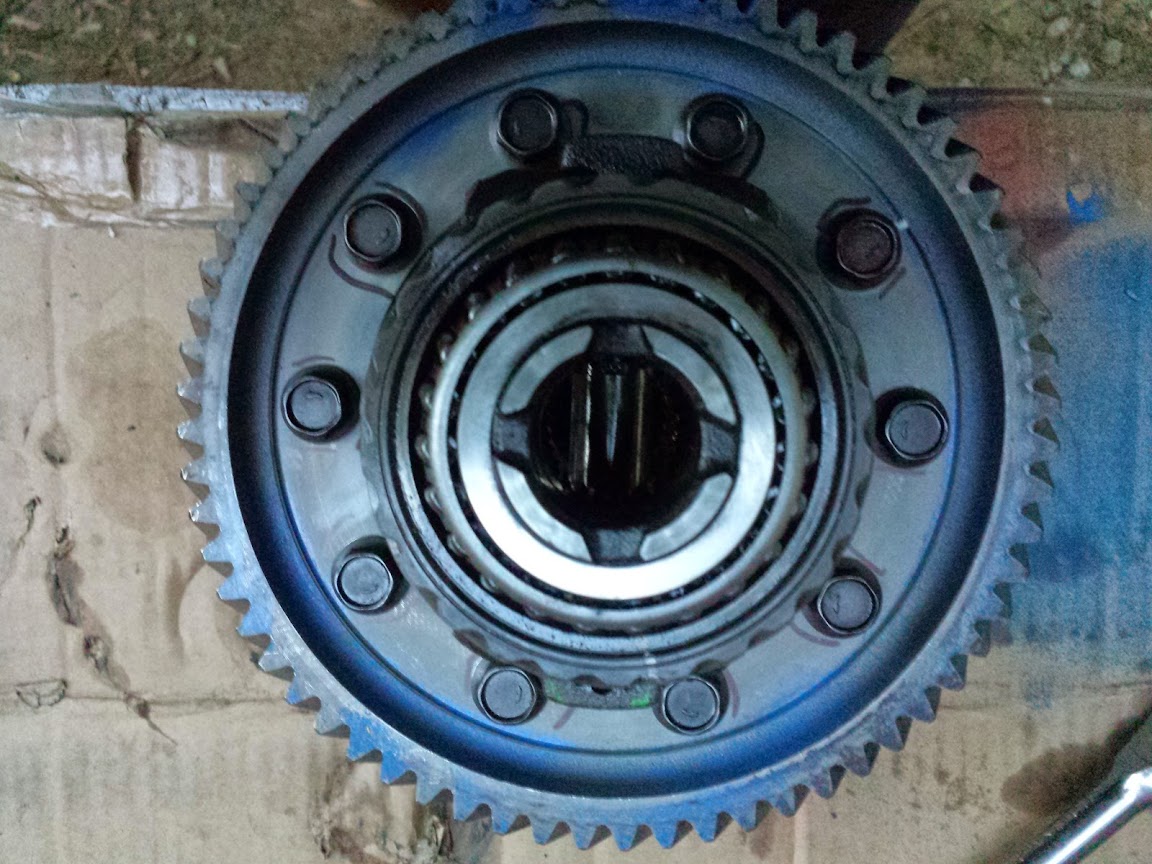
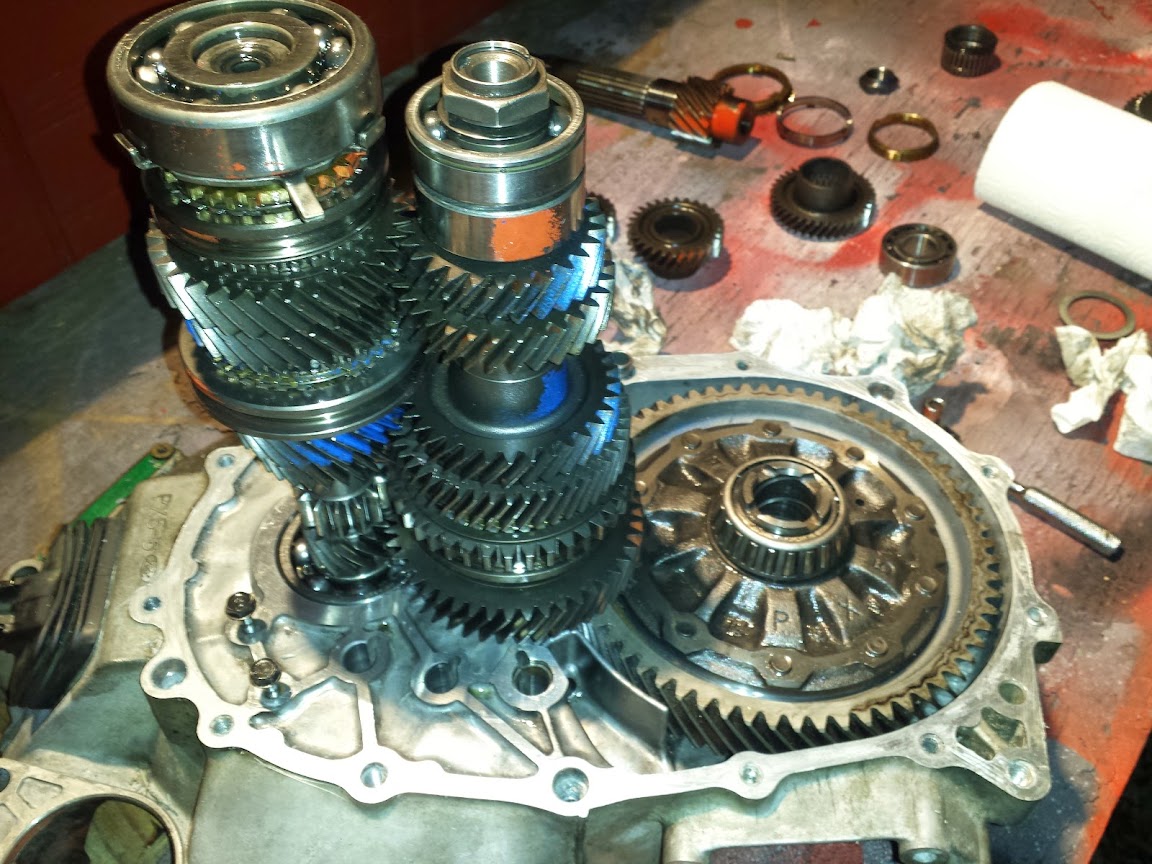
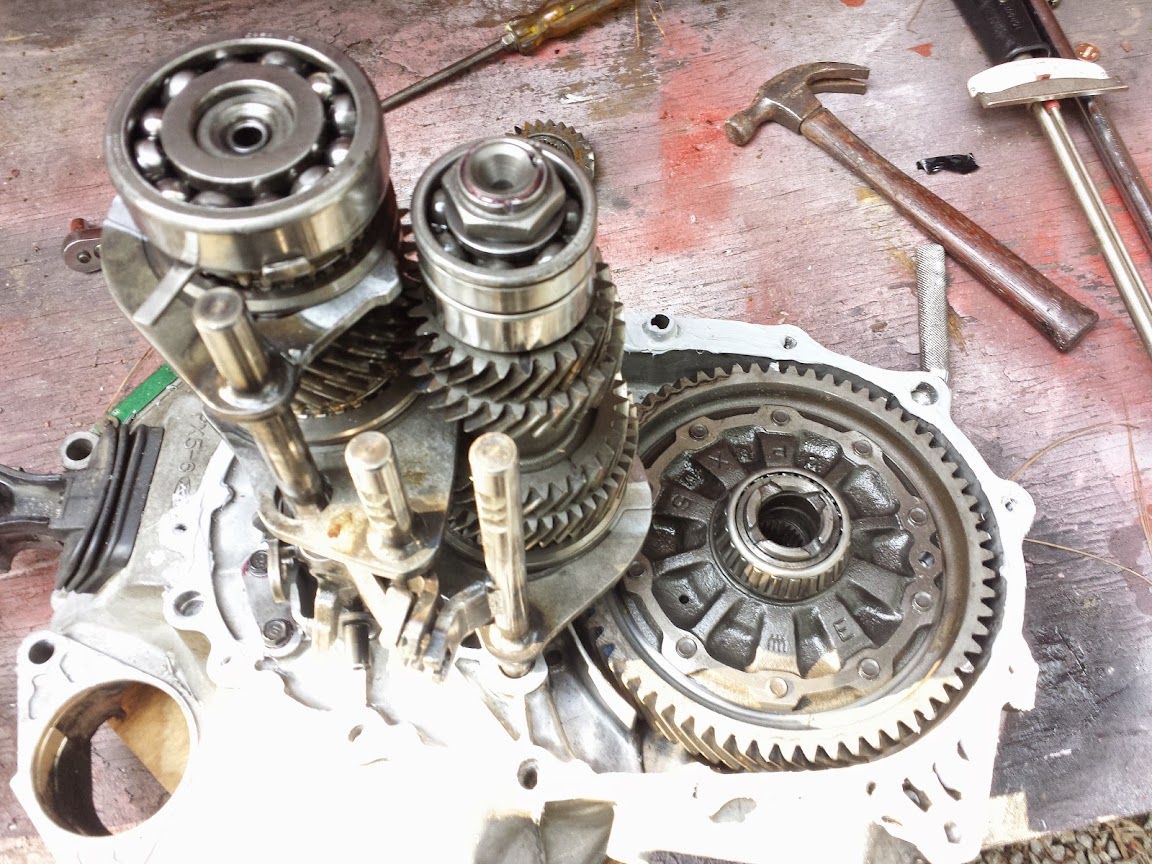
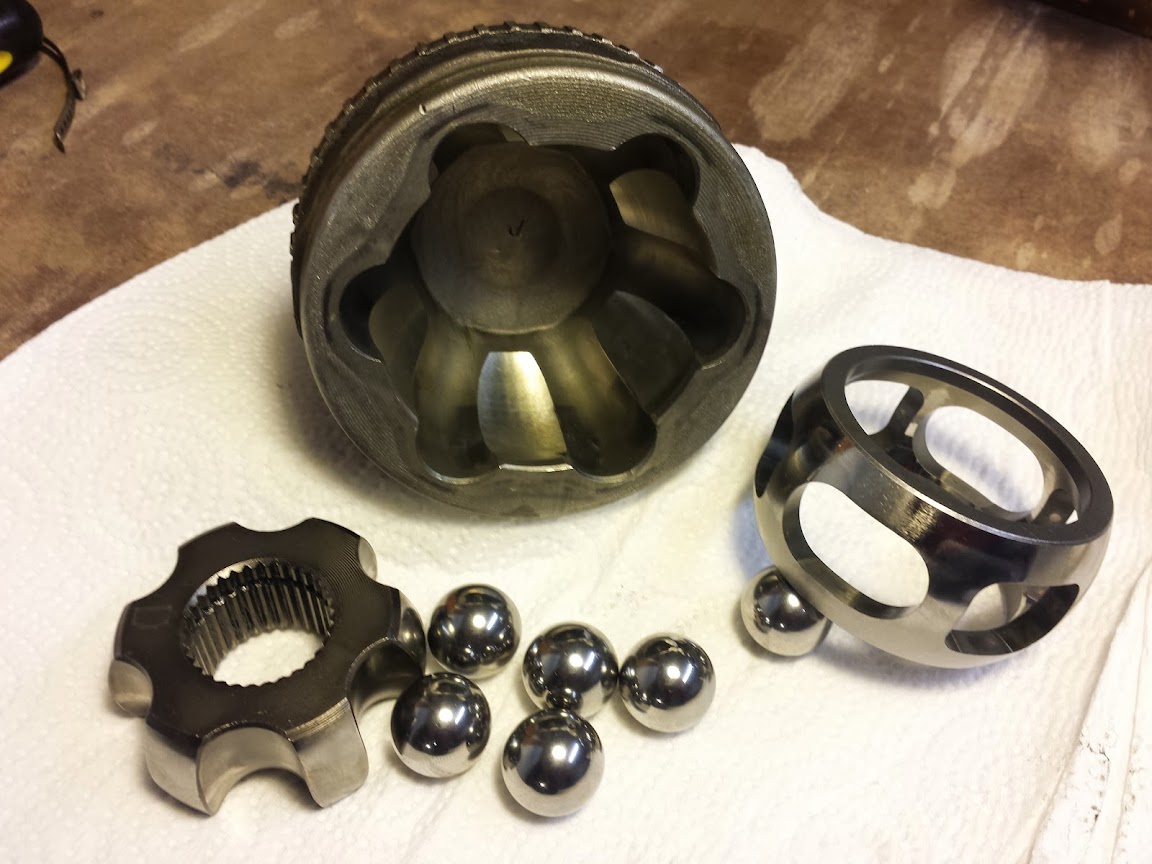
* rebuilt my F23A1 transmission with h23a1 gears (usdm final,3rd, 4th, jdm 5th)
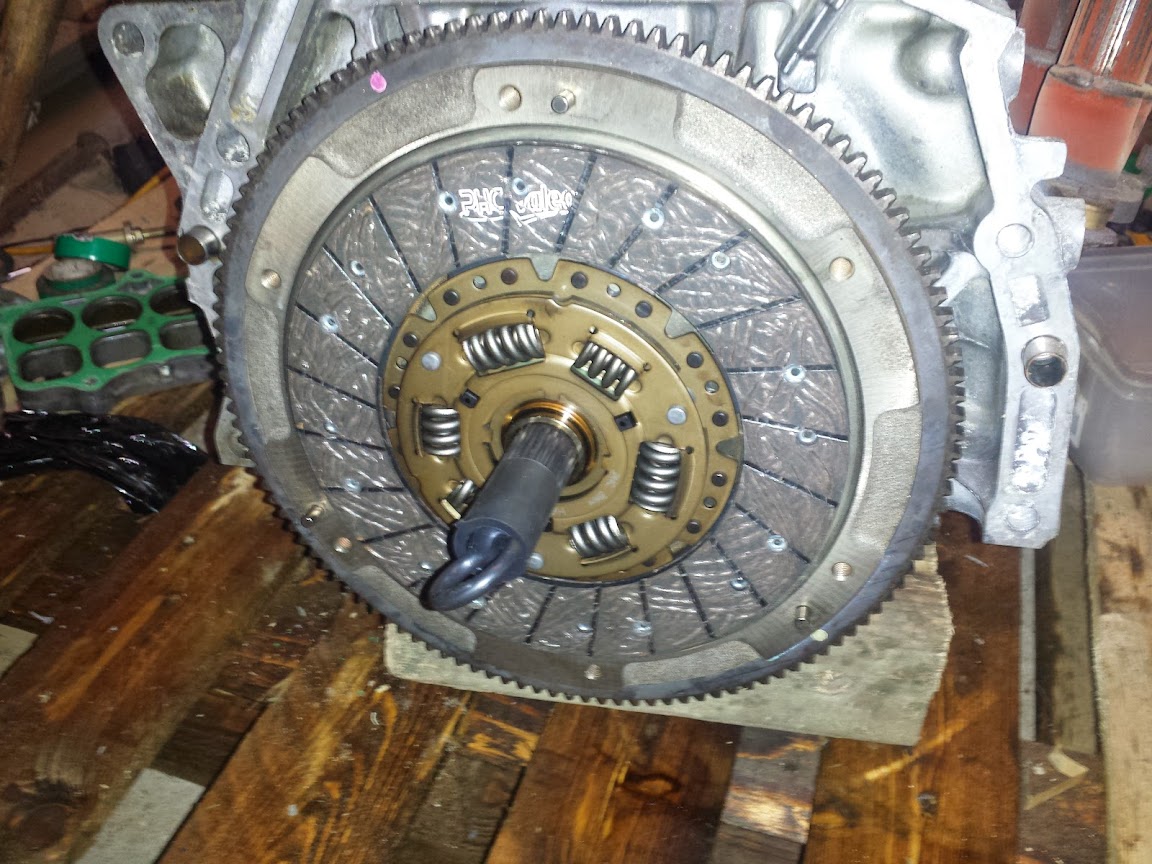
* replaced clutch and pressureplate
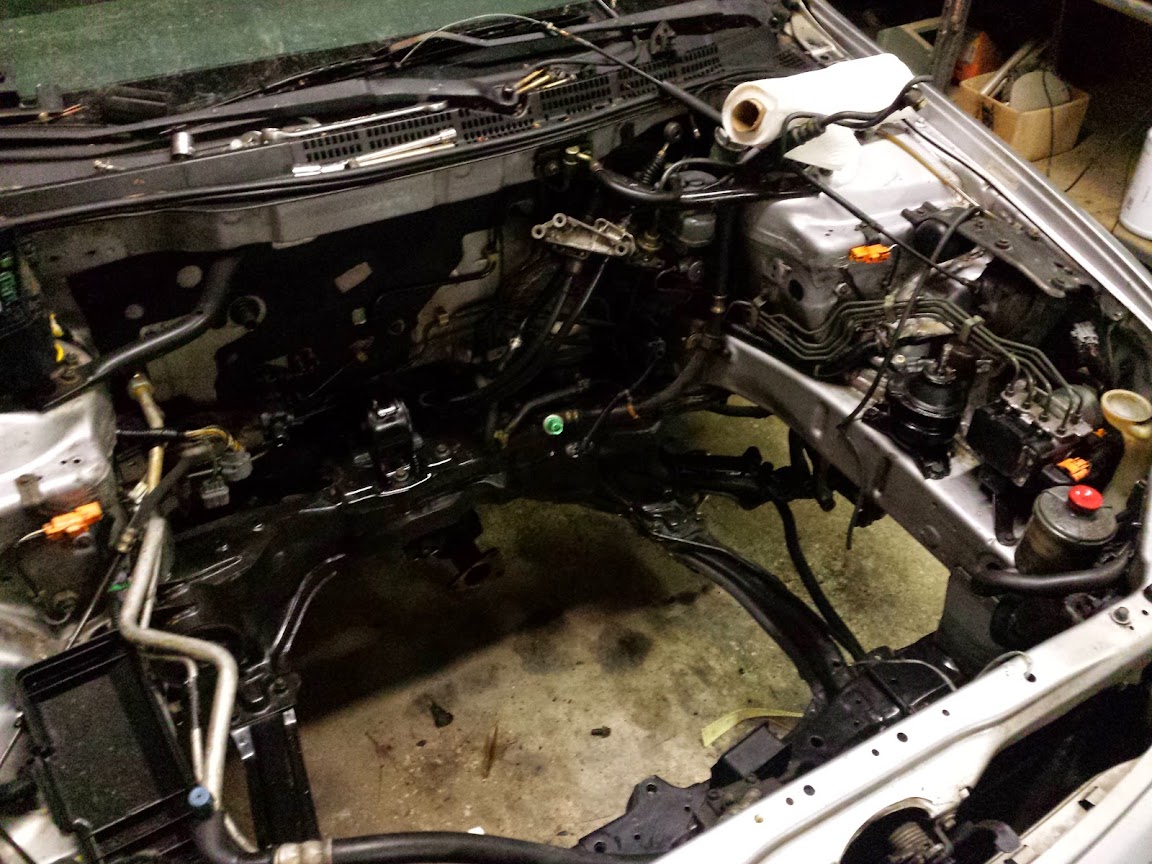
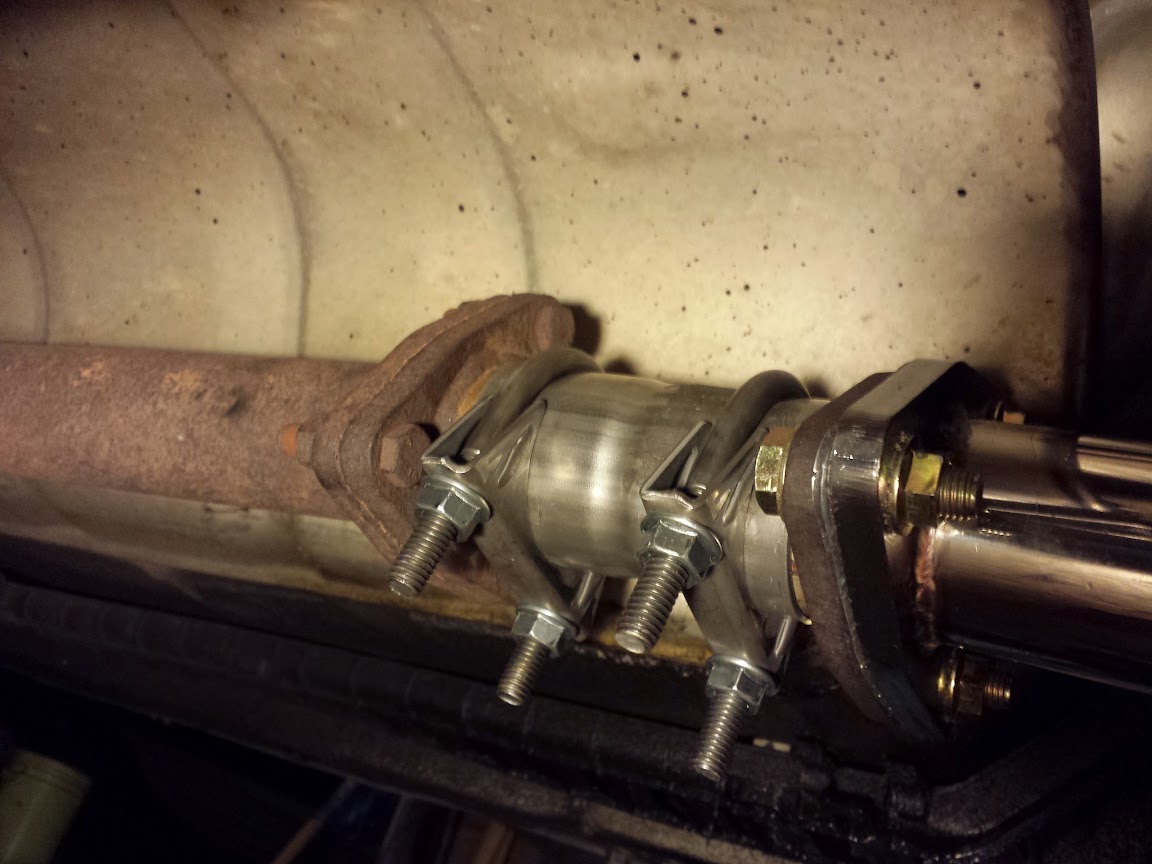
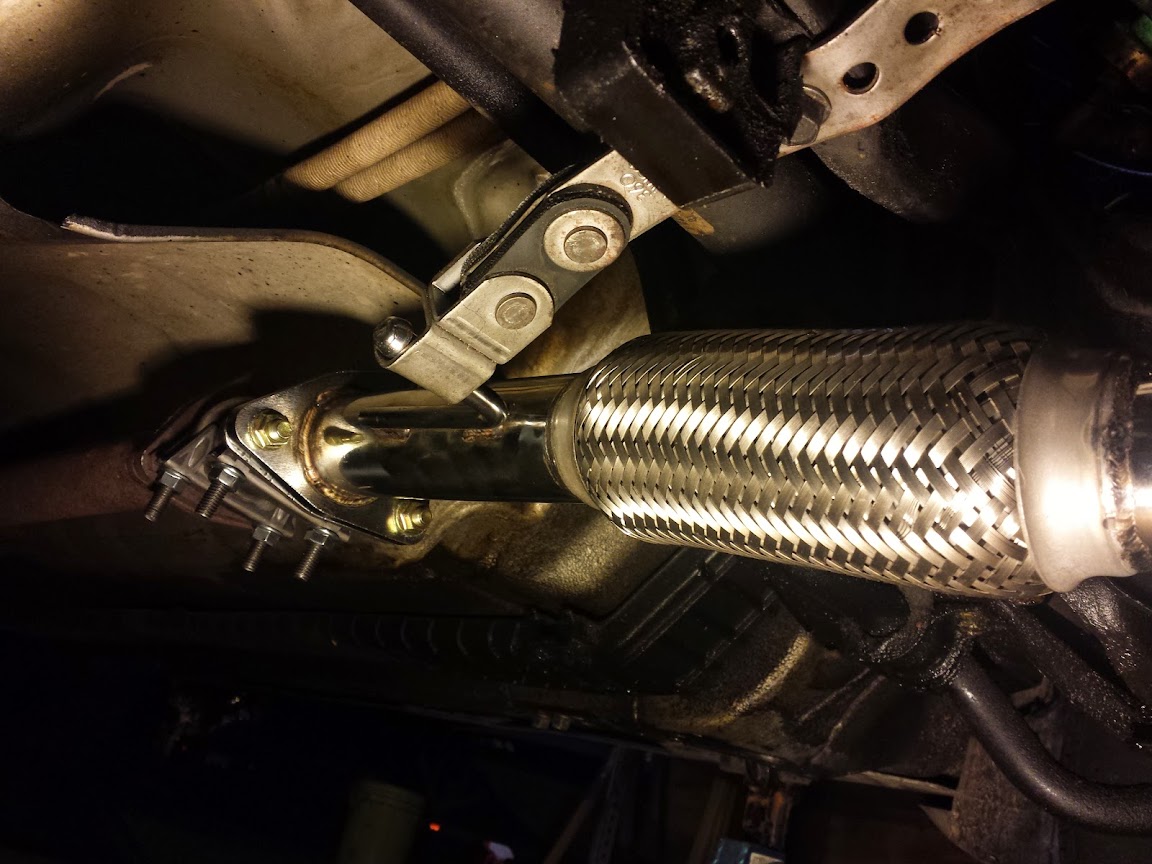
* removed catalytic converter (it was the easiest way to get the header mounted to the exhaust)
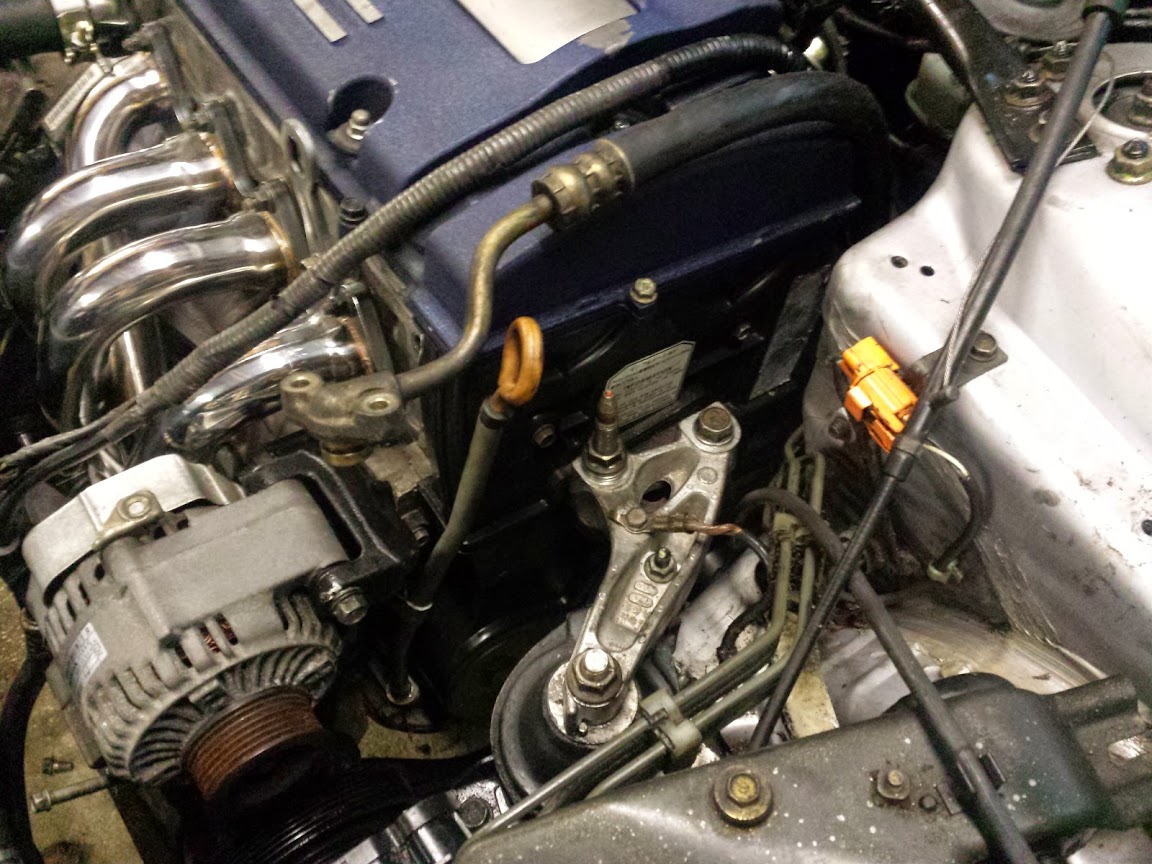
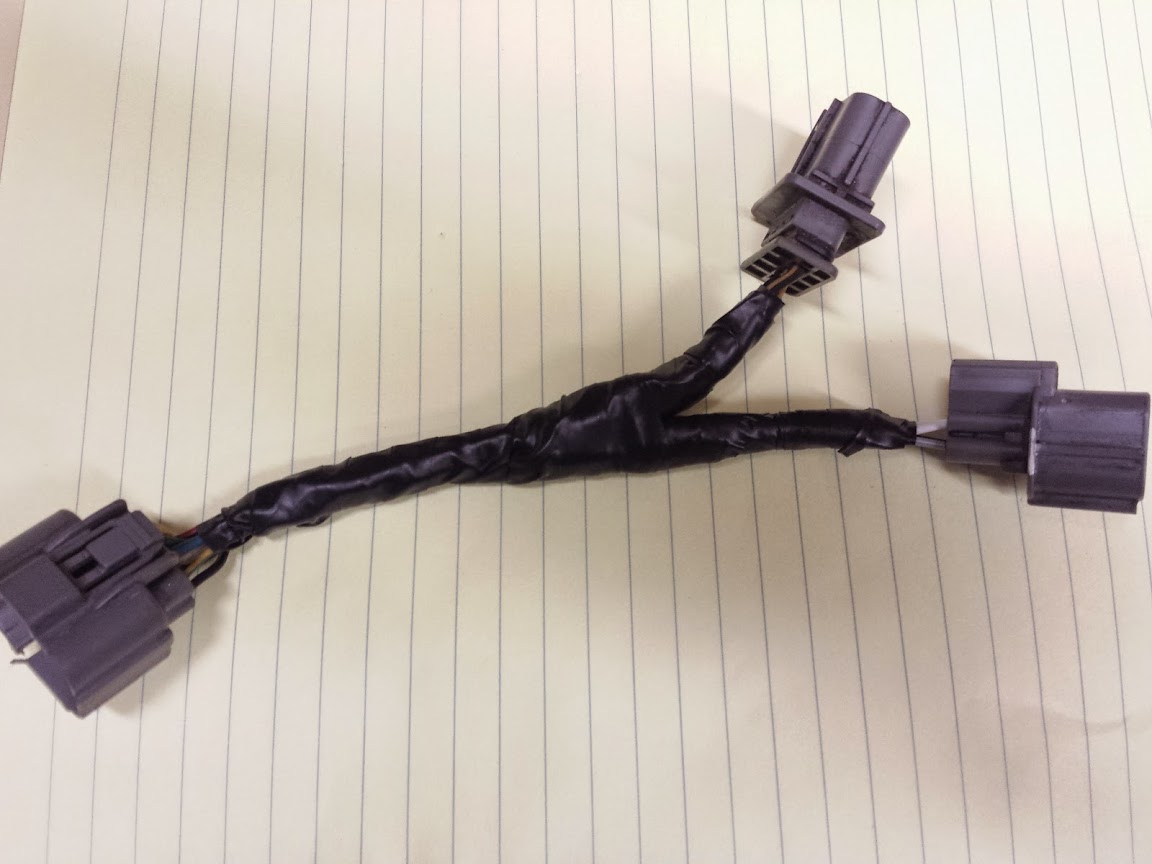
* made a "custom" distributor adapter harness that allows me to plug my original accord f23a1 harness into the JDM distributor.
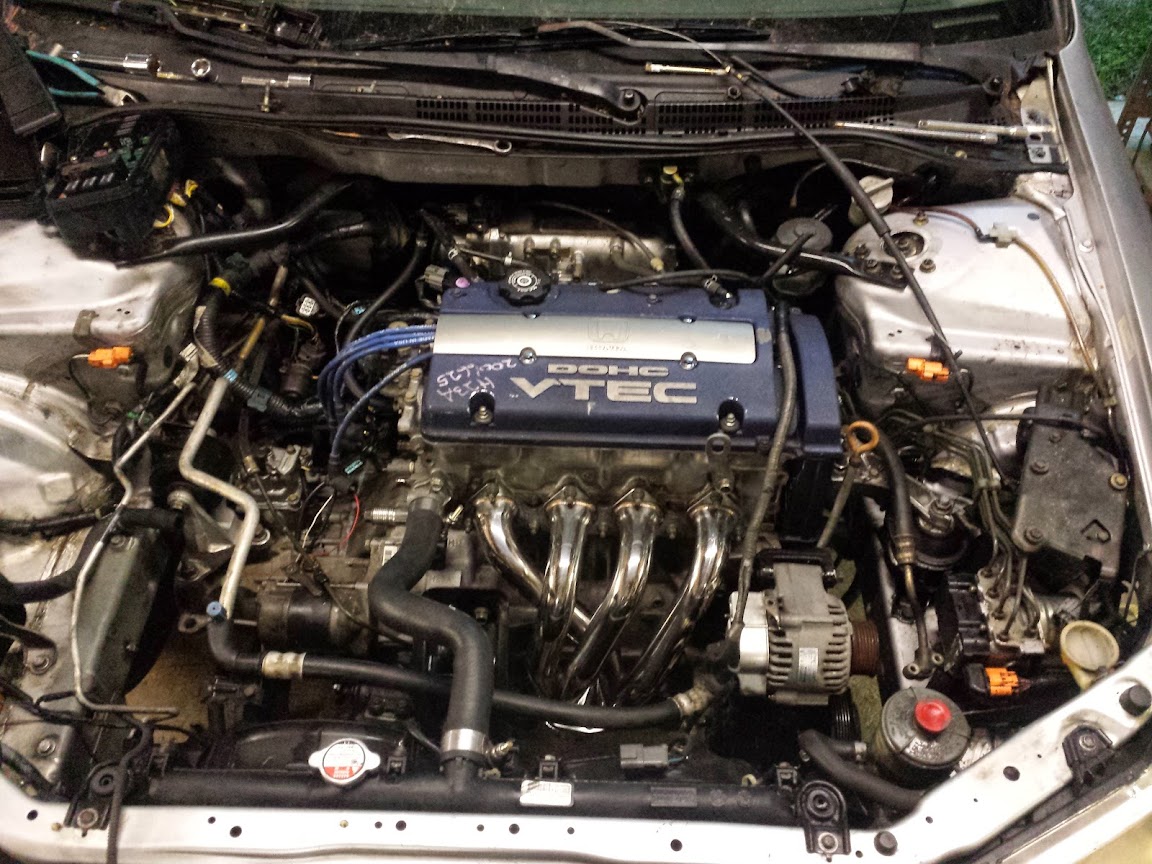
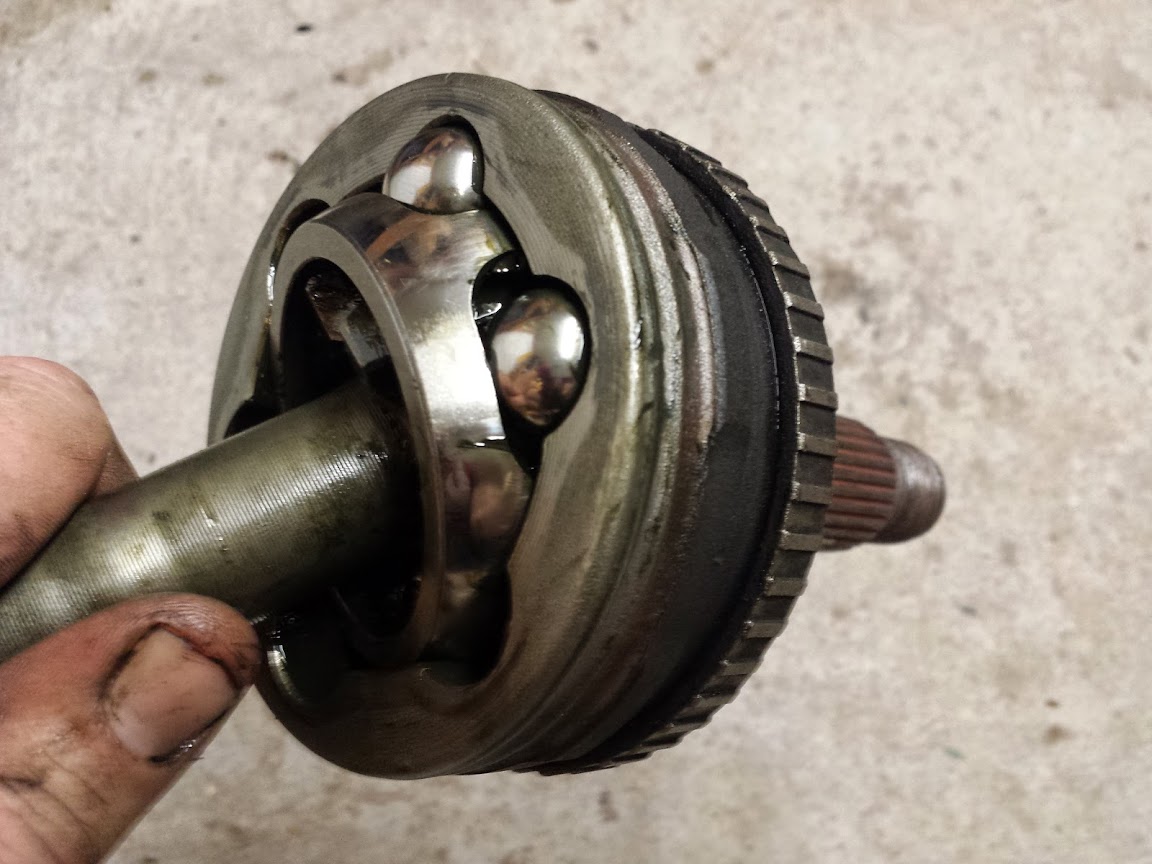
* replaced driver side outer CV boot.
* Replaced most hoses, new alternator/ac belt.
* Replaced radiator (found out original was cracked and had been JB welded.)
* Made a throttle cable adapter bracket.
To do:
* Find my chips so I can burn the H23A ROM that Blundar sent me.
* Re-wire 3-wire IACV to work as 2-wire until I can get an OBD1 2-wire IACV adapter plate.
* Move F23A1 dual throttle cable pulley over to H23A throttlebody.
* Filter for the intake.
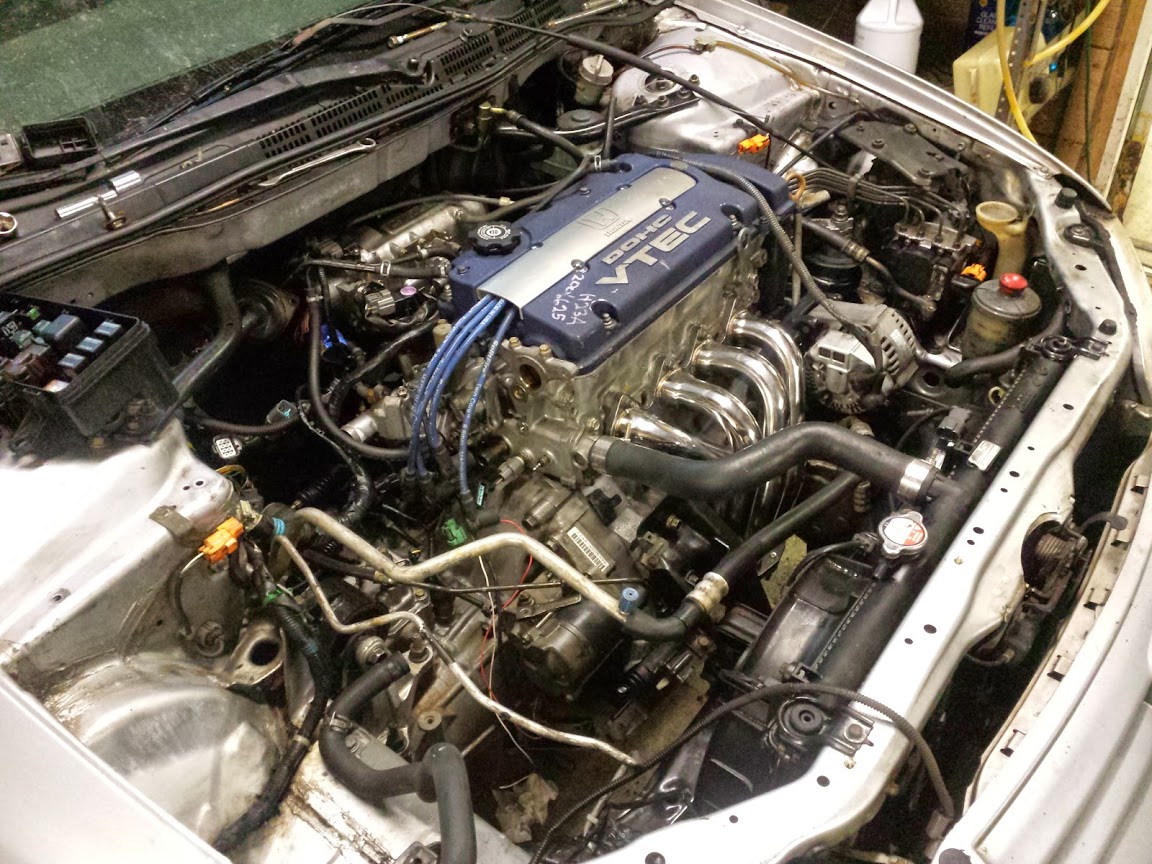
I attempted to start the vehicle with the OBD2B H23A automatic ECU. Engine just turns over and doesn't fire. I tried starting with the F23A1 PAA ECU (just to see if the engine will idle) and I smell fuel. It doesn't fire and there is a fuel leak somewhere in the engine bay, I am unsure where.
I have read that others have had to wire in a resistor box for the JDM injectors, I am not sure if this is needed for these. If so, would using my original F23A1 injectors prevent me from having to do this?
I currently have the barb that comes out the top of the throttlebody hooked up to the EVAP canister valve, which then has a hose to a black plastic cylindrical component (I assume that it's a check valve), that is then connected to a fuel return line.
The other fuel line that is connected to (I guess it's the FPR) with the two 10mm head (M6-1.0) bolts onto the fuel rail is the one that was originally on my F23A1. Perhaps I should put the H23A on instead.
The larger fuel line has one washer between the hose banjo fitting and the fuel rail, then there is one uniquely shaped washer between the fuel line banjo fitting and the 22mm nut nut that fastens the fuel line to the fuel rail. This seems to correspond with the inadequately documented factory service manual.
If anyone has any suggestions for my fuel leak, please advise. I have a plethora of pictures, but I am attempting to hold off bombarding this post with unnecessary clutter.
So far, in this project I have:
* replaced timing belt and water pump
* h23a1 manual timing belt tensioner swap
* removed balance shaft belt
* removed IAB butterfly plate
* rebuilt my F23A1 transmission with h23a1 gears (usdm final,3rd, 4th, jdm 5th)
* replaced clutch and pressureplate
* removed catalytic converter (it was the easiest way to get the header mounted to the exhaust)
* made a "custom" distributor adapter harness that allows me to plug my original accord f23a1 harness into the JDM distributor.
* replaced driver side outer CV boot.
* Replaced most hoses, new alternator/ac belt.
* Replaced radiator (found out original was cracked and had been JB welded.)
* Made a throttle cable adapter bracket.
To do:
* Find my chips so I can burn the H23A ROM that Blundar sent me.
* Re-wire 3-wire IACV to work as 2-wire until I can get an OBD1 2-wire IACV adapter plate.
* Move F23A1 dual throttle cable pulley over to H23A throttlebody.
* Filter for the intake.
I attempted to start the vehicle with the OBD2B H23A automatic ECU. Engine just turns over and doesn't fire. I tried starting with the F23A1 PAA ECU (just to see if the engine will idle) and I smell fuel. It doesn't fire and there is a fuel leak somewhere in the engine bay, I am unsure where.
I have read that others have had to wire in a resistor box for the JDM injectors, I am not sure if this is needed for these. If so, would using my original F23A1 injectors prevent me from having to do this?
I currently have the barb that comes out the top of the throttlebody hooked up to the EVAP canister valve, which then has a hose to a black plastic cylindrical component (I assume that it's a check valve), that is then connected to a fuel return line.
The other fuel line that is connected to (I guess it's the FPR) with the two 10mm head (M6-1.0) bolts onto the fuel rail is the one that was originally on my F23A1. Perhaps I should put the H23A on instead.
The larger fuel line has one washer between the hose banjo fitting and the fuel rail, then there is one uniquely shaped washer between the fuel line banjo fitting and the 22mm nut nut that fastens the fuel line to the fuel rail. This seems to correspond with the inadequately documented factory service manual.
If anyone has any suggestions for my fuel leak, please advise. I have a plethora of pictures, but I am attempting to hold off bombarding this post with unnecessary clutter.