Speedhut Gauge Overlays
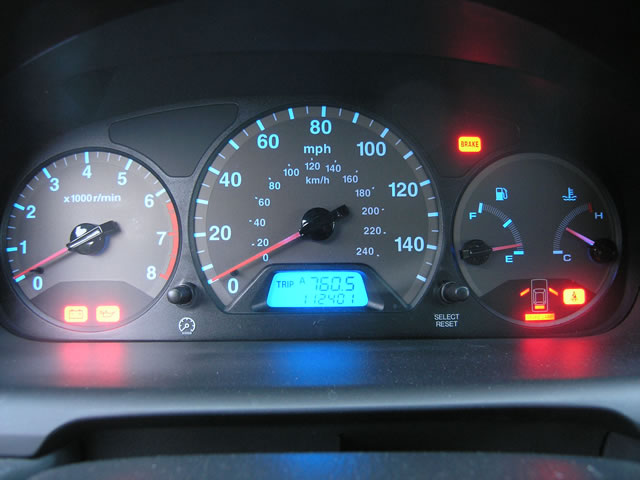
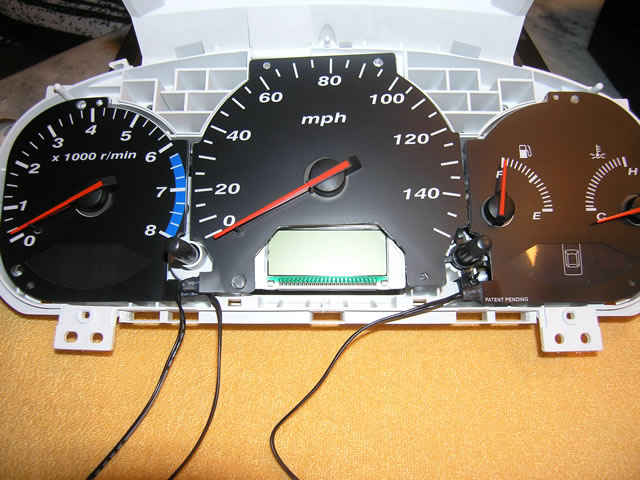
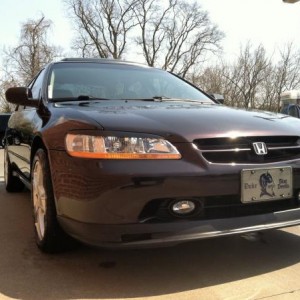
This is day shot of my original gauges:
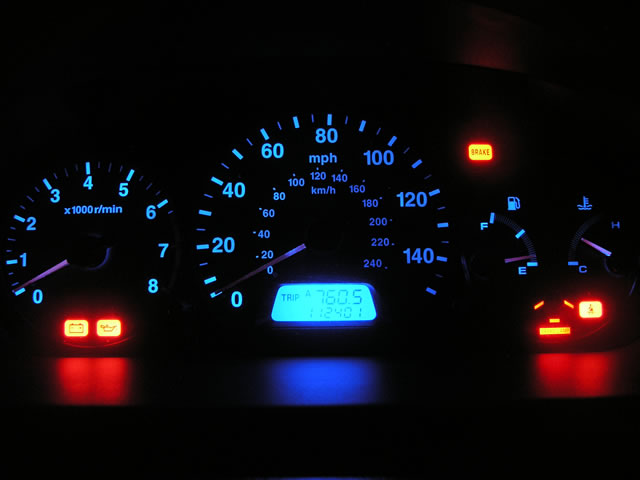
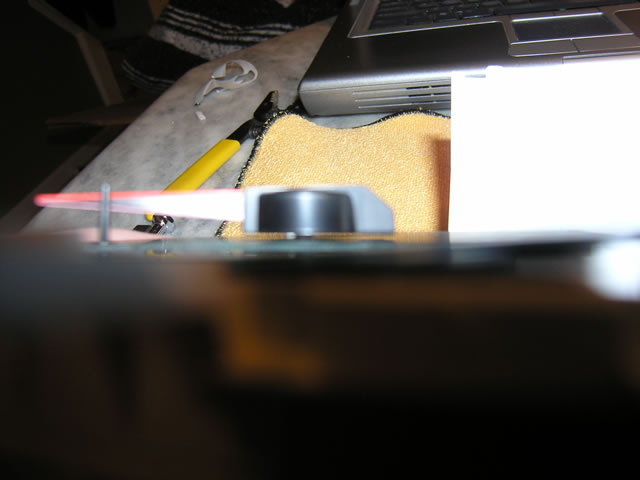
A night shot (okay, a towel over the dash):
Notice how the needles are painted near the hubs and how the needles themselves are a bit dull. In fact, they don't light up too well at night. The fuel/temp gauge is also not consistently lit from left to right.
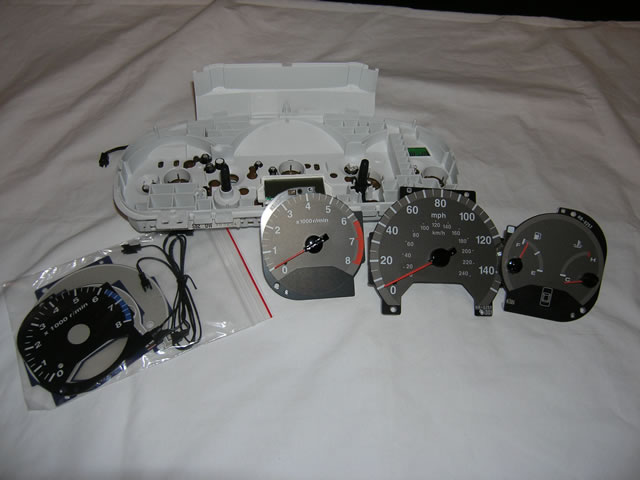
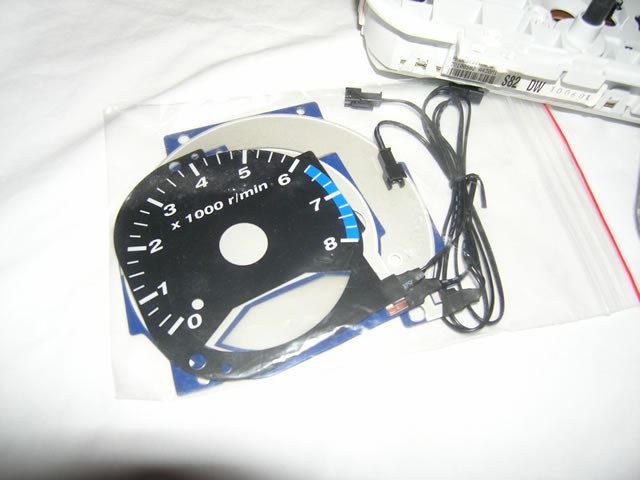
I bought a new set of gauges to go along with the Speedhut overlays. Here are the the Speedhut overlays, the gauge enclosure and the original gauges.
Tachometer overlay:
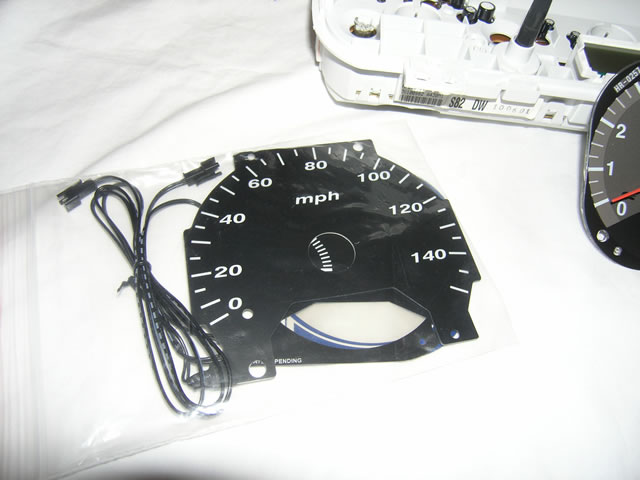
Speedometer overlay:
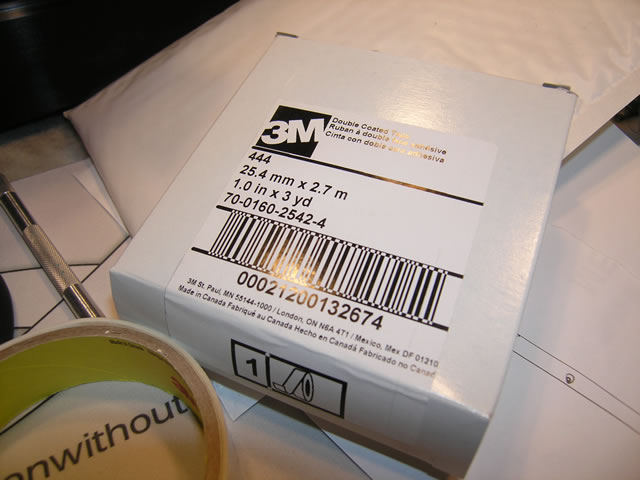
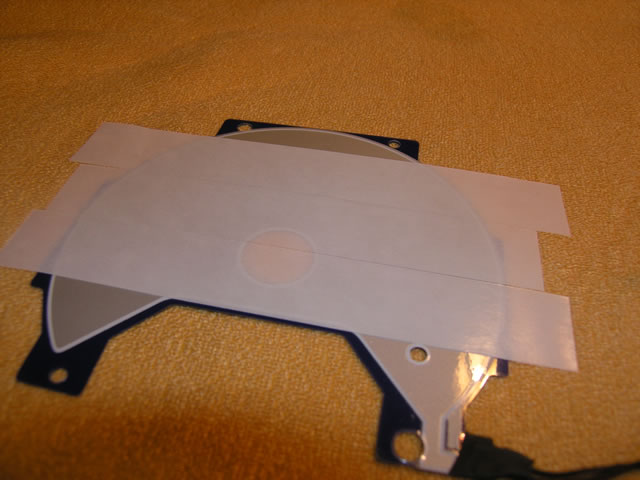
I tried ordering a roll of this tape but it was special order. They sent two free sample rolls instead...

The new tachometer. Nice new needles...
")
This is the rear of the speedometer but I put the tape along the back of the tachometer overlay, too:
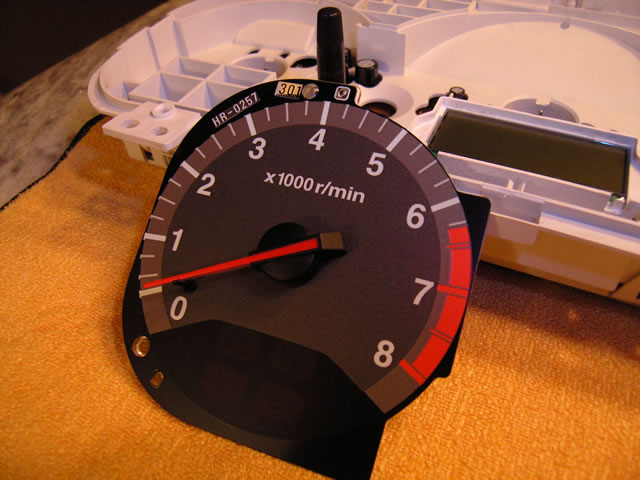
Installed after quite a lot of trouble. The tape is very tacky. I probably used a bit too much. Oh, well. They're not going anywhere now! Here is the finished tachometer:
In all my reading about Speedhut gauges, one thing was clear: these overlays are thick! Well, it appears that they're not so thick anymore. There is ample room for needle movement:
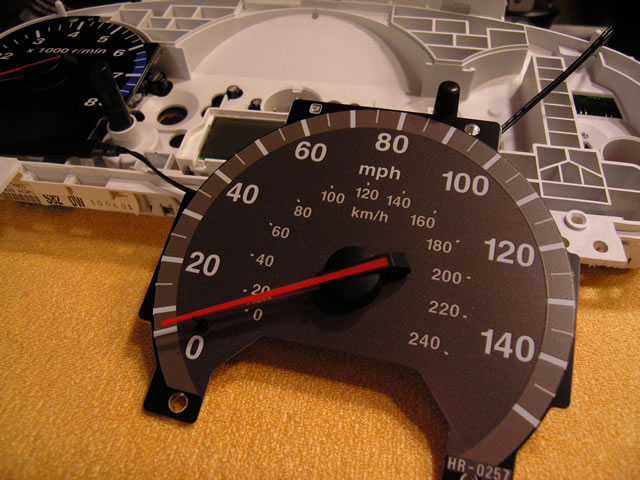
New speedometer:
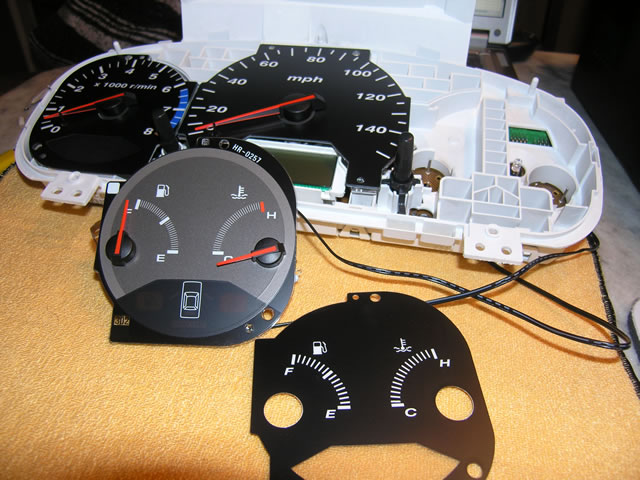
And finally, the fuel/temp gauge:
All overlays in place:
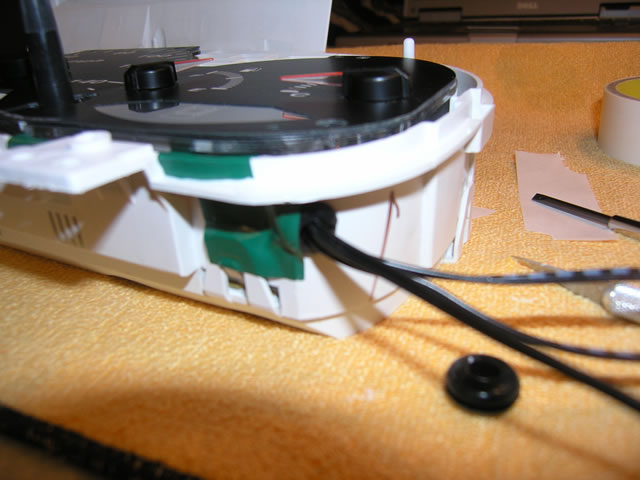
I routed all the wires along the bottom to the right side of the gauge enclosure. I drilled a hole in the corner of the enclosure and taped a grommet in place:
The green tape at the top of the picture above was accidentally placed across the light source for the indicators below the fuel/temp gauge. Overall, the install went well and I'm happy with the results. Other than a few issues that will require me to take it all apart next weekend...
...oh, well. At least I have something car-related to work on...
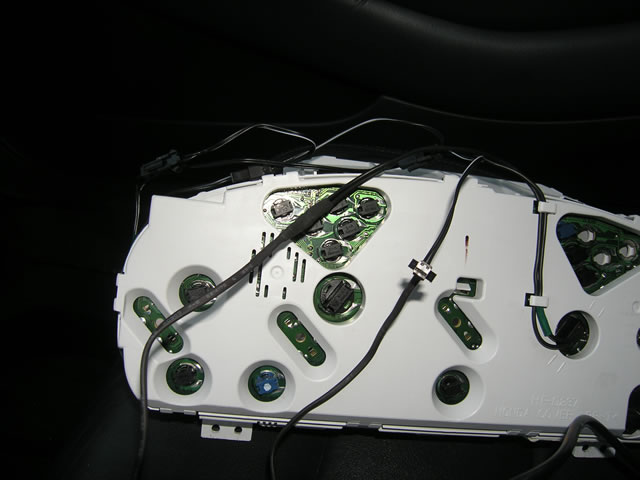
I simply soldered the inverter power leads to the wires that normally run to the overhead lights in front of the gauges (the wires that run from the right lamp socket). The solder point is covered in heat shrink tubing above the second lamp socket.
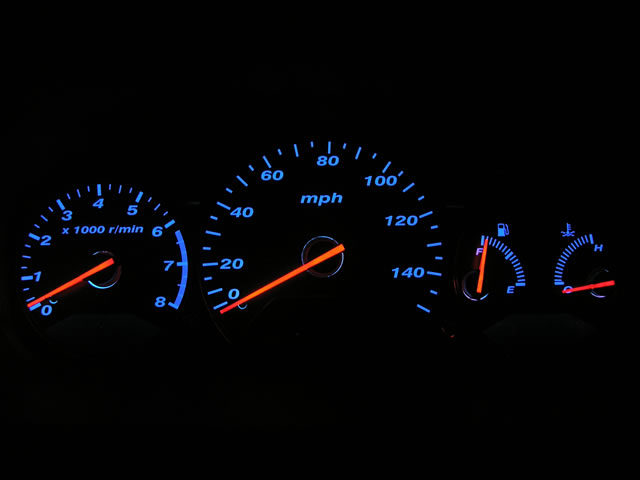
At night, the difference is HUGE!!...
Before:
I noticed I put the speedometer overlay on a bit off. There's no way I'm moving it now! It's only noticable around the needle hub. The OEM gauges are dark grey and the overlays are black. There is a nice brushed appearance to the overlays.
I'm currently using red bulbs behind the needles. I'm thinking I might switch to white so that the red isn't visible behind the needle hubs. White would possibly blend in better with the blue that leaks out slightly around the needles.
Very happy with the outcome. It's a HUGE improvement over what I had before. Unfortuntately, I have to revisit this project again next weekend. I stretched the temp gauge hole a bit. The recommendation is to gently use a heat gun to coax it back into place. We'll see how well that goes...