

Ghost Ryder
Well-Known Member
First and foremost:
-I am not responsible for ANYTHING that may come of anyone doing this.
After much research on the matter of a plenum spacer for our cars, I found that there wasn't one that currently being made at the time. I did see that there are a couple of other motors from Honda such as the one offered in the Odessy and Ridge Line that do have spacers. How ever these aluminum ones are, A) Not cheap, and B) Not practical for modification to fit out cars.
With that said Im going to cut to the chase to say that aluminum slabs in the size needed aren't cheap either. Getting a competent machinest to cut it is even harder. Laser, water jet, or CNC is just something else to add to the cost of such a thing. I ran accross a company called Narva plastics through ebay. Contact Howard @ 1-800-826-0758, ext#10.
http://cgi.ebay.com/ws/eBayISAPI.dll?ViewItem&item=190346886610&ssPageName=STRK:MEWAX:IT
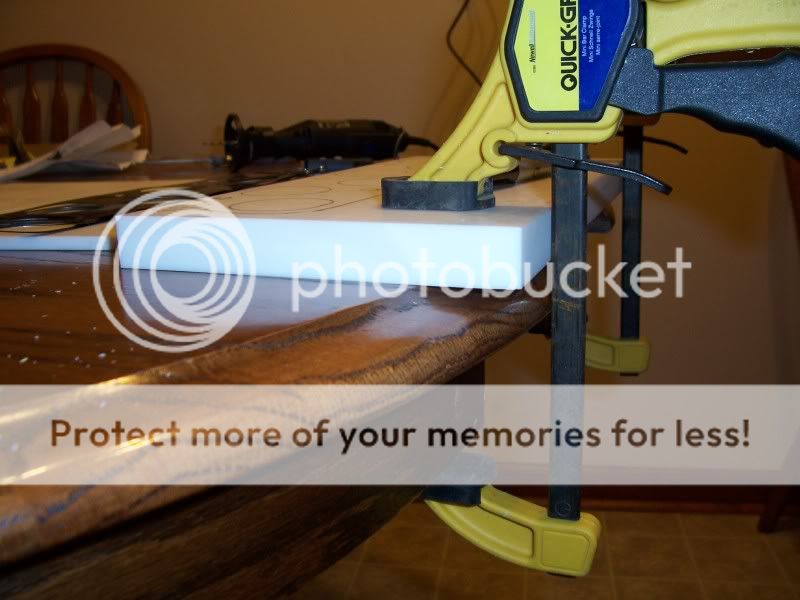
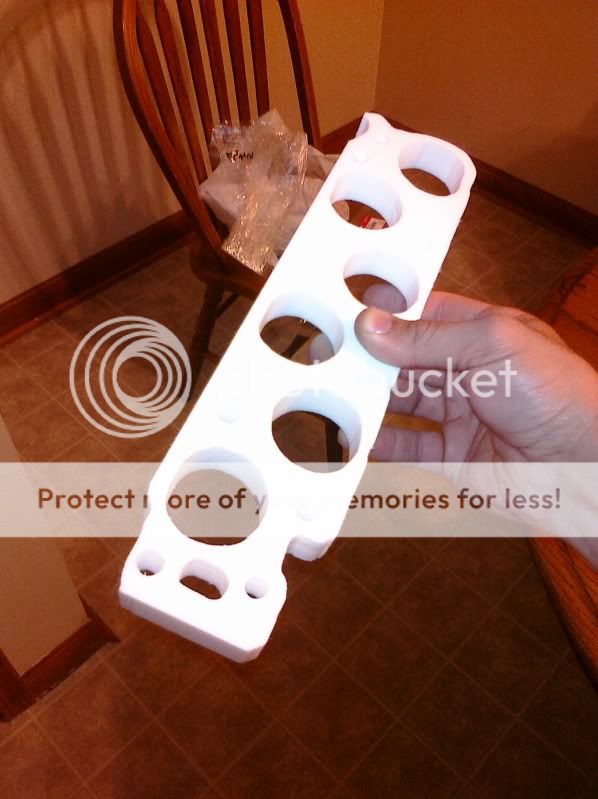
I ordered a 13"X6"X3/4" piece of G30, Teflon, 500 deg. tolerant plastic.
It is very easy to cut and file. (I ordered a piece big enough to make two if I wanted.)Plus its lighter and doubles as an insulator for the plenum.Cost, $54.00 plus shipping of $15.00
For further refrence of use for this or other plastics I used the charts on this site.
http://www.mcmaster.com/#about-plastics/=chq3oc
What you will need:
The plastic, and bolts that are a little longer than the O.E. ones. The factory ones are 8mm X 1.25 X 32mm long. Leaving you with a bolt too short after the mod. I bought longer bolts and used a die to cut the threads up the shank to where I needed them. Also you will need washers for each one. Six bolts and washer total. Lastley in the hardware, you will need three studs,
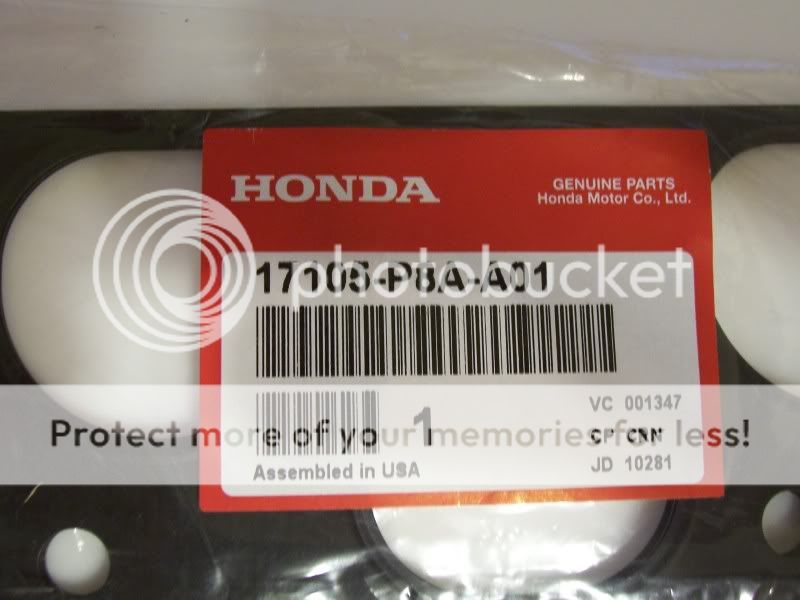
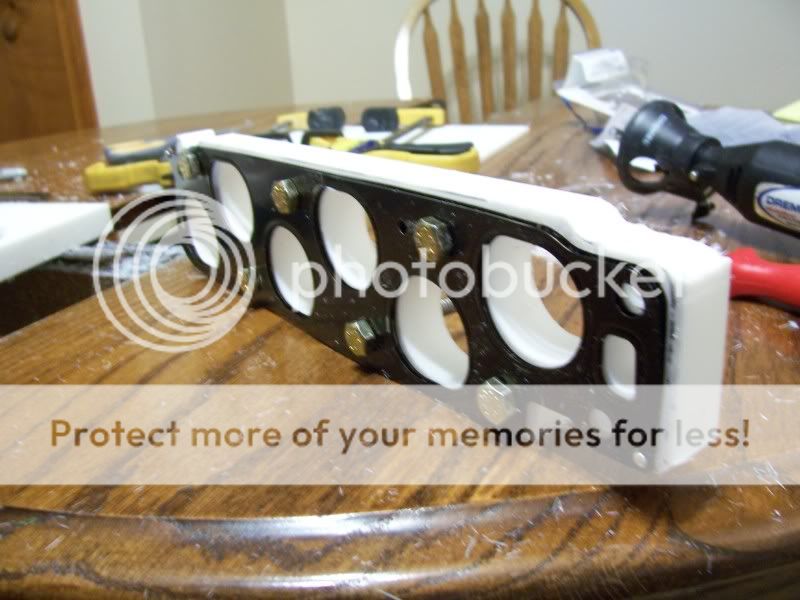
8mm X 1.25 X 45.(Not pictured) AND TWO, YES TWO, GASKETS such as pictured below. One for on top, other for the bottom.


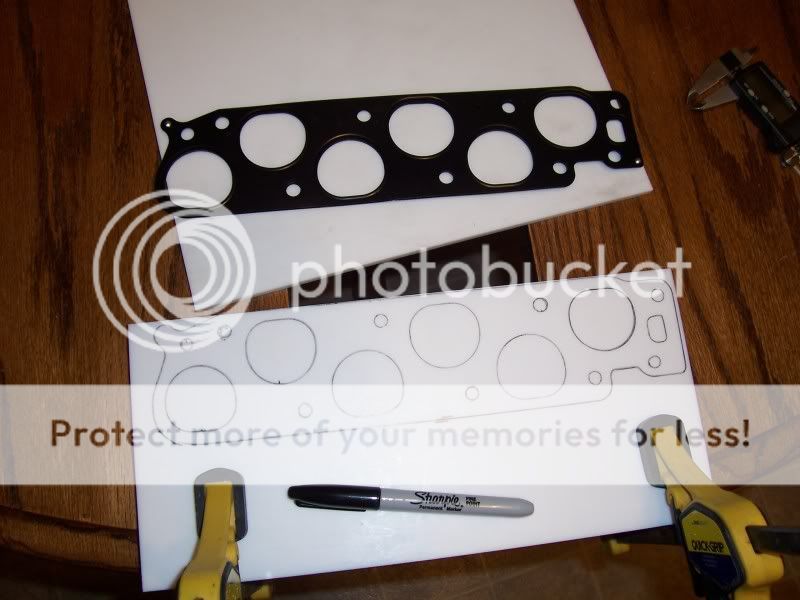
An O.E. plenum a.k.a. upper intake gasket to trace the pattern for your cut on the plastic with a BRAND NEW Sharpy permanent marker. I used a pair of helpers hands to secure the piece while marking or cutting it. It is VERY important to secure it tightly while cutting.
Once you've secured it safely and traced your pattern, use a dremel and regular drill bit to put a pilot hole in the center of port and bolt hole.

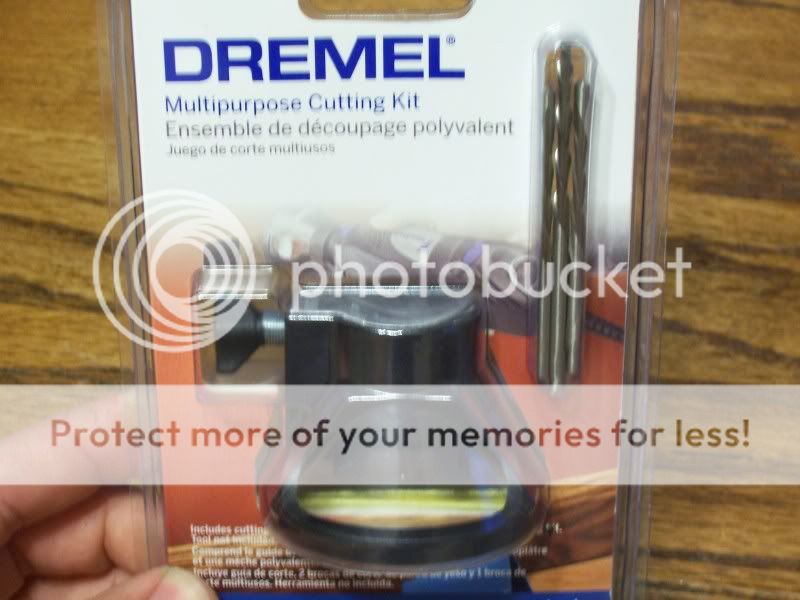
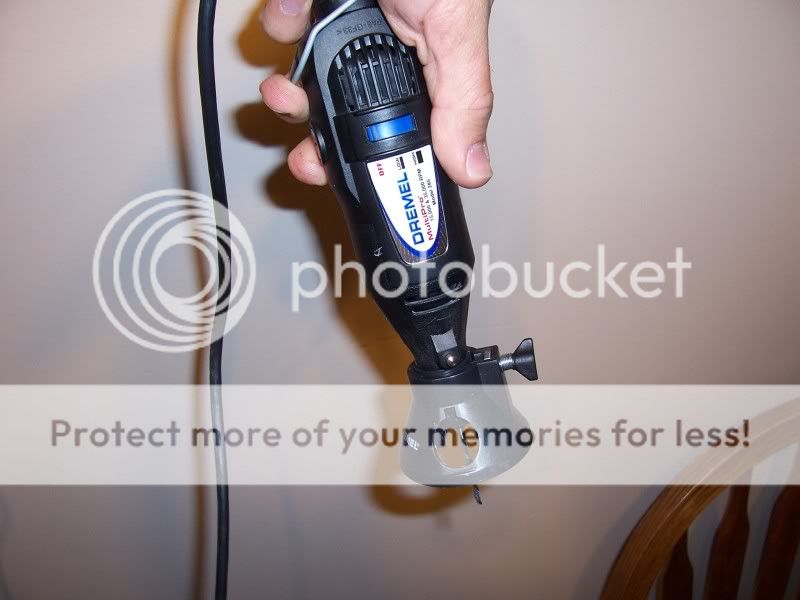
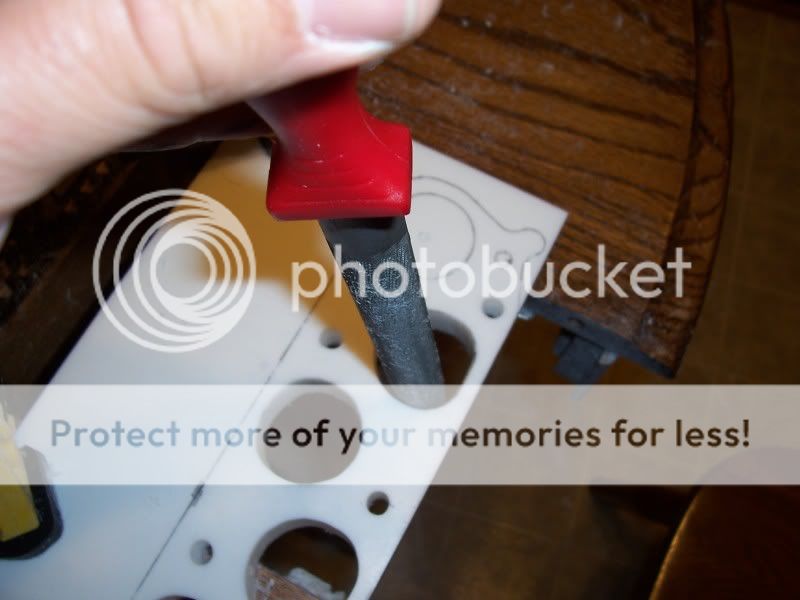
Next take your dremel and newly purchased routing adapter, completely with a fresh set of bits.
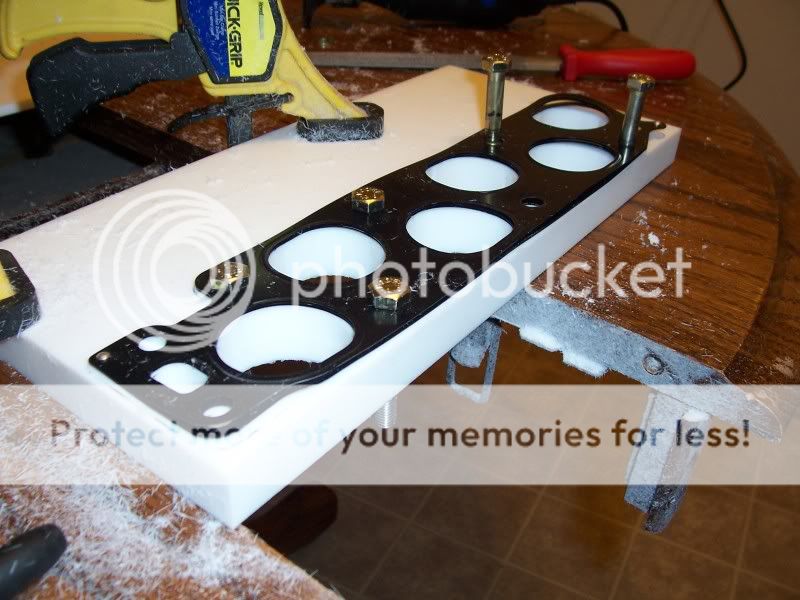
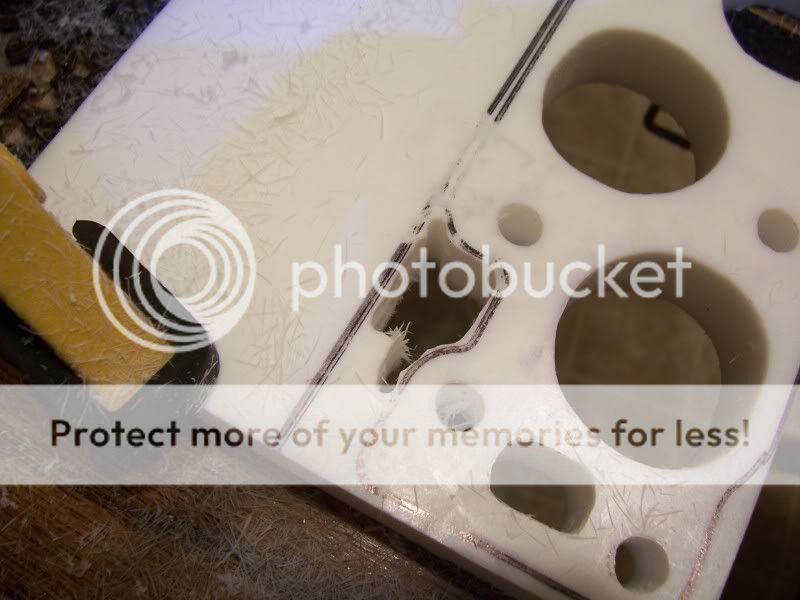
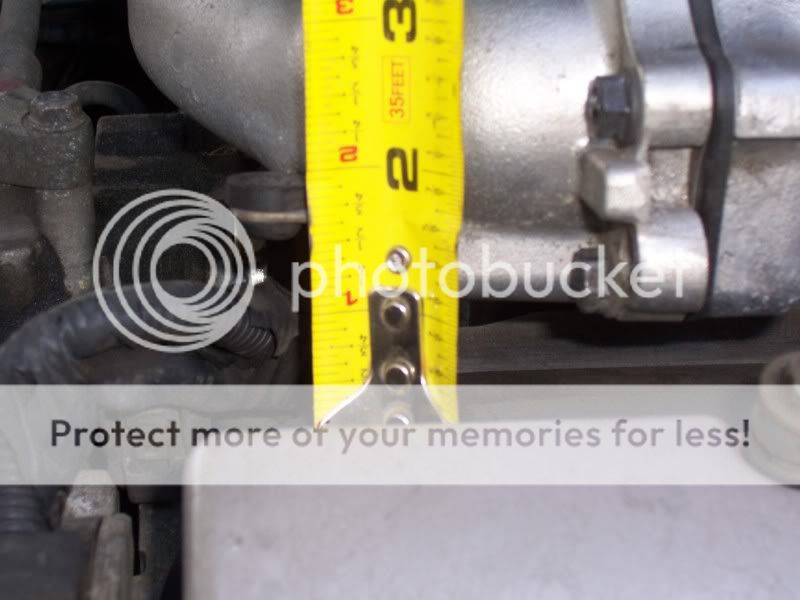
With power OFF, insert bit into pilot hole. If you are starting on a bolt hole or the EGR port, use small motions to work away at the edges. I went until all the permanent marker was cut out. I also used a Micrometer to check the demensions as i made my cuts.I do suggest that when making the "D" shape ports for the runners, using half cuts. Cutting each one through the center along the outer edge to meet back at where you started.

It doesn't hurt to often lay the gasket on it to double check with the naked eye. You can also use the new 8mm X 1.25 X 53mm bolts to put in the bolt holes to keep every thing in line. Working the cuts in your pattern form one end to the other.

After you make all you cuts you can use a file to trim where needed. But this stuff files EASY, so don't get carried away....
Lastly, trim around the out side.
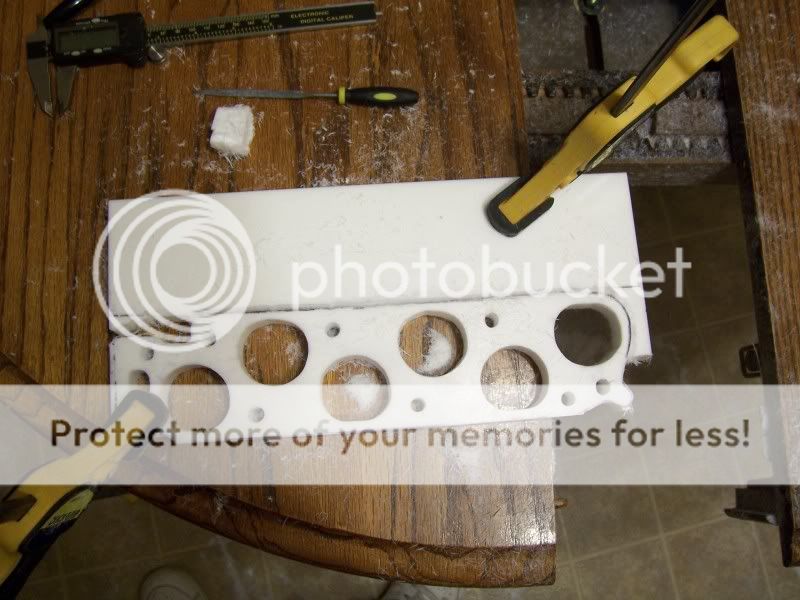
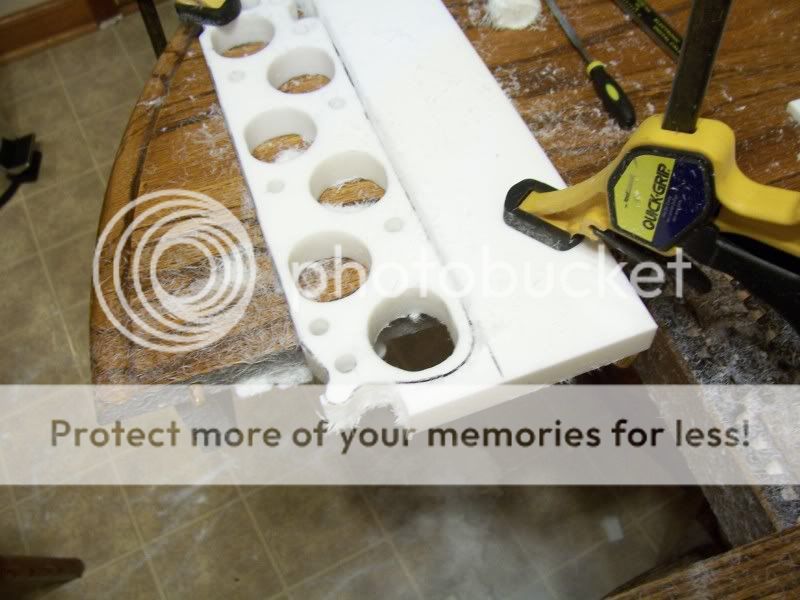
Then, Walla!
Total work time for a "never did anything like this before", 1.5 hrs.
I have it currently installed and haven't found any problems. Fits under the hood pretty good. Some minor rubbing against the insulation, but nothing to worry about. I will try to post install pics later.
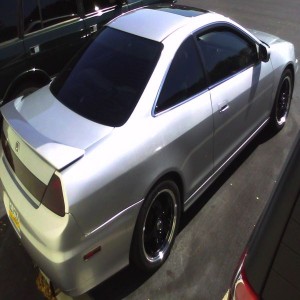
Before:

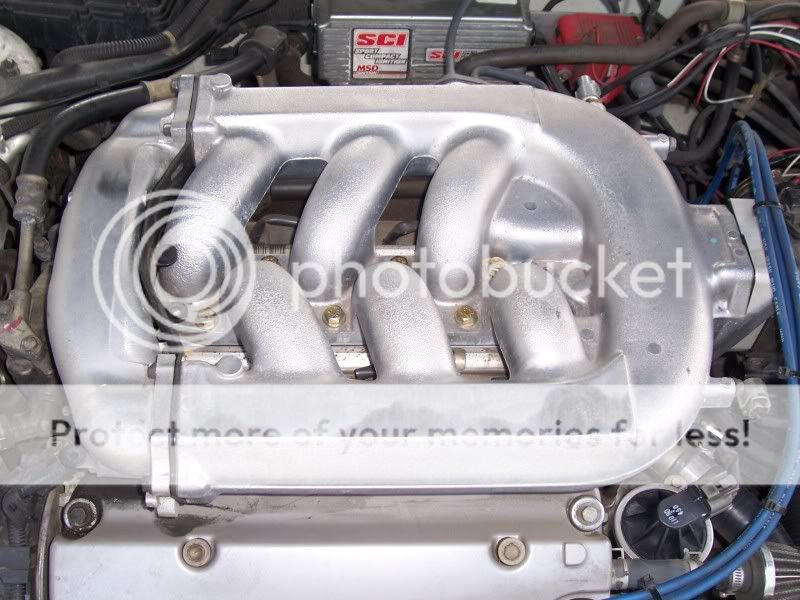
After:

My motor is atrociuos, but here it is with the plenum on. The shiny spots are where the material under the hood rubbs. But again, little to no concern.


Also, this mod along with a couple other small ones helped contribute to a better run time at the local 8th mile drag strip. But I will have it dyno'd at the 2011 Tenn., I.A. to find out where it has move the power band.
Hope you guys like and some one finds this useful.
-I am not responsible for ANYTHING that may come of anyone doing this.
After much research on the matter of a plenum spacer for our cars, I found that there wasn't one that currently being made at the time. I did see that there are a couple of other motors from Honda such as the one offered in the Odessy and Ridge Line that do have spacers. How ever these aluminum ones are, A) Not cheap, and B) Not practical for modification to fit out cars.
With that said Im going to cut to the chase to say that aluminum slabs in the size needed aren't cheap either. Getting a competent machinest to cut it is even harder. Laser, water jet, or CNC is just something else to add to the cost of such a thing. I ran accross a company called Narva plastics through ebay. Contact Howard @ 1-800-826-0758, ext#10.
http://cgi.ebay.com/ws/eBayISAPI.dll?ViewItem&item=190346886610&ssPageName=STRK:MEWAX:IT
I ordered a 13"X6"X3/4" piece of G30, Teflon, 500 deg. tolerant plastic.
It is very easy to cut and file. (I ordered a piece big enough to make two if I wanted.)Plus its lighter and doubles as an insulator for the plenum.Cost, $54.00 plus shipping of $15.00
For further refrence of use for this or other plastics I used the charts on this site.
http://www.mcmaster.com/#about-plastics/=chq3oc
What you will need:
The plastic, and bolts that are a little longer than the O.E. ones. The factory ones are 8mm X 1.25 X 32mm long. Leaving you with a bolt too short after the mod. I bought longer bolts and used a die to cut the threads up the shank to where I needed them. Also you will need washers for each one. Six bolts and washer total. Lastley in the hardware, you will need three studs,
8mm X 1.25 X 45.(Not pictured) AND TWO, YES TWO, GASKETS such as pictured below. One for on top, other for the bottom.
An O.E. plenum a.k.a. upper intake gasket to trace the pattern for your cut on the plastic with a BRAND NEW Sharpy permanent marker. I used a pair of helpers hands to secure the piece while marking or cutting it. It is VERY important to secure it tightly while cutting.
Once you've secured it safely and traced your pattern, use a dremel and regular drill bit to put a pilot hole in the center of port and bolt hole.
Next take your dremel and newly purchased routing adapter, completely with a fresh set of bits.
With power OFF, insert bit into pilot hole. If you are starting on a bolt hole or the EGR port, use small motions to work away at the edges. I went until all the permanent marker was cut out. I also used a Micrometer to check the demensions as i made my cuts.I do suggest that when making the "D" shape ports for the runners, using half cuts. Cutting each one through the center along the outer edge to meet back at where you started.
It doesn't hurt to often lay the gasket on it to double check with the naked eye. You can also use the new 8mm X 1.25 X 53mm bolts to put in the bolt holes to keep every thing in line. Working the cuts in your pattern form one end to the other.
After you make all you cuts you can use a file to trim where needed. But this stuff files EASY, so don't get carried away....
Lastly, trim around the out side.
Then, Walla!
Total work time for a "never did anything like this before", 1.5 hrs.
I have it currently installed and haven't found any problems. Fits under the hood pretty good. Some minor rubbing against the insulation, but nothing to worry about. I will try to post install pics later.
Before:
After:
My motor is atrociuos, but here it is with the plenum on. The shiny spots are where the material under the hood rubbs. But again, little to no concern.
Also, this mod along with a couple other small ones helped contribute to a better run time at the local 8th mile drag strip. But I will have it dyno'd at the 2011 Tenn., I.A. to find out where it has move the power band.
Hope you guys like and some one finds this useful.
Last edited:
 <--- ambition
 Updated....