acedomain
Well-Known Member
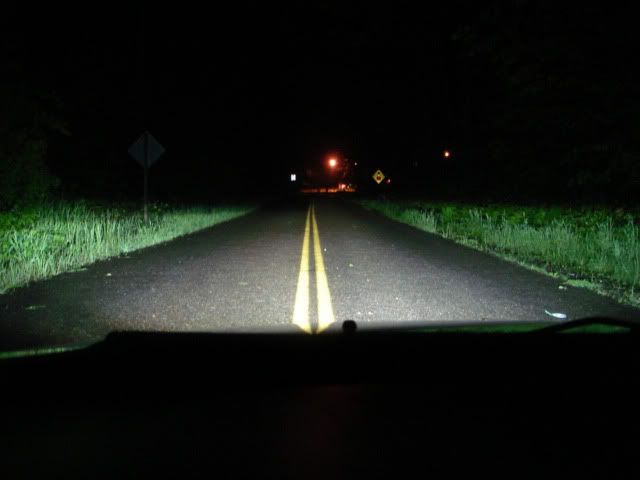
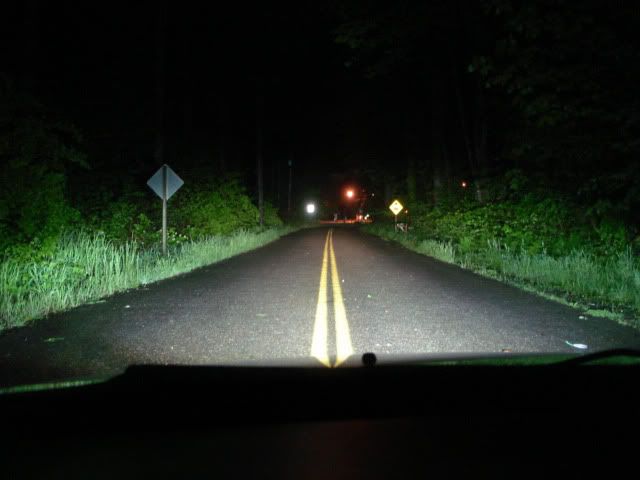
how do these look at night? any chance to get any pics?
i believe another member posted pics of these in the retrofit club thread....


how do these look at night? any chance to get any pics?
i believe another member posted pics of these in the retrofit club thread....

but it wasnt a full diy...

this is what I've been waiting for!thank you thank you!!!
err wait a min... how do I rep ppl again?
nice! good job! rep for yous
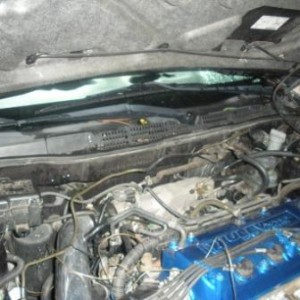
great job on the retro!
ah I see now, so you just sand down the bottom edge to get it to be flush.
very well done, I think this might be something I'll do soon. That's like so easy frankly
I do want to see some night shots!
probably one of the best retro DIY's ive seen.

Added to DIY List
Thanks
good write up matt