
shavedaccord
Well-Known Member
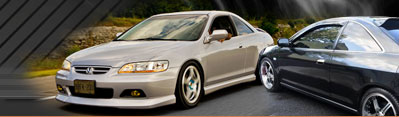
There are several methods used to change the color of a car but I feel this one is probably the best and most realistic..The process CAN be time consuming but in the end the results will be worth it.
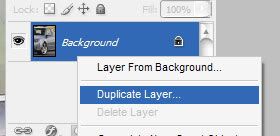
1. The first thing you going to want to do is create a copy of your background layer. You do this by right clicking on your background layer and selecting "Duplicate Layer"
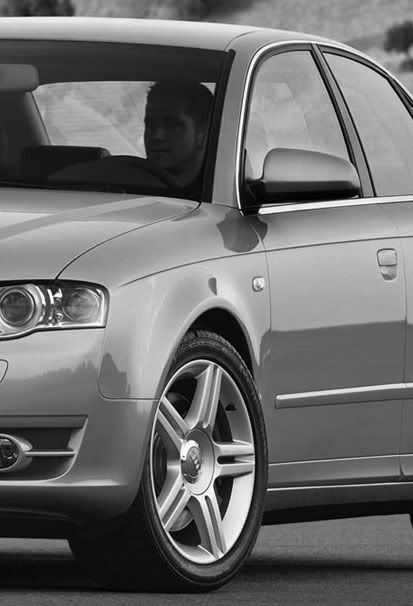
2.Next step is to desaturate the new layer you just made by going to "Image > Adjustments > Desaturate" (Shift+Ctrl+U)
3.Now it's time to add the new color. This process can be done several ways the two most popular and realistic ways are "Image > Adjustments > Variations" & "Image > Adjustments > Hue & Saturation". Either one works fine it just comes down to personal preference. I choose to use Variations here.
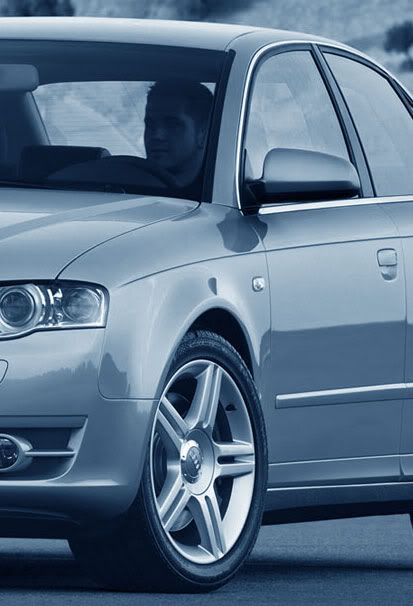
TIP: Try not to overkill on this step seems the more pastel and lighter the color you choose the better the end results tend to be
4.Ok once again this step there are several ways and depending on which way you choose it can be time consuming. I choose to use the erase method which takes awhile but gives a better result. Another method would be to use the "Polygonal Lasso Tool". No matter what method you choose the object here is to erase the areas that are not susposed to be colored.

TIP: ok so it looks pretty good now eh? but it can get better in some cases try playing with the layer blending. Right click on the layer and select "Blending Options". this is what I came up with by simply changing the "Blend Mode" to "Darken"
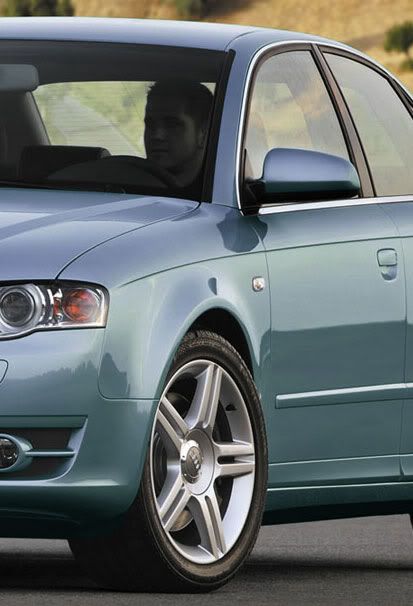
Ok so lets give this Audi a new color

1. The first thing you going to want to do is create a copy of your background layer. You do this by right clicking on your background layer and selecting "Duplicate Layer"
2.Next step is to desaturate the new layer you just made by going to "Image > Adjustments > Desaturate" (Shift+Ctrl+U)
3.Now it's time to add the new color. This process can be done several ways the two most popular and realistic ways are "Image > Adjustments > Variations" & "Image > Adjustments > Hue & Saturation". Either one works fine it just comes down to personal preference. I choose to use Variations here.
TIP: Try not to overkill on this step seems the more pastel and lighter the color you choose the better the end results tend to be
4.Ok once again this step there are several ways and depending on which way you choose it can be time consuming. I choose to use the erase method which takes awhile but gives a better result. Another method would be to use the "Polygonal Lasso Tool". No matter what method you choose the object here is to erase the areas that are not susposed to be colored.
TIP: ok so it looks pretty good now eh? but it can get better in some cases try playing with the layer blending. Right click on the layer and select "Blending Options". this is what I came up with by simply changing the "Blend Mode" to "Darken"