6genaccord
Well-Known Member
So as some of you know, my good friend Dan's (Zenki240sx) father has a 5 speed 6th gen. He was never much into cars but always commented on ours, as they slowly went from stock to the present. Nonetheless, as he watched my car get mod after mod, he slowly began to get curious of what could be done to his daily driver to make it a little more fun to drive as well as a bit more aggressive looking. Eventually he had had enough and decided to have us transform his car. He told us to keep it simple, clean and practical and he'd subsidize the project, besides he figures any mistake we would've made on his car... we probably already did on mine.
So we ordered him headers, a high flow cat, custom exhaust, Tein H-tech springs, 18" forget the brand of rims but we got Toyo tires on them and KYB gas shocks. On the way is a full Wings West kit, possibly short shifter, and we'll be blackhousing the head lights of course!
Anyway, down to the entertaining part....
We were killing time the other night because no one wanted to do their finals work and GTA got boring after a couple hours so we figured we'd swap out the suspension. Turns out his car is 2 years older then mine and half as much corrosion... but anyway. I thought I'd share some pictures of our unconventional methods of dealing with problems that arose in the home driveway. I was originally going to do a DIY write up until I realized there are plenty out there and the way I do it is not the most reliable/"safe" way.
I would not suggest any of these methods to anyone and they are for entertainment only! I was hesitant to post this because I didn't want someone to be like "Oh great idea!" and seriously hurt or injure themselves, but I'm pretty sure this is a small and mature enough group to enjoy them. We've done this several times and it's as controlled of a process as possible.
On with the pictures/commentary.
So of course while taking the front OEM suspension out you take out the two bolts holding the fork
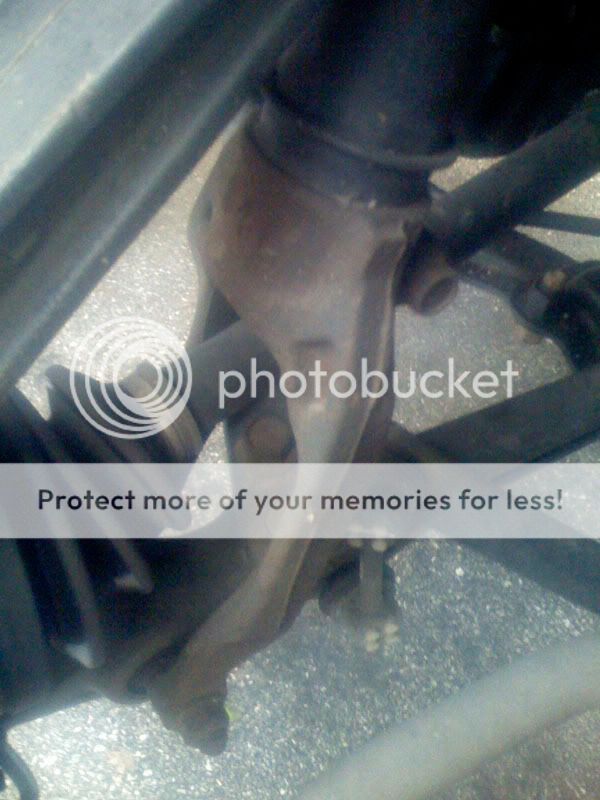
and the eventually the top 5 bolts
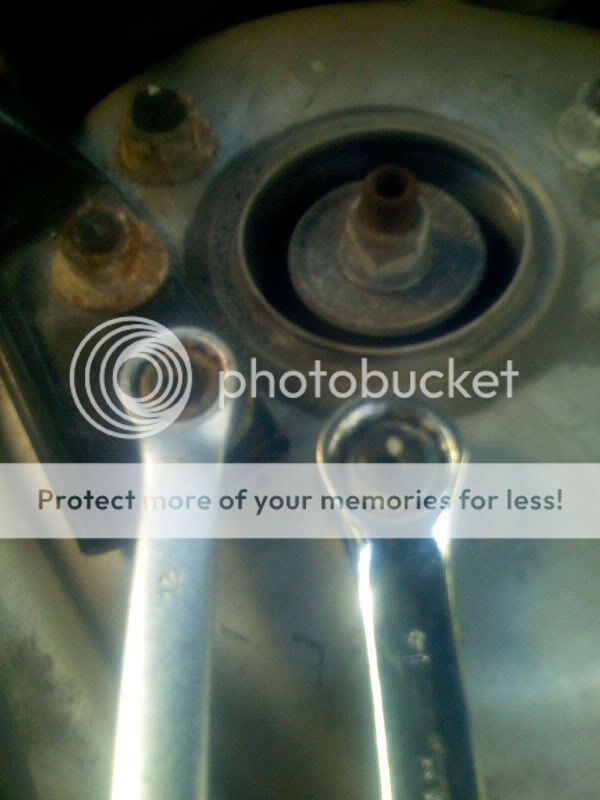
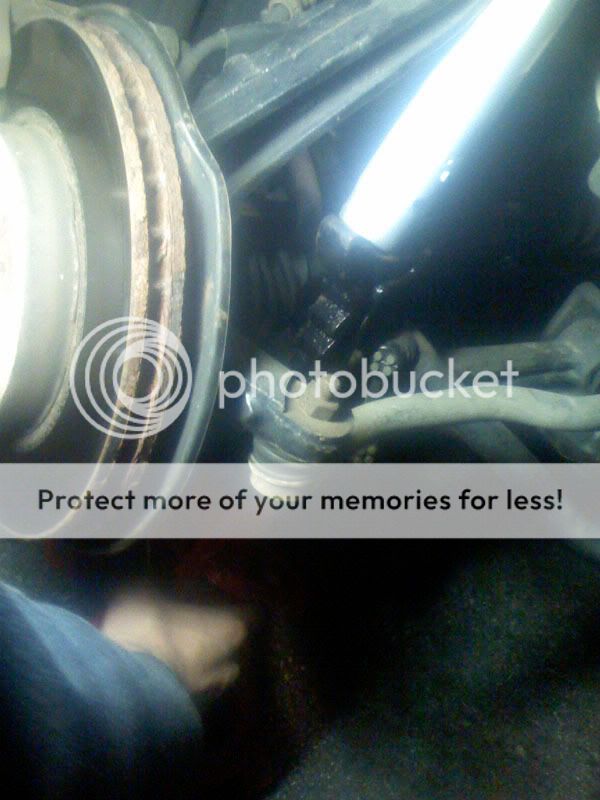
Sometimes getting the bottom most bolt/nut off is tricky because there both 17 (the rears at least the nut is welded in place) When trying to break bolts loose, we try and use the solid state wrench/breaker bar because we've broken several wrachets, and even a few solid state otherwise. But a tire iron works well as it give you more torque then a breaker bar as you can use both hands... add a little PB Blaster/torch if needed and you'll be set.
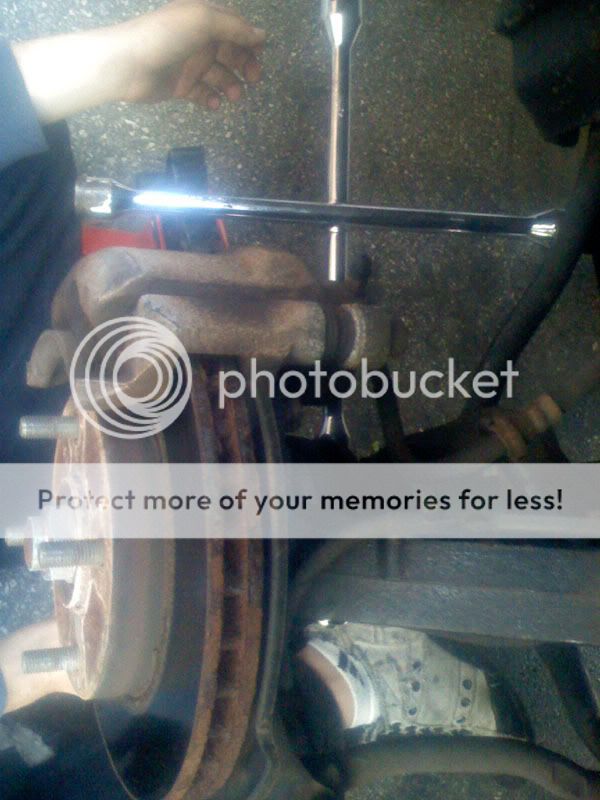
^this picture shows using the tire iron/jack stand to just keep one side stationary
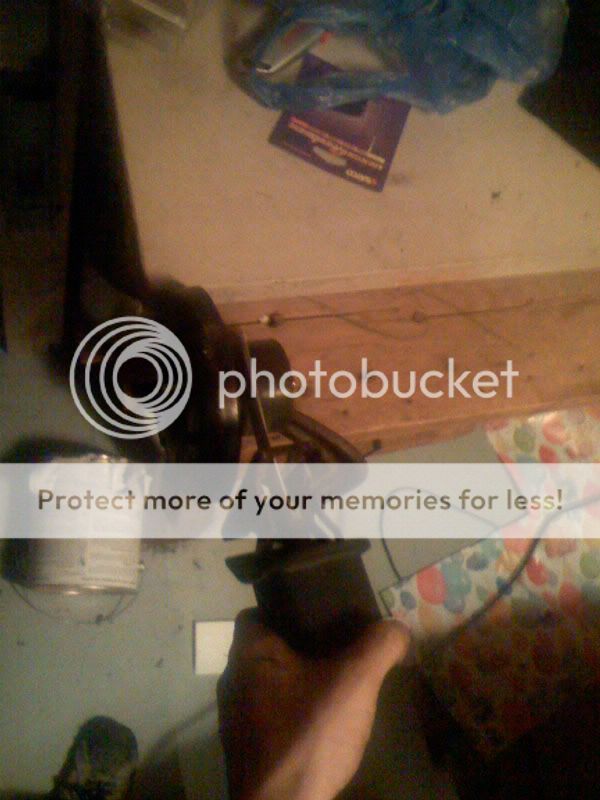
Next the top hats of the OEM were so corroded there was no way of disassembling it in a civil way. The rears were easy as they are inside the car away from moisture. In the past we've melted springs to relieve the tension and then sawzalled the shock and then sawzalled right under the top hat between bushings. haha works great and is real quick if you don't need your OEM setup anymore. anyway this time we just went cut, cut and took the top hat off plus this let us retain the OEM bumpstops/guards. we bought new top mounts for them though.
Now, when we installed my suspension we didn't need a spring compressor because the Tein S-techs were short enough. The H-techs were a little (1/2" too long) too long even with body weight applied could only move it a 1/4" at best. So here was our solution.
We attached the top hat and fit spring on it.
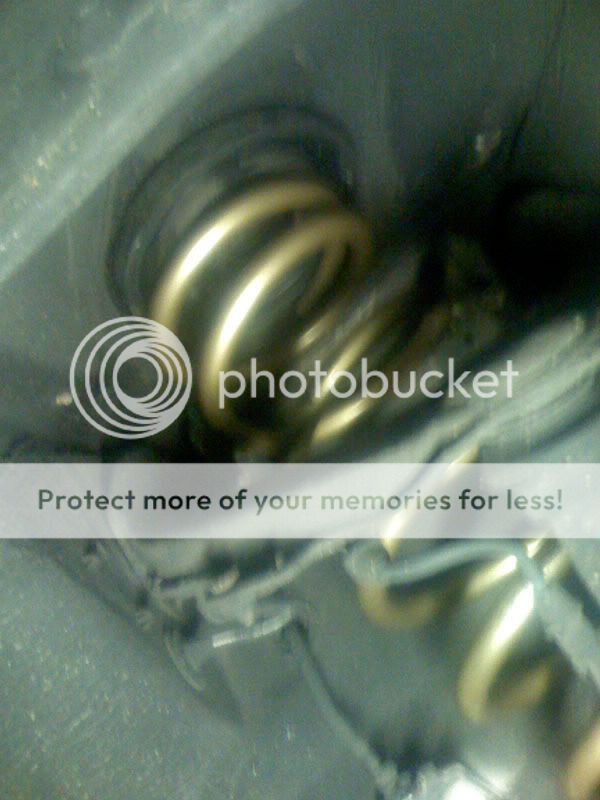
Then we lined up the shock correctly and supported it with a jack stand.
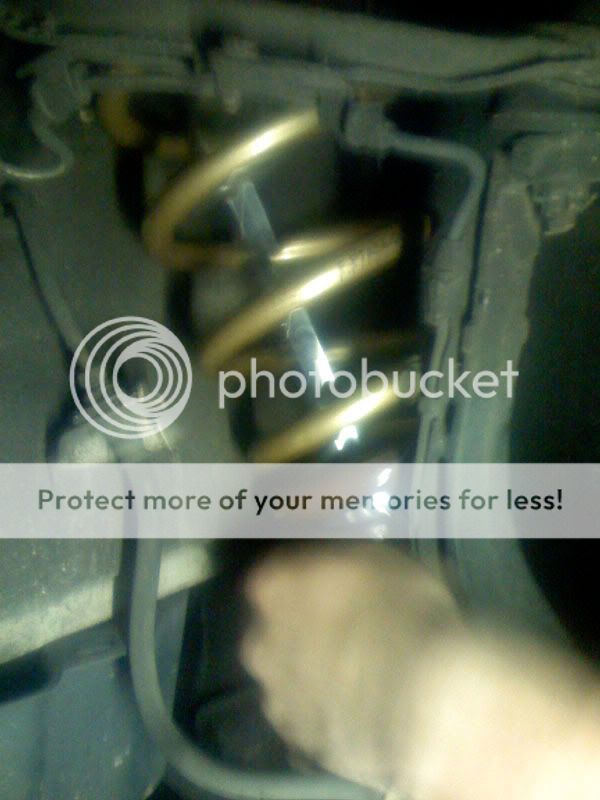
This process took a few times because the spring had to align with the spring seat (which was welded to the shock... Koni spring seats can rotate as they are a separate piece). Then we slowly lowered the car enough so the shock would sit snugly on the jackstand at the closest available height interval. After making sure everything was aligned and set we lowered the car some more to compress the spring, waiting on the top with a washer and nut haha.
I think the hardest bolts to get off luckily were the sway bar brackets (4 bolts) and the rear brake line brackets. the break line bracket was corroded alot so we heated it up, put a solid state wrench on it at horizontal increment, supported it with a jackstand and lowered the car on it.
Anyway, that whole ordeal took nearly 3 hours with MANY cigarette breaks, and a pizza break .
.
So we ordered him headers, a high flow cat, custom exhaust, Tein H-tech springs, 18" forget the brand of rims but we got Toyo tires on them and KYB gas shocks. On the way is a full Wings West kit, possibly short shifter, and we'll be blackhousing the head lights of course!
Anyway, down to the entertaining part....
We were killing time the other night because no one wanted to do their finals work and GTA got boring after a couple hours so we figured we'd swap out the suspension. Turns out his car is 2 years older then mine and half as much corrosion... but anyway. I thought I'd share some pictures of our unconventional methods of dealing with problems that arose in the home driveway. I was originally going to do a DIY write up until I realized there are plenty out there and the way I do it is not the most reliable/"safe" way.
I would not suggest any of these methods to anyone and they are for entertainment only! I was hesitant to post this because I didn't want someone to be like "Oh great idea!" and seriously hurt or injure themselves, but I'm pretty sure this is a small and mature enough group to enjoy them. We've done this several times and it's as controlled of a process as possible.
On with the pictures/commentary.
So of course while taking the front OEM suspension out you take out the two bolts holding the fork
and the eventually the top 5 bolts
Sometimes getting the bottom most bolt/nut off is tricky because there both 17 (the rears at least the nut is welded in place) When trying to break bolts loose, we try and use the solid state wrench/breaker bar because we've broken several wrachets, and even a few solid state otherwise. But a tire iron works well as it give you more torque then a breaker bar as you can use both hands... add a little PB Blaster/torch if needed and you'll be set.
^this picture shows using the tire iron/jack stand to just keep one side stationary
Next the top hats of the OEM were so corroded there was no way of disassembling it in a civil way. The rears were easy as they are inside the car away from moisture. In the past we've melted springs to relieve the tension and then sawzalled the shock and then sawzalled right under the top hat between bushings. haha works great and is real quick if you don't need your OEM setup anymore. anyway this time we just went cut, cut and took the top hat off plus this let us retain the OEM bumpstops/guards. we bought new top mounts for them though.
Now, when we installed my suspension we didn't need a spring compressor because the Tein S-techs were short enough. The H-techs were a little (1/2" too long) too long even with body weight applied could only move it a 1/4" at best. So here was our solution.
We attached the top hat and fit spring on it.
Then we lined up the shock correctly and supported it with a jack stand.
This process took a few times because the spring had to align with the spring seat (which was welded to the shock... Koni spring seats can rotate as they are a separate piece). Then we slowly lowered the car enough so the shock would sit snugly on the jackstand at the closest available height interval. After making sure everything was aligned and set we lowered the car some more to compress the spring, waiting on the top with a washer and nut haha.
I think the hardest bolts to get off luckily were the sway bar brackets (4 bolts) and the rear brake line brackets. the break line bracket was corroded alot so we heated it up, put a solid state wrench on it at horizontal increment, supported it with a jackstand and lowered the car on it.
Anyway, that whole ordeal took nearly 3 hours with MANY cigarette breaks, and a pizza break
.