

My lights were not only yellowing and dull but they were extremely hazy and making my HID's really useless. There are probably better/faster ways to do this but this was my method. It took about 2.5 hours for one light. I could have just used the headlight kit but I wanted to remove all the scratches and really get the nastyness out of the lights. When I finished the headlight felt like glass. Pics at the end!
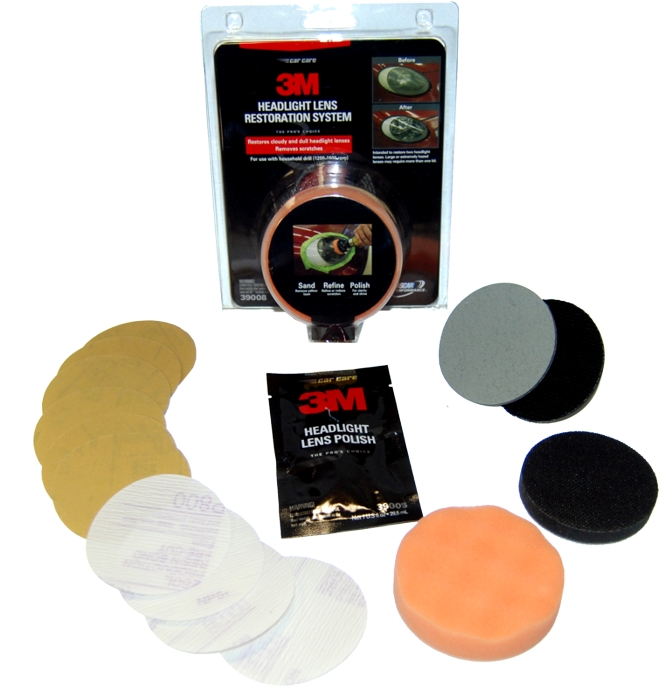
Parts: Sandpaper- 100 dry, 250 dry, 400 wet, 600 wet, 800 wet, 1000 wet, 1500 wet, turtles headlight restoration kit.
Steps:
1) Wash and dry the headlights.
2) Tape the surrounding area with painters tape (don't use regular masking tape because when it gets wet it becomes impossible to remove).
3) Start with 100 grit dry, for the entire process I cut one sheet into 3 pieces and used one per light. You should spend a decent amount of time on this step.
4) Use 250 dry. Same as above.
5) Use 400 wet. Use a spray bottle with water and continually soak the headlight and paper (its waterproof). This one third sheet will last forever if you keep it wet. I also spent lots of time on the 400.
6) Use 600 wet. Same as above.
7) Use 800 wet. Same as #5.
8) Use 1000 wet. Until now you should have been rubbing in a straight motion back and forth across the light. Now switch to a circular motion and continue spraying with water.
9) Use 1500 wet. Same as above.
10) Now its time to use the headlight restoration kit, I chose the turtles one because it was on sale but you can use any that have the polishing compound and "restoring pads" (sandpaper pads...). First compare the pads to the 1500 grit and see which is a finer pad and start with that one. Keep wet like the previous steps and work your way to the finest pad.
11) Grab the polishing compound and apply to a soft clean terry cloth. I used a drill accessory off the bat and regretted it because I feel like I could have done it better by hand. You can risk damaging the light if you apply too much pressure so if you are not comfortable with using a drill then do it the old fashion way.
12) Buff with soft cloth and remove tape. You're done!!!
-Notes:
~I used a left to right motion until I got to 1000 grit, and circular motions for 1000 on.
~Take your time with each of these, the more time you spend on the first set of sanding makes the biggest difference. I ended up having a slight bias towards the front of the light and neglected the sides and corners.
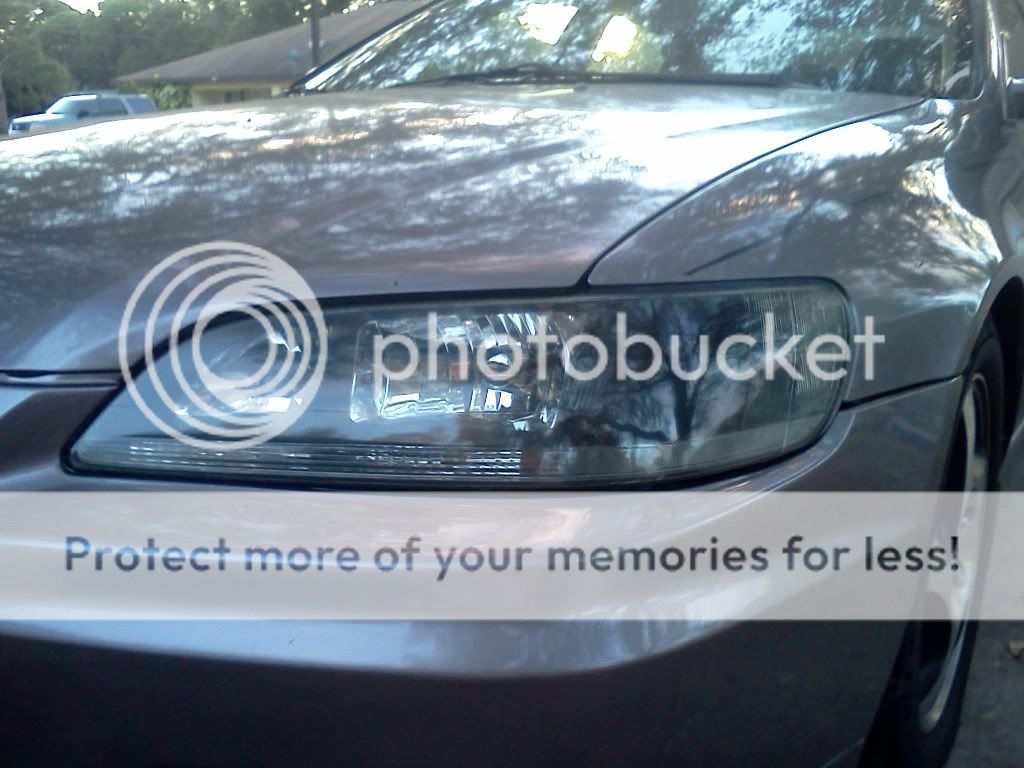
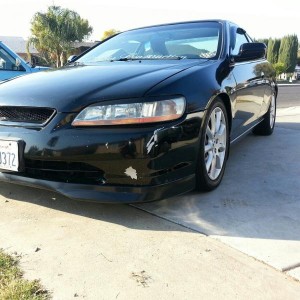
Before:
After 100 dry:
After 250 dry:
After 400 wet:
Forgot to take a post 600 picture, but it doesnt look very different yet lol.
After 800, you can start to notice improvements:
After 1000 wet:
After 1500 (still wet):
Using the number 3 turtle pad:
After the #4 looks similar but now its absolutely smoother than glass.
Final product after polish and buff:
Comparison 1:
Before/after:
Uploaded with ImageShack.us
Hope this helps!
Parts: Sandpaper- 100 dry, 250 dry, 400 wet, 600 wet, 800 wet, 1000 wet, 1500 wet, turtles headlight restoration kit.
Steps:
1) Wash and dry the headlights.
2) Tape the surrounding area with painters tape (don't use regular masking tape because when it gets wet it becomes impossible to remove).
3) Start with 100 grit dry, for the entire process I cut one sheet into 3 pieces and used one per light. You should spend a decent amount of time on this step.
4) Use 250 dry. Same as above.
5) Use 400 wet. Use a spray bottle with water and continually soak the headlight and paper (its waterproof). This one third sheet will last forever if you keep it wet. I also spent lots of time on the 400.
6) Use 600 wet. Same as above.
7) Use 800 wet. Same as #5.
8) Use 1000 wet. Until now you should have been rubbing in a straight motion back and forth across the light. Now switch to a circular motion and continue spraying with water.
9) Use 1500 wet. Same as above.
10) Now its time to use the headlight restoration kit, I chose the turtles one because it was on sale but you can use any that have the polishing compound and "restoring pads" (sandpaper pads...). First compare the pads to the 1500 grit and see which is a finer pad and start with that one. Keep wet like the previous steps and work your way to the finest pad.
11) Grab the polishing compound and apply to a soft clean terry cloth. I used a drill accessory off the bat and regretted it because I feel like I could have done it better by hand. You can risk damaging the light if you apply too much pressure so if you are not comfortable with using a drill then do it the old fashion way.
12) Buff with soft cloth and remove tape. You're done!!!
-Notes:
~I used a left to right motion until I got to 1000 grit, and circular motions for 1000 on.
~Take your time with each of these, the more time you spend on the first set of sanding makes the biggest difference. I ended up having a slight bias towards the front of the light and neglected the sides and corners.
Before:

After 100 dry:

After 250 dry:

After 400 wet:

Forgot to take a post 600 picture, but it doesnt look very different yet lol.
After 800, you can start to notice improvements:

After 1000 wet:

After 1500 (still wet):

Using the number 3 turtle pad:

After the #4 looks similar but now its absolutely smoother than glass.
Final product after polish and buff:

Comparison 1:

Before/after:

Uploaded with ImageShack.us
Hope this helps!
Last edited: