

nyknick1015
Well-Known Member
Coming in 10 mins... be patient... lol Uploading!!
This is a DIY to do this!! (sorry who ever car this is, i stole ur pics lol
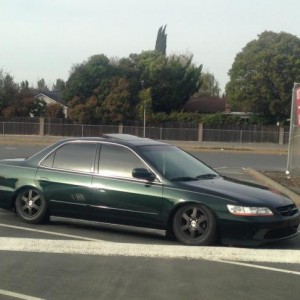
Before

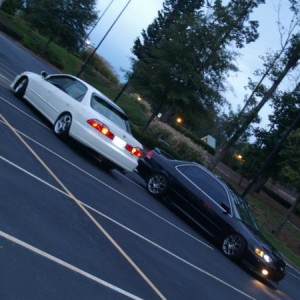
After

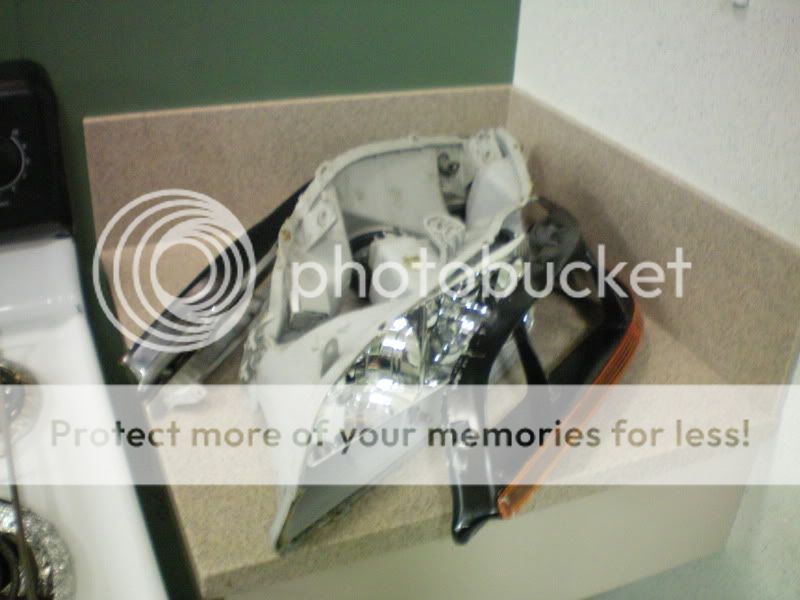
First, you know the ritual of separating headlights... Check out the blackhousing DIY to find out how to separate them.
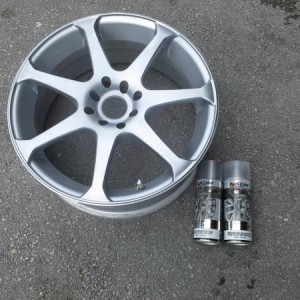
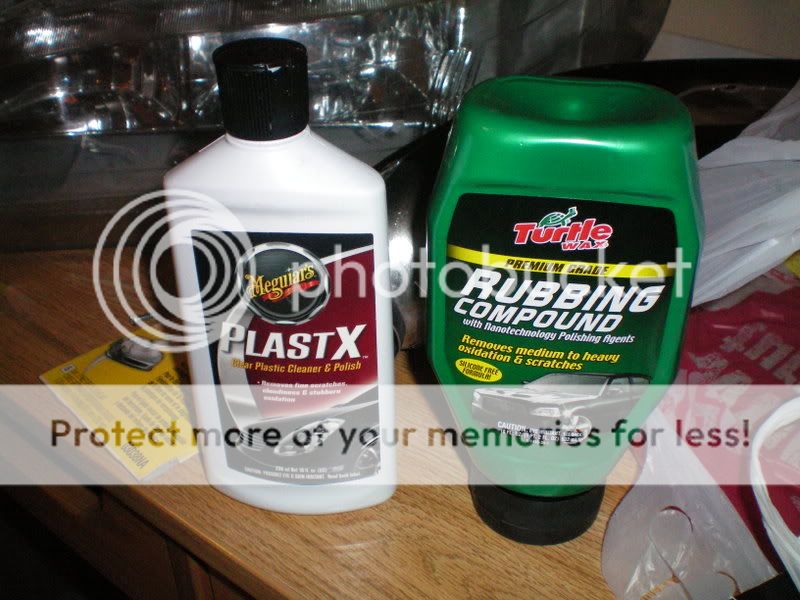
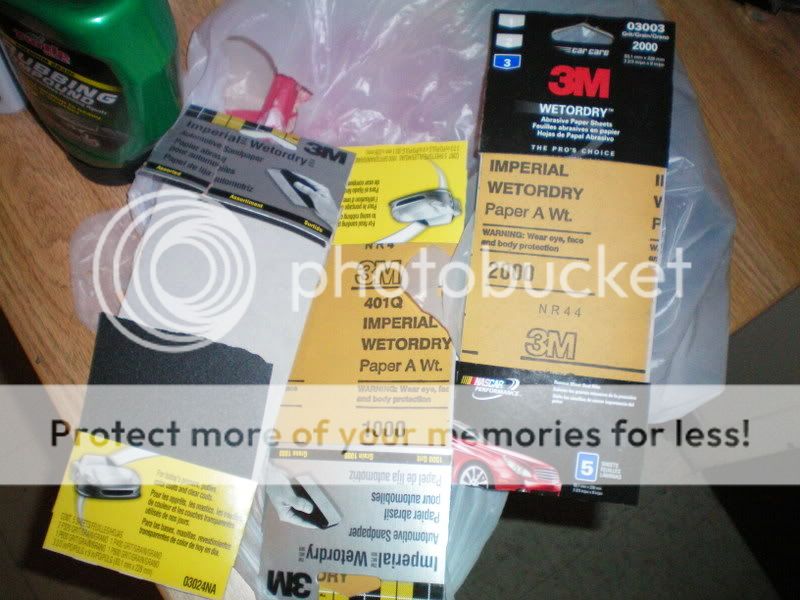
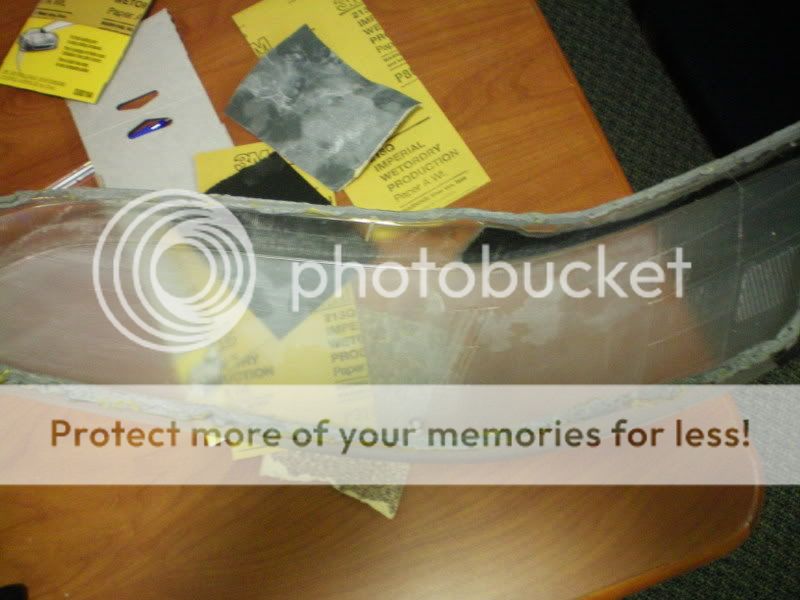
Here is what you will need. Or at least what I used...
2 packs of 3M wetordry Fine Assorted Sandpaper (Comes with 320, 400, 600, and 800)
3m Fine 1000 grit Sandpaper
3m Fine 2000 grit Sandpaper
Rubbing Compound (I used turtle Wax rubbing Compound)
Meguiars Plastx Plastic Polish
First: Obviously Separate your headlights...
Second: THIS IS AN OPTIONAL STEP... YOU CAN SKIP RIGHT TO THE NEXT STEP IF YOU FEEL NECESSARY!!
I dry sanded the lines down because 1. I didn't read the initial DIY first, and 2. Dry sanding down the lines is a lot easier than wet sanding. I wet sanded first, it took me 5 hours on the first side, the dry only took me 1 and then a half hour wet sand. Go through the numbers from the assorted pack starting with the 320 and making your way up to 2000
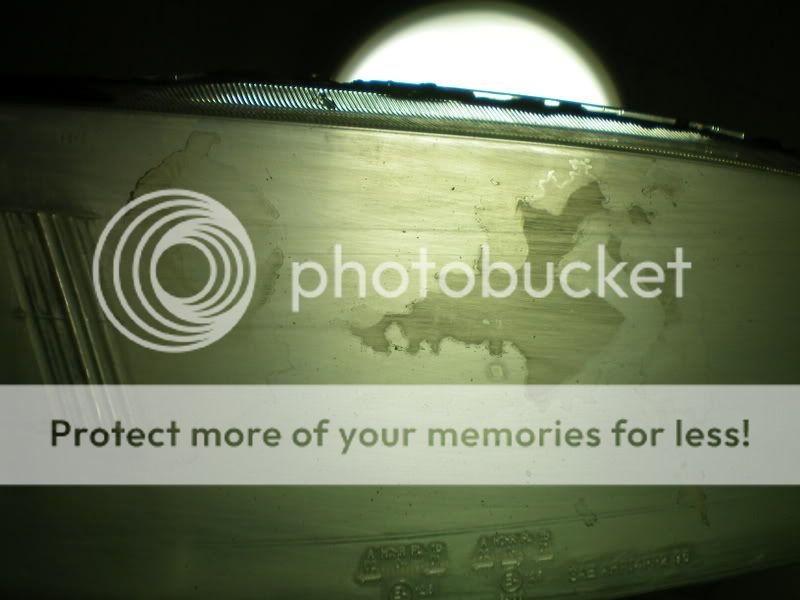
after 400
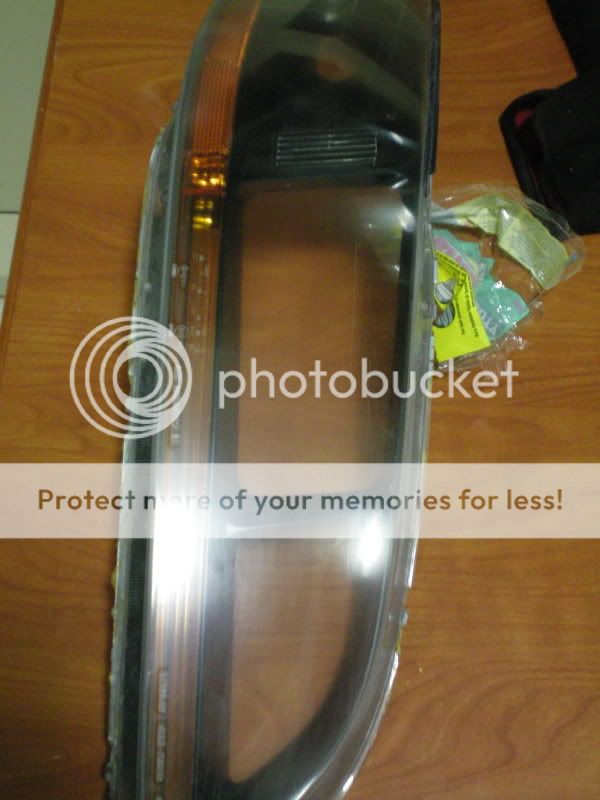
after 2000
Third: WETSAND...
Go through the numbers again in the sand paper. start 320, make your way up to 2000
Fourth: Here is the easy part. Polishing. Use the Rubbing compound first with a dry cloth. I would say somewhere around 3-4 coats with that, and then with the Plastx polish, the same, around 3-4 coats...
And DRY and then YOUR DONE!!! Now your probably wondering where are the the pics for the last 2 steps... well you see 1. the sanding, you get really dirty while doing it, and 2. I kinda forgot to at that point. lol.
but i didnt forget entirely lol. The finished product
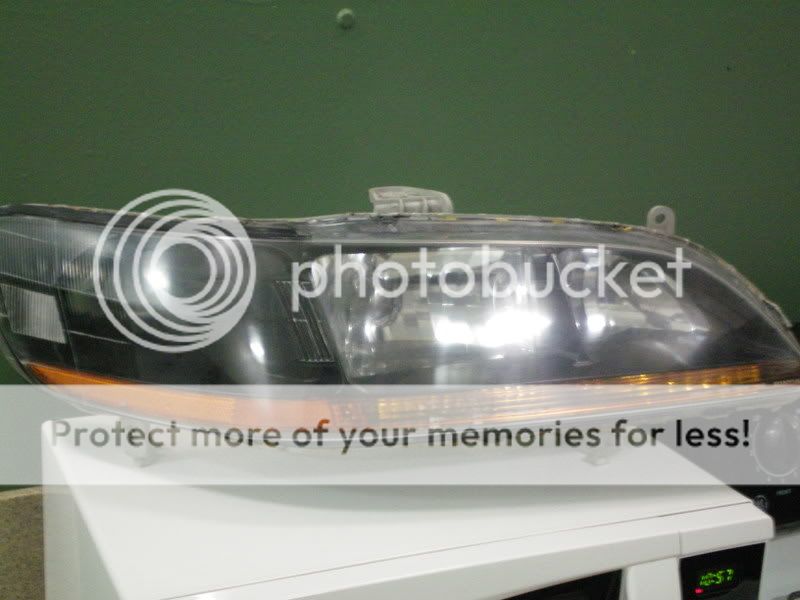
Sorry for the glare... After doing this, i realized that this is a REALLY POINTLESS MOD but it looks really cool!! and its no TYC lens but for a diy, hey why not!! And i did it all for $17")
This is a DIY to do this!! (sorry who ever car this is, i stole ur pics lol
Before
After
First, you know the ritual of separating headlights... Check out the blackhousing DIY to find out how to separate them.
Here is what you will need. Or at least what I used...
2 packs of 3M wetordry Fine Assorted Sandpaper (Comes with 320, 400, 600, and 800)
3m Fine 1000 grit Sandpaper
3m Fine 2000 grit Sandpaper
Rubbing Compound (I used turtle Wax rubbing Compound)
Meguiars Plastx Plastic Polish
First: Obviously Separate your headlights...
Second: THIS IS AN OPTIONAL STEP... YOU CAN SKIP RIGHT TO THE NEXT STEP IF YOU FEEL NECESSARY!!
I dry sanded the lines down because 1. I didn't read the initial DIY first, and 2. Dry sanding down the lines is a lot easier than wet sanding. I wet sanded first, it took me 5 hours on the first side, the dry only took me 1 and then a half hour wet sand. Go through the numbers from the assorted pack starting with the 320 and making your way up to 2000
after 400
after 2000
Third: WETSAND...
Go through the numbers again in the sand paper. start 320, make your way up to 2000
Fourth: Here is the easy part. Polishing. Use the Rubbing compound first with a dry cloth. I would say somewhere around 3-4 coats with that, and then with the Plastx polish, the same, around 3-4 coats...
And DRY and then YOUR DONE!!! Now your probably wondering where are the the pics for the last 2 steps... well you see 1. the sanding, you get really dirty while doing it, and 2. I kinda forgot to at that point. lol.
but i didnt forget entirely lol. The finished product
Sorry for the glare... After doing this, i realized that this is a REALLY POINTLESS MOD but it looks really cool!! and its no TYC lens but for a diy, hey why not!! And i did it all for $17