

Toyojake
Well-Known Member
I saw the recent threads on the project with the sedans and I thought i'd try it on a coupe. Went and bought a 12" cathode tube because the coupe has 2 lights above the plate. 1 12" covers both lights. The cathode comes with the harness, cut off the plug that is used for powering the ballast itself.
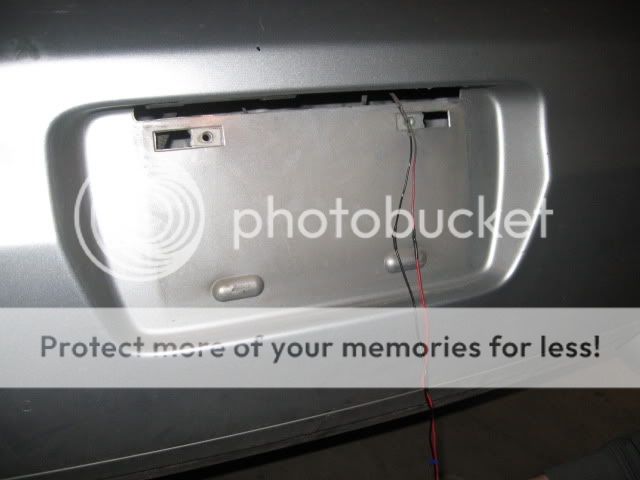
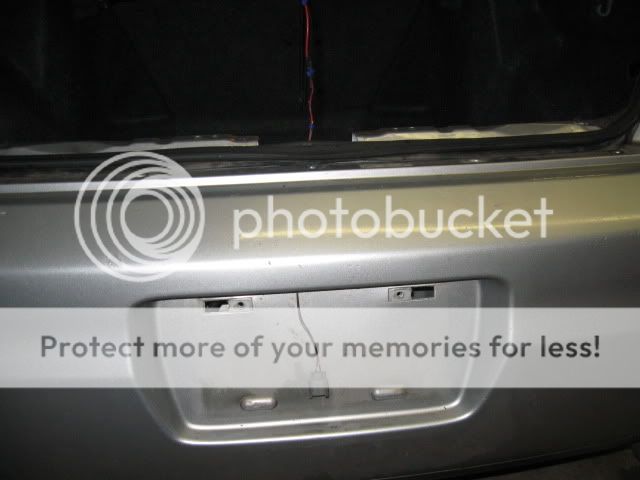
The factory lights just push off the bumper, push them towards the front of the car.
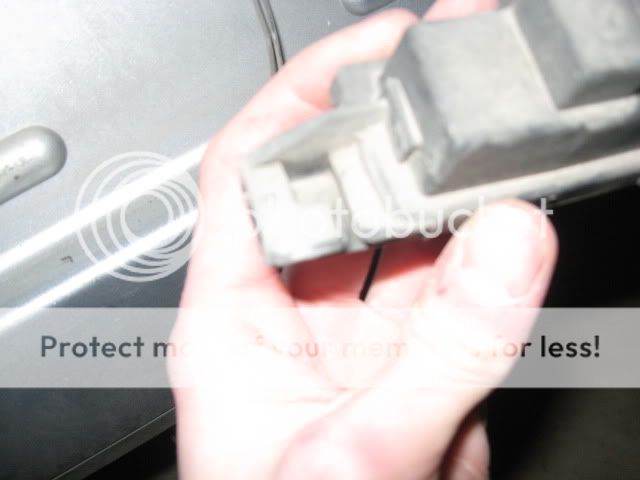
I took both lights out, because there really isn't a whole lot of room up there for the cathode and the factory lights. :/
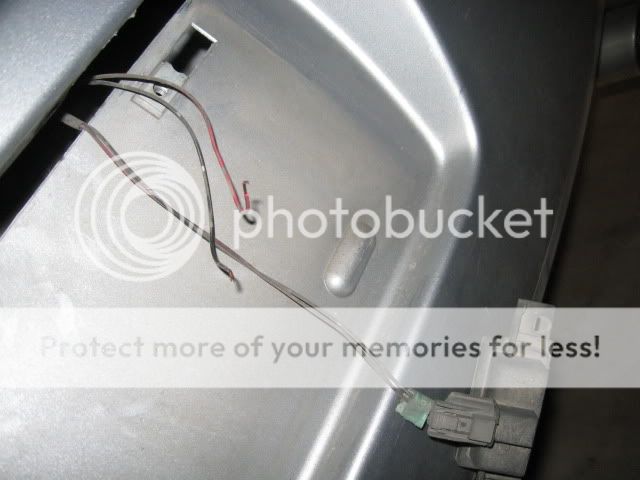
Then I connected the positive wire and the ground (of the wire that was cut off from the harness) to the cars pos/neg.
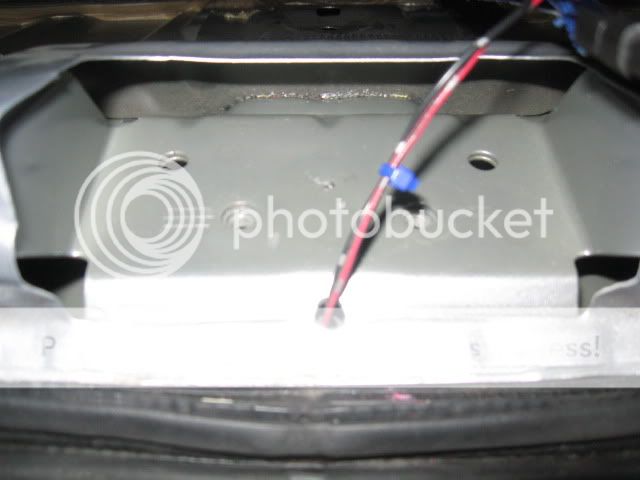
Next step is to take the lining out of the trunk, this includes the bottom mat and the plastic piece along the back.

Then you'll need to remove the hook for the trunk latch which is held in by 2 bolts.
After that, you'll need to remove the 5 bumper clips on the bumper.
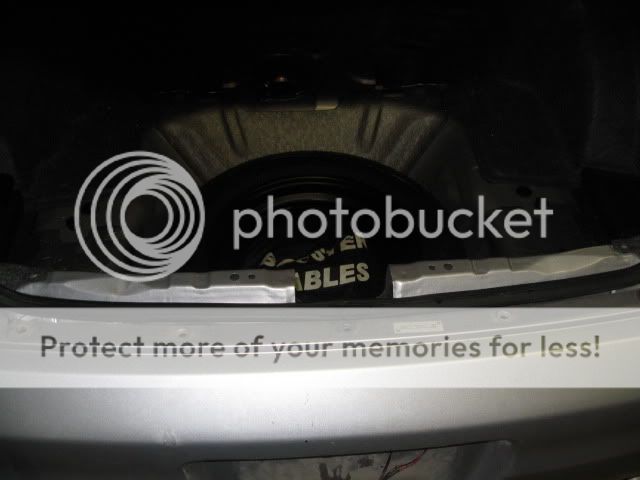
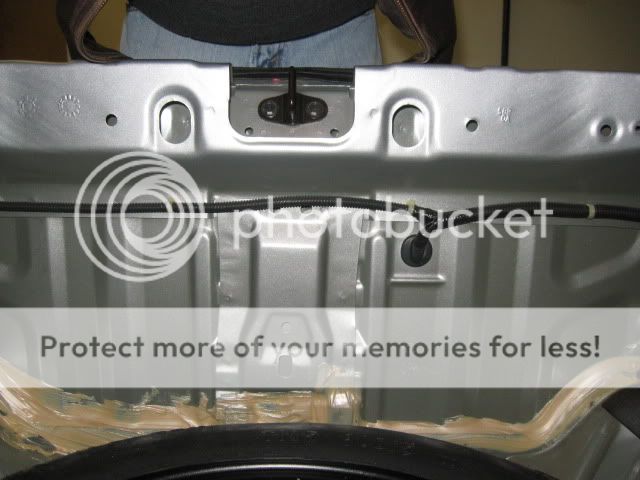
Then pull the weather stripping up around the bottom of the trunk off so you can work in the area.
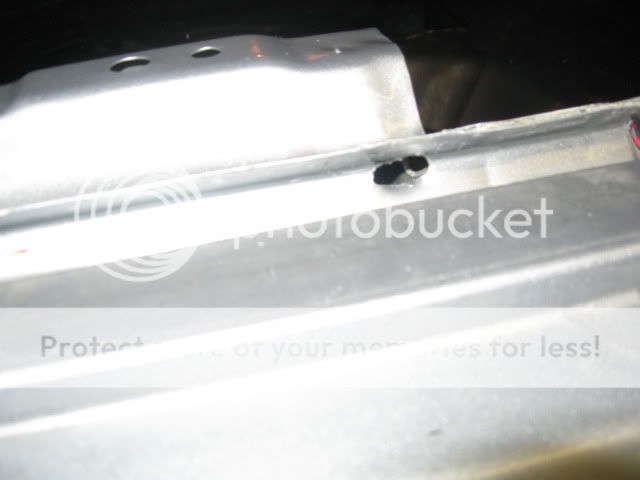
You'll notice that the guys at Honda put a notch right here. I used a drill bit about the same size as the pit of the groove, and drilled a hole through. Then with the bumper clips removed, you can pull the bumper about 1-2 inches from the car to fish the wire up and through that hole, into the trunk.
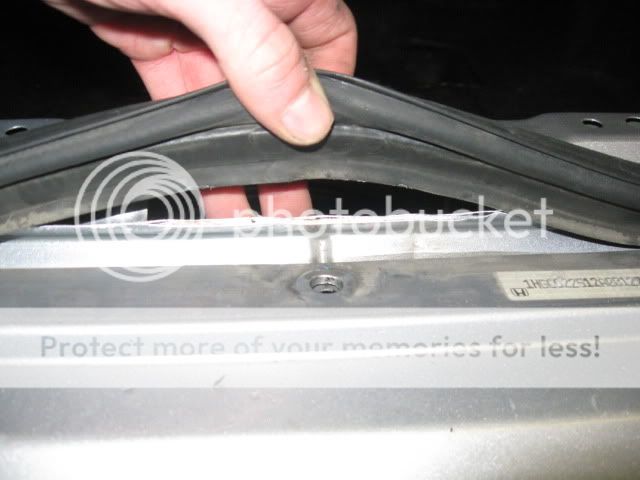
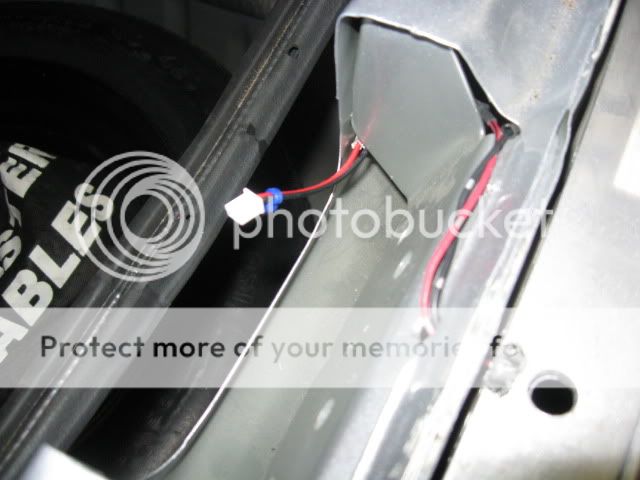
To the left and right of where the trunk latch mounts, you'll see an openings. I used the left side for my wiring, but here is a picture of the right. I had it here for a possible ballast location that didn't work out. I later moved it to the other side.
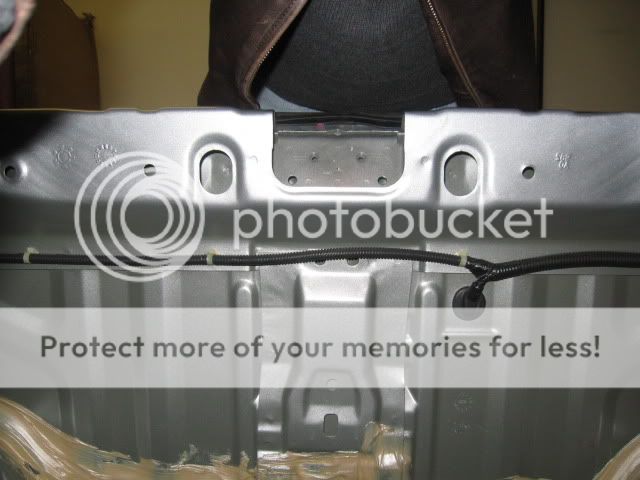
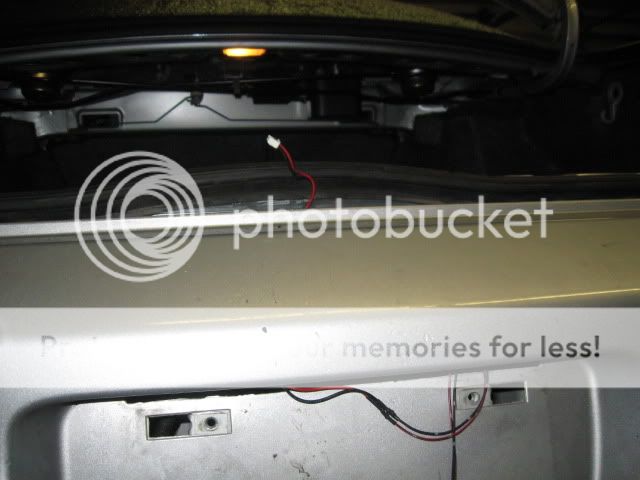
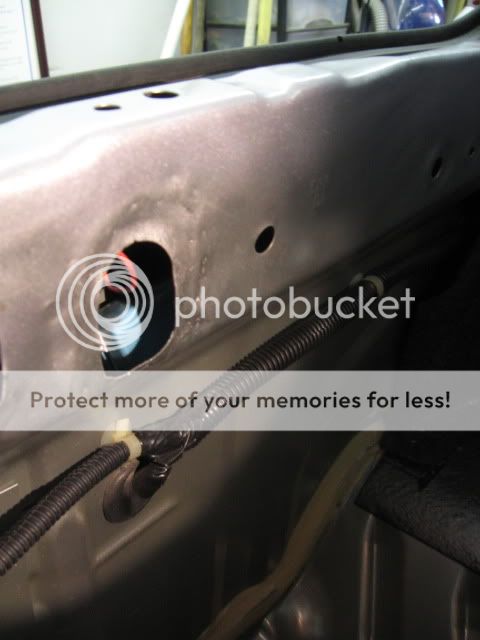
Now that the power wire for the ballast is in the trunk, time to route the cathode wire. I chose to drill another hole because it was easier. If you would prefer having both through one hole, then do so. I actually drilled 2 smaller holes next to one another, then punched out the center, since the cathode plug is a 3 prong its much wider than the ballast power plug.
(the hole doesn't look that bad in person lol)
Routed the cathode wires the same way as the ballast wires, up and into the trunk.

So now you have both wires, the ballast power wire and the cathode wire in your trunk. As you can see in this pic, there are 2 large holes in the backing of the trunk. They are just a tad too small for the ballast to fit into. I spent almost 2 hours trying different mounting places for the ballast that didn't interfere with the plastic lining. I found one that works, but I wasn't happy with it at all, I thought it was terrible actually.
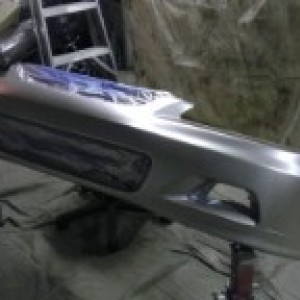
I really wanted to put it inside the opening, behind the metal. I grabbed my die grinder, and a cutoff wheel and enlarged the hole enough to fit the ballast through it. Then sanded the area down, cleaned it and hit it with a coat of silver.
Then used a piece of tape to hold the wires down above the latch
Reinstalled the mat, and the plastic lining and you can't see anything.

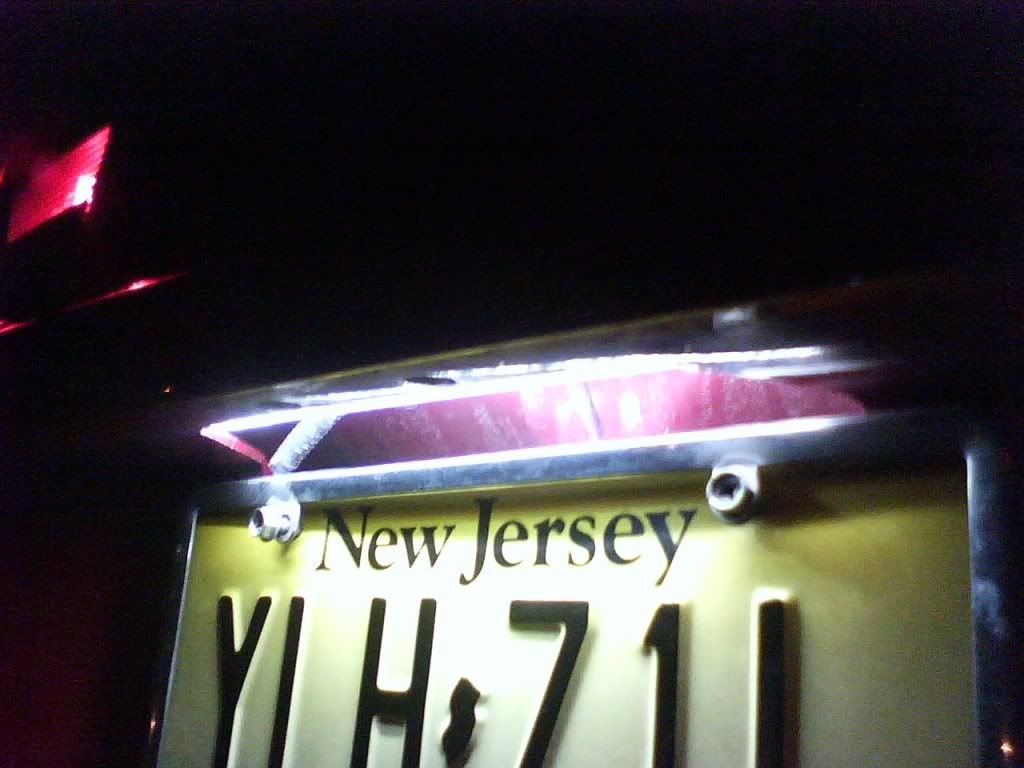
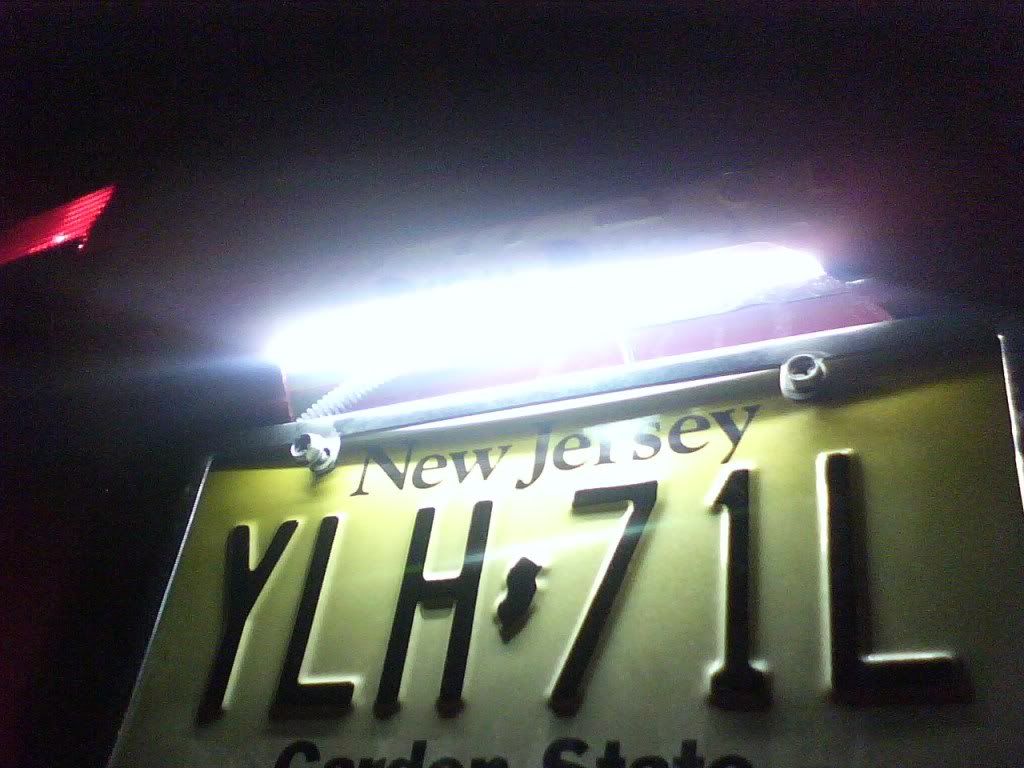
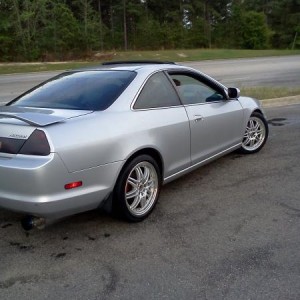
Finished product, I had to remove both factory lights because I didn't see a way to have both. I'm still playing with it though. Mounted the cathode tube above the plate like shown on kurtage77's car below.
Finished product:
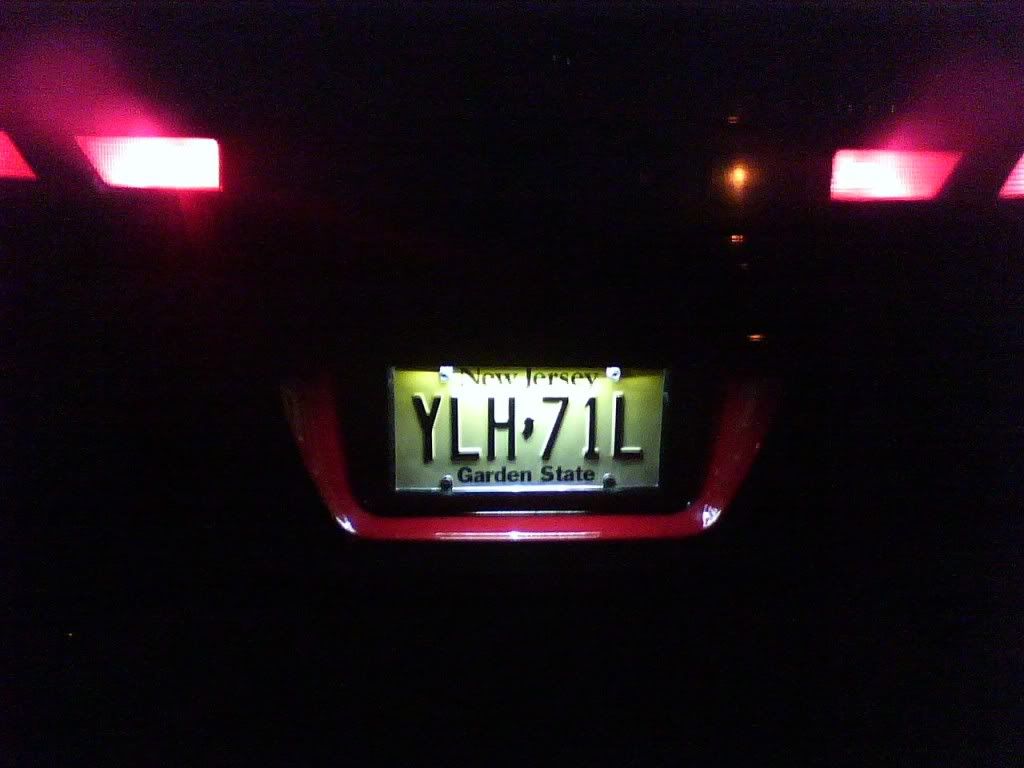
I was pretty happy with my work, so I went out for a little mini photoshoot lol.
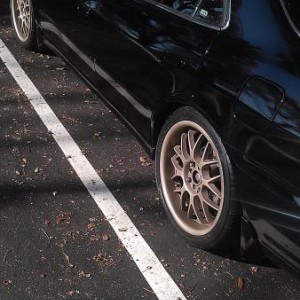
Took about 20 pictures, I'll post them up if anyone is interested in seeing.


The factory lights just push off the bumper, push them towards the front of the car.
I took both lights out, because there really isn't a whole lot of room up there for the cathode and the factory lights. :/
Then I connected the positive wire and the ground (of the wire that was cut off from the harness) to the cars pos/neg.
Next step is to take the lining out of the trunk, this includes the bottom mat and the plastic piece along the back.
Then you'll need to remove the hook for the trunk latch which is held in by 2 bolts.
After that, you'll need to remove the 5 bumper clips on the bumper.
Then pull the weather stripping up around the bottom of the trunk off so you can work in the area.
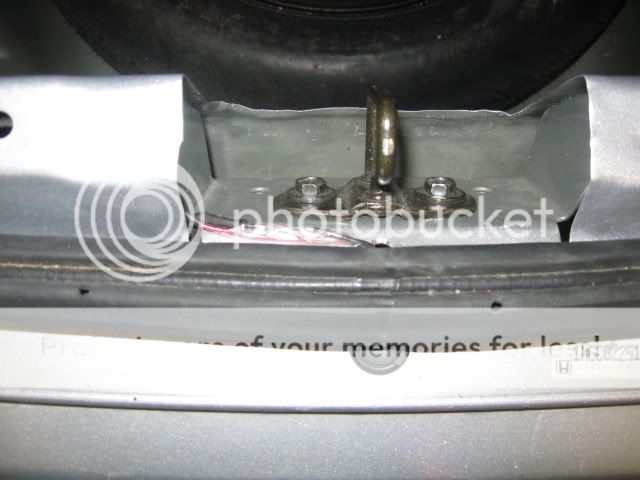
You'll notice that the guys at Honda put a notch right here. I used a drill bit about the same size as the pit of the groove, and drilled a hole through. Then with the bumper clips removed, you can pull the bumper about 1-2 inches from the car to fish the wire up and through that hole, into the trunk.
To the left and right of where the trunk latch mounts, you'll see an openings. I used the left side for my wiring, but here is a picture of the right. I had it here for a possible ballast location that didn't work out. I later moved it to the other side.
Now that the power wire for the ballast is in the trunk, time to route the cathode wire. I chose to drill another hole because it was easier. If you would prefer having both through one hole, then do so. I actually drilled 2 smaller holes next to one another, then punched out the center, since the cathode plug is a 3 prong its much wider than the ballast power plug.
(the hole doesn't look that bad in person lol)
Routed the cathode wires the same way as the ballast wires, up and into the trunk.
So now you have both wires, the ballast power wire and the cathode wire in your trunk. As you can see in this pic, there are 2 large holes in the backing of the trunk. They are just a tad too small for the ballast to fit into. I spent almost 2 hours trying different mounting places for the ballast that didn't interfere with the plastic lining. I found one that works, but I wasn't happy with it at all, I thought it was terrible actually.
I really wanted to put it inside the opening, behind the metal. I grabbed my die grinder, and a cutoff wheel and enlarged the hole enough to fit the ballast through it. Then sanded the area down, cleaned it and hit it with a coat of silver.
Then used a piece of tape to hold the wires down above the latch
Reinstalled the mat, and the plastic lining and you can't see anything.
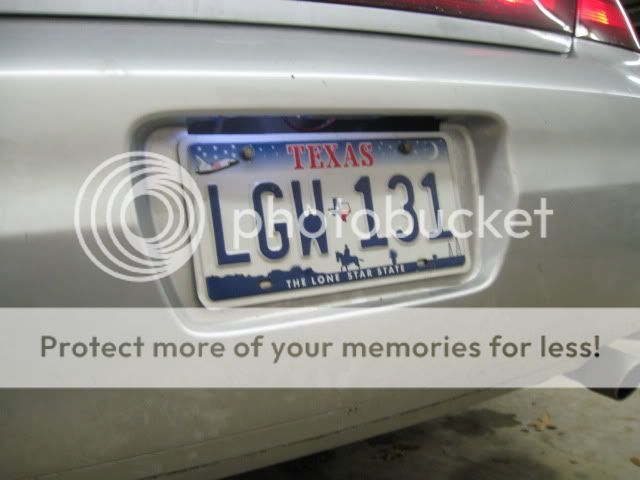
Finished product, I had to remove both factory lights because I didn't see a way to have both. I'm still playing with it though. Mounted the cathode tube above the plate like shown on kurtage77's car below.
Finished product:
I was pretty happy with my work, so I went out for a little mini photoshoot lol.
Took about 20 pictures, I'll post them up if anyone is interested in seeing.
Last edited:
")