

BadgerType
Resident ***hole
DIY: Catch Can for 6th Gen Accords
Warning: This DIY is a Step by Step demonstration on how to make a catch can. I am not you and therefore not responsible for any damages to you or your car.
Difficulty: 3 outta 10
Time: 2-3 hours
What is it:
In an engine, there are two areas of air pockets in which the air is not directly related to combustion. Within these two areas, oil and air are separated from the combustion chambers and coolant jackets for the purpose of lubrication of the engine. The upper air and oil pocket is constrained by the valve cover at the top, and the valve seals at the lower end. The bottom air and oil pocket is constrained by the piston rings at the top and the oil pan in the bottom.
In a perfect world, these two lubrication areas would not pressurize. However, in real life compression leaks by valve seals and piston rings in what is called blow-by. Blow by introduces pressure into the two pockets of air and oil (the head and the crankcase). In addition, heat caused as a byproduct of combustion causes air molecules to expand which also causes the pressure to increase in these lubrication areas. If no ventilation system was employed to release this pressure, it would find the point of least resistance to escape, which could be oil seals...or worse.
To relieve this pressure, a system called Positive Crankcase Ventilation (PCV for short) is used. It is a closed system that takes the pressurized air and oil vapor from these two lubrication areas and introduces it back into the combustion chamber, by way of vacuum caused by the intake charge.
What good is it for our cars:
On a stock or slightly modified car, there is little point of this. For me, its partially used to prevent detonation when I use nitrous. This is also gonna be needed when I go turbo and is a cheaper version than the $90 ones. Plus I would like to keep the intake manifold clean as possible, lol.
Parts Needed:
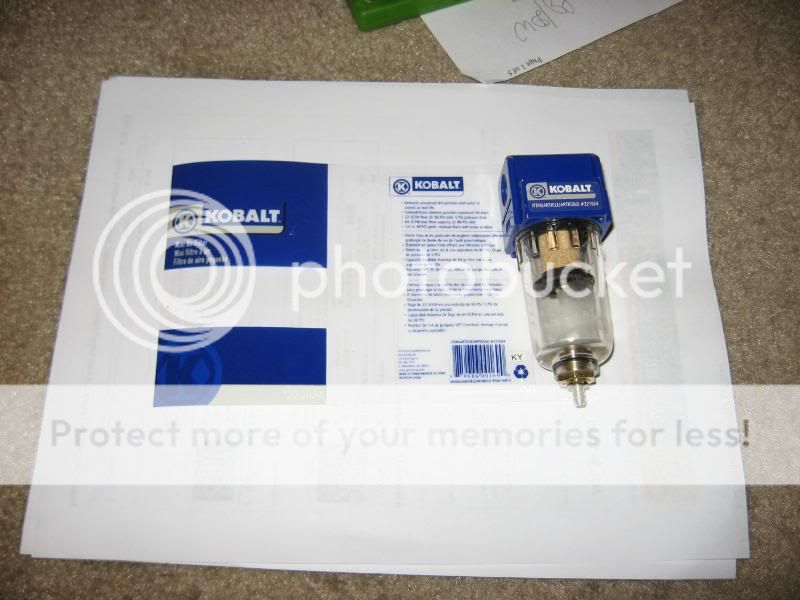
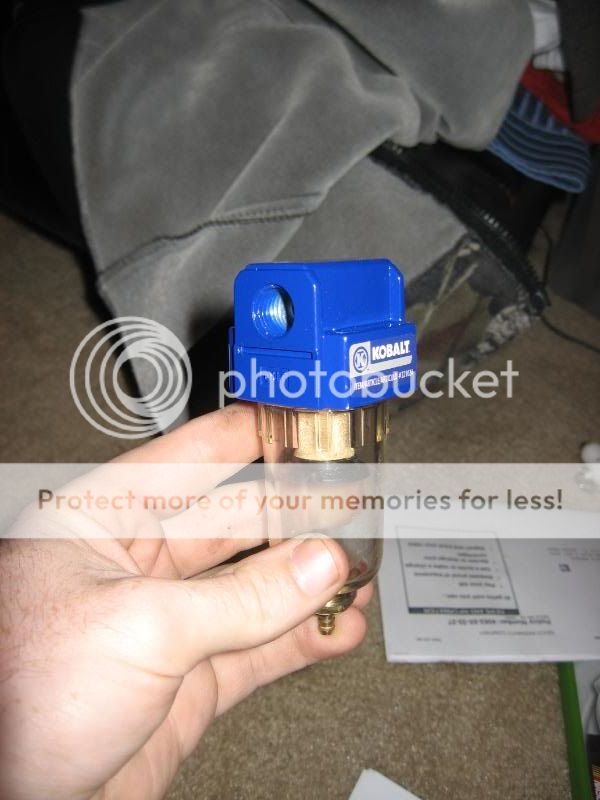
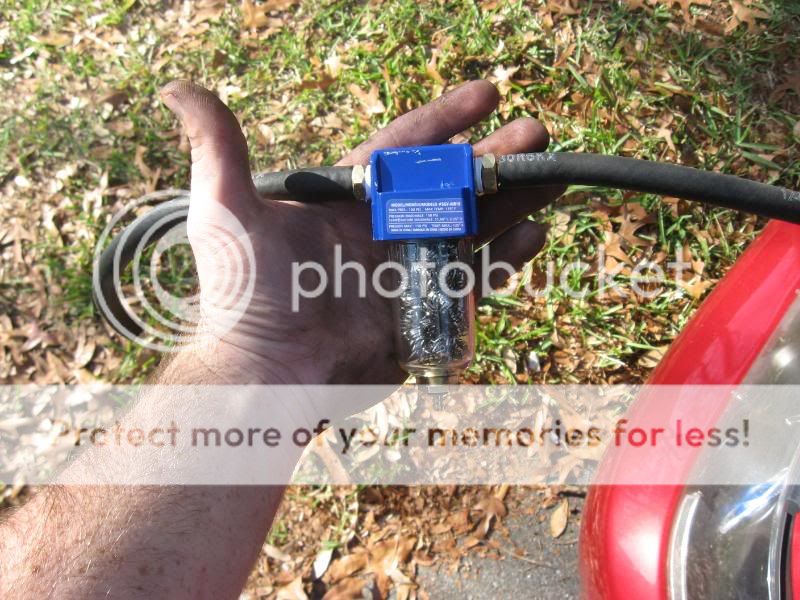
(1) Mini Air/Water separator tank (air tools) - $13
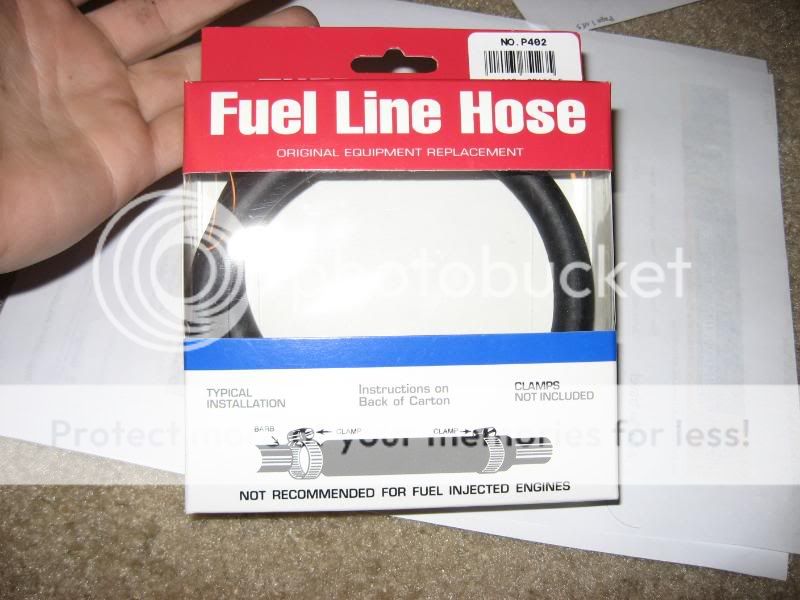
2Ft 1/4" Fuel line (Auto parts) - $5
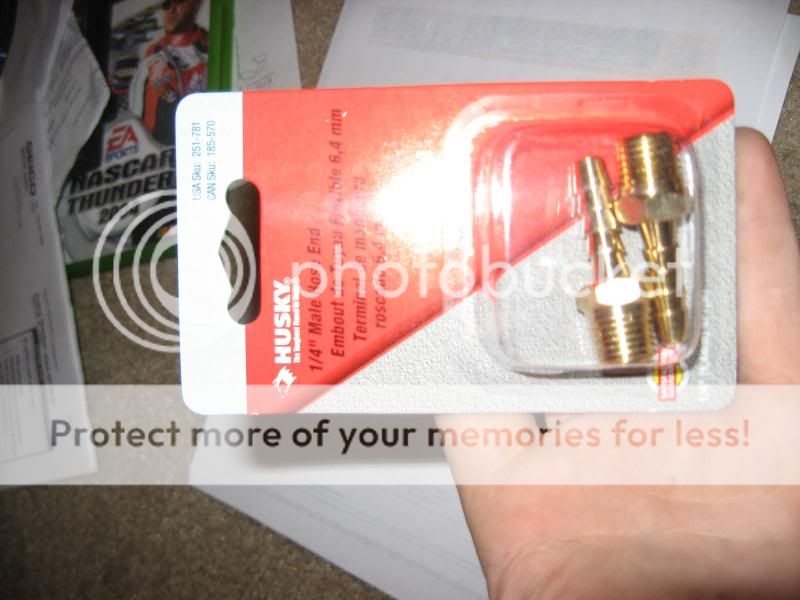
(2) 1/4" Male hose end (air tools) - $5
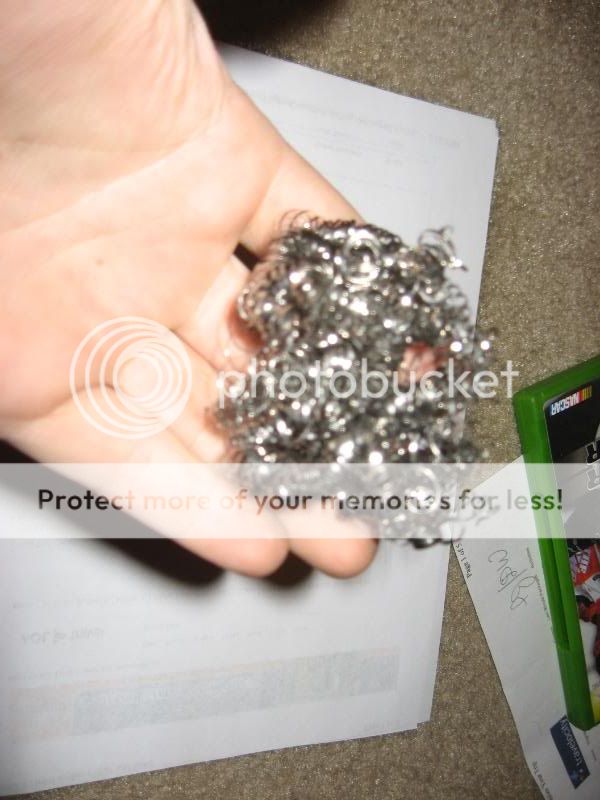
Steel Wool (Hardware store) - $6
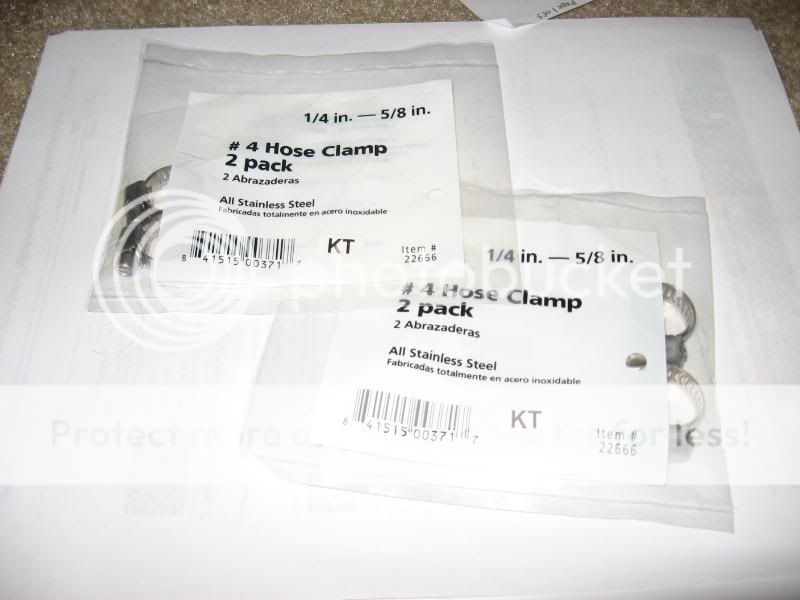
(4) 5/8"-1/4" Clamps (Hardware store) - $3
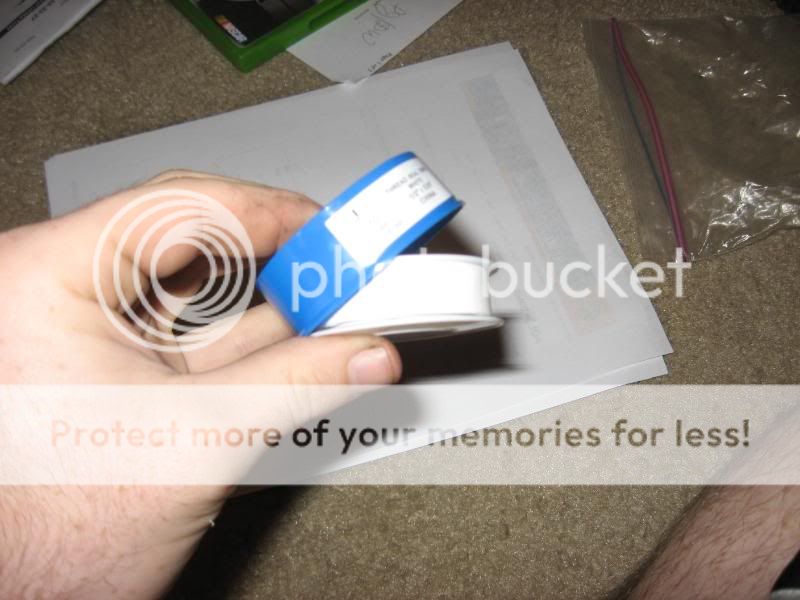
Teflon tape (plumbing) - $1
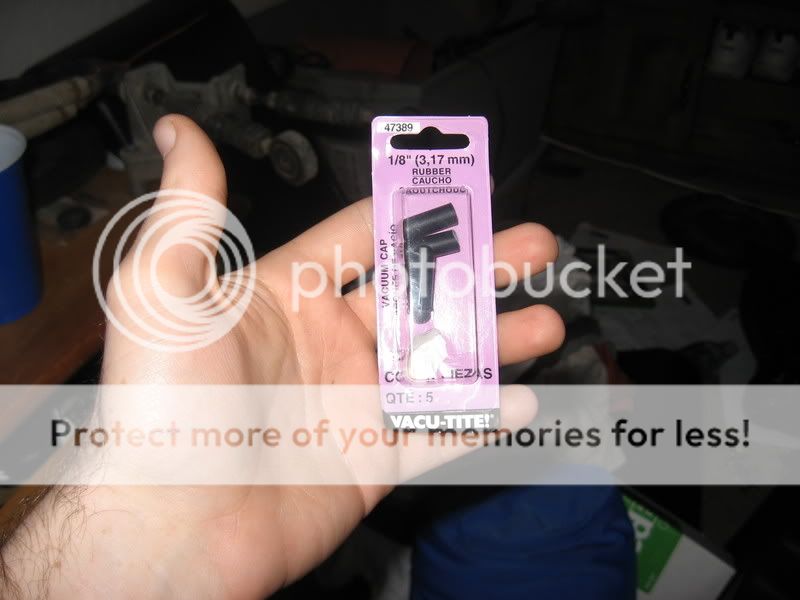
Vacumm Plug (Auto Parts) - 2$
Tools:
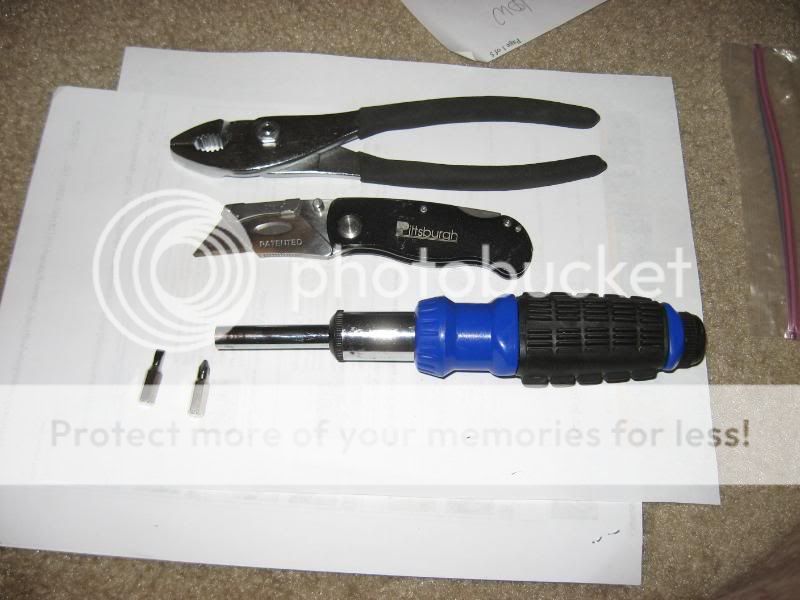
Pliers
Razor Knife
Phillips and Flat Head Screwdrivers
Intsructions:
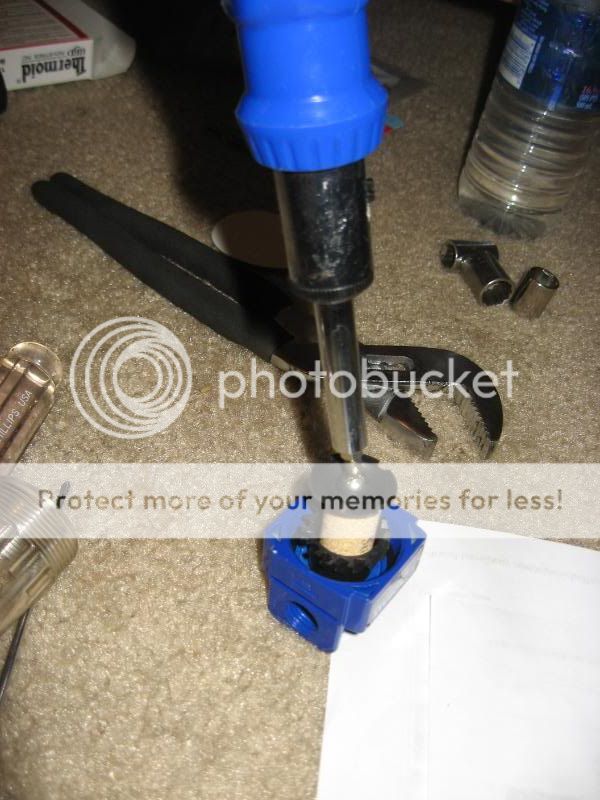
1. Take out the air filter and remove the bottom holding tank. Its on there good but it will come off.
2. Use a phillips head screwdriver to remove the filter. Since this is designed to remove water from air, this wont work with oil. You will not reuse this Part.
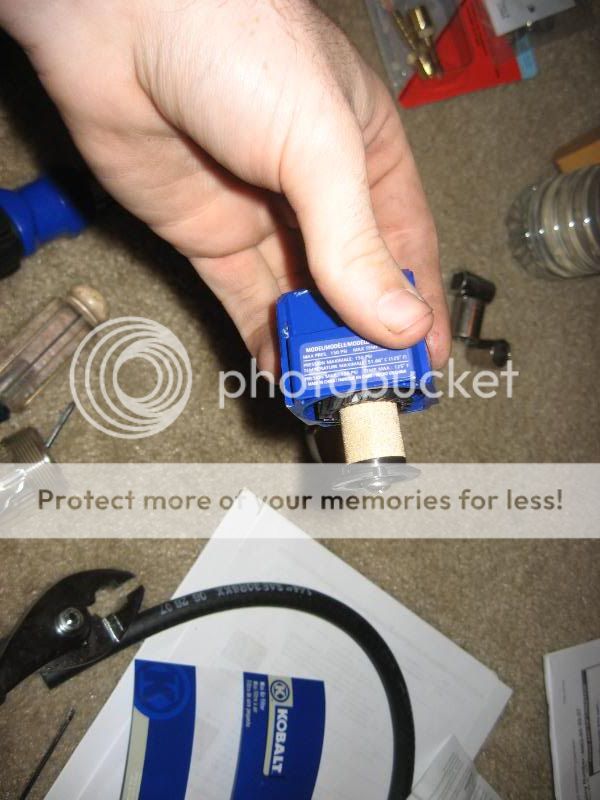
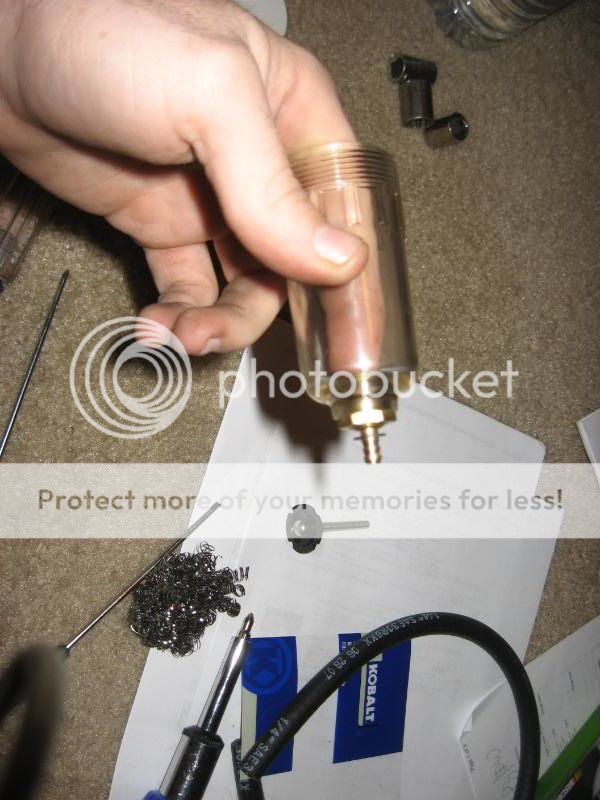
3. On the bottom of my Air filter, there was a nipple on which opperates as a preasure regulator. This is a problem, since the oil could leak out from here. Place a vacume cap on this to prevent a leak.
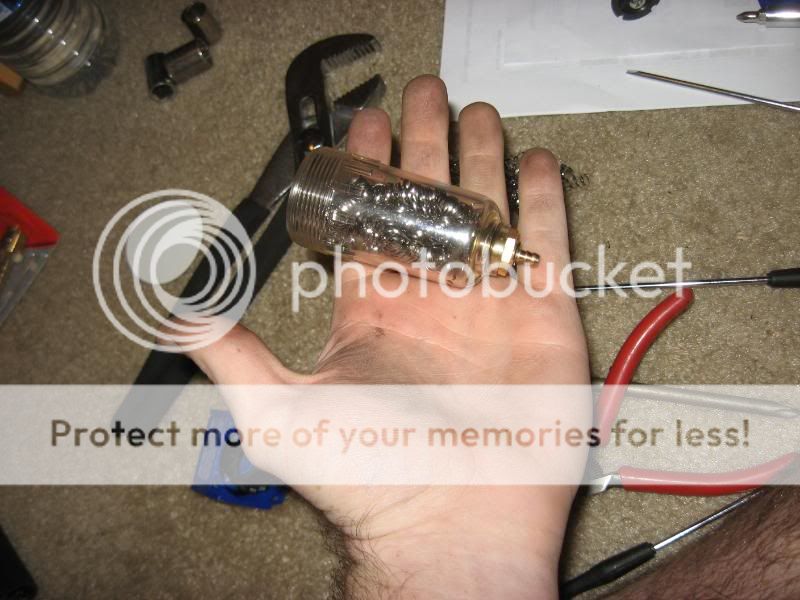
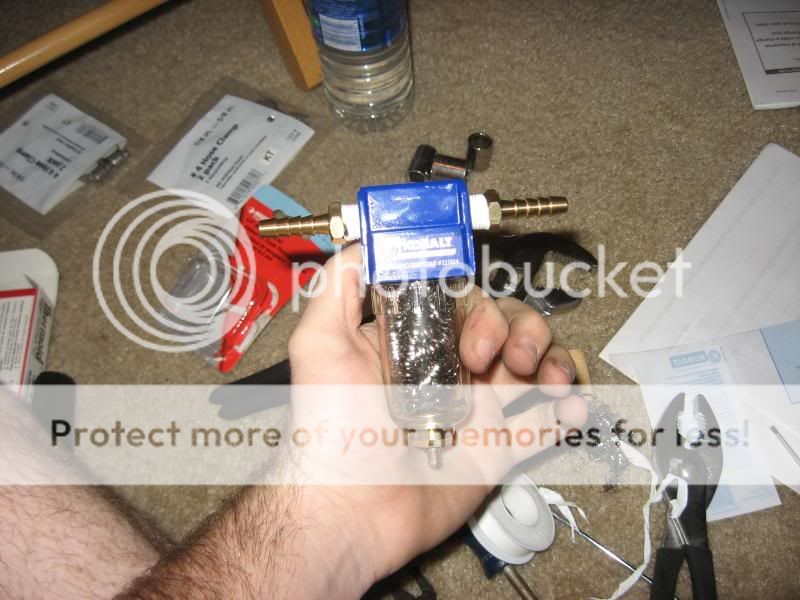
4. Place just enough steel wool to fill. Dont pack it in though.
5. Take out the 2 1/4" male hose ends and tape the ends with teflon tape.
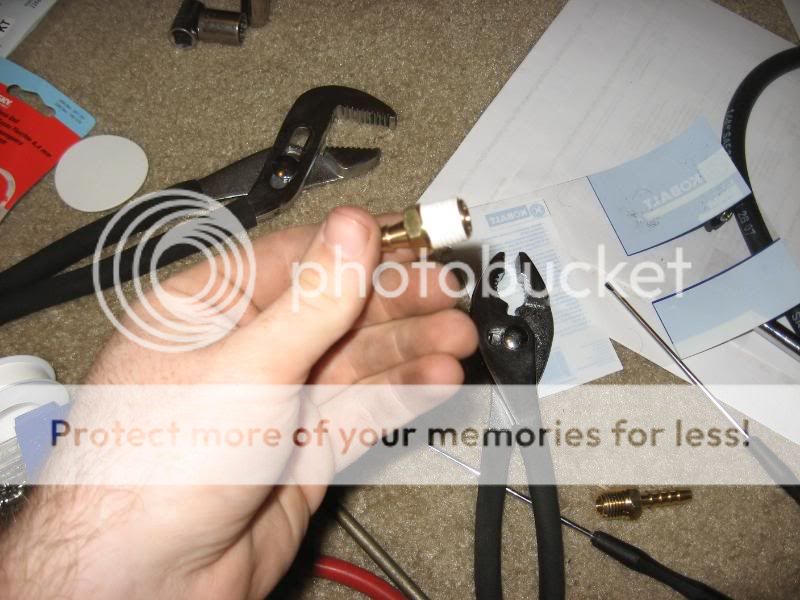
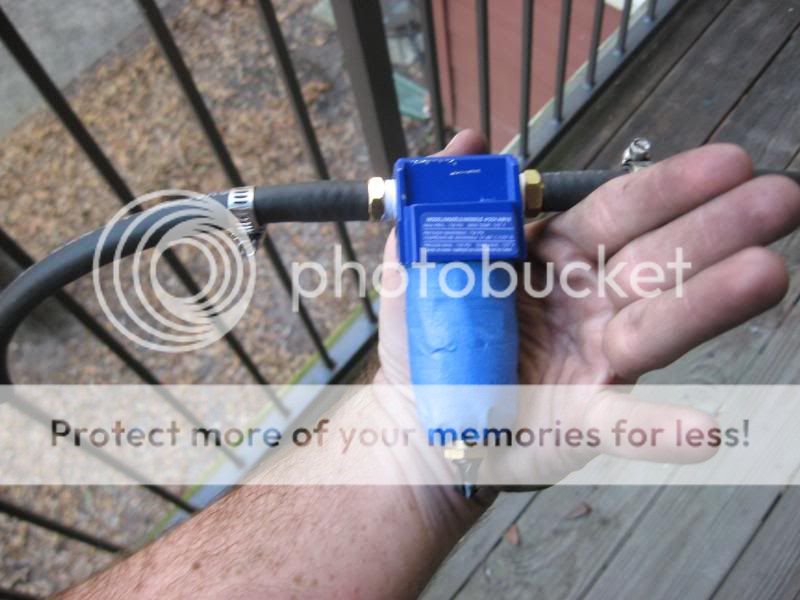
6. Install male ends on air filter with pliers. Make sure its on there good and tight
7. Next grab everything and head out to your car. Pop your hood
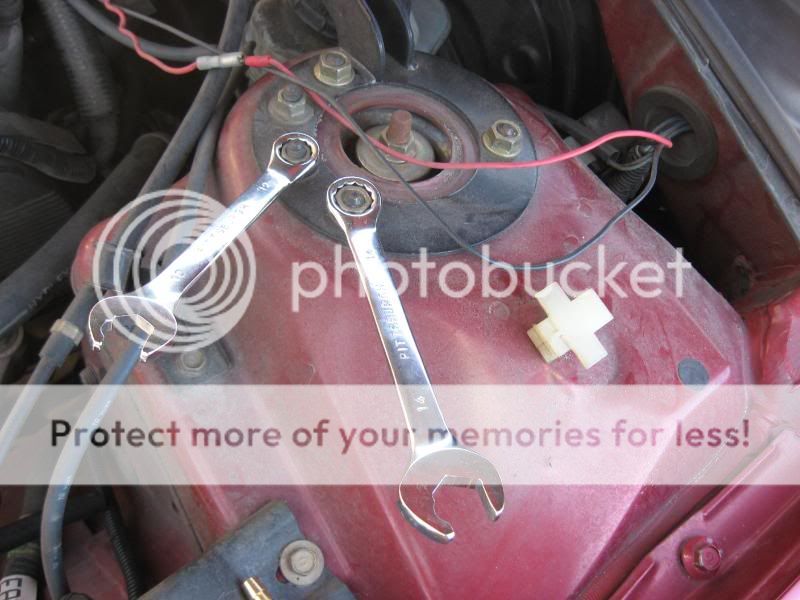
8. Remove your aftermarket strut bar, if you have one (12 & 14mm)
9.Mock out how your catch can is gonna run. PLEASE NOTE: There is only ONE way to run the air filter. Make sure that it flows from the PCV valve to the Intake manifold
PCV ^^^^
IM VVVV
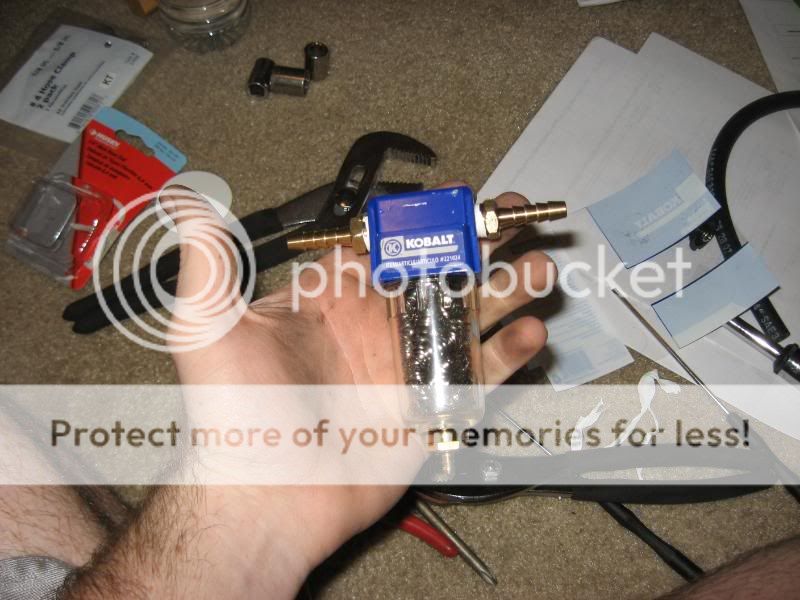
10. Once your catch can is mocked out, use razor to cut the fuel line to lengths needed
11. Place the fuel lines on male ends. Use 2 hose clamps to tighten the hose on ends
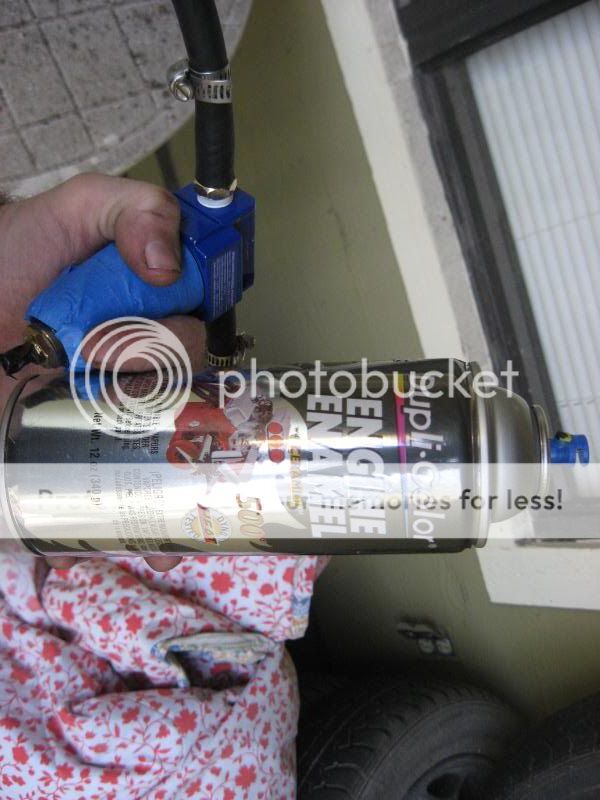
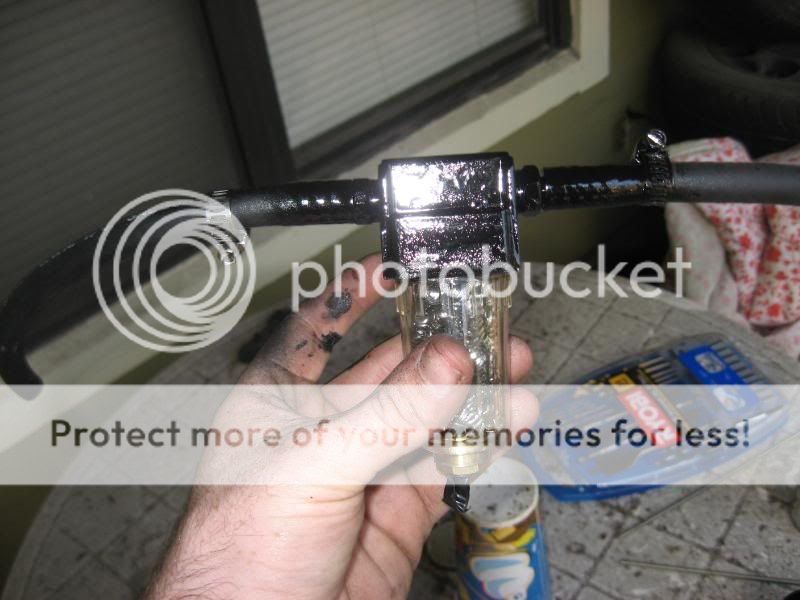
12. I decided to paint mine since I'm not a fan of the blue, but this step is not needed. 2 coats of high temp black paint
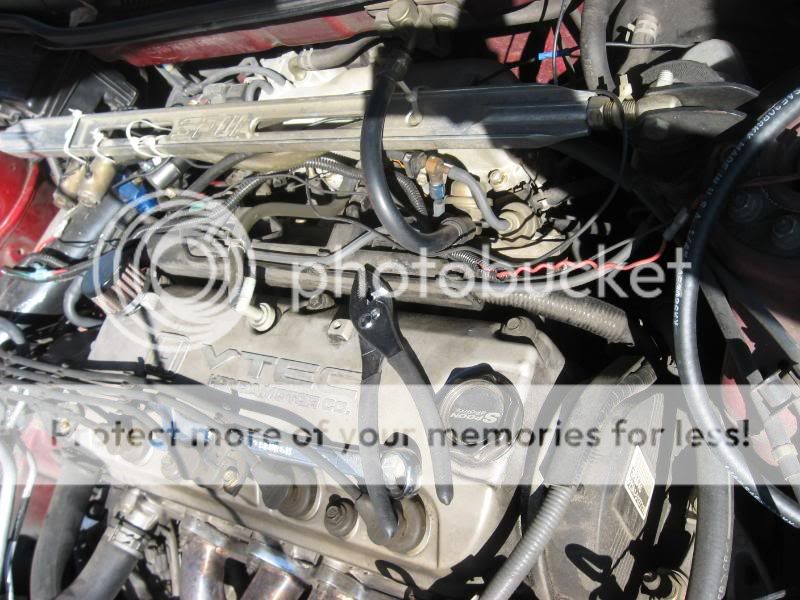
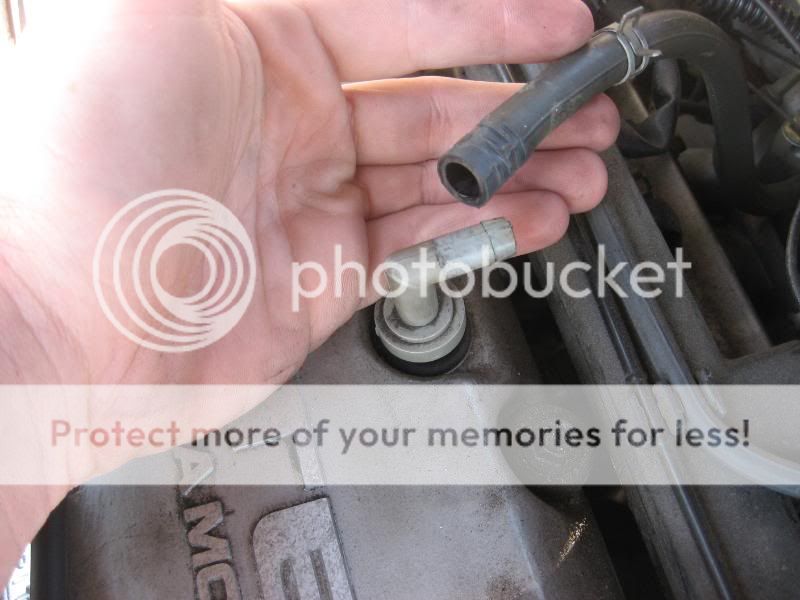
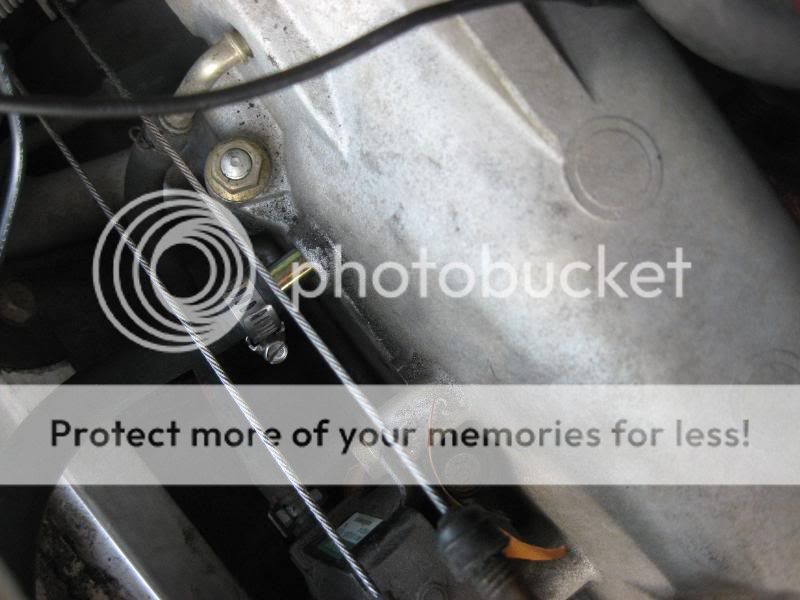
13. Remove clamp on pcv valve and remove stock hose
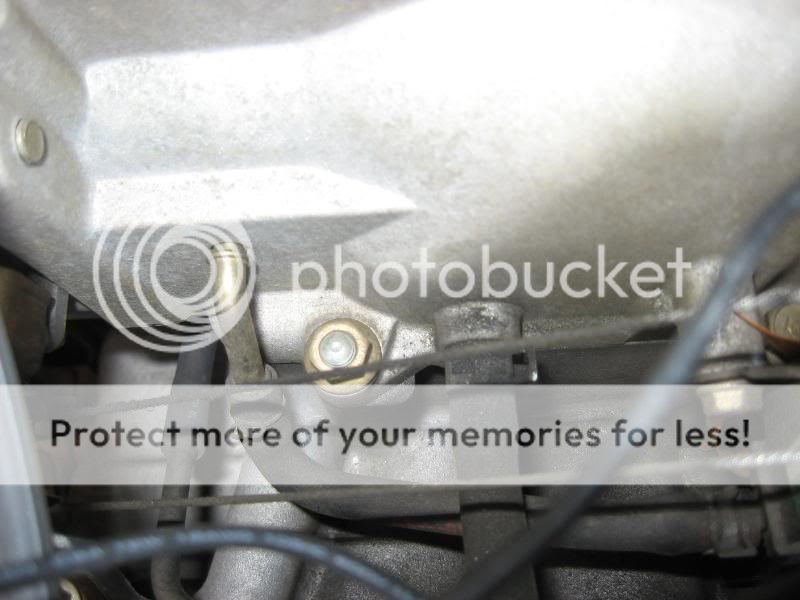
14. Now the trick one, remove the clamp on the intake manifold. remove the hose
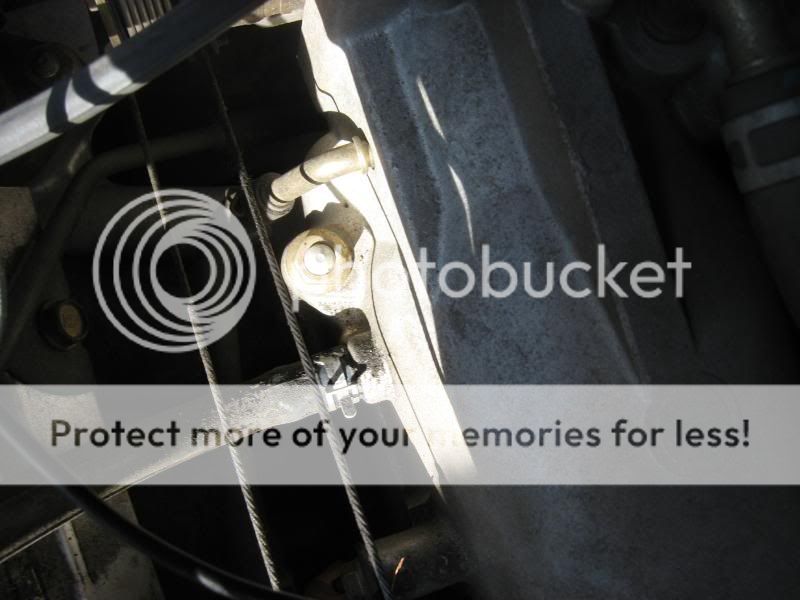
15. Now install the hose on the pcv valve and nipple on the intake manifold. MAKE SURE IT'S RUNNING THE RIGHT WAY.
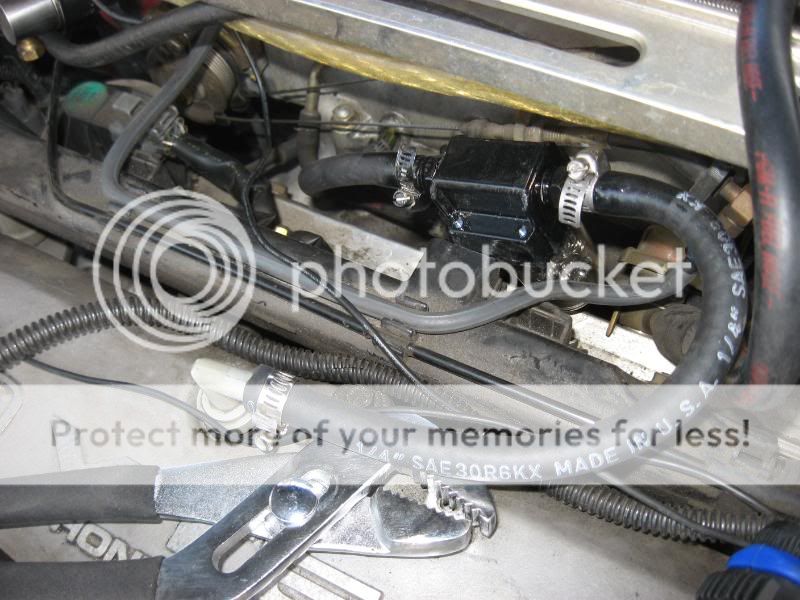
16. Tighten the final 2 clamps on the pcv valve and nipple
17. Zip tie the catch can onto the strut bar or wherever you mocked it to be.
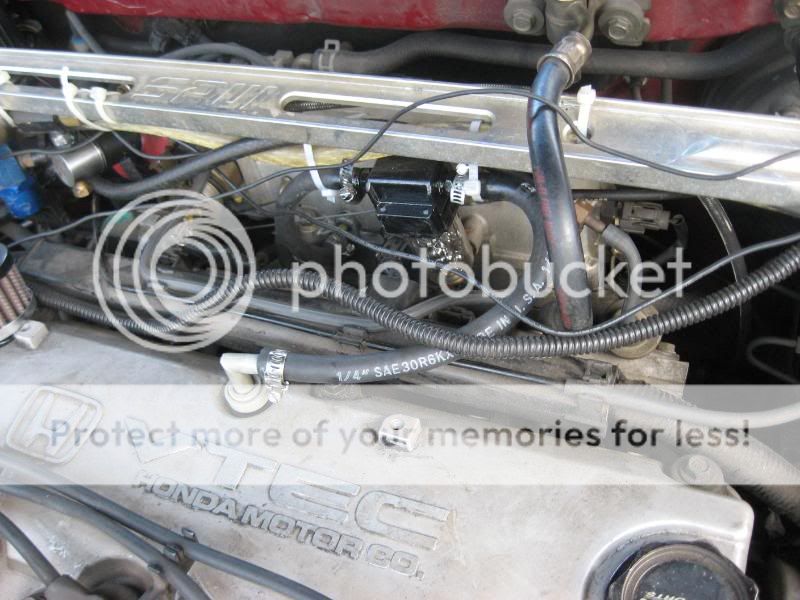
18. Start up car and listen and look for leaks. No leaks, then its all good to run
Open your hood periodically to remove the caught oil. Check it every few weeks.
(thanks to turbopanda @ HT and cokinut @ cb7tuner)
Warning: This DIY is a Step by Step demonstration on how to make a catch can. I am not you and therefore not responsible for any damages to you or your car.
Difficulty: 3 outta 10
Time: 2-3 hours
What is it:
In an engine, there are two areas of air pockets in which the air is not directly related to combustion. Within these two areas, oil and air are separated from the combustion chambers and coolant jackets for the purpose of lubrication of the engine. The upper air and oil pocket is constrained by the valve cover at the top, and the valve seals at the lower end. The bottom air and oil pocket is constrained by the piston rings at the top and the oil pan in the bottom.
In a perfect world, these two lubrication areas would not pressurize. However, in real life compression leaks by valve seals and piston rings in what is called blow-by. Blow by introduces pressure into the two pockets of air and oil (the head and the crankcase). In addition, heat caused as a byproduct of combustion causes air molecules to expand which also causes the pressure to increase in these lubrication areas. If no ventilation system was employed to release this pressure, it would find the point of least resistance to escape, which could be oil seals...or worse.
To relieve this pressure, a system called Positive Crankcase Ventilation (PCV for short) is used. It is a closed system that takes the pressurized air and oil vapor from these two lubrication areas and introduces it back into the combustion chamber, by way of vacuum caused by the intake charge.
What good is it for our cars:
On a stock or slightly modified car, there is little point of this. For me, its partially used to prevent detonation when I use nitrous. This is also gonna be needed when I go turbo and is a cheaper version than the $90 ones. Plus I would like to keep the intake manifold clean as possible, lol.
Parts Needed:
(1) Mini Air/Water separator tank (air tools) - $13
2Ft 1/4" Fuel line (Auto parts) - $5
(2) 1/4" Male hose end (air tools) - $5
Steel Wool (Hardware store) - $6
(4) 5/8"-1/4" Clamps (Hardware store) - $3
Teflon tape (plumbing) - $1
Vacumm Plug (Auto Parts) - 2$
Tools:
Pliers
Razor Knife
Phillips and Flat Head Screwdrivers
Intsructions:
1. Take out the air filter and remove the bottom holding tank. Its on there good but it will come off.
2. Use a phillips head screwdriver to remove the filter. Since this is designed to remove water from air, this wont work with oil. You will not reuse this Part.
3. On the bottom of my Air filter, there was a nipple on which opperates as a preasure regulator. This is a problem, since the oil could leak out from here. Place a vacume cap on this to prevent a leak.
4. Place just enough steel wool to fill. Dont pack it in though.
5. Take out the 2 1/4" male hose ends and tape the ends with teflon tape.
6. Install male ends on air filter with pliers. Make sure its on there good and tight
7. Next grab everything and head out to your car. Pop your hood
8. Remove your aftermarket strut bar, if you have one (12 & 14mm)
9.Mock out how your catch can is gonna run. PLEASE NOTE: There is only ONE way to run the air filter. Make sure that it flows from the PCV valve to the Intake manifold
PCV ^^^^
IM VVVV
10. Once your catch can is mocked out, use razor to cut the fuel line to lengths needed
11. Place the fuel lines on male ends. Use 2 hose clamps to tighten the hose on ends
12. I decided to paint mine since I'm not a fan of the blue, but this step is not needed. 2 coats of high temp black paint
13. Remove clamp on pcv valve and remove stock hose
14. Now the trick one, remove the clamp on the intake manifold. remove the hose
15. Now install the hose on the pcv valve and nipple on the intake manifold. MAKE SURE IT'S RUNNING THE RIGHT WAY.
16. Tighten the final 2 clamps on the pcv valve and nipple
17. Zip tie the catch can onto the strut bar or wherever you mocked it to be.
18. Start up car and listen and look for leaks. No leaks, then its all good to run
Open your hood periodically to remove the caught oil. Check it every few weeks.
(thanks to turbopanda @ HT and cokinut @ cb7tuner)


")