

LoSt GhoSt
Member
EDIT: If things don't make much sense, its because I am coping and pasting this from another forum. lol
Alright guys,
So to start off. I will state the pros and the cons to my car.
PROS:
* Very Solid Body
* Nice stiff suspension. (Compared to my 86 that would ride like a cadi )
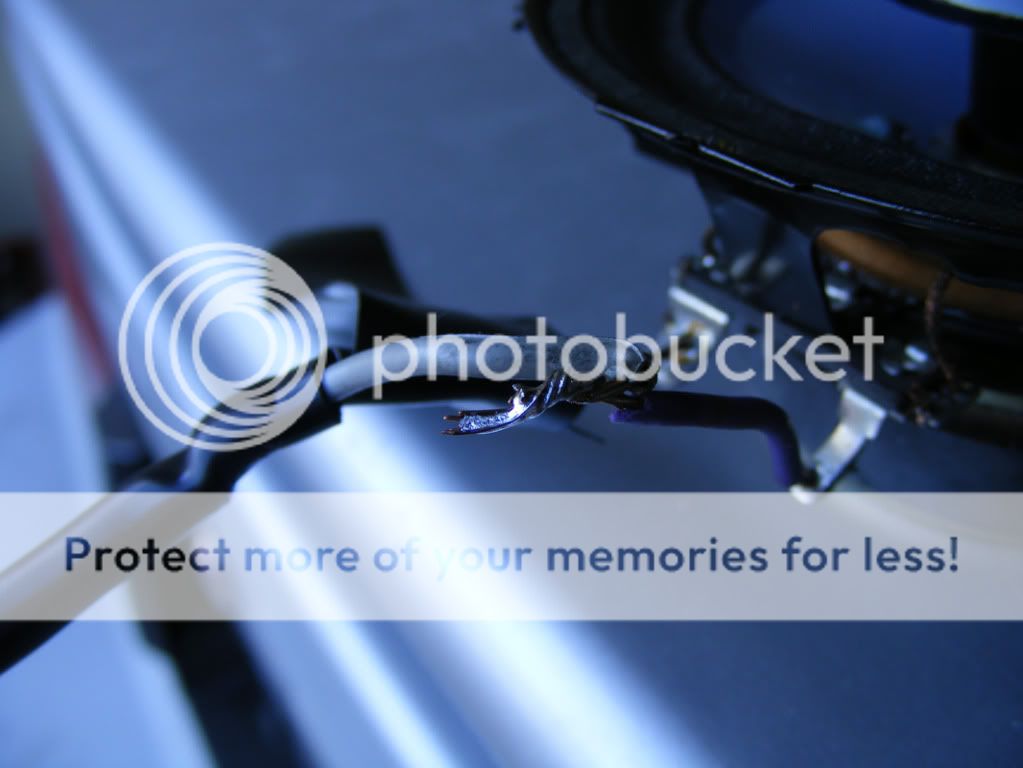
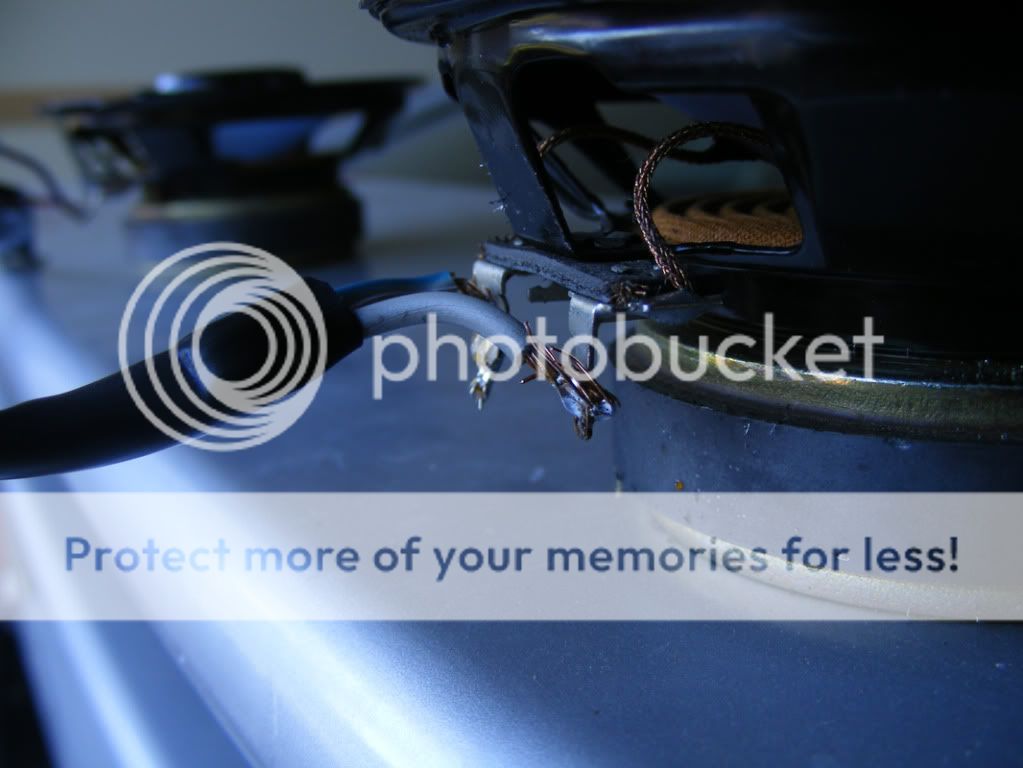
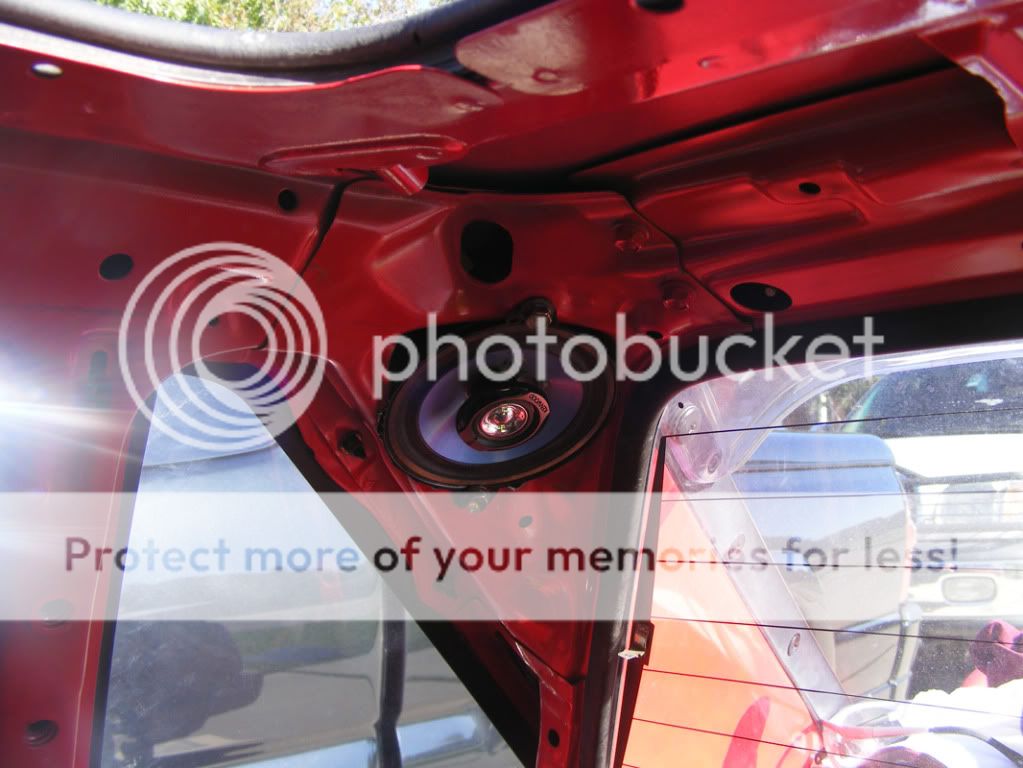
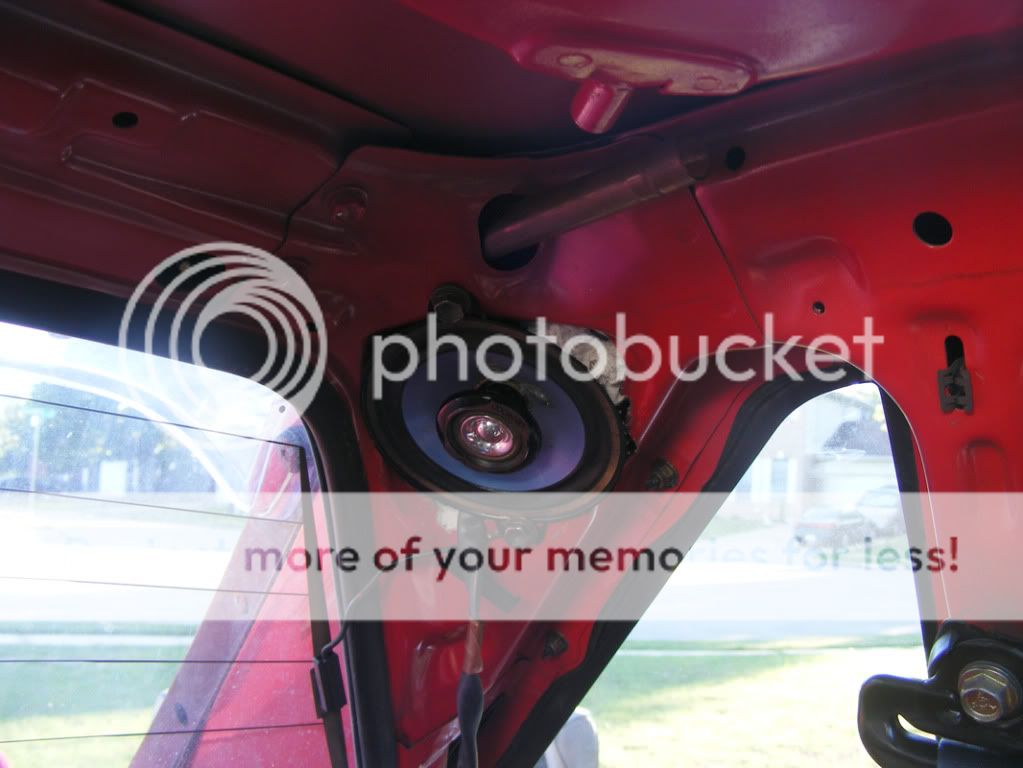
* Baby Rear speakers. (I will grind some material off to put in slightly bigger speakers.) (Done)
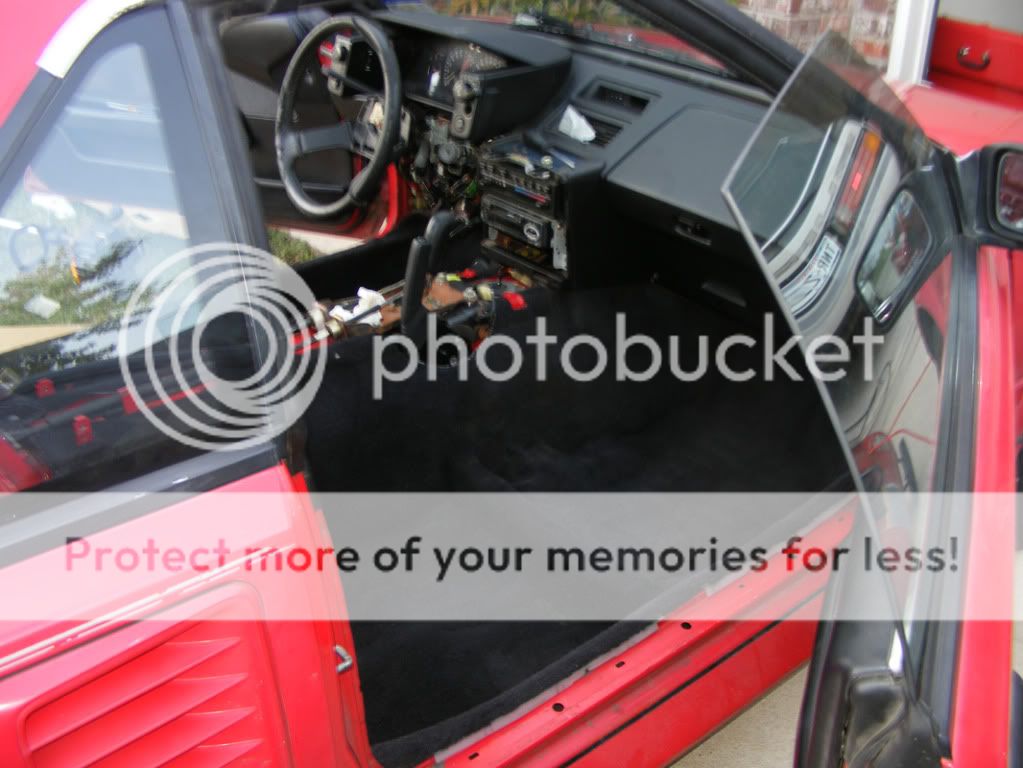
* Almost everything is functional... Almost.
* Base model. No power nothing. (Good for light weight)
* Has a lip (Needs a bit of work and repair)
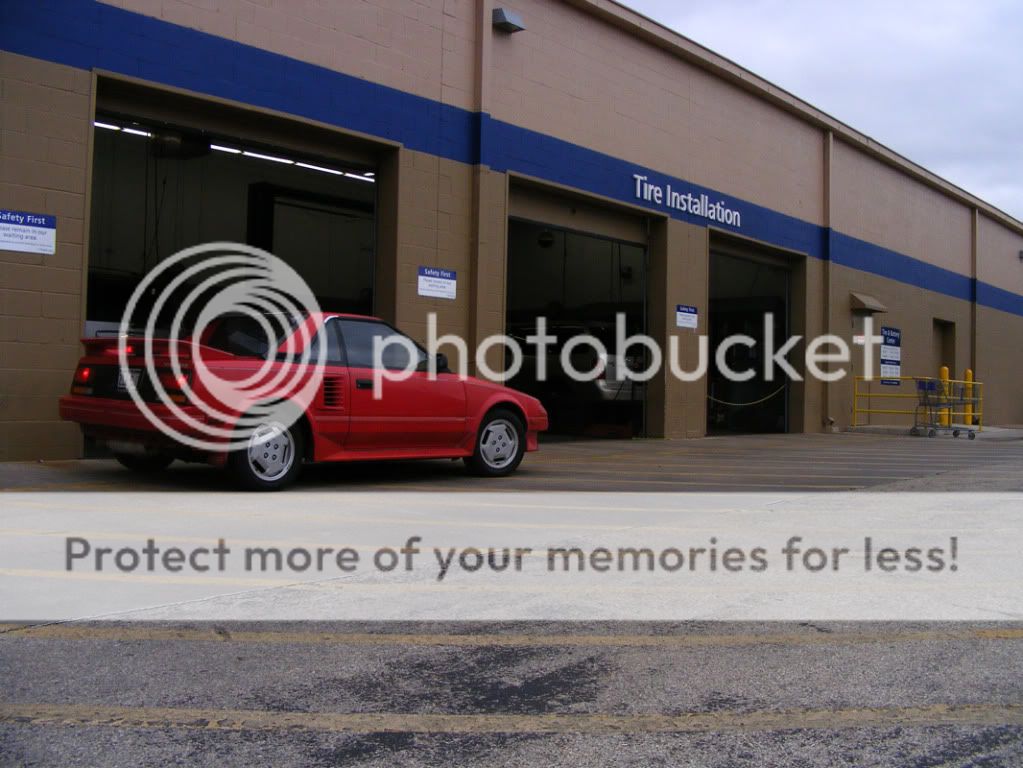
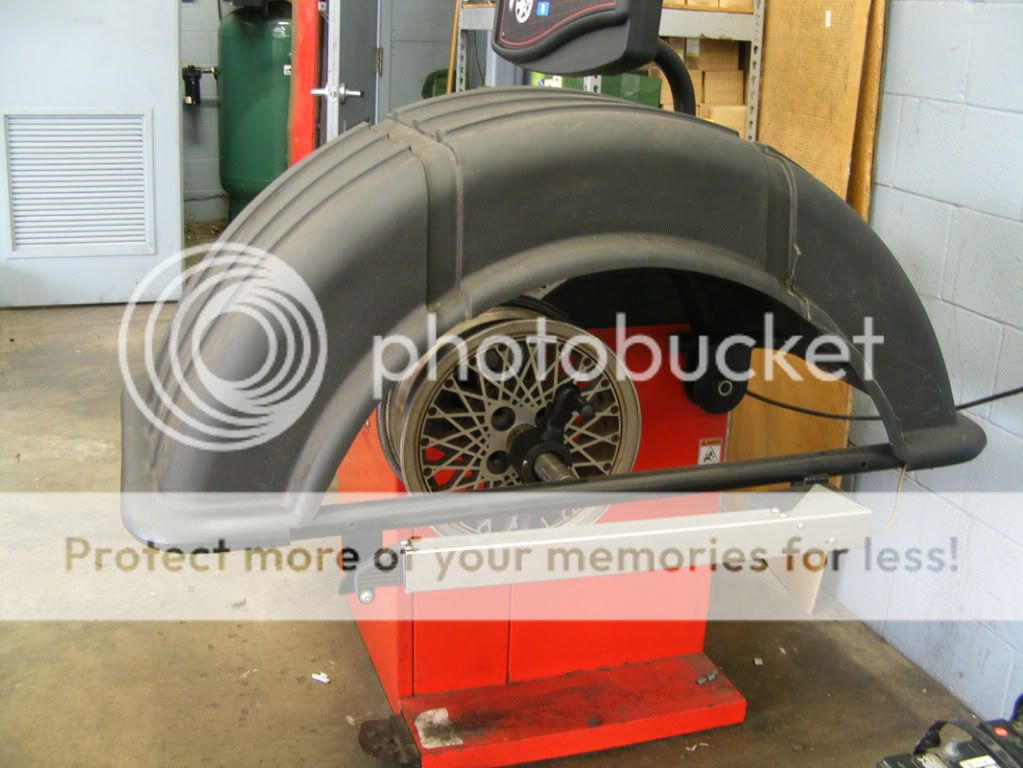
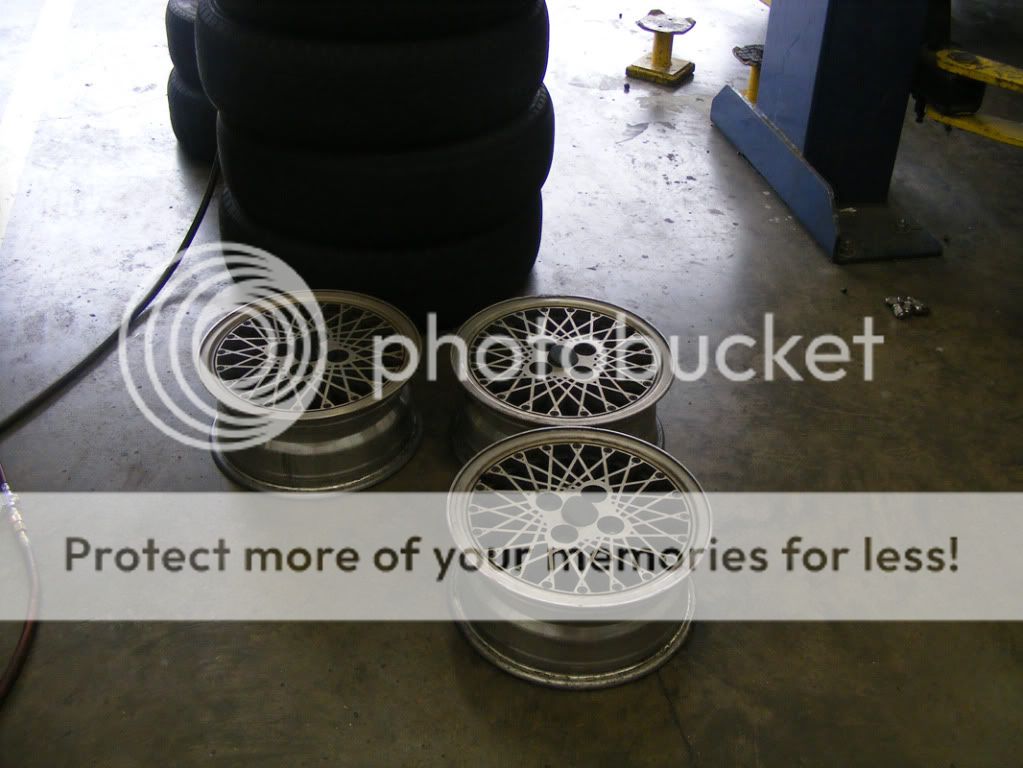
* Nice rims. (I will work with these)
CONS:
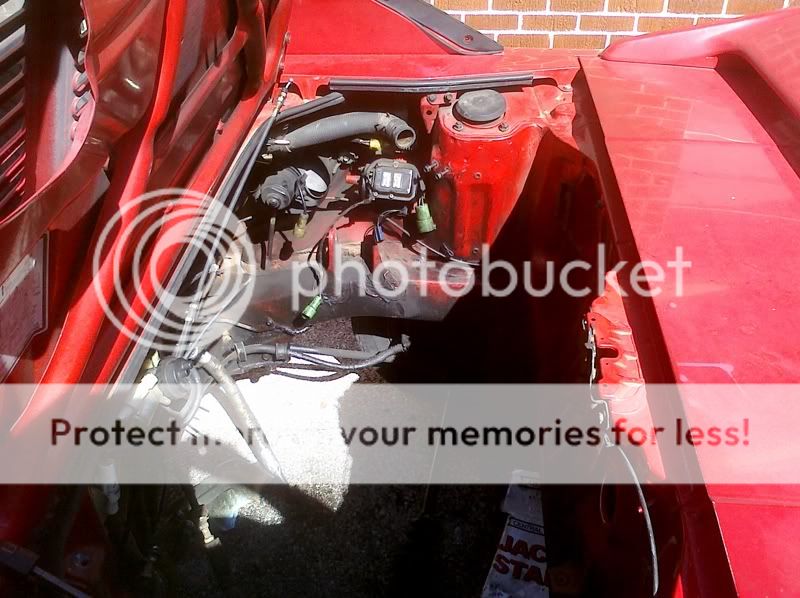
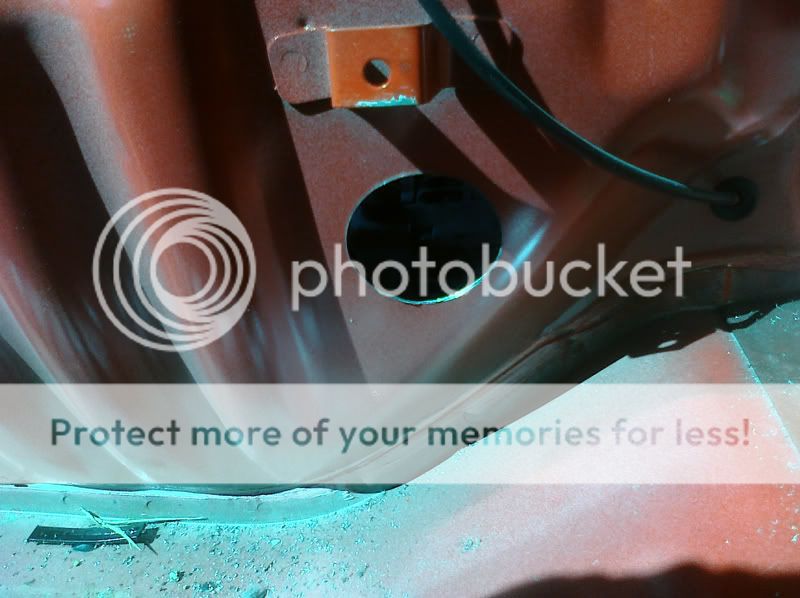
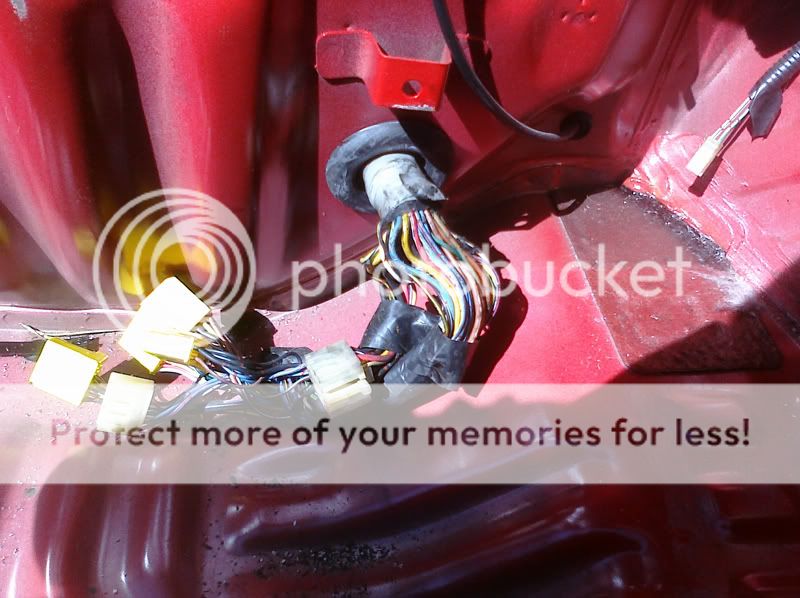
* The wire harness has been tampered with. (Makes me feel uneasy about having an electrical fire. Every time I turn the car off after a while of driving, it smells funny.) (Fixed)
* Fans are always on. Both rad fan and engine compartment fan. (Fixed)
* Temp sensor missing (Fixed)
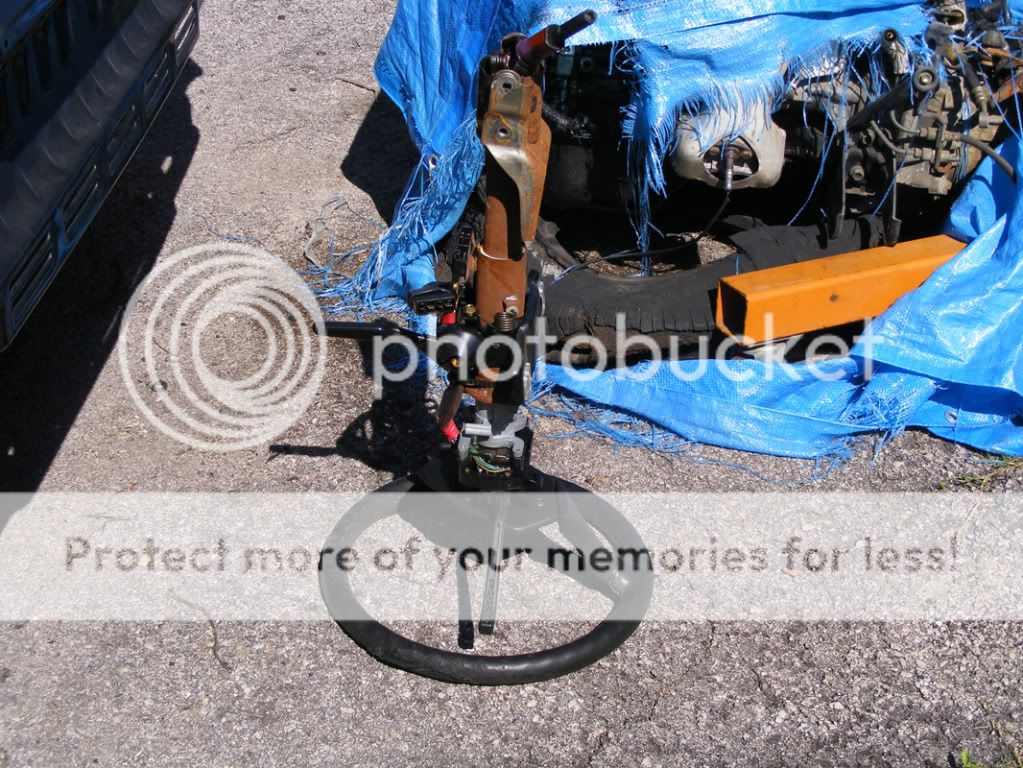
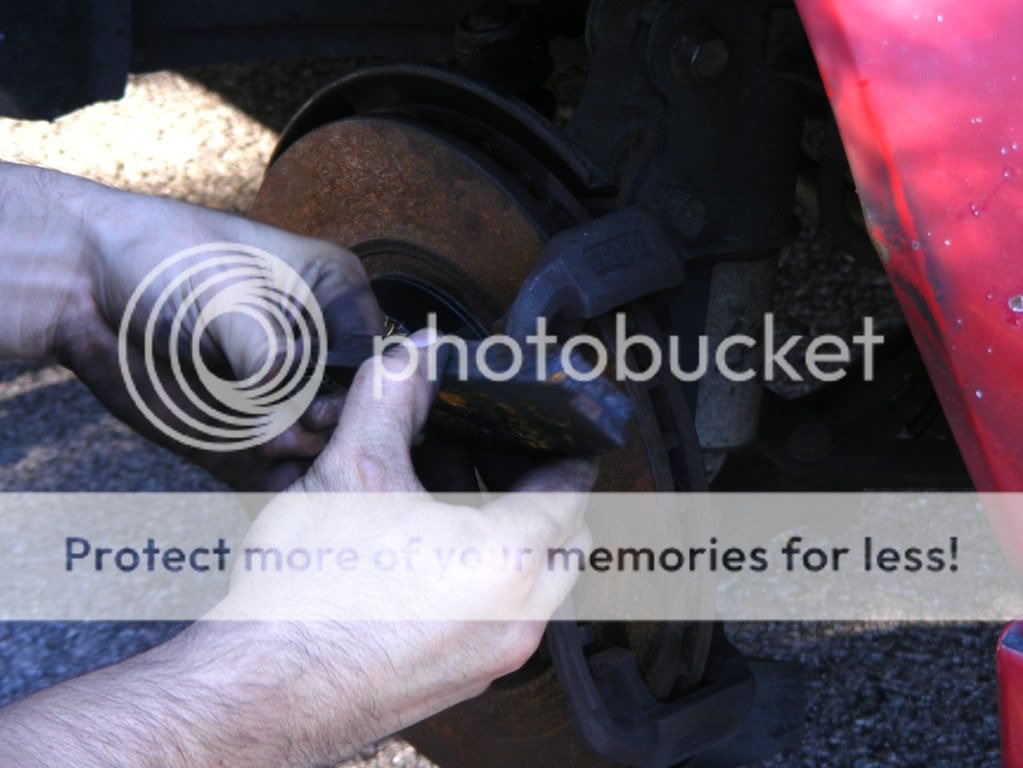
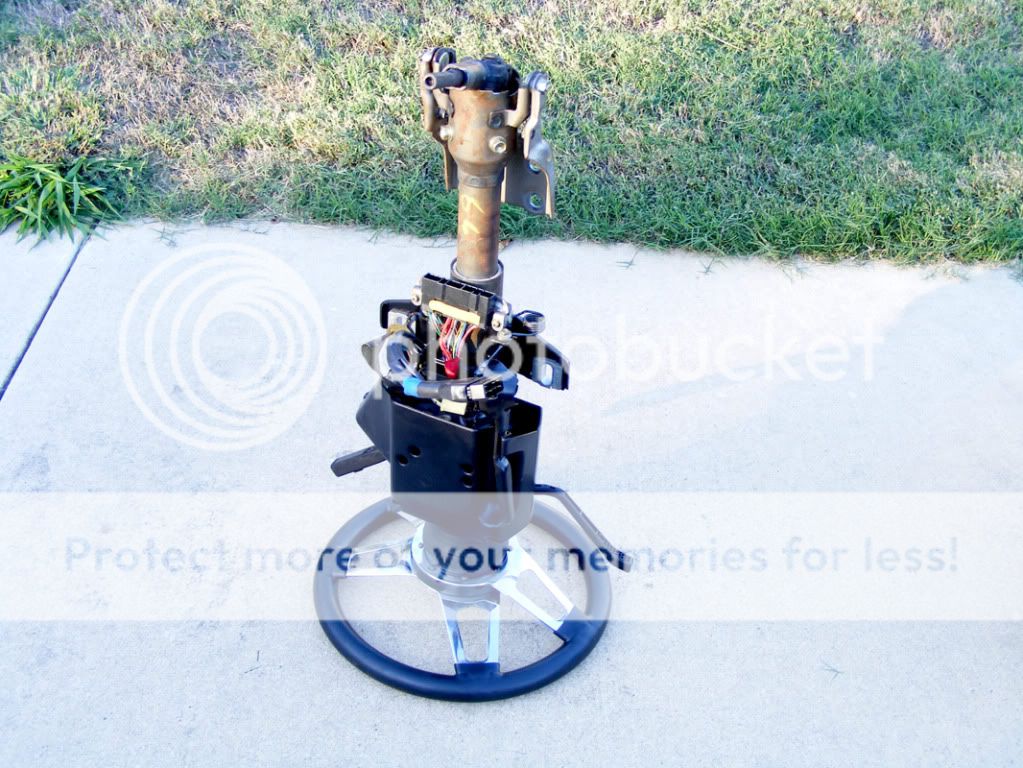
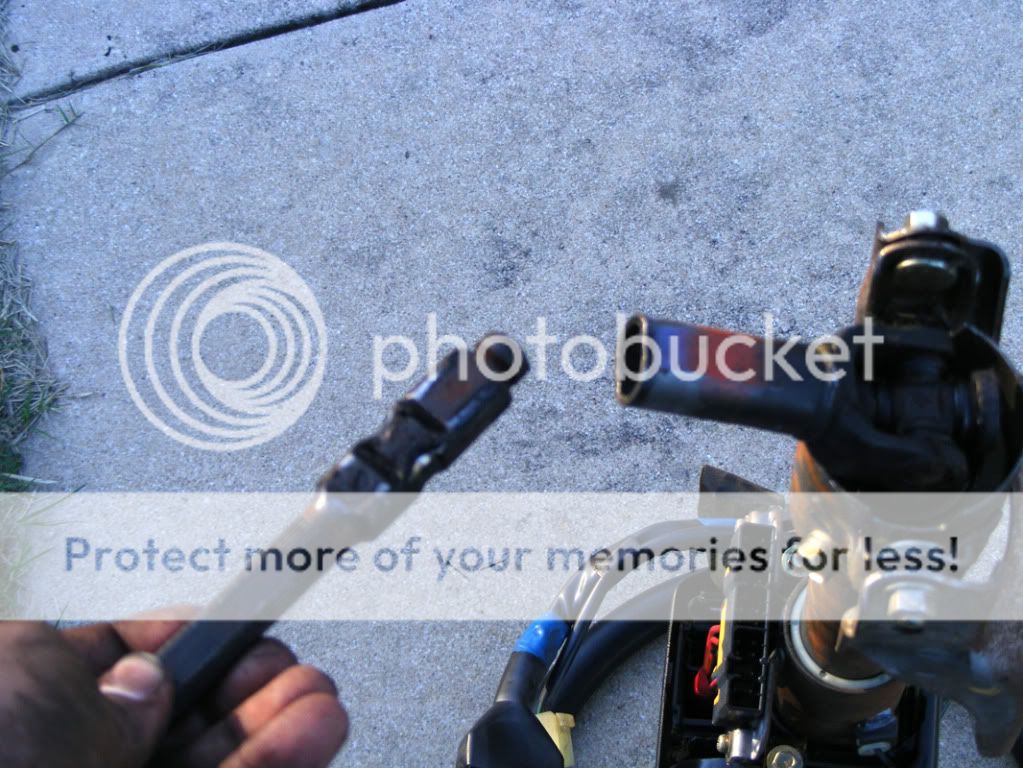
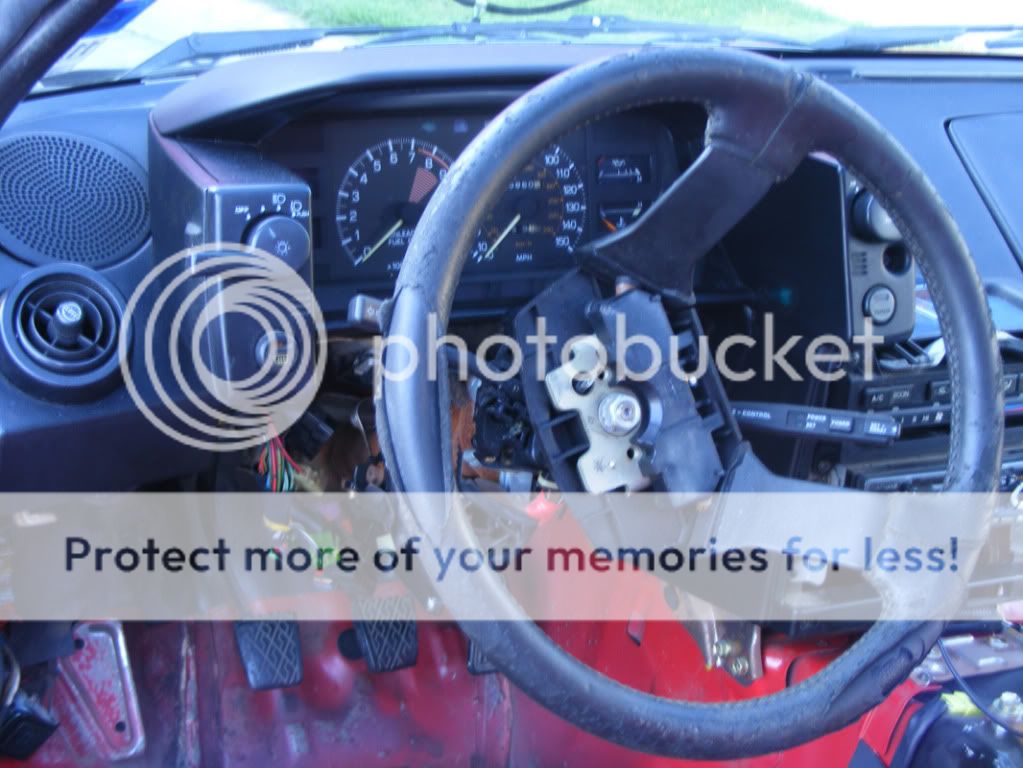
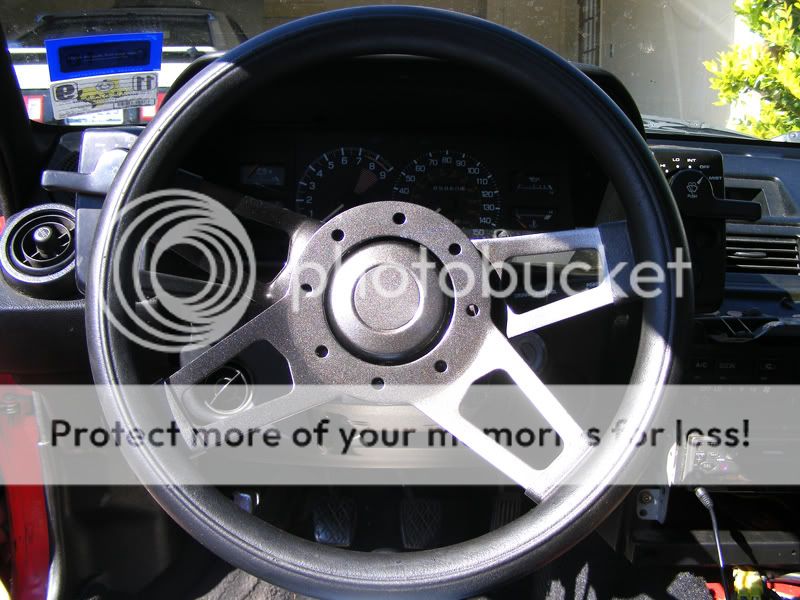
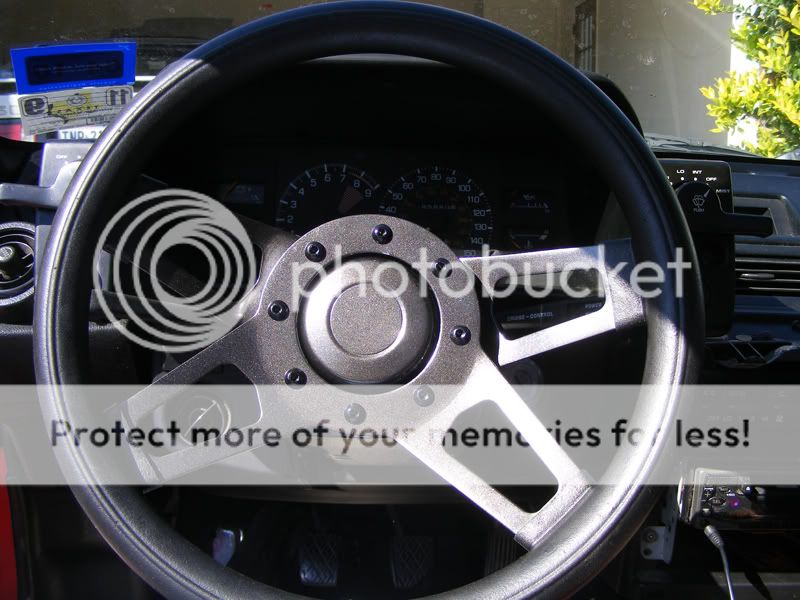
* Steering wheel has some wiggle. (Fixed)
* Rotors are slightly warped. (Replaced)
* Headlight motors sound like there going out. (There good)
* Cigarette lighter has a bad ground somewhere. When I connect my phone charger, my speakers start to whine.
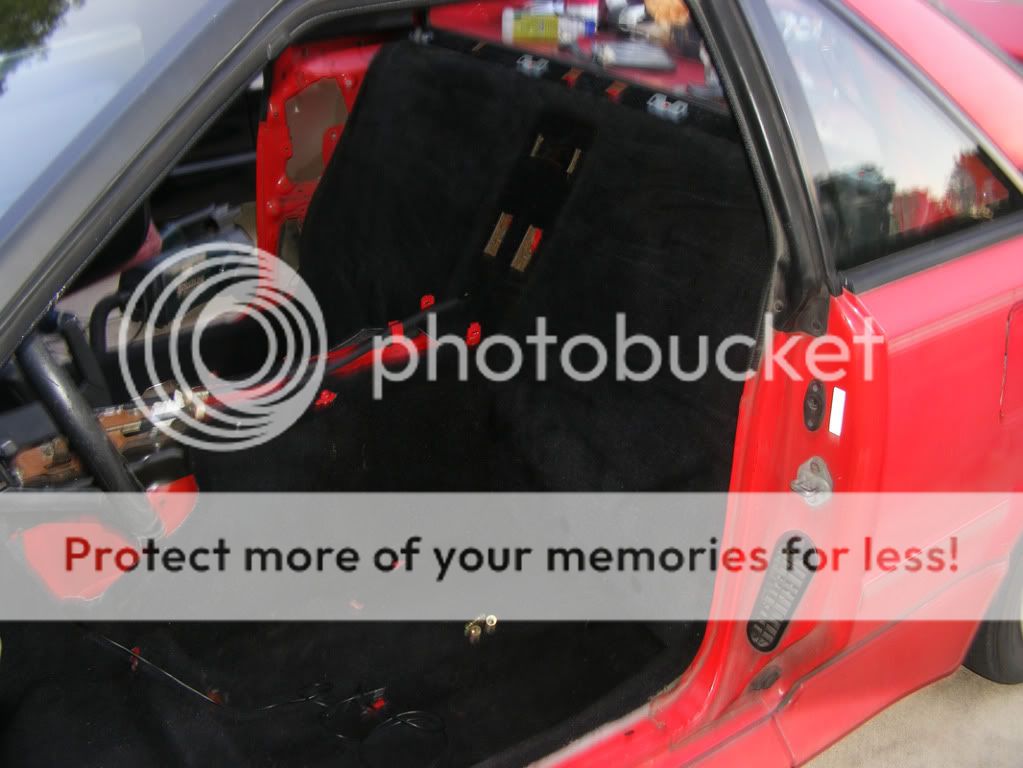
* Carpet is bad, with holes on the driver side. (Fixed)
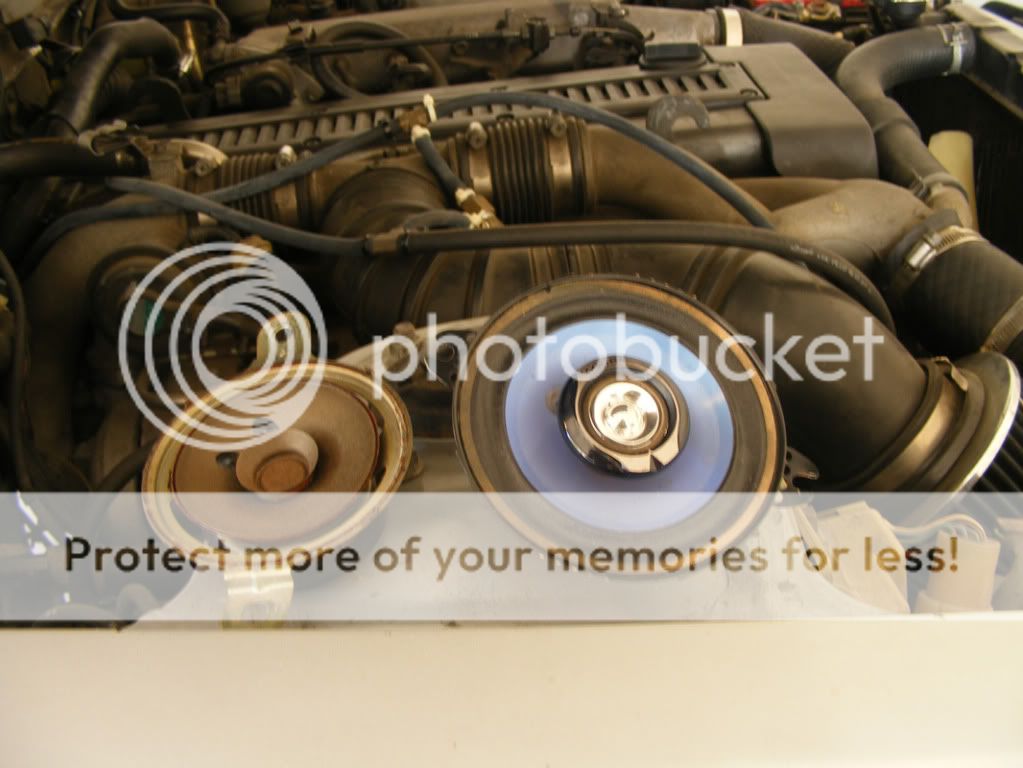
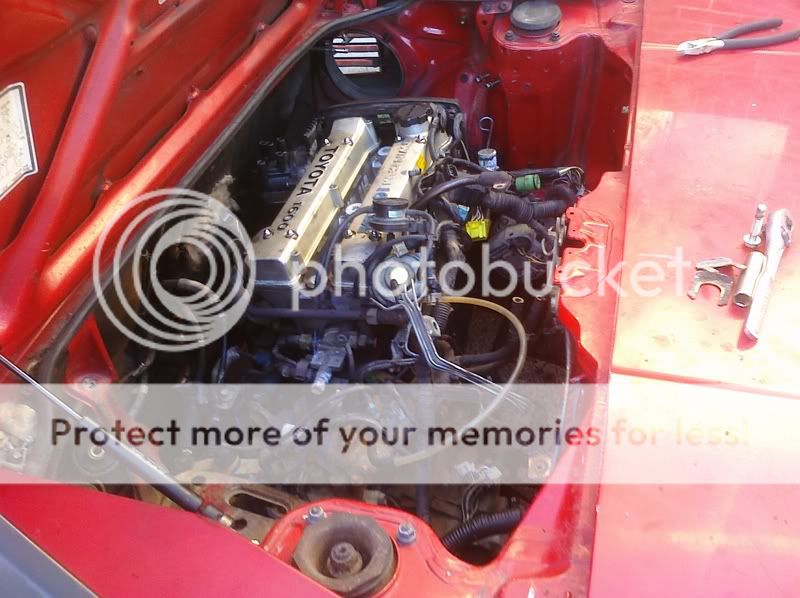
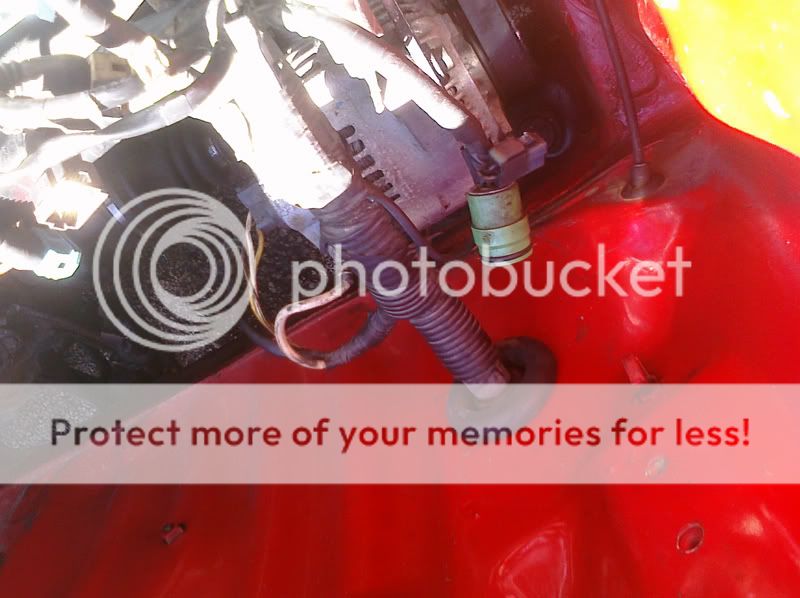
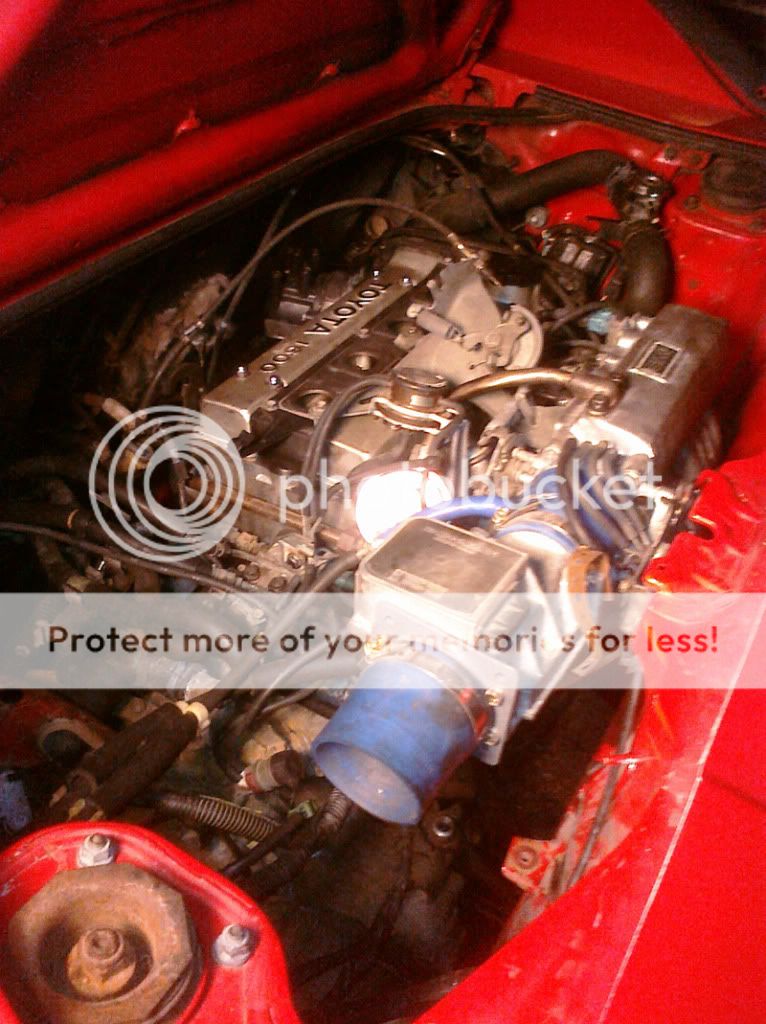
* Motor leaks oil from some where by the timing belt. (Motor Replaced)
* Motor bogs out slightly after 4K rpm. (Motor Replaced)
Plans
* Fix everything that is a con.
* Respray. (Paint is fading)
* Paint my wheels gold with a polished lip.
* Give it a drop
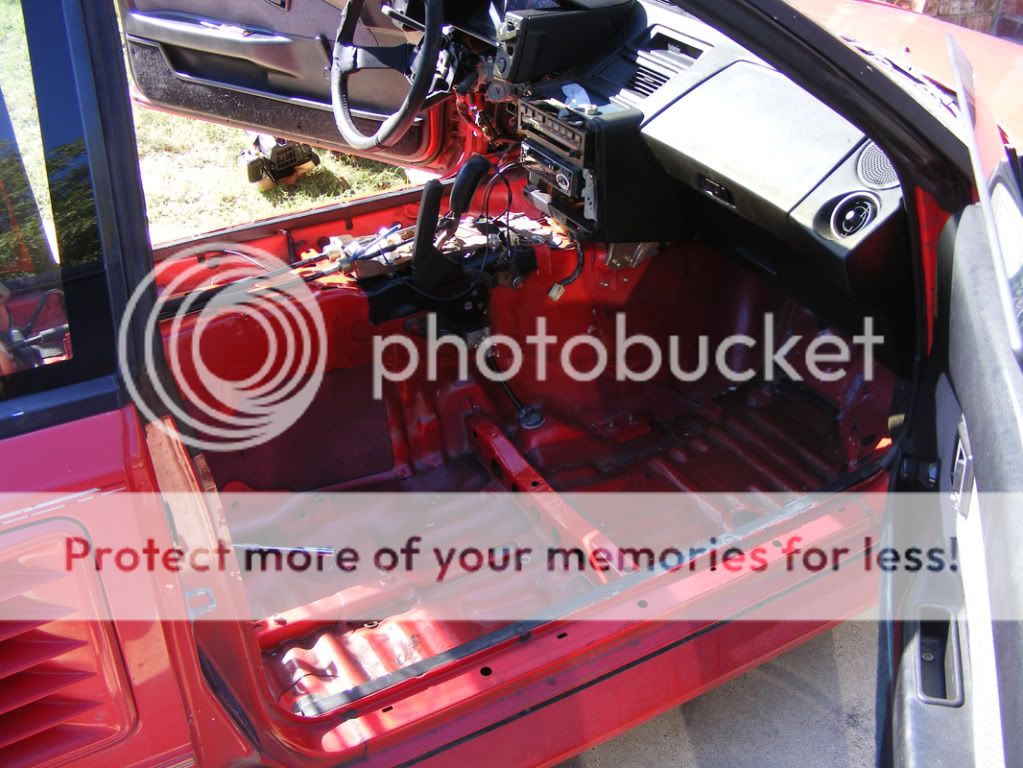
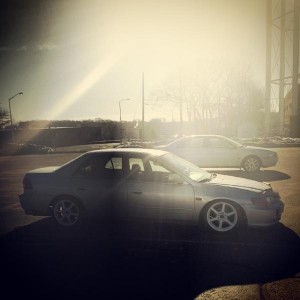
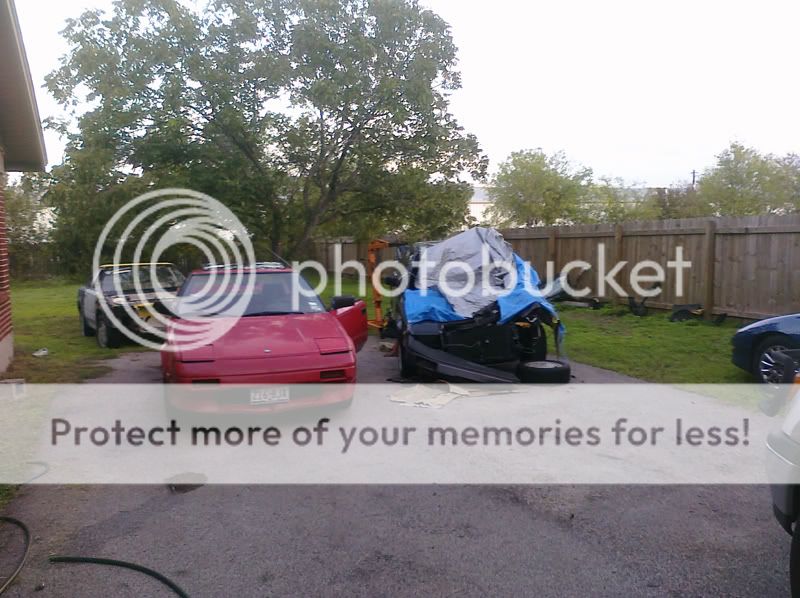
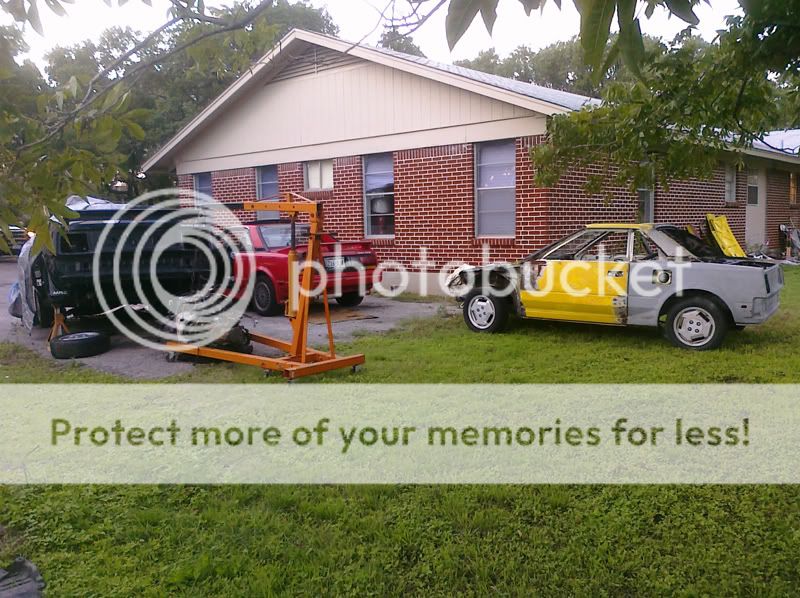
Alright, since I lost my camera. All the pictures will be taken from my phone. So please forgive me for the bad images.
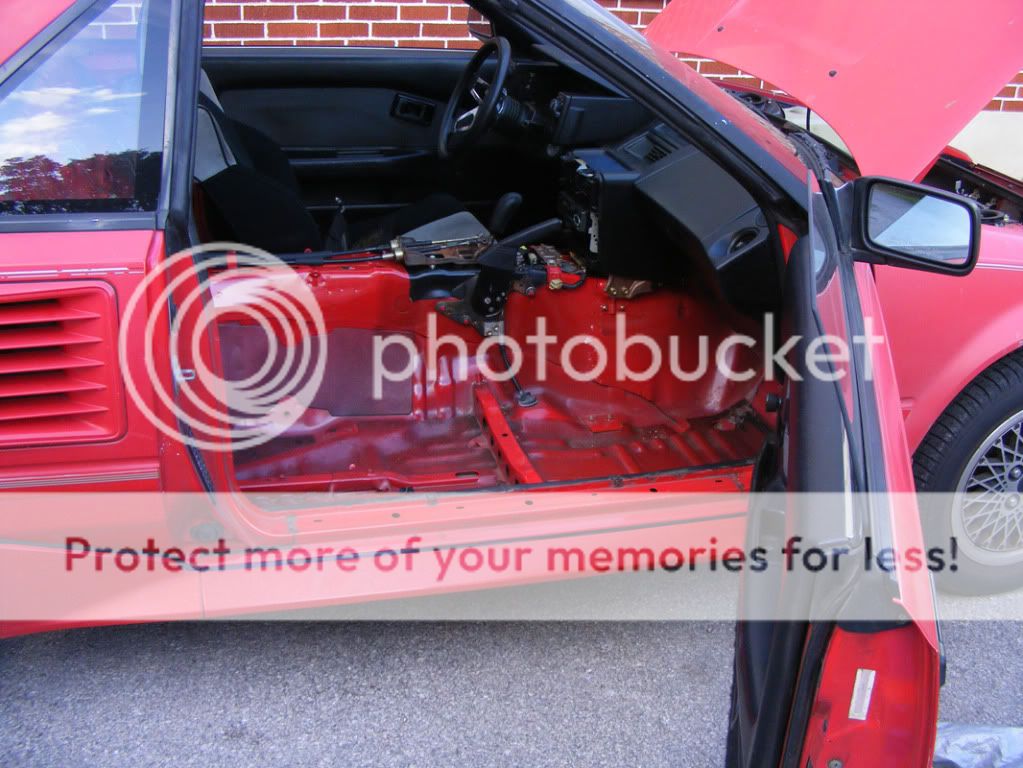
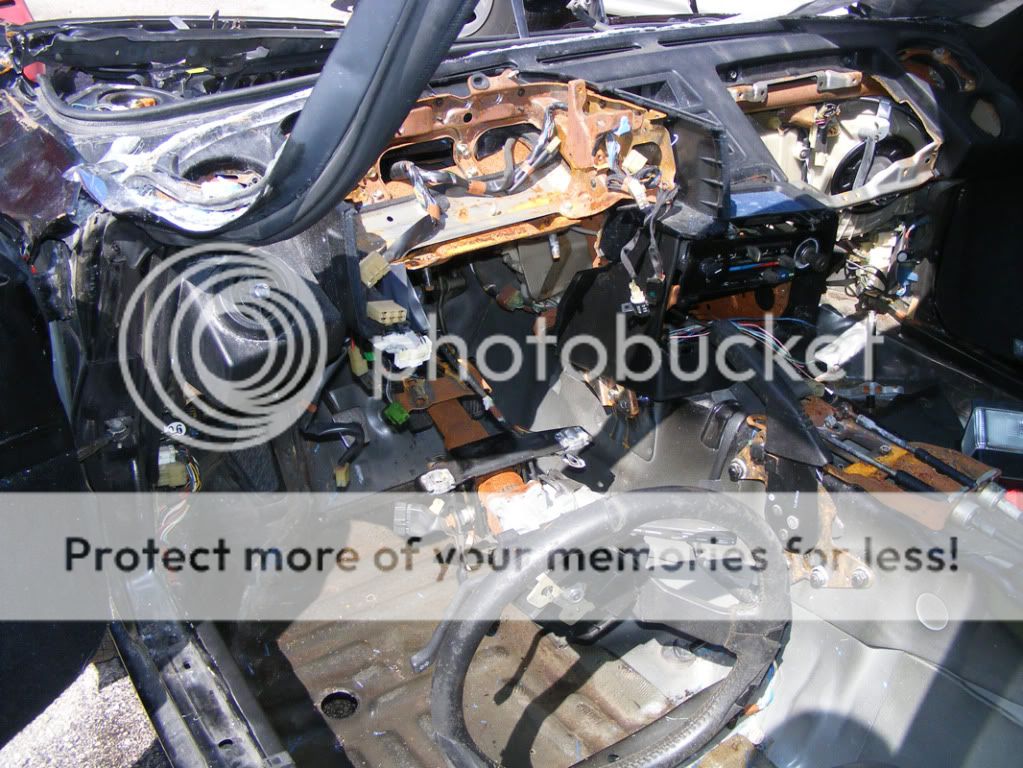
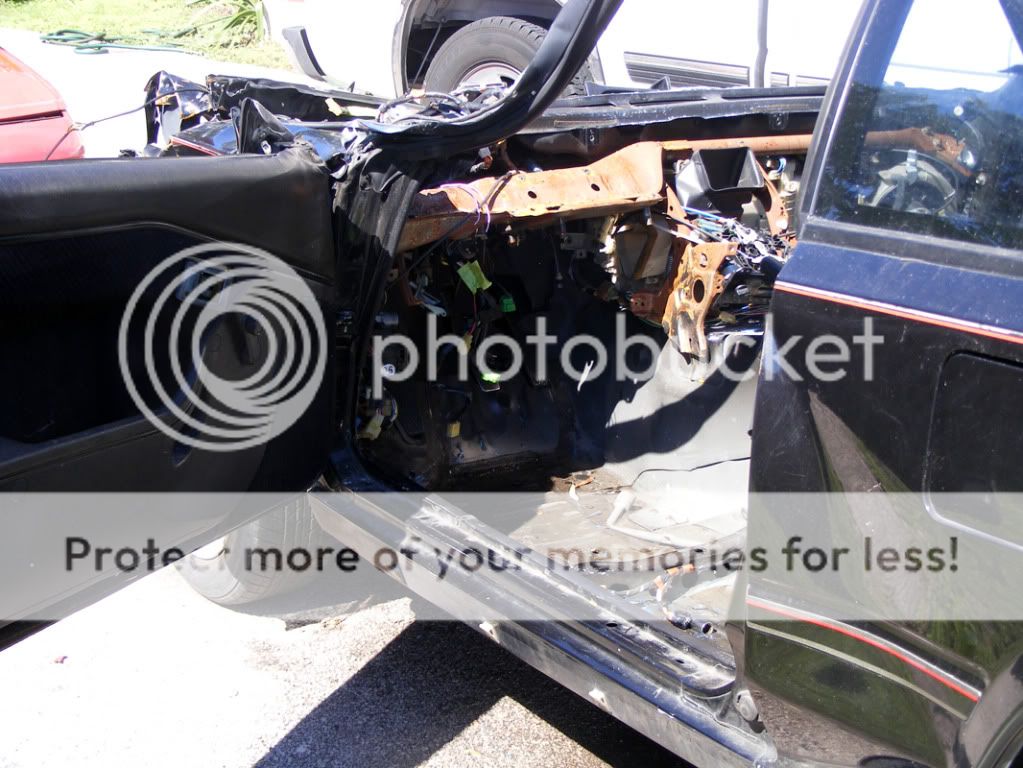
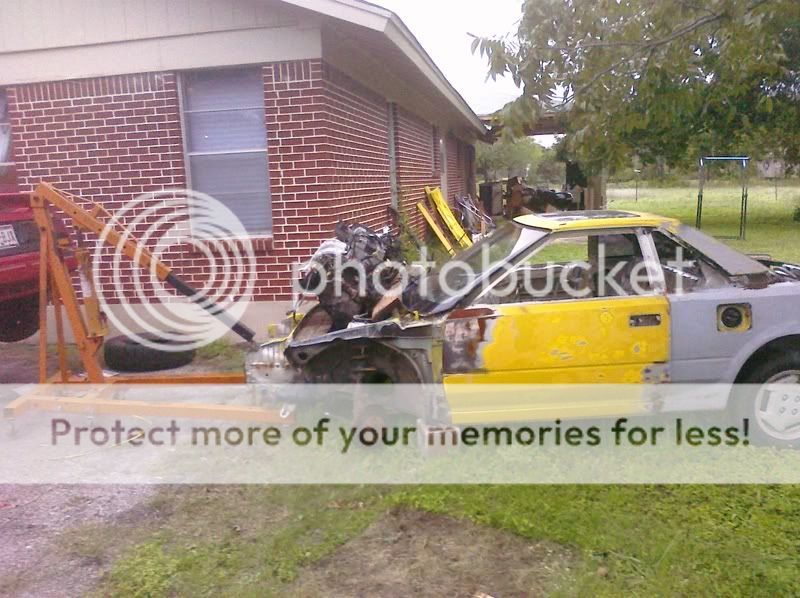
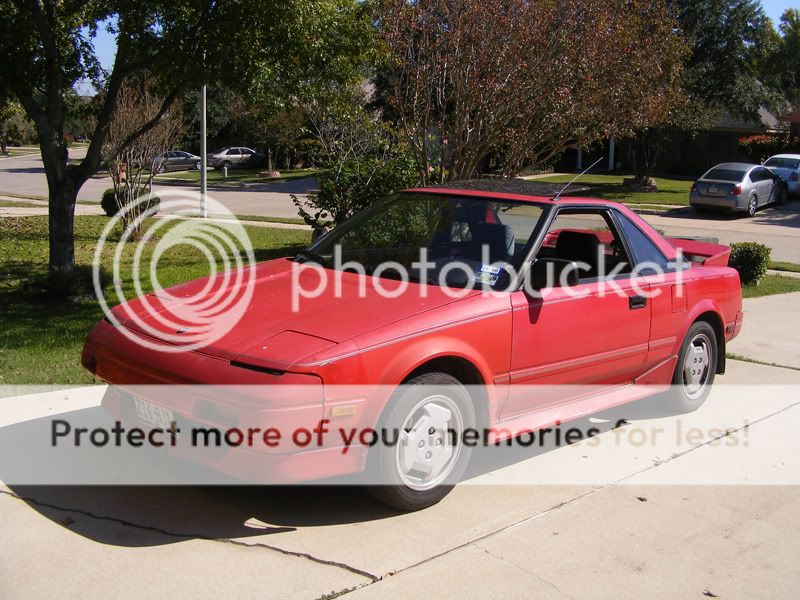
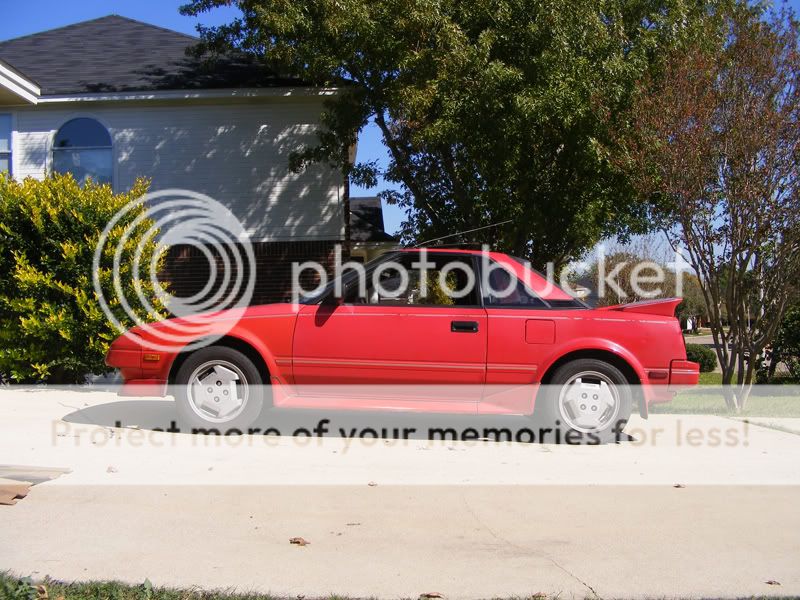
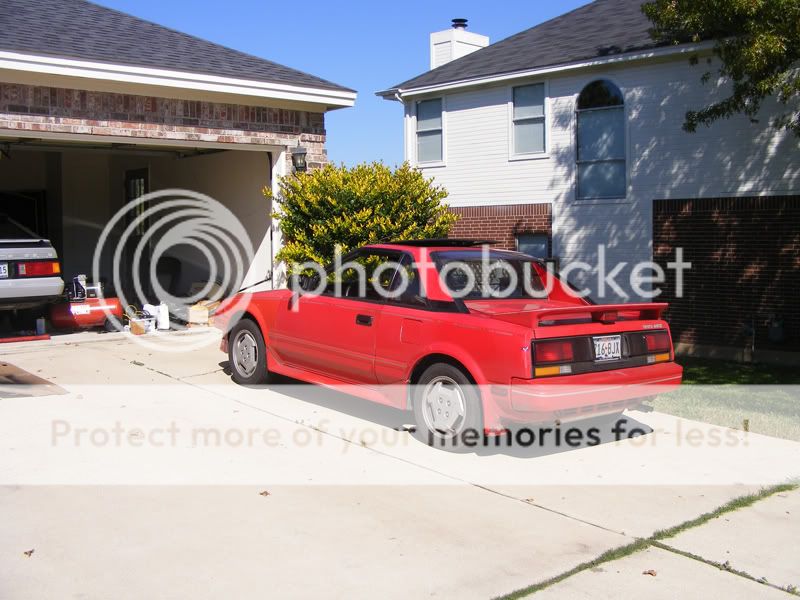
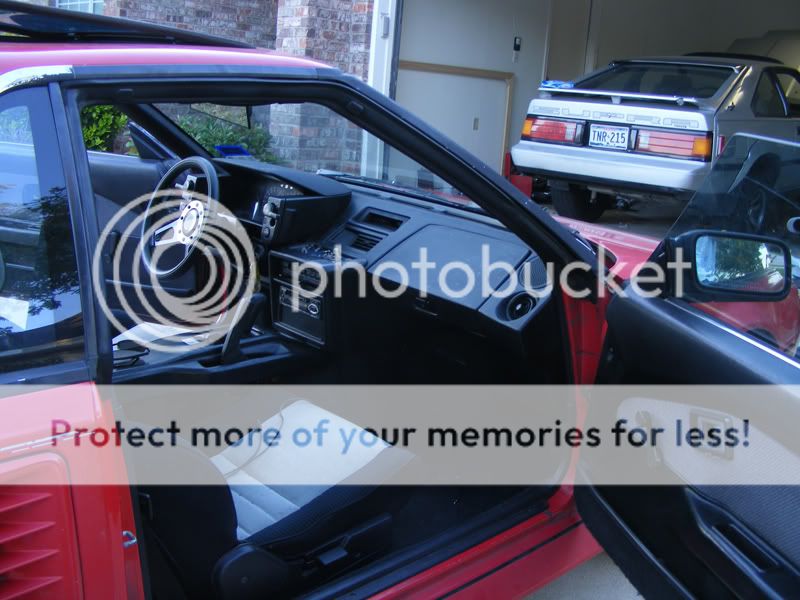
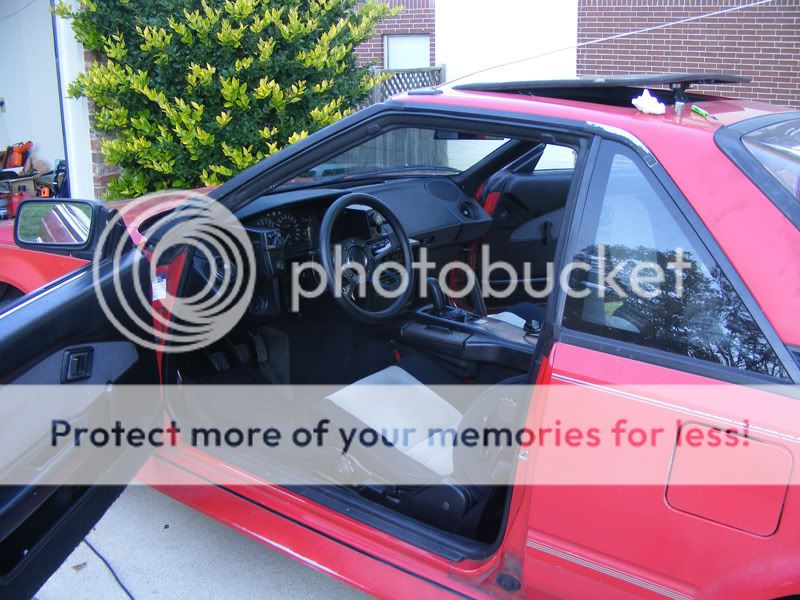
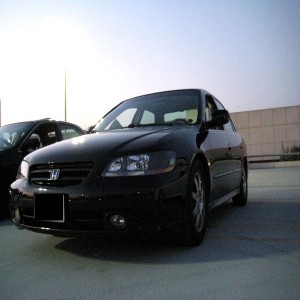
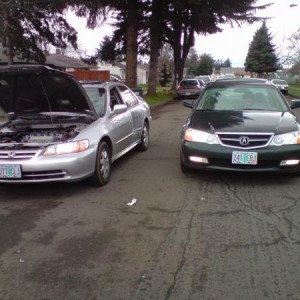
When I first got it.


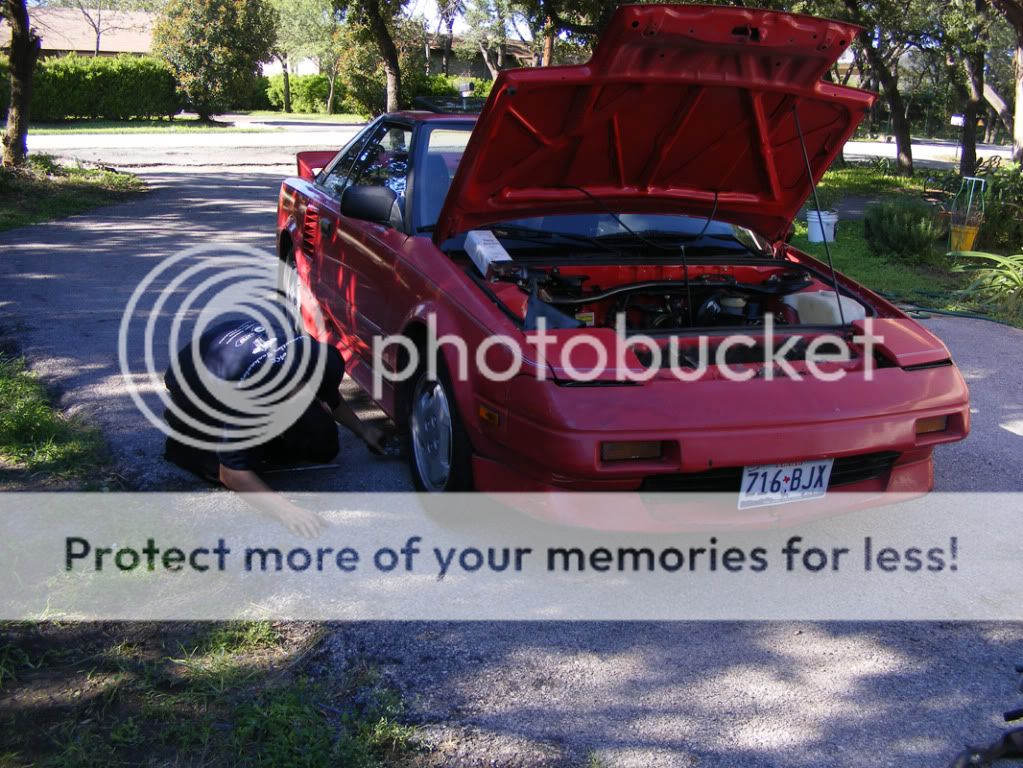
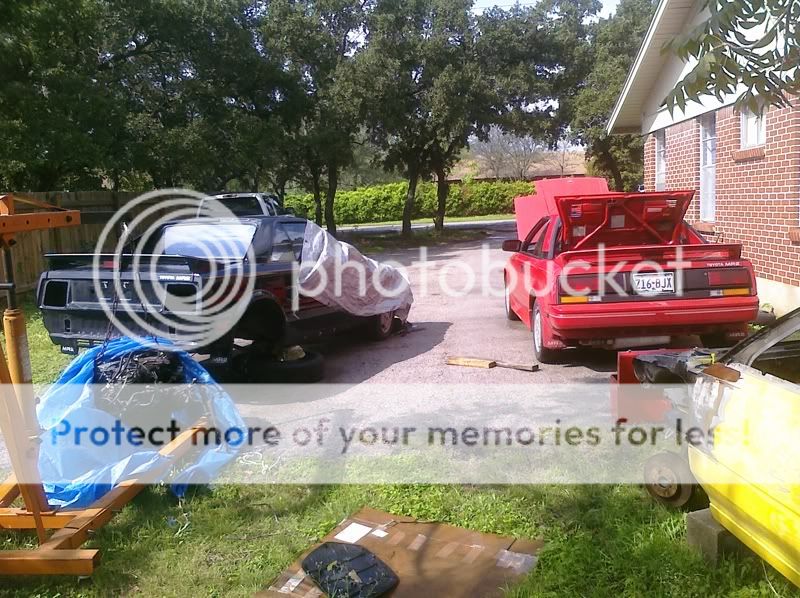
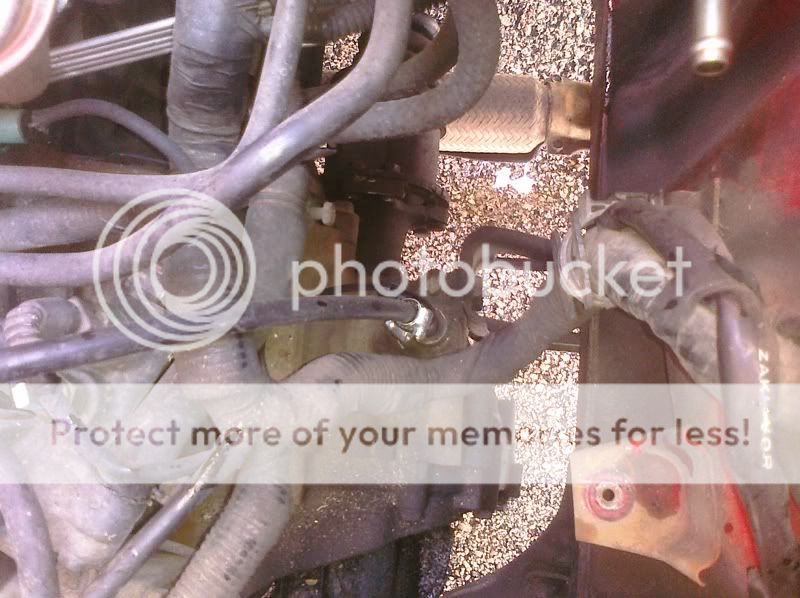
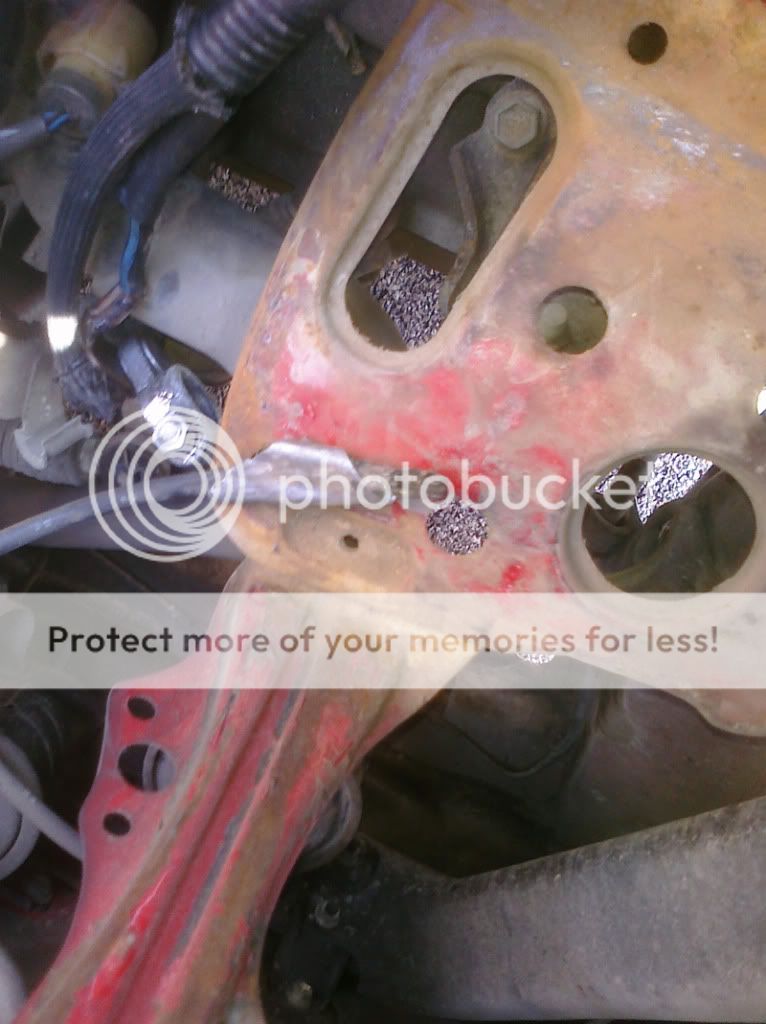
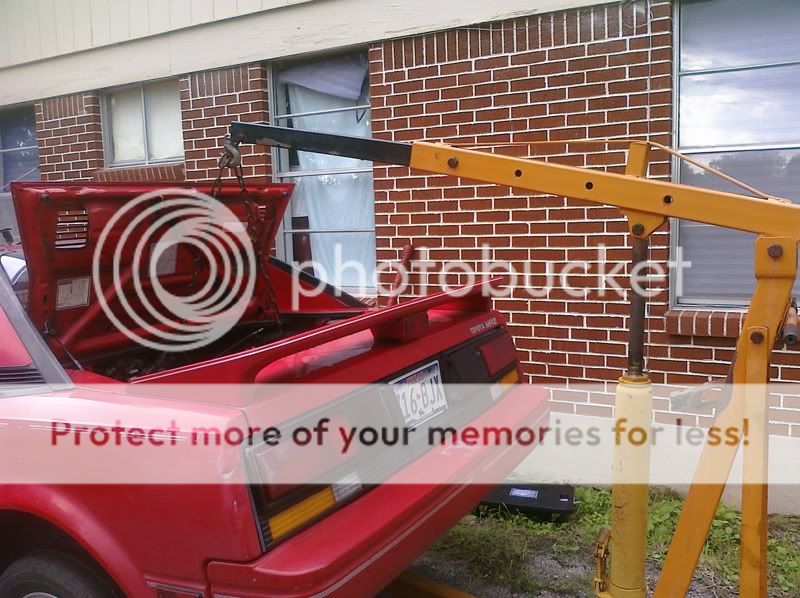
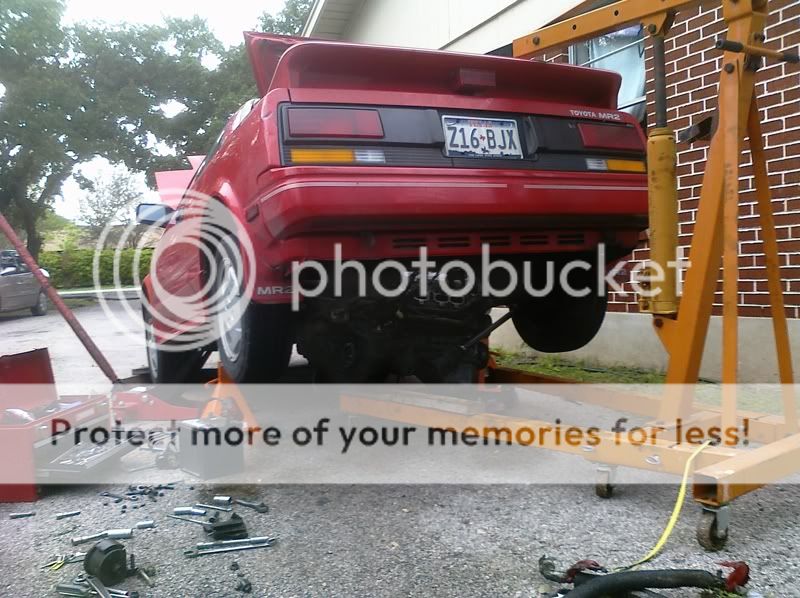
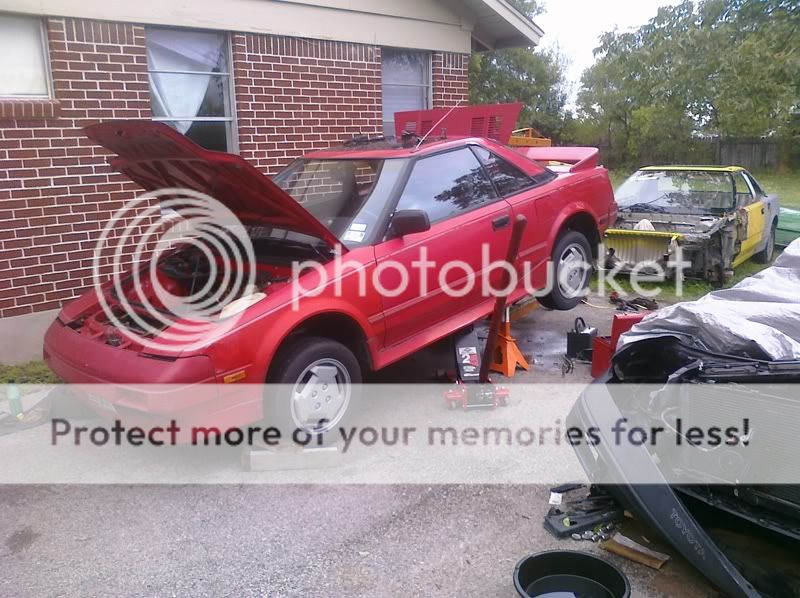
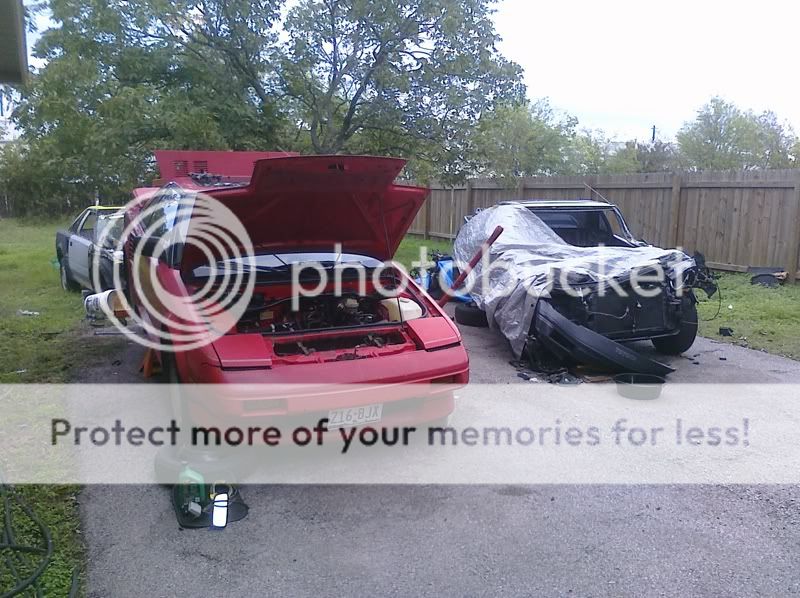
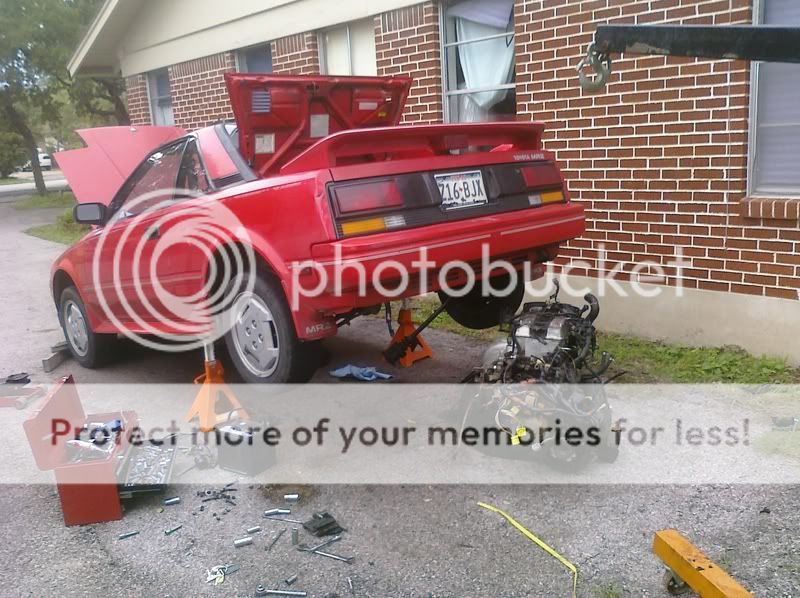
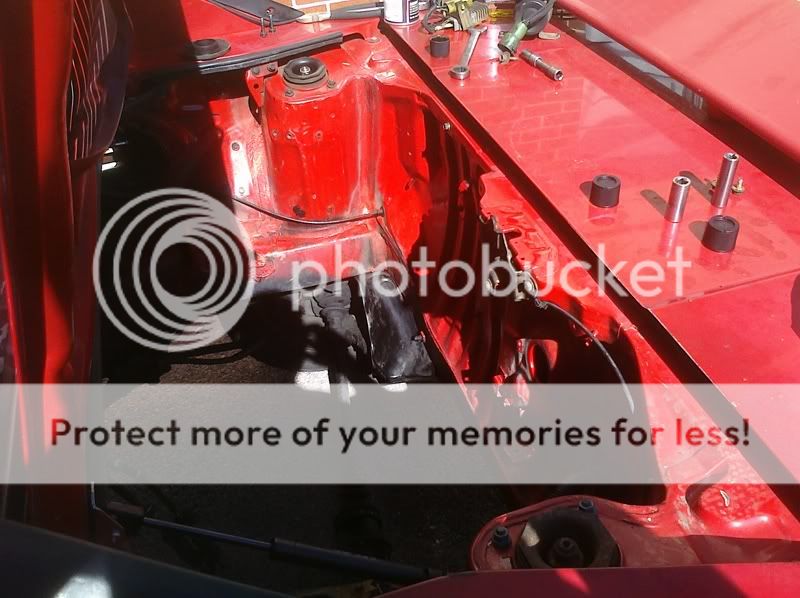
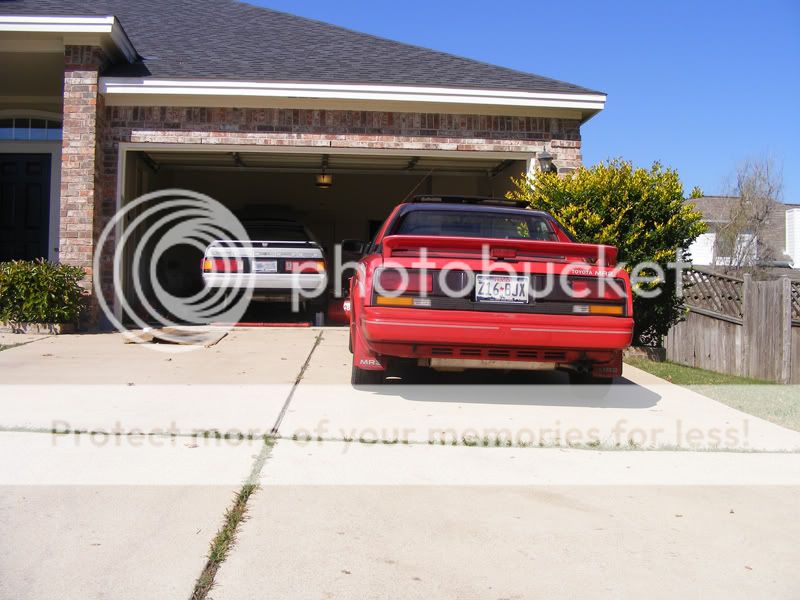
Seeing as how bad the MR was leaking oil. I couldn't wait till Friday to do the engine swap as planned. So today I started taking off the motor off of the black one with my dads help.
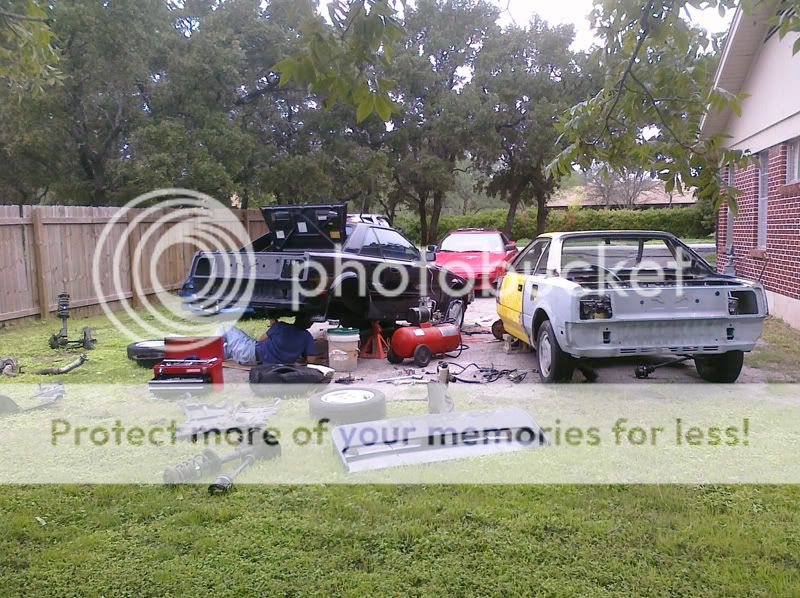
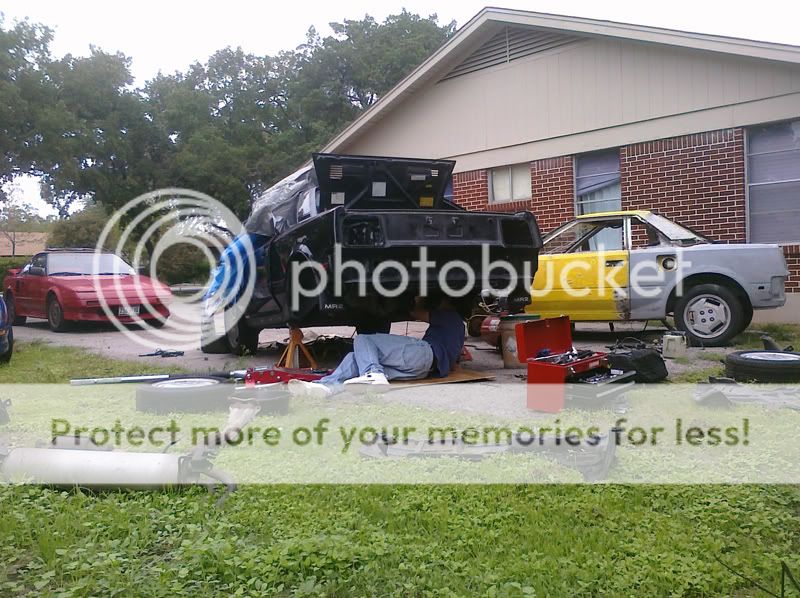
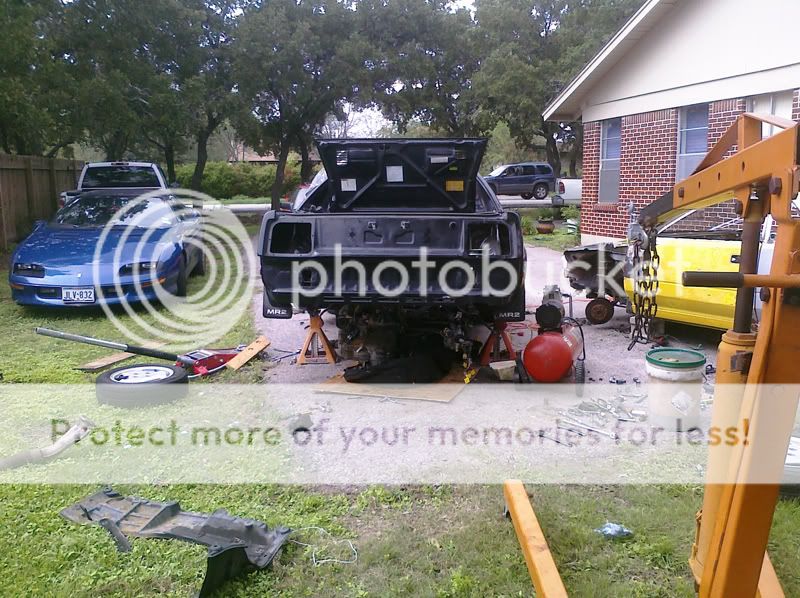
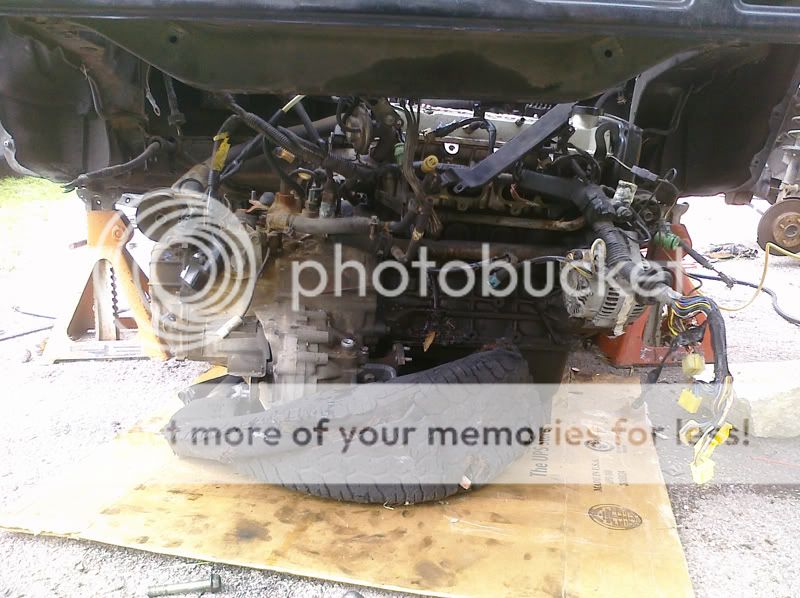
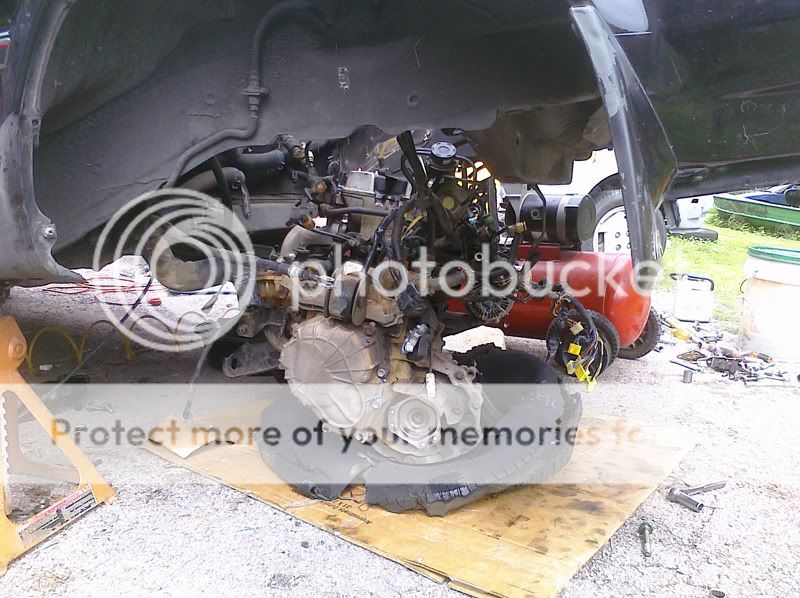
Well, it took us the whole day to take it off lol
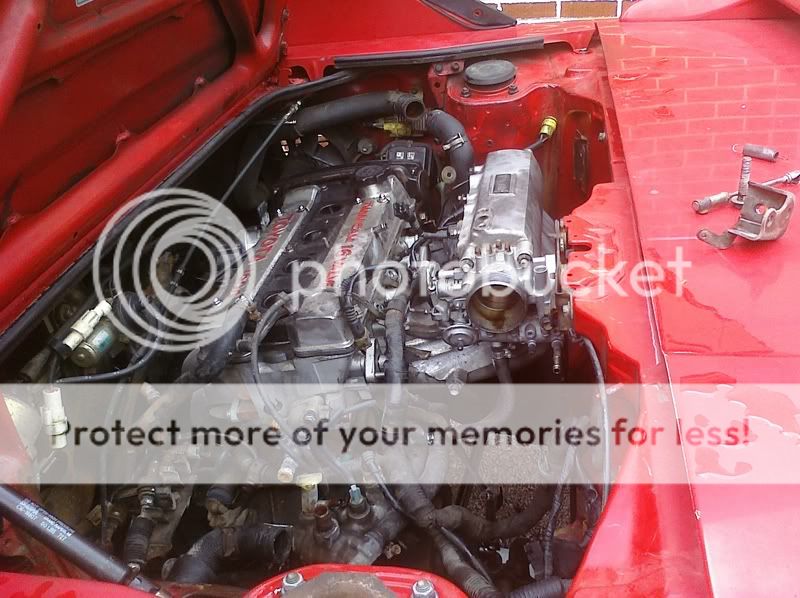
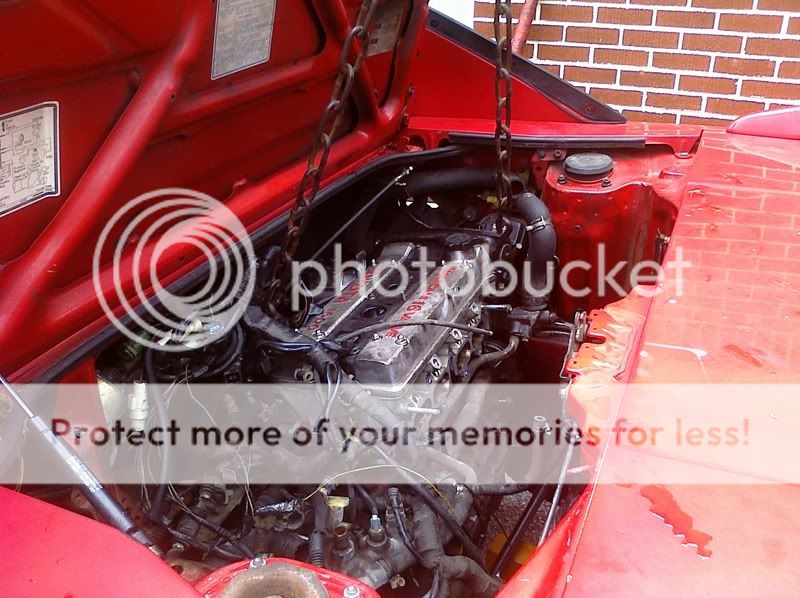
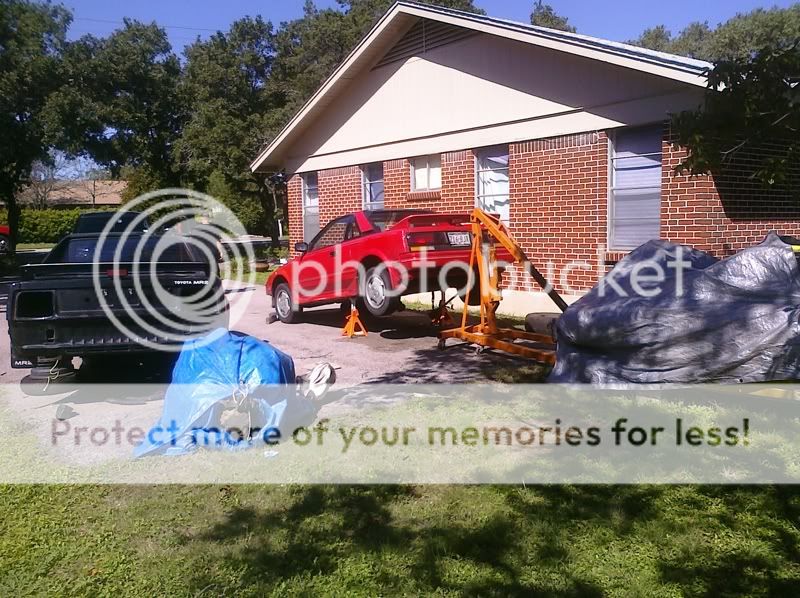
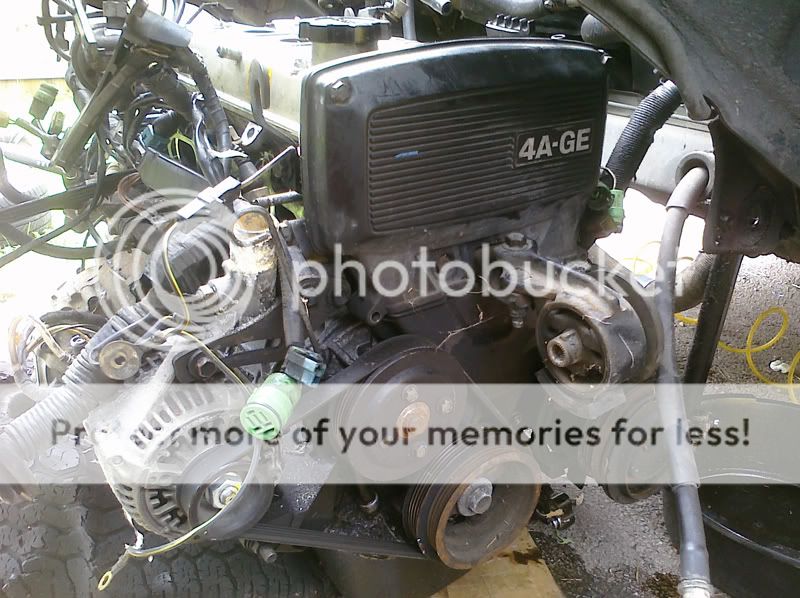
Anyways, after a long tiring day. We started looking at the motor from the red car. After checking that the car had a little more oil then needed. We drained some of it. And when what noticed was that, the oil was really thick and black.
So, since I was going to have to wait a few more days to continue the swap. I decided to do an oil change. I'm guessing the owner before me stopped taking care of it after while because you can easly tell, the oil had not been changed for a LONG time.
I changed the oil and realized that one of the TVIS vacuum hoses was not connected to the diaphragm. Plugged that right in and the car worked almost flawlessly except after 4K rpm.
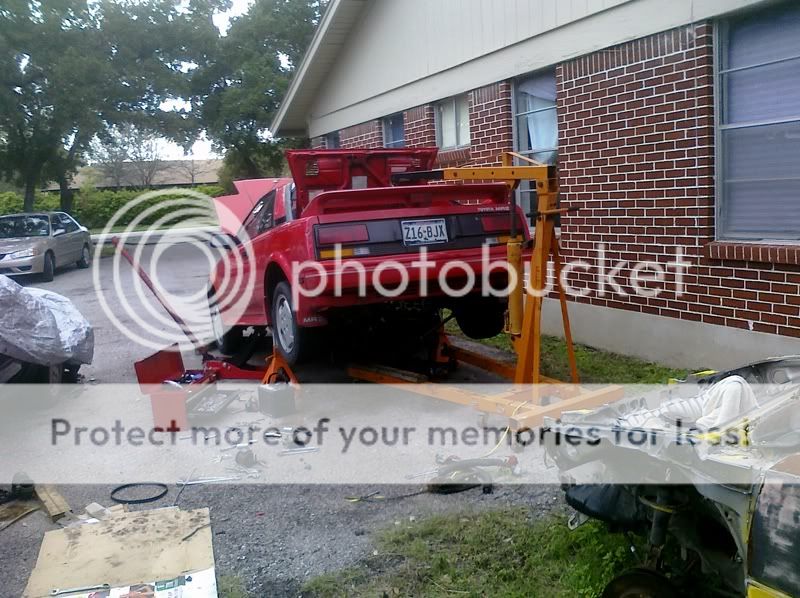
Great!!!! For now, Ill put the swap on hold and take care of the other things that need taken care of. Gotta tell you. Removing that engine from the bottom is a PAIN IN THE ***!!!
Alright guys,
So to start off. I will state the pros and the cons to my car.
PROS:
* Very Solid Body
* Nice stiff suspension. (Compared to my 86 that would ride like a cadi )
* Baby Rear speakers. (I will grind some material off to put in slightly bigger speakers.) (Done)
* Almost everything is functional... Almost.
* Base model. No power nothing. (Good for light weight)
* Has a lip (Needs a bit of work and repair)
* Nice rims. (I will work with these)
CONS:
* The wire harness has been tampered with. (Makes me feel uneasy about having an electrical fire. Every time I turn the car off after a while of driving, it smells funny.) (Fixed)
* Fans are always on. Both rad fan and engine compartment fan. (Fixed)
* Temp sensor missing (Fixed)
* Steering wheel has some wiggle. (Fixed)
* Rotors are slightly warped. (Replaced)
* Headlight motors sound like there going out. (There good)
* Cigarette lighter has a bad ground somewhere. When I connect my phone charger, my speakers start to whine.
* Carpet is bad, with holes on the driver side. (Fixed)
* Motor leaks oil from some where by the timing belt. (Motor Replaced)
* Motor bogs out slightly after 4K rpm. (Motor Replaced)
Plans
* Fix everything that is a con.
* Respray. (Paint is fading)
* Paint my wheels gold with a polished lip.
* Give it a drop
Alright, since I lost my camera. All the pictures will be taken from my phone. So please forgive me for the bad images.
When I first got it.
Seeing as how bad the MR was leaking oil. I couldn't wait till Friday to do the engine swap as planned. So today I started taking off the motor off of the black one with my dads help.
Well, it took us the whole day to take it off lol
Anyways, after a long tiring day. We started looking at the motor from the red car. After checking that the car had a little more oil then needed. We drained some of it. And when what noticed was that, the oil was really thick and black.
So, since I was going to have to wait a few more days to continue the swap. I decided to do an oil change. I'm guessing the owner before me stopped taking care of it after while because you can easly tell, the oil had not been changed for a LONG time.
I changed the oil and realized that one of the TVIS vacuum hoses was not connected to the diaphragm. Plugged that right in and the car worked almost flawlessly except after 4K rpm.
Great!!!! For now, Ill put the swap on hold and take care of the other things that need taken care of. Gotta tell you. Removing that engine from the bottom is a PAIN IN THE ***!!!
Last edited: