

TitaniumACC
Well-Known Member
For some reason..my previous How-to have disappear.. so i did it again:
All you need to fit a 5th gen prelude cluster in a 6th gen accord:
-Cluster from a prelude.. duh!!
- This wires harness from a prelude 97-01 :

Note: If your car is manual transmission, you don't need the little green connector on the prelude harness. You only need the grey and two blue.
- Honda Shop manual for 97-01 Prelude. Very important because you need ALL the wires diagrams. There is so much wires, you DON'T want to do it again.
- welder for electronics, wire denudor, tin to weld.
- star point screwdriver
- electric tape
- power tester
- a lot of time and some perseverance.
Before:

Trim removed:

With removed connectors wires: 3 green connectors:
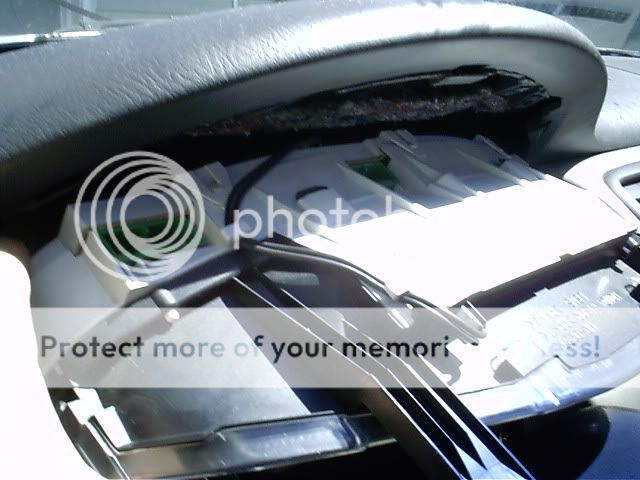
3 connectors wires from accord cluster:

Prelude cluster in his new house:

Final installation:


How-to:
1. Remove cluster trim; two screws
2. Remove the 4 bolts of the cluster.
3. Gently pulled the cluster to be able to remove the 3 green wires connectors.
4. Removed the cluster.
5. With wires diagrams, you have to connect all needed wires to the prelude wires harness. That's why you MUST have complete prelude shop manual.
6. When all lights, gauges are working, fit the cluster in the dashbord the best you can and that's all.
Note: In 6th gen accord, there is a dimmer in the cluster to ajust intruments lightning intensity. On prelude, the dimmer is on the dashboard. Don't worry, just connect all wires from harness to cluster. Power is always send to instruments lights so no need of dimmer. Intensity is automatically set to maximum.
All you need to fit a 5th gen prelude cluster in a 6th gen accord:
-Cluster from a prelude.. duh!!
- This wires harness from a prelude 97-01 :
Note: If your car is manual transmission, you don't need the little green connector on the prelude harness. You only need the grey and two blue.
- Honda Shop manual for 97-01 Prelude. Very important because you need ALL the wires diagrams. There is so much wires, you DON'T want to do it again.
- welder for electronics, wire denudor, tin to weld.
- star point screwdriver
- electric tape
- power tester
- a lot of time and some perseverance.
Before:
Trim removed:
With removed connectors wires: 3 green connectors:
3 connectors wires from accord cluster:
Prelude cluster in his new house:
Final installation:
How-to:
1. Remove cluster trim; two screws
2. Remove the 4 bolts of the cluster.
3. Gently pulled the cluster to be able to remove the 3 green wires connectors.
4. Removed the cluster.
5. With wires diagrams, you have to connect all needed wires to the prelude wires harness. That's why you MUST have complete prelude shop manual.
6. When all lights, gauges are working, fit the cluster in the dashbord the best you can and that's all.
Note: In 6th gen accord, there is a dimmer in the cluster to ajust intruments lightning intensity. On prelude, the dimmer is on the dashboard. Don't worry, just connect all wires from harness to cluster. Power is always send to instruments lights so no need of dimmer. Intensity is automatically set to maximum.