Thanks guys, Its a lot of info I know. But I wanna split up the different sections to make it easier to read.
To summarize the Swap of an OBD1 H22. You will need.
1. OBD 2B to OBD1 harness, bought mine from Boomslang
2. OBD1 ECU compatabile with H22. I currently have an unmodded JDM P13, but if you wanna run a diff one P72, etc with a map for H22 thats fine. Hondata is probably the most preferred standalone for modding.
3. OBD1 injectors require use of resistor box. I know Drift made a custom one, but I used the honda one as I had it available. I will go over wiring later.
4. AC - I used the bracket from the F23, it lines up fine.
5. P/S- I have heard of several people saying use the prelude pump and custom mod your pressure hose. But Again without the availability of a welder, I took the bracket from the F23 and used the F23 pump. It may seem impossible, but I put some metal spacers for the bolts (ACE hardware), under the bracket. Using long bolts I managed to mount up all but one bolt hole. It holds pretty strong. I just had to get a longer belt.
6. ALT- Used the F23 Alt on the H22 bracket.
7. Distributor - have to extend wires and wire up to F23 harness. Will go over later. I also used cap from USDM OBD1 prelude, since I am running an external MSD blaster 2 coil. The JDM distrib uses an internal coil, which is notoriously weak.
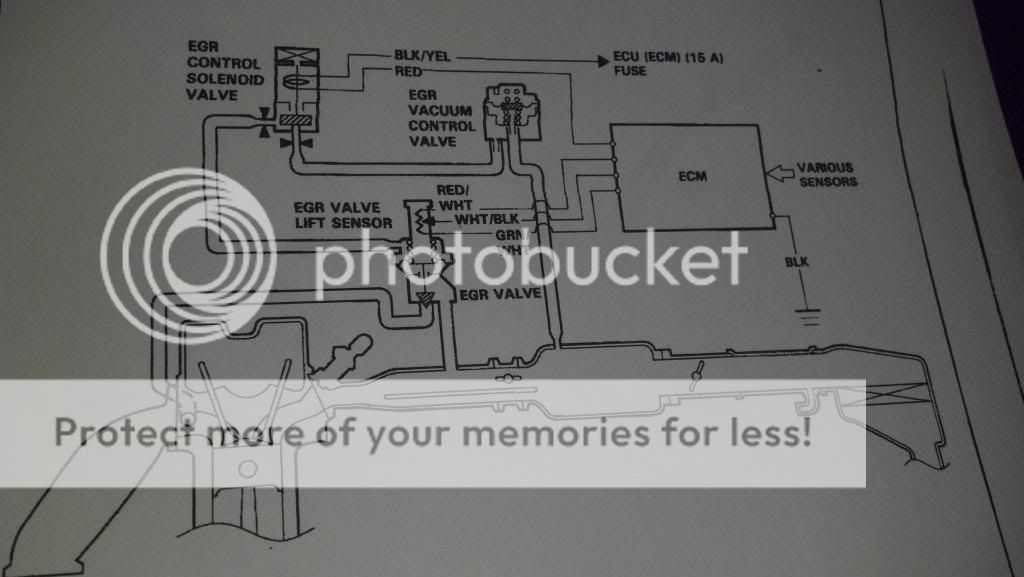
8. EGR - Will not work unless you have the H22 control solenoid and vacuum control valve. I know some claim just bolt up the F23 EGR, but it will not function as, the H22 Ecu controls the H22 EGR completely different. I will be trying to overcome this for emissions. For those without emissions, a block off plate is pretty cheap.
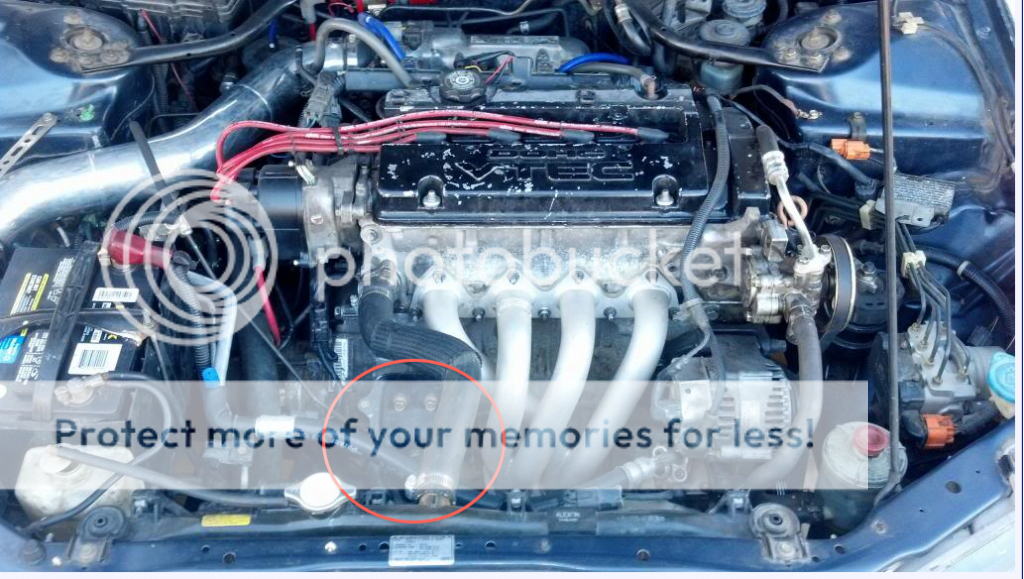
9. O2 Sensor, make or purchase an extension harness with connectors on both ends. The H22 O2 is mounted downstream in the header.
10. IAC valve - H22 uses 2 wire sensor. 12V to Yel/ Blk wire, The Blk/ Blu wire to existing Blk/blu wire.
11. Knock sensor, use sensor from F23. May need to extend wire. Dont worry about shielded wire, its already shielded in the harness. You are just extending the end.
12. ECT & fan switch- used F23's ECT. I bought a mugen fan switch (part # 37773-XGMR-000) cuz the fan switch is diff size for H22 & I did not like the temp the H22 switched on. Seemed to take forever. Just swap connector with H22 connector.
13. Exhaust - I was unable to find a clear explanation of this when I was doing my research. Using a 92-96 prelude H22 Header works fine. I have a DC one, I know its not the best. But it was cheap. As far as from the header down, you have 2 choices. If you wanna keep it emissions possible, you can bolt up the F23 cat directly to the header and trim your catback a few inches. I have an f23 test pipe, had a muffler shop cut the front of my catback and reweld the flange for $45. Or #2 get an extension pipe custom made from the header to the catback and eliminate the cat all together.
14. Belts and Hoses. I used the Alt/AC belt from the F23 since I was using the F23 AC & Alt. You can use the F23 Radiator hoses, just swap the water inlet from the F23 onto the H22. The F23 piece is straight and works fine. PS belt, I used a longer belt to match my F23 pump. I work at a shop that stocks all diff sizes, so I just found one that fits.
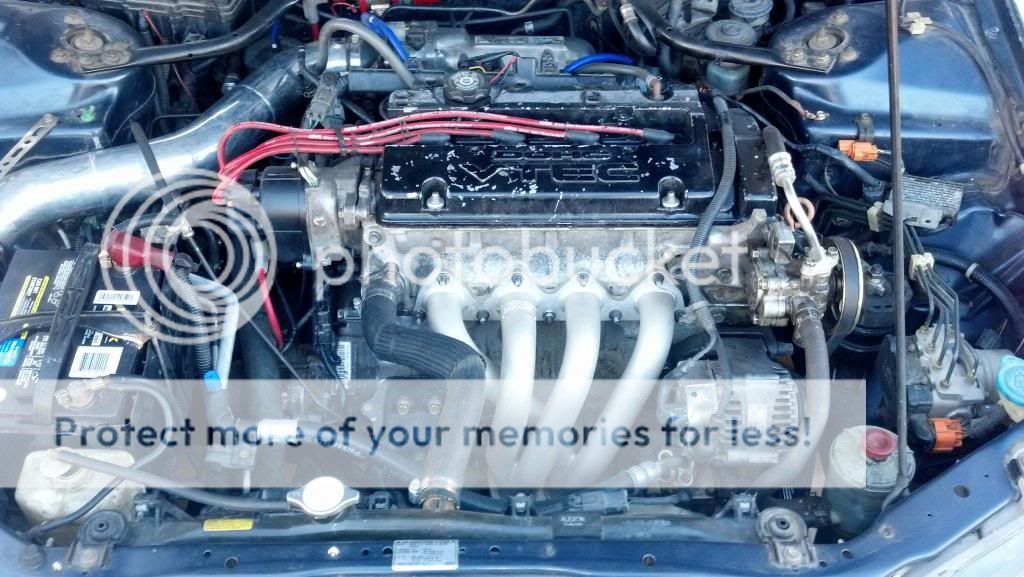
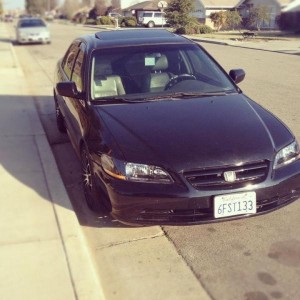
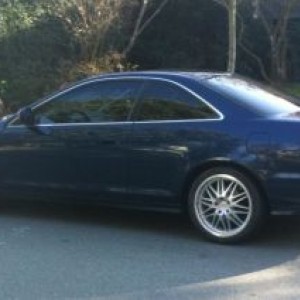
Pic of my old F23 Ready to Pull

Last edited:


