

CG6Lemon
Detailing Enthusiast
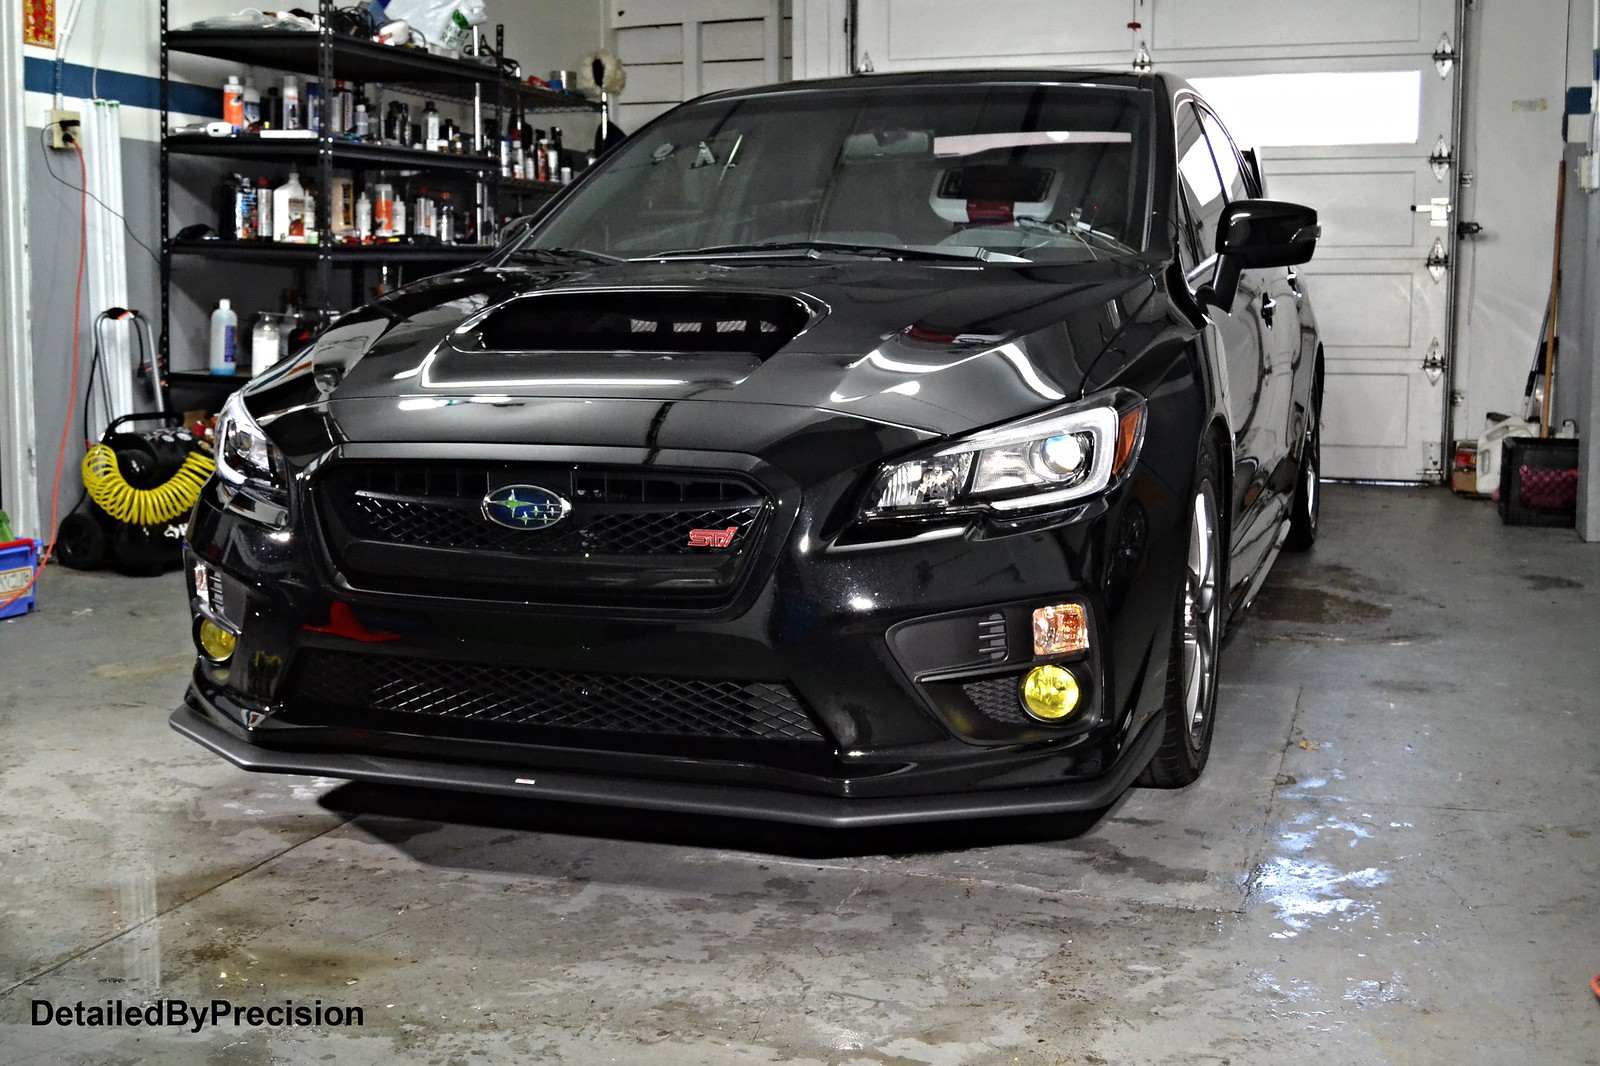
2016 Subaru Sti New Car Prep & 3" scratch removal success
This job was a referral of the white tacoma truck I did beforehand. The customer is a coworker of the tacoma owner and commented on how clean his truck looked parked at work. They had a conversation and my contact information was given to get in touch with me. Had a couple brief text messages and set up an inspection to go over the car and talk about the customers concerns and goals for his new to him car. He stopped by and he wanted the same job done as his co workers truck, but on top of that also polish out the right fender and hood for scratches. But, his main concern was a 3 inch scratch on his rear bumper which he did not know how it got there. I went over the options with him and explained my process clearly and thoroughly so we are both on the same page and no miscommunication. I advised him to buy a bottle of touch up from the dealer just in case I needed to use it on the scratch. We set up a drop off day for me to work on the car and his anticipation to see the end outcome of the 3" scratch was exciting.
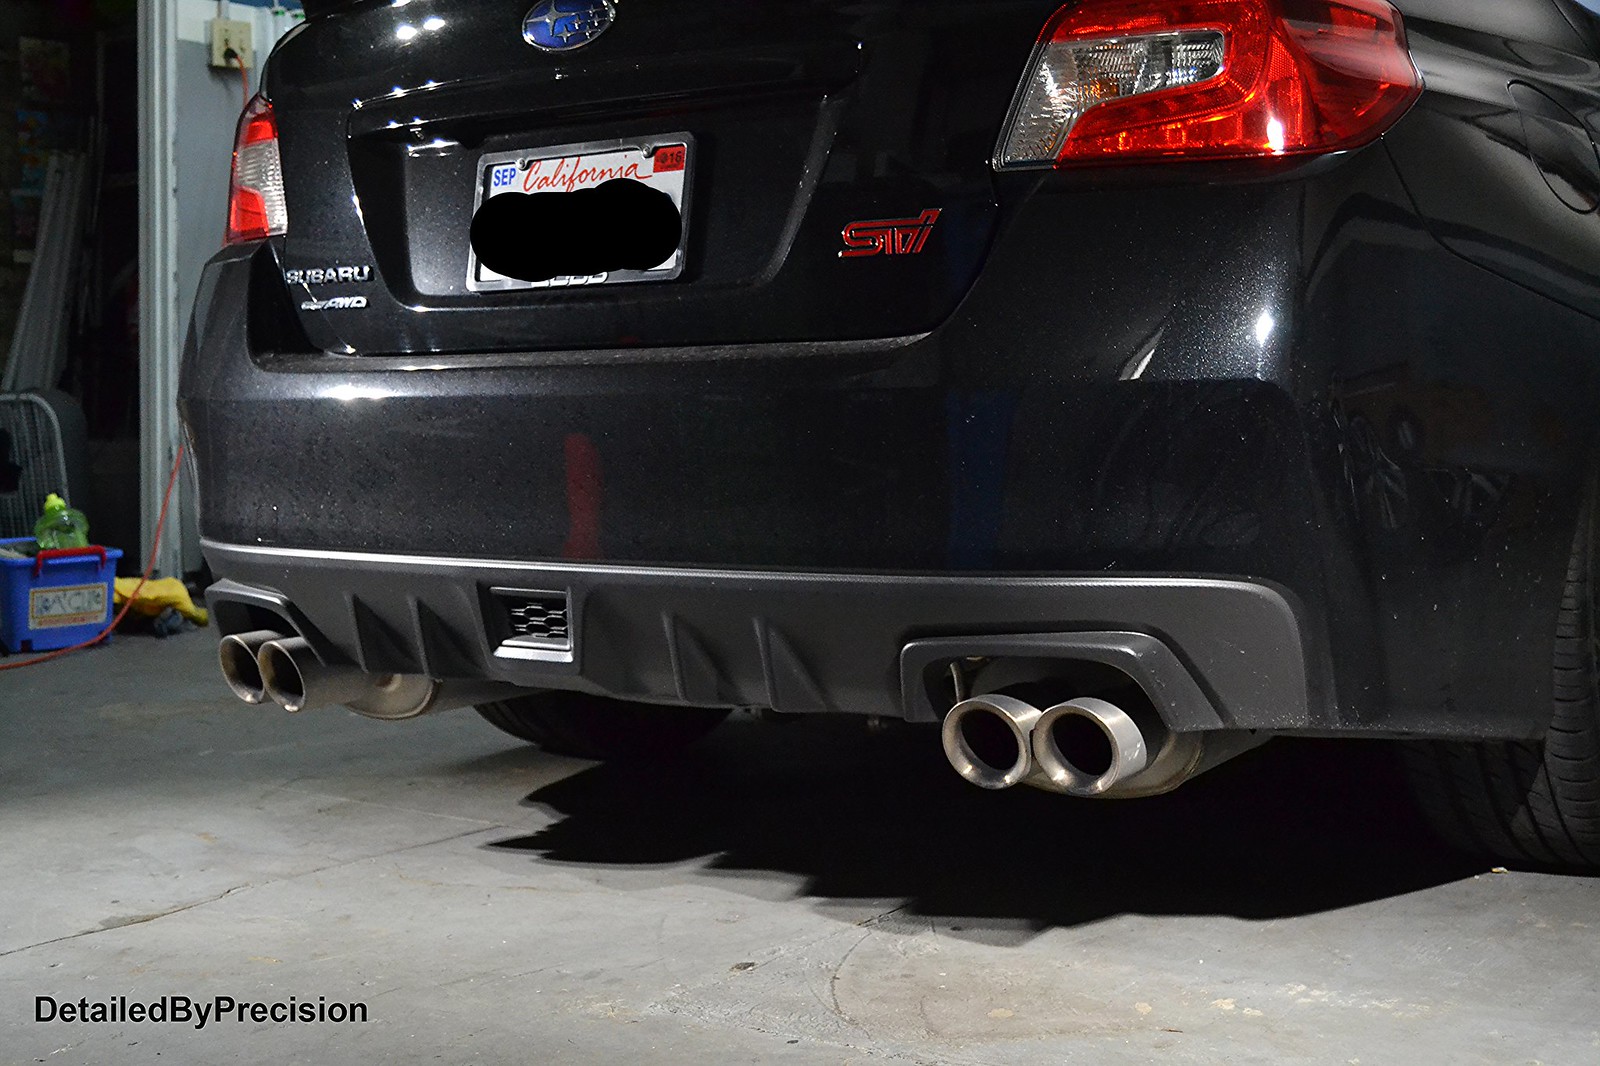
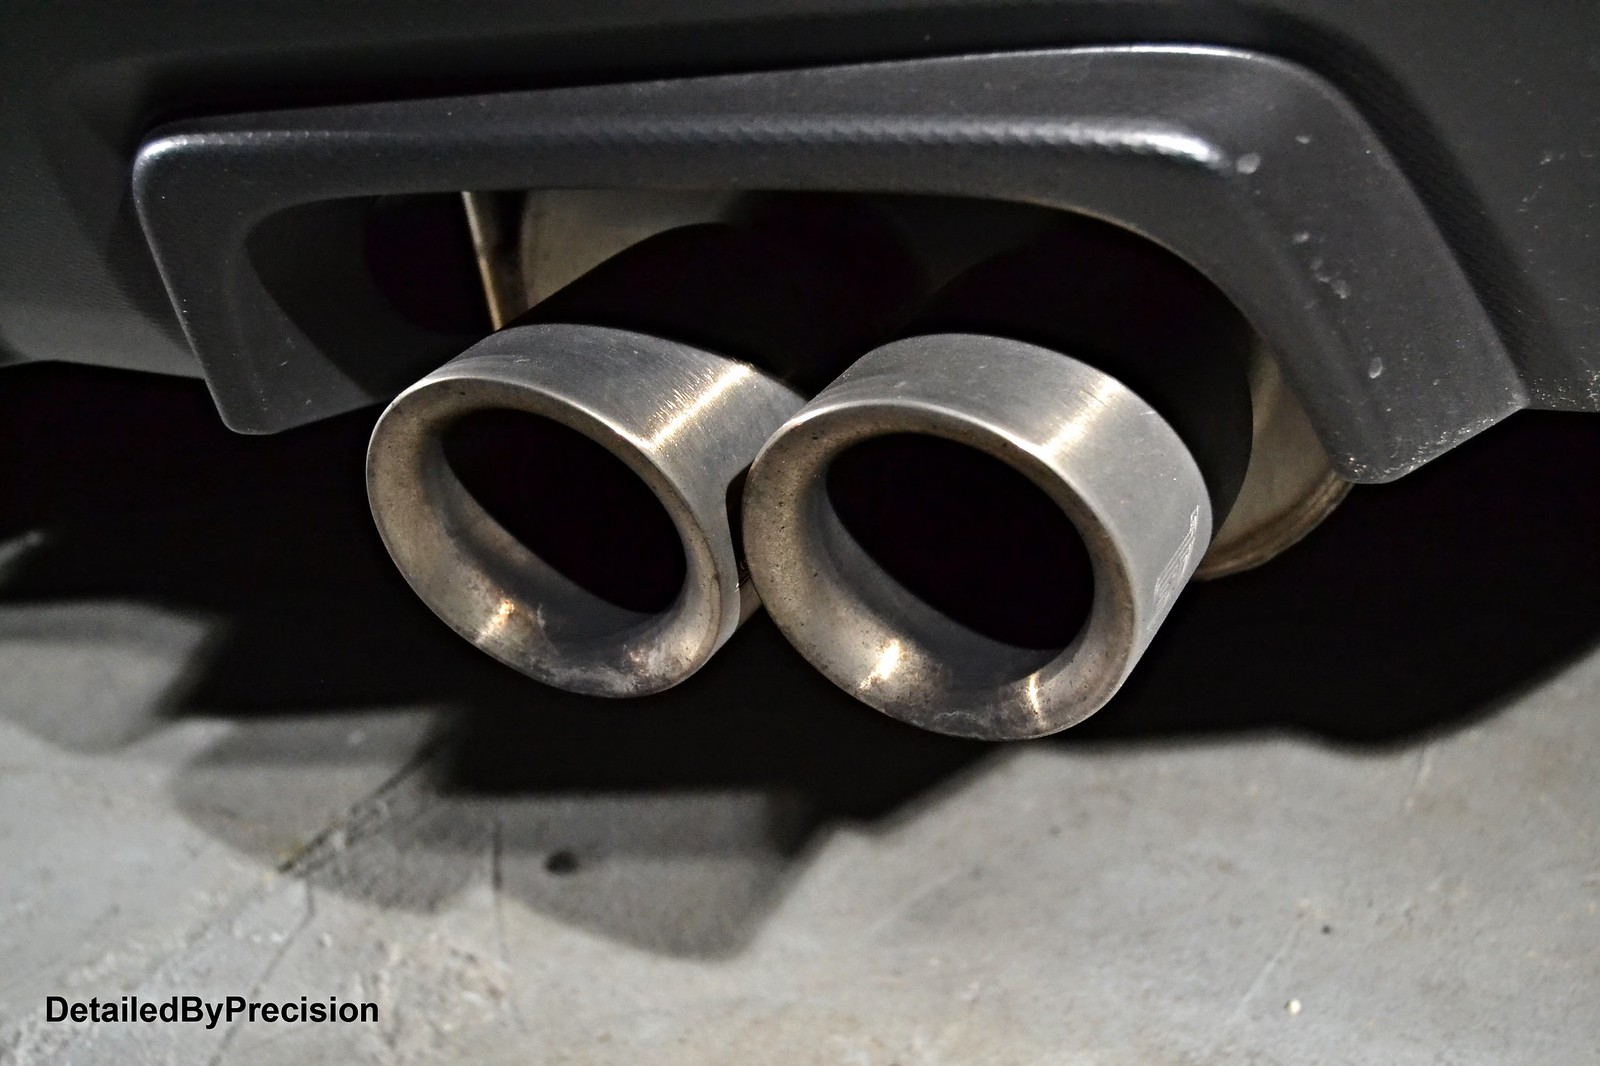
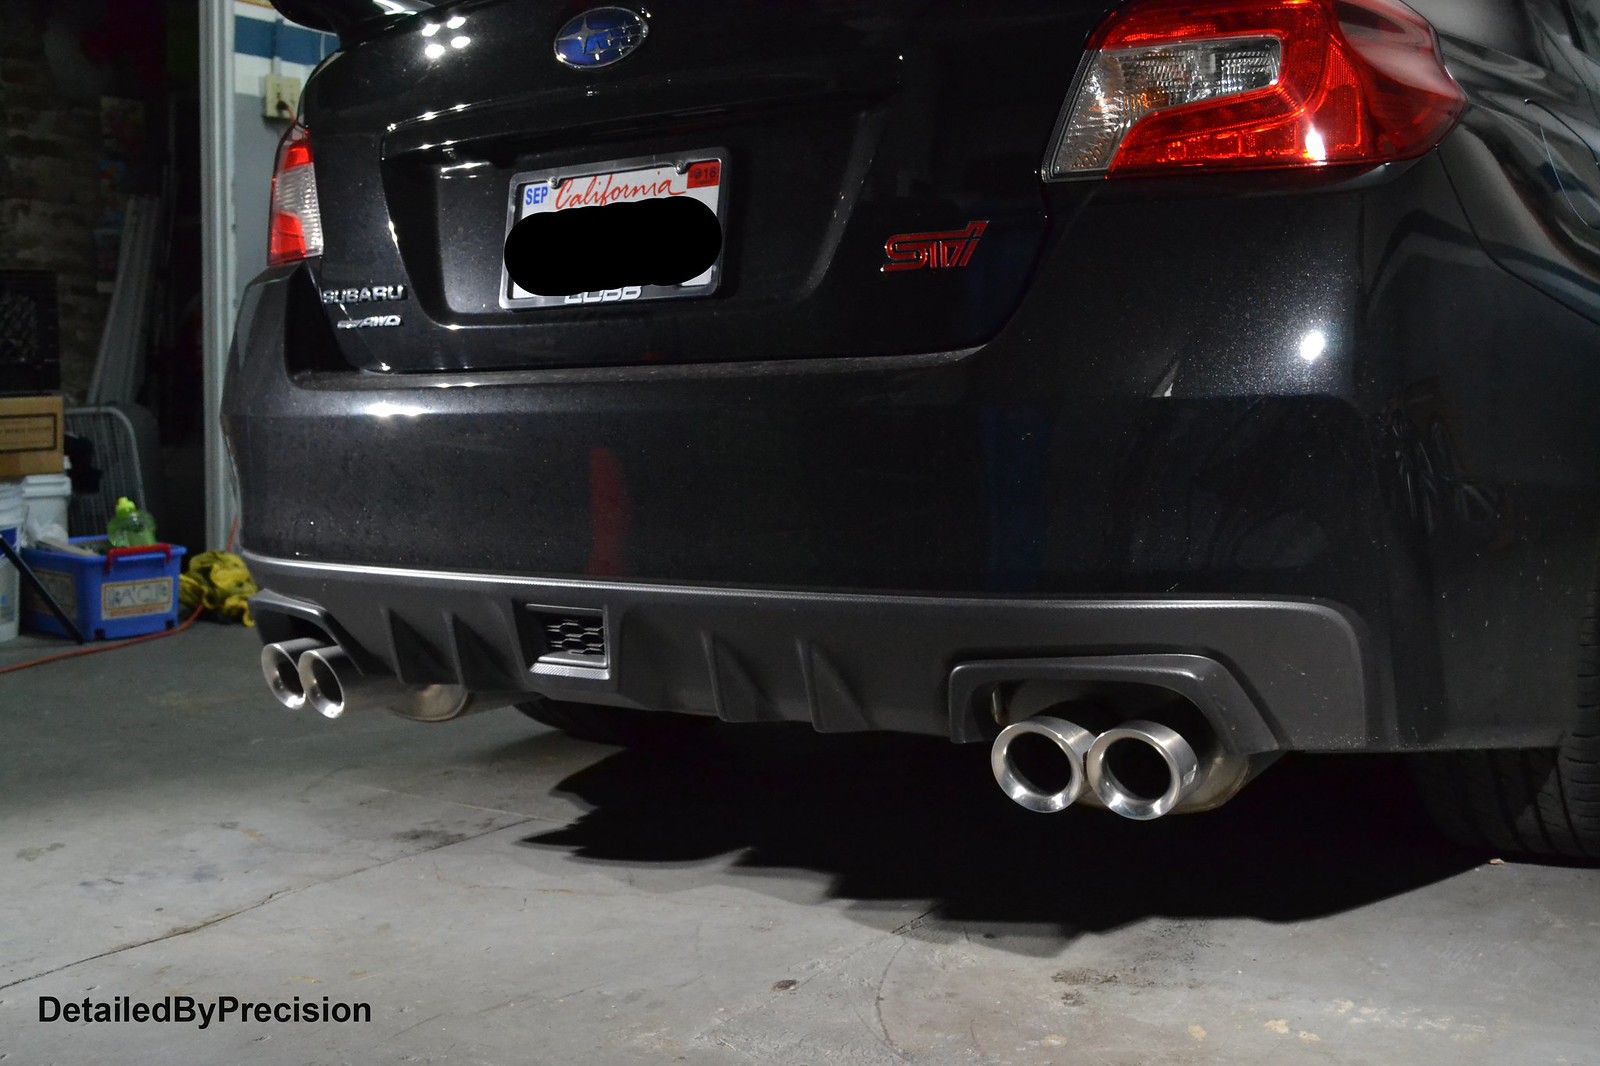
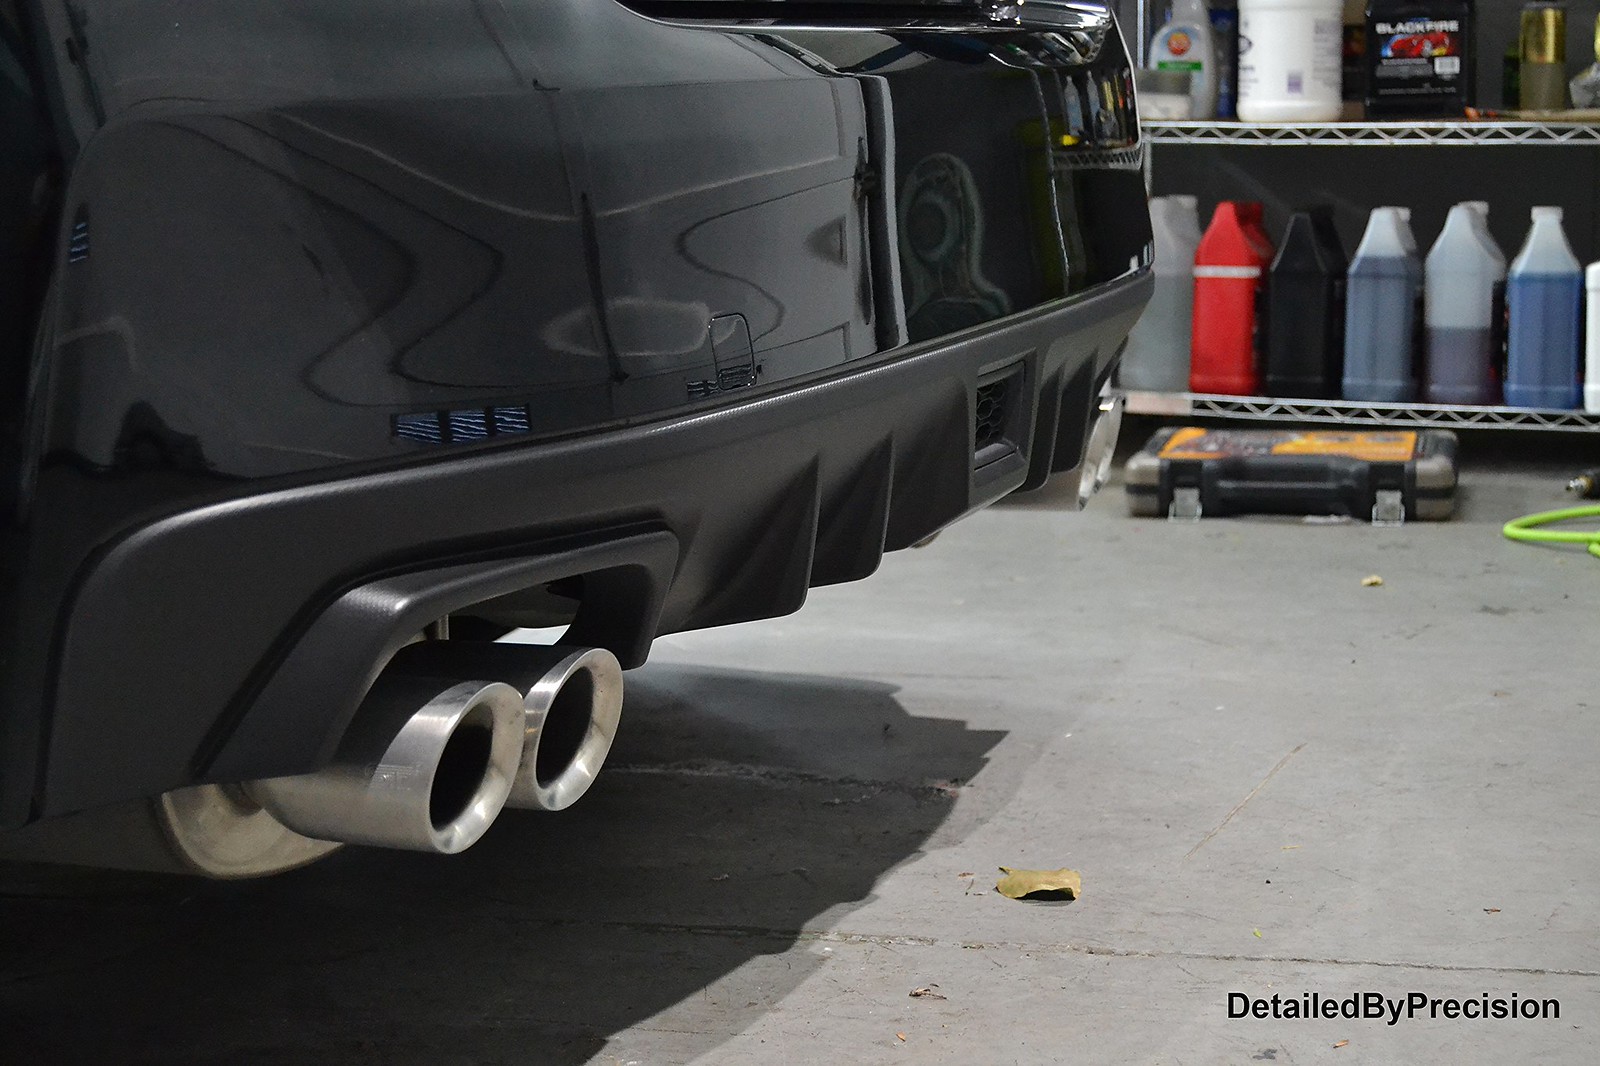
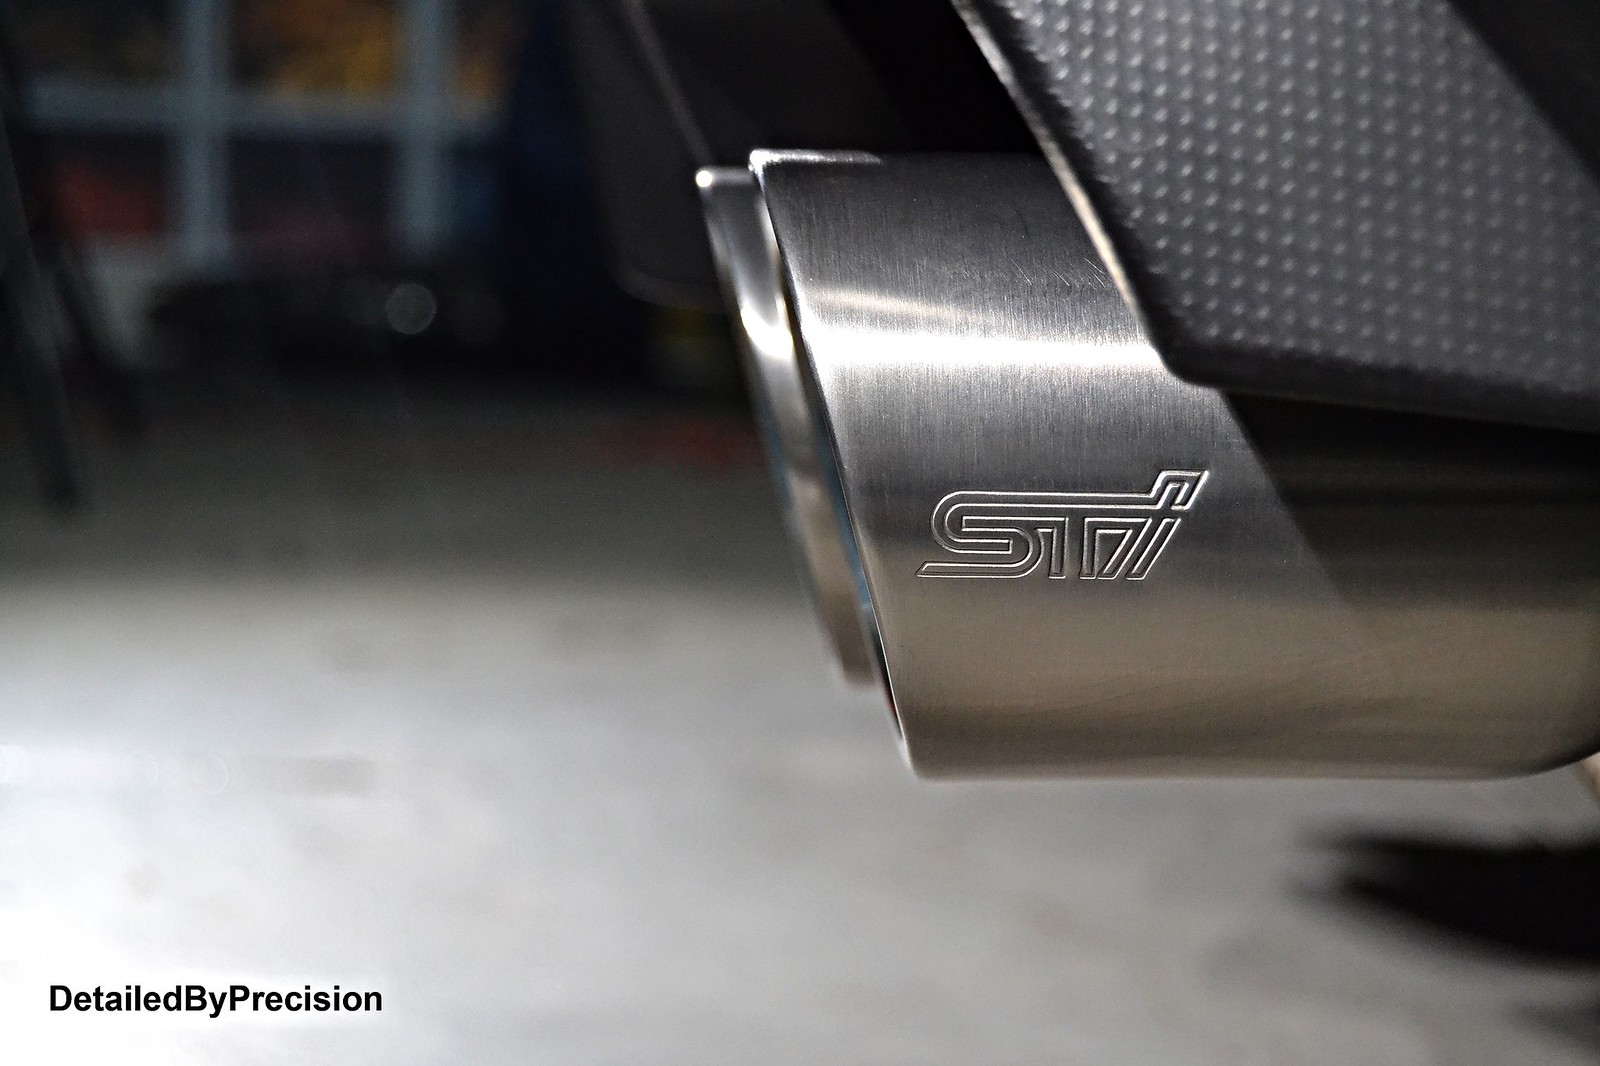
Worked on the exhaust tips first
 DetailedByPrecision2878 by Limny Kuang, on Flickr
 DetailedByPrecision2879 by Limny Kuang, on Flickr
 DetailedByPrecision2882 by Limny Kuang, on Flickr
 DetailedByPrecision2885 by Limny Kuang, on Flickr
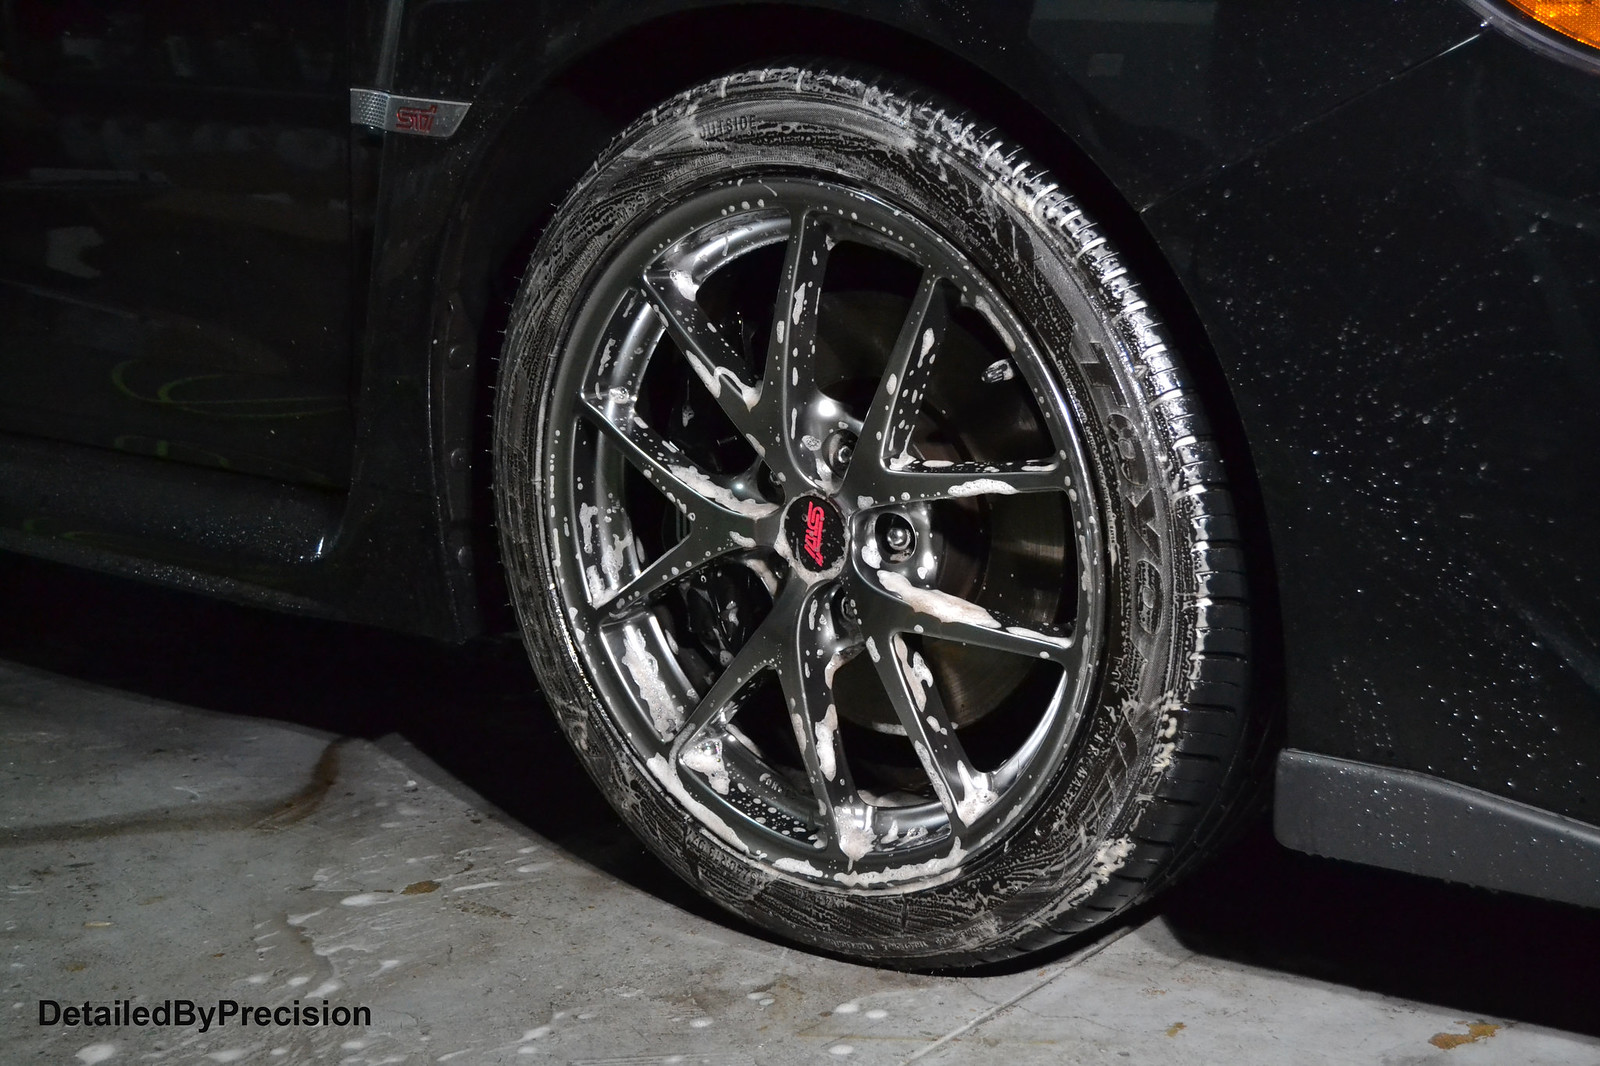
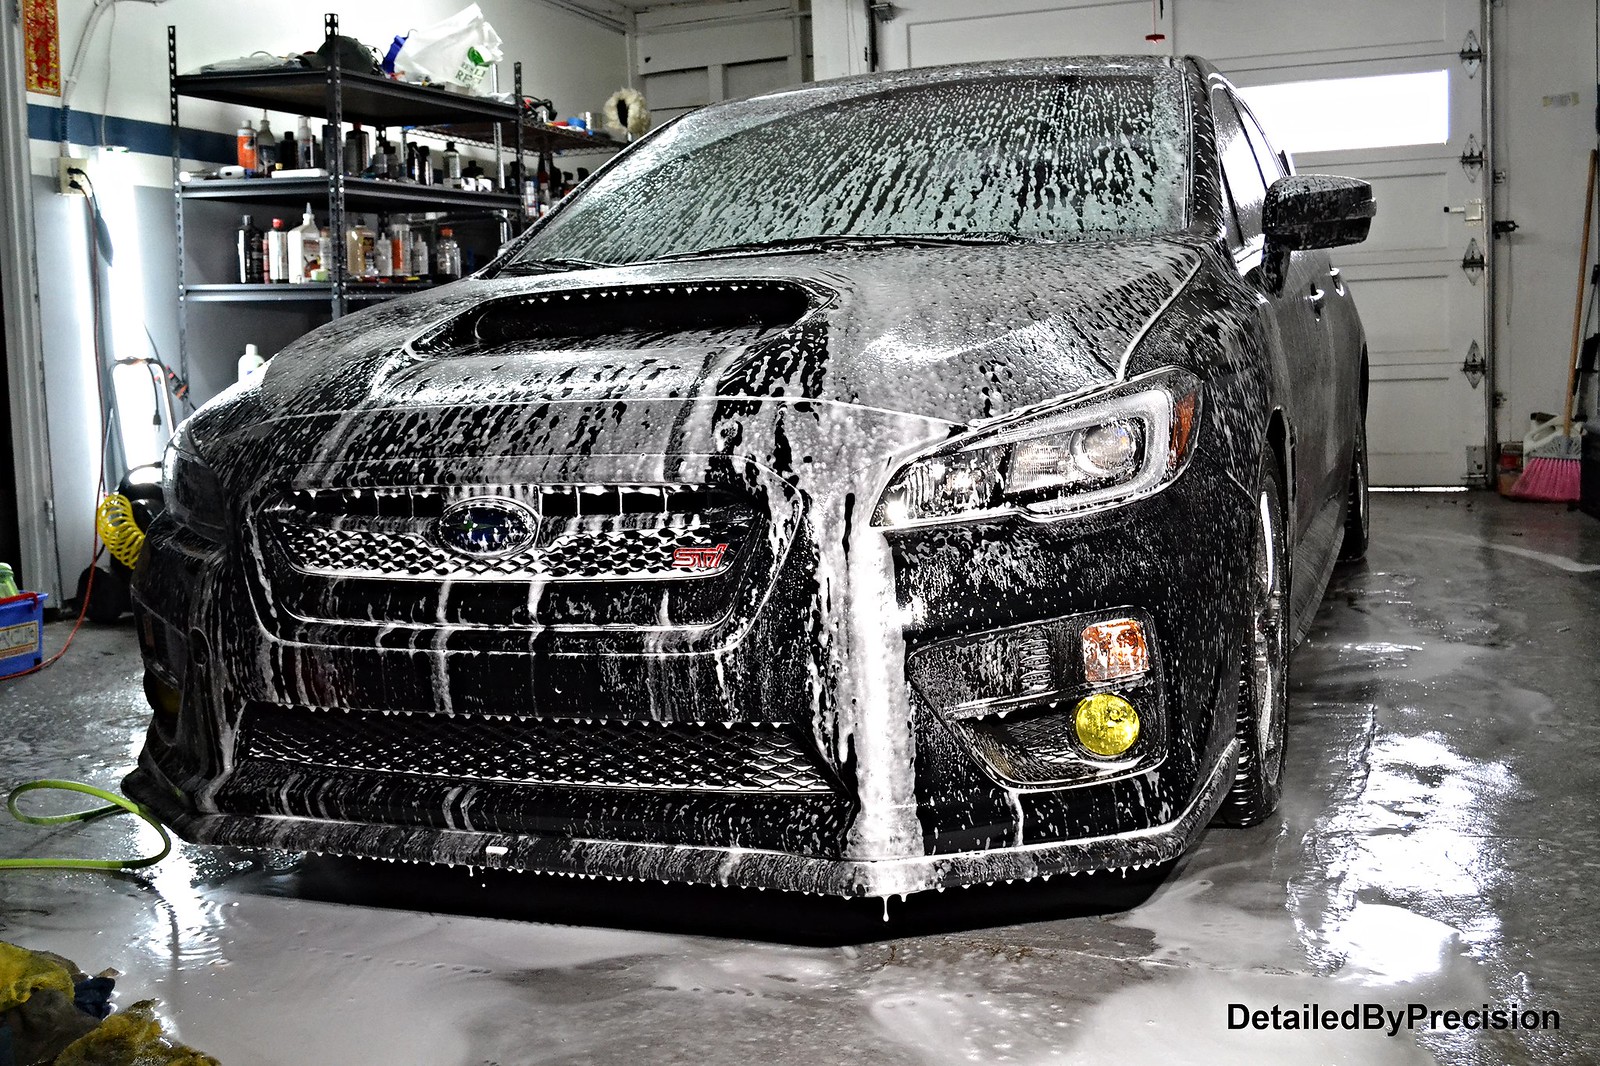
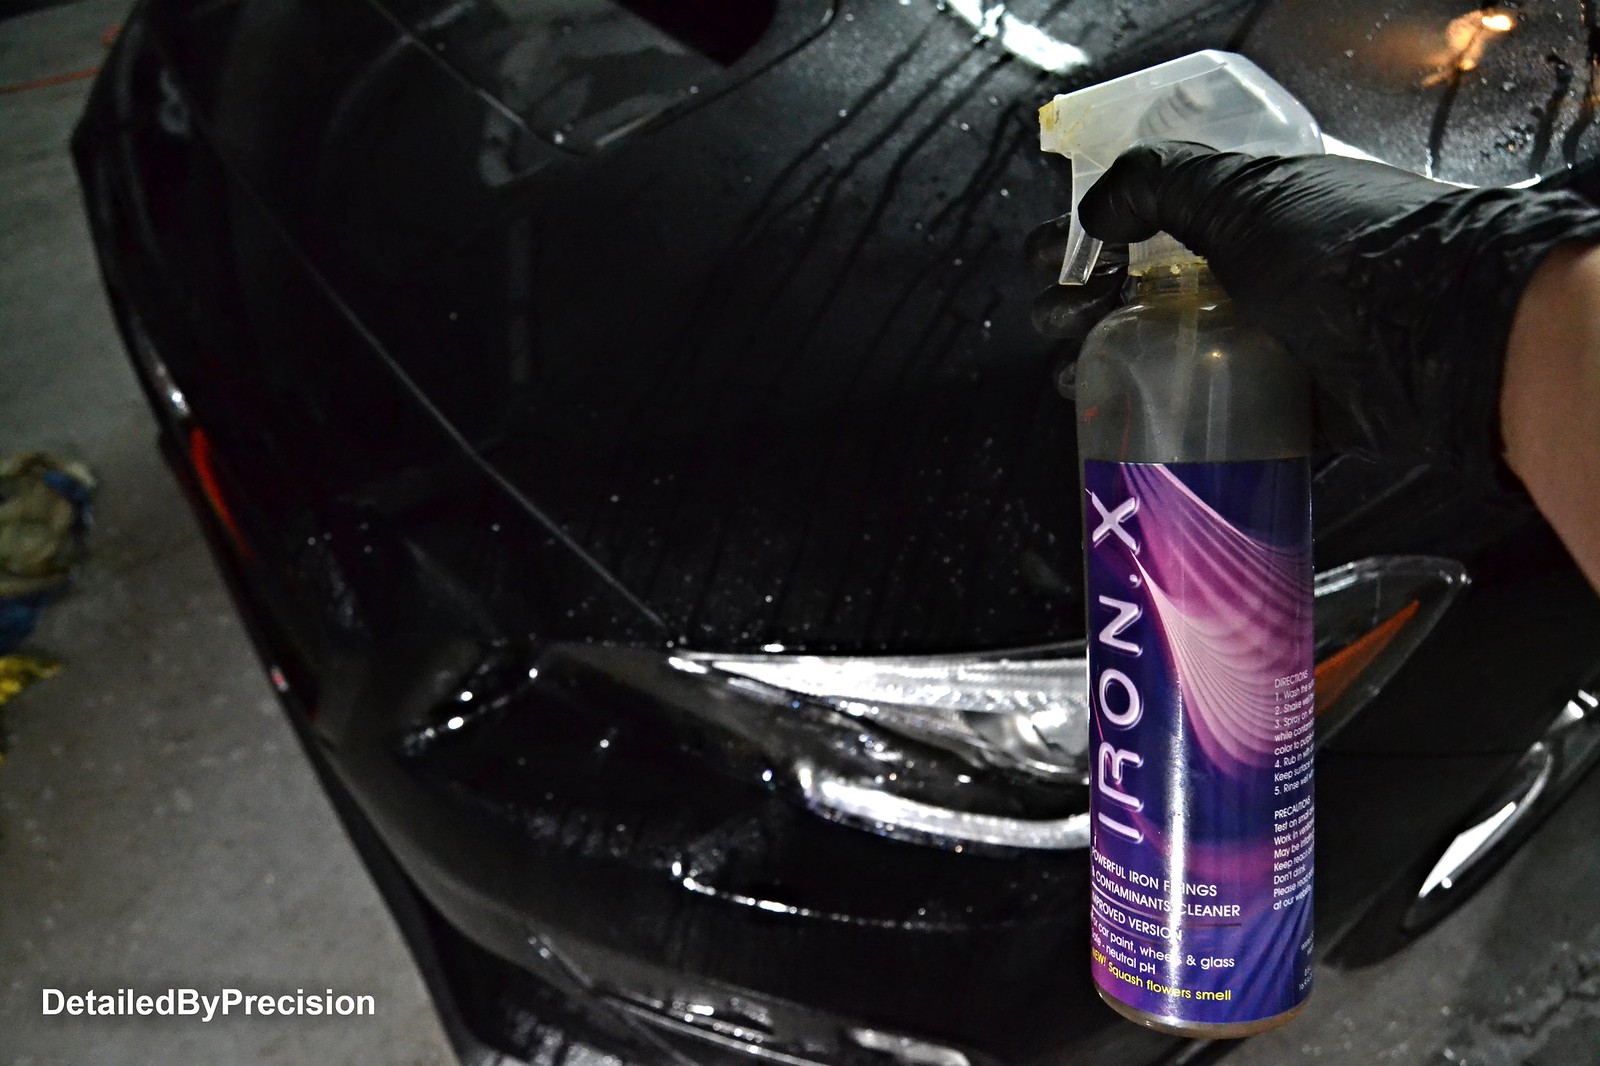
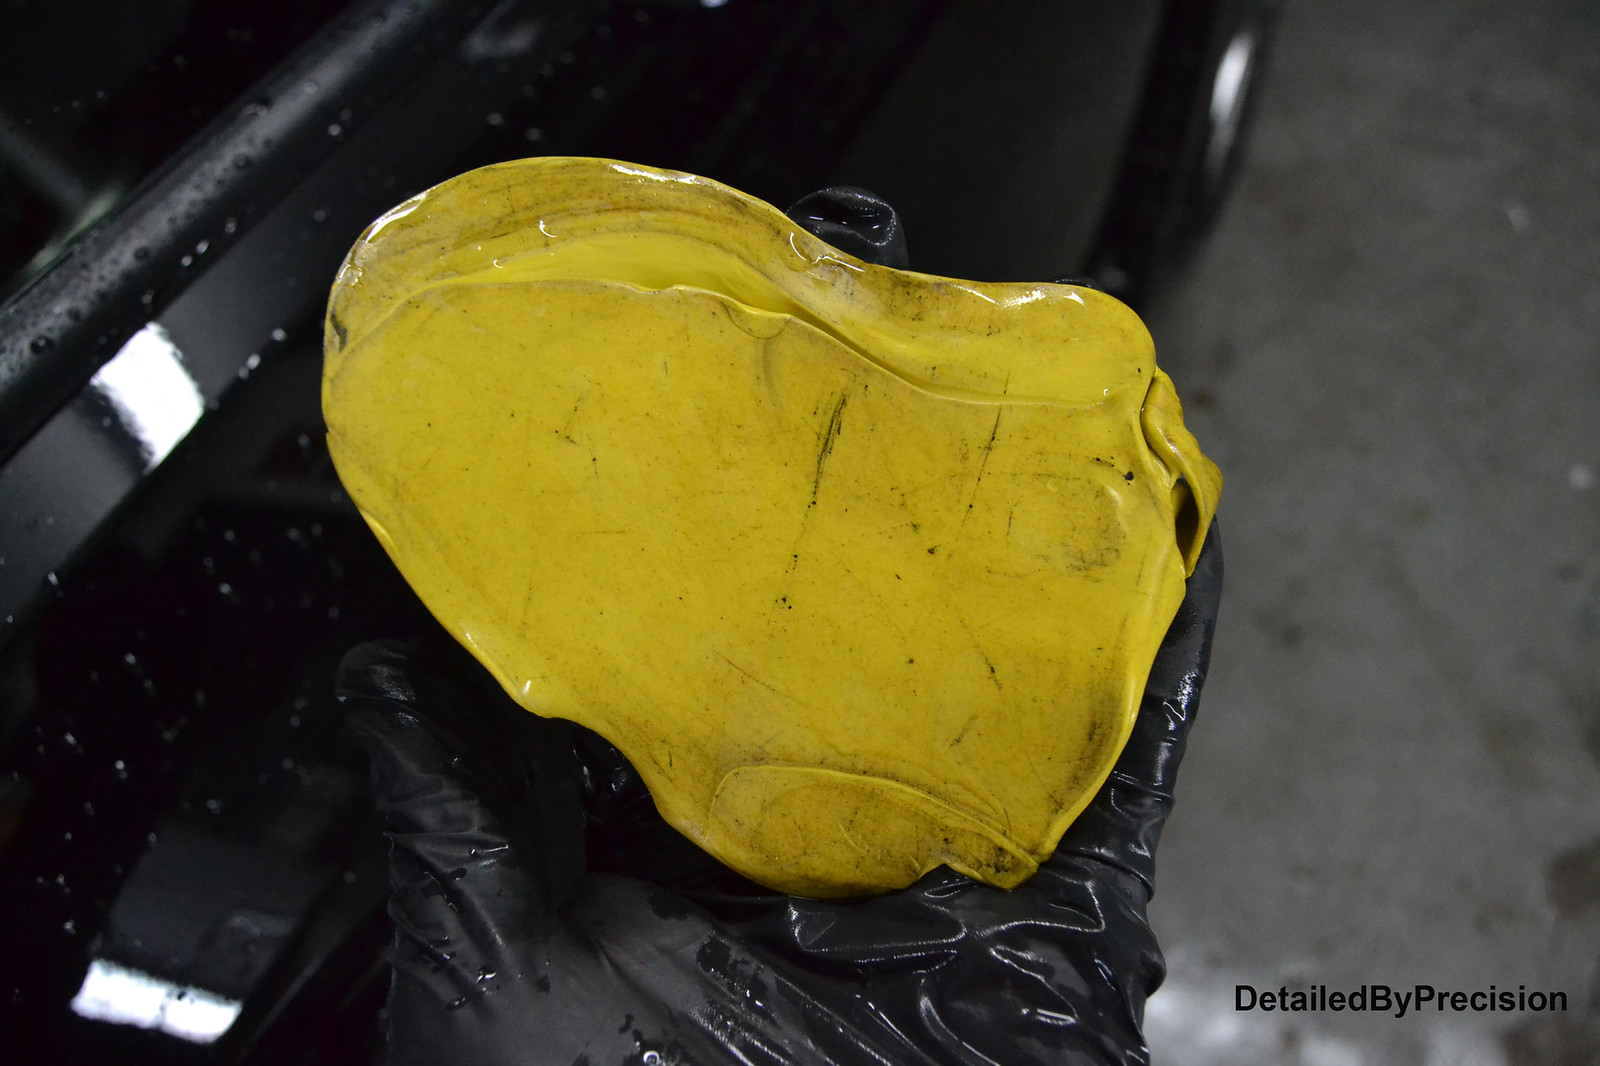
Started the wash, decontamination process with foaming the car, Iron X, Claybar
 DetailedByPrecision2886 by Limny Kuang, on Flickr
 DetailedByPrecision2889 by Limny Kuang, on Flickr
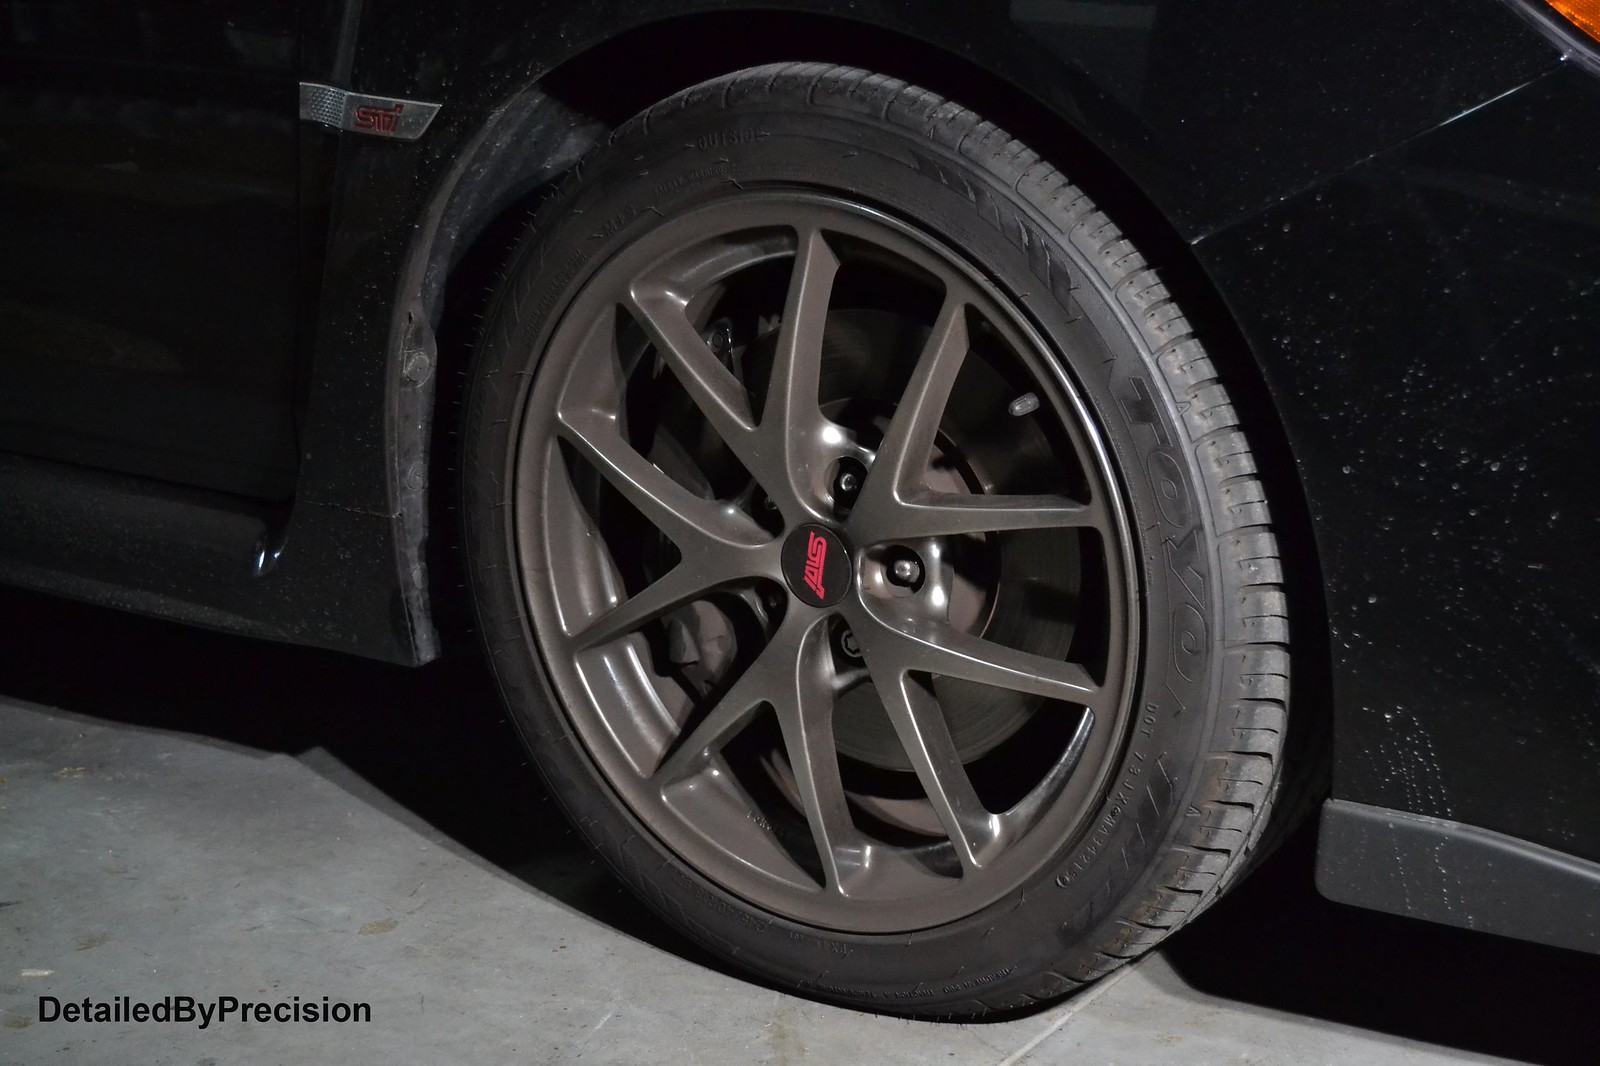
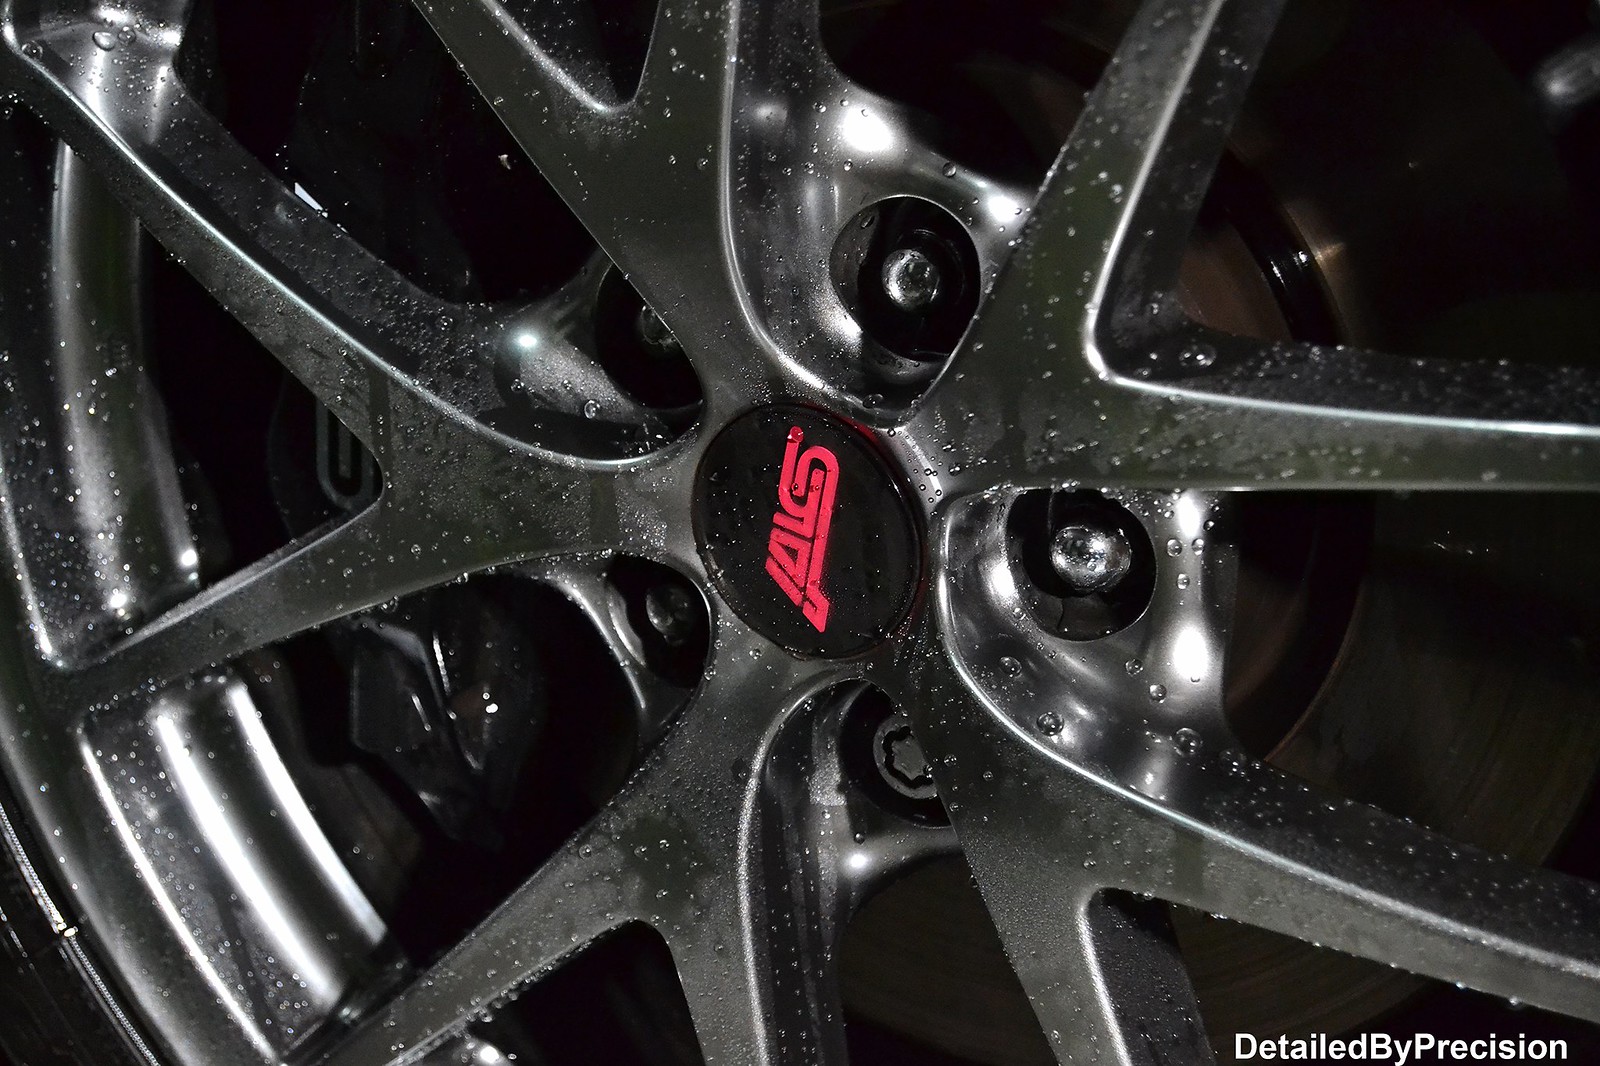
Applied Carpro Hydro onto the wheels for protection
 DetailedByPrecision2893 by Limny Kuang, on Flickr
 DetailedByPrecision2894 by Limny Kuang, on Flickr
 DetailedByPrecision2896 by Limny Kuang, on Flickr
 DetailedByPrecision2898 by Limny Kuang, on Flickr
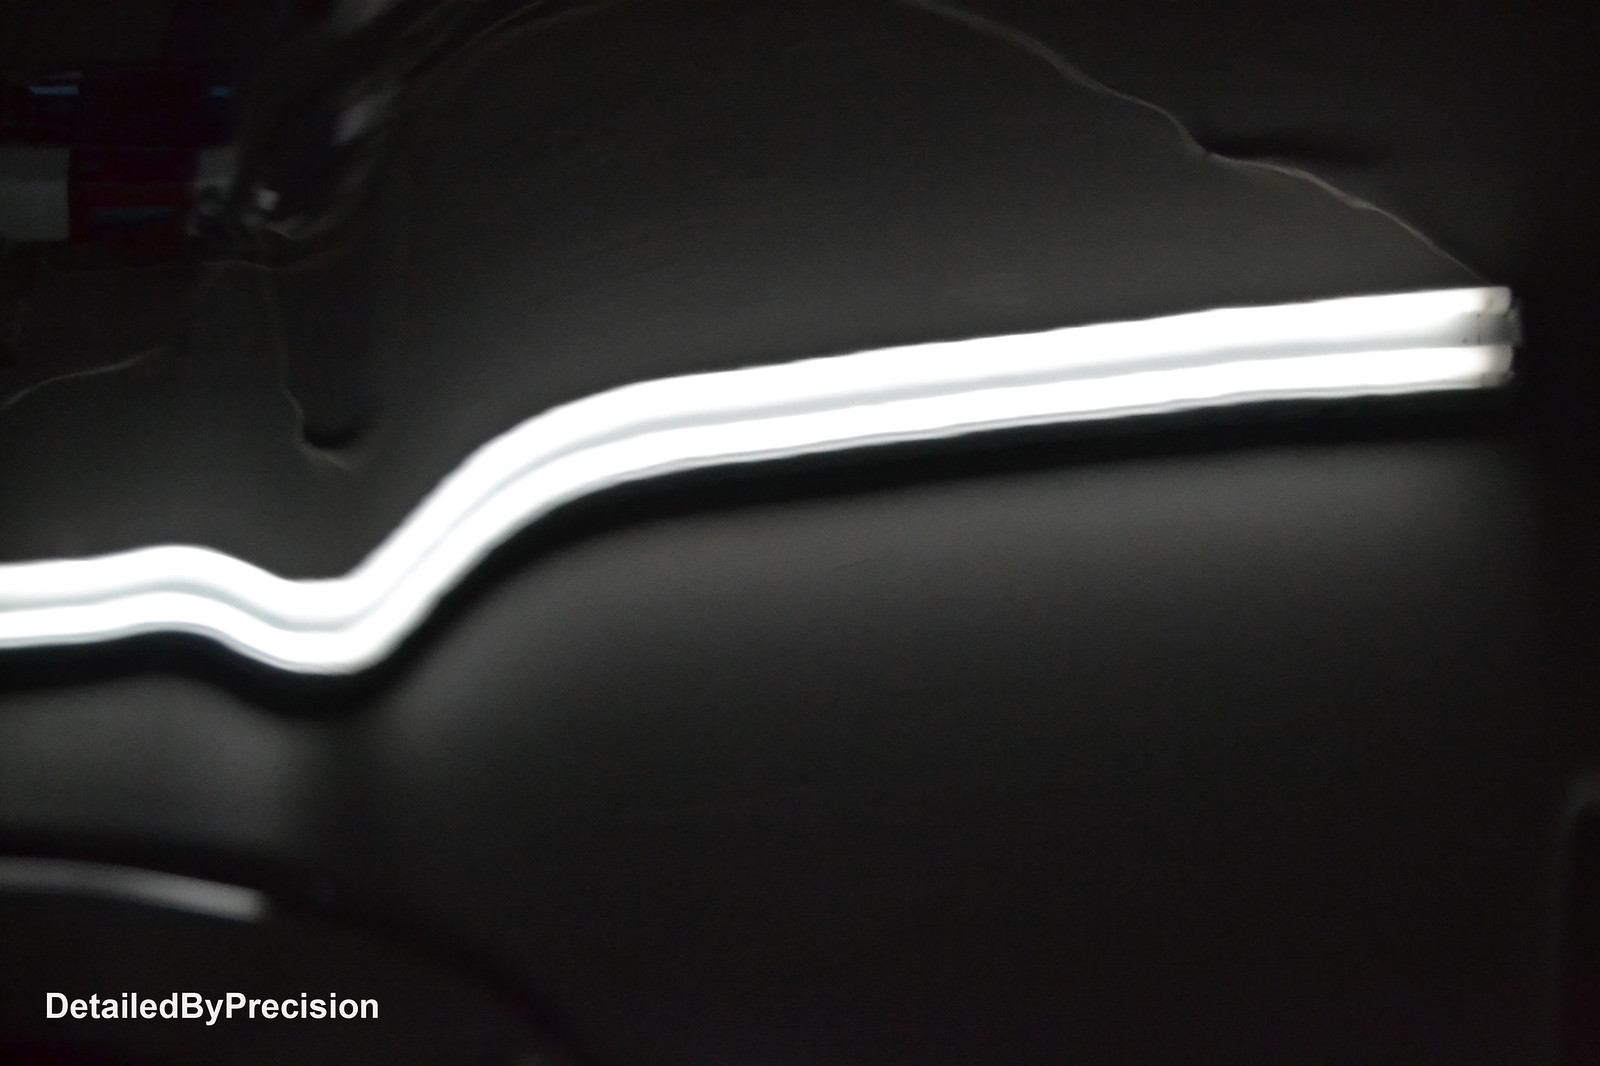
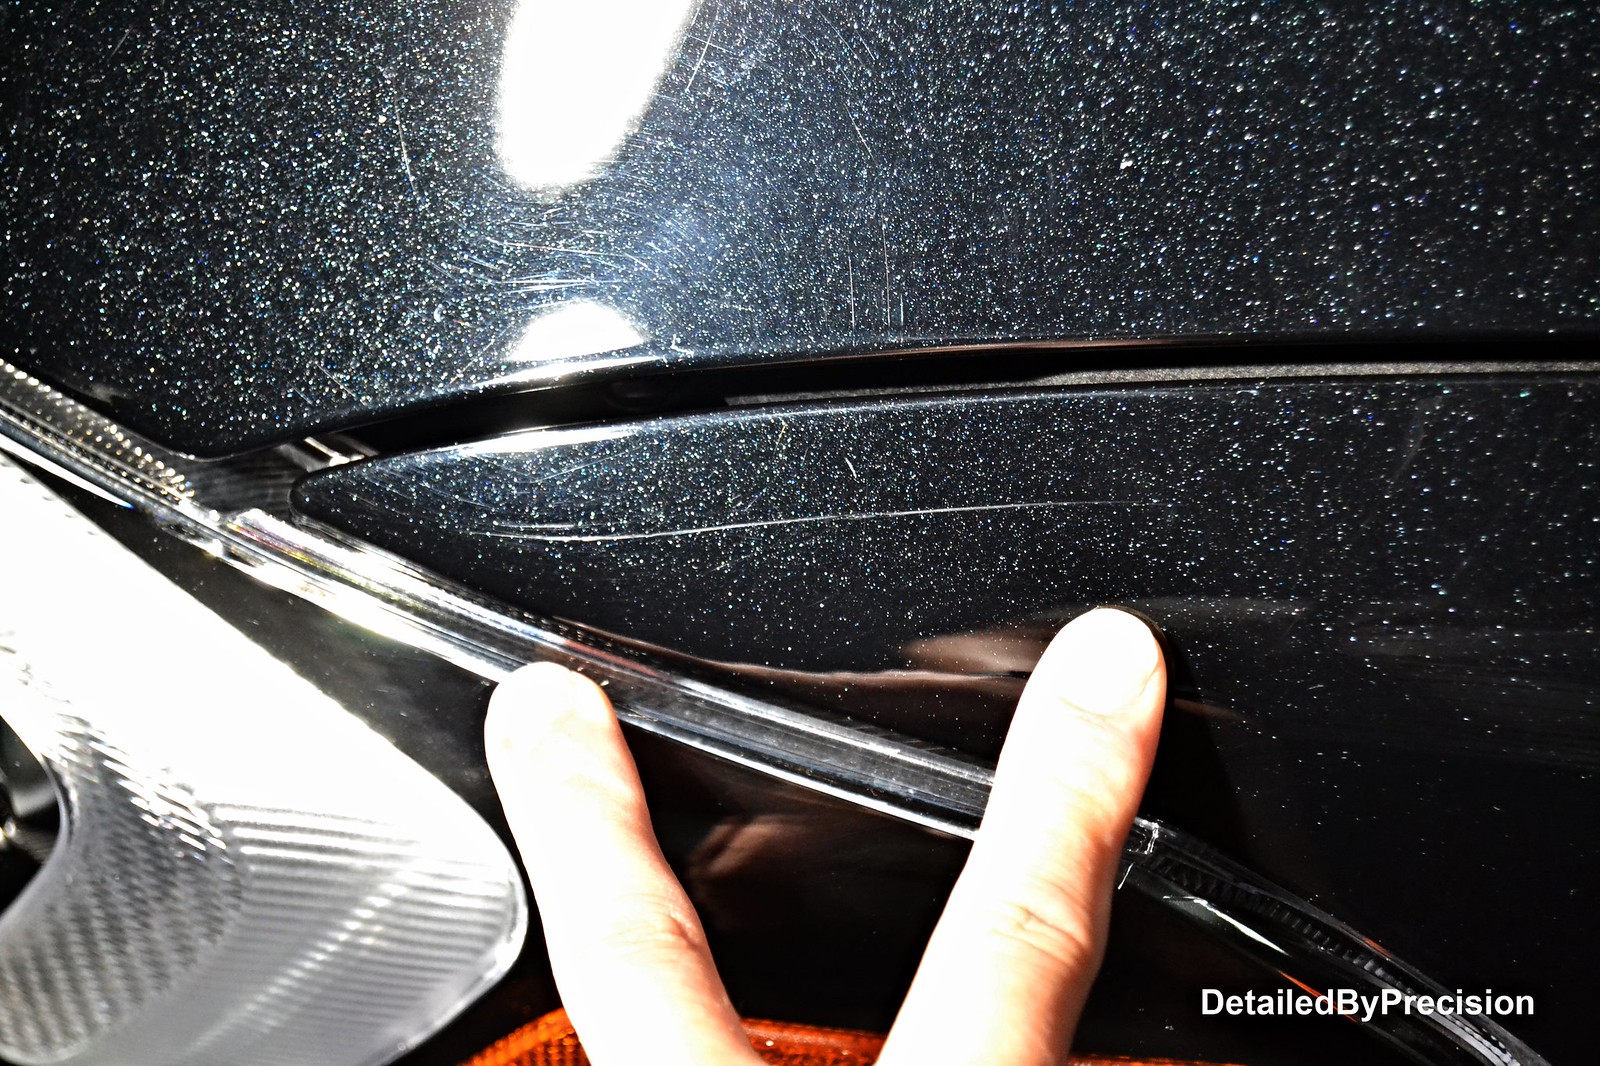
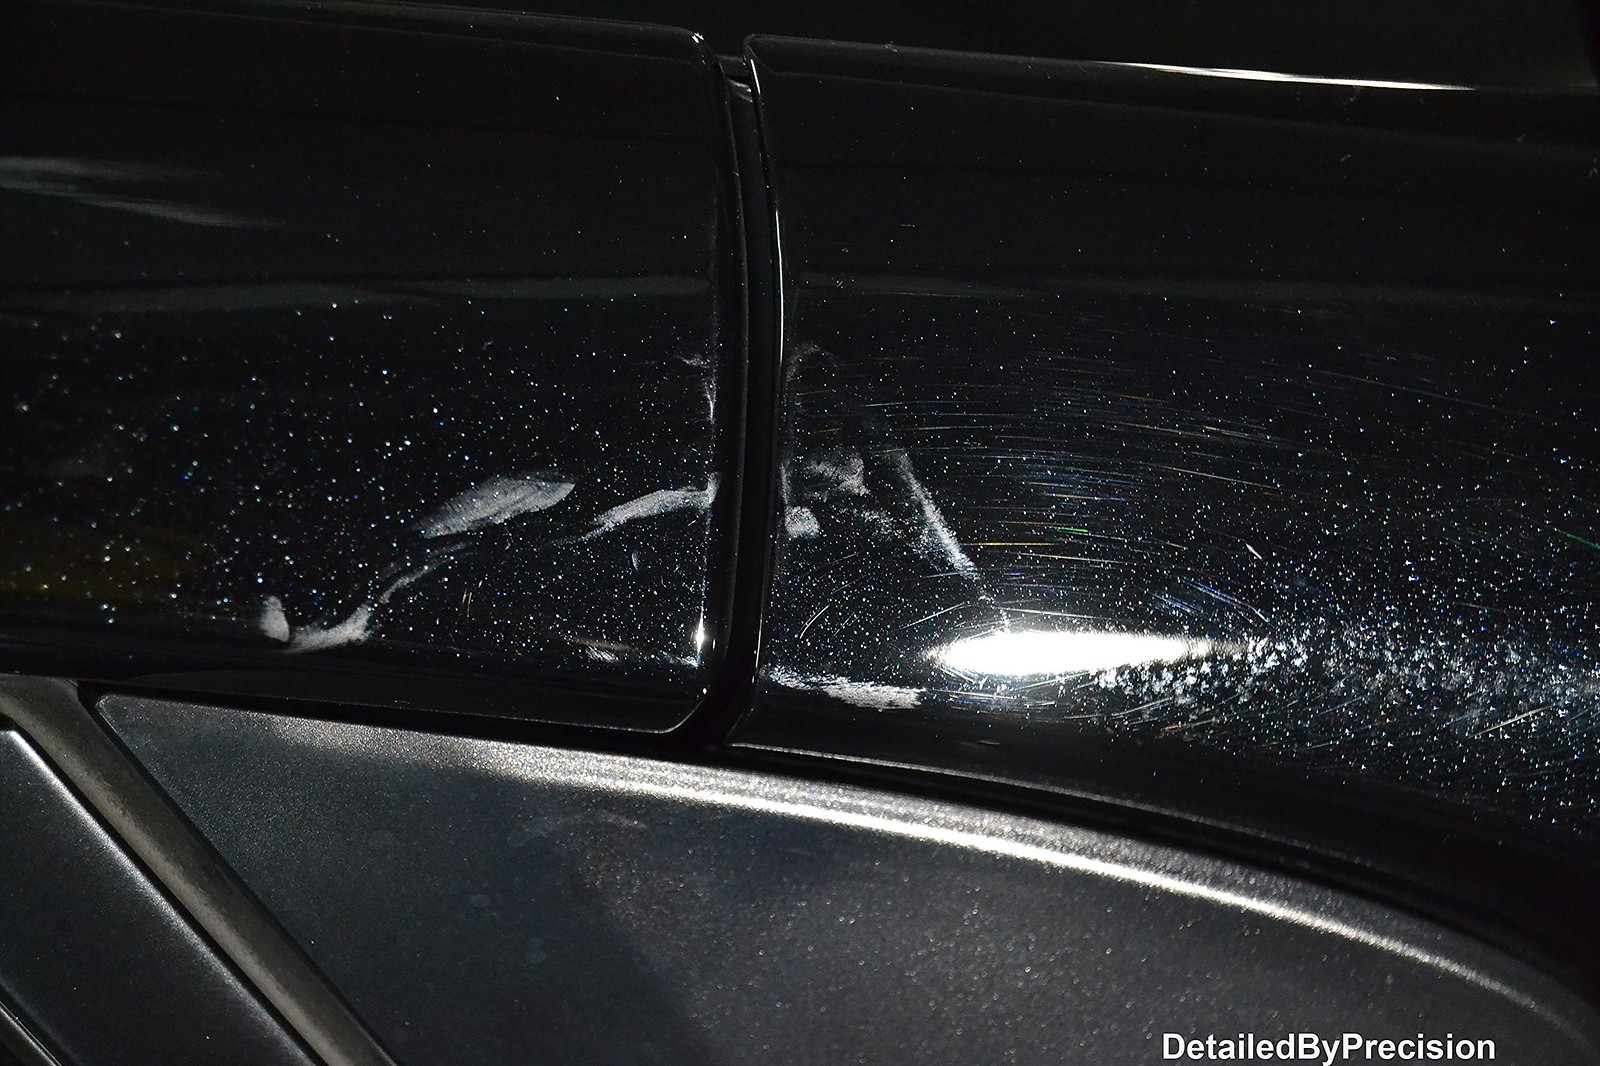
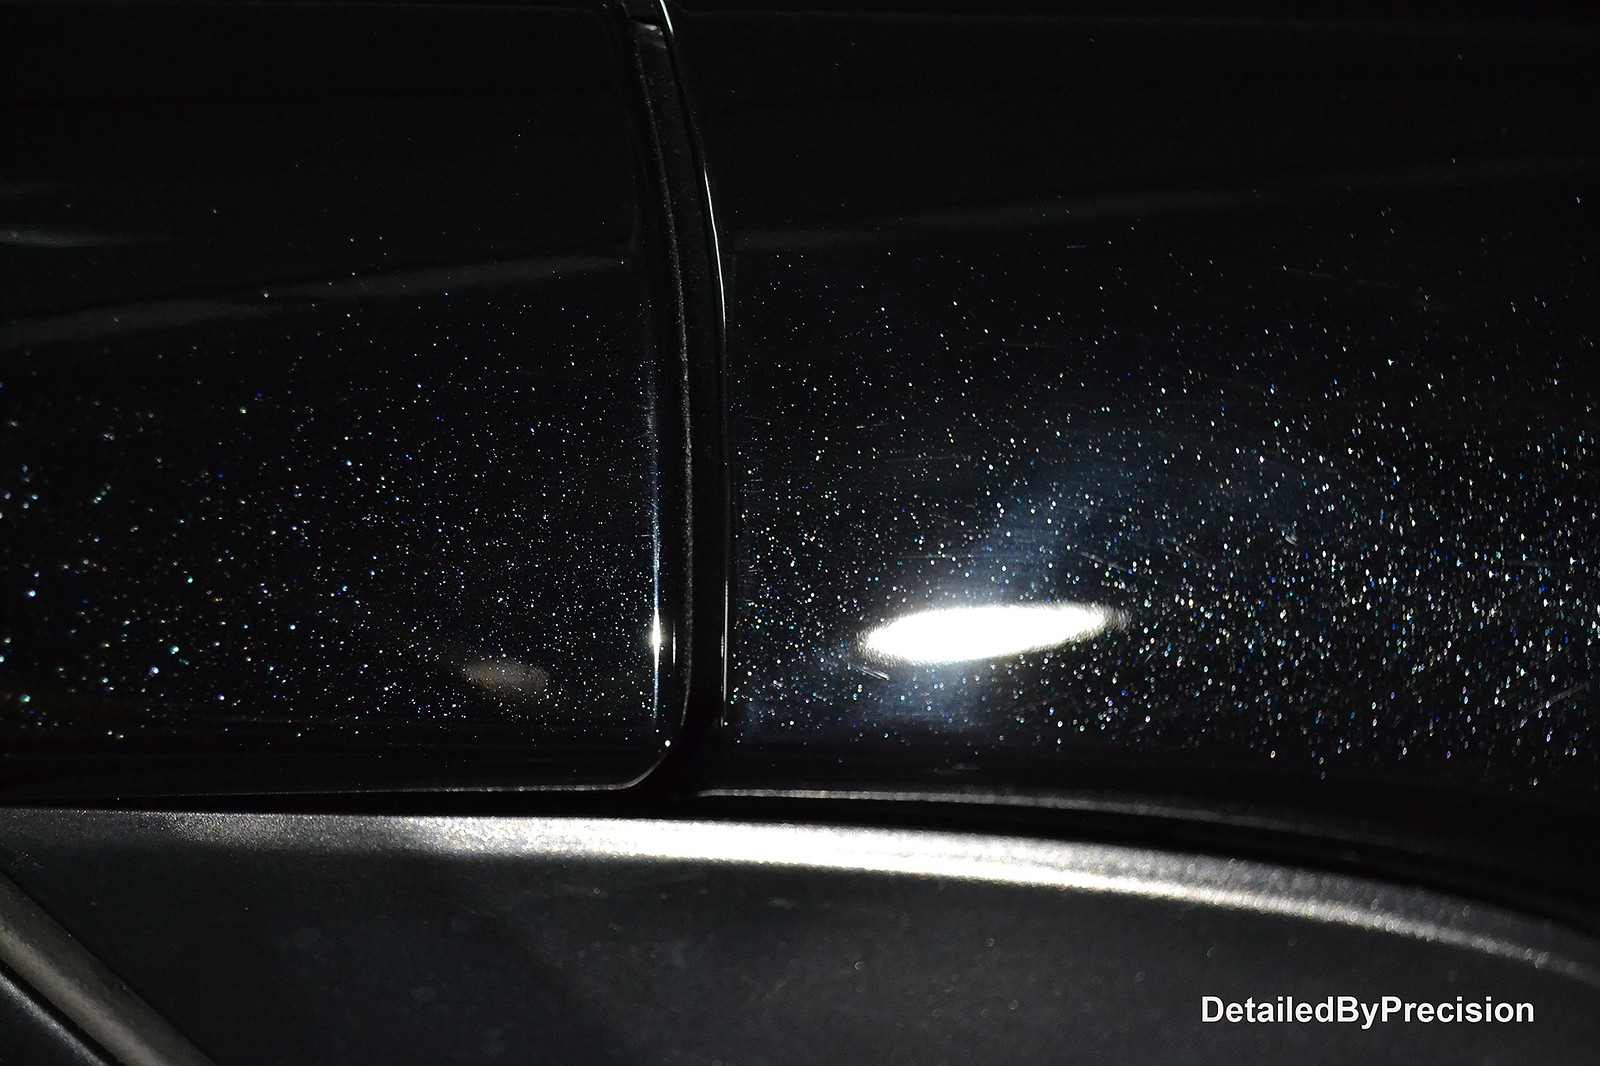
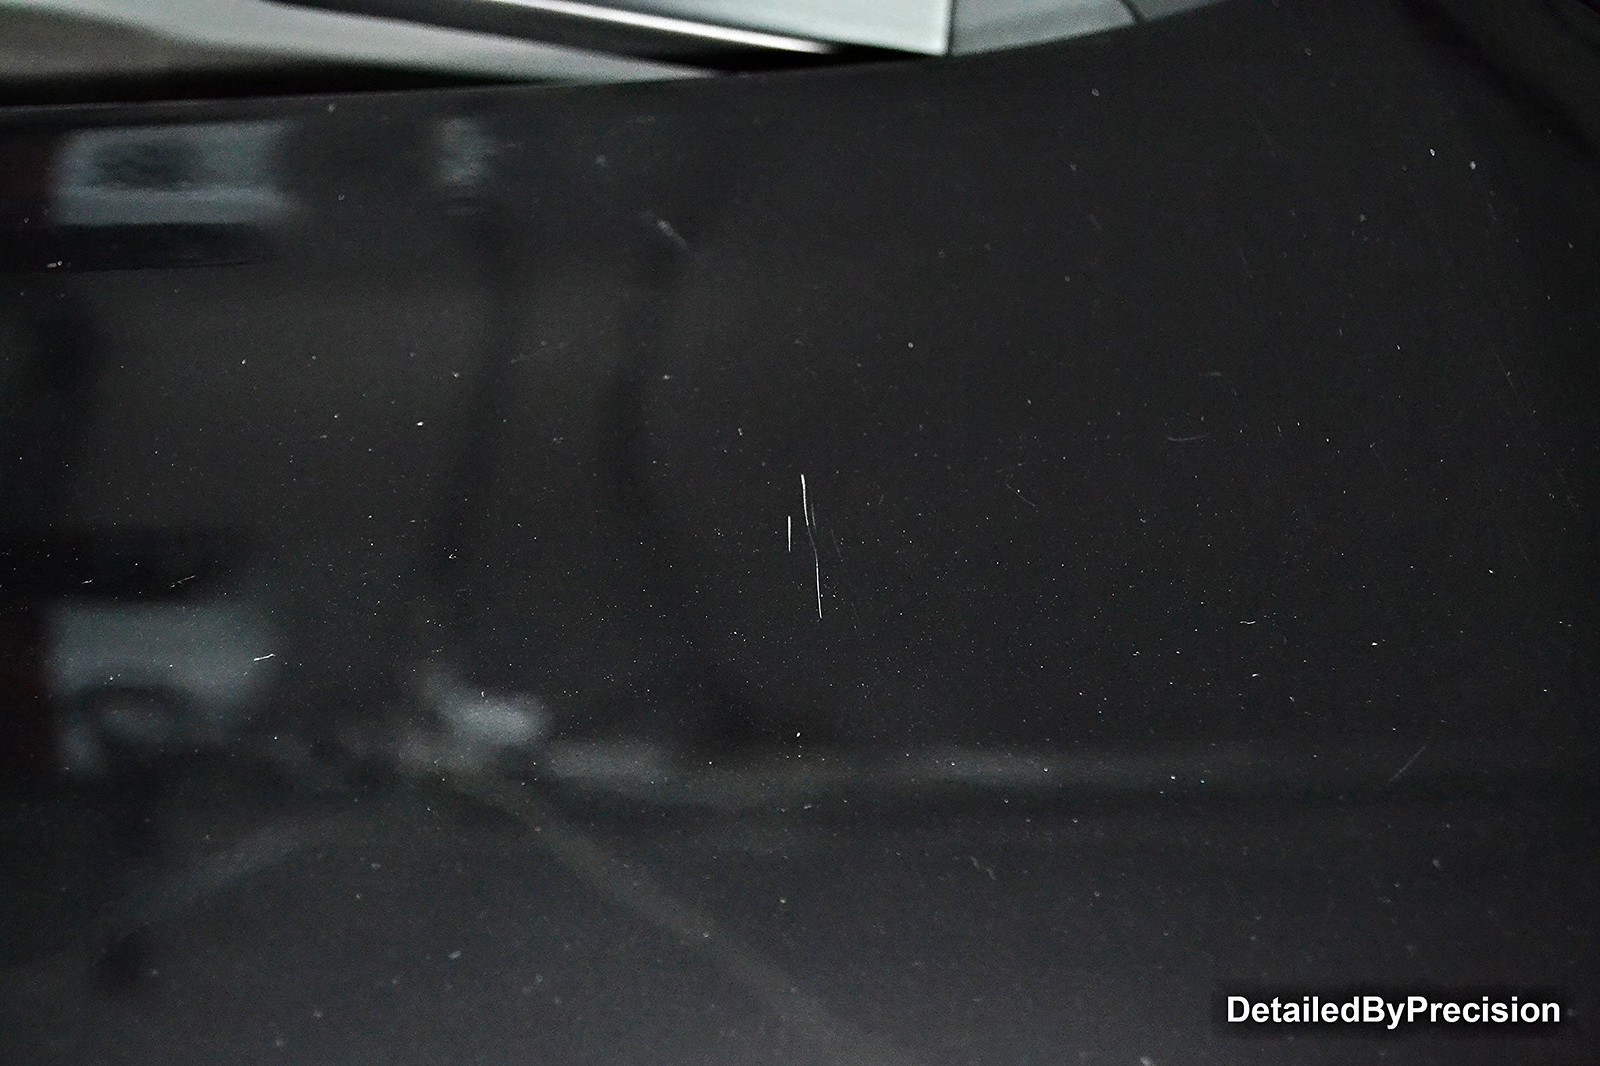
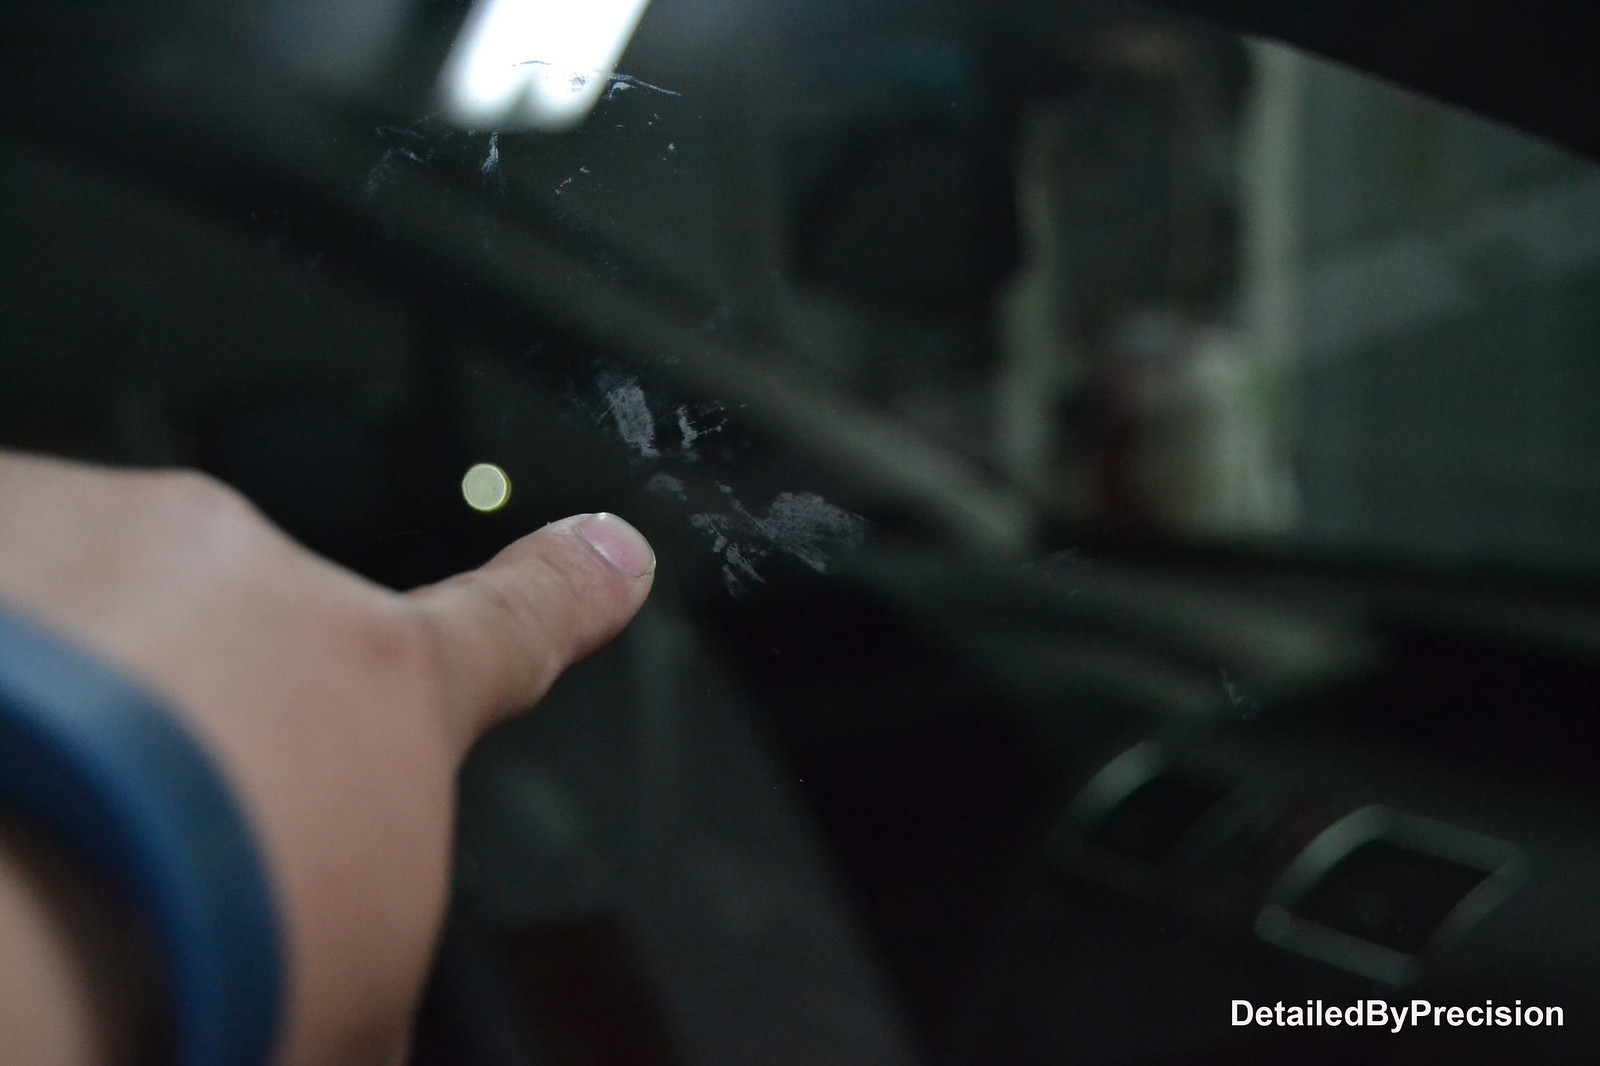
Post claying, a lot of defects showed up on various panels. I'm pretty sure the dealer slapped on some glaze to prepare the car for sale and the claybar removed it and the original defects resurfaced at this point. Some glue residue on the windows and some bird poop shape stains on the hood with some scratches.
Used FG400 and Menz203
 DetailedByPrecision2899 by Limny Kuang, on Flickr
 DetailedByPrecision2959 by Limny Kuang, on Flickr
 DetailedByPrecision2906 by Limny Kuang, on Flickr
 DetailedByPrecision2932 by Limny Kuang, on Flickr
 DetailedByPrecision2905 by Limny Kuang, on Flickr
 DetailedByPrecision2933 by Limny Kuang, on Flickr
 DetailedByPrecision2909 by Limny Kuang, on Flickr
 DetailedByPrecision2914 by Limny Kuang, on Flickr
 DetailedByPrecision2920 by Limny Kuang, on Flickr
 DetailedByPrecision292 by Limny Kuang, on Flickr
 DetailedByPrecision2911 by Limny Kuang, on Flickr
 DetailedByPrecision2915 by Limny Kuang, on Flickr
 DetailedByPrecision2922 by Limny Kuang, on Flickr
 DetailedByPrecision2923 by Limny Kuang, on Flickr
 DetailedByPrecision2930 by Limny Kuang, on Flickr
 DetailedByPrecision2931 by Limny Kuang, on Flickr
 DetailedByPrecision2902 by Limny Kuang, on Flickr
 DetailedByPrecision2960 by Limny Kuang, on Flickr
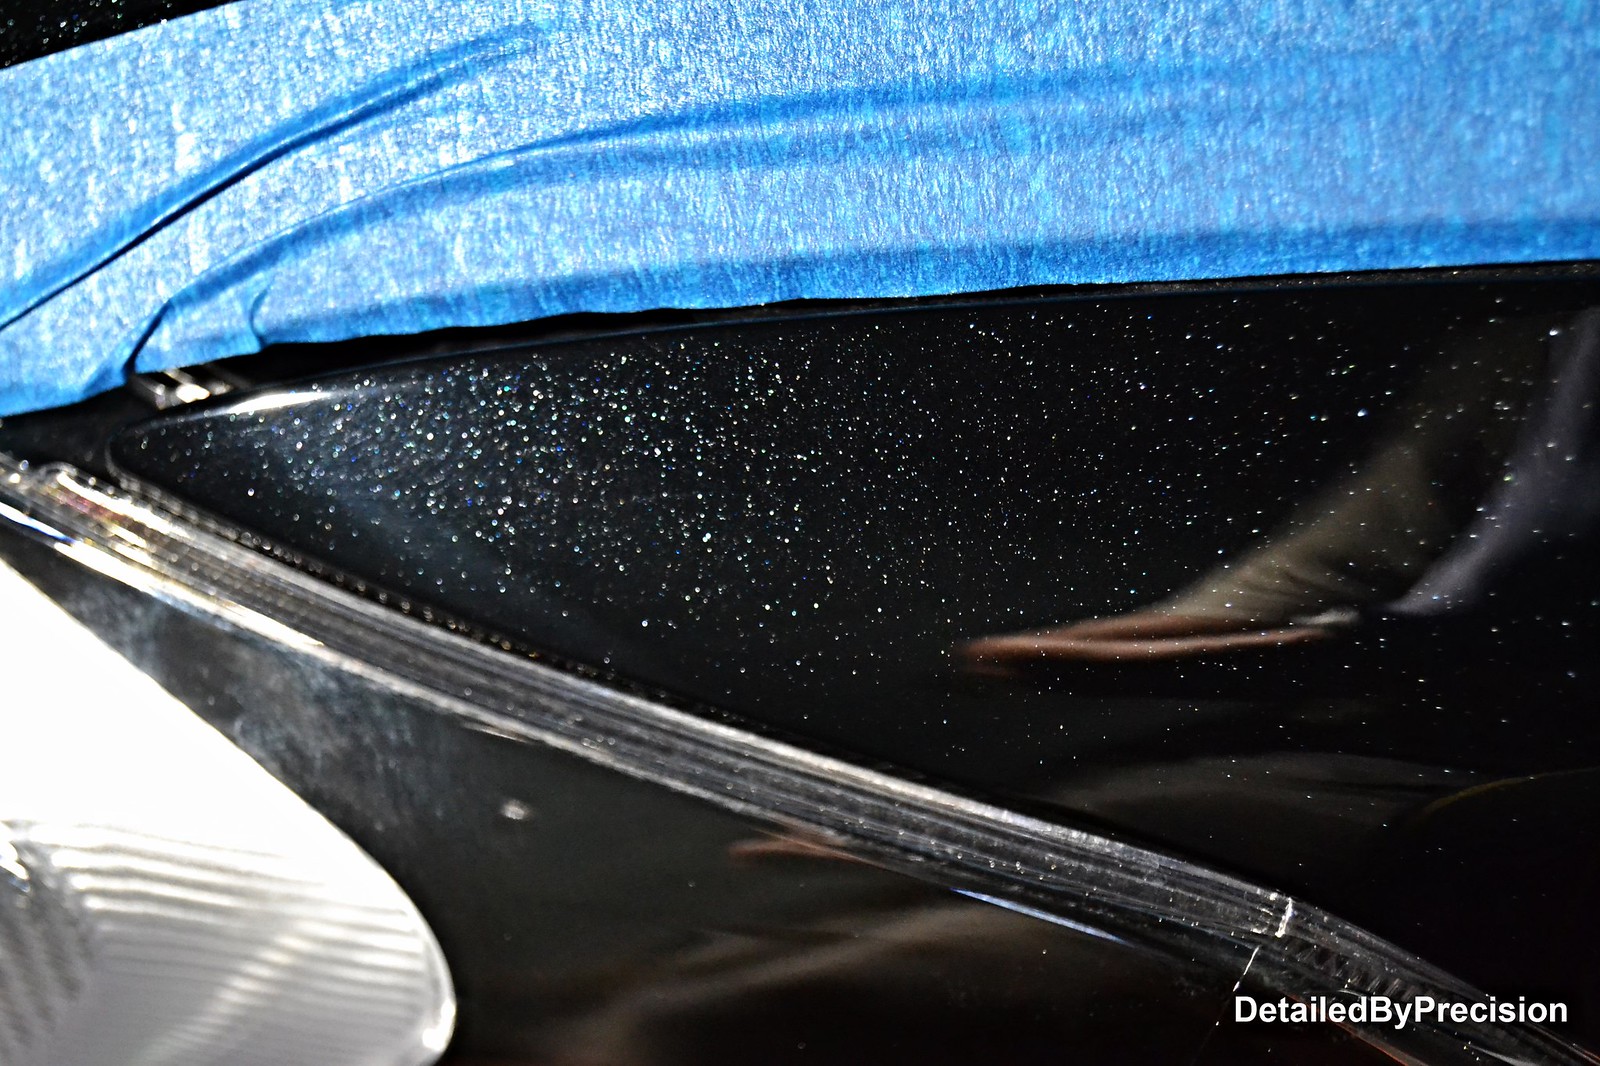
Onto the film residue. Used Menz203 by hand
 DetailedByPrecision2907 by Limny Kuang, on Flickr
 DetailedByPrecision2918 by Limny Kuang, on Flickr
 DetailedByPrecision2926 by Limny Kuang, on Flickr
 DetailedByPrecision2927 by Limny Kuang, on Flickr
Couple 50/50's from polishing the hood and driver fender
 DetailedByPrecision2958 by Limny Kuang, on Flickr
 DetailedByPrecision2939 by Limny Kuang, on Flickr
 DetailedByPrecision2941 by Limny Kuang, on Flickr
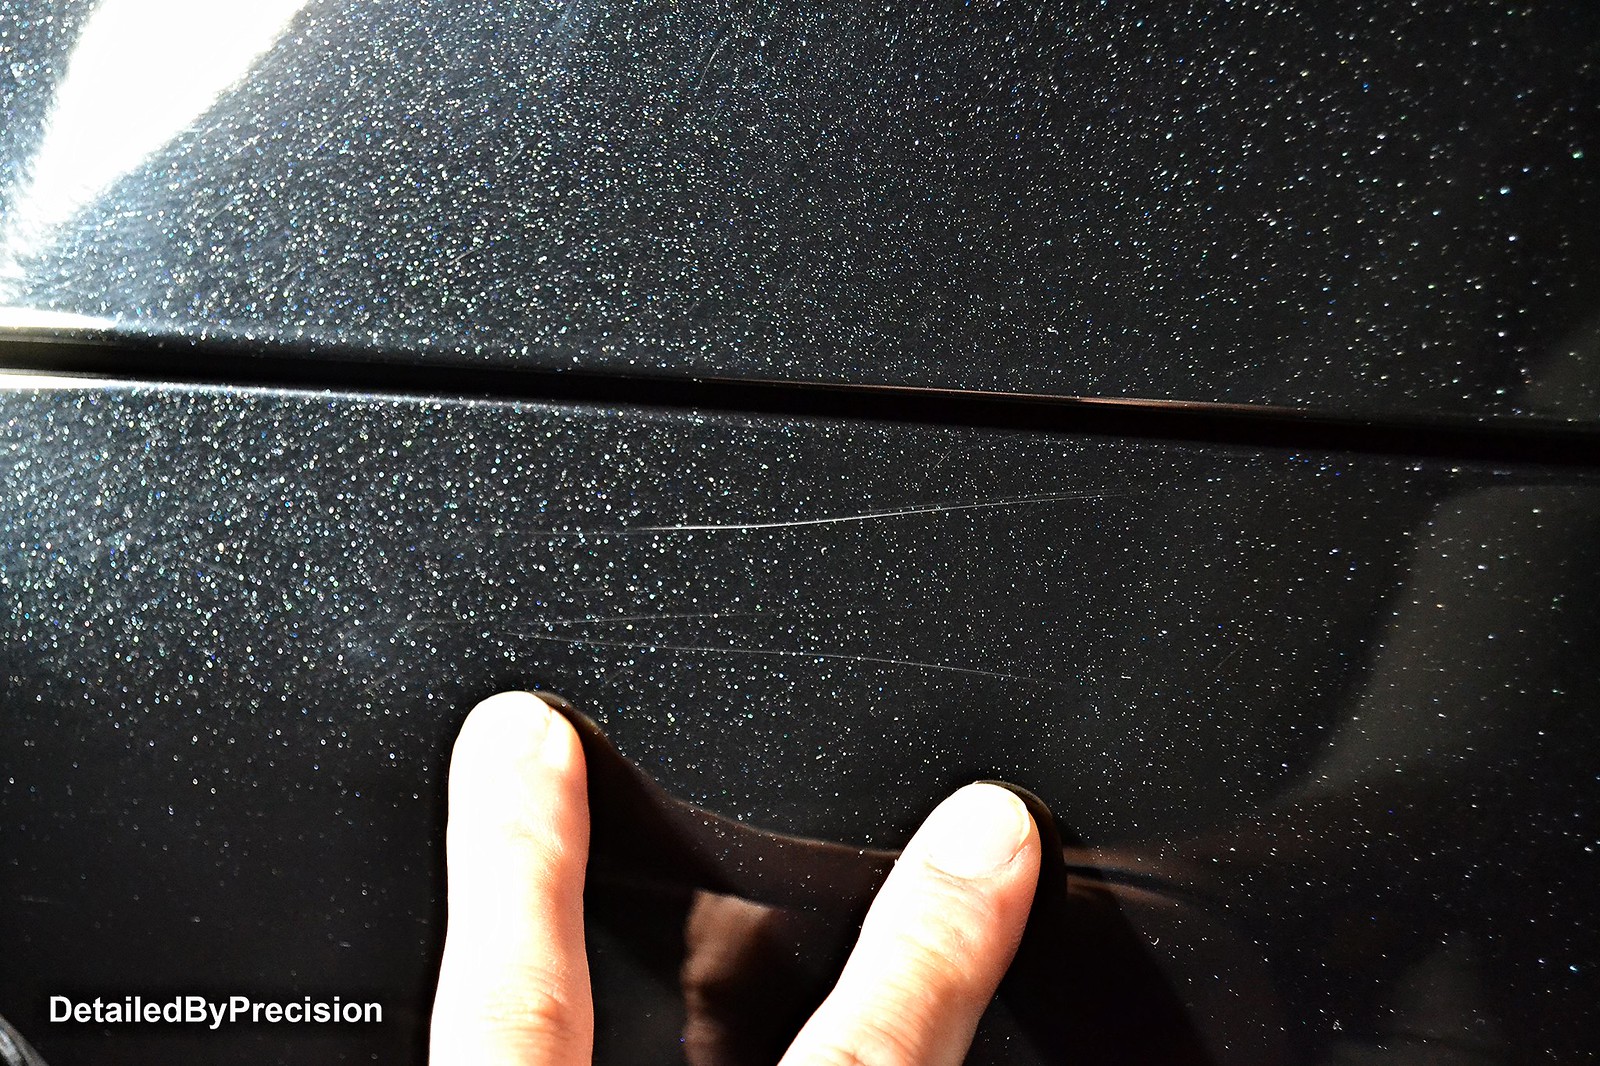
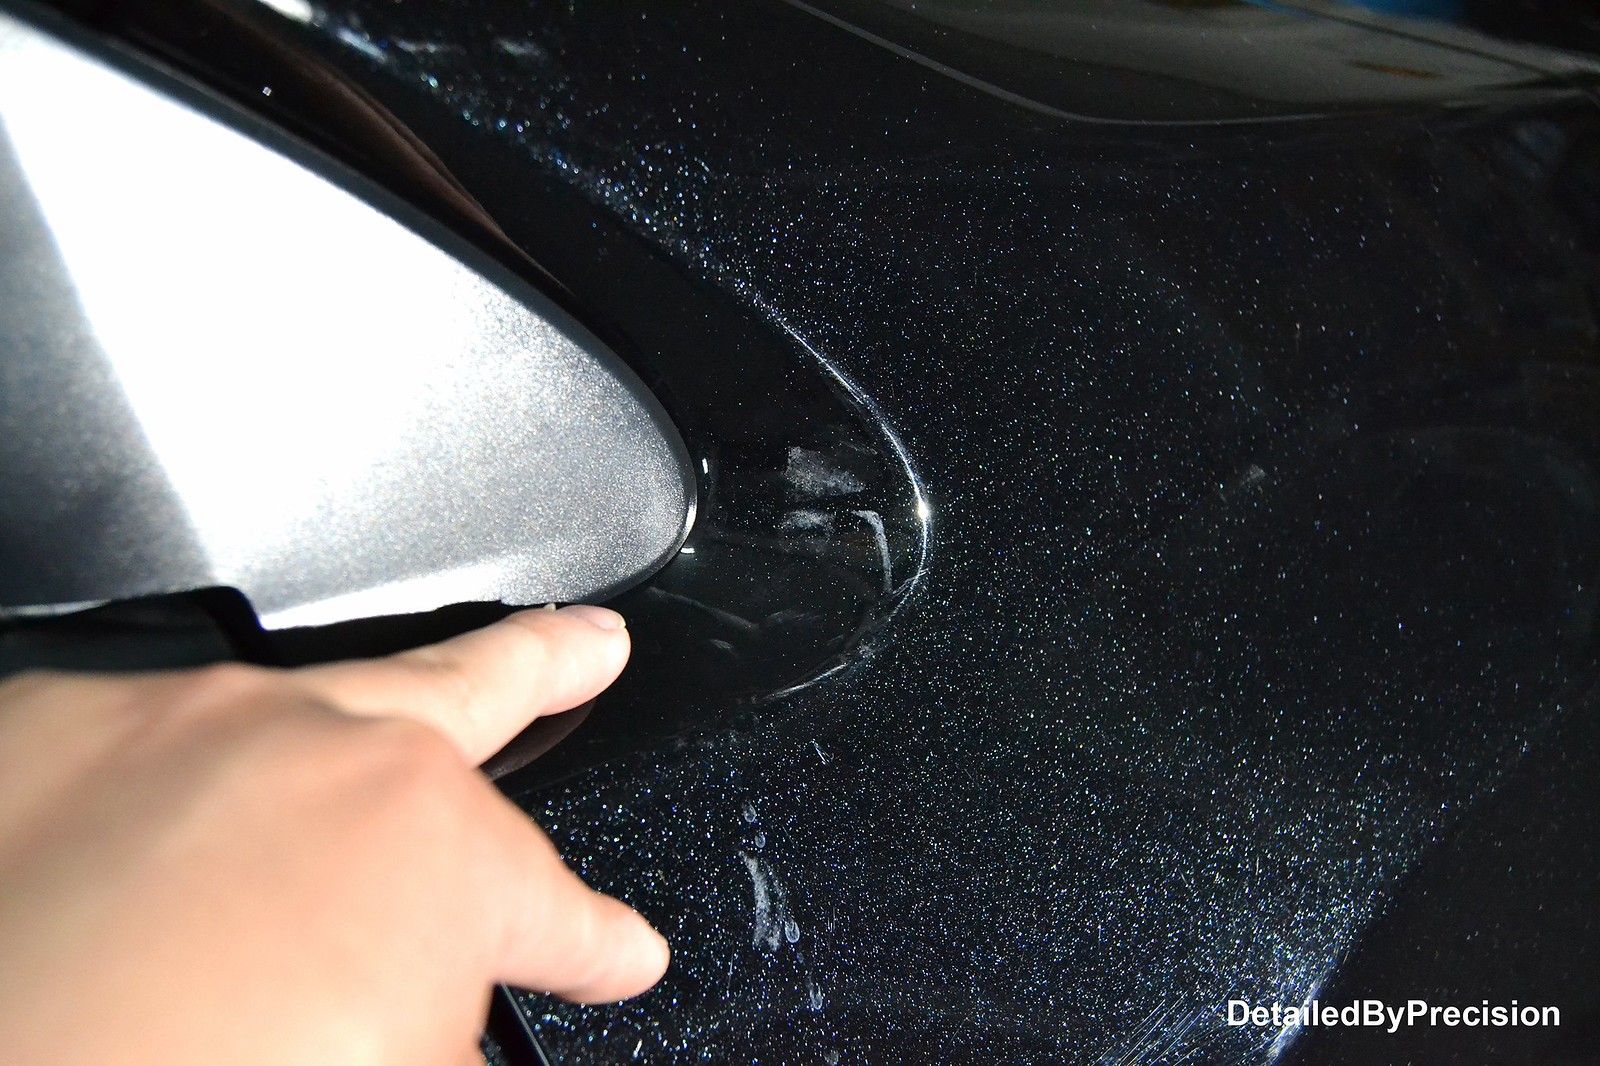
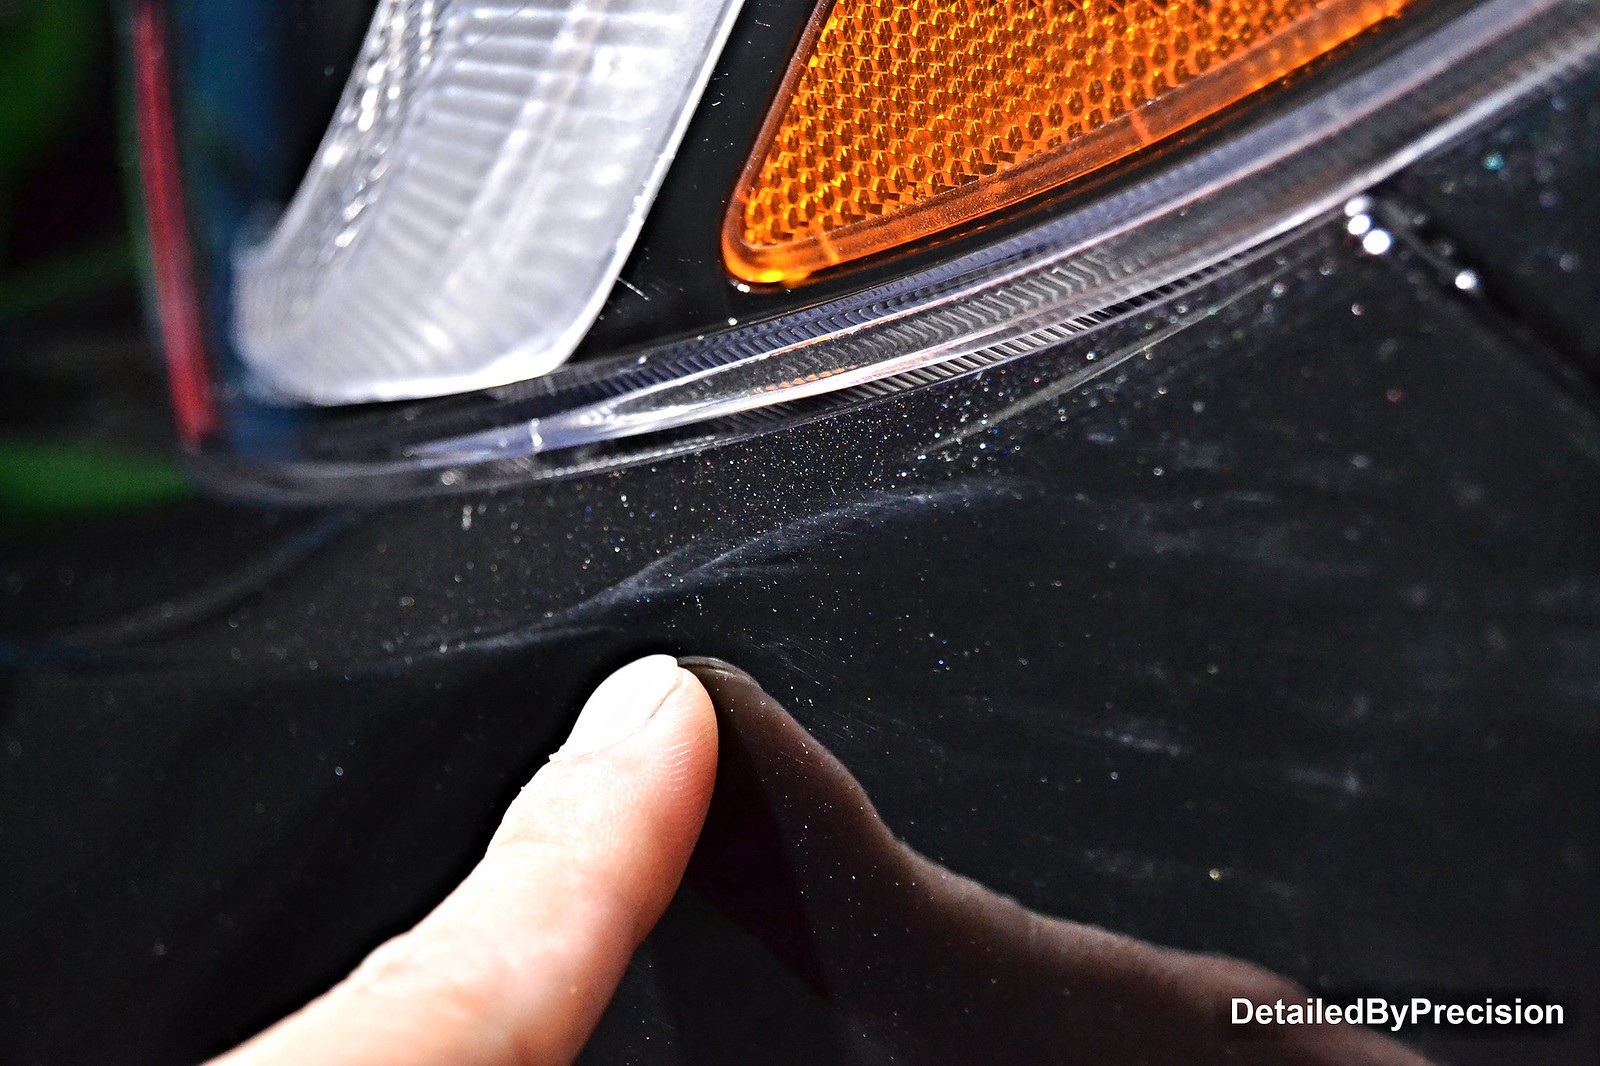
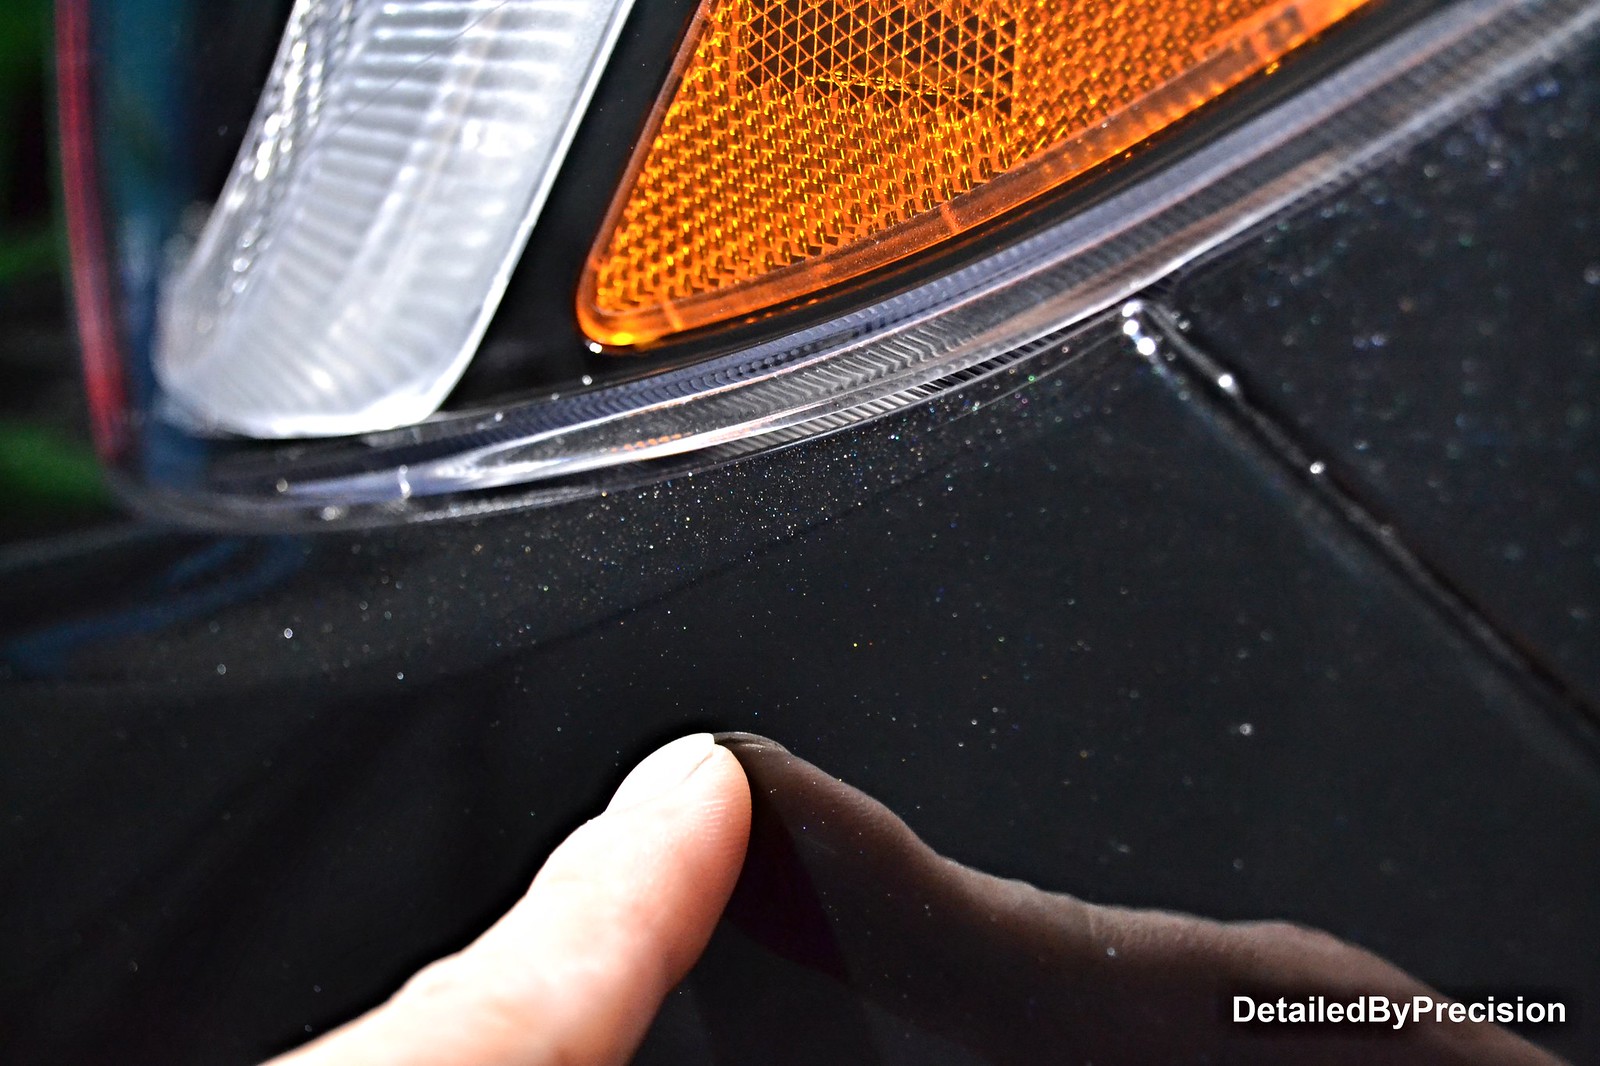
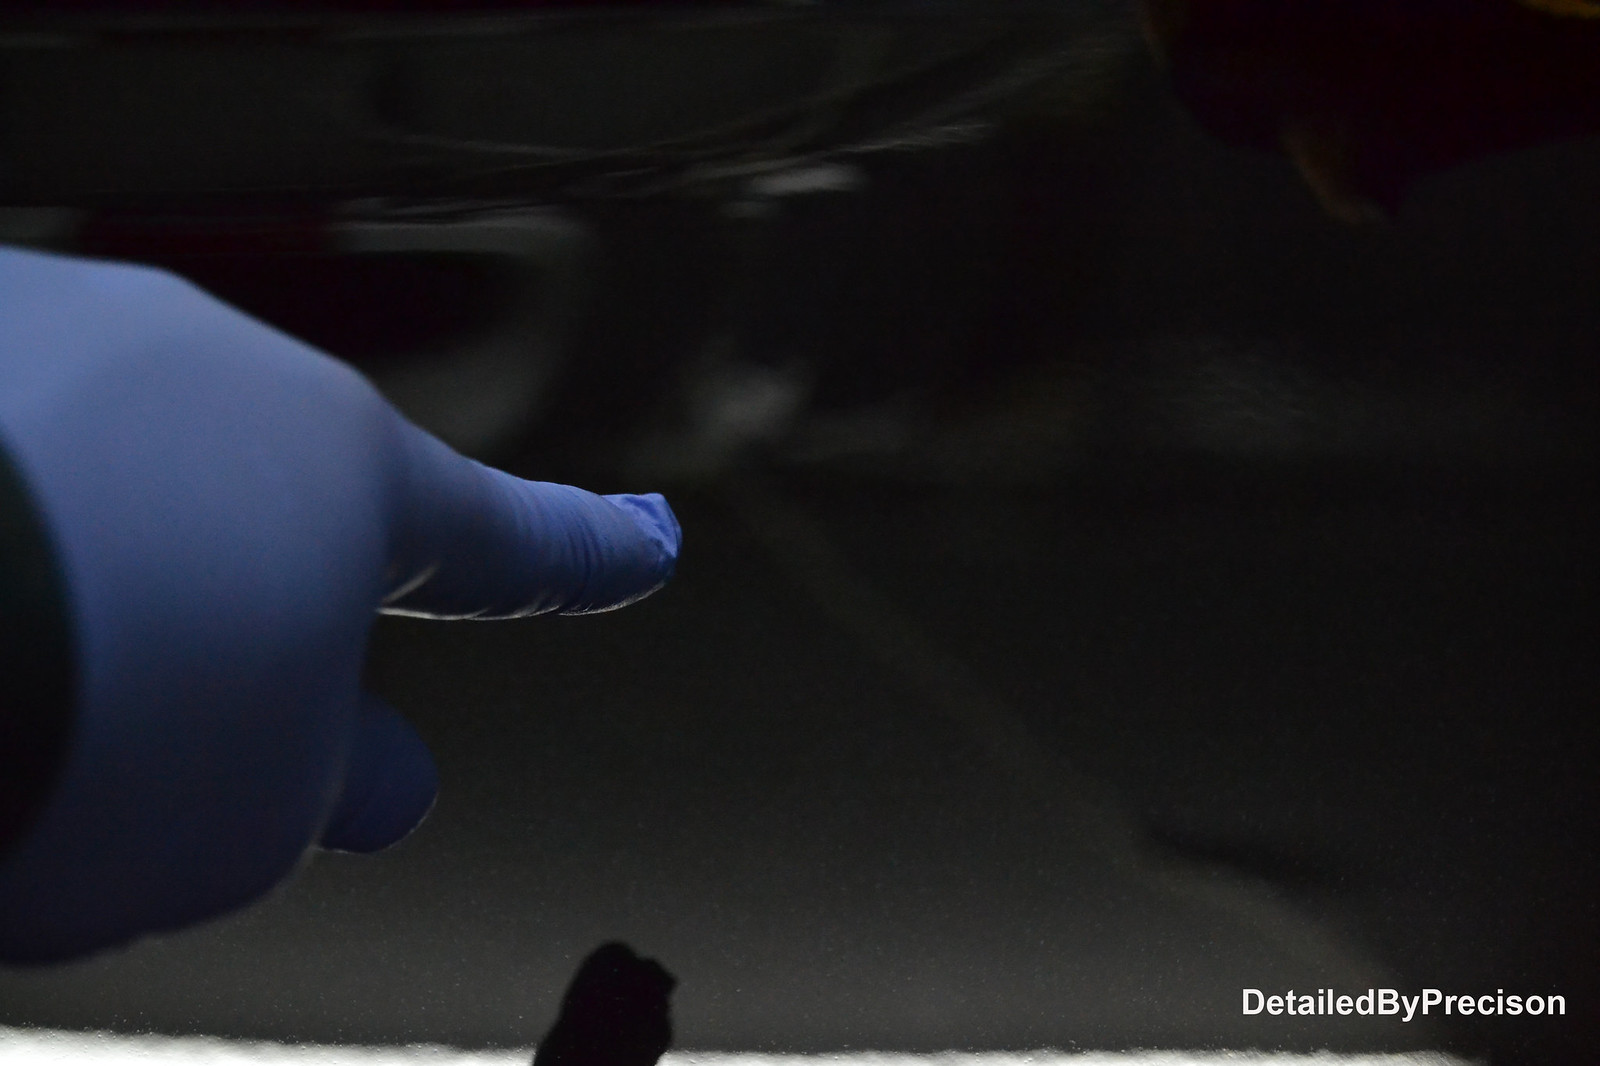
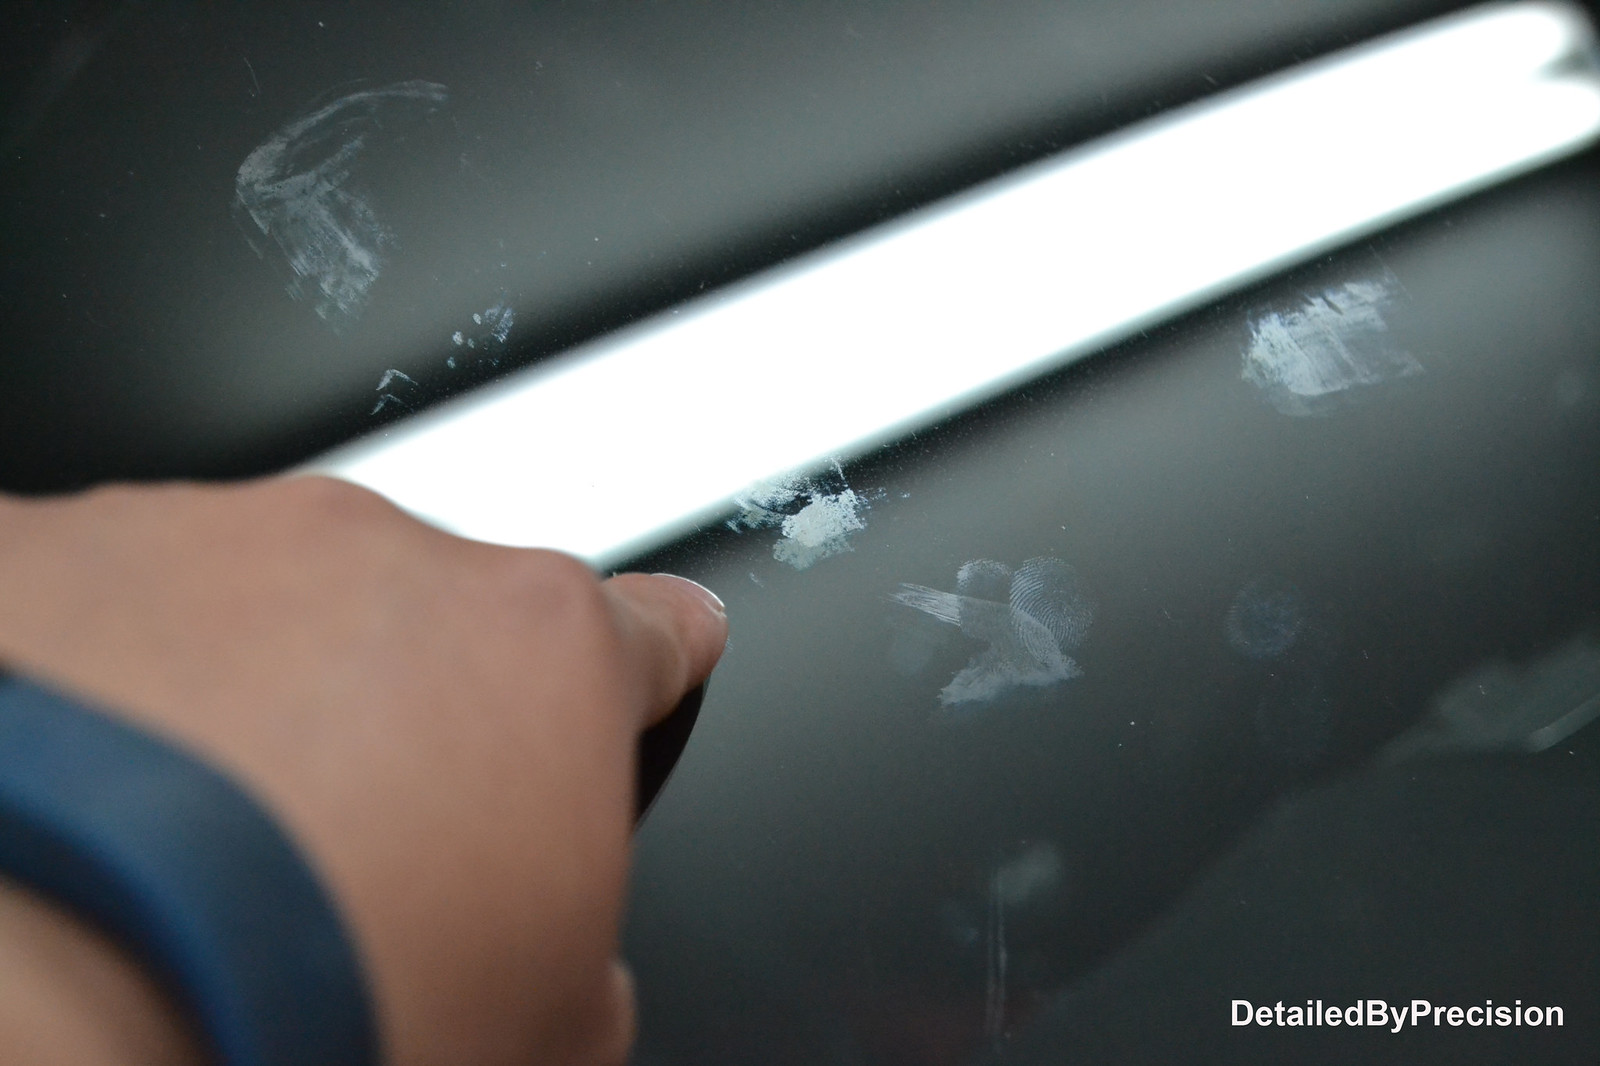
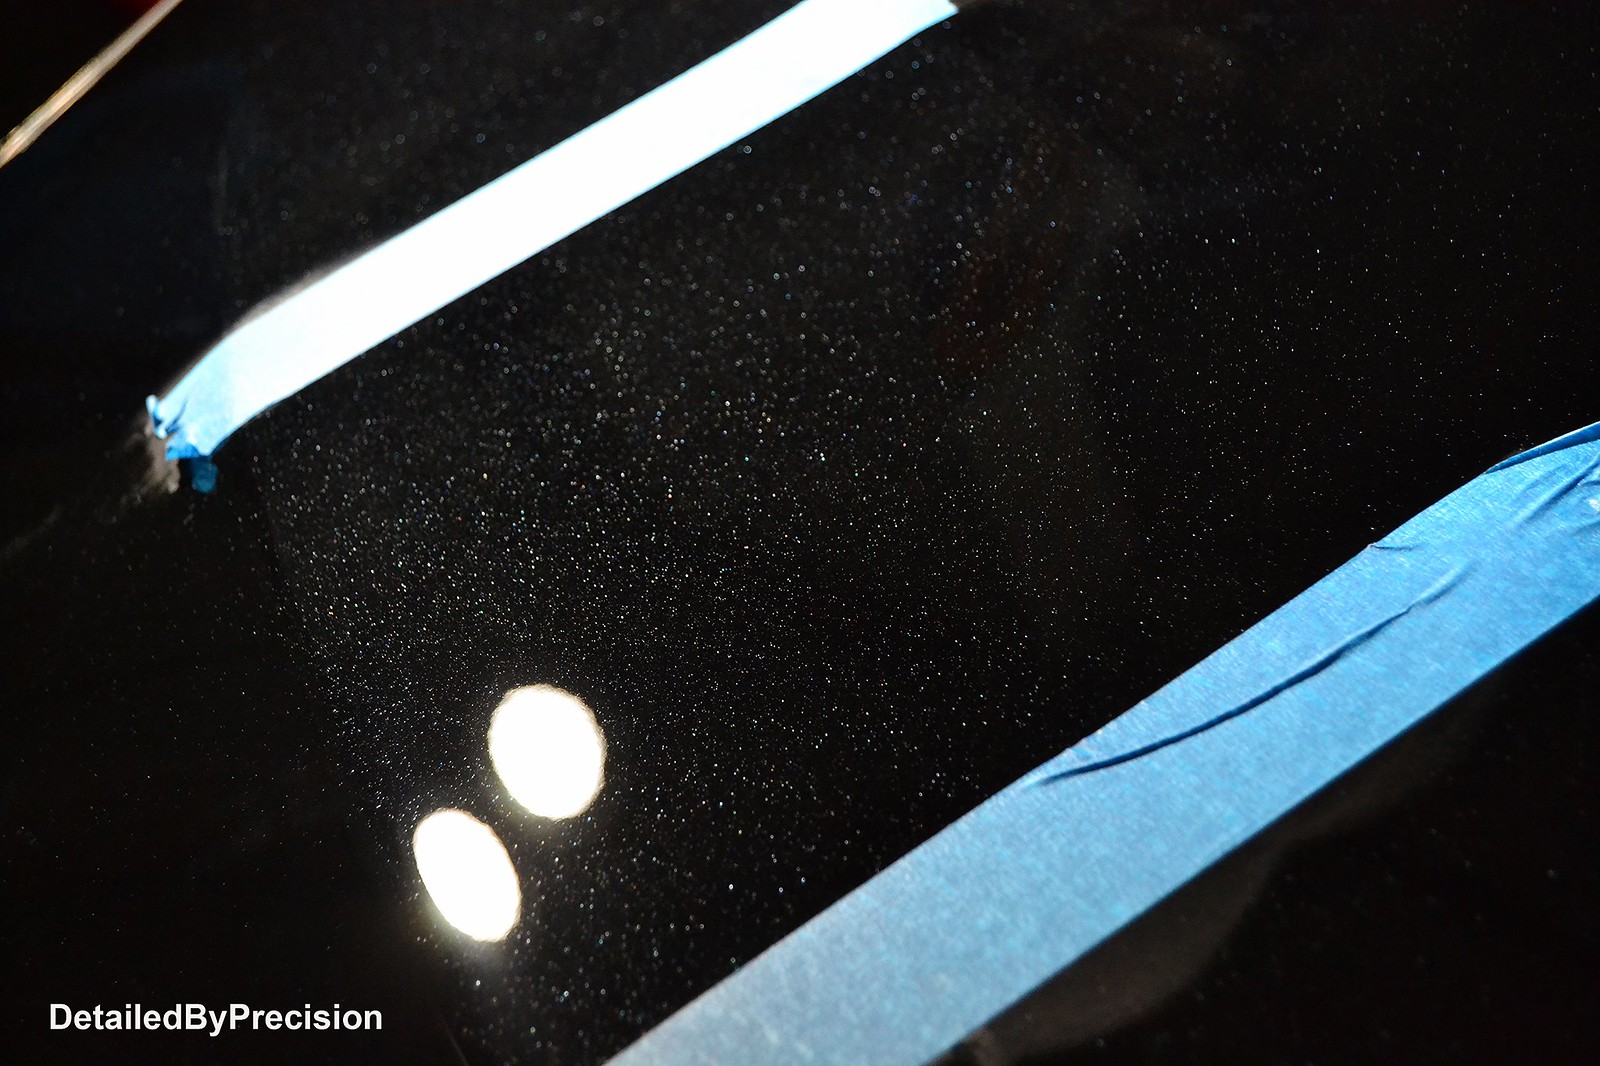
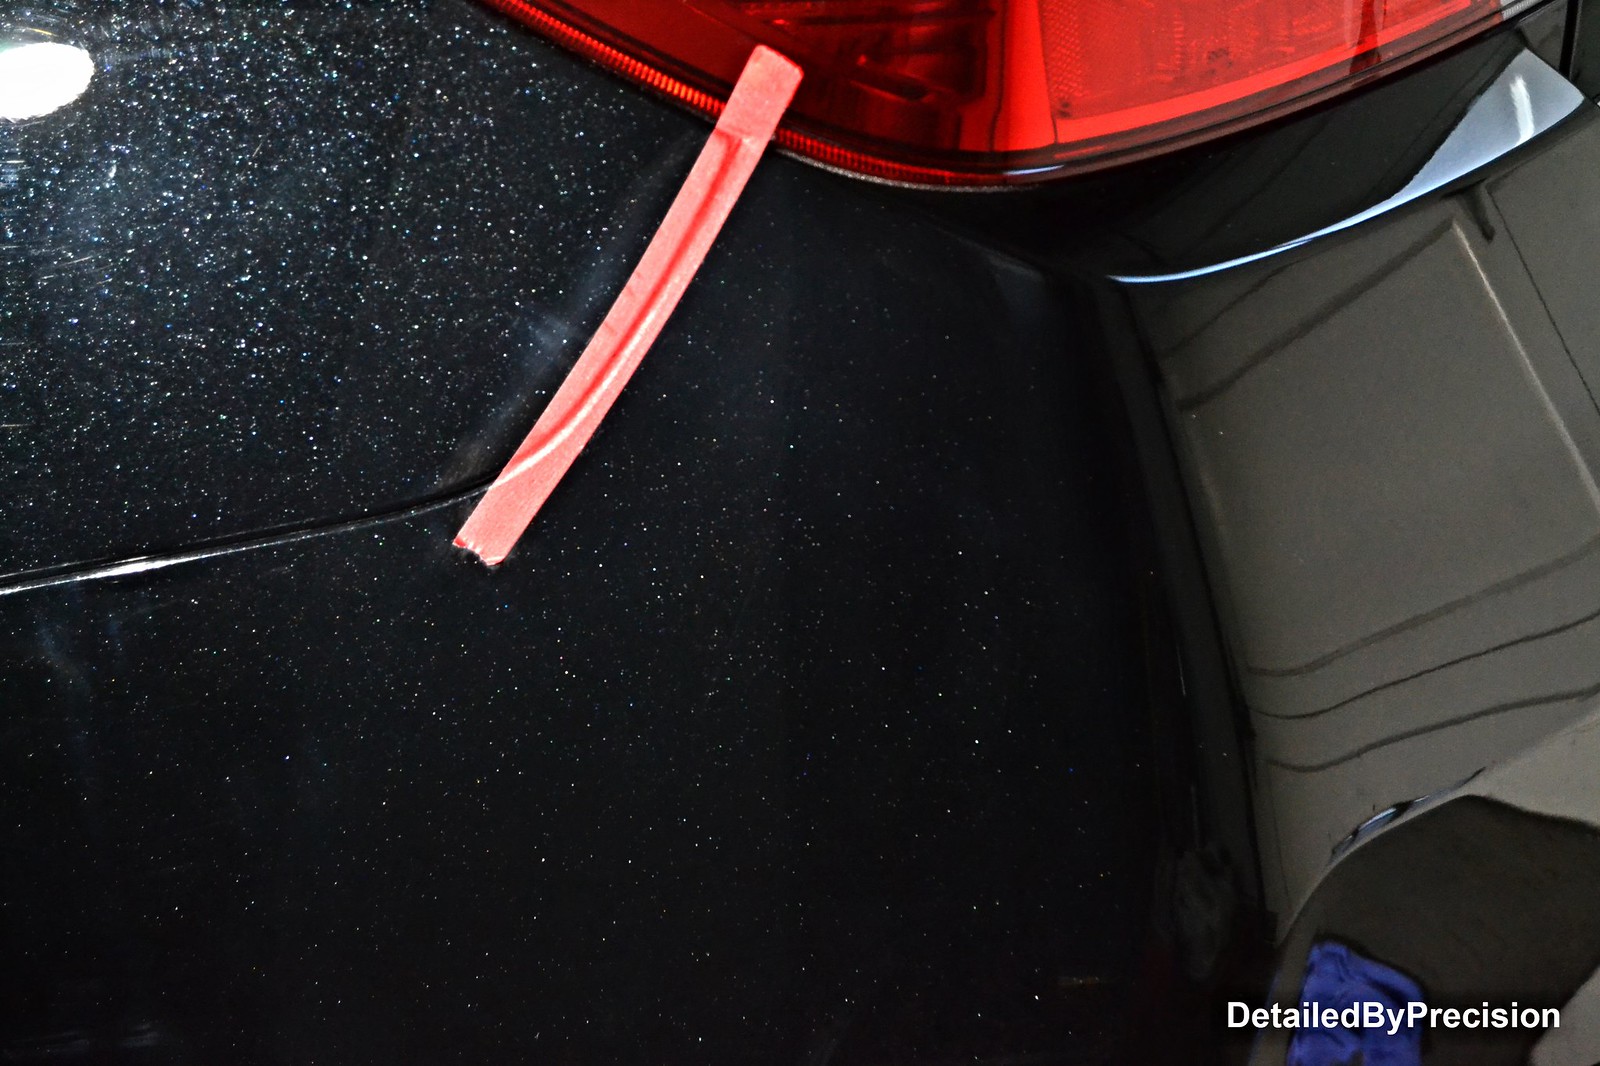
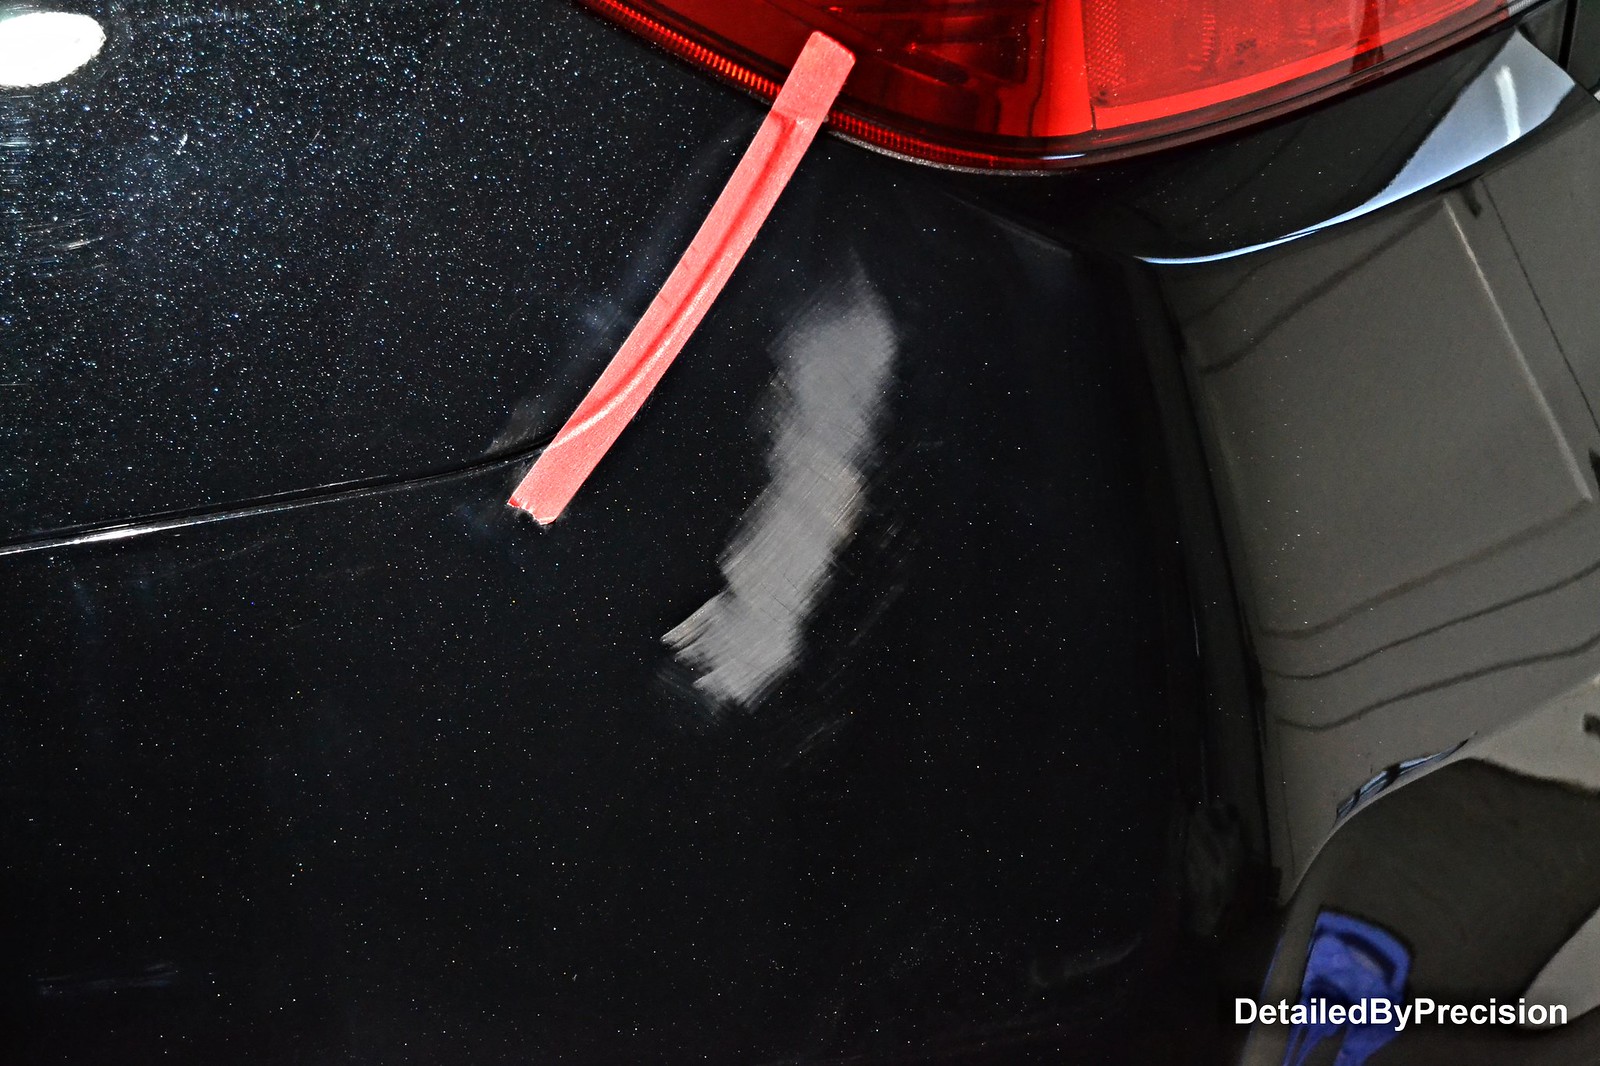
Now the fun part and most pressure to perform.... the 3" scratch. I assessed it under LED lighting and using my finger nail to see if it catches or not before I dialed in my process. It barely caught my finger nail so there was hope of not having to use the touch up.
 DetailedByPrecision2962 by Limny Kuang, on Flickr
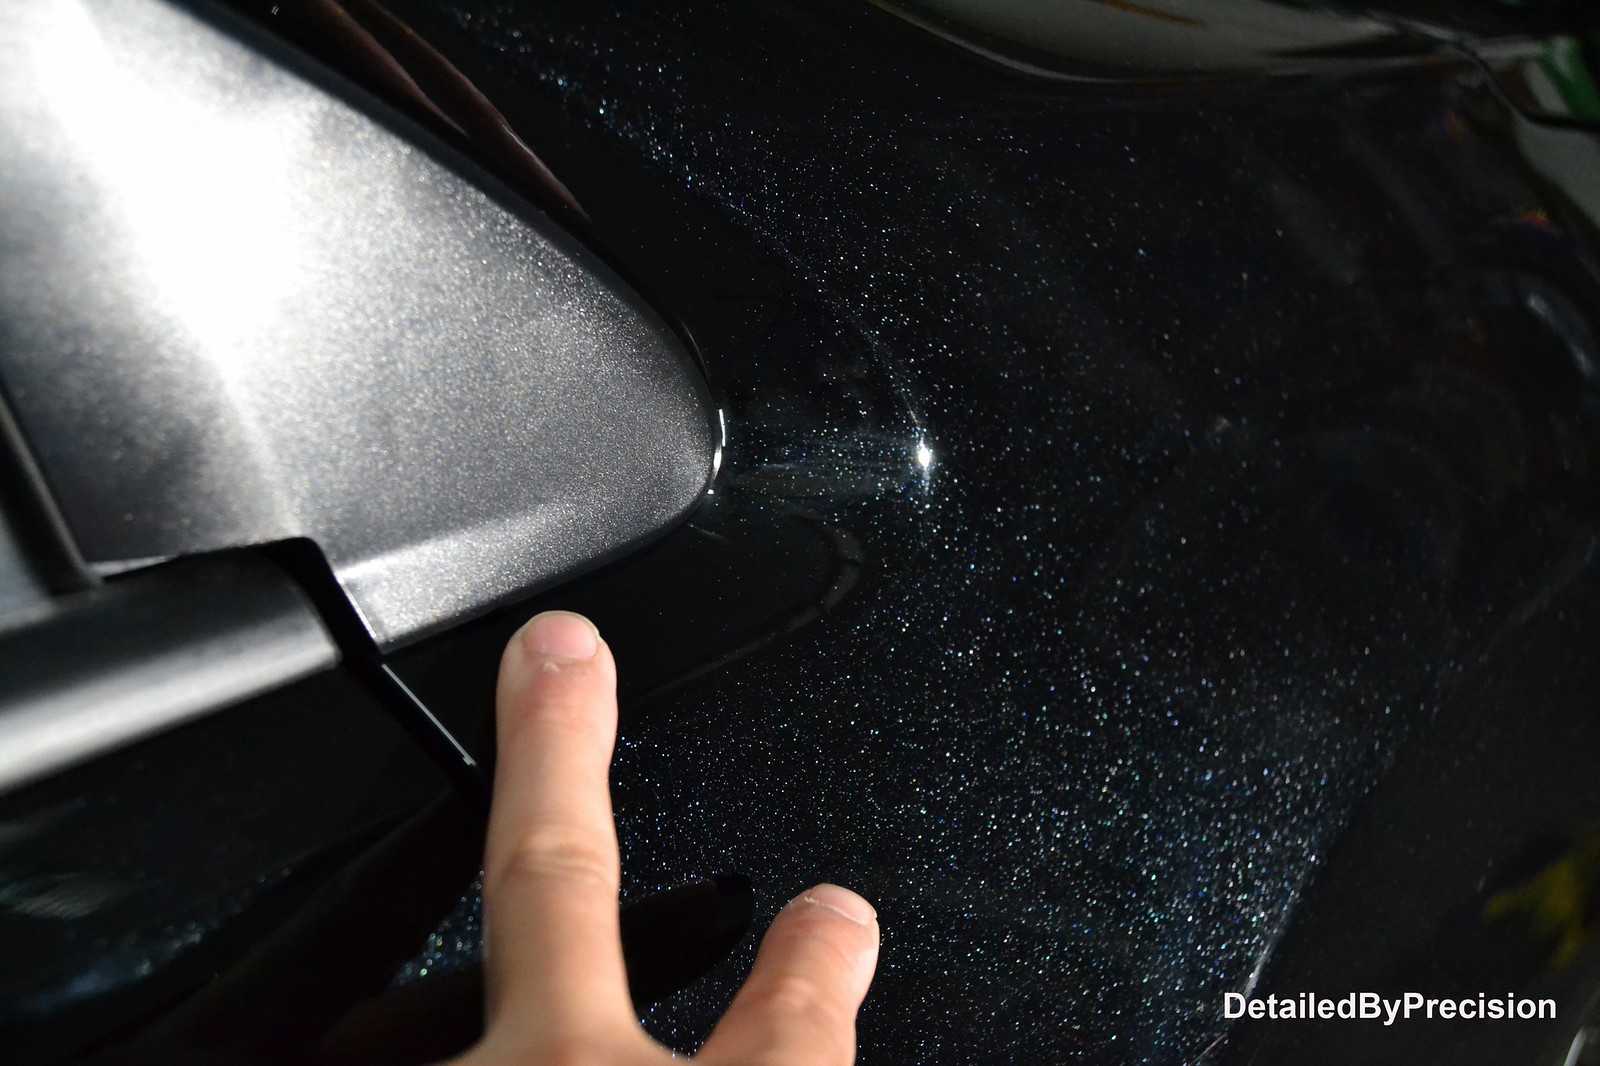
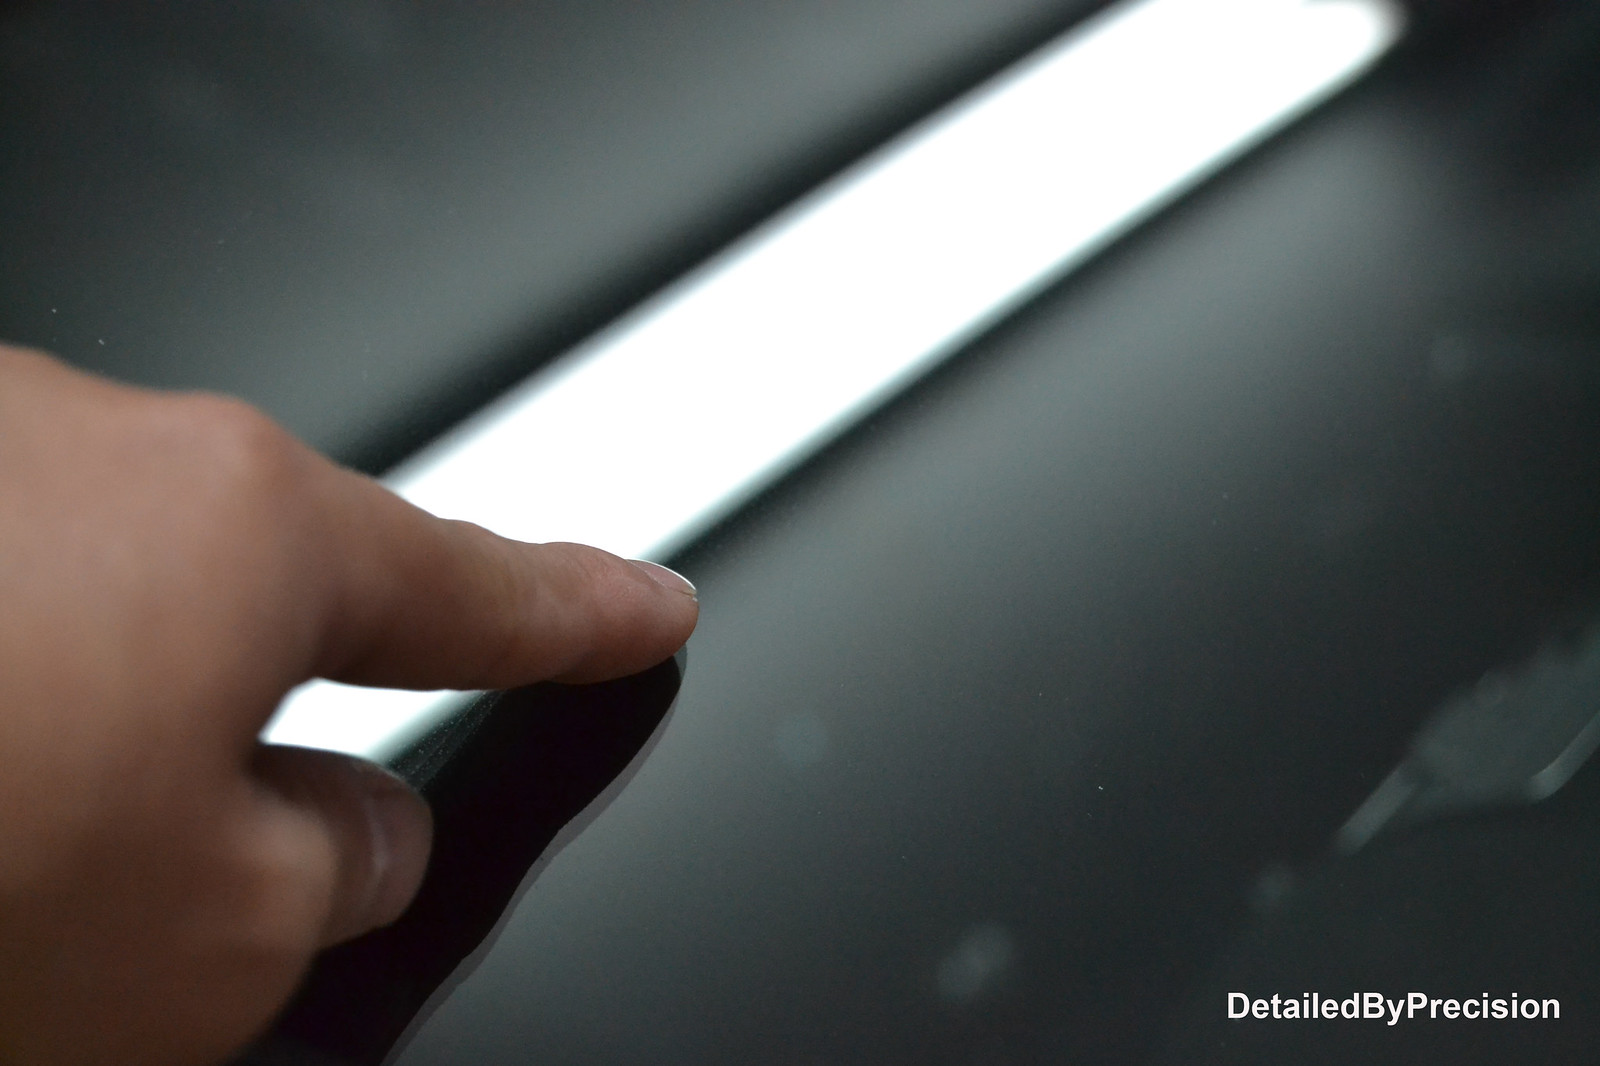
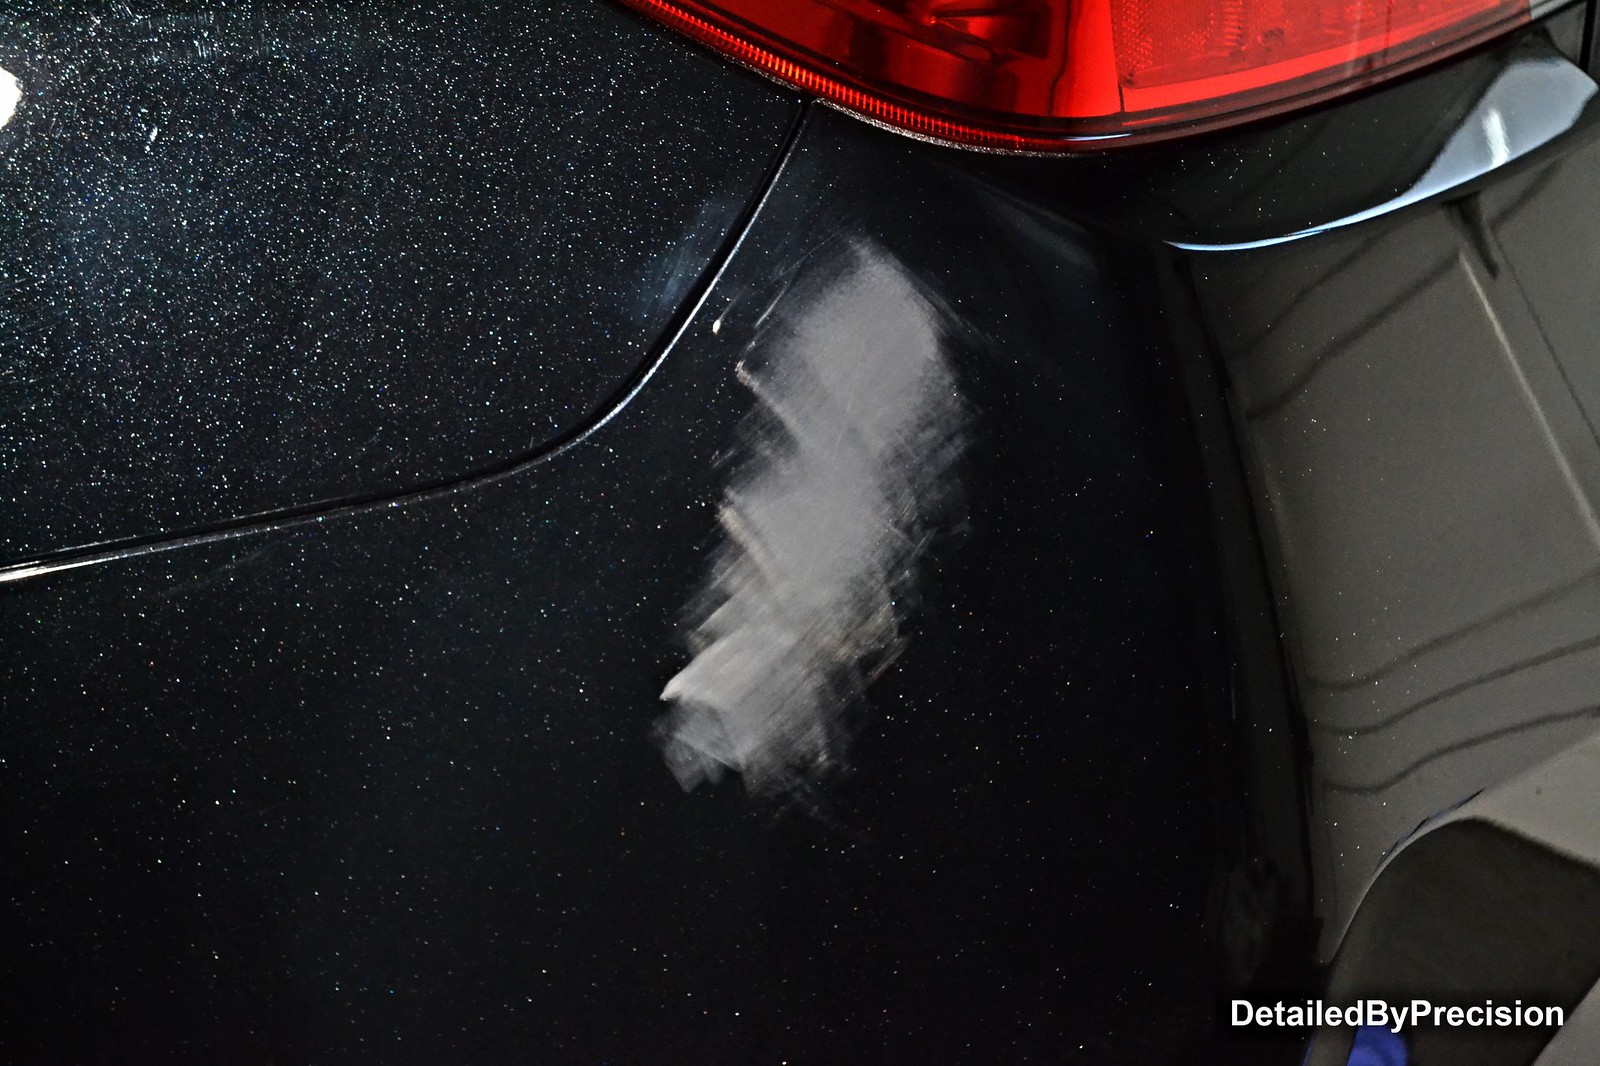
I hit the scratch with M101 w/ MF pad first to see if there is an improvement or not. Not as obvious anymore...
 DetailedByPrecision2963 by Limny Kuang, on Flickr
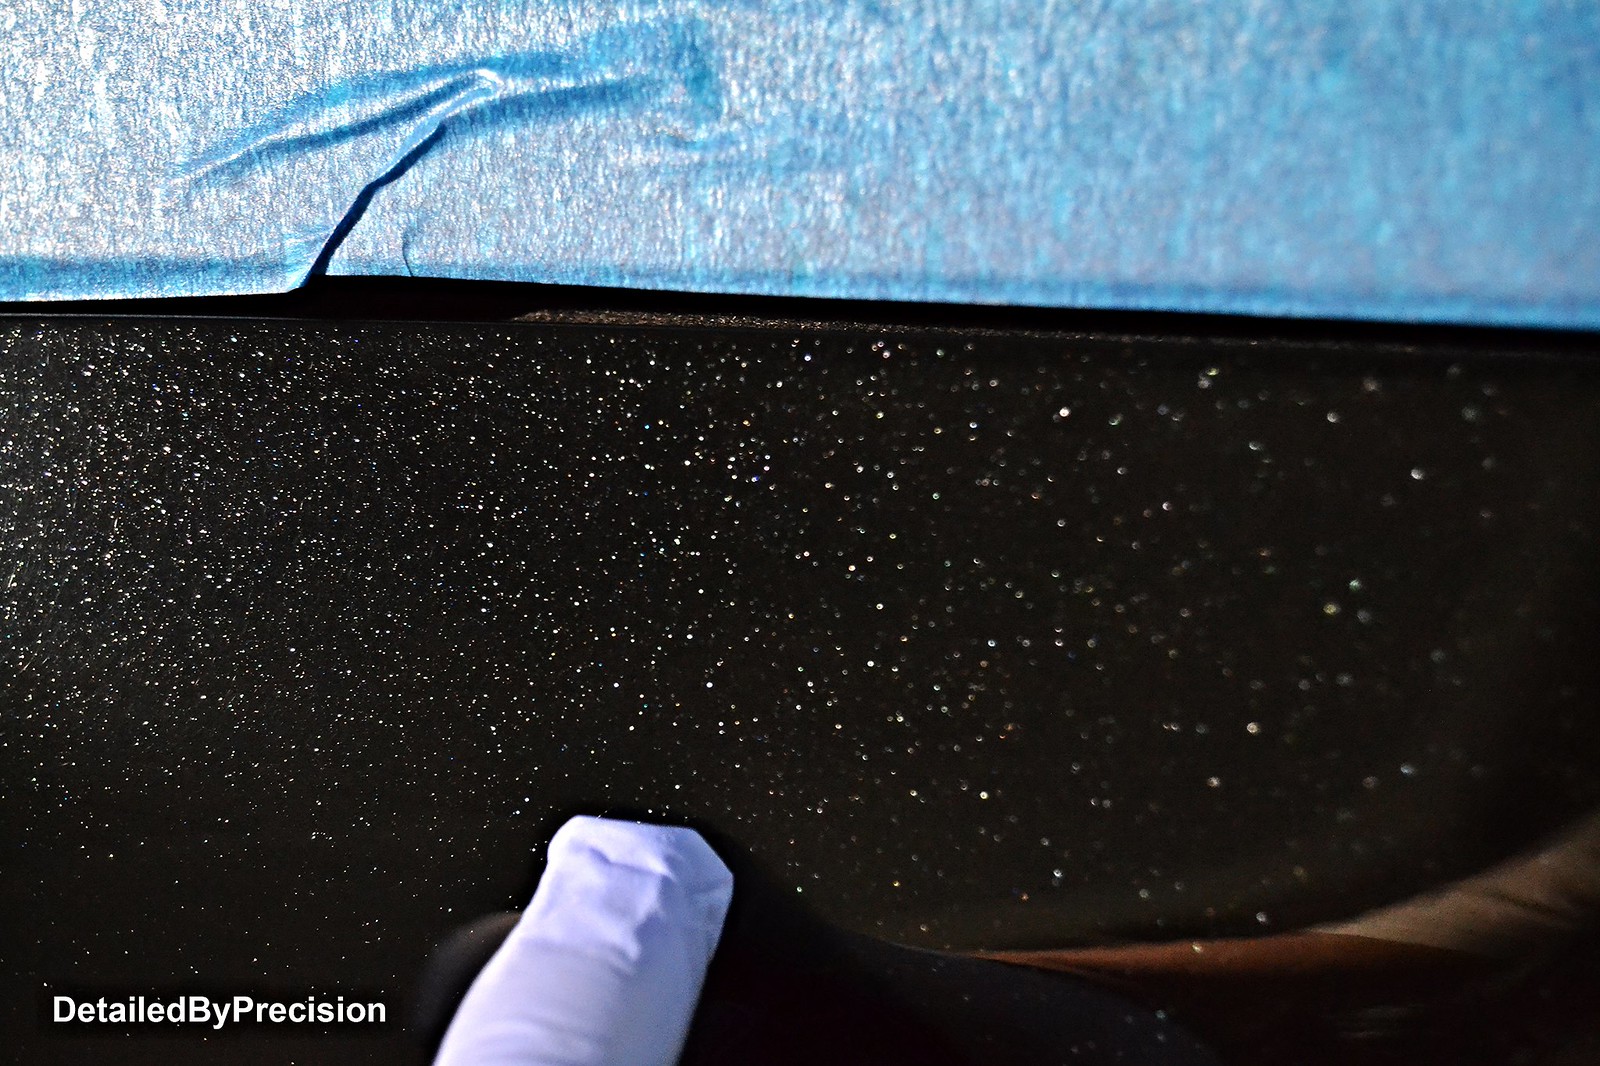
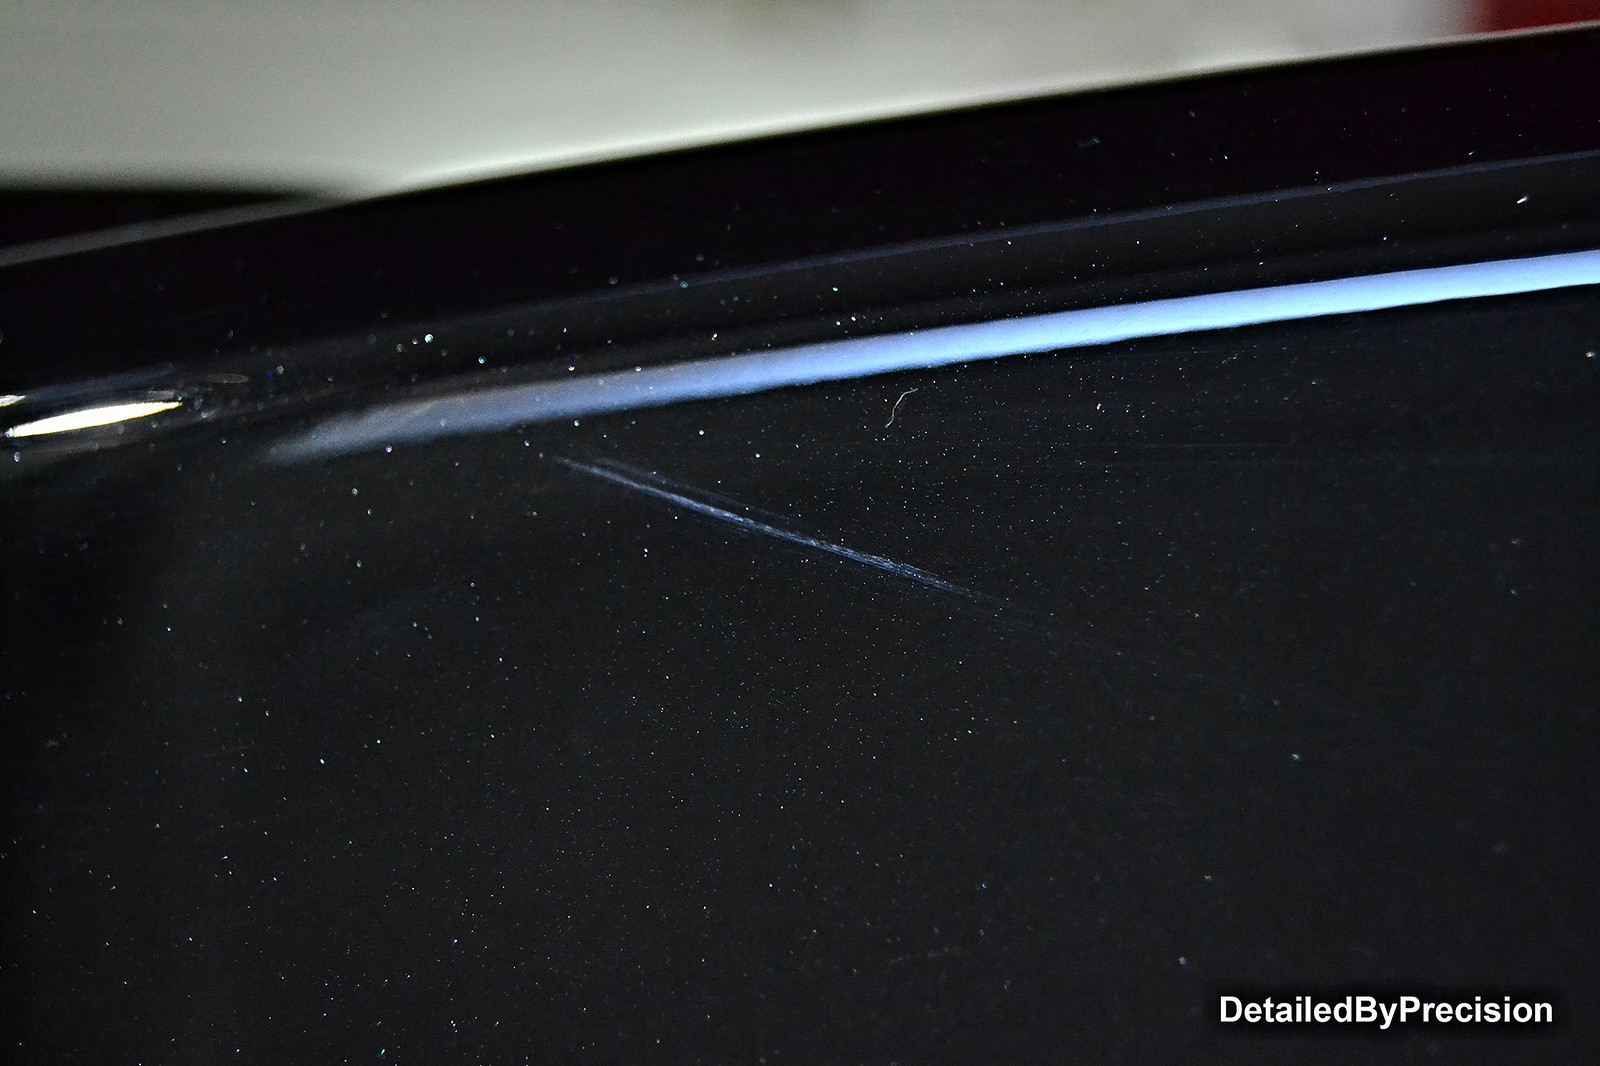
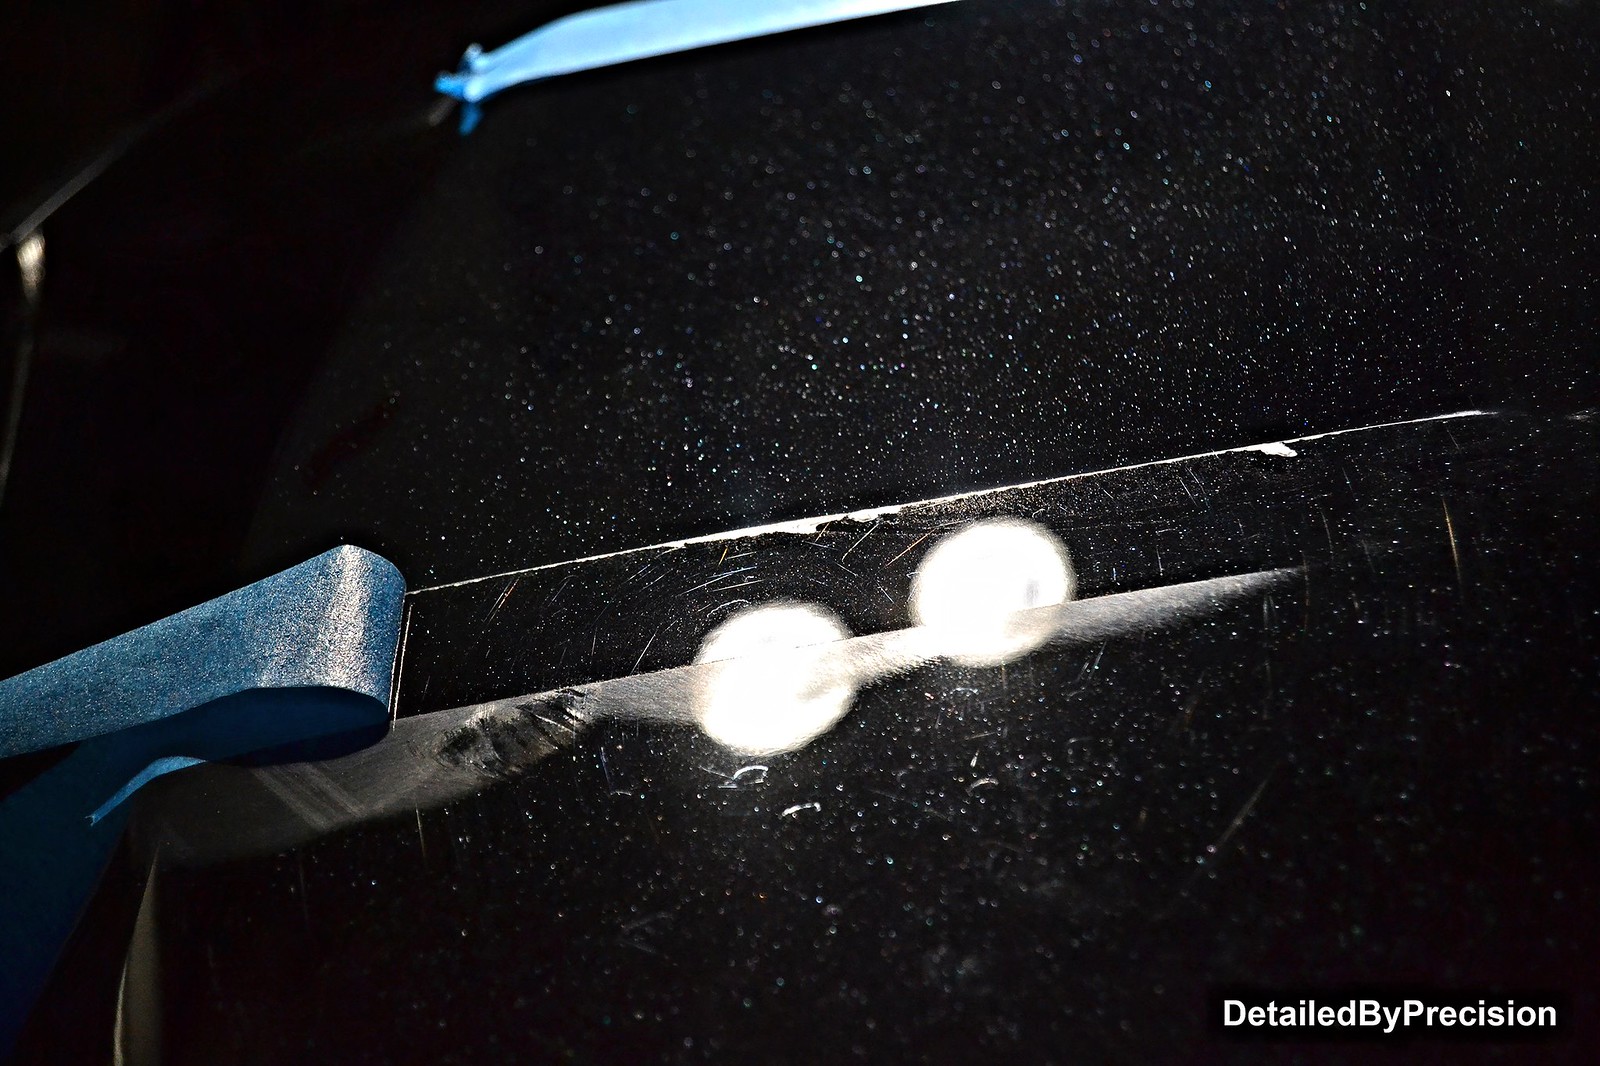
Was not satisfied with the result. I decided to use 2000 grit block and wetsanded the area.
 DetailedByPrecision2964 by Limny Kuang, on Flickr
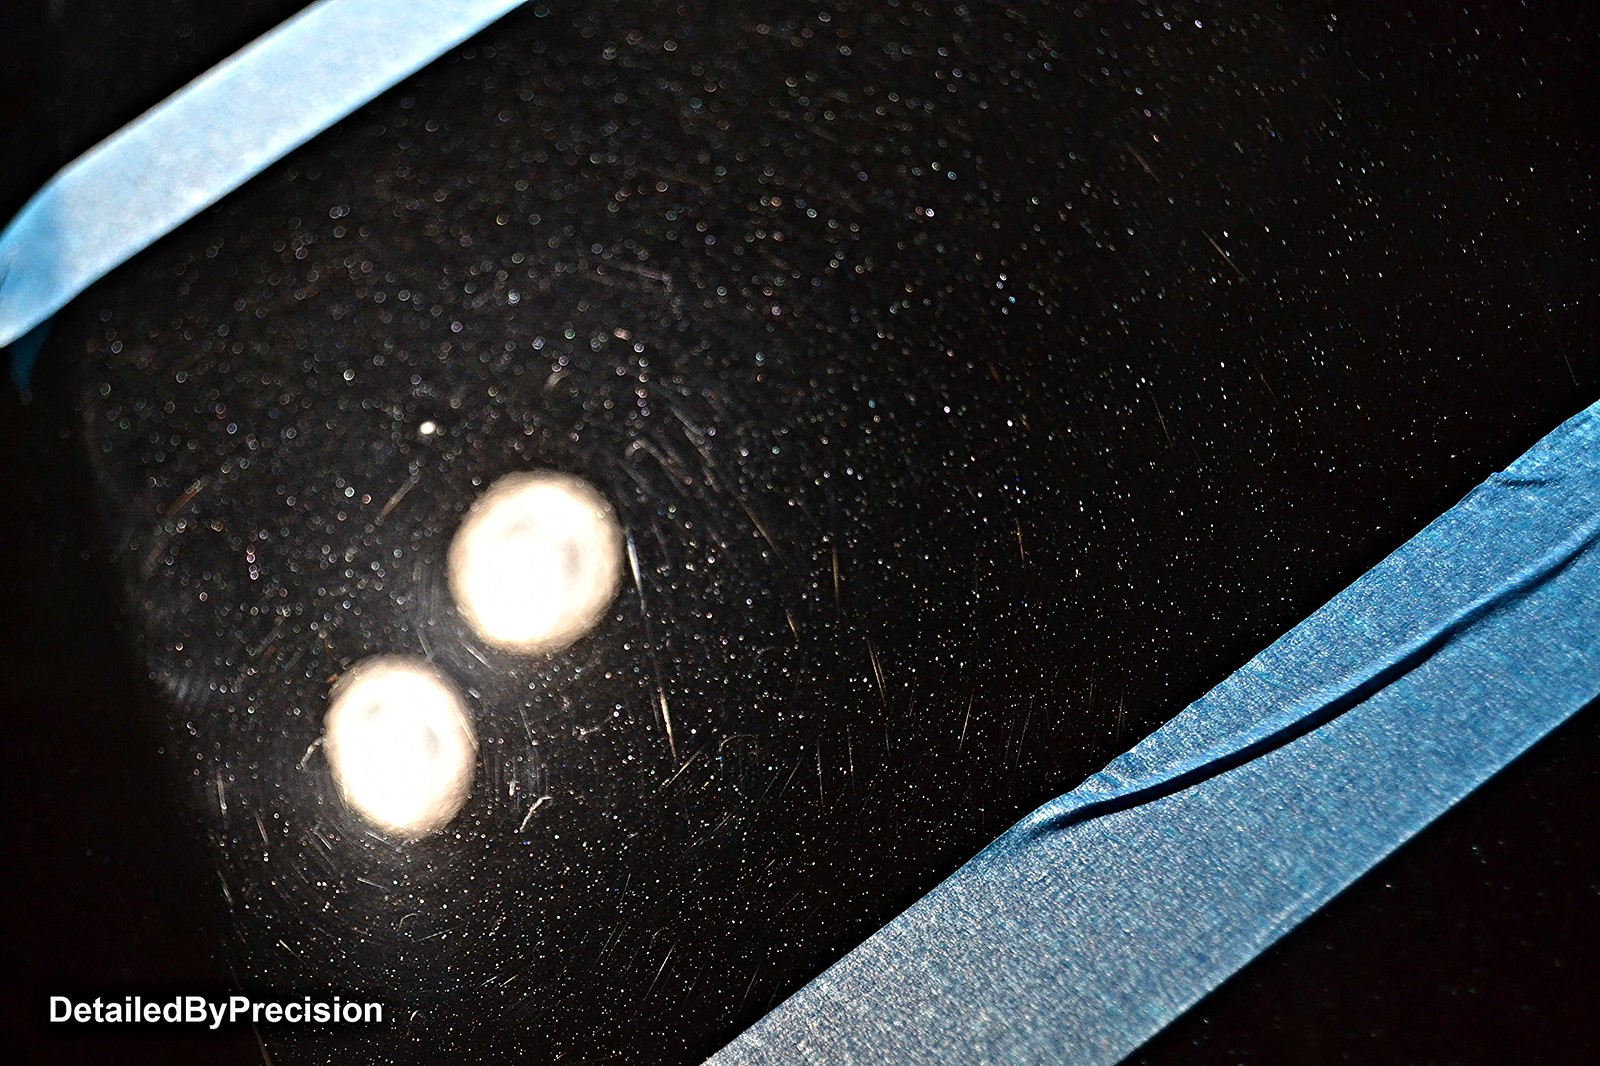
Polished out using same combo listed above
 DetailedByPrecision2965 by Limny Kuang, on Flickr
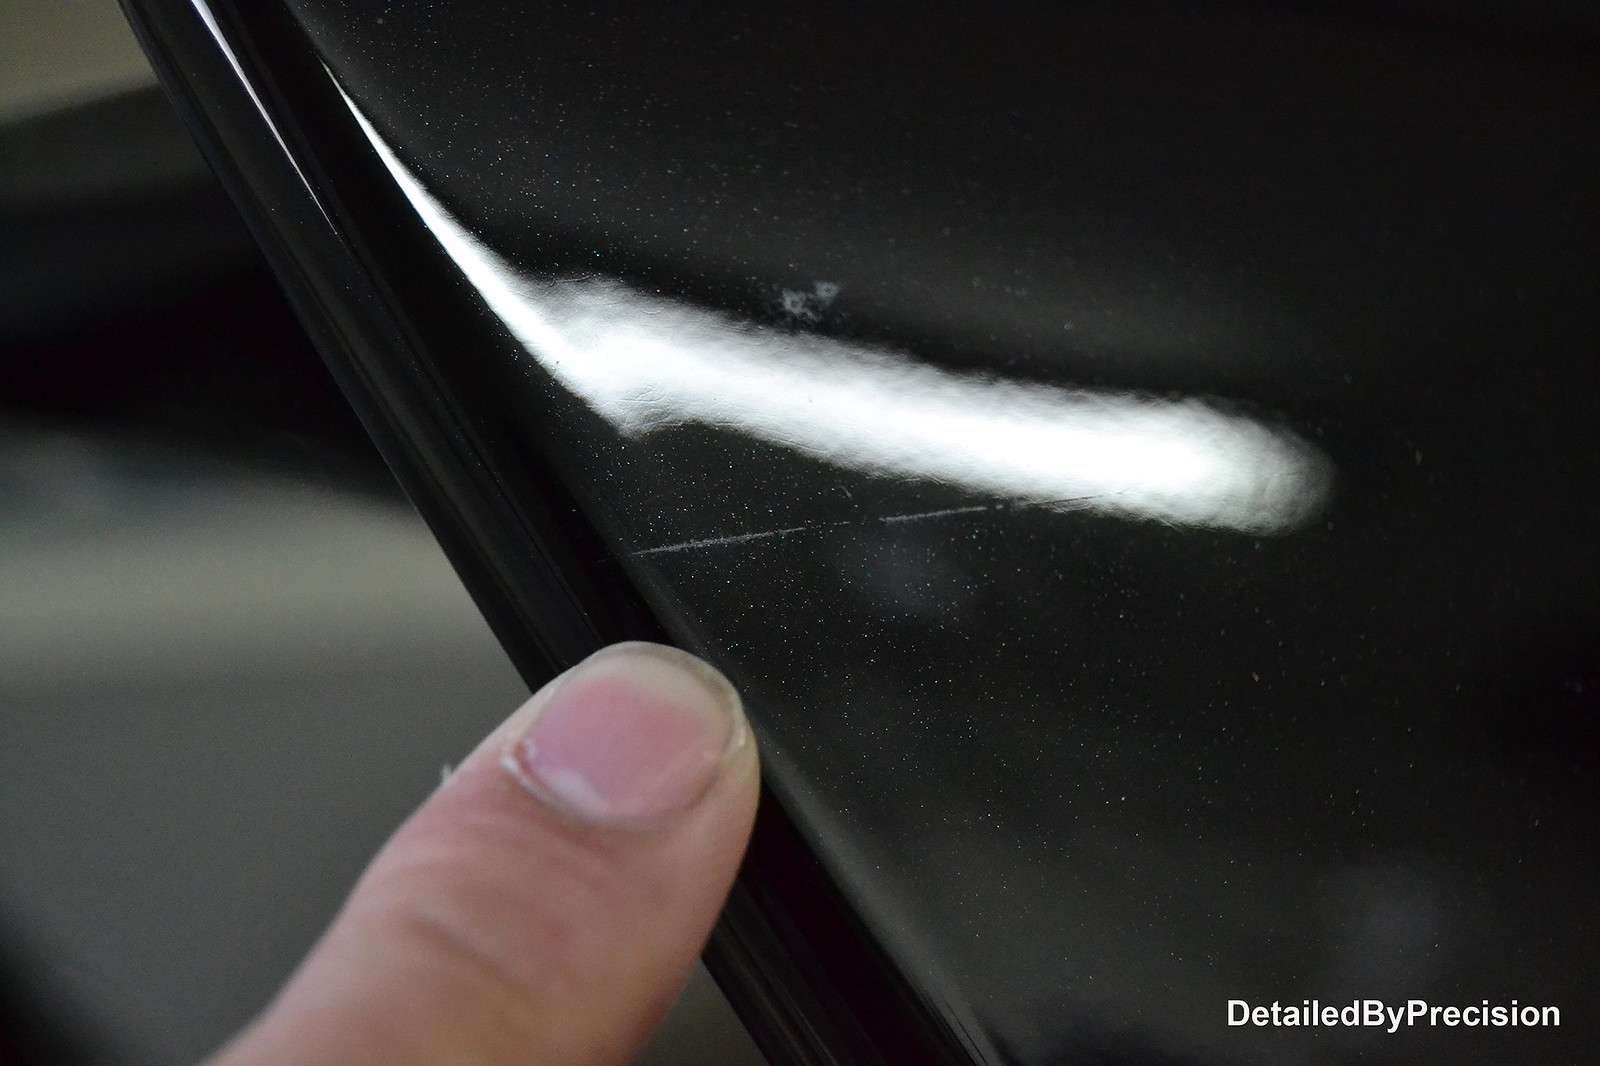
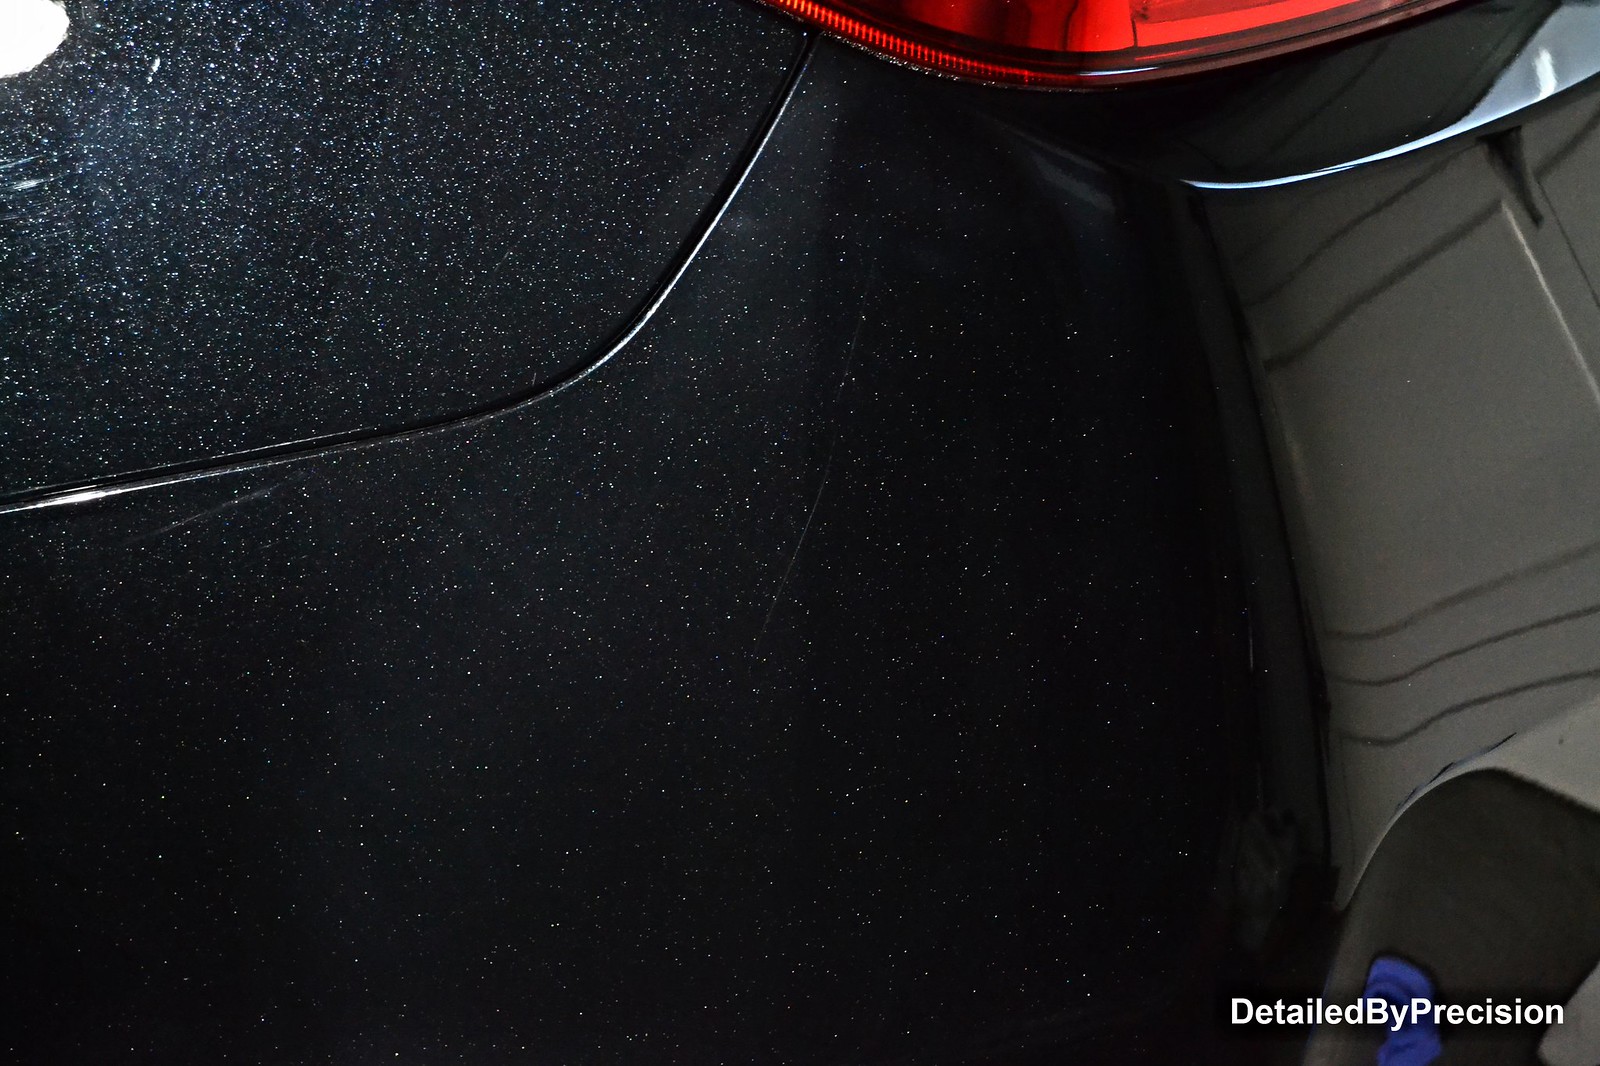
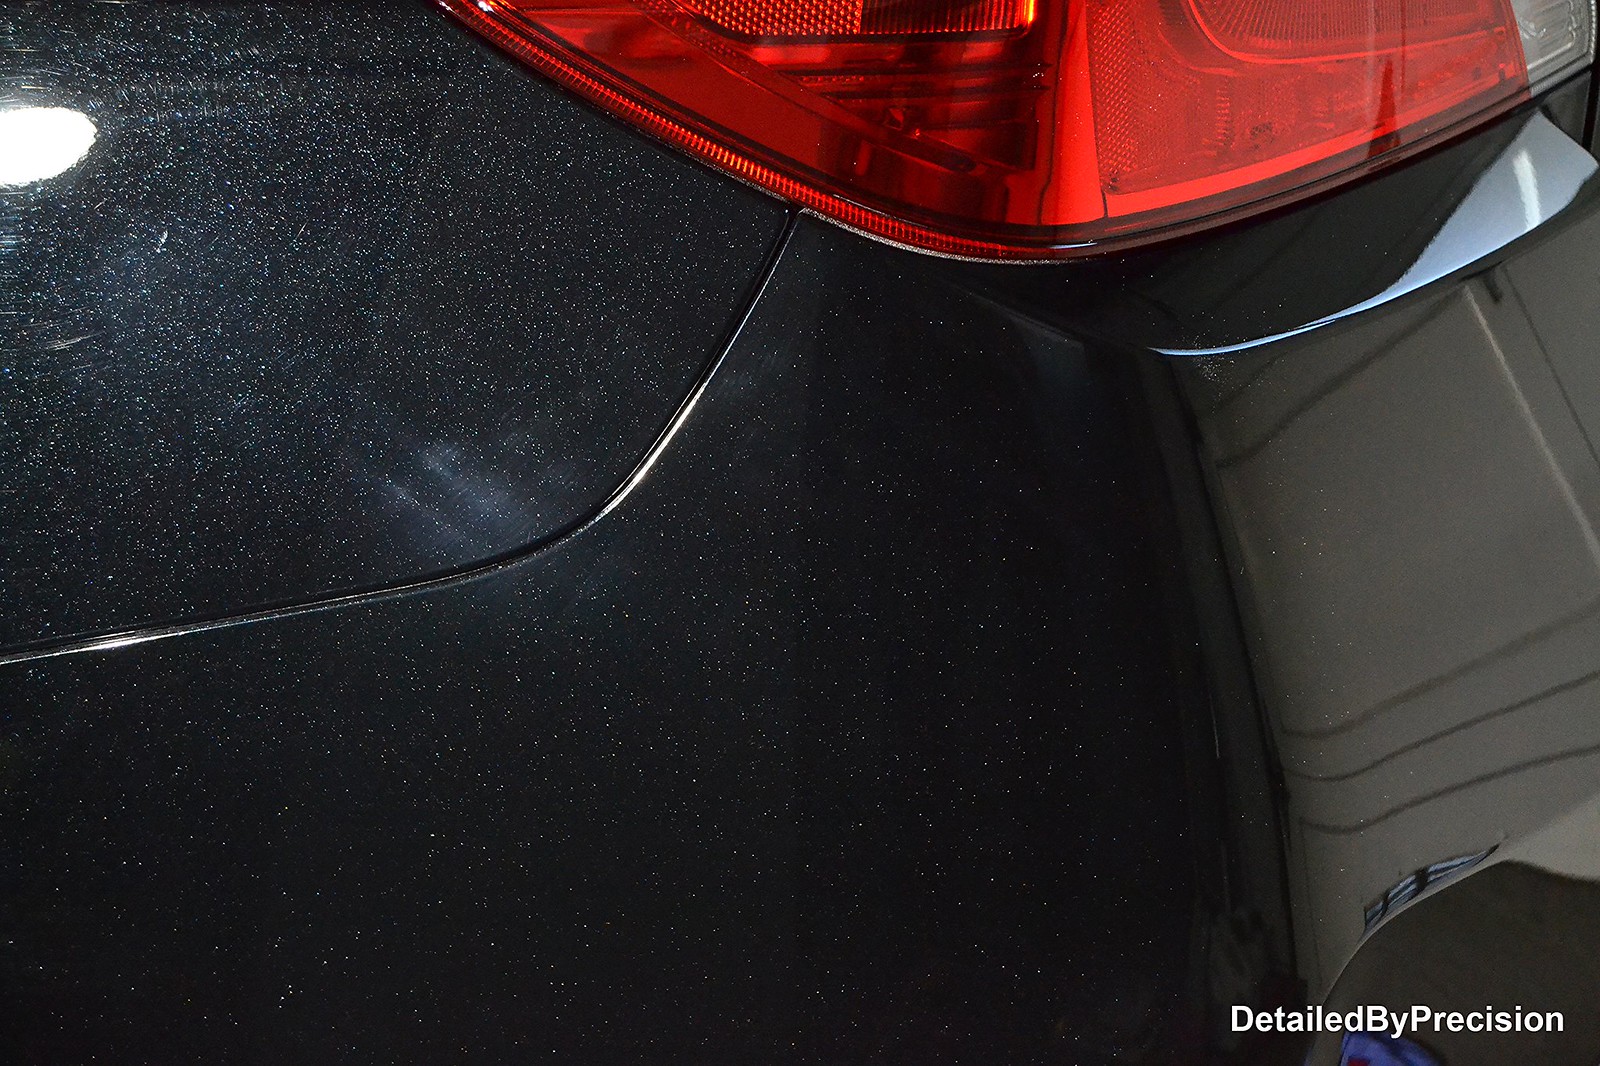
After polishing it out, the damage minimized a lot at this point. I took a look at it and decided I can push it a little more to get that last percent of correction.
 DetailedByPrecision2966 by Limny Kuang, on Flickr
 DetailedByPrecision2967 by Limny Kuang, on Flickr
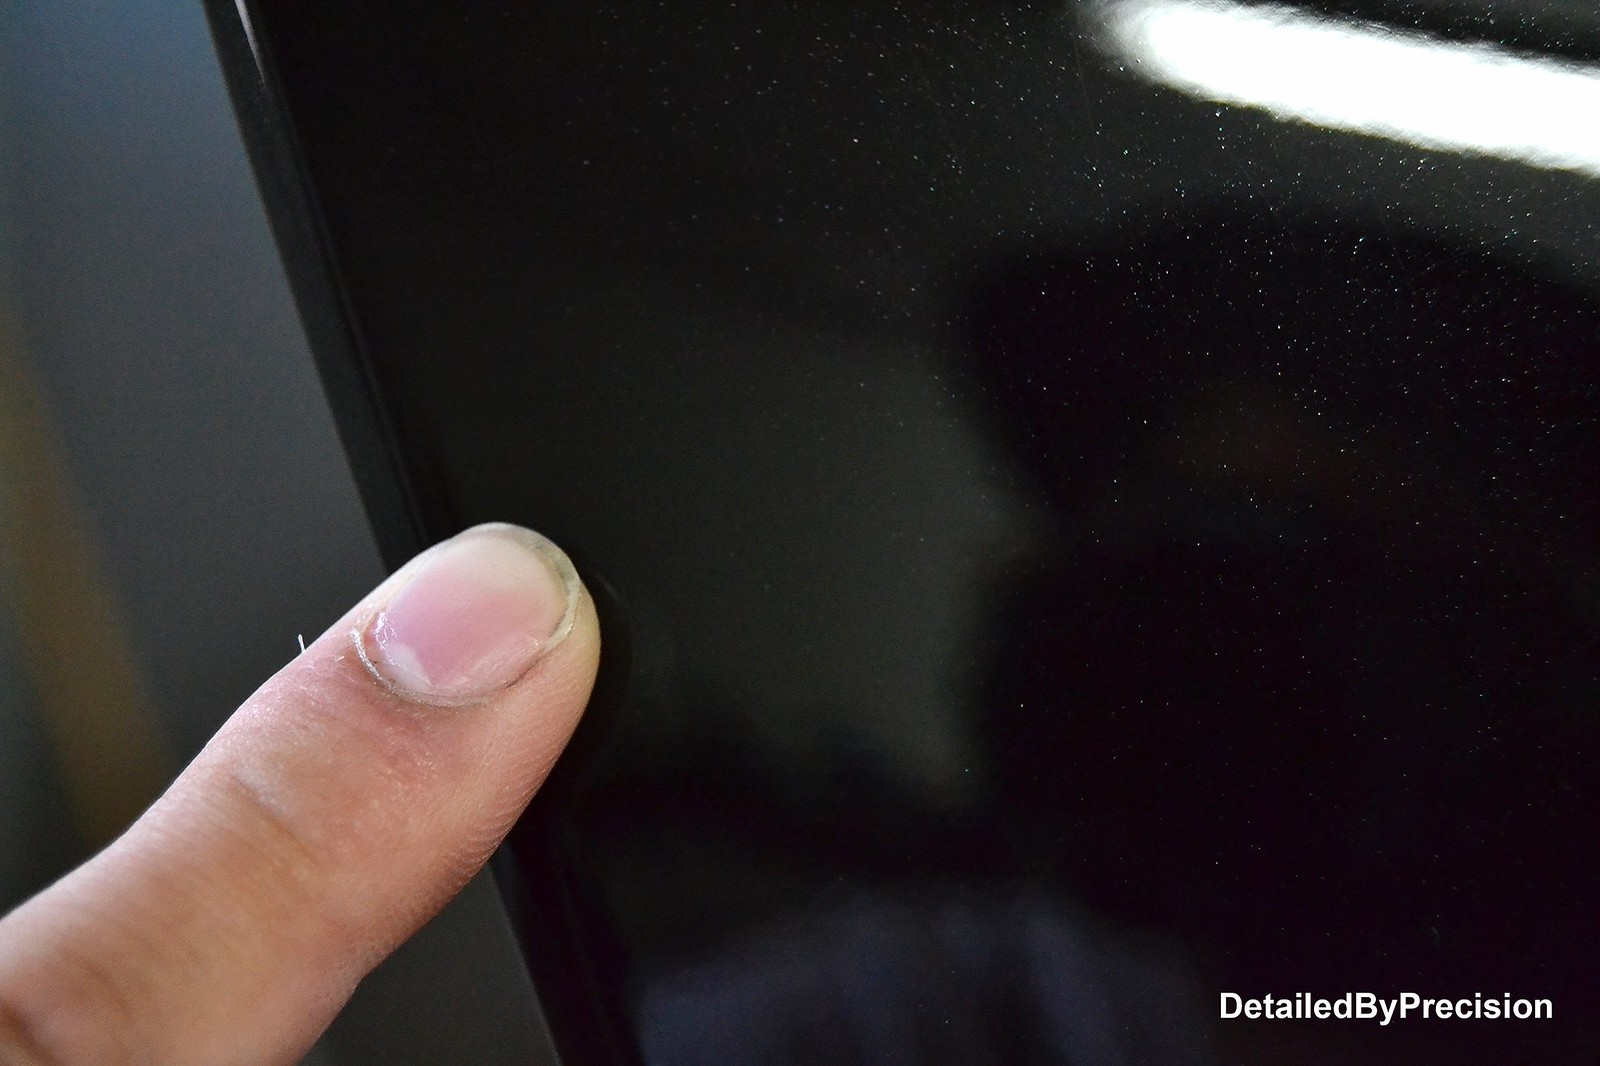
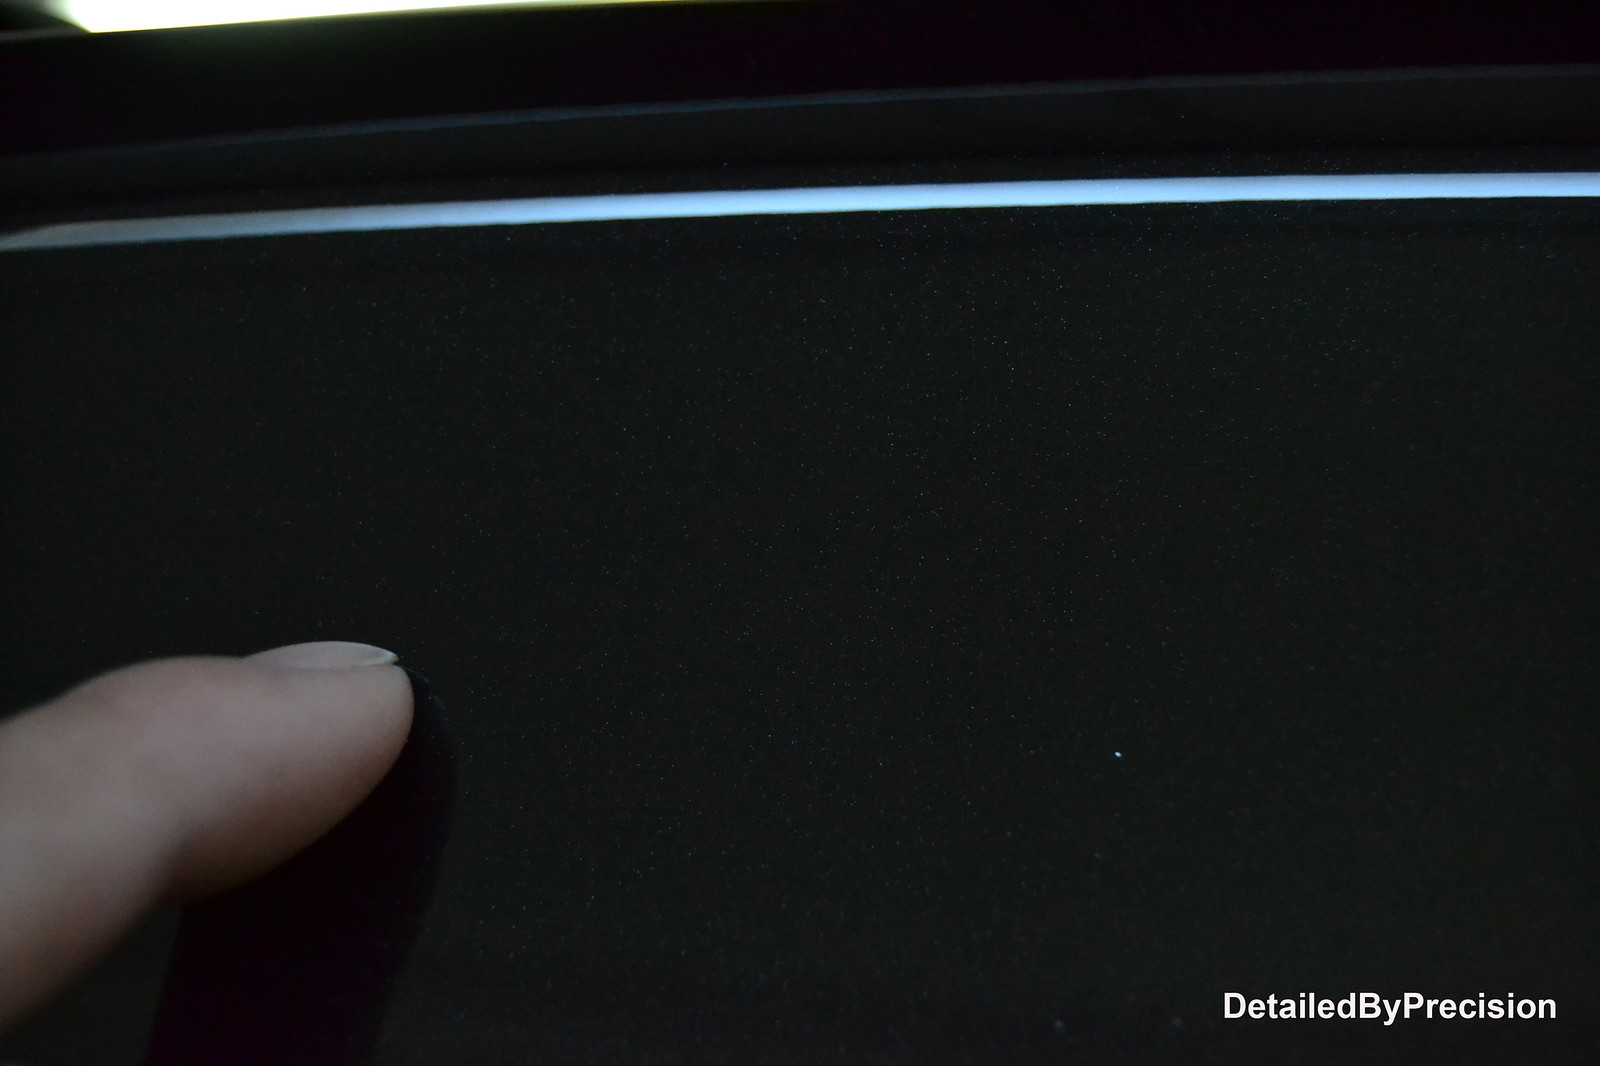
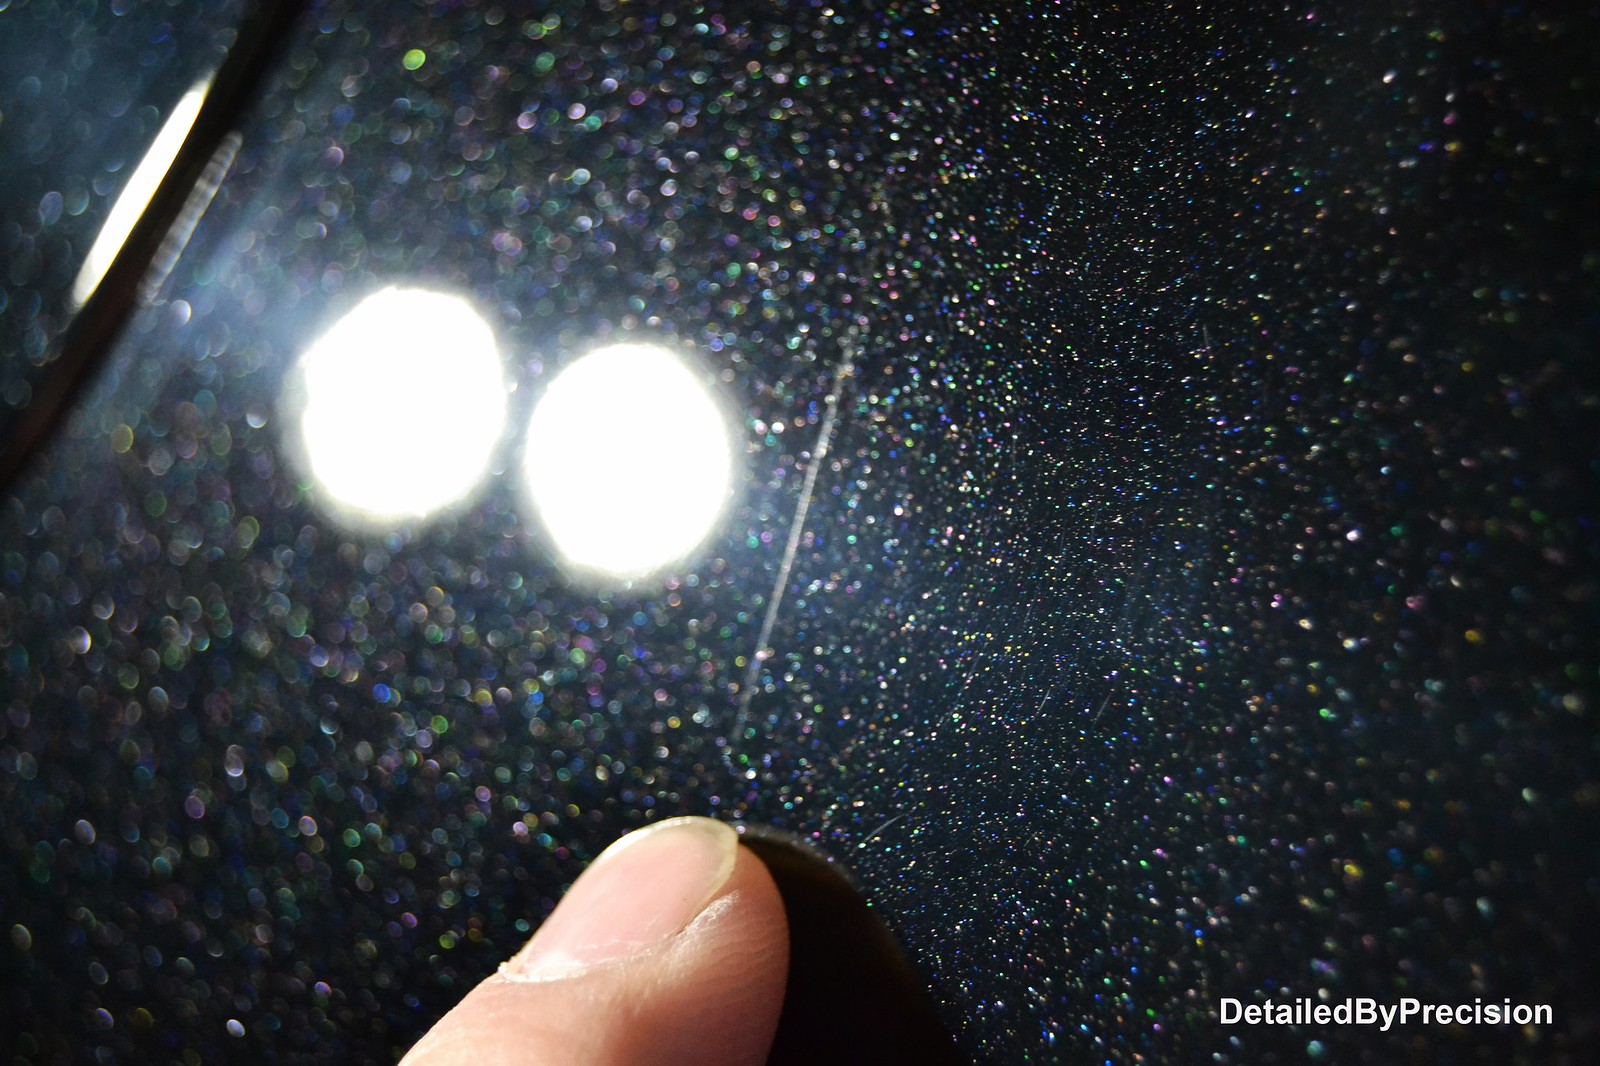
Success! You cannot see it in day time unless you have LED lights blasting at it and looking at it within inches like this....
 DetailedByPrecision2969 by Limny Kuang, on Flickr
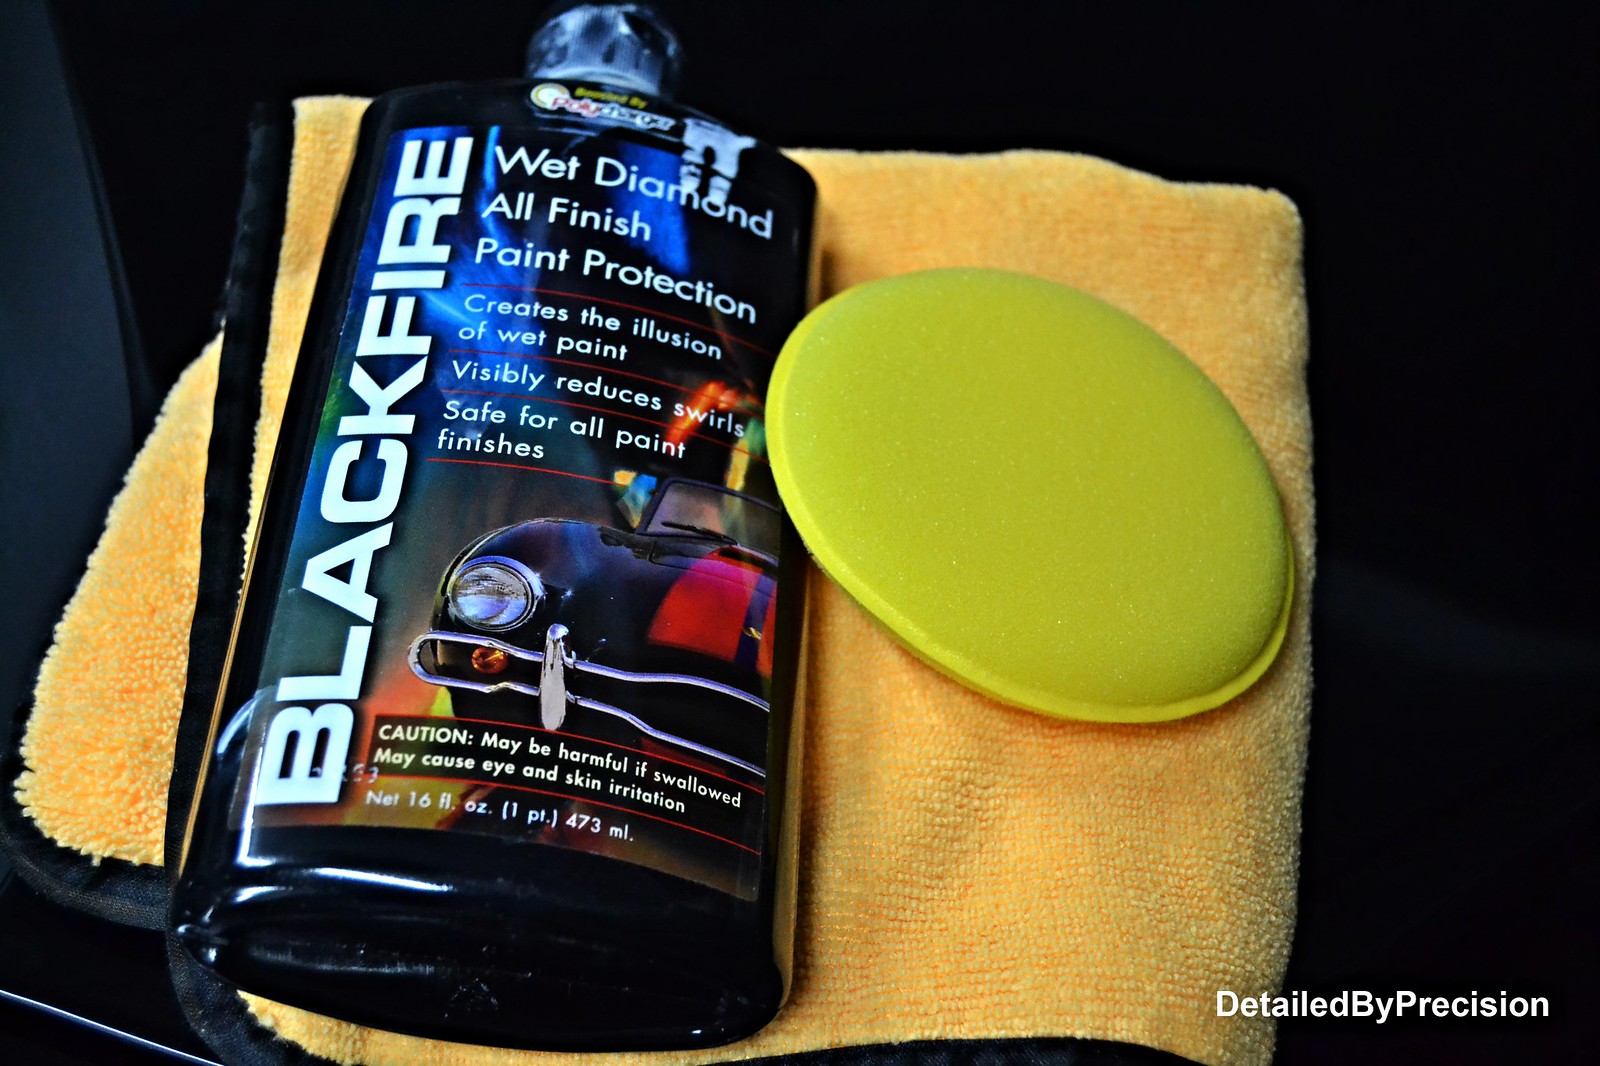
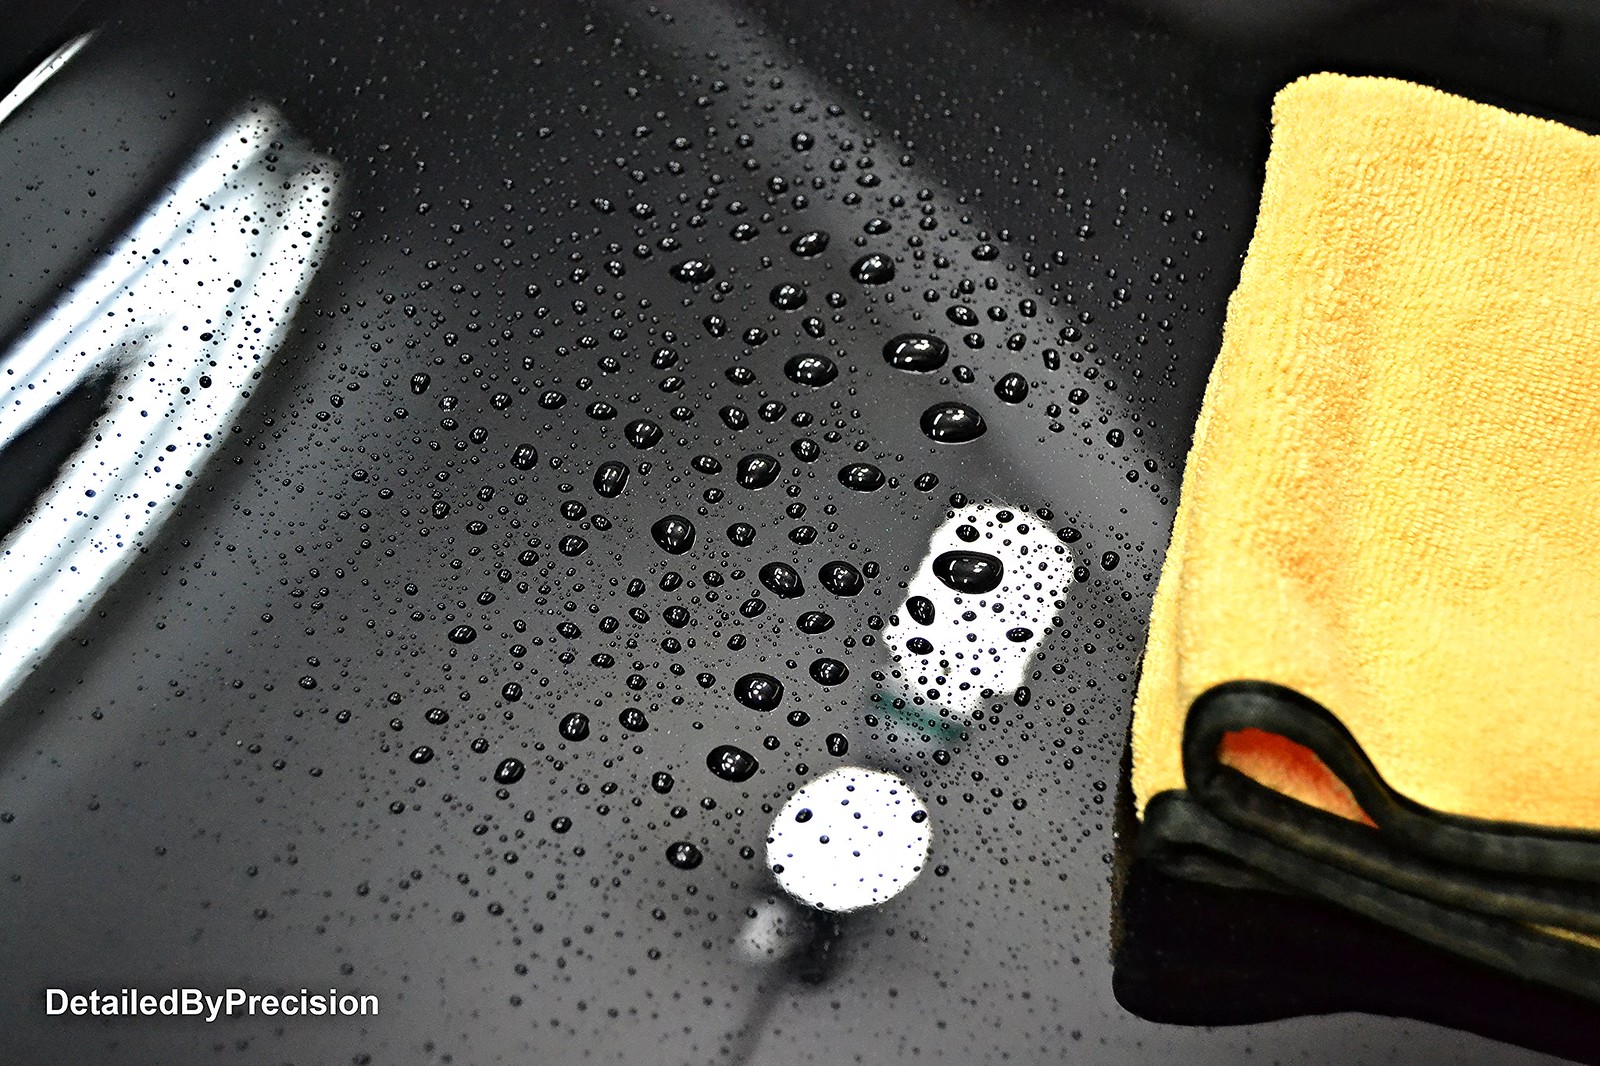
Sealed the paint afterwards with Blackfire wet diamond paint sealant
 DetailedByPrecision2974 by Limny Kuang, on Flickr
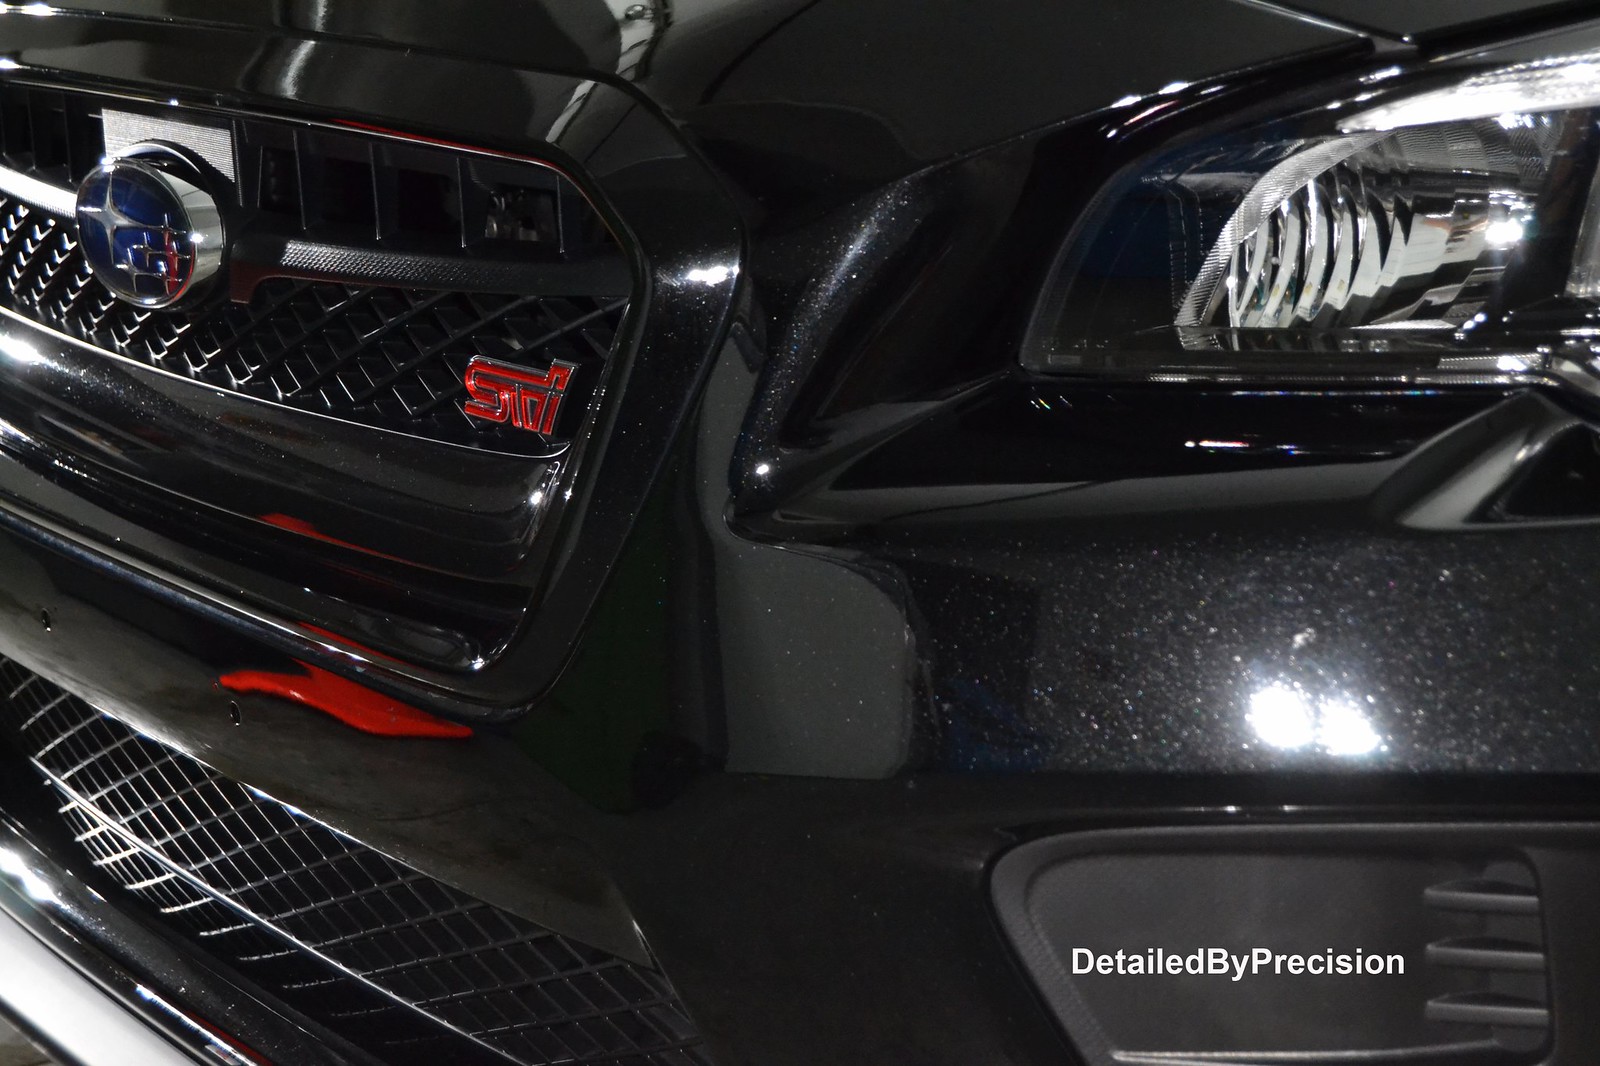
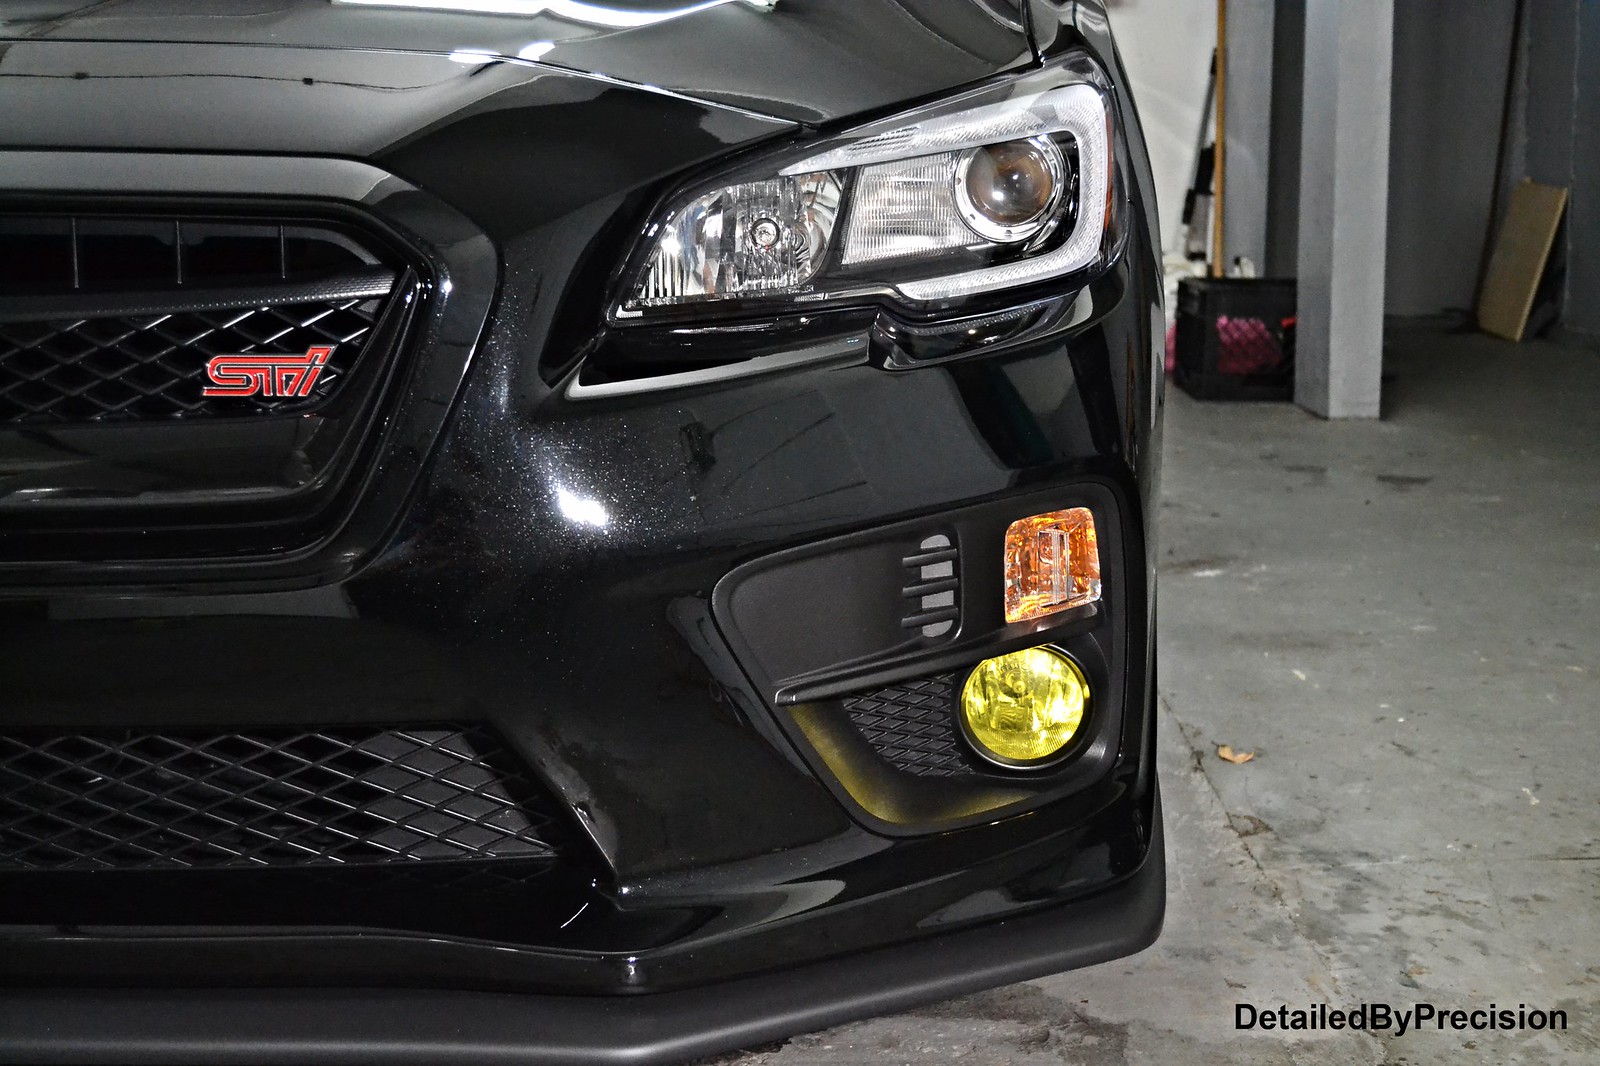
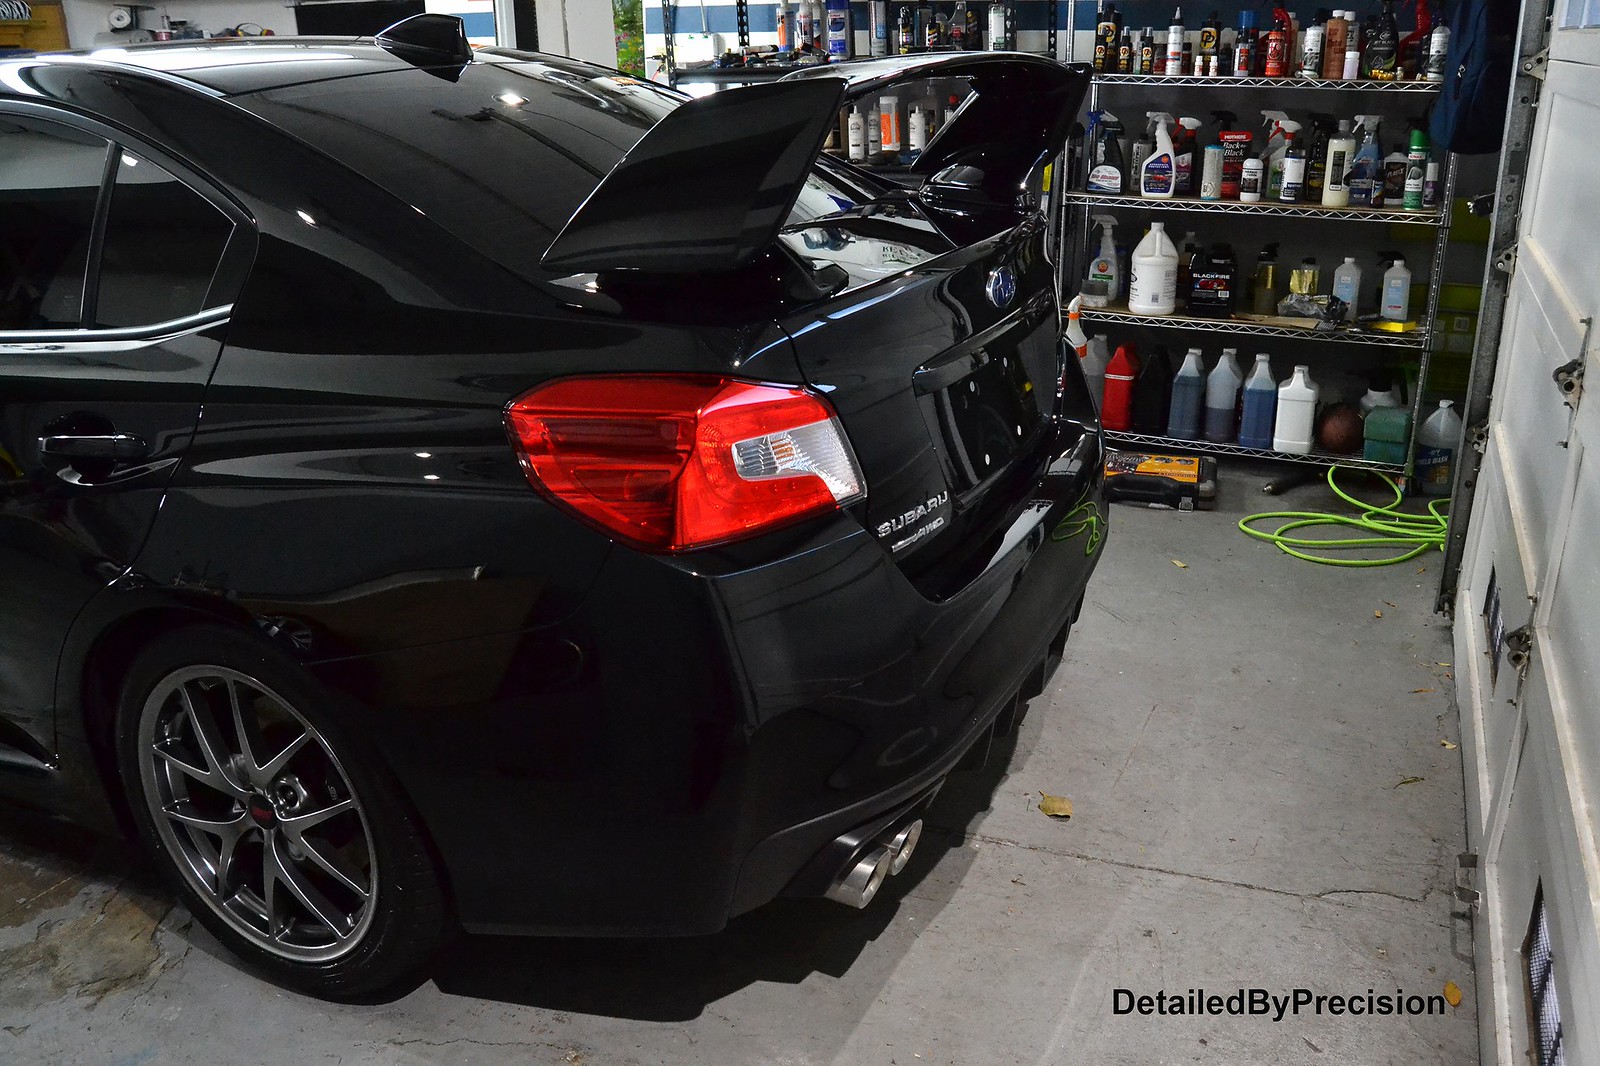
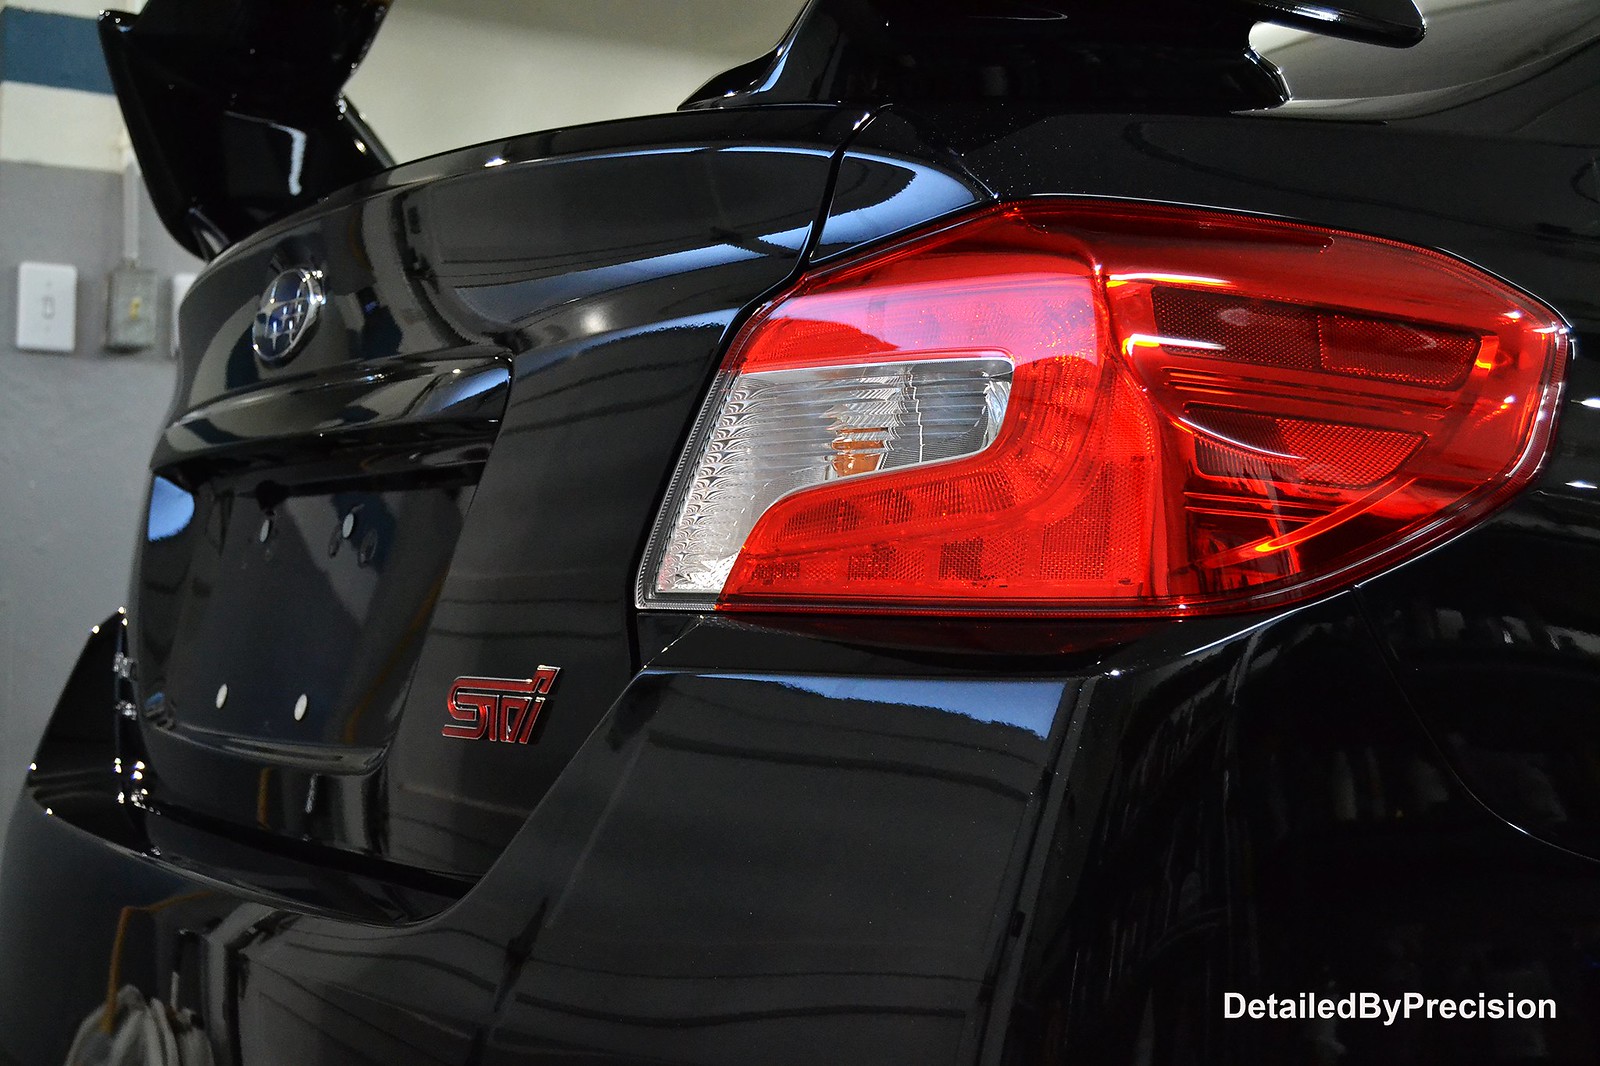
Finished pics of the car
 DetailedByPrecision2975 by Limny Kuang, on Flickr
 DetailedByPrecision2979 by Limny Kuang, on Flickr
 DetailedByPrecision2980 by Limny Kuang, on Flickr
 DetailedByPrecision2985 by Limny Kuang, on Flickr
 DetailedByPrecision2995 by Limny Kuang, on Flickr
 DetailedByPrecision2987 by Limny Kuang, on Flickr
 DetailedByPrecision2986 by Limny Kuang, on Flickr
 DetailedByPrecision3000 by Limny Kuang, on Flickr
 DetailedByPrecision2883 by Limny Kuang, on Flickr
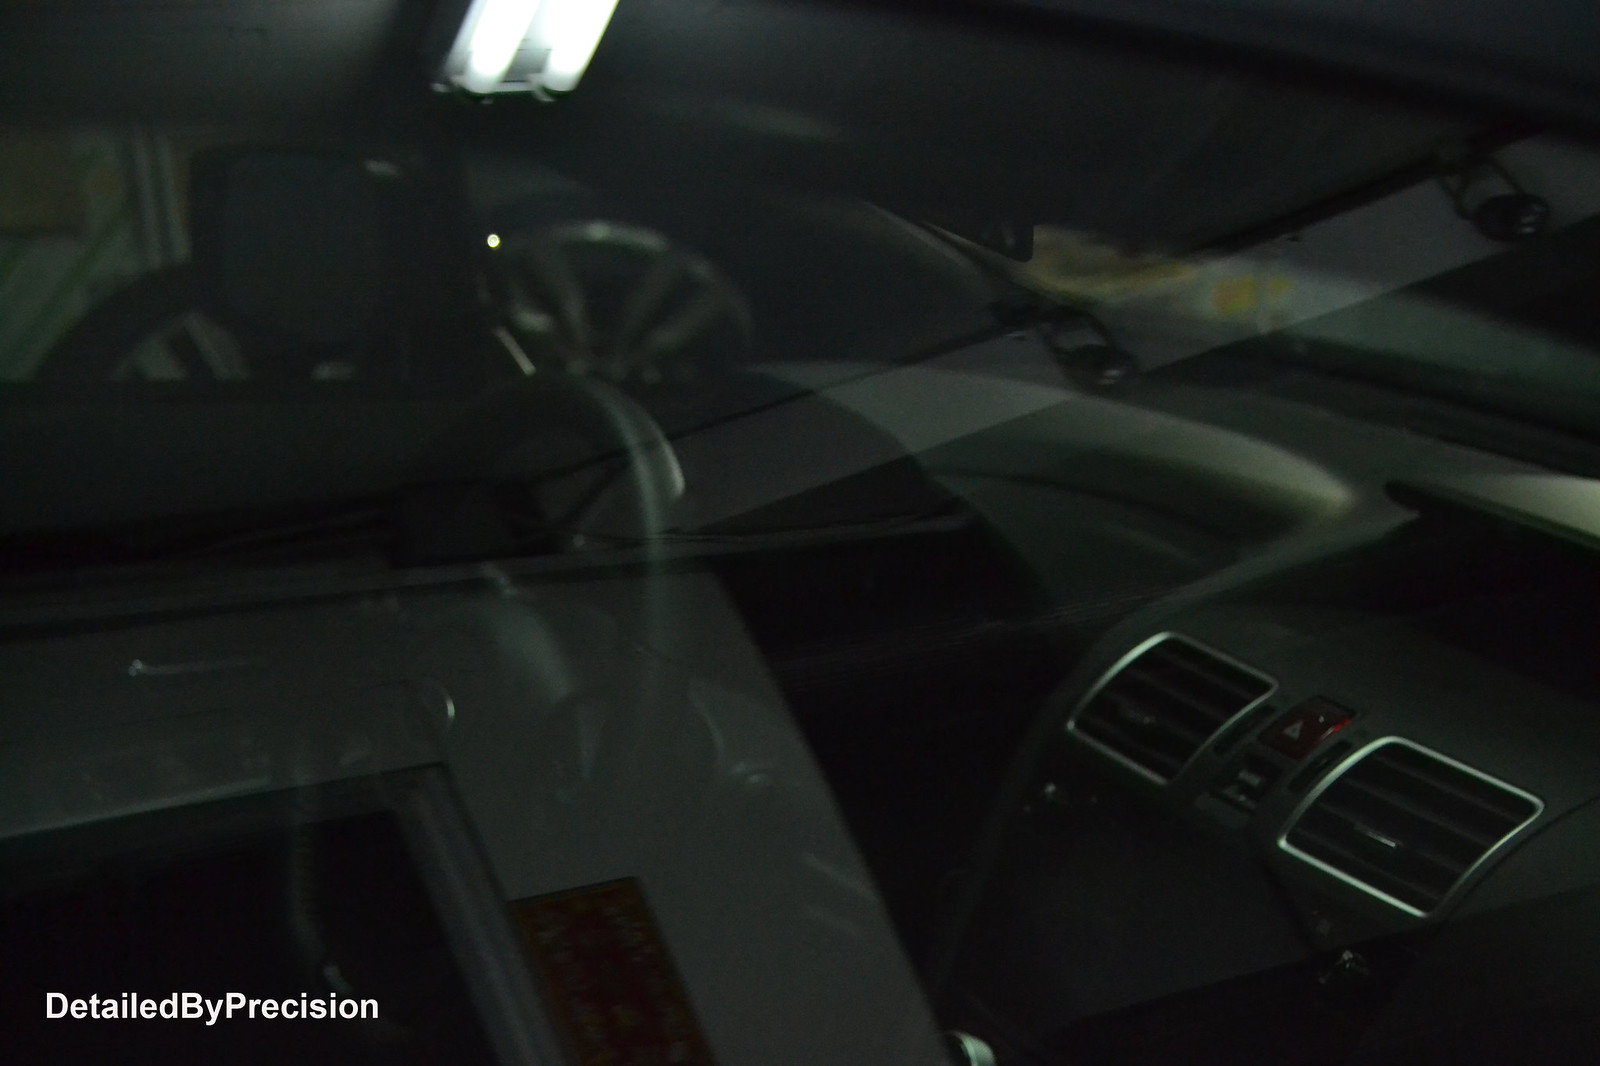
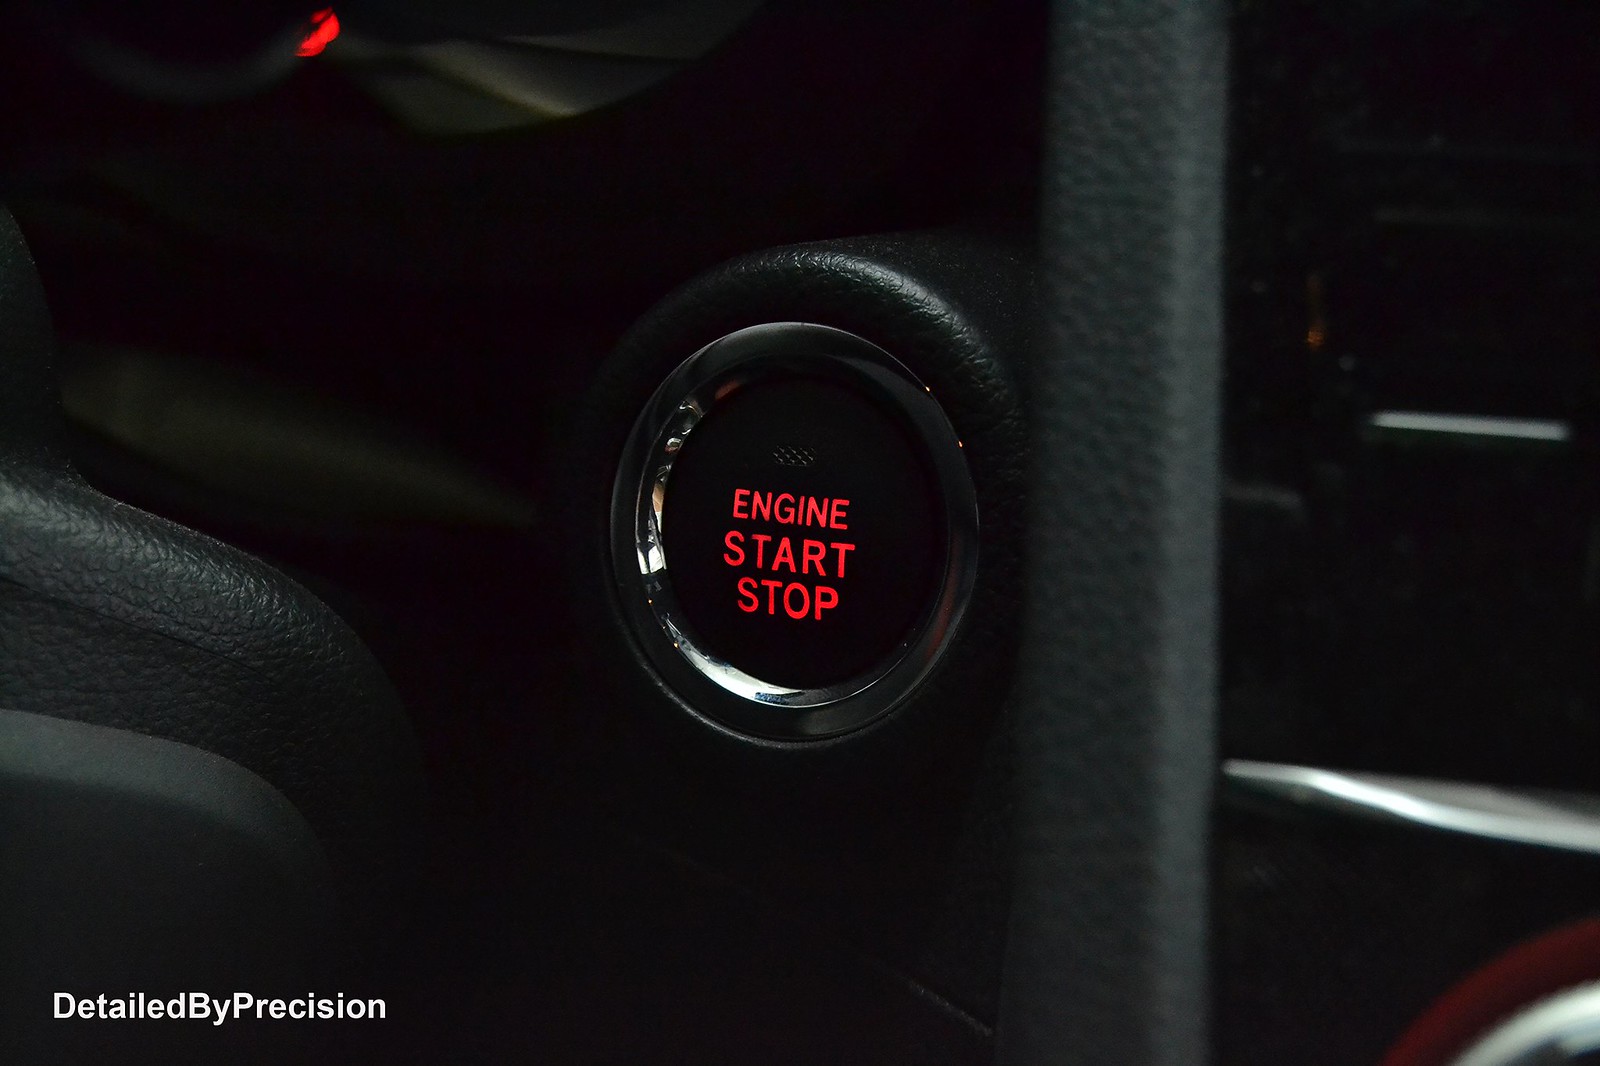
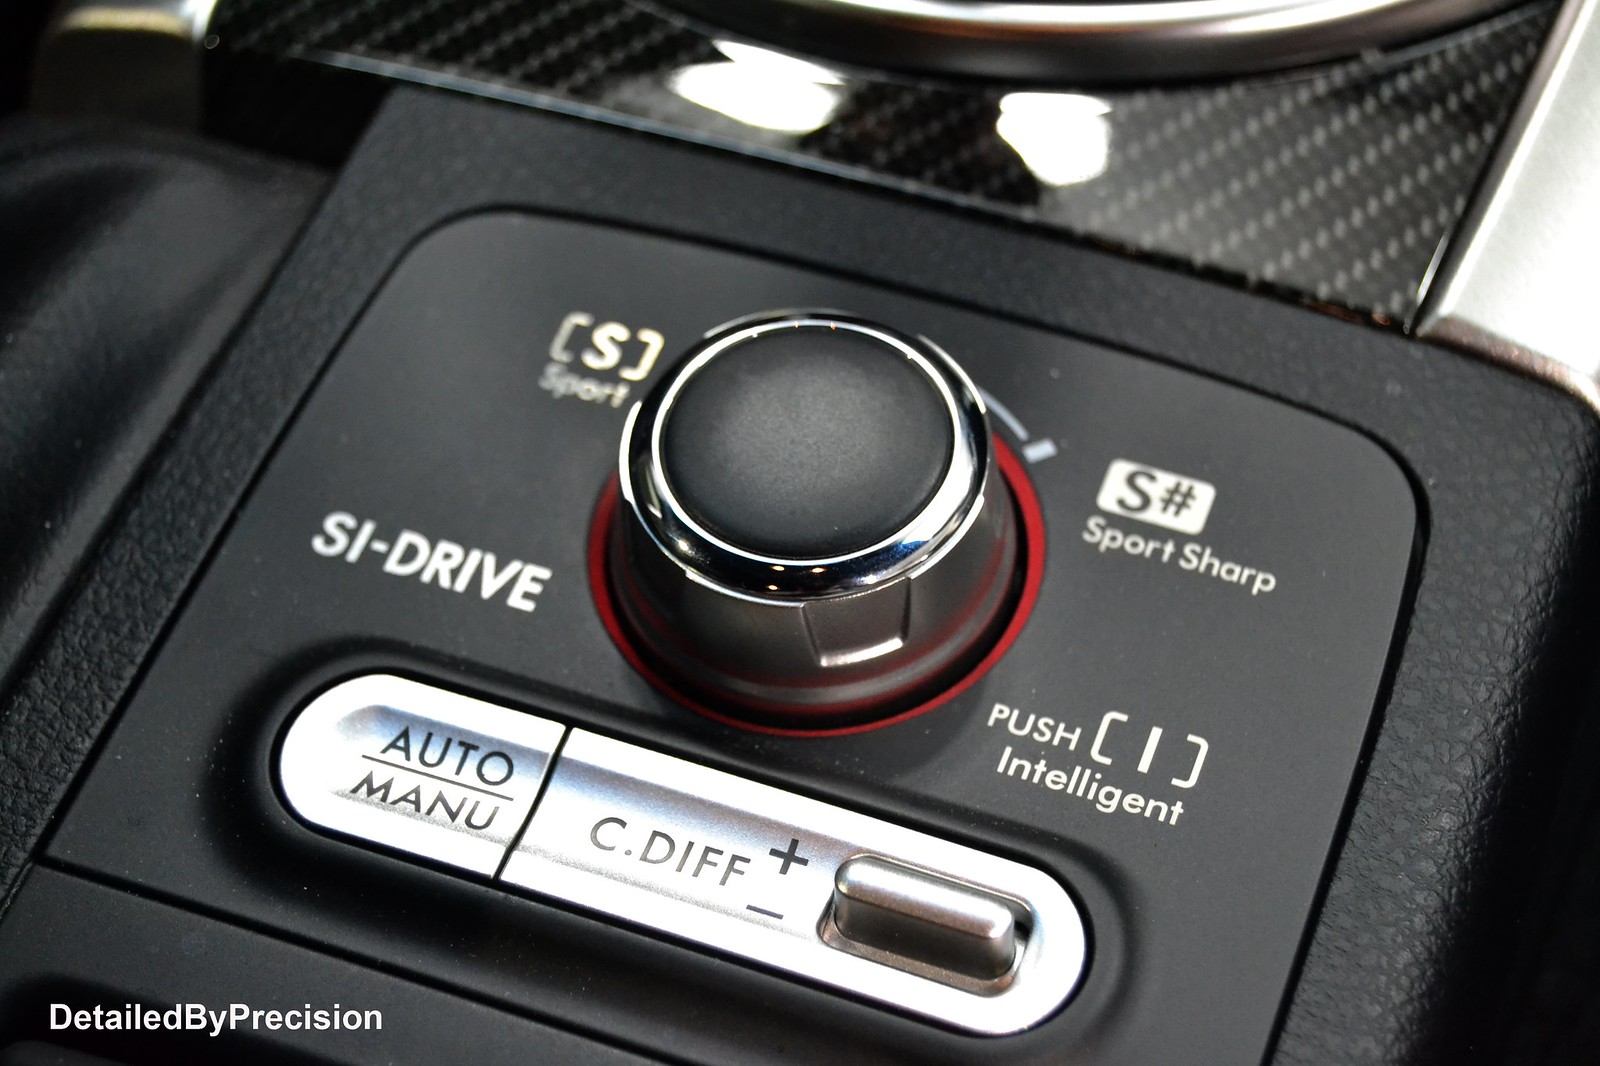
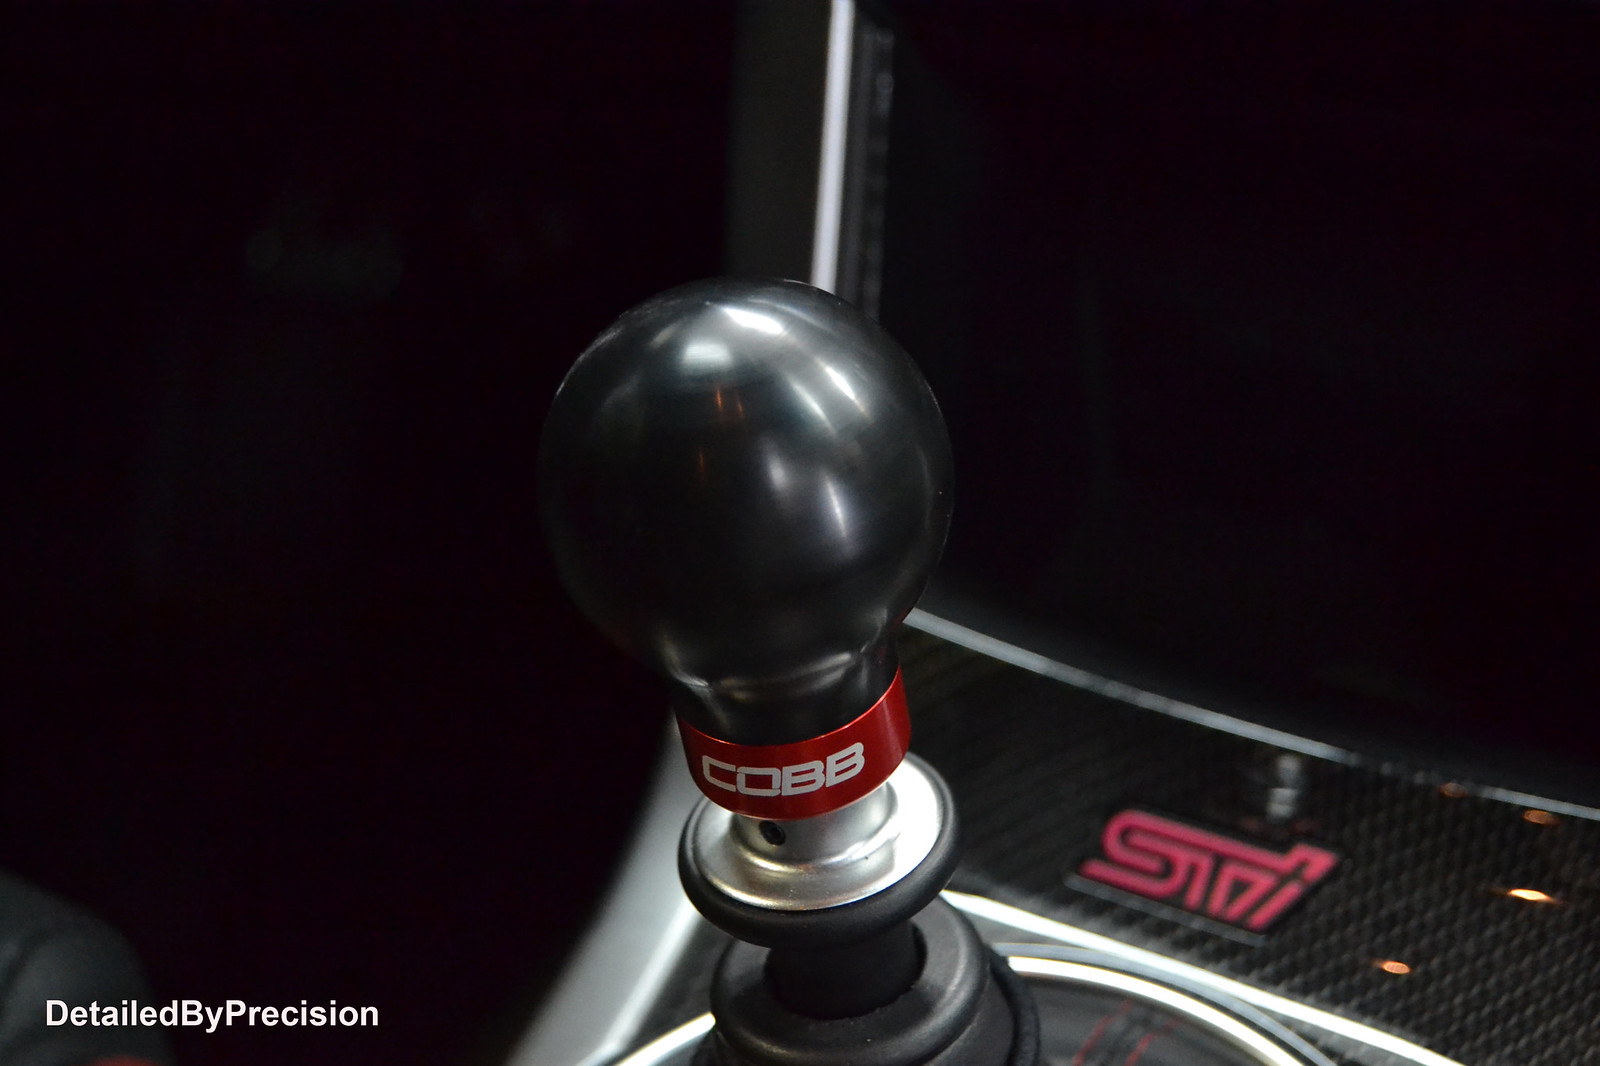
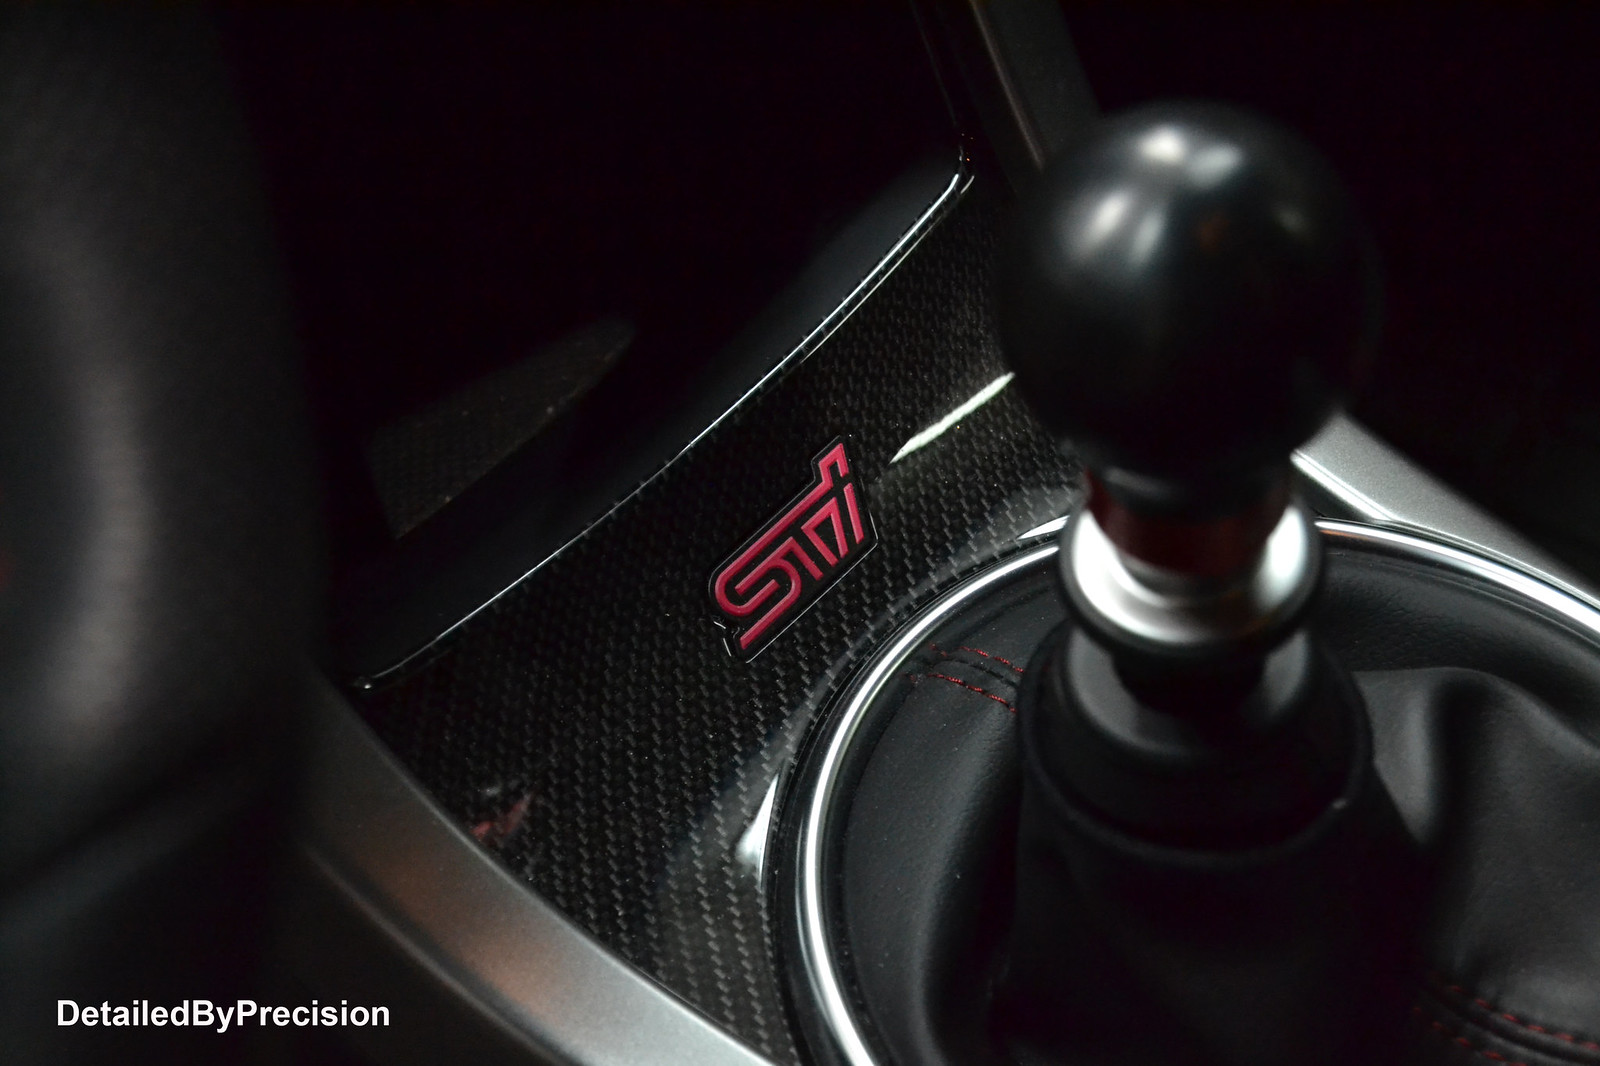
Took some shots of the interior to appreciate the mods done to it. I did not work on the interior.
 DetailedByPrecision2993 by Limny Kuang, on Flickr
 DetailedByPrecision2992 by Limny Kuang, on Flickr
 DetailedByPrecision2991 by Limny Kuang, on Flickr
 DetailedByPrecision2989 by Limny Kuang, on Flickr
Total time: 8 hr 18 mins
What I learned from this job:
You can't tell the paint's real condition until you wash and clay it. Not just a wash alone.
The paint was easy to correct and did not have micro marring occur upon wiping off polish residue. Easy to work with.
Never get too confident with sanding isolated deep scratches. I need to focus on task 110% of the time. One slip up is a repaint.
Thanks for viewing for those who made it this far. Appreciate comments and questions are welcomed. I had a lot of fun working on this car. I accepted a challenge and I prevailed. The customer was extremely happy I did not have to resort to touching it up.
This job was a referral of the white tacoma truck I did beforehand. The customer is a coworker of the tacoma owner and commented on how clean his truck looked parked at work. They had a conversation and my contact information was given to get in touch with me. Had a couple brief text messages and set up an inspection to go over the car and talk about the customers concerns and goals for his new to him car. He stopped by and he wanted the same job done as his co workers truck, but on top of that also polish out the right fender and hood for scratches. But, his main concern was a 3 inch scratch on his rear bumper which he did not know how it got there. I went over the options with him and explained my process clearly and thoroughly so we are both on the same page and no miscommunication. I advised him to buy a bottle of touch up from the dealer just in case I needed to use it on the scratch. We set up a drop off day for me to work on the car and his anticipation to see the end outcome of the 3" scratch was exciting.
Worked on the exhaust tips first
DetailedByPrecision2878 by Limny Kuang, on FlickrDetailedByPrecision2879 by Limny Kuang, on FlickrDetailedByPrecision2882 by Limny Kuang, on FlickrDetailedByPrecision2885 by Limny Kuang, on FlickrStarted the wash, decontamination process with foaming the car, Iron X, Claybar
DetailedByPrecision2886 by Limny Kuang, on FlickrDetailedByPrecision2889 by Limny Kuang, on FlickrApplied Carpro Hydro onto the wheels for protection
DetailedByPrecision2893 by Limny Kuang, on FlickrDetailedByPrecision2894 by Limny Kuang, on FlickrDetailedByPrecision2896 by Limny Kuang, on FlickrDetailedByPrecision2898 by Limny Kuang, on FlickrPost claying, a lot of defects showed up on various panels. I'm pretty sure the dealer slapped on some glaze to prepare the car for sale and the claybar removed it and the original defects resurfaced at this point. Some glue residue on the windows and some bird poop shape stains on the hood with some scratches.
Used FG400 and Menz203
DetailedByPrecision2899 by Limny Kuang, on FlickrDetailedByPrecision2959 by Limny Kuang, on FlickrDetailedByPrecision2906 by Limny Kuang, on FlickrDetailedByPrecision2932 by Limny Kuang, on FlickrDetailedByPrecision2905 by Limny Kuang, on FlickrDetailedByPrecision2933 by Limny Kuang, on FlickrDetailedByPrecision2909 by Limny Kuang, on FlickrDetailedByPrecision2914 by Limny Kuang, on FlickrDetailedByPrecision2920 by Limny Kuang, on FlickrDetailedByPrecision292 by Limny Kuang, on FlickrDetailedByPrecision2911 by Limny Kuang, on FlickrDetailedByPrecision2915 by Limny Kuang, on FlickrDetailedByPrecision2922 by Limny Kuang, on FlickrDetailedByPrecision2923 by Limny Kuang, on FlickrDetailedByPrecision2930 by Limny Kuang, on FlickrDetailedByPrecision2931 by Limny Kuang, on FlickrDetailedByPrecision2902 by Limny Kuang, on FlickrDetailedByPrecision2960 by Limny Kuang, on FlickrOnto the film residue. Used Menz203 by hand
DetailedByPrecision2907 by Limny Kuang, on FlickrDetailedByPrecision2918 by Limny Kuang, on FlickrDetailedByPrecision2926 by Limny Kuang, on FlickrDetailedByPrecision2927 by Limny Kuang, on FlickrCouple 50/50's from polishing the hood and driver fender
DetailedByPrecision2958 by Limny Kuang, on FlickrDetailedByPrecision2939 by Limny Kuang, on FlickrDetailedByPrecision2941 by Limny Kuang, on FlickrNow the fun part and most pressure to perform.... the 3" scratch. I assessed it under LED lighting and using my finger nail to see if it catches or not before I dialed in my process. It barely caught my finger nail so there was hope of not having to use the touch up.
DetailedByPrecision2962 by Limny Kuang, on FlickrI hit the scratch with M101 w/ MF pad first to see if there is an improvement or not. Not as obvious anymore...
DetailedByPrecision2963 by Limny Kuang, on FlickrWas not satisfied with the result. I decided to use 2000 grit block and wetsanded the area.
DetailedByPrecision2964 by Limny Kuang, on FlickrPolished out using same combo listed above
DetailedByPrecision2965 by Limny Kuang, on FlickrAfter polishing it out, the damage minimized a lot at this point. I took a look at it and decided I can push it a little more to get that last percent of correction.
DetailedByPrecision2966 by Limny Kuang, on FlickrDetailedByPrecision2967 by Limny Kuang, on FlickrSuccess! You cannot see it in day time unless you have LED lights blasting at it and looking at it within inches like this....
DetailedByPrecision2969 by Limny Kuang, on FlickrSealed the paint afterwards with Blackfire wet diamond paint sealant
DetailedByPrecision2974 by Limny Kuang, on FlickrFinished pics of the car
DetailedByPrecision2975 by Limny Kuang, on FlickrDetailedByPrecision2979 by Limny Kuang, on FlickrDetailedByPrecision2980 by Limny Kuang, on FlickrDetailedByPrecision2985 by Limny Kuang, on FlickrDetailedByPrecision2995 by Limny Kuang, on FlickrDetailedByPrecision2987 by Limny Kuang, on FlickrDetailedByPrecision2986 by Limny Kuang, on FlickrDetailedByPrecision3000 by Limny Kuang, on FlickrDetailedByPrecision2883 by Limny Kuang, on FlickrTook some shots of the interior to appreciate the mods done to it. I did not work on the interior.
DetailedByPrecision2993 by Limny Kuang, on FlickrDetailedByPrecision2992 by Limny Kuang, on FlickrDetailedByPrecision2991 by Limny Kuang, on FlickrDetailedByPrecision2989 by Limny Kuang, on FlickrTotal time: 8 hr 18 mins
What I learned from this job:
You can't tell the paint's real condition until you wash and clay it. Not just a wash alone.
The paint was easy to correct and did not have micro marring occur upon wiping off polish residue. Easy to work with.
Never get too confident with sanding isolated deep scratches. I need to focus on task 110% of the time. One slip up is a repaint.
Thanks for viewing for those who made it this far. Appreciate comments and questions are welcomed. I had a lot of fun working on this car. I accepted a challenge and I prevailed. The customer was extremely happy I did not have to resort to touching it up.
Last edited: