

Alpha_Onion
Well-Known Member
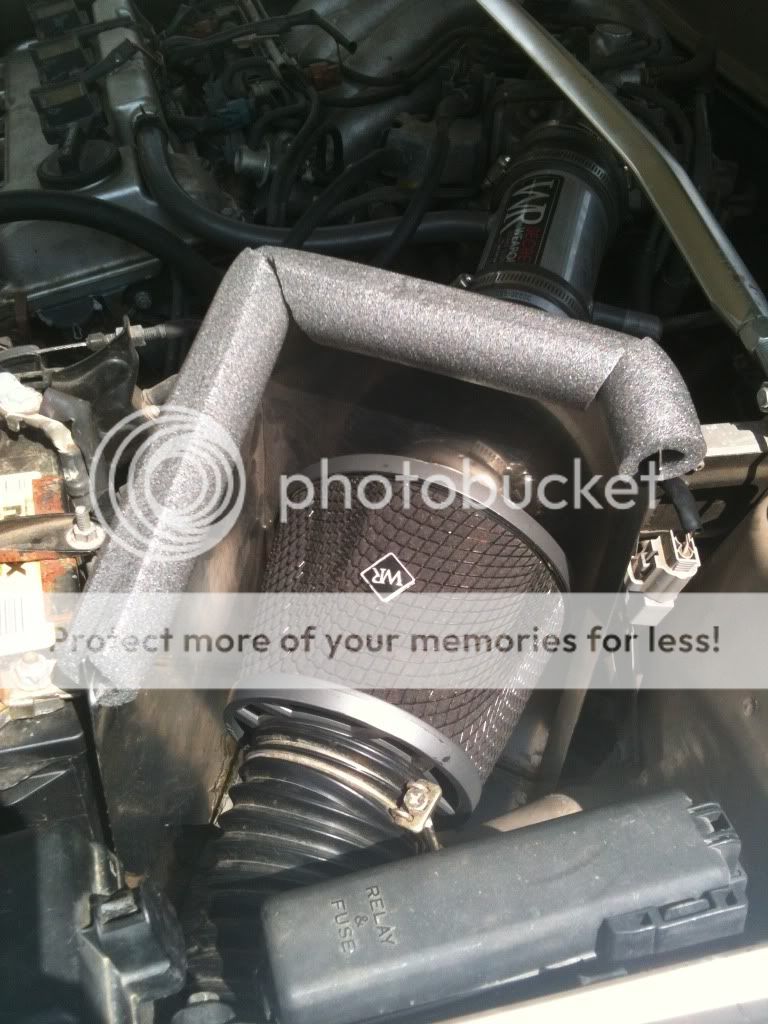
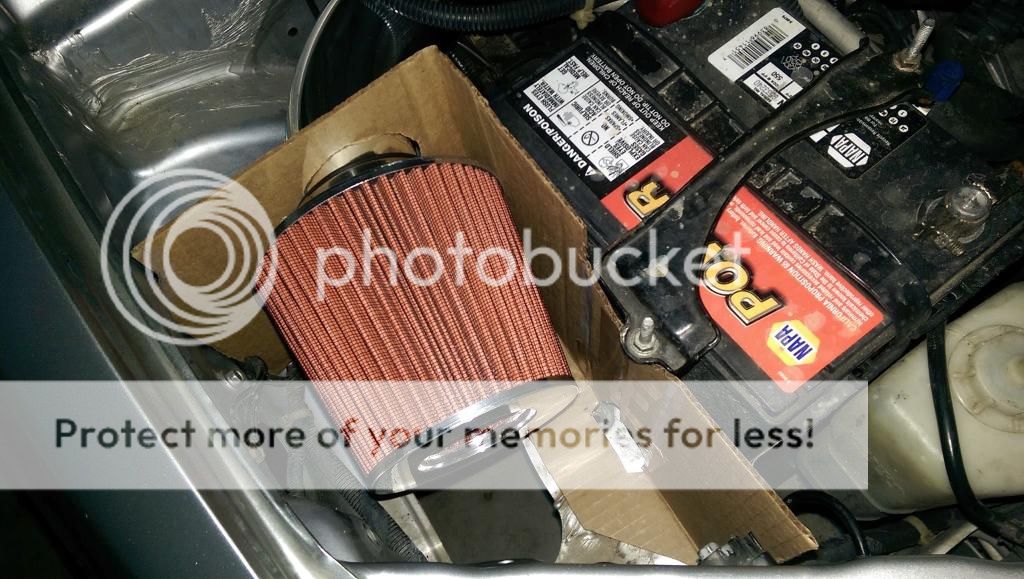
So I was thinking of cheap and easy ways to increase performance, and what I came to was a heat shield. Luckily the intake is already mostly blocked by the battery, but I wanted a more legit and effective shield. So I made one, and here's how.
What you'll need:
Cardboard
Tape
Sharpie
ABS Plastic sheet 15"x20"x1/8"
Dremel with cutting wheel (jigsaw might work)
Metal file/sandpaper
Some type of chisel
Skill, patience and a beer
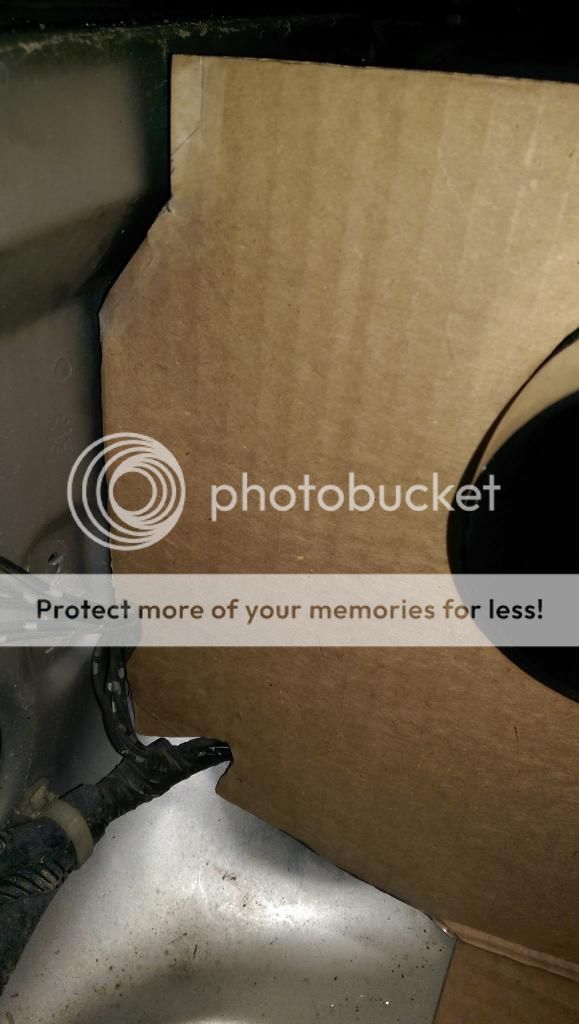
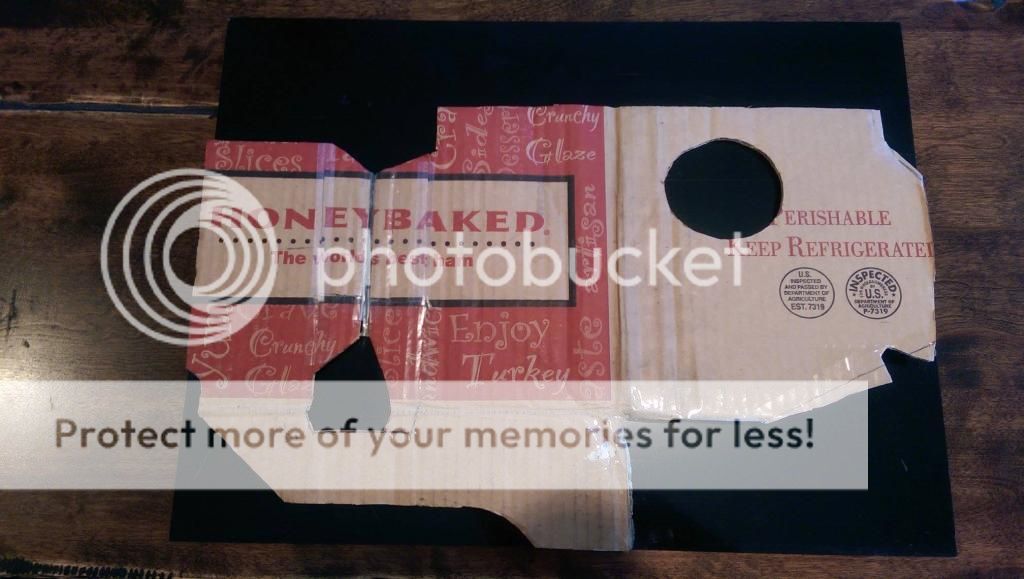
Step 1:
Use the cardboard to make a rough template. This is immensely helpful, as you'll have to keep making small adjustments until it fits perfectly.
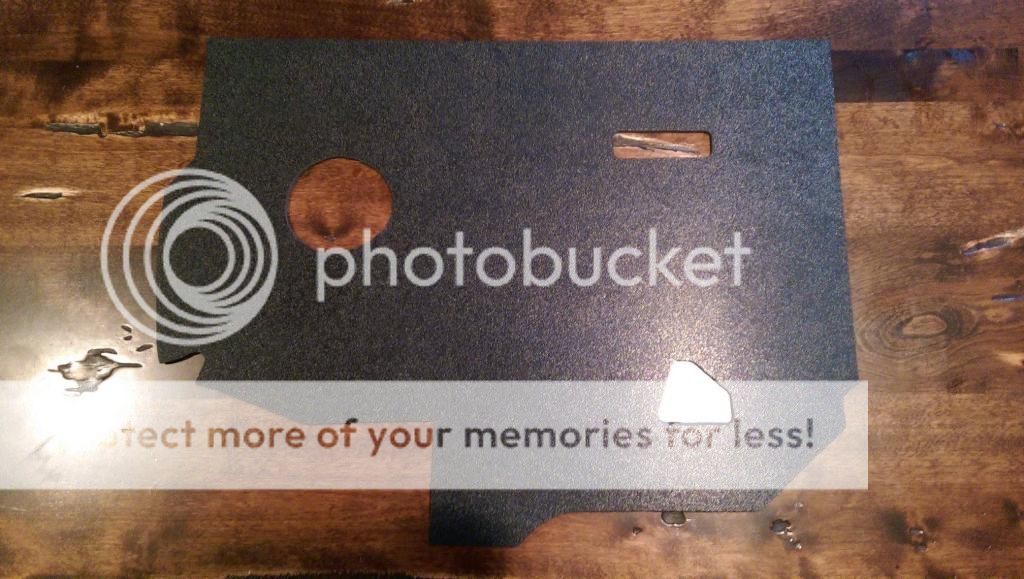
Step 2:
Trace your template onto the ABS plastic sheet.
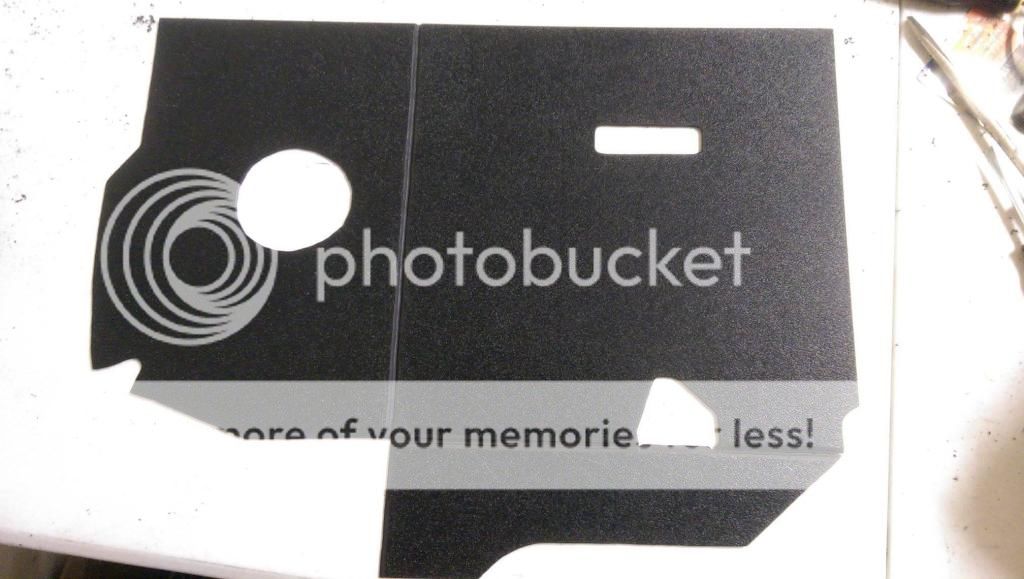
Step 3:
Cut out your shield and smooth out all the cuts and edges with your metal file.
Step 4:
Use your chisel-like apparatus to make creases so the sheet can bend at a 90 degree angle.
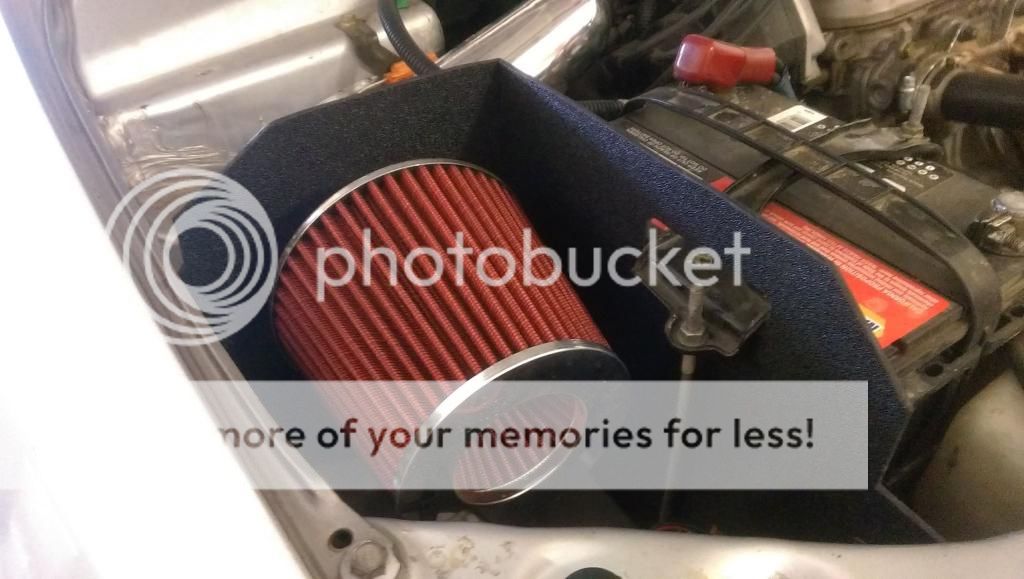
Step 5:
Install your shield and make any adjustments needed to make it fit properly.
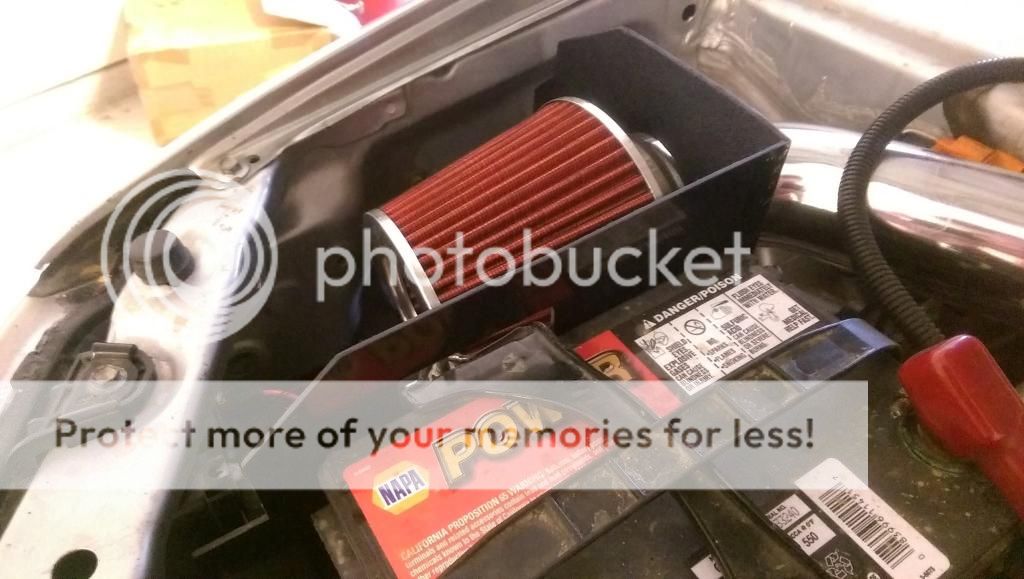
Step 6:
This is probably the hardest part. You need to cut the top of the shield so that it fits the shape of the underside of the hood as snugly as possible, while also allowing the hood to fully close. The reason this is so hard is because when the hood is closed, you can't see the shield to know what changes to make. So, it's pretty much a bunch of guesswork.
This is a crucial step, because heat rises according to scientific law. That means heat will be trying to get over the top of your shield more than anywhere else. I didn't feel like making it fit the contours perfectly, so I just made a fairly straight cut. Sure, it might not block heat as effectively as it could, but whatever.
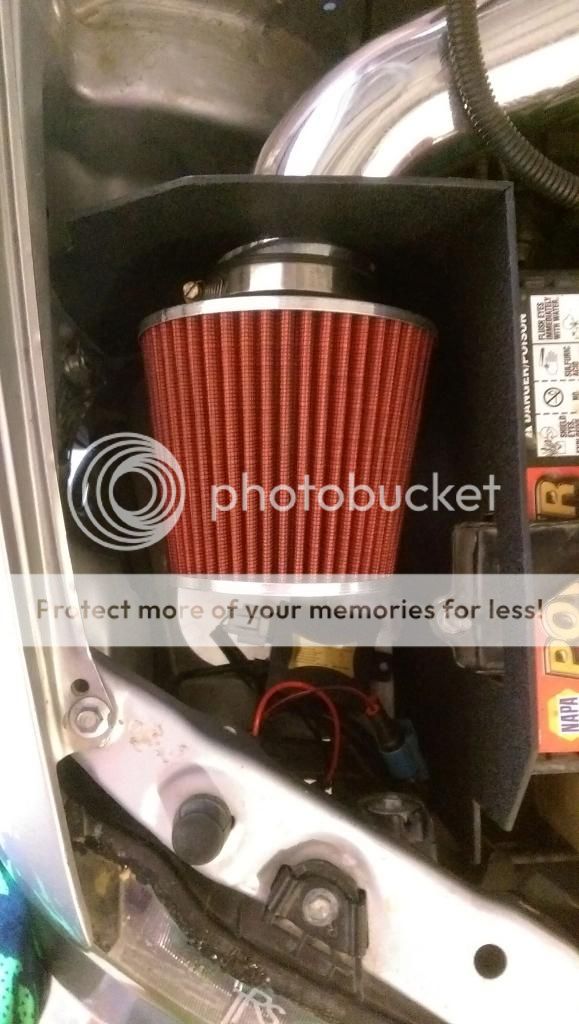
Step 7:
Marvel at what you just did with your bare hands.
What you'll need:
Cardboard
Tape
Sharpie
ABS Plastic sheet 15"x20"x1/8"
Dremel with cutting wheel (jigsaw might work)
Metal file/sandpaper
Some type of chisel
Skill, patience and a beer
Step 1:
Use the cardboard to make a rough template. This is immensely helpful, as you'll have to keep making small adjustments until it fits perfectly.
Step 2:
Trace your template onto the ABS plastic sheet.
Step 3:
Cut out your shield and smooth out all the cuts and edges with your metal file.
Step 4:
Use your chisel-like apparatus to make creases so the sheet can bend at a 90 degree angle.
Step 5:
Install your shield and make any adjustments needed to make it fit properly.
Step 6:
This is probably the hardest part. You need to cut the top of the shield so that it fits the shape of the underside of the hood as snugly as possible, while also allowing the hood to fully close. The reason this is so hard is because when the hood is closed, you can't see the shield to know what changes to make. So, it's pretty much a bunch of guesswork.
This is a crucial step, because heat rises according to scientific law. That means heat will be trying to get over the top of your shield more than anywhere else. I didn't feel like making it fit the contours perfectly, so I just made a fairly straight cut. Sure, it might not block heat as effectively as it could, but whatever.
Step 7:
Marvel at what you just did with your bare hands.