

So, as usual, this is a project that started innocently enough. I saw a thread here about a Redline Goods custom center armrest replacement cover. While I was there, I also ordered a new shift boot for my PSPEC shifter.
The center armrest console and shift boot was quickly the tip of the iceberg. It didn't take long before I had Redline Goods make custom leather pieces for the door armrests, door panels and rear side panels.
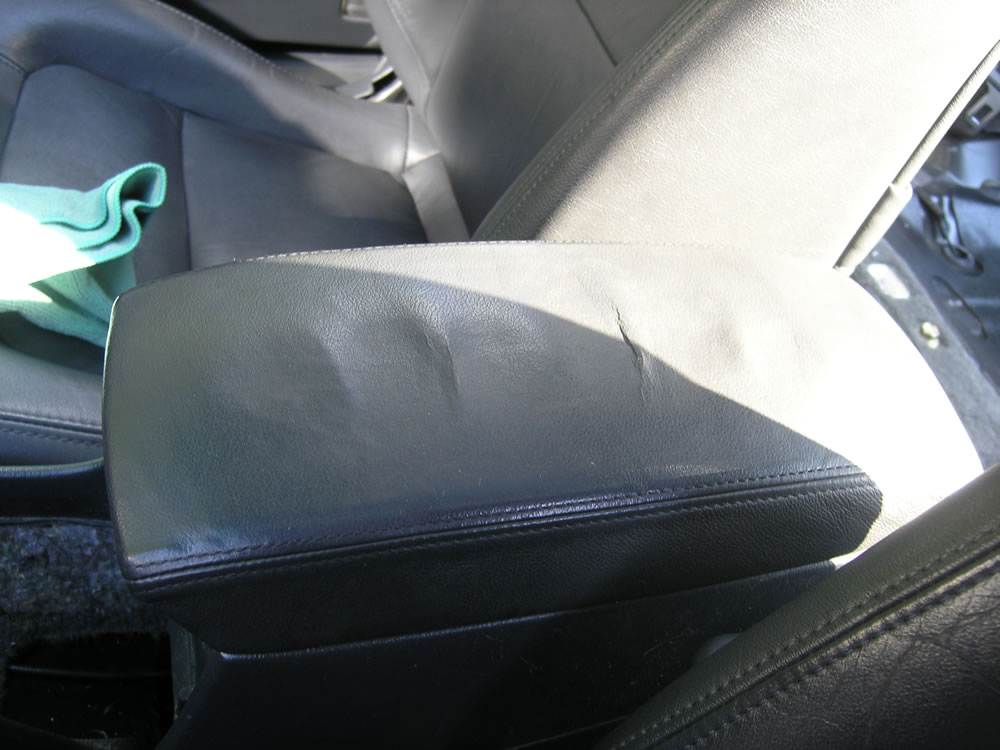
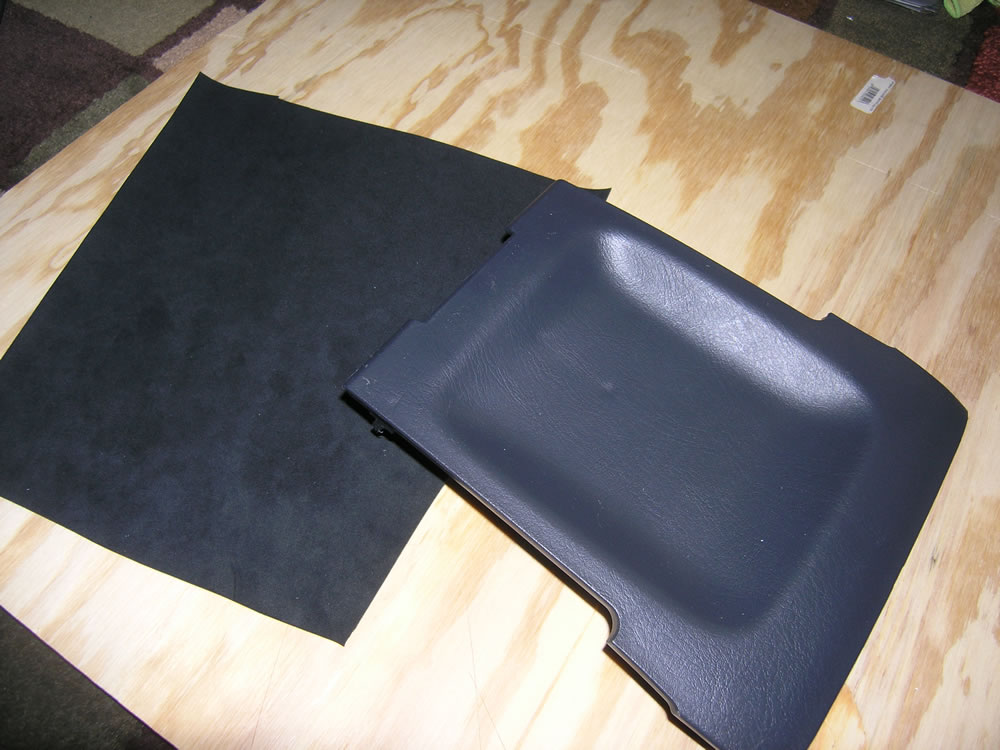
The old center armrest cover that started it all:
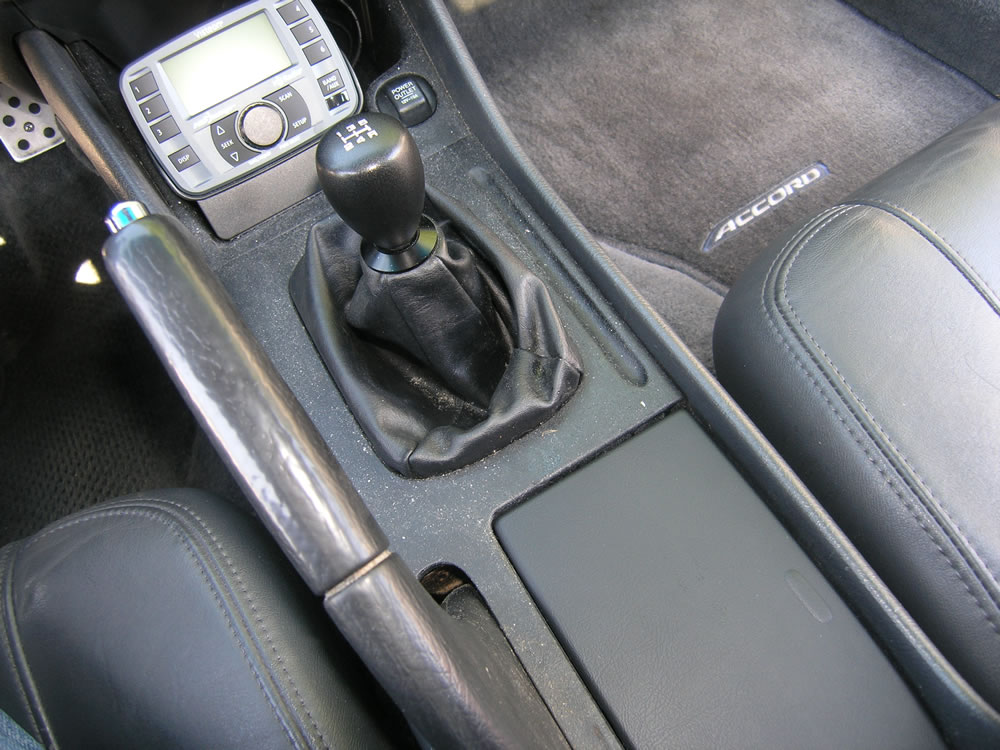
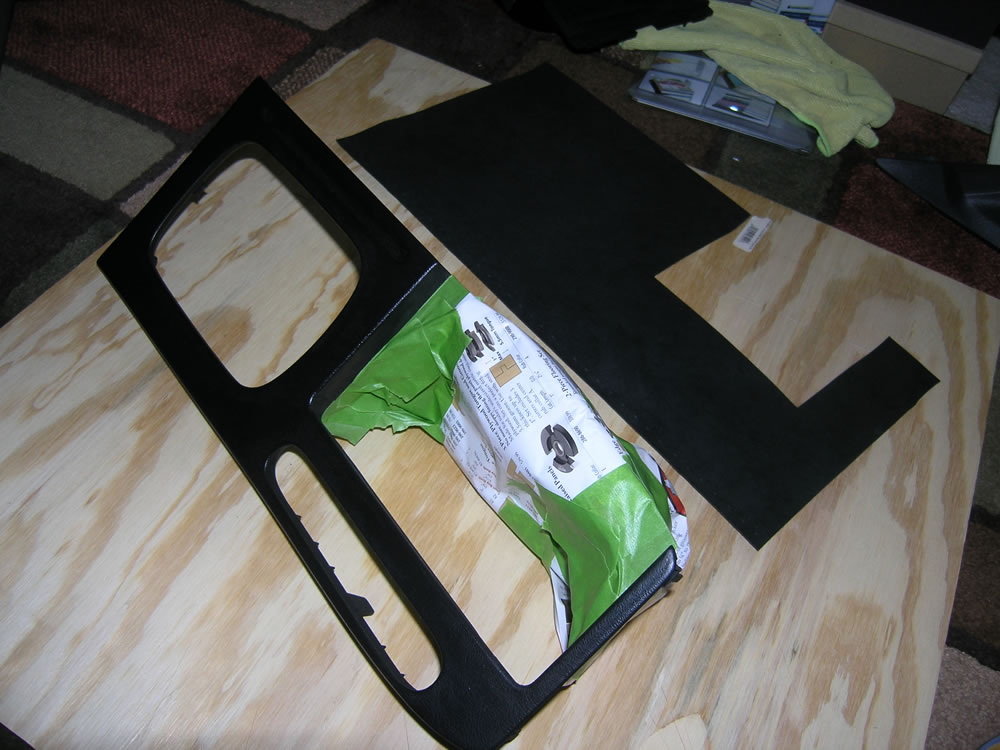
The original shift boot all bunched up on the PSPEC shifter:
Peeling off old leather from the driver's armrest:
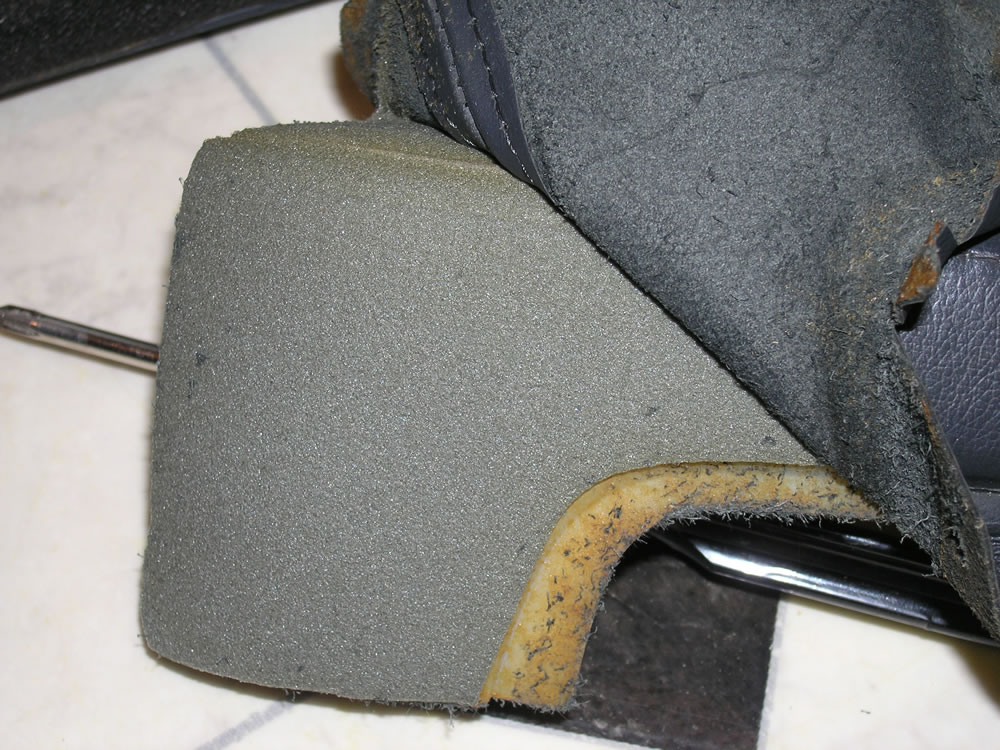
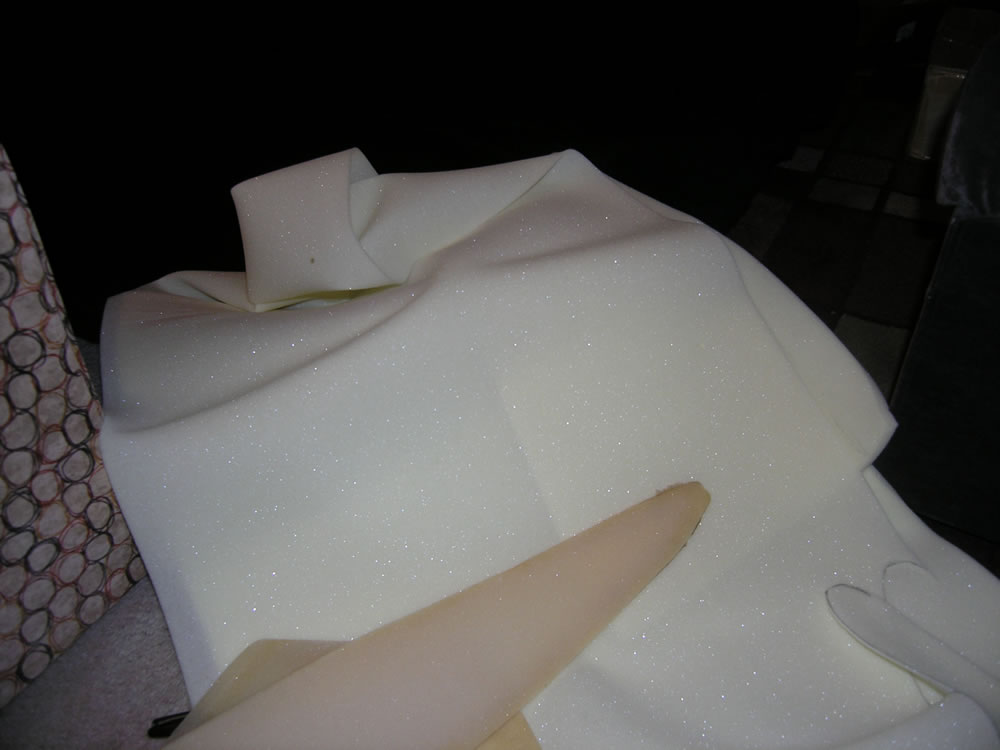
I took off all the foam, too:
I figured while I was at it, why not change out the foam, too?
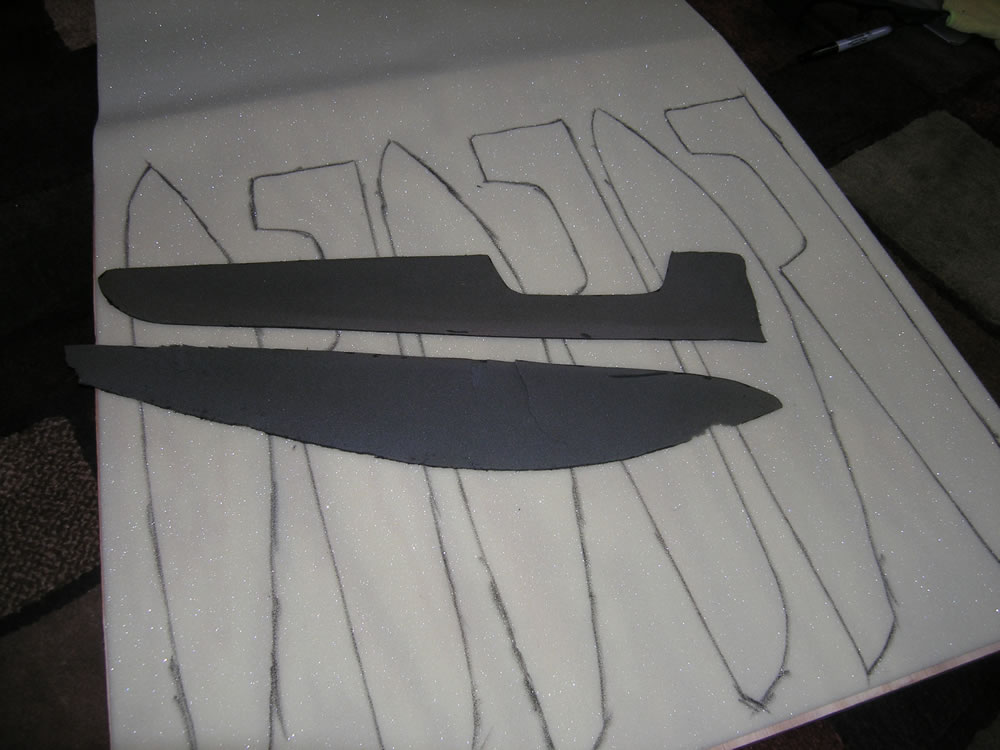
I decided to double up the foam for the armrests:
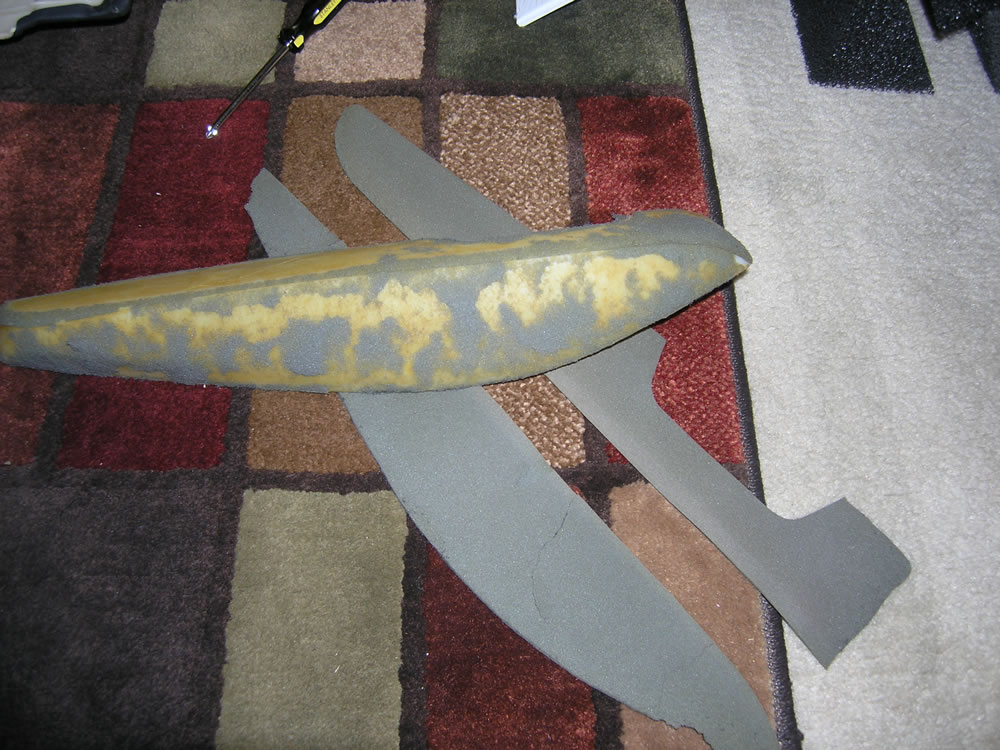
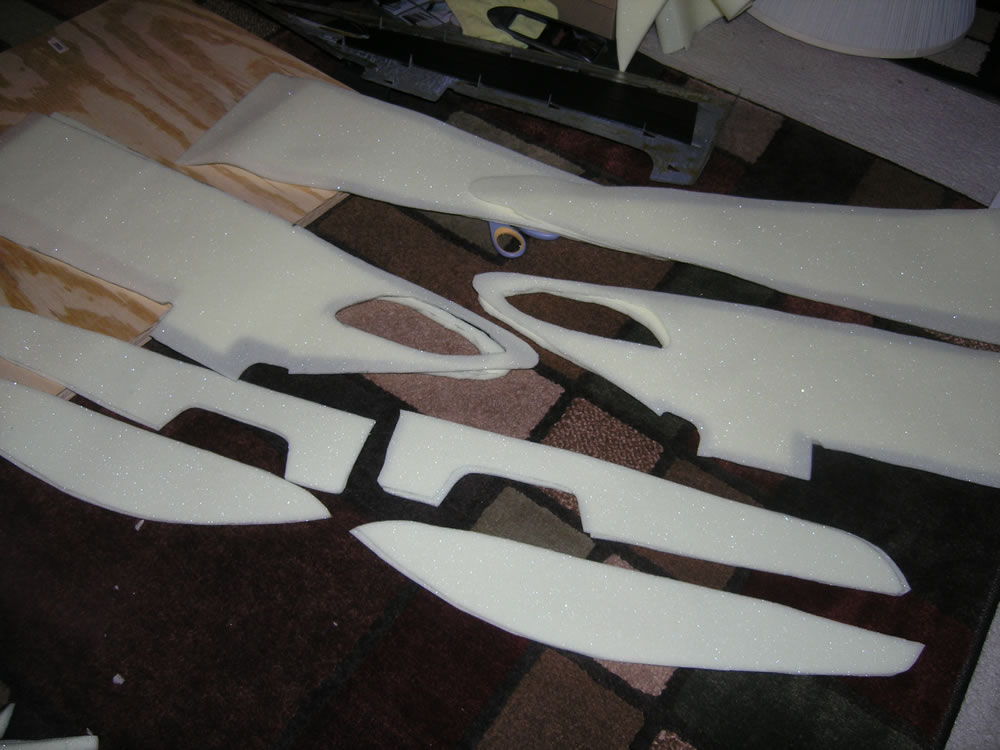
New foam for both door armests and all door and rear panels:
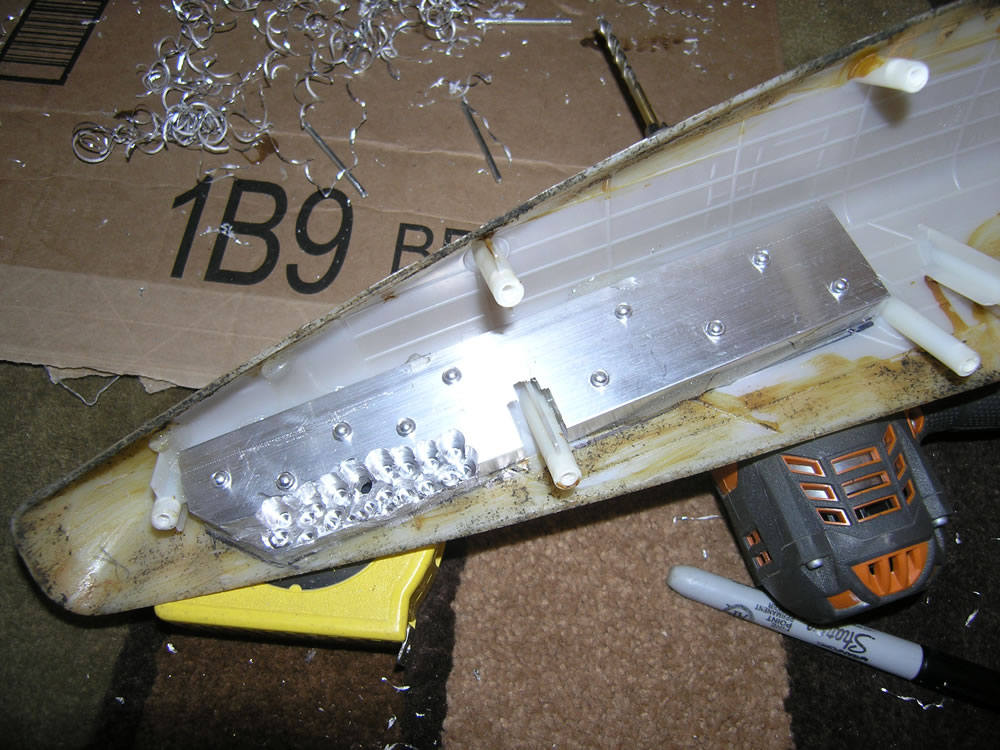
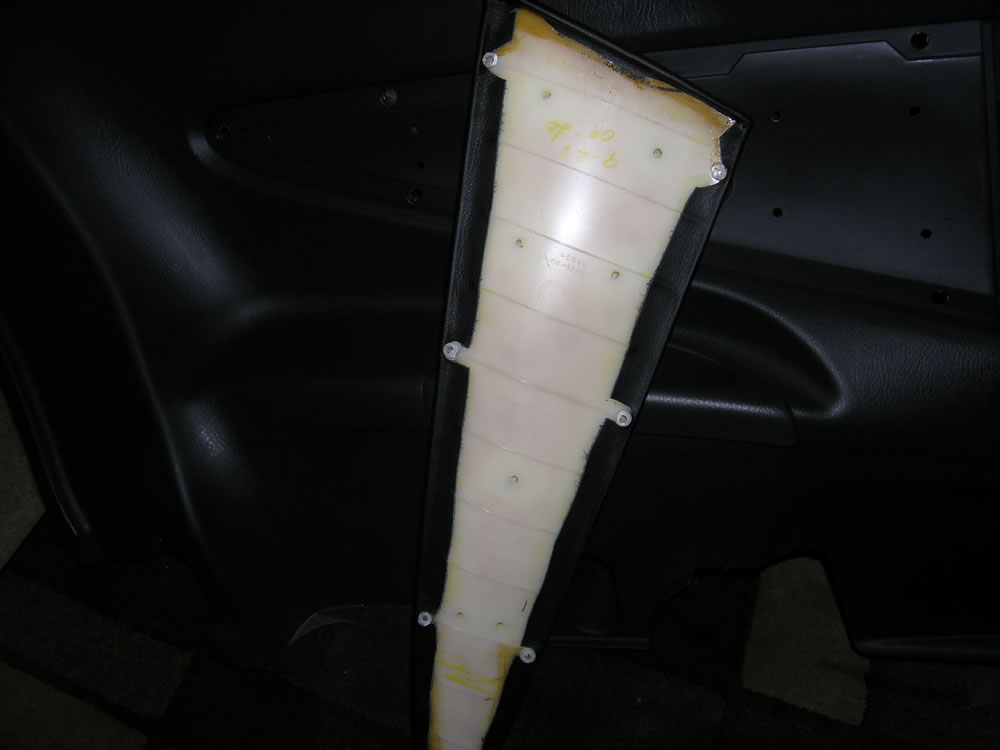
For some reason both armrests were broken. When they were installed, you could press on the flat part towards the rear and it sunk in. Solution: big hunk of aluminum:
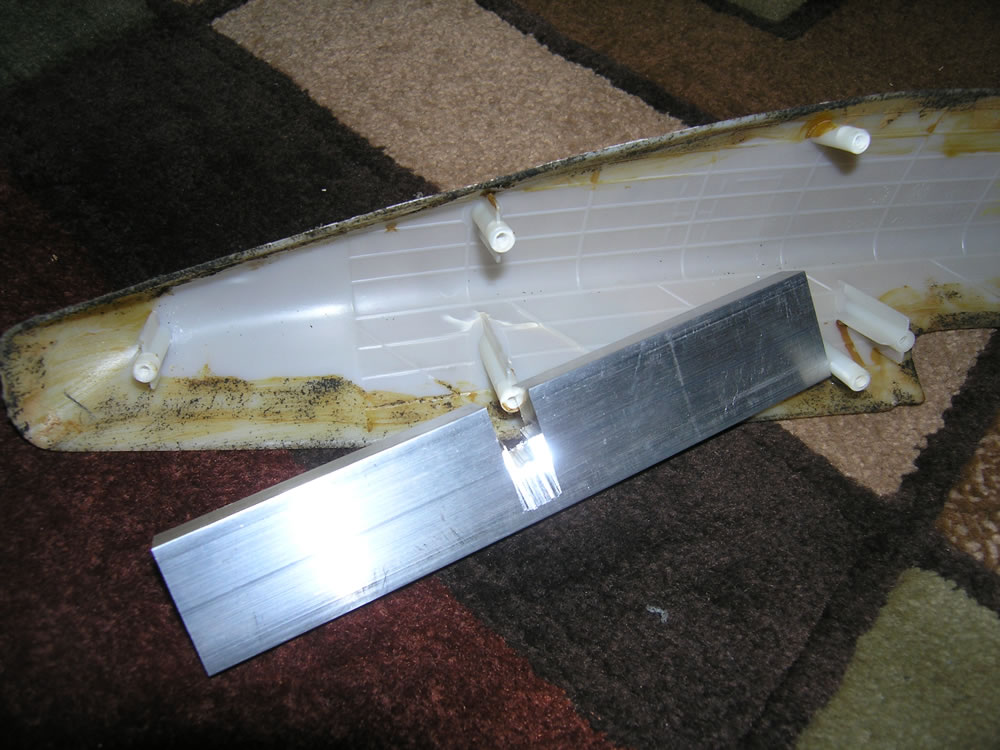
Used plastic epoxy to hold the broken piece in place as well as hold the aluminum still while I drilled for rivets:
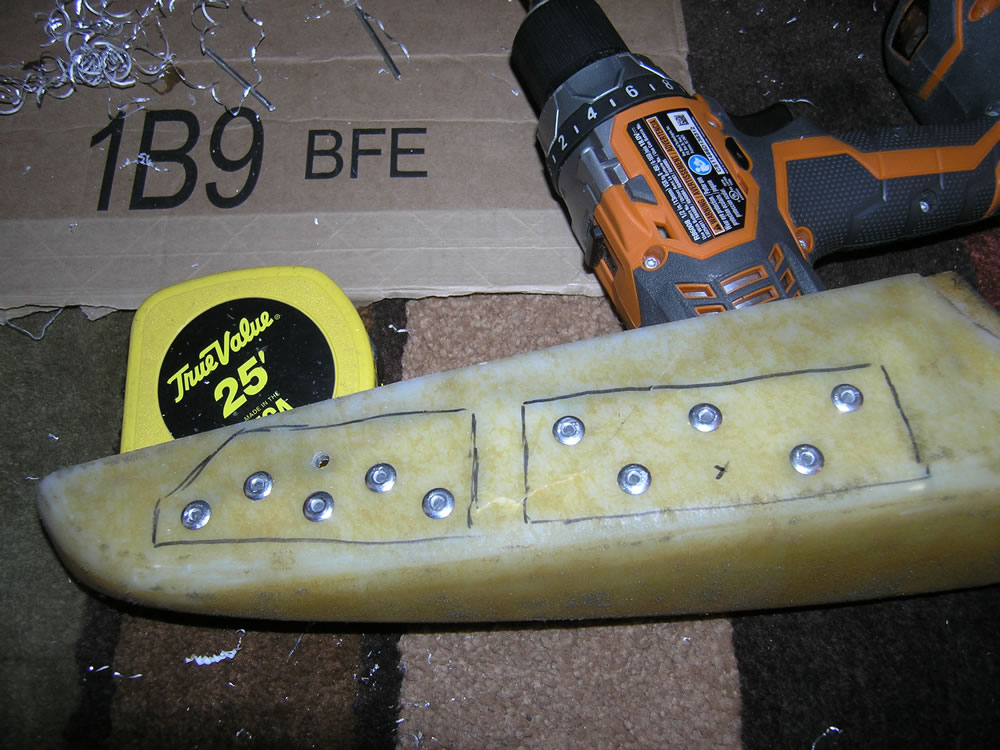
Better than new! (Decided to double up on foam to better hide the rivet heads; they're barely noticable)
While I was at it, I figured why not put Damplifier Pro where I could:
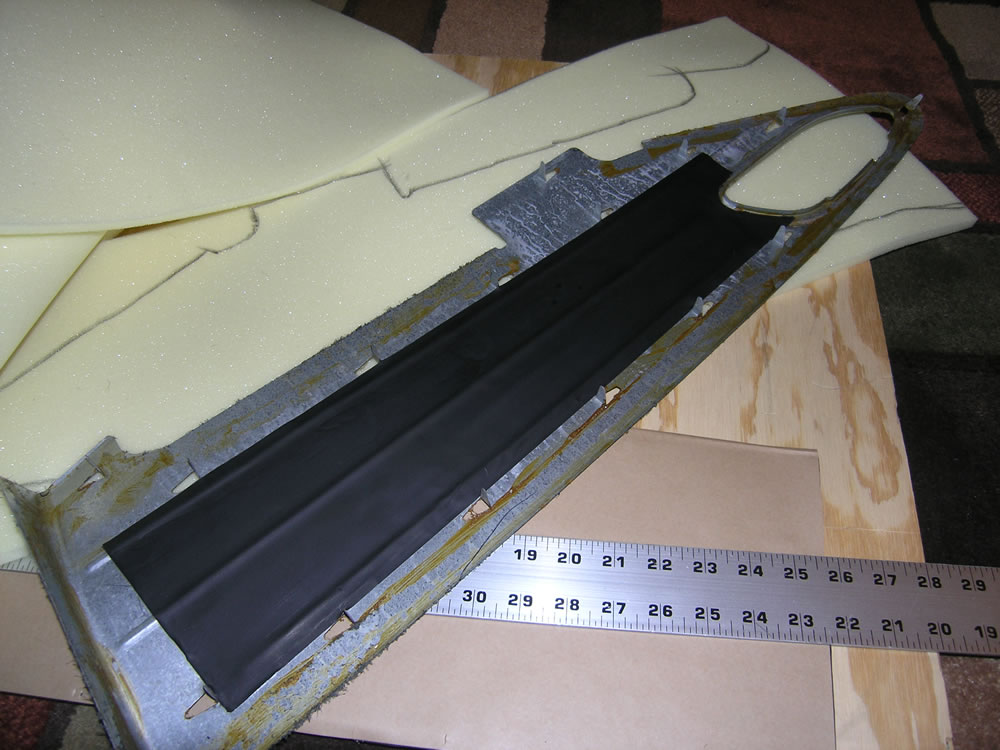
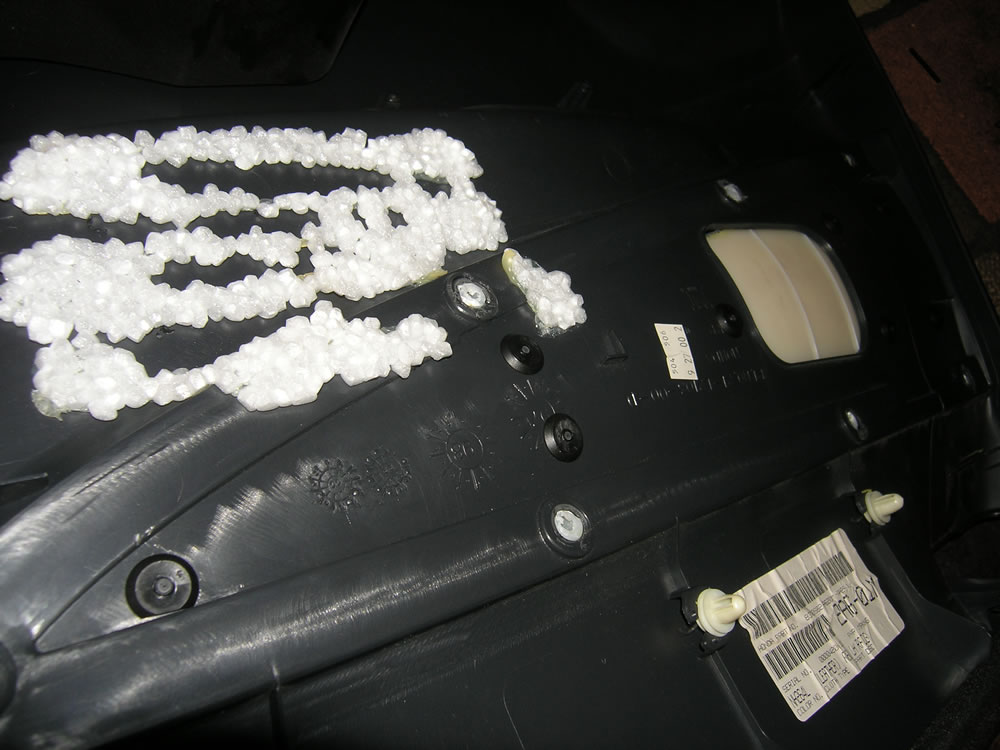
Unlike the front panel where the metal tabs just bend back, the rear panel needed to be "broken" off to remove it:
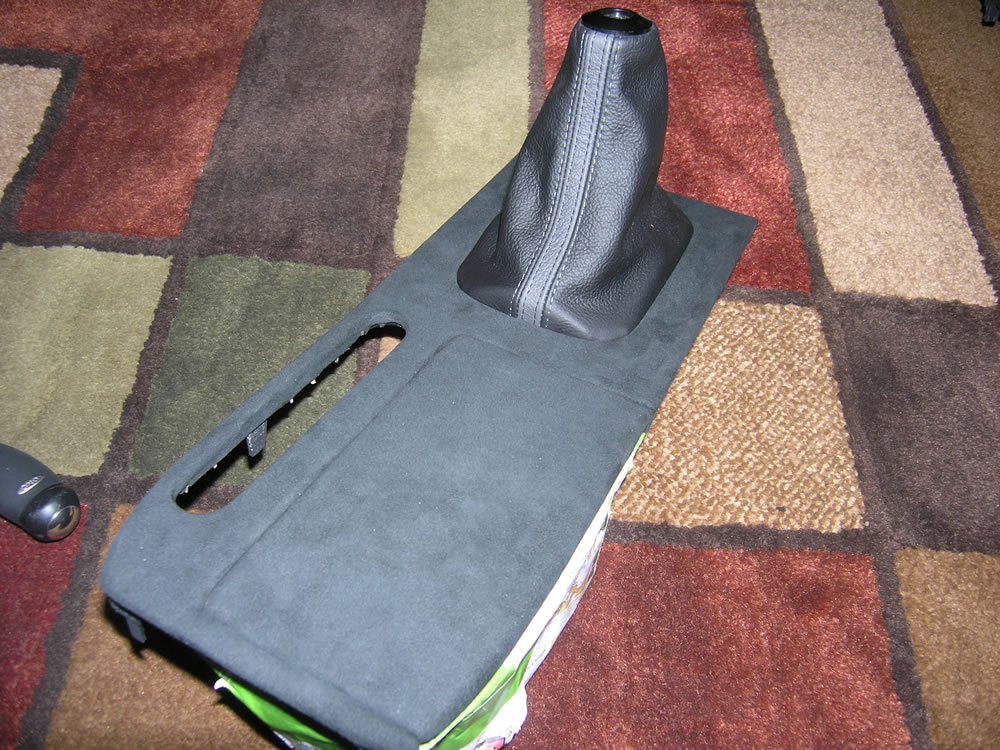
Like I said, this is a project that took on a life of its own. So instead of just replacing the leather pieces, I also wrapped a few various interior pieces in black Alcantara:
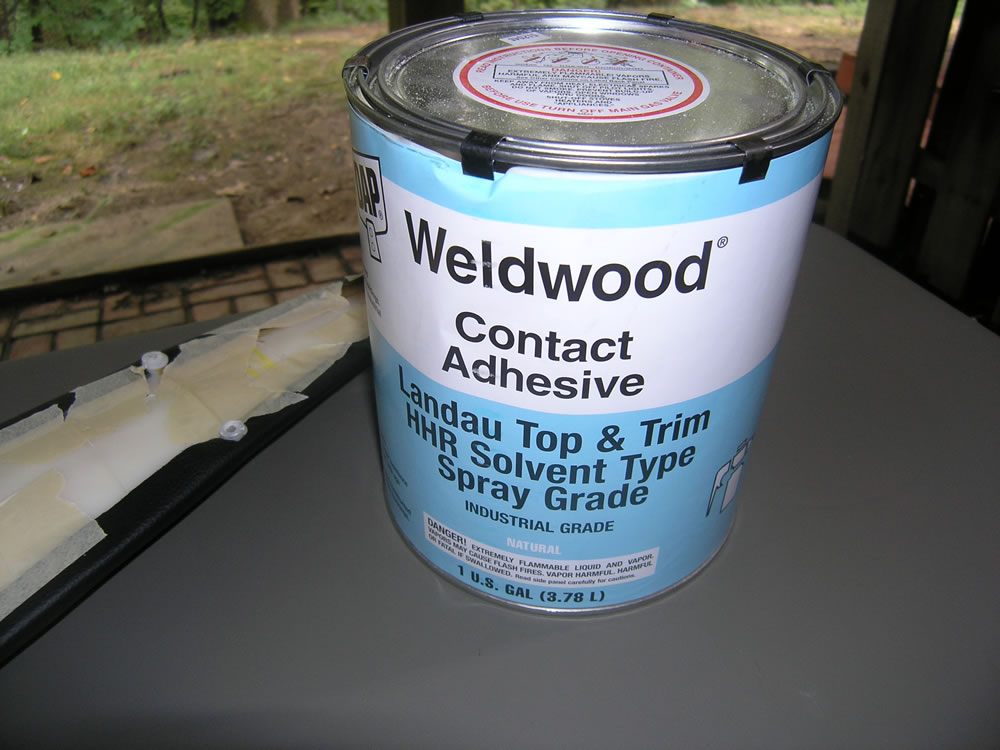
Time for the glue (and respirator...this stuff is nasty!):
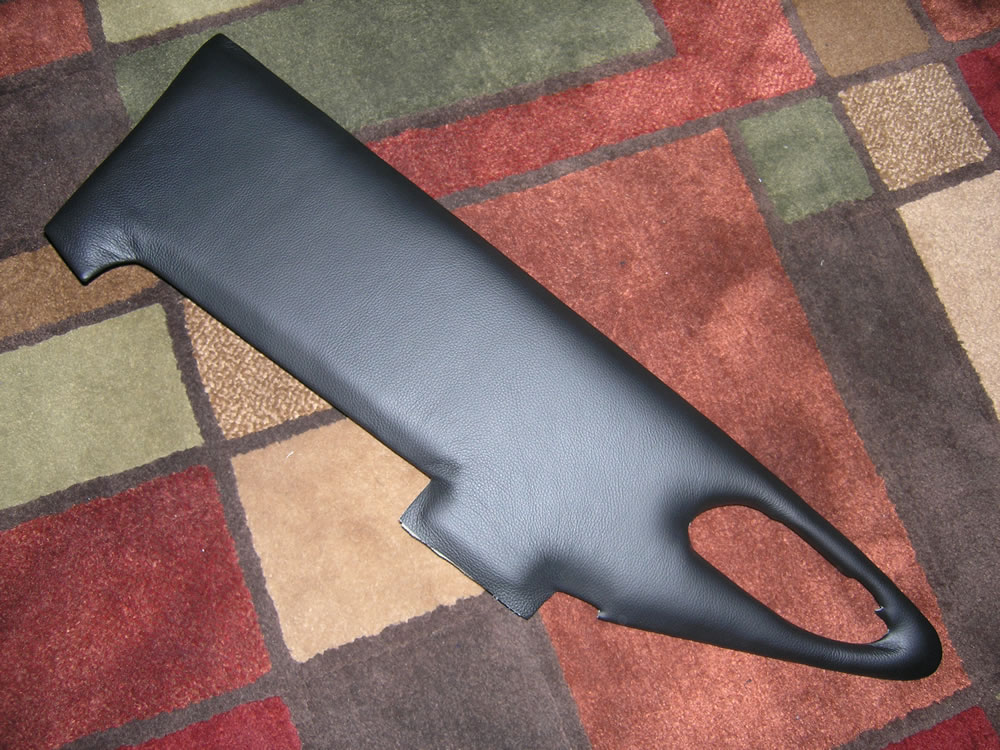
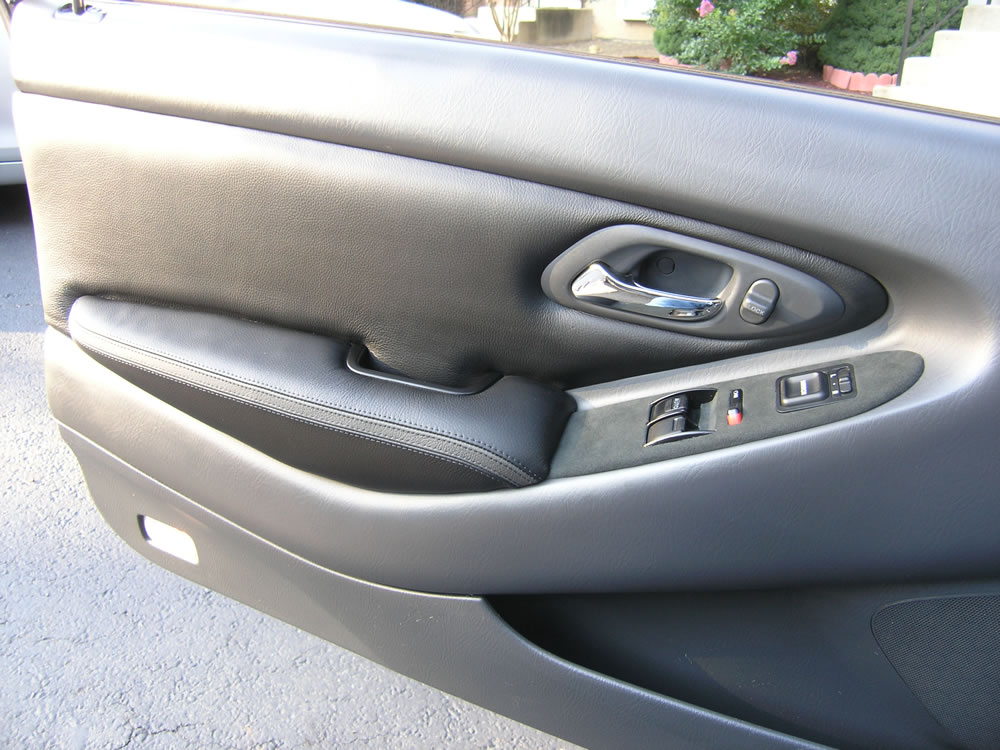
Front driver's door panel:
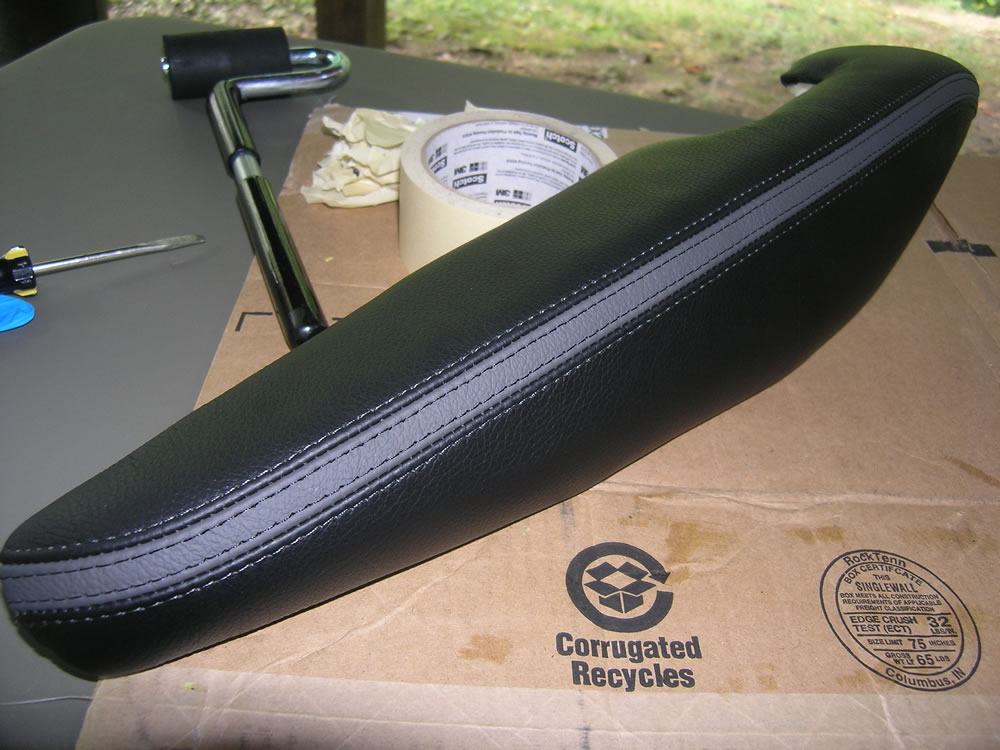
Front driver's armrest:
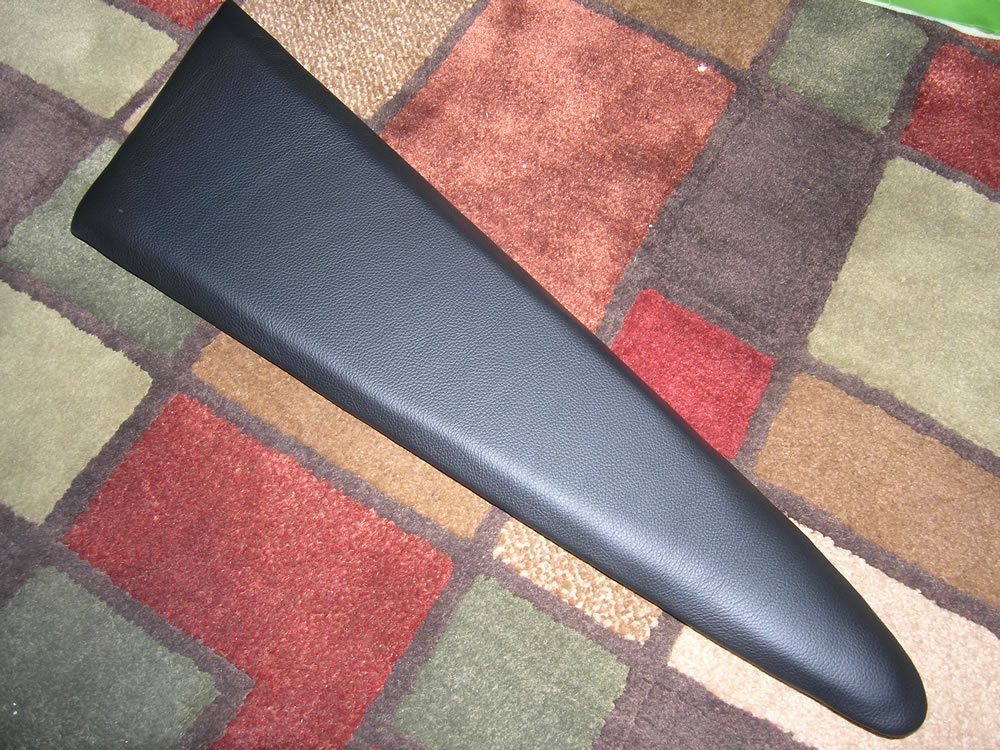
Rear driver's side panel:
Driver's door assembled and ready for installation:
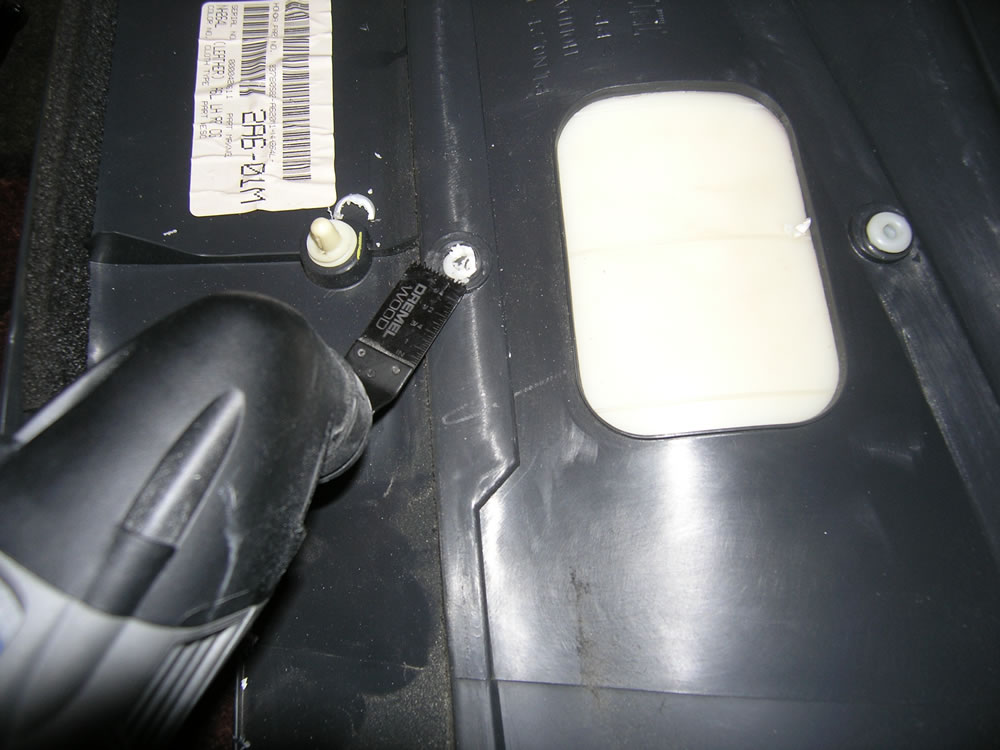
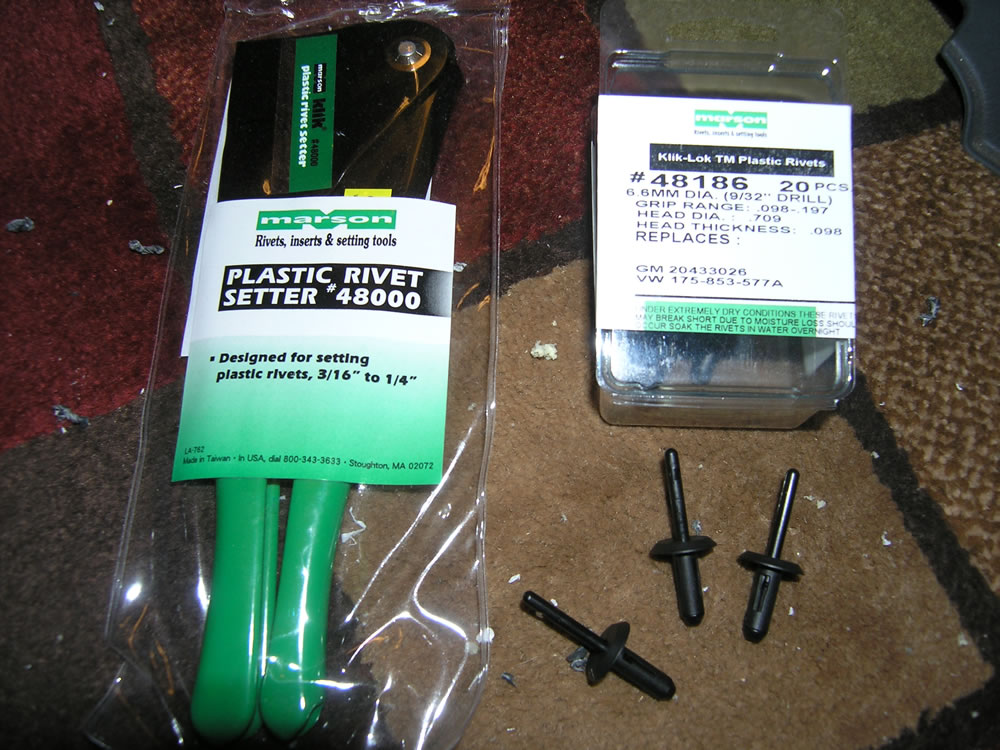
Since the rear panel was "broken" off, I needed a way to reattach it to the side panel. I opted for plastic rivets:
Rear panel ready for installation:
Riveted in place:
Rear panel complete and ready for installation:

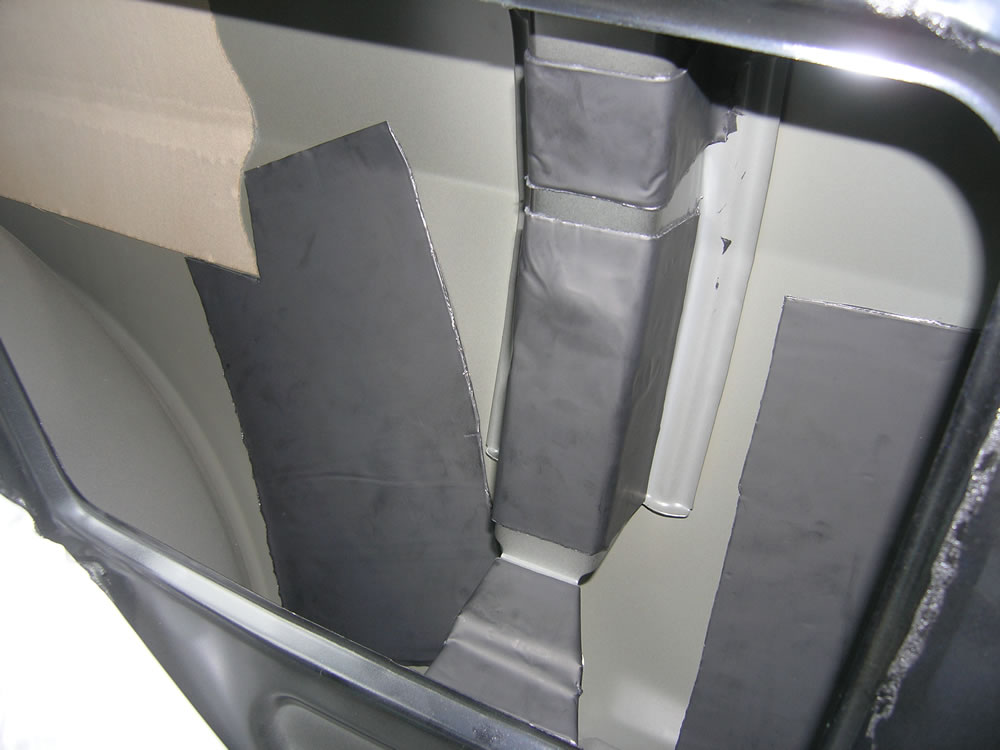
Well, almost ready for installation...while I was at it, threw in Luxury Liner Pro where I could fit it:

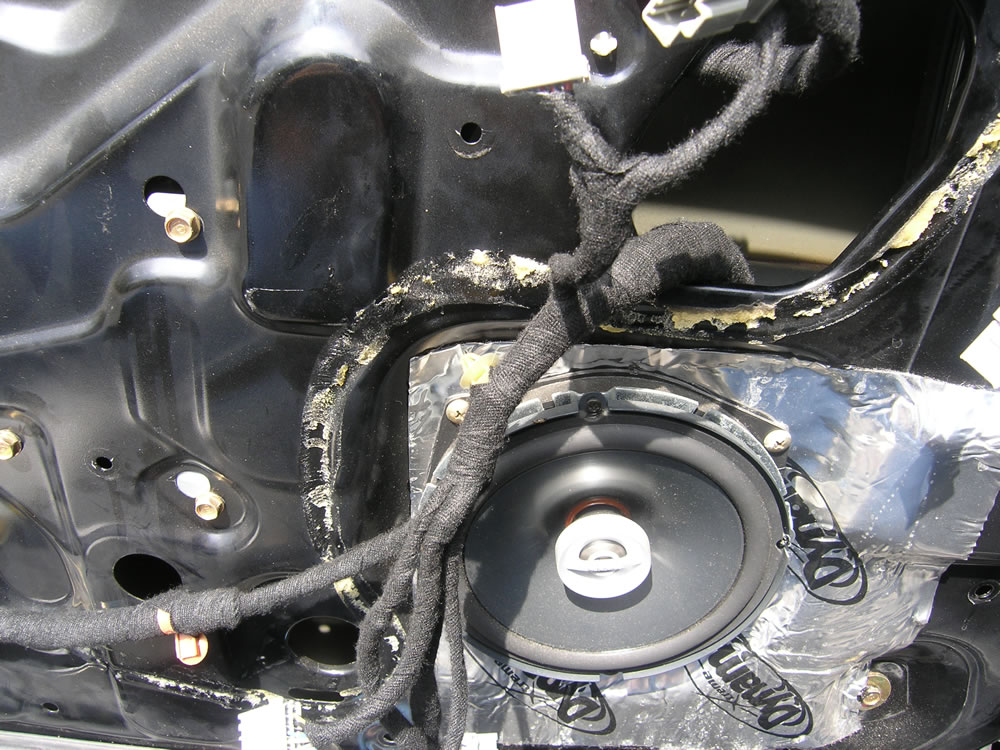
Throughout the project, I wrapped all wiring harnesses in fleece tape:

Damplifier Pro on driver's door:
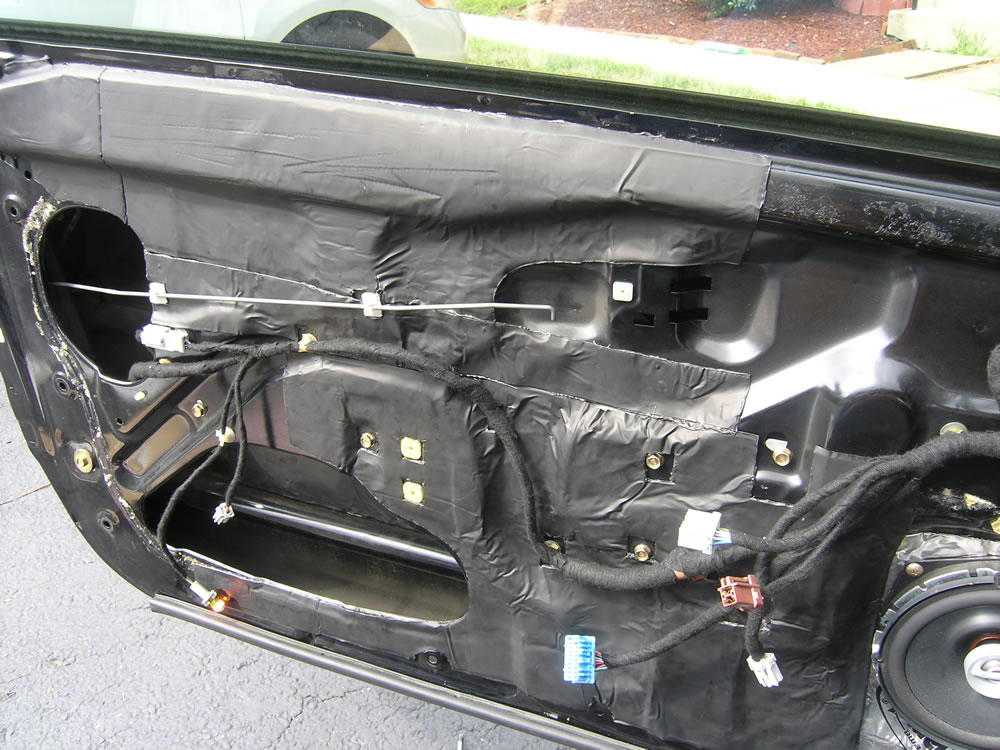
Closeup of fleece tape wrapped on door wiring:
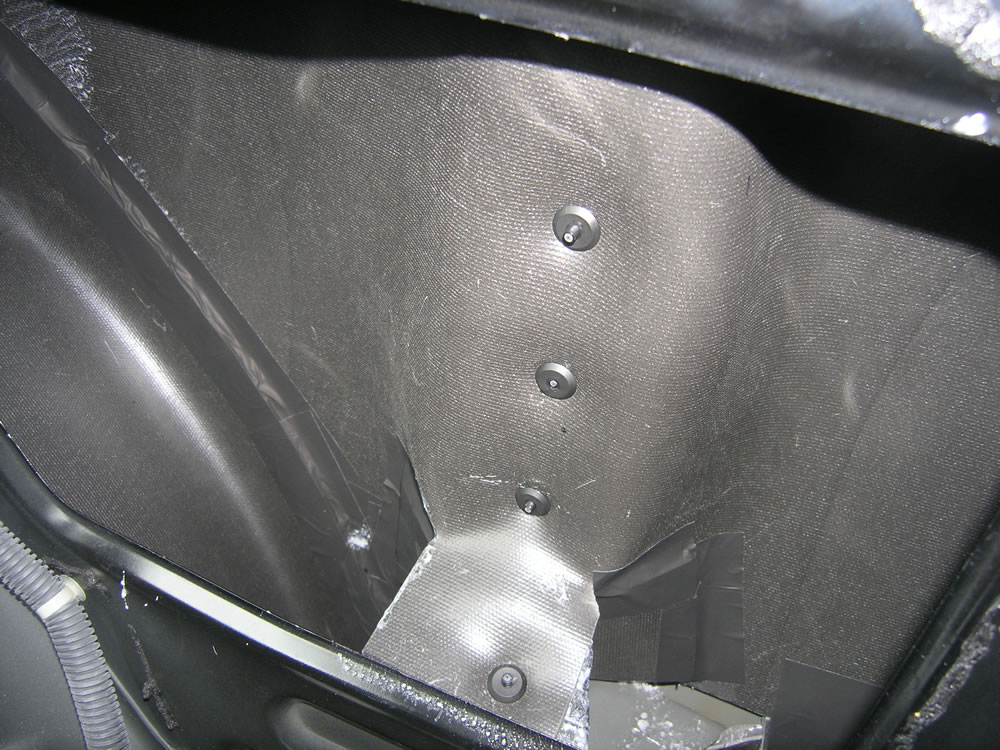
Luxury Liner Pro cut to fit driver's side door:
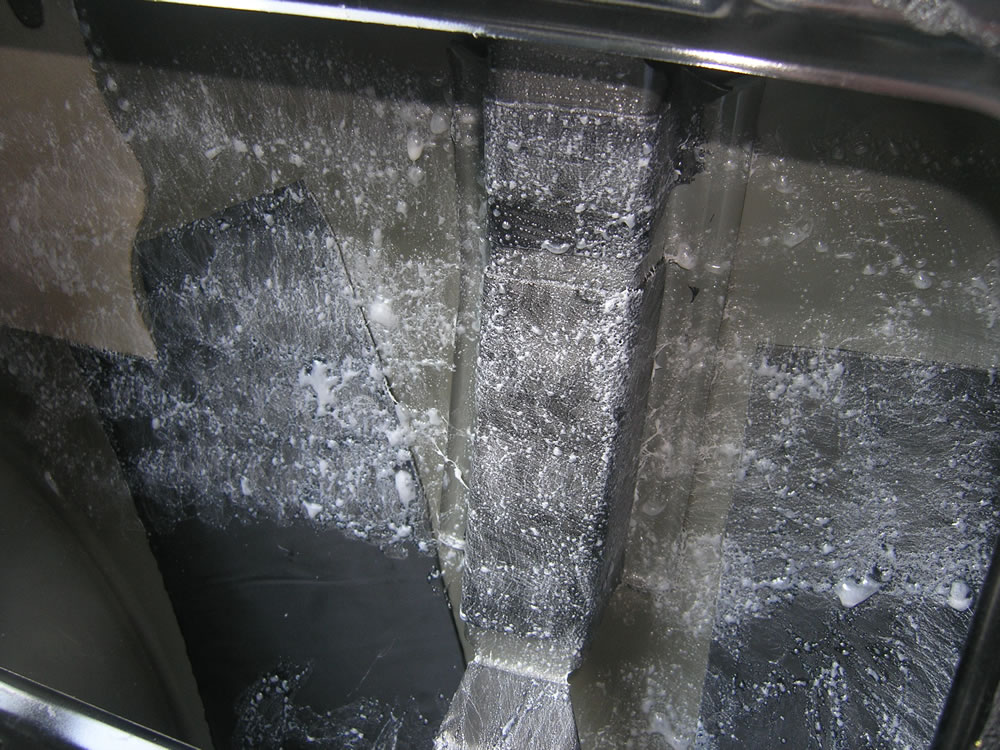
Damplifier Pro behind driver's rear panel:
Glued up and ready for Luxury Liner Pro:
Luxury Liner Pro installed behind driver's rear panel (used longer plastic rivets to make sure it stayed put):
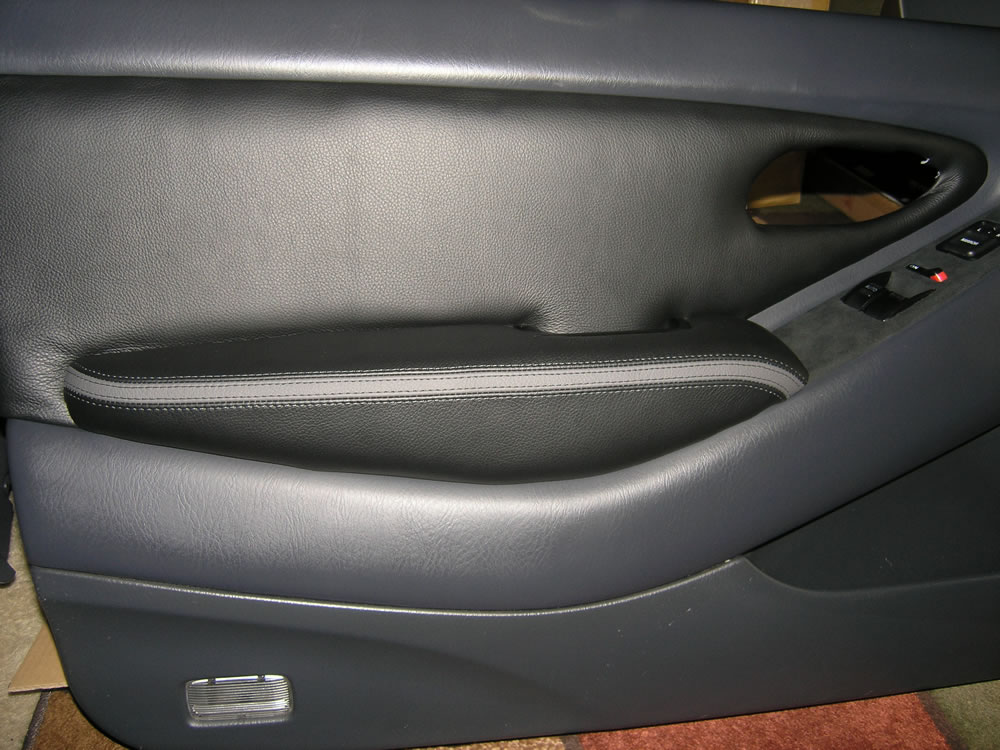
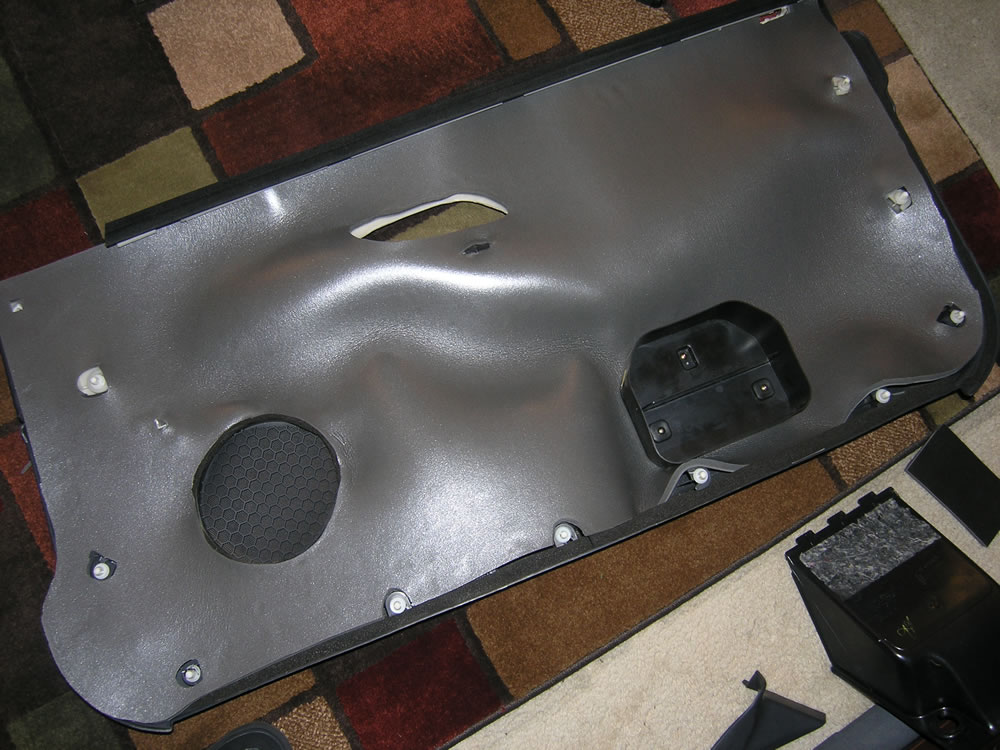
Front door panel back where it belongs:
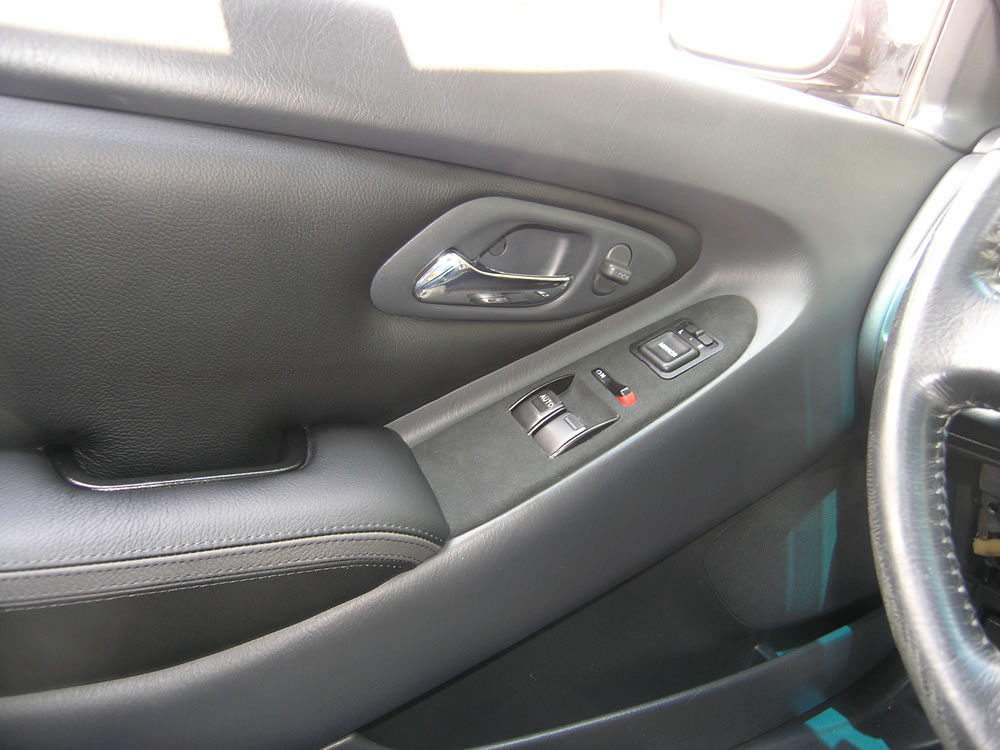
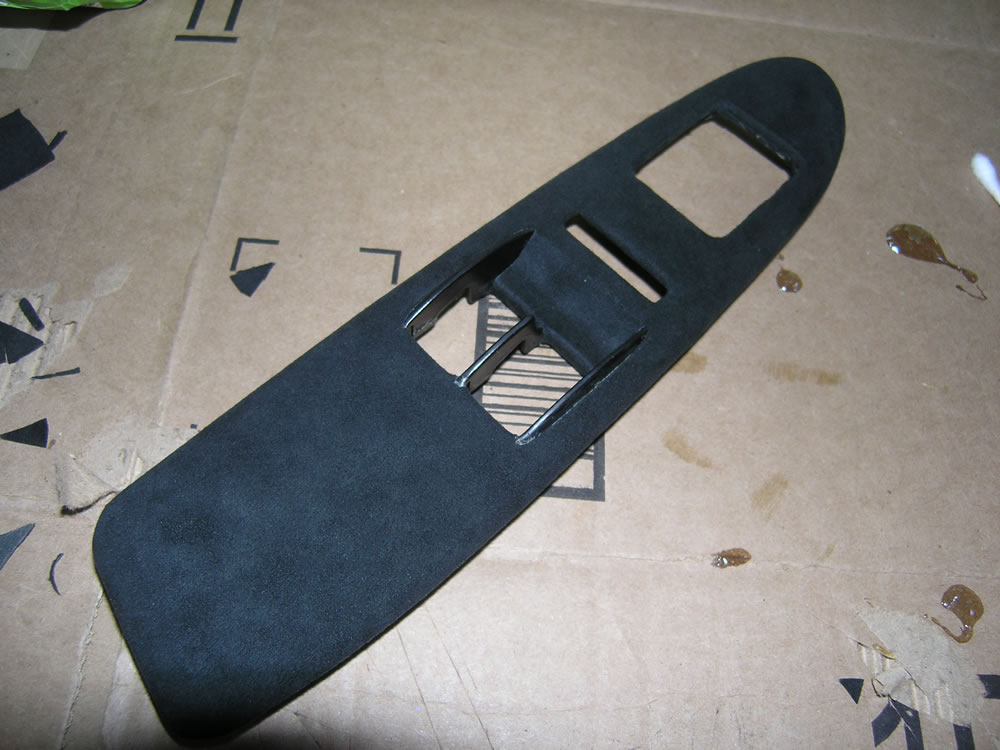
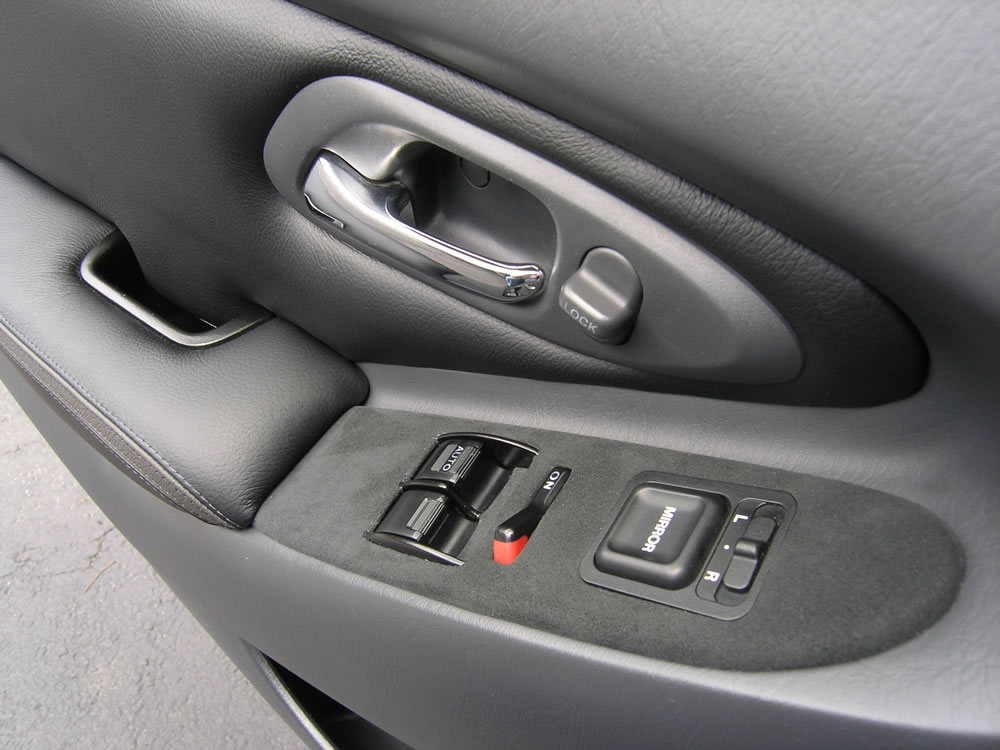
Closeup of Alcantara on window control bezel:
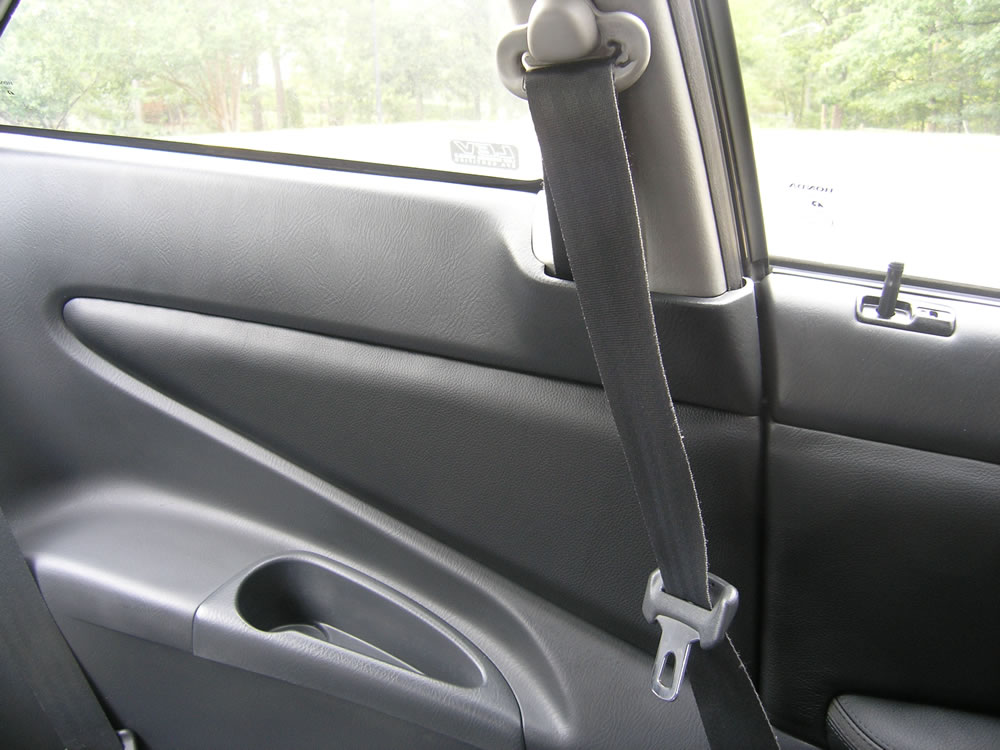
Rear panel installed:
Thanks for looking! Planning to get together the rest of the pictures here soon...
The center armrest console and shift boot was quickly the tip of the iceberg. It didn't take long before I had Redline Goods make custom leather pieces for the door armrests, door panels and rear side panels.
The old center armrest cover that started it all:
The original shift boot all bunched up on the PSPEC shifter:
Peeling off old leather from the driver's armrest:
I took off all the foam, too:
I figured while I was at it, why not change out the foam, too?
I decided to double up the foam for the armrests:
New foam for both door armests and all door and rear panels:
For some reason both armrests were broken. When they were installed, you could press on the flat part towards the rear and it sunk in. Solution: big hunk of aluminum:
Used plastic epoxy to hold the broken piece in place as well as hold the aluminum still while I drilled for rivets:
Better than new! (Decided to double up on foam to better hide the rivet heads; they're barely noticable)
While I was at it, I figured why not put Damplifier Pro where I could:
Unlike the front panel where the metal tabs just bend back, the rear panel needed to be "broken" off to remove it:
Like I said, this is a project that took on a life of its own. So instead of just replacing the leather pieces, I also wrapped a few various interior pieces in black Alcantara:
Time for the glue (and respirator...this stuff is nasty!):
Front driver's door panel:
Front driver's armrest:
Rear driver's side panel:
Driver's door assembled and ready for installation:
Since the rear panel was "broken" off, I needed a way to reattach it to the side panel. I opted for plastic rivets:
Rear panel ready for installation:
Riveted in place:
Rear panel complete and ready for installation:
Well, almost ready for installation...while I was at it, threw in Luxury Liner Pro where I could fit it:
Throughout the project, I wrapped all wiring harnesses in fleece tape:
Damplifier Pro on driver's door:
Closeup of fleece tape wrapped on door wiring:
Luxury Liner Pro cut to fit driver's side door:
Damplifier Pro behind driver's rear panel:
Glued up and ready for Luxury Liner Pro:
Luxury Liner Pro installed behind driver's rear panel (used longer plastic rivets to make sure it stayed put):
Front door panel back where it belongs:
Closeup of Alcantara on window control bezel:
Rear panel installed:
Thanks for looking! Planning to get together the rest of the pictures here soon...