KnightRyder
Well-Known Member
ok for the few people that i've been talking to off the boards, they know how long i've been working on this stuff... way too long. anyways, im getting down to the final few things to do so i thought i'd let it out now.
The retrofit portion is simply a Clear lensed TSX Projector (not color modded, i want the sharpness more than the added flicker) with replica E46 shrouds. I didnt really take any pics of the process since so many people have done the same thing recently so im just gonna show the pics i did manage to take during the process.
getting a reference point using the stock low beams so that i can minimize the amount of adjustment needed later.
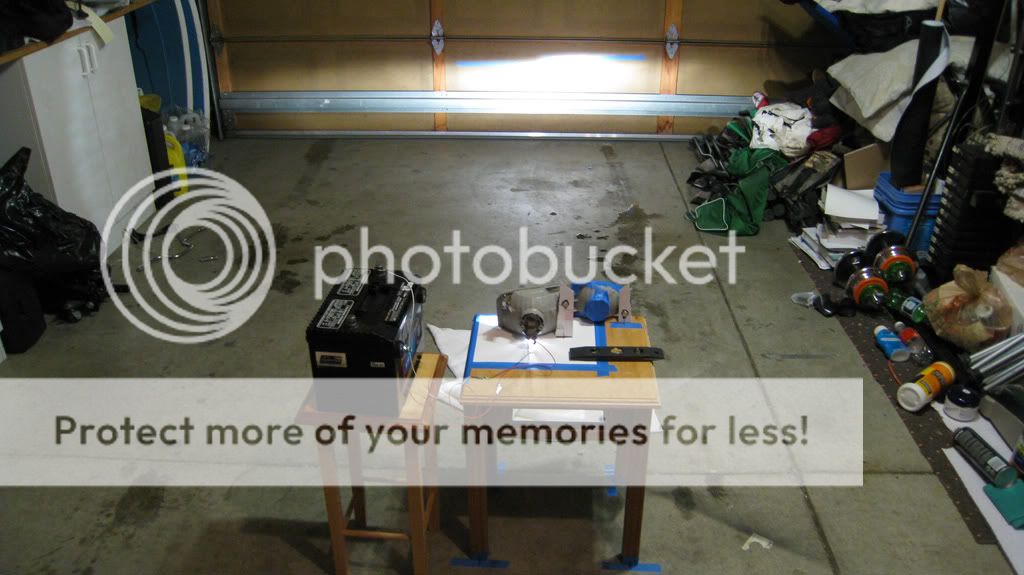
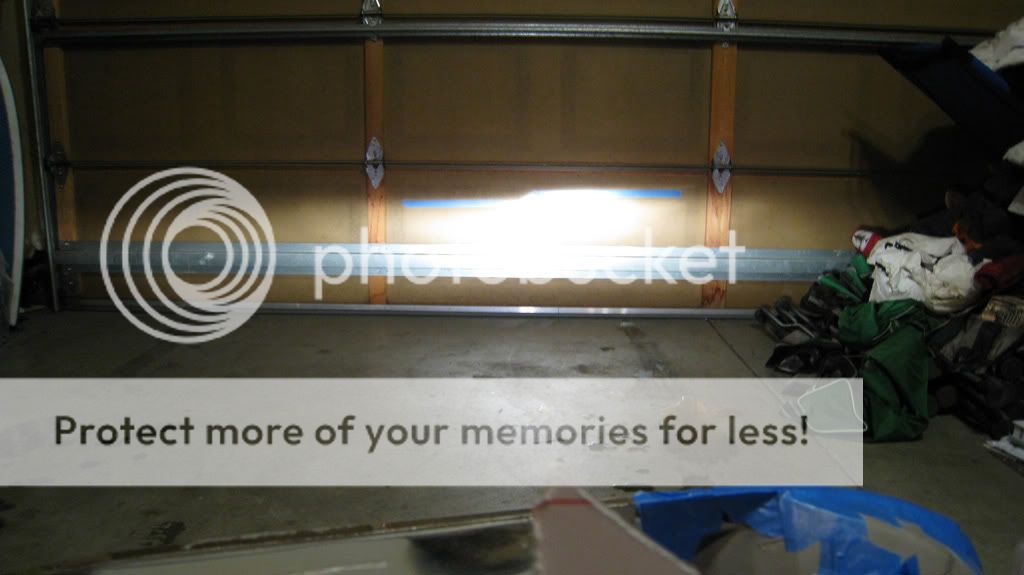
then after all the cutting and mounting and fitting and crap, i got this...
painted the cutoff shield as well as the front portion of the projector's inside high temp low gloss black to further reduce glare. also makes the projector look cool when its off because its just like a black hole, lol
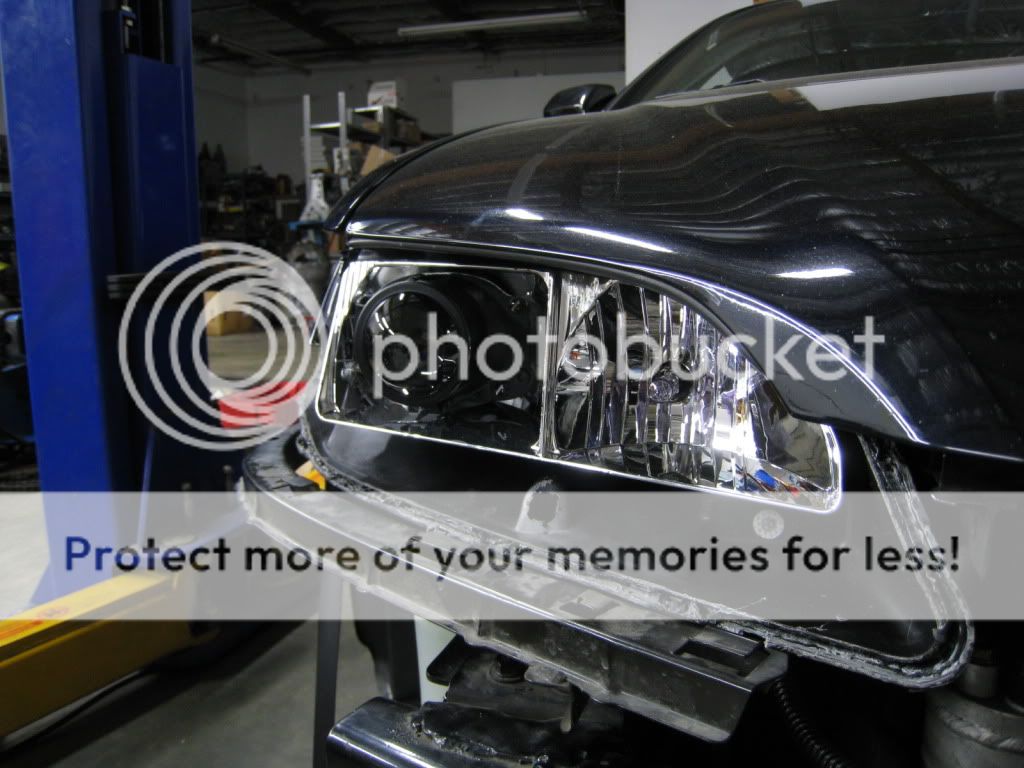
getting ready for adjustments...
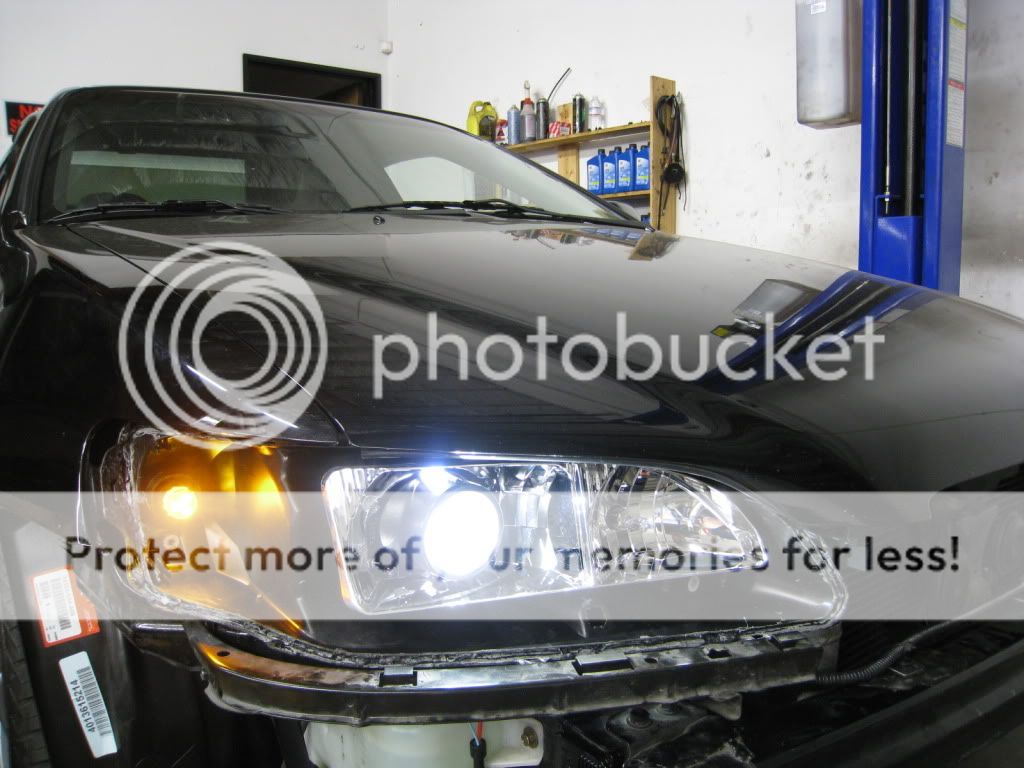
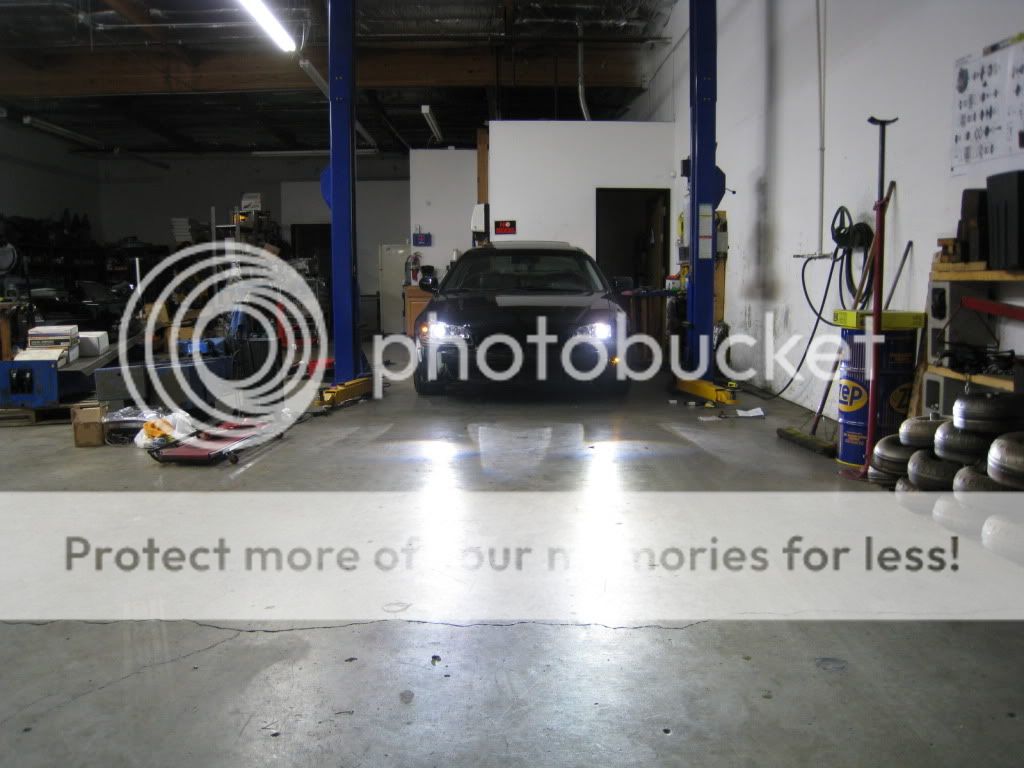
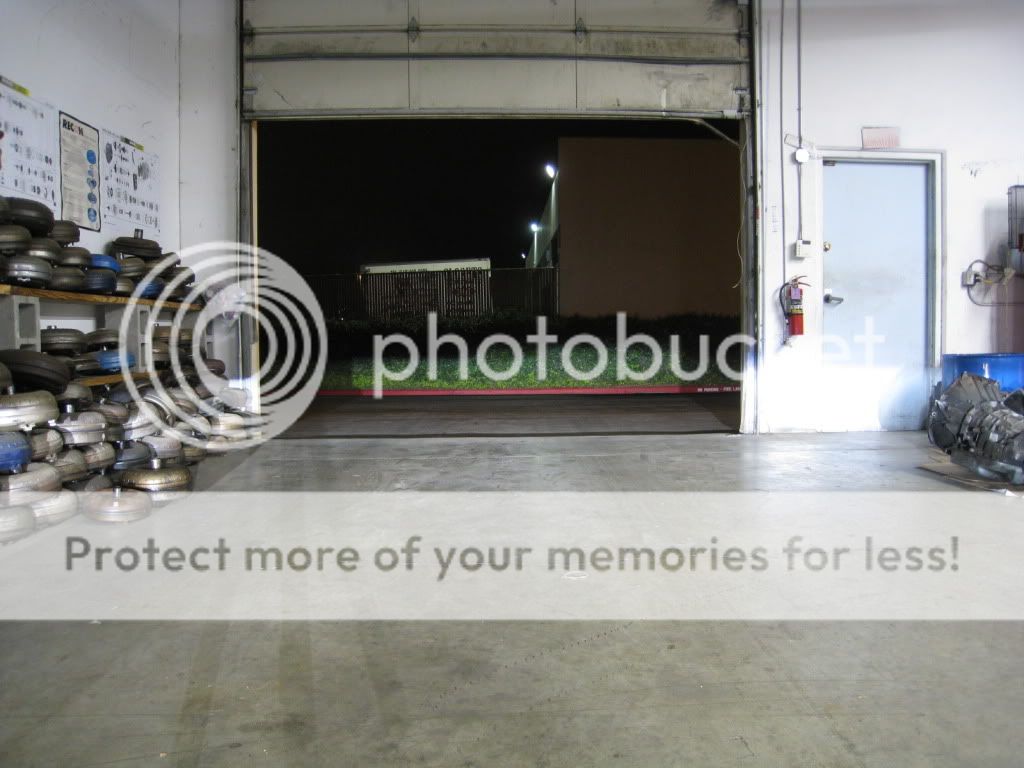
sorry, no wall shots just yet but i did check everything and after a few minor adjustments, everything's level and straight and aimed properly.
then i cut and dry-fit the shrouds (no pics)
and now onto the part thats never been done before...
led strips stacked one on top of the other then epoxied together. one's white and ones amber.
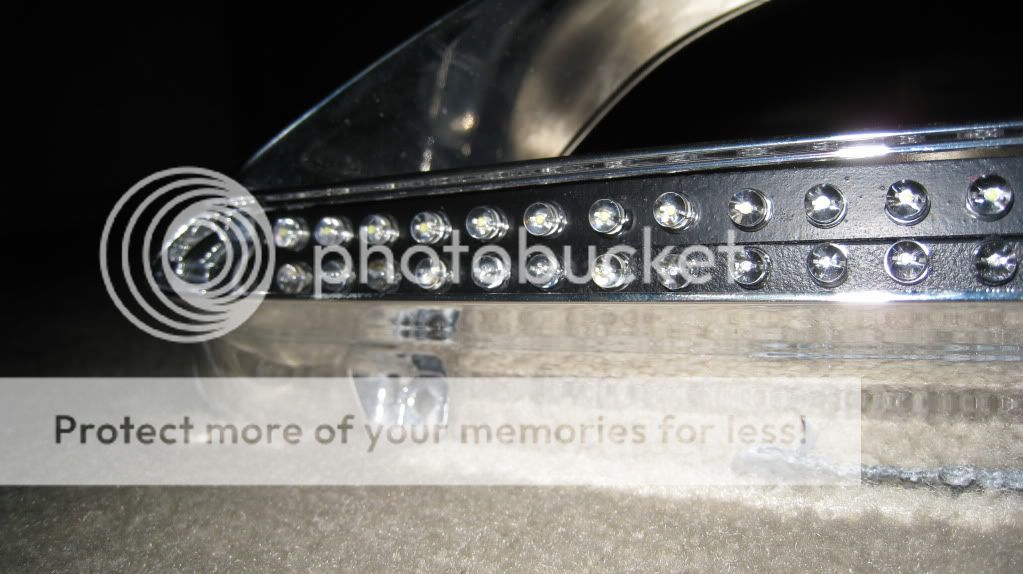
dremeled out the corner reflector area and shoved some cut down strips behind there as well... same scenario... white and amber
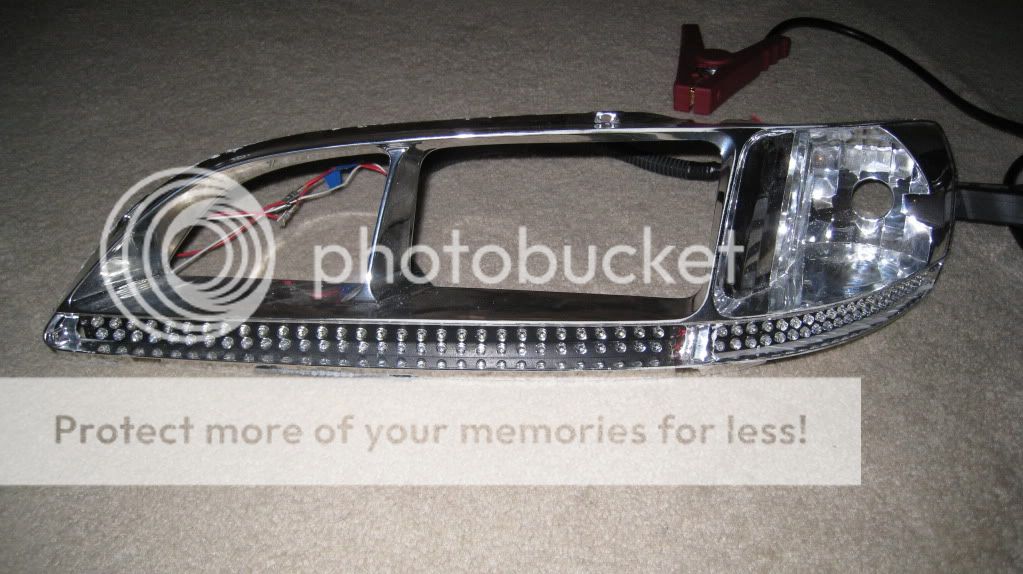
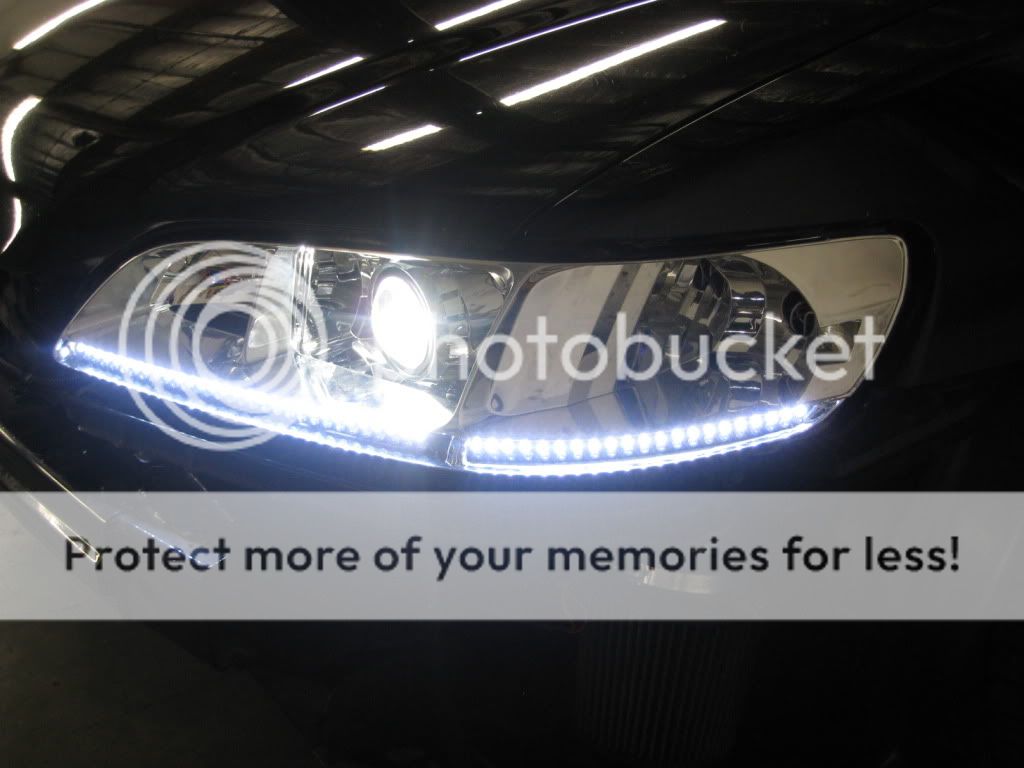
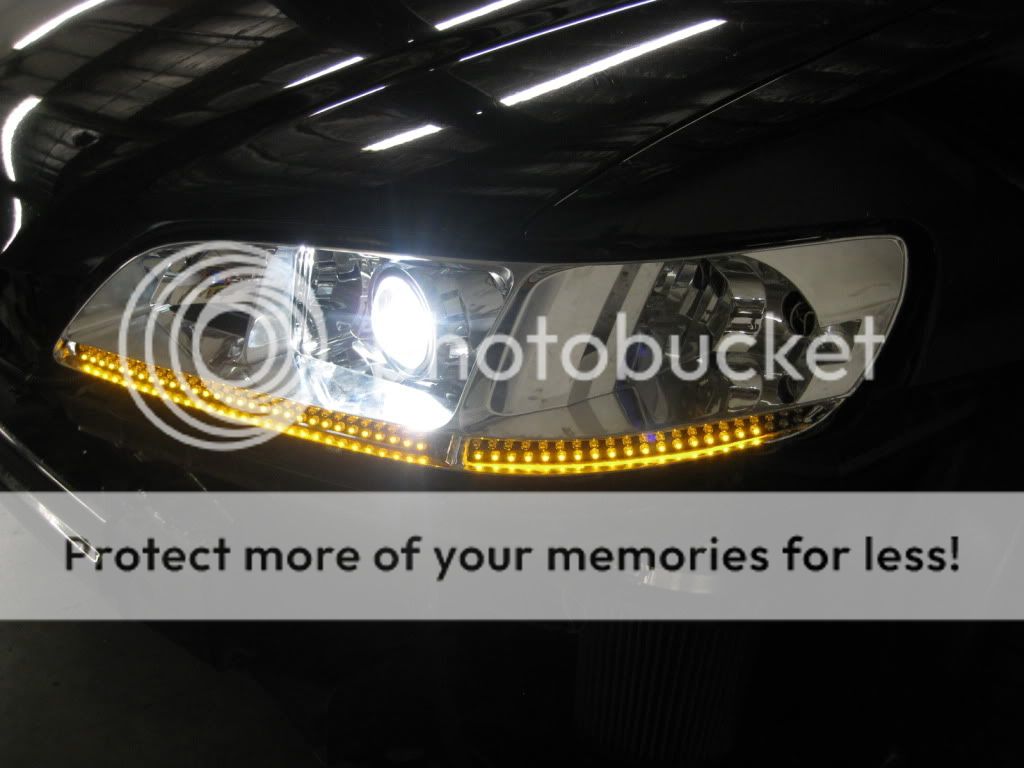
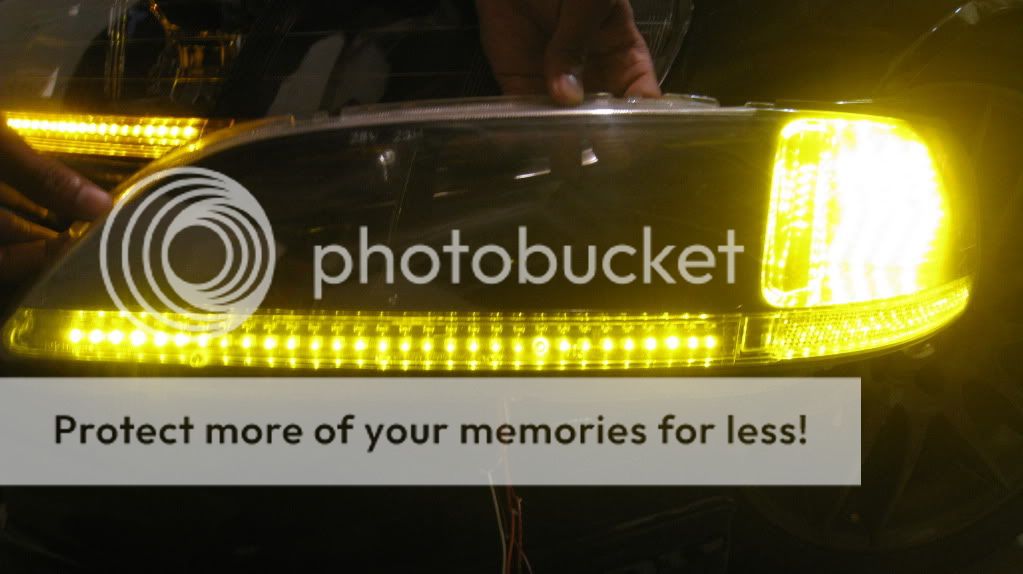
so here's how they work.... when i have my parking lights/headlights, on... the white strip is on, then when i hit the blinker/hazzards... the white ones turns off and instantaneously the amber one turns on, giving the headlight the switchback look. i later built an led array for the side pocket too with the same white and amber look.
blinker on... (i know about the 3 off leds on the side, i already fix them)
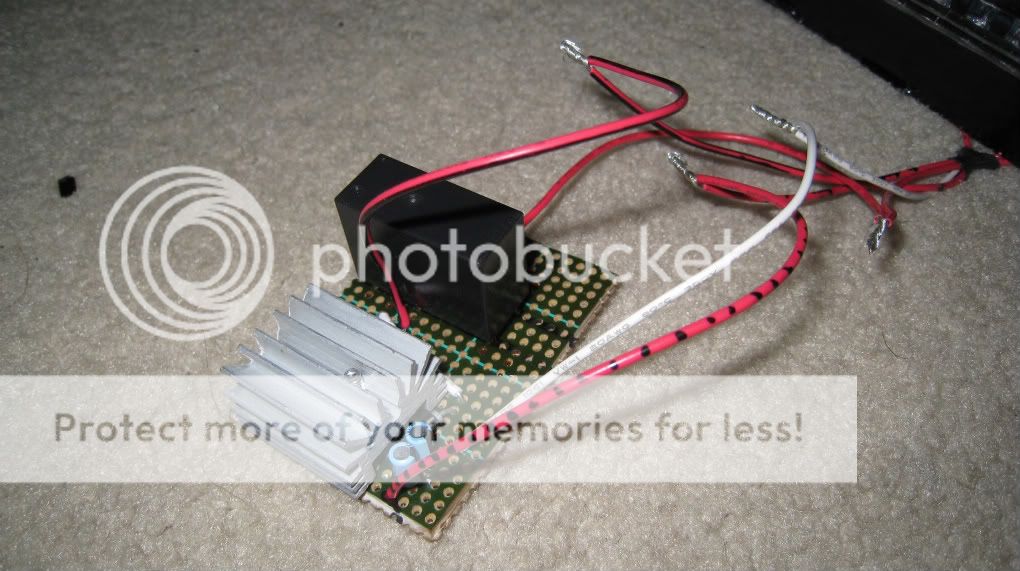
and here is the voltage regulator and relay which controls the LED work... this will be mounted externally in a water tight enclosure and will be plug and play so that if the relay ever goes out on me, i can unplug the box, swap the relay and put it all back without the need to rip the headlights open again... my original plan was to have everything internal.
now things start to get cleaned up, painted, and perfected...
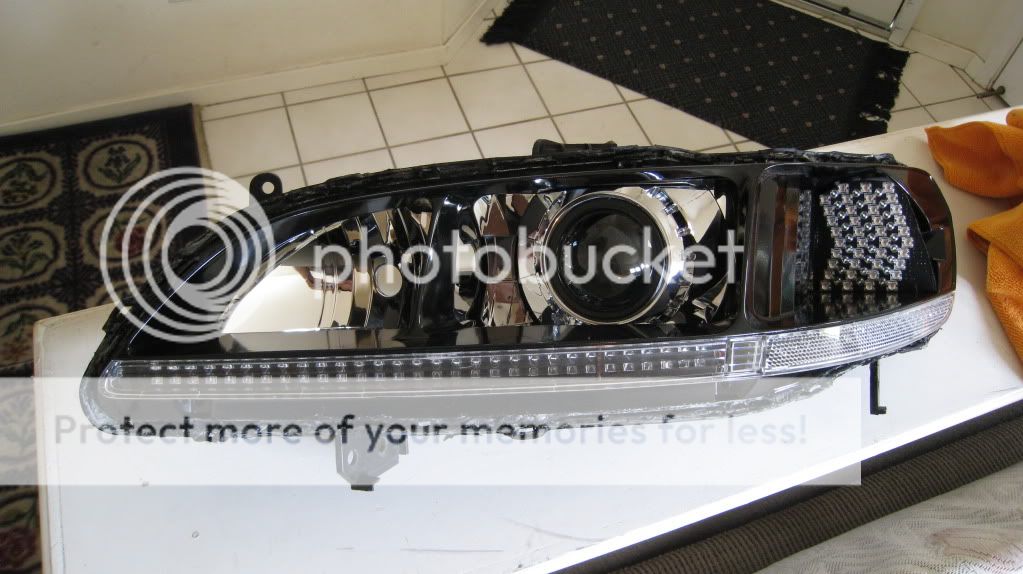
the led board is built and installed as well as having the housing painted semi gloss high temp black.
without the clear strips...
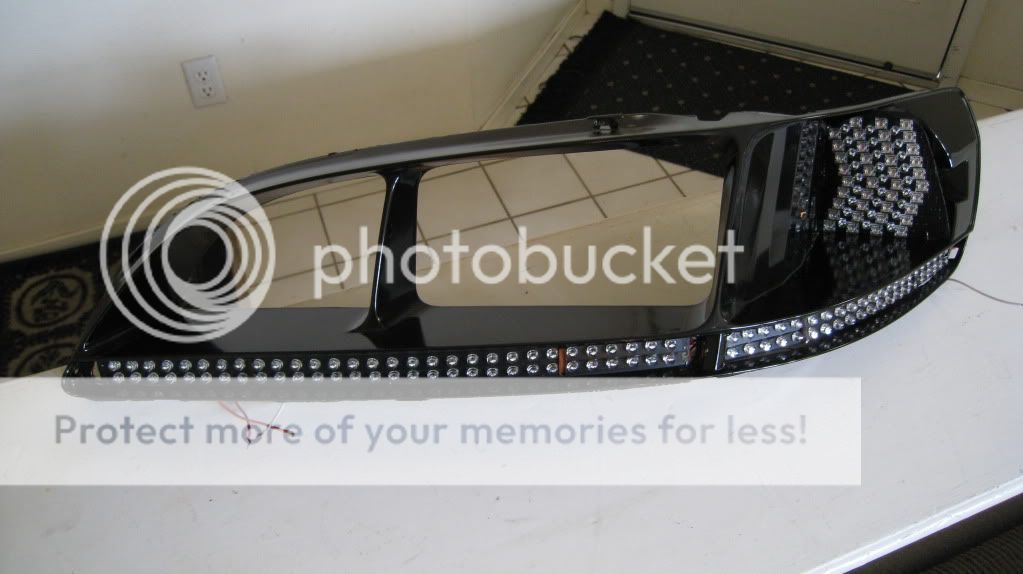
with the clear strips, the leds shine through no problem...
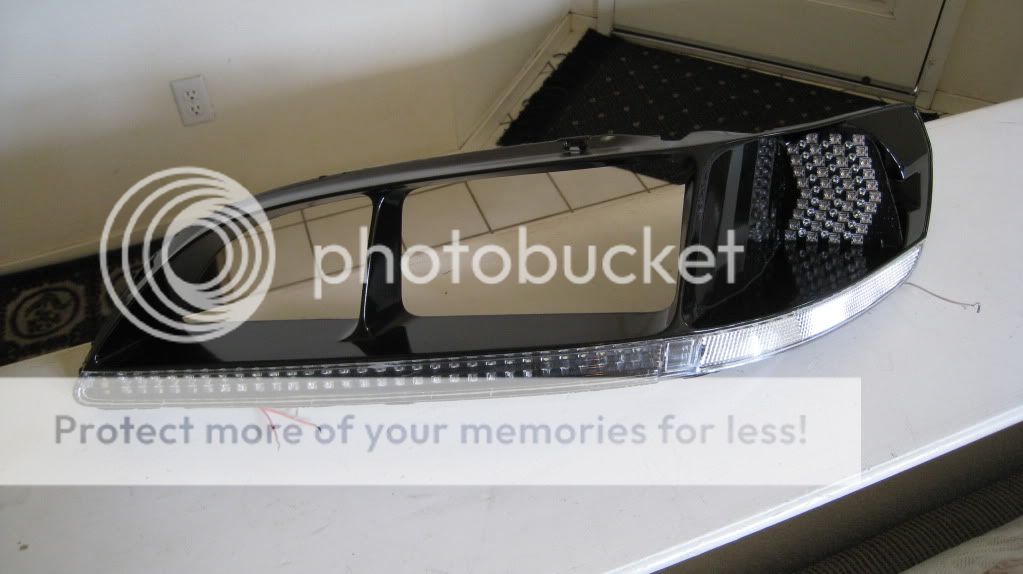
now the crazy *** wiring inside which is all hidden and will be protected from the high heat projector later with some wire loom and duct tape...
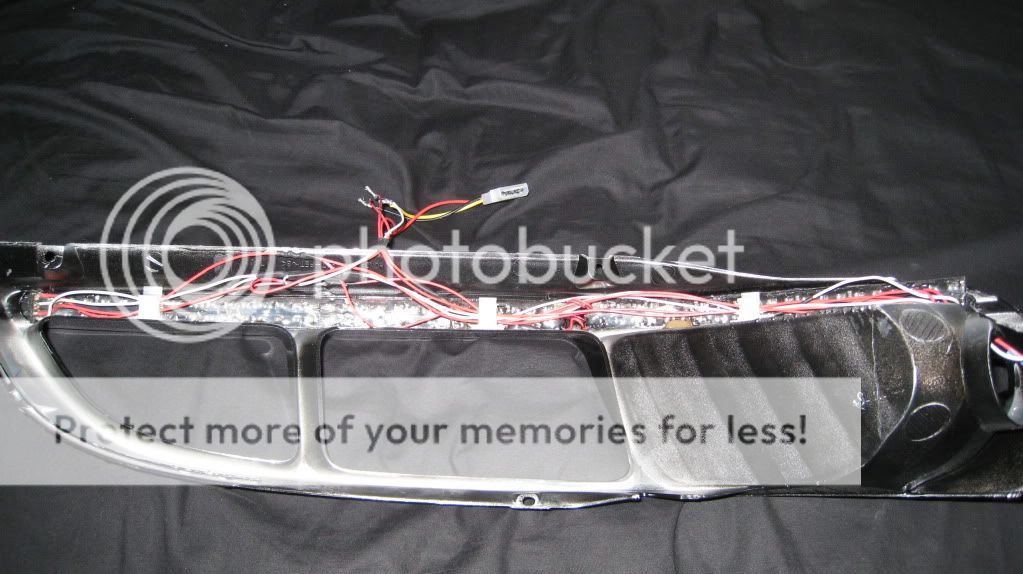
another angle... notice the 1157 bulb base on the side there, even with all this customization going on inside, they still simply plug into the bulb holder, no external splicing and dicing neccessary!
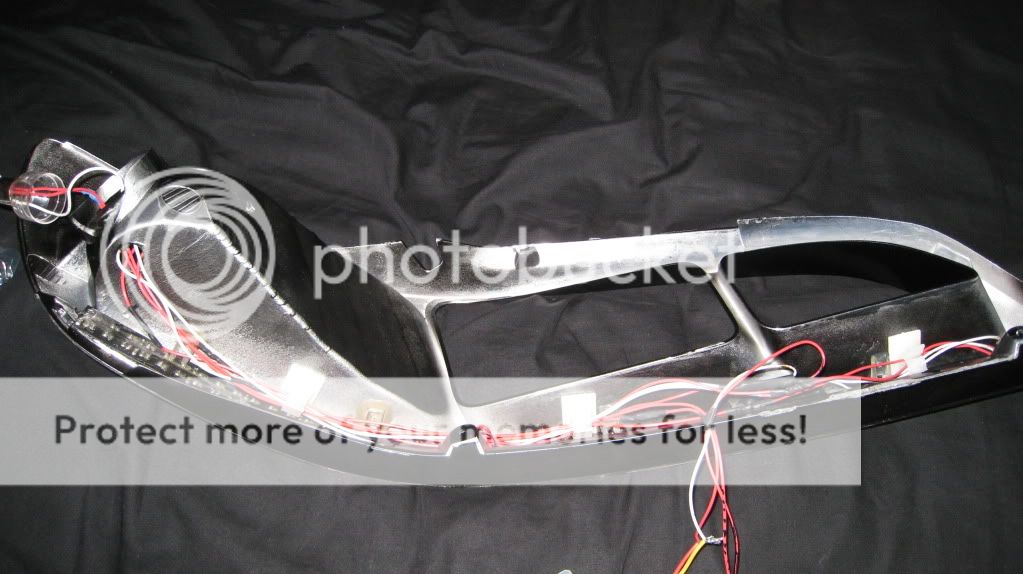
back of the projector sealed up with high temp rubber butyl tape... no leaking here... that OEM rubber seal is still on there too, i trimmed it a bit and put it on THEN applied all this rubber butyl tape so its very sealed up now.
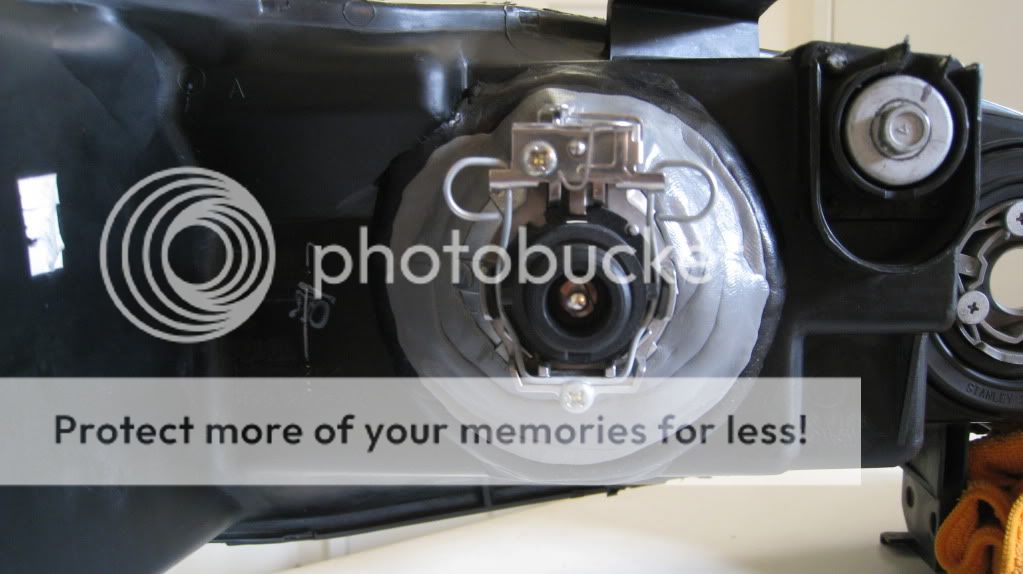
and here's where i am currently...
picked up these clear lense halos locally for cheap... bottom one is how i bought them, top is after my restoration on them. im tearing those open tomorrow and putting them on my retros.
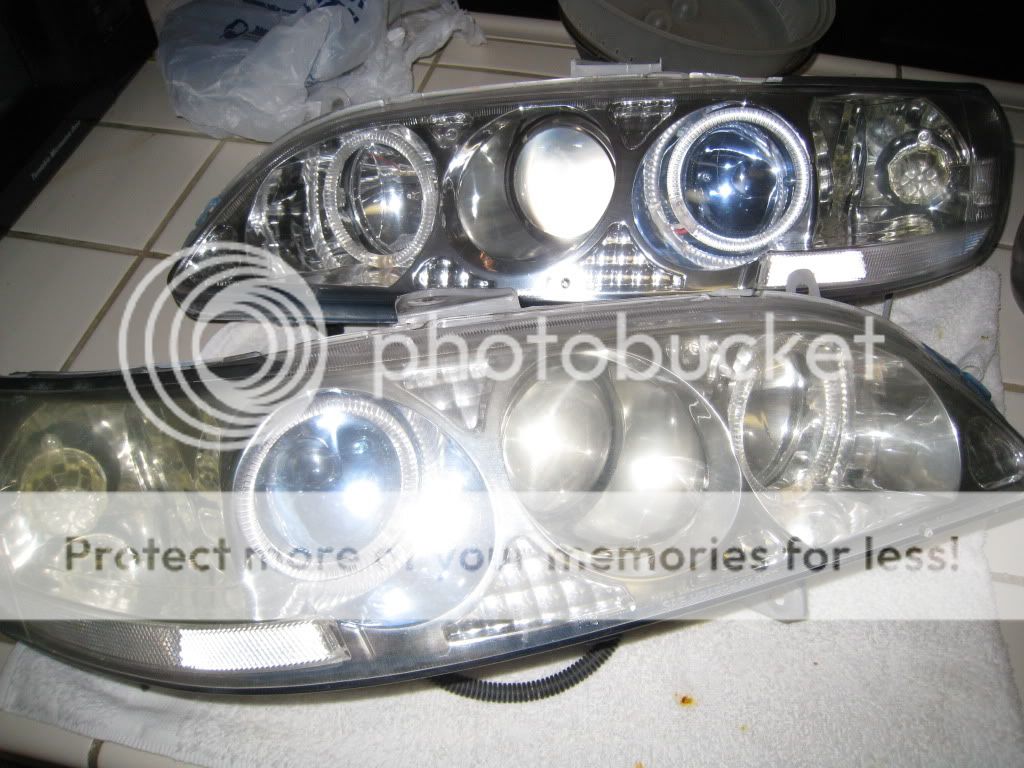
its still gonna be at least a week before they're sealed and on the car because i still need to build the led array for the other headlights, still need to cut and fit the strips for that side, basically everything LED related to the passenger side still needs to be done and that one board in the side takes me 5hrs to make so its a slow and steady process.
Questions i know im going to get:
1. Projector is Clear lensed TSX, not color modded
2. Shrouds are E46 replicas available from the retrofit source on ebay
3. The projector is mounted to the reflector, not the housing... i didnt use the JnC method because i couldnt perfect it so i stuck with the simple 3-4 bolts straight through to the back of the reflector, i made the holes a little oval shaped so that i could adjust a little bit, i did most the prep work earlier so i wouldnt need to adjust big time.
4. LED strips are from lck-led.com
5. no i will not make a DIY because its just too damn complex to explain all the led stuff, especially the switchback part.
6. will i make these (the led part) for other people... as i told another member who already PM'd me about it, i would love to help out the community by providing a service but what good is the service if the products fail in a few months... basically all this stuff is not really tested fully yet so im gonna run with these for a few months and see how things go, if all's good them sure i'll start taking orders, but just be ready for the price
7. using a 55W DDM D2S HID kit with 6000k bulbs (going to use 4300k 85122 bulbs in the near future)
8. also using DDM's wireharness
ok, its getting late, bed time... enjoy
stay tuned for updates... there will be a new video too showing the switchback action mid week maybe.
oh and i HAVE to thank ericspda for alllllllllllll the help he's provided me in figuring this crap out, the guy is a saint imo, i must have annoyed him so many times with my problems, lol. thanks for putting up with me
===================================
edit: 6/14/09
here's a video i made while things were in the earlier stages, havent made a recent one yet but thats coming soon.
http://www.youtube.com/watch?v=UES97xtturg
edit:
edit:
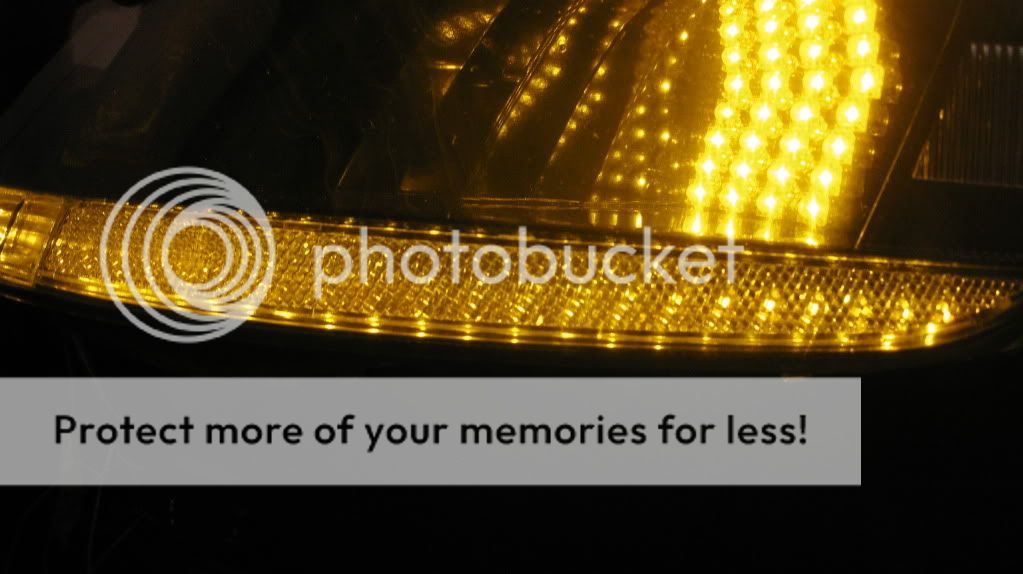
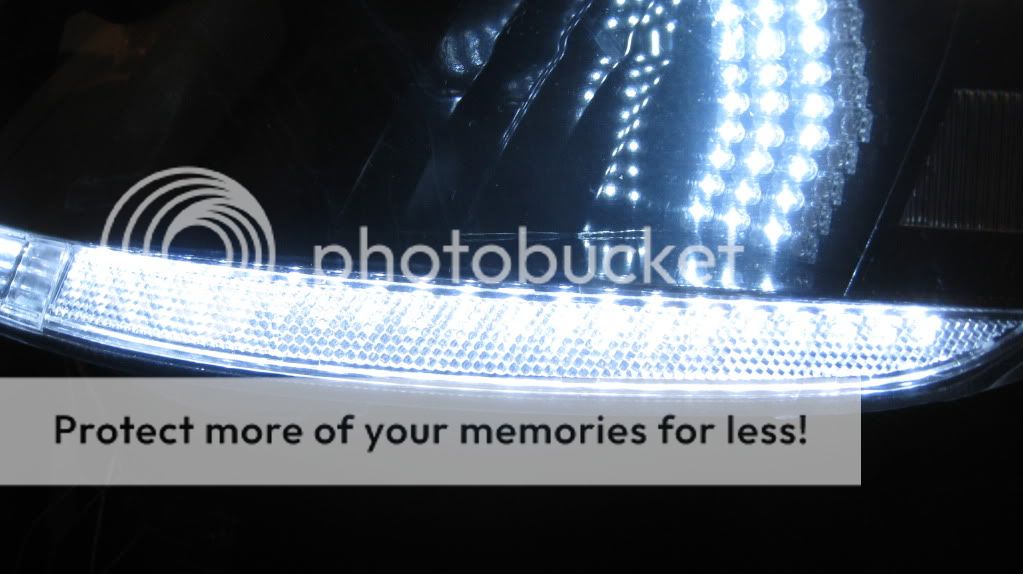
pics with all leds lite up. whites are not actually that blue, in fact, they're very neutral looking in person. the white balance on my camera was inaccurate so the whites look blue and the ambers look light yellow. trust me when i say they're NOT those colors. once i finish everything and put them on the car, i'll have my buddy with a dslr take better pics.
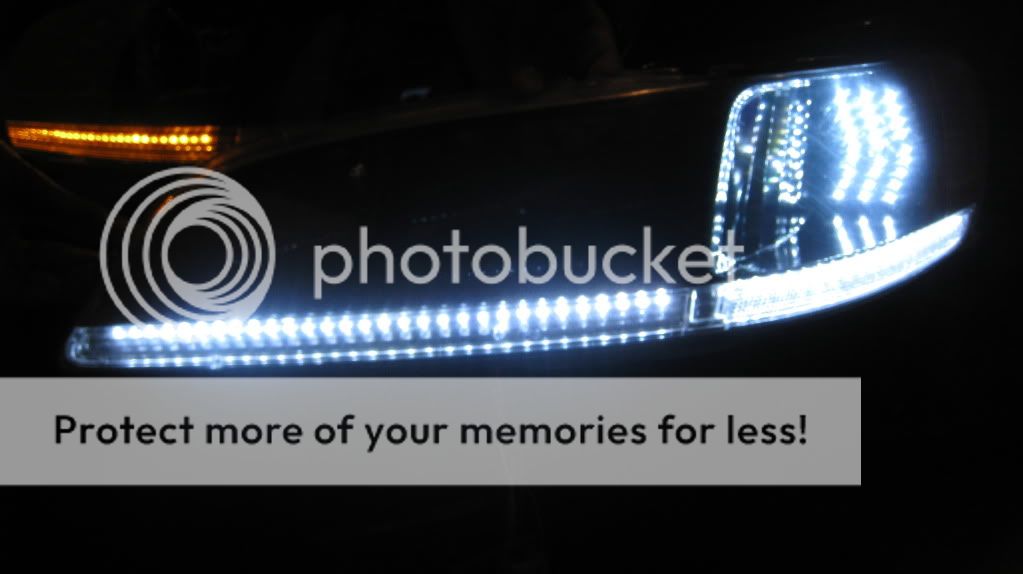
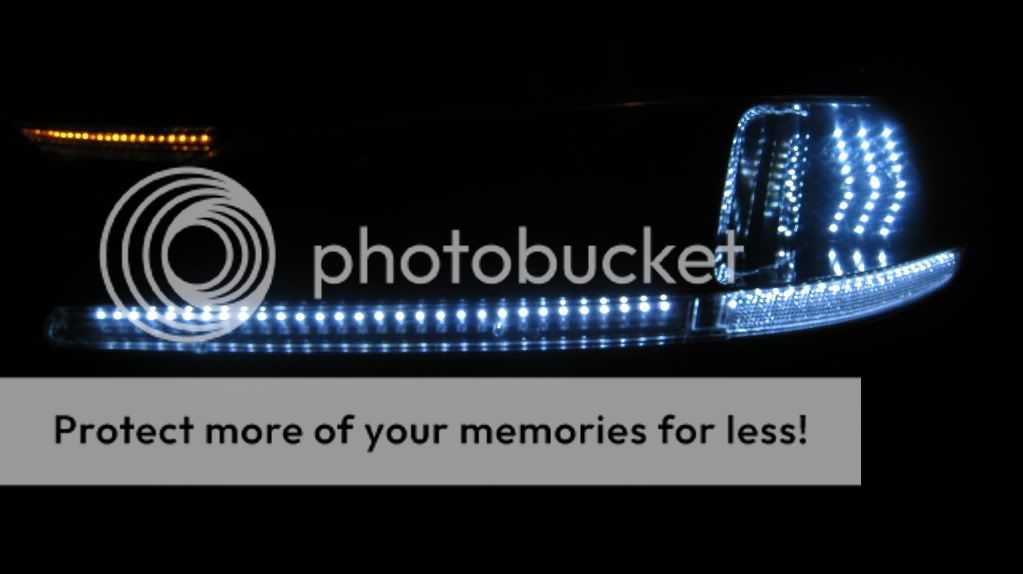
yes the reflector disperses the light a decent amount and i actually kinda like how the whole side reflector looks illuminated
===================================
edit: 8/6/09
sorry, never got to take final pics with my camera because it broke so here's some pics taken by other people and a few by me. project is finally done, thank god.
FINAL PICS ARE NEAR THE END OF THIS THREAD, I CANT FIT ANYMORE PICS IN THIS POST.
The retrofit portion is simply a Clear lensed TSX Projector (not color modded, i want the sharpness more than the added flicker) with replica E46 shrouds. I didnt really take any pics of the process since so many people have done the same thing recently so im just gonna show the pics i did manage to take during the process.
getting a reference point using the stock low beams so that i can minimize the amount of adjustment needed later.


then after all the cutting and mounting and fitting and crap, i got this...
painted the cutoff shield as well as the front portion of the projector's inside high temp low gloss black to further reduce glare. also makes the projector look cool when its off because its just like a black hole, lol

getting ready for adjustments...


sorry, no wall shots just yet but i did check everything and after a few minor adjustments, everything's level and straight and aimed properly.

then i cut and dry-fit the shrouds (no pics)
and now onto the part thats never been done before...
led strips stacked one on top of the other then epoxied together. one's white and ones amber.

dremeled out the corner reflector area and shoved some cut down strips behind there as well... same scenario... white and amber

so here's how they work.... when i have my parking lights/headlights, on... the white strip is on, then when i hit the blinker/hazzards... the white ones turns off and instantaneously the amber one turns on, giving the headlight the switchback look. i later built an led array for the side pocket too with the same white and amber look.

blinker on... (i know about the 3 off leds on the side, i already fix them)

and here is the voltage regulator and relay which controls the LED work... this will be mounted externally in a water tight enclosure and will be plug and play so that if the relay ever goes out on me, i can unplug the box, swap the relay and put it all back without the need to rip the headlights open again... my original plan was to have everything internal.

now things start to get cleaned up, painted, and perfected...
the led board is built and installed as well as having the housing painted semi gloss high temp black.
without the clear strips...

with the clear strips, the leds shine through no problem...

now the crazy *** wiring inside which is all hidden and will be protected from the high heat projector later with some wire loom and duct tape...

another angle... notice the 1157 bulb base on the side there, even with all this customization going on inside, they still simply plug into the bulb holder, no external splicing and dicing neccessary!

back of the projector sealed up with high temp rubber butyl tape... no leaking here... that OEM rubber seal is still on there too, i trimmed it a bit and put it on THEN applied all this rubber butyl tape so its very sealed up now.

and here's where i am currently...

picked up these clear lense halos locally for cheap... bottom one is how i bought them, top is after my restoration on them. im tearing those open tomorrow and putting them on my retros.

its still gonna be at least a week before they're sealed and on the car because i still need to build the led array for the other headlights, still need to cut and fit the strips for that side, basically everything LED related to the passenger side still needs to be done and that one board in the side takes me 5hrs to make so its a slow and steady process.
Questions i know im going to get:
1. Projector is Clear lensed TSX, not color modded
2. Shrouds are E46 replicas available from the retrofit source on ebay
3. The projector is mounted to the reflector, not the housing... i didnt use the JnC method because i couldnt perfect it so i stuck with the simple 3-4 bolts straight through to the back of the reflector, i made the holes a little oval shaped so that i could adjust a little bit, i did most the prep work earlier so i wouldnt need to adjust big time.
4. LED strips are from lck-led.com
5. no i will not make a DIY because its just too damn complex to explain all the led stuff, especially the switchback part.
6. will i make these (the led part) for other people... as i told another member who already PM'd me about it, i would love to help out the community by providing a service but what good is the service if the products fail in a few months... basically all this stuff is not really tested fully yet so im gonna run with these for a few months and see how things go, if all's good them sure i'll start taking orders, but just be ready for the price
7. using a 55W DDM D2S HID kit with 6000k bulbs (going to use 4300k 85122 bulbs in the near future)
8. also using DDM's wireharness
ok, its getting late, bed time... enjoy
stay tuned for updates... there will be a new video too showing the switchback action mid week maybe.
oh and i HAVE to thank ericspda for alllllllllllll the help he's provided me in figuring this crap out, the guy is a saint imo, i must have annoyed him so many times with my problems, lol. thanks for putting up with me
===================================
edit: 6/14/09
here's a video i made while things were in the earlier stages, havent made a recent one yet but thats coming soon.
http://www.youtube.com/watch?v=UES97xtturg
edit:
edit:
pics with all leds lite up. whites are not actually that blue, in fact, they're very neutral looking in person. the white balance on my camera was inaccurate so the whites look blue and the ambers look light yellow. trust me when i say they're NOT those colors. once i finish everything and put them on the car, i'll have my buddy with a dslr take better pics.


yes the reflector disperses the light a decent amount and i actually kinda like how the whole side reflector looks illuminated


===================================
edit: 8/6/09
sorry, never got to take final pics with my camera because it broke so here's some pics taken by other people and a few by me. project is finally done, thank god.
FINAL PICS ARE NEAR THE END OF THIS THREAD, I CANT FIT ANYMORE PICS IN THIS POST.
Last edited:


