

TriNiCorD99
Well-Known Member
Alright everyone so my buddy and i were inspired by some of the newer cars these days such as the lexus GS and decided that we were going to give our cars a bit of a "luxurious" look to it, so we decided that we were going to come up with a way to get courtesy lights in our footwell. So we thought that it would be a neat project to do for spring break since we werent planning on going anywhere. It turned out to be a lot easier than we expected.
Here is what you need:
1. LEDs and resistors (any color and any size that you want, i had extra 5mm white ones left over from my LED dash conversion)
2. Saldering iron
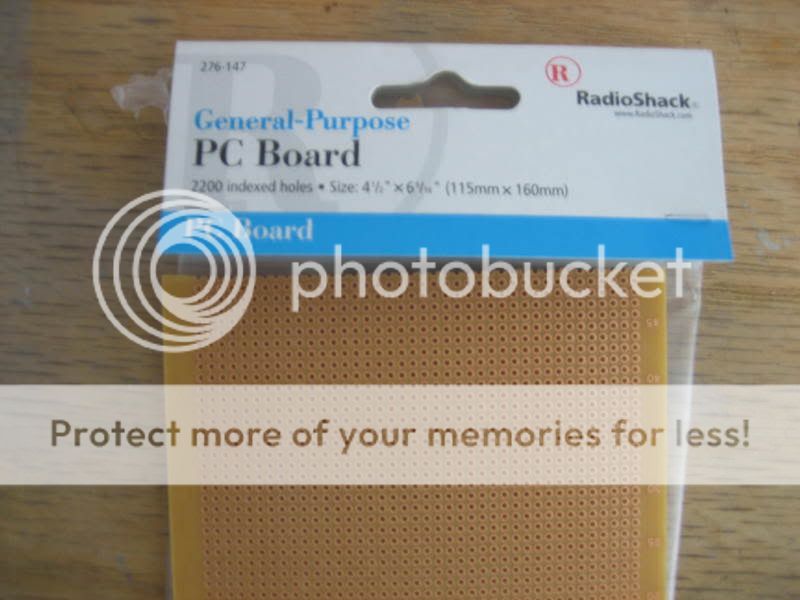
3. Pc Board (radioshack model numer 276-147)
4. 16 gauge wire
5. some zip ties
6. Voltmeter (optional)
Instructions:
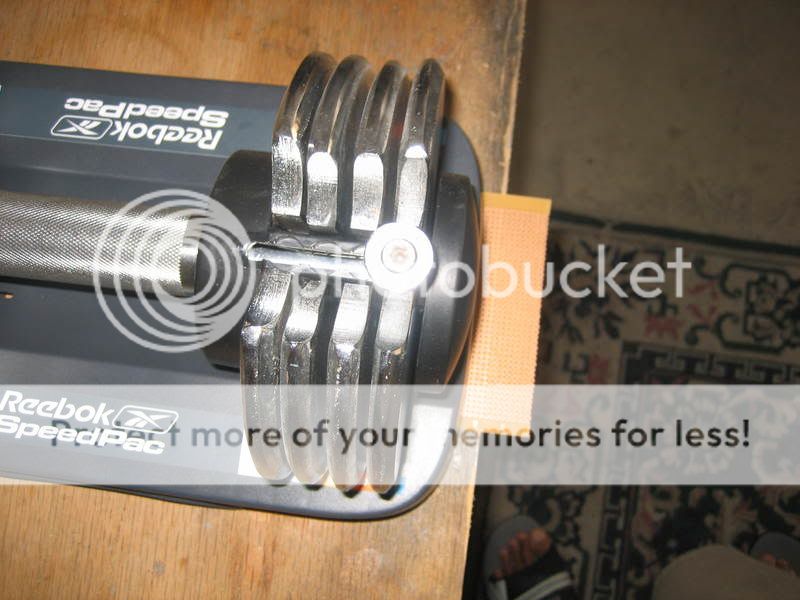
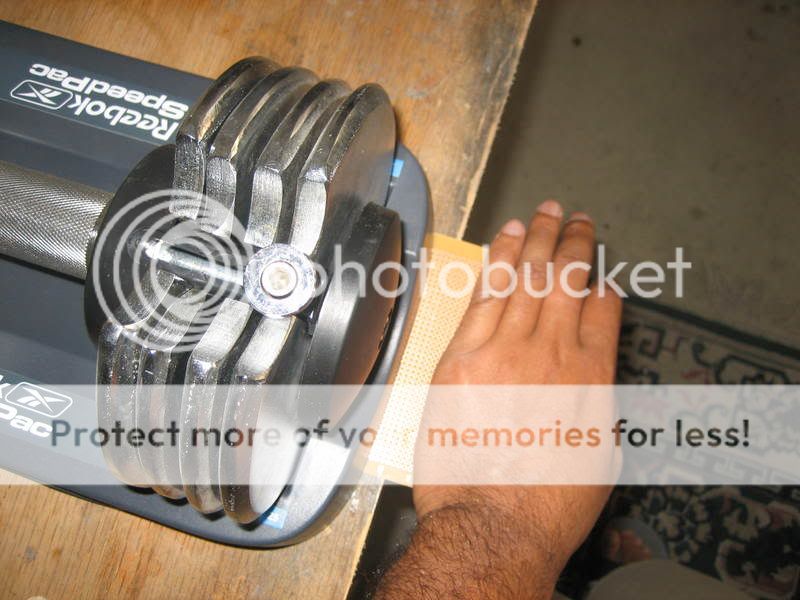
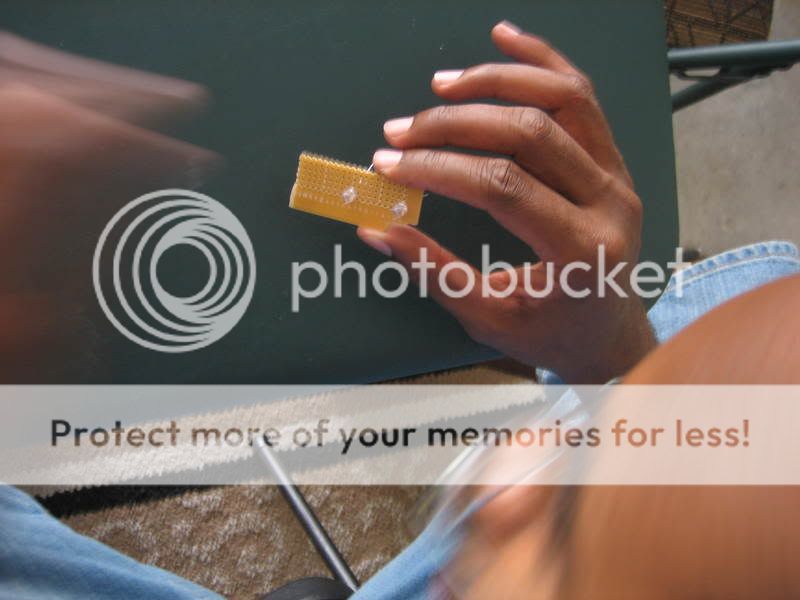
1. decided how big of a light that you would want and break/cut the board. i decided to break it because cutting it seemed like a pain. i used a free weight on the edje of a table and pushed down on the board to break it.

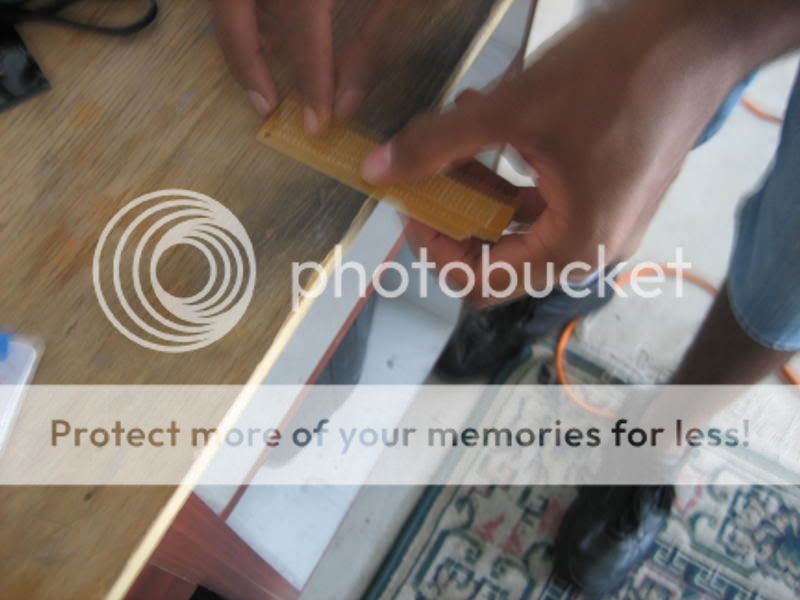
then i broke it in half to get the size that i wanted
2. decided how many LEDs u want to use on each side. I decided to use 3 on each side. NOTE: the more LEDs u use the more saldering u will have to do.
3. evenly space the LEDs out and make sure that there is enough room to place the resistor. NOTE: before i started saldering the LEDs i decided to sand them down so that the light would be a bit more evenly distributed and i wouldnt end up with "hotspots"
4. start saldering in the resistor first on the board and then salder the LEDs one by one in parallel. NOTE: the longer side of the LED is the positive side
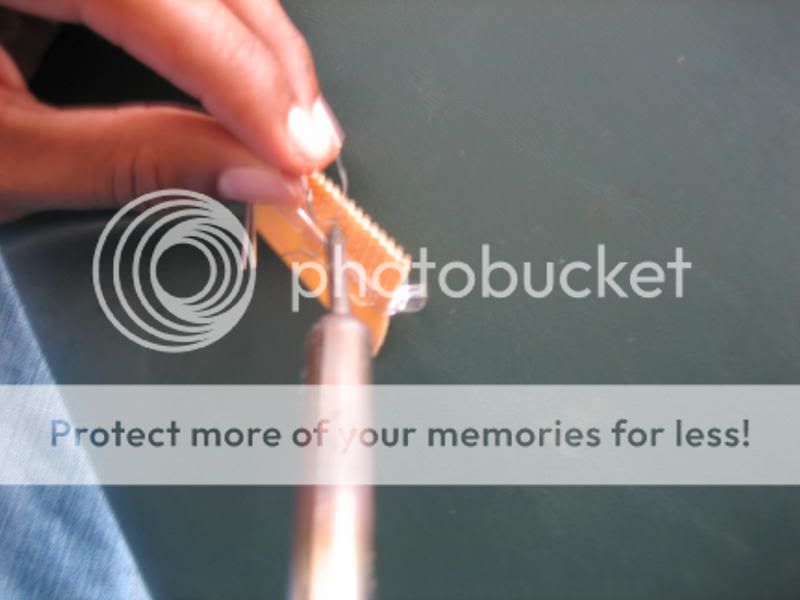
4.5 you can do this step now since you will have already been saldering. salder on a piece of wire on both the positive and negative side of the circuit that you have just created so installing in the car will be easier. NOTE: to make things a bit easier keep the positive wire longer so that it stays in conjunction with the LEDs
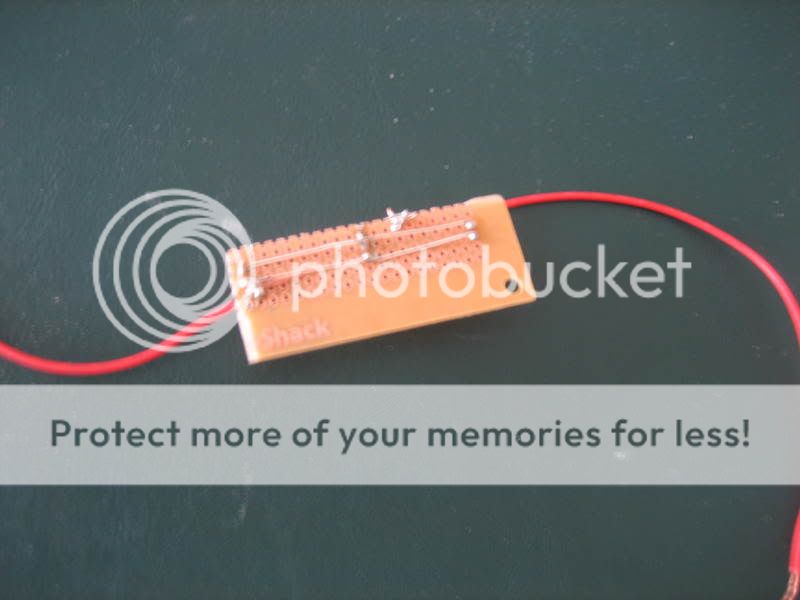
it shoud look something like this when you are done.
Front:

Back:
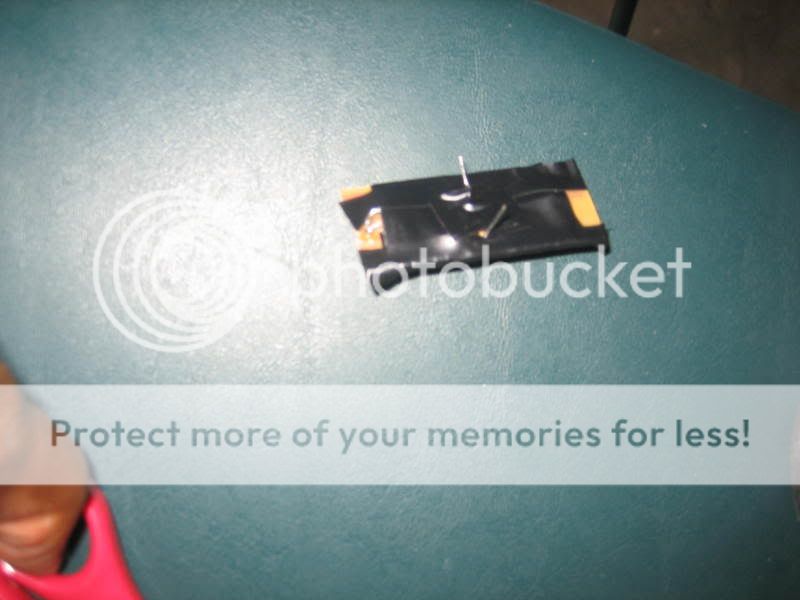
5. to make sure that there was no oped circuitry i decided to tape up the rest of the board with electrical tape because i didnt want anything to go wrong while it was in my car. Remember safety first!!!

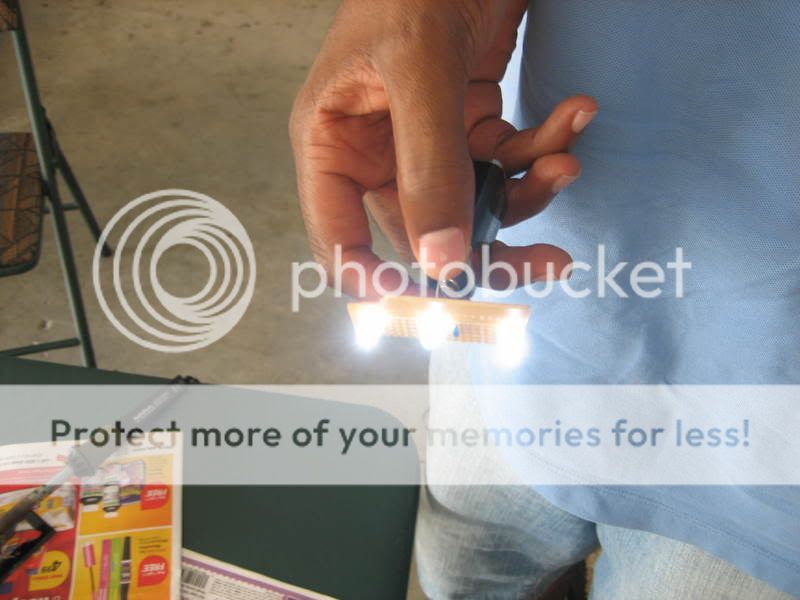
6. Now comes the moment of truth. Take a battery and test it out!!!

7. Once this is done it is time to intall it in the car. Look under the dash by each footwell and decided where you want to place your new creation. I decided to put it in the obvious place.....the middle of each side. Then look for a place to zip tie it to. You can probably use another means of attaching it to the car but it was the easiest way for me at least.
8. Now comes the hardest part to the whole project. You need to now find the positive and negative wires that lead from your door light to the fuse box on each side. It is quite simple to do just detach your door panel and follow the wires back into the fuse box area. Now splice each wire and connect your positive and negative wires from you circuit to the ones in the fuse box. This is where the voltmeter comes in if you have it. you can test to see which one is positive and which one is negative. If you dont have a voltmeter its ok just tap in like normal and connect it.........if it doesnt work then switch the wires. Since they are LEDs and there is a resistor already attached to it, it wont blow if you connect it the wrong way.
9. Now wait for the sun to set get ready to see your wonderful creation at work in the darkness!!!!
BEFORE:

AFTER:


Now go get to it!!!!!
Here is what you need:
1. LEDs and resistors (any color and any size that you want, i had extra 5mm white ones left over from my LED dash conversion)
2. Saldering iron
3. Pc Board (radioshack model numer 276-147)
4. 16 gauge wire
5. some zip ties
6. Voltmeter (optional)
Instructions:
1. decided how big of a light that you would want and break/cut the board. i decided to break it because cutting it seemed like a pain. i used a free weight on the edje of a table and pushed down on the board to break it.
then i broke it in half to get the size that i wanted
2. decided how many LEDs u want to use on each side. I decided to use 3 on each side. NOTE: the more LEDs u use the more saldering u will have to do.
3. evenly space the LEDs out and make sure that there is enough room to place the resistor. NOTE: before i started saldering the LEDs i decided to sand them down so that the light would be a bit more evenly distributed and i wouldnt end up with "hotspots"
4. start saldering in the resistor first on the board and then salder the LEDs one by one in parallel. NOTE: the longer side of the LED is the positive side
4.5 you can do this step now since you will have already been saldering. salder on a piece of wire on both the positive and negative side of the circuit that you have just created so installing in the car will be easier. NOTE: to make things a bit easier keep the positive wire longer so that it stays in conjunction with the LEDs
it shoud look something like this when you are done.
Front:
Back:
5. to make sure that there was no oped circuitry i decided to tape up the rest of the board with electrical tape because i didnt want anything to go wrong while it was in my car. Remember safety first!!!
6. Now comes the moment of truth. Take a battery and test it out!!!
7. Once this is done it is time to intall it in the car. Look under the dash by each footwell and decided where you want to place your new creation. I decided to put it in the obvious place.....the middle of each side. Then look for a place to zip tie it to. You can probably use another means of attaching it to the car but it was the easiest way for me at least.
8. Now comes the hardest part to the whole project. You need to now find the positive and negative wires that lead from your door light to the fuse box on each side. It is quite simple to do just detach your door panel and follow the wires back into the fuse box area. Now splice each wire and connect your positive and negative wires from you circuit to the ones in the fuse box. This is where the voltmeter comes in if you have it. you can test to see which one is positive and which one is negative. If you dont have a voltmeter its ok just tap in like normal and connect it.........if it doesnt work then switch the wires. Since they are LEDs and there is a resistor already attached to it, it wont blow if you connect it the wrong way.
9. Now wait for the sun to set get ready to see your wonderful creation at work in the darkness!!!!
BEFORE:
AFTER:
Now go get to it!!!!!