2002CG3coupe
Well-Known Member
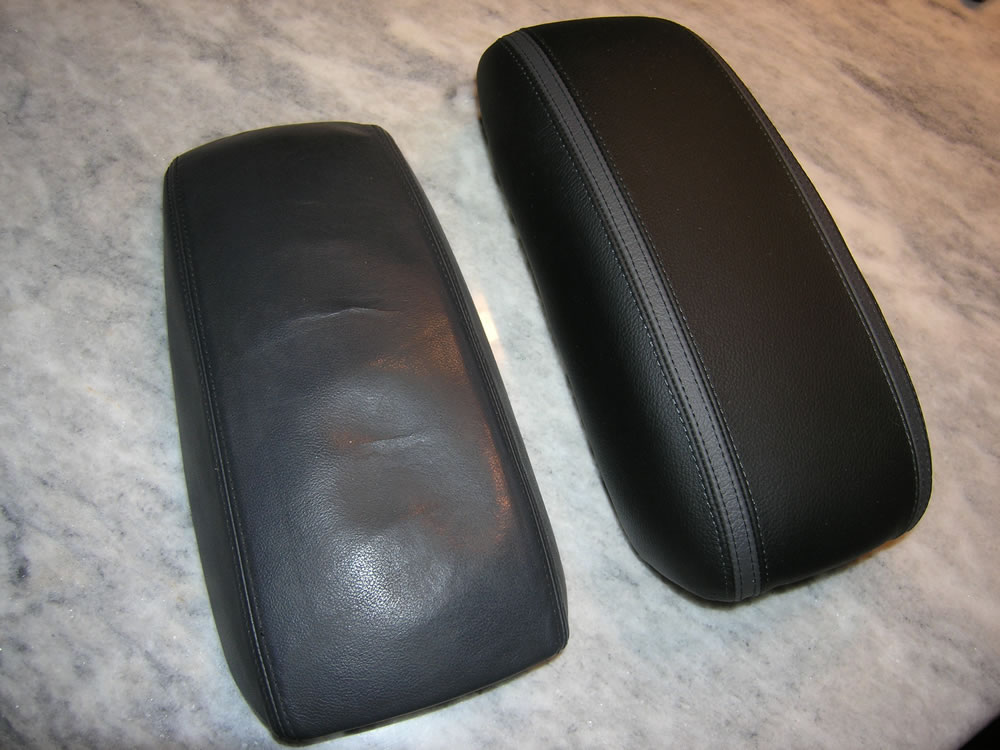
Looks great


The Alcantara I bought for the miscellaneous pieces was $100/yd. It was purchased from the only US distributor (that I could find), Gulf Fabrics via JPM Coachworks.
 Already out of my price range, how much did u need outta curiosity? 3yds? You did a great job, best I have seen, looks very OEM, but I would rather go and buy a mercedes if I got that kinda money sitting around, What was the total $ amount spent?
I really envy this! Superb job you've done, and always good to see the custom work like this. Major props! Just out of curiosity, did your doors become noticeably heavy?
") ) is that it kept me busy for over 6 months. So at that rate, it's not too bad, I guess. I've been buying supplies since about March/April 2012. There is no note on the car. Since I can't afford a Mercedes note, this is what I do instead.
) is that it kept me busy for over 6 months. So at that rate, it's not too bad, I guess. I've been buying supplies since about March/April 2012. There is no note on the car. Since I can't afford a Mercedes note, this is what I do instead.Thats amazing man! I love it.
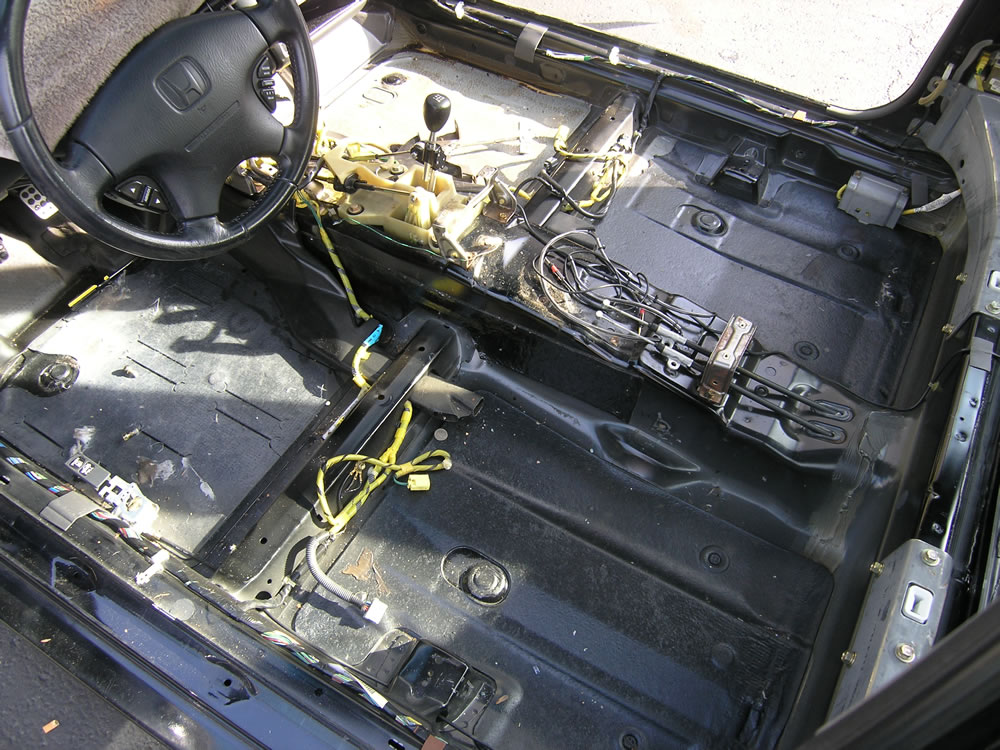
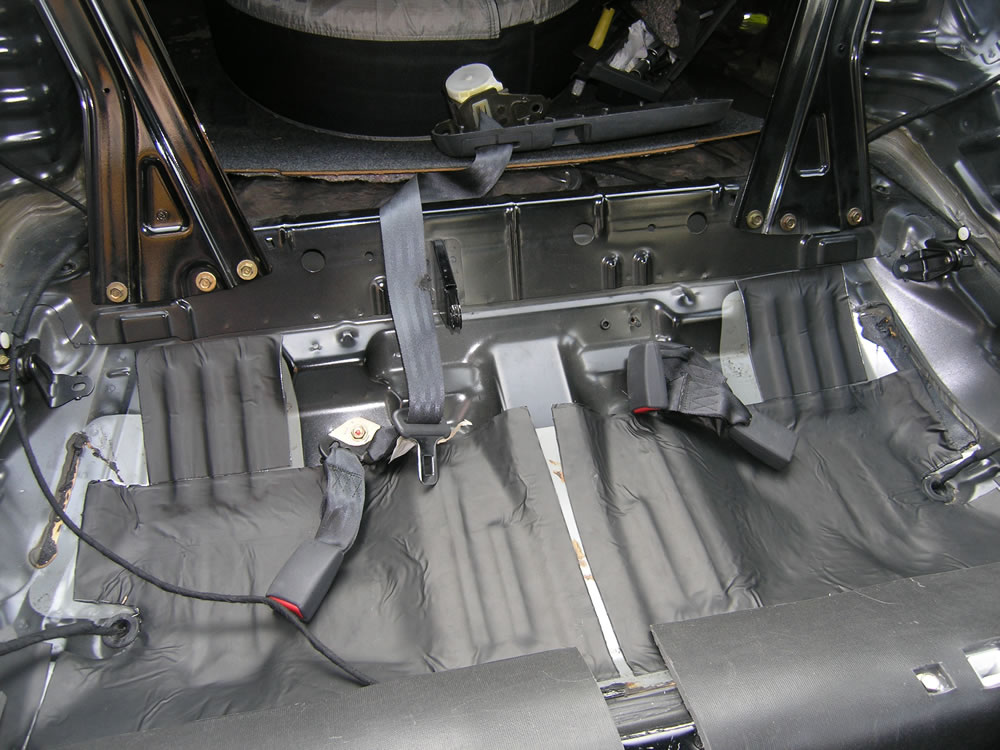
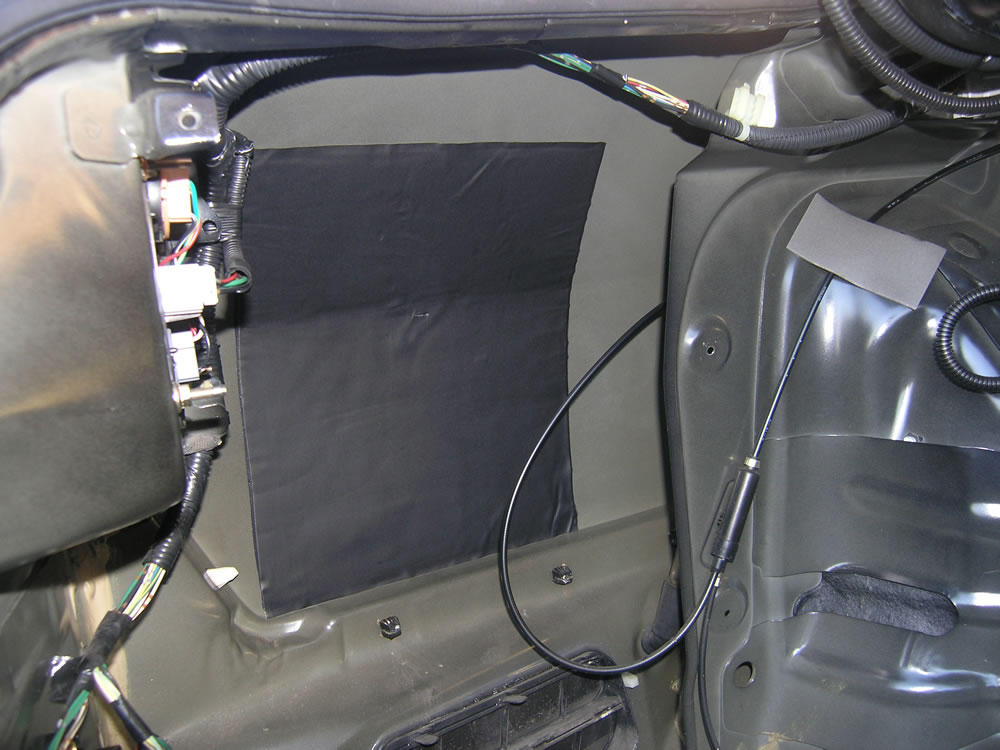
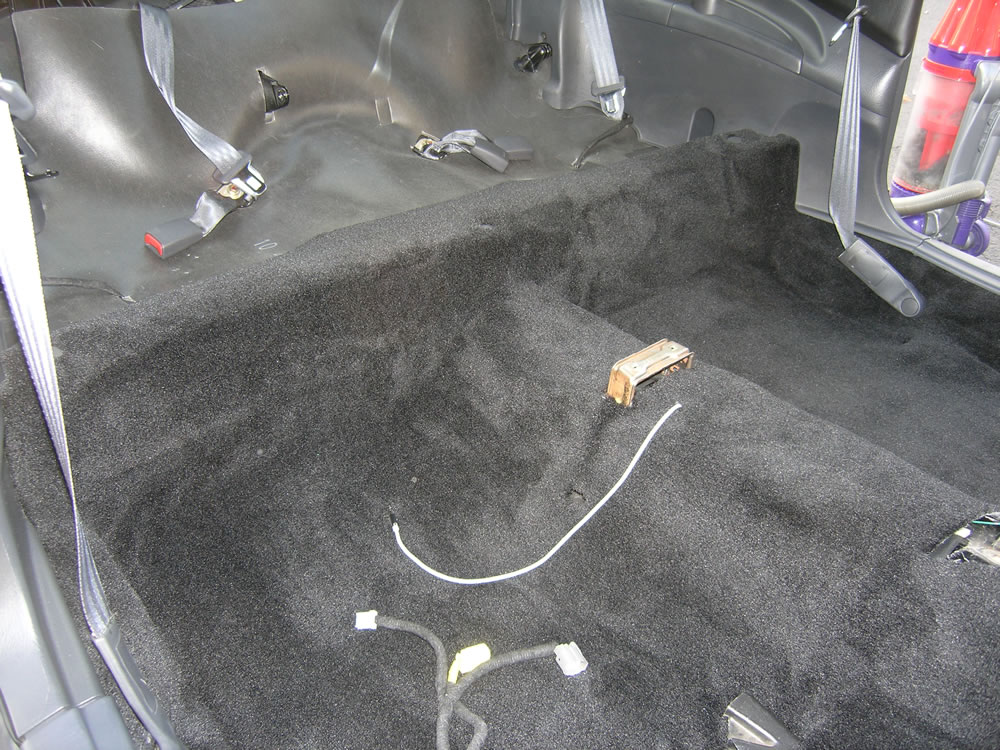
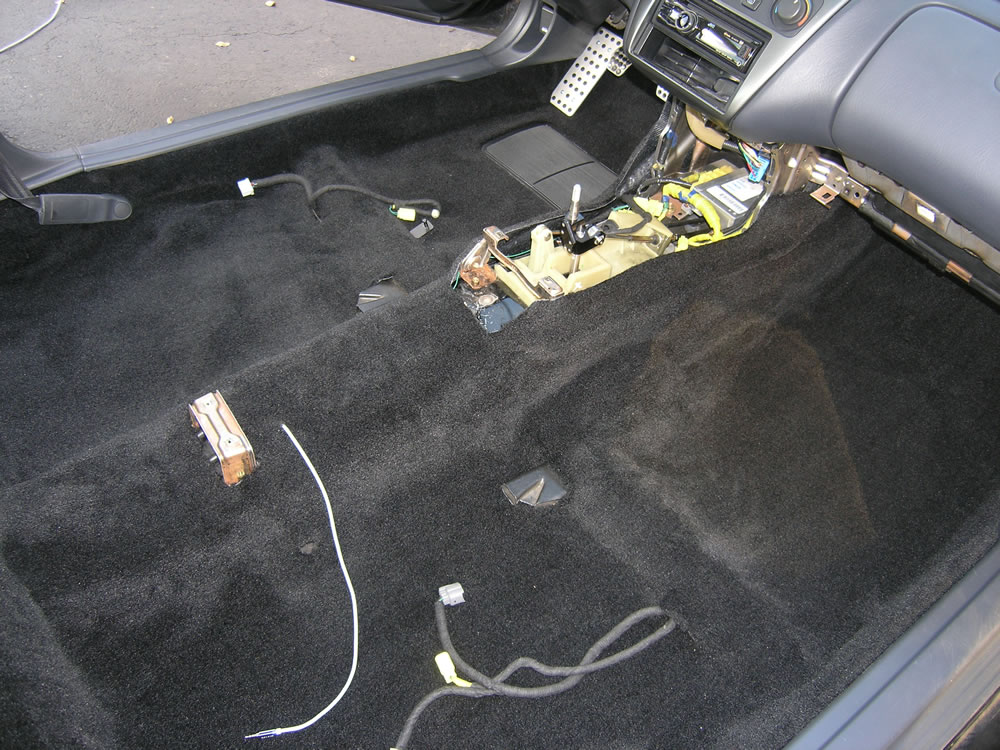
whats the fleece tape around the wires do though?
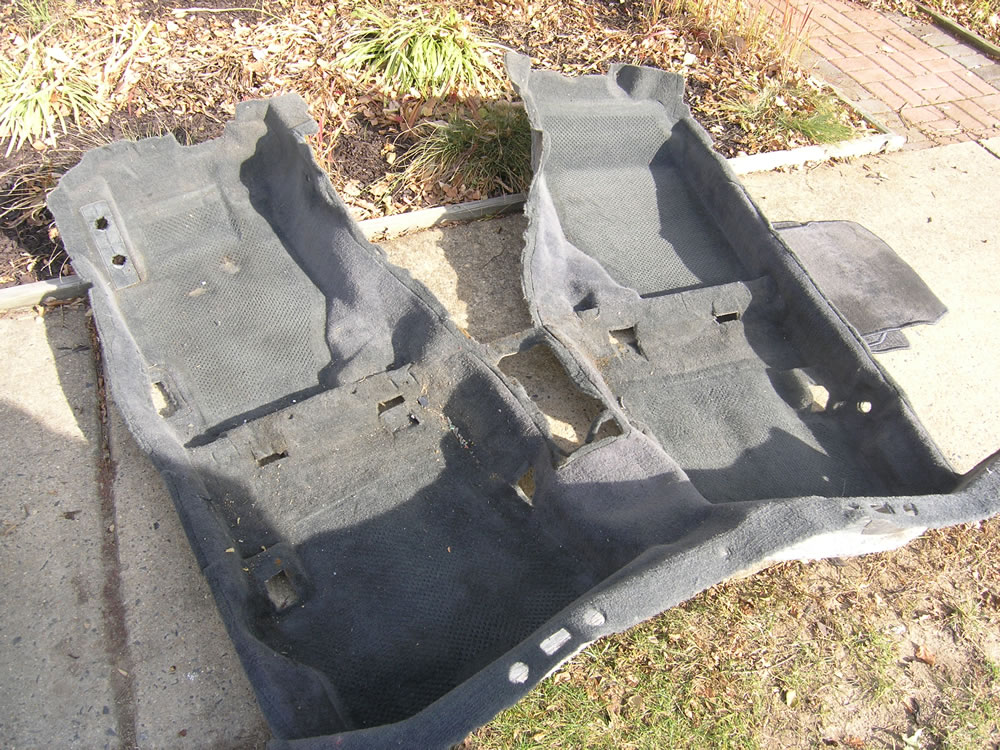
I'm thinking of doing something with the headliner next year. At the very least, I want to put away what soundproofing is left from this phase. But, yeah, a darker color would be better. That's something I noticed right away: pollen and other airborne dust darkens the light material quite quickly.Wow that looks really nice and it shows you did it right and with the right materials. Love the alcantara accents as well.
Any plans for doing the headliner to make it a darker color instead of tan?
):

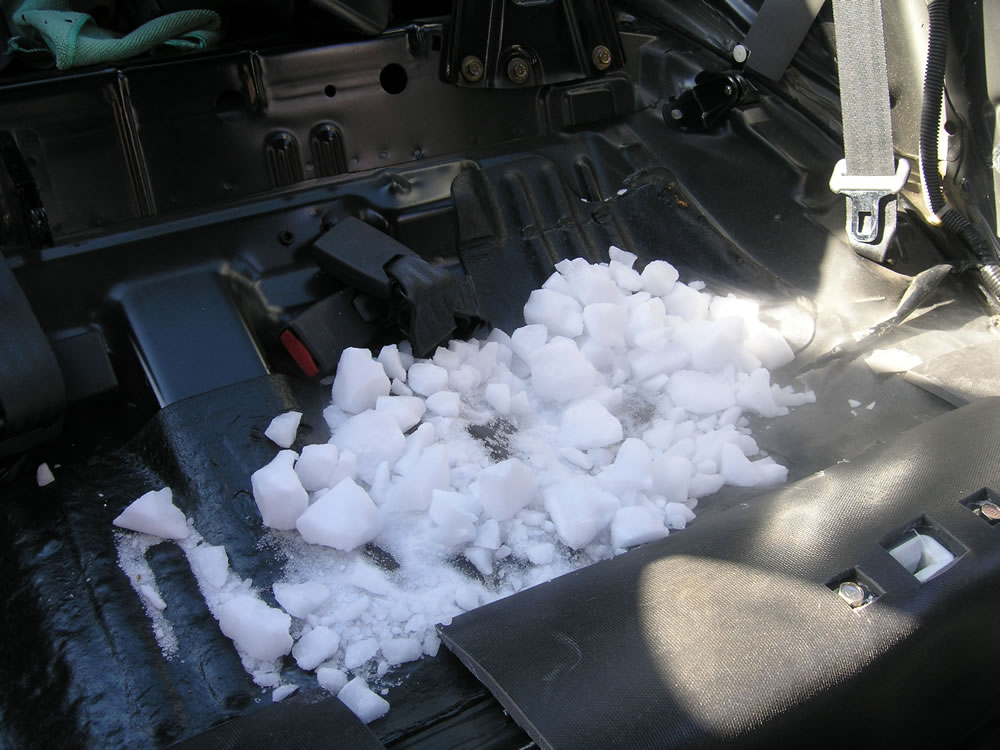
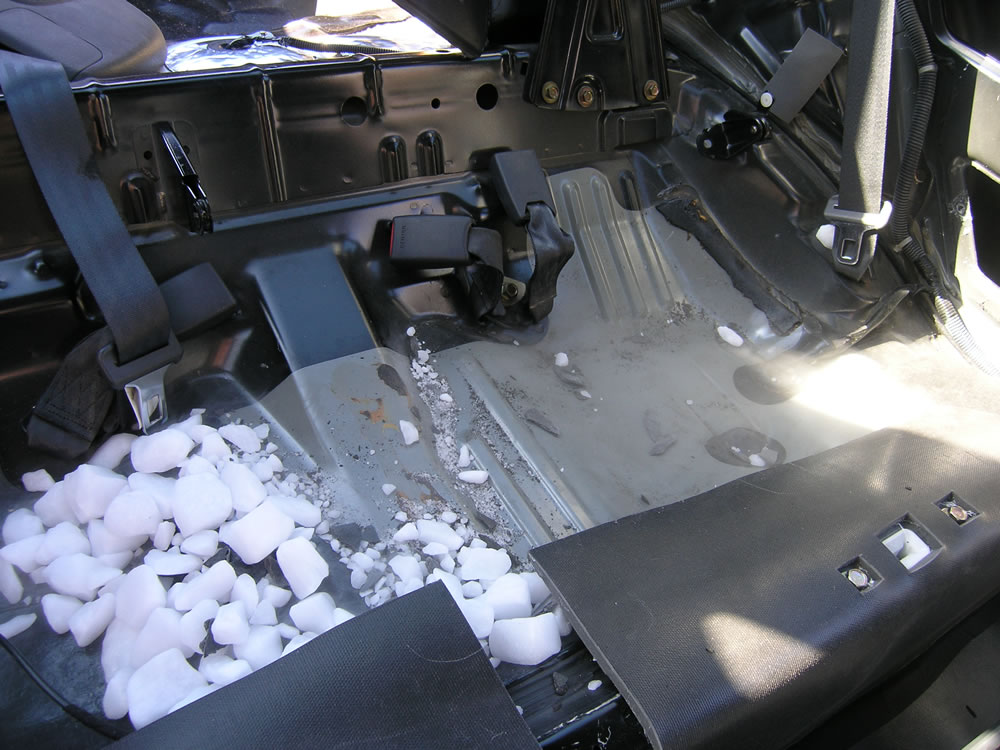

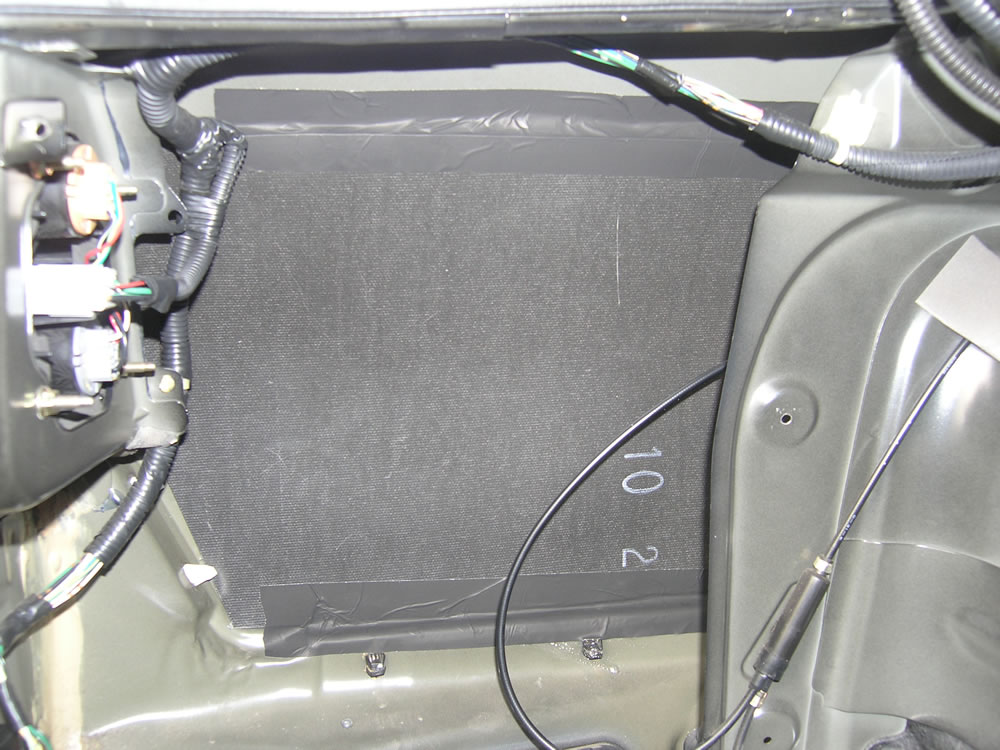
 ...I figured why not? It was either use it here or throw it away.
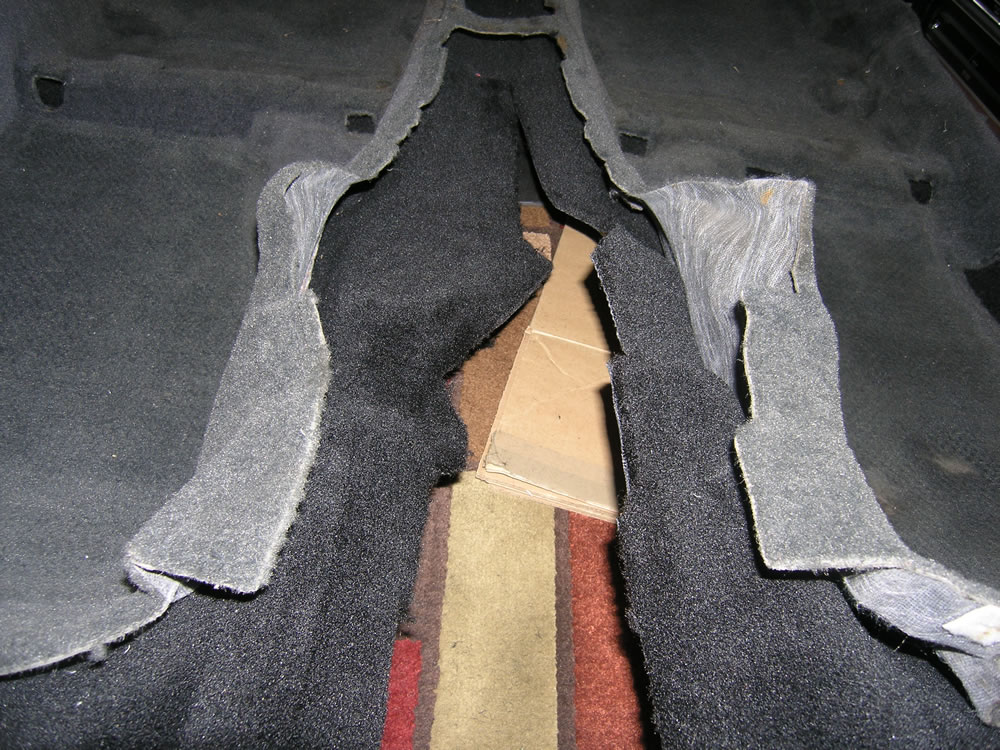
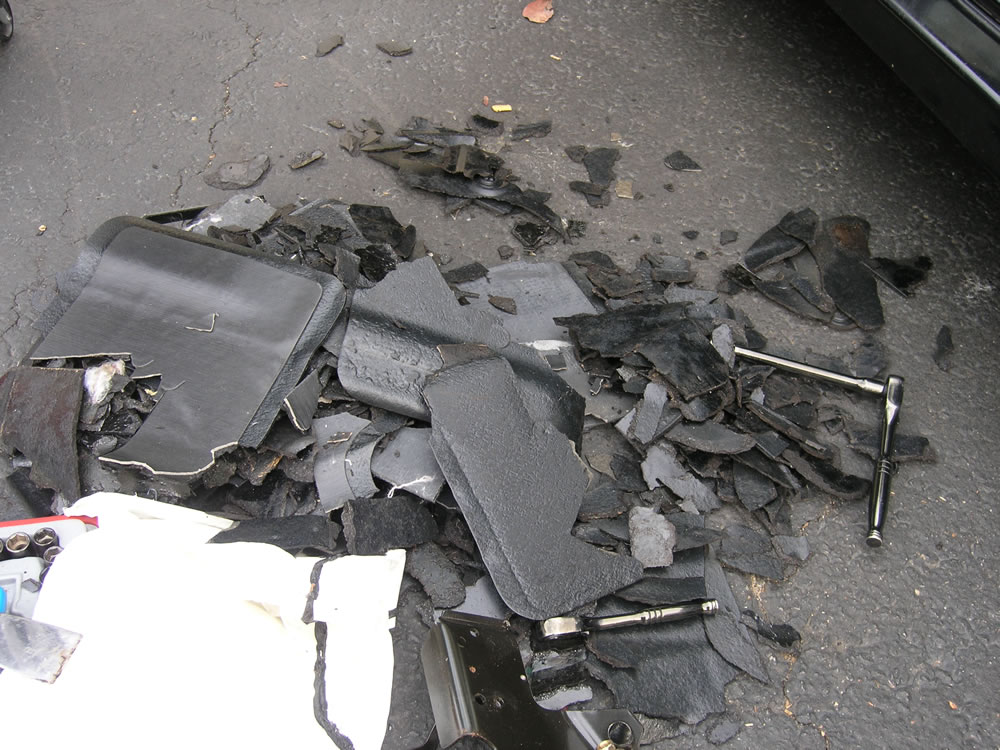
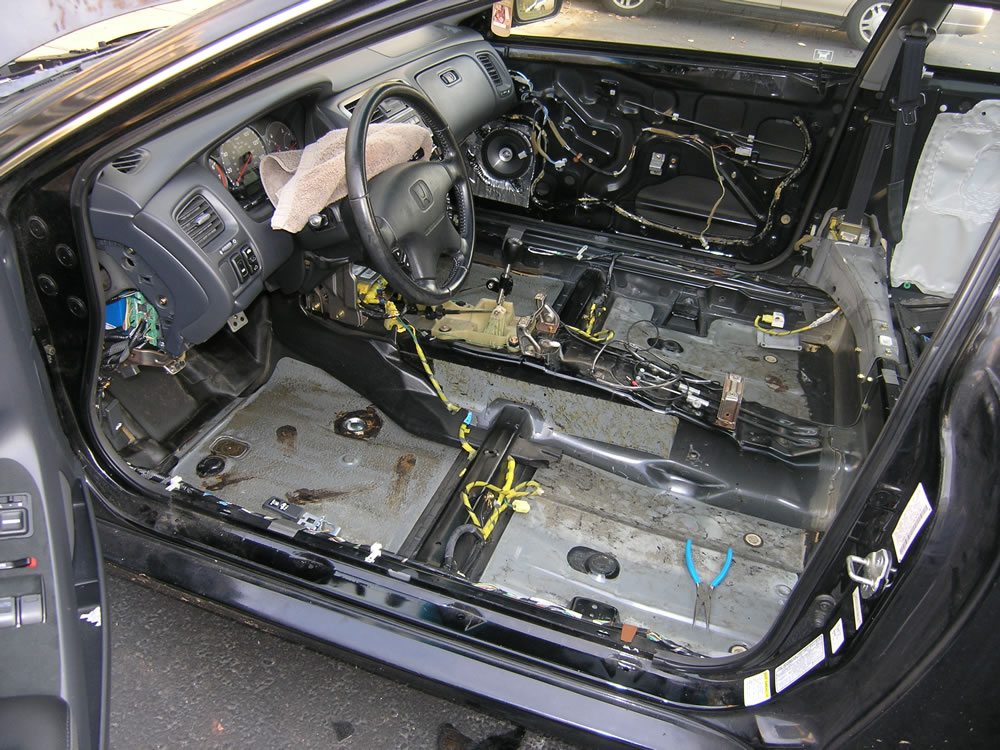
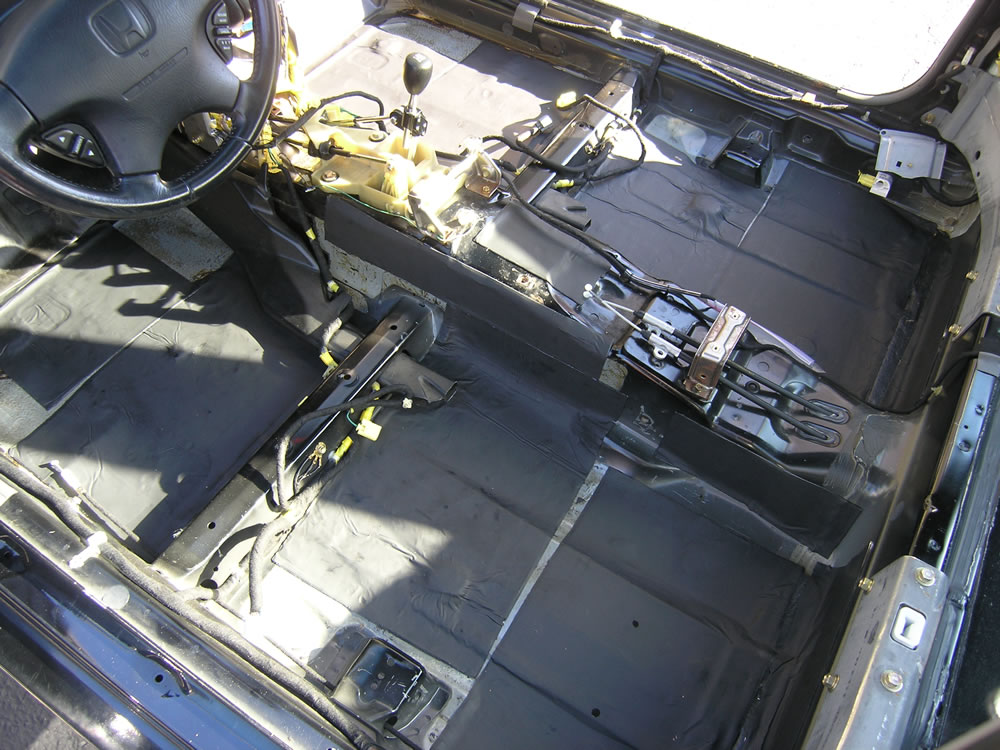
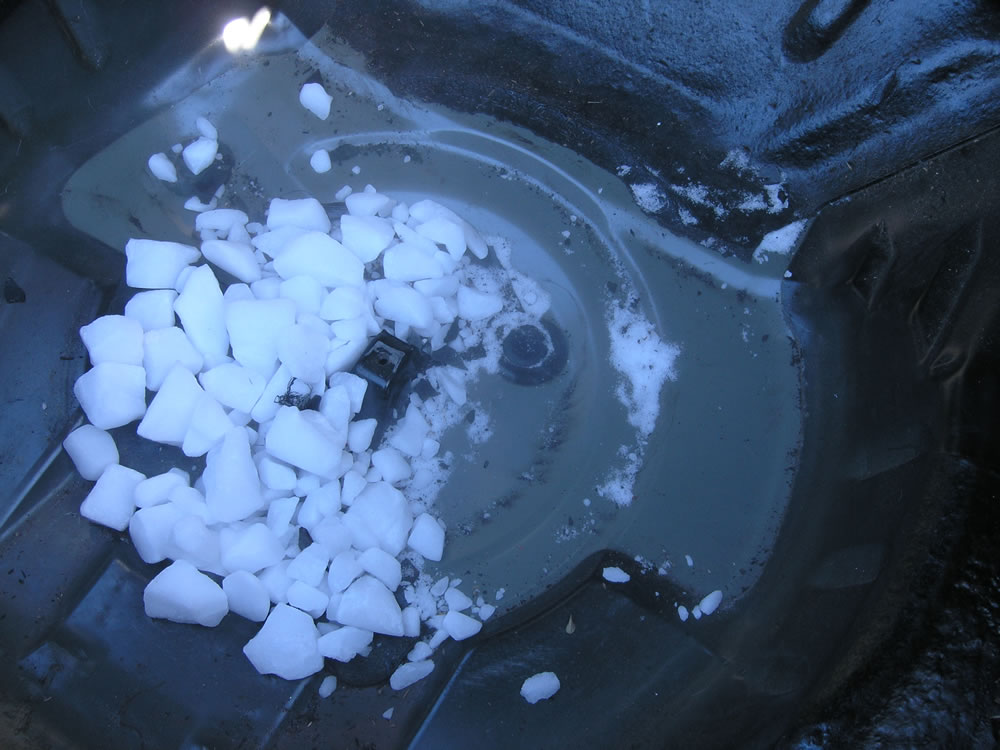
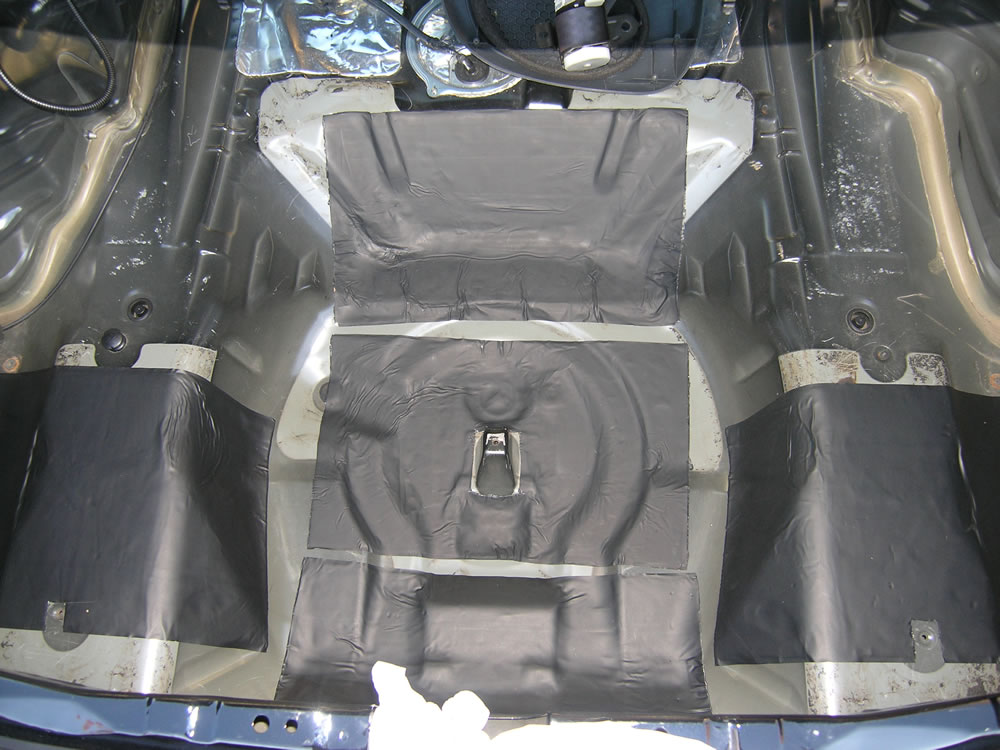
^Freezing adhesives in order to remove soundproofing.So, what exactly is the purpose of the dry ice?