


Steverino
Well-Known Member
For those of you who don't know me, my name is Stephen (duh). I've owned my Accord for quite a few years now and it's basically gone from rice to somewhat-nice and just down-right abandoned.
A good friend of mine was kind enough to be as enthused about building a dedicated road-race vehicle to compete in the upcoming CSCS Time Attack series and lent a hand as well as a space in which to work with.
Additional background information will come up as I update this thread.
--------------------------------TABLE OF CONTENTS--------------------------
Post #1 - Story and initial parts list.
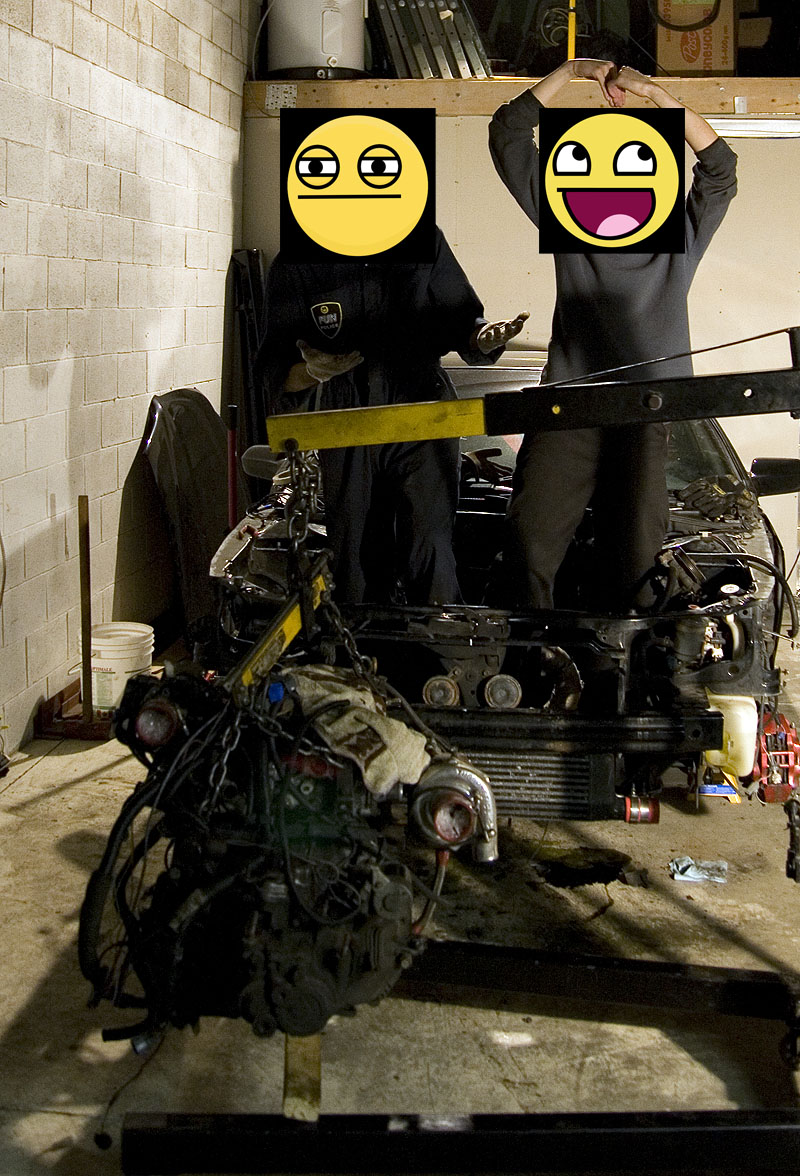
Post #9 - Engine Removal
Post #15 - Interior carpets/trims removed
Post #17 - Engine harness details/Current state of engine
Post #21 - The update that sucked
Post #35 - Timing Belt, water pump / engine harness work / 3" exhaust considerations / engine bay prep
--------------------------------THE PARTS/MODS LIST--------------------------
CHASSIS
ENGINE & POWER
TUNING & ELECTRONICS
TRANSMISSION & DRIVETRAIN
SUSPENSION
BRAKING
WHEELS & TIRES
INTERIOR & SAFETY
EXTERIOR
WEIGHT REDUCTION
--------------------------------THE STORY--------------------------
My current 1998 Honda Accord started life as an automatic. Since then I've done some pretty standard things: 5-speed conversion, 5-bolt conversion, 4-piston brakes, race seats, turbo, LSD install. As of last summer, I ended up making 220whp and 214 wtq on a DynoJet roller dyno.
Now, most Accord owners would be happy with what I've done any time of day, but an opportunity presented itself where I can park the car and do some more work to it without having to worry about putting it back together to get to work the next day, so plans were drafted up . . .
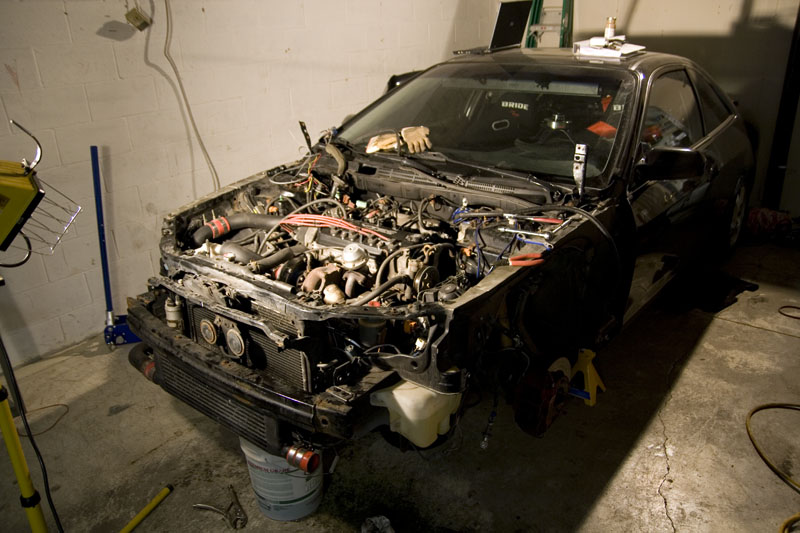
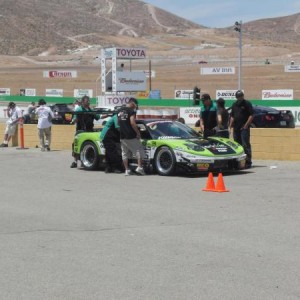
Introducing Steverino's Road Race car
So what's the fuss about? Well this is an opportunity to budget-build a race car that will be competitive in the local CSCS Time Attack series in Street class. The car won't be driven on the streets save to get to/from the track, so comfort and noise considerations can be neglected. I won't say no expense will be spared because there is obviously a budget limit to how much I want to put down on such a non-road-race-oriented platform.
My power goals will be in the neighbourhood of 280whp and 280wtq with 10psi and water/methanol injection. Again I'm not going for crazy HP #'s as with my previous goal, because I want something with a kickass powerband, manageable and reliable. A key consideration is the fact that stock F23A1 motors are $300 at the local junkyard. I would much rather blow up a $300 motor than a $2000 built motor. And we all know how well >300whp on a FWD handles in something OTHER than a straight-line.
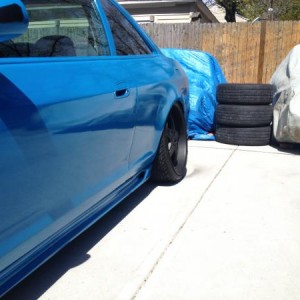
For fun, here are some pics of what the car used to look like, back in its heyday as a street queen:


A good friend of mine was kind enough to be as enthused about building a dedicated road-race vehicle to compete in the upcoming CSCS Time Attack series and lent a hand as well as a space in which to work with.
Additional background information will come up as I update this thread.
--------------------------------TABLE OF CONTENTS--------------------------
Post #1 - Story and initial parts list.
Post #9 - Engine Removal
Post #15 - Interior carpets/trims removed
Post #17 - Engine harness details/Current state of engine
Post #21 - The update that sucked
Post #35 - Timing Belt, water pump / engine harness work / 3" exhaust considerations / engine bay prep
--------------------------------THE PARTS/MODS LIST--------------------------
CHASSIS
- 1998 Honda Accord 4cyl Coupe
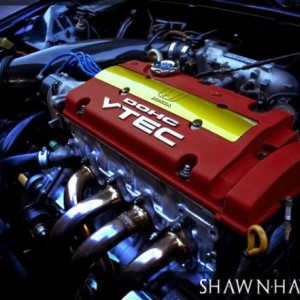
ENGINE & POWER
- Honda F23A1 engine
- AEM Engine Position Module
- AEM long pencil coils
- Turbonetics T3/T4 ball-bearing turbo
- TiAL 38mm wastegate with 7.25psi spring
- GM Boost solenoid
- AEM water-methanol injection kit
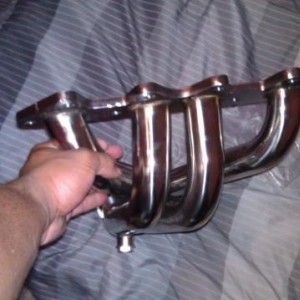
- Drag manifold
- Blitz BOV
- Drag intercooler
- 3" KTeller stainless exhaust
- Magnaflow high-flow cat, muffler and resonator
- Omni 2-bar MAP sensor
- Innovative 75A engine mounts
- Samco radiator hoses
- Walbro 255lph fuel pump
- Unorthodox Racing 3-piece pulleys
TUNING & ELECTRONICS
- AEM EMS 30-1010 with EPM mod
- Defi Boost BF gauge
- Defi EGT BF gauge
- Defi Oil pressure BF gauge
- AEM CDI Twin-Fire module
TRANSMISSION & DRIVETRAIN
- MFactory LSD
- Competition Clutch Stage 4 6-puck sprung disc clutch kit
- ACT ProLite flywheel
- Torco MTF
SUSPENSION
- Koni Yellow SP3 sport shocks
- Ground Control coilover sleeves; (450lb/in front, 550lb/in rear)
- Ingalls front upper control arm camber kit
- SPC rear camber kit
- Comptech Titanium series front strut bar
BRAKING
- Wilwood Dynapro6 calipers (front)
- Wilwood GT36 2-piece rotors (front)
- Wilwood Polymatrix B pads (front)
- Axxis Ultimate pads (rear)
- Goodridge Stainless steel brake lines
- Custom brake ducts
WHEELS & TIRES
- 17x9 RPF1 +45mm
- Dunlop Star Spec 255/40/17 front, 235/45/17 rear
INTERIOR & SAFETY
- Autopower 4-point race rollbar
- OMP 804 Leggera 6-point harness (driver)
- Bride Zeta III-L (driver)
- Bride Gias Low-max (passenger)
- Works Bell short-length hub
- Works Bell Rapfix II quick-release adapter
- OMP Corsica steering wheel (red/red)
EXTERIOR
- 98-00 Honda OEM optional underspoilers
- Blackhoused headlights with headlight duct
- Shaved OEM trunk (remove taillights)
WEIGHT REDUCTION
- A/C removal (compressor, condenser, lines)
- Cabin sound deadening
- Trunk sound deadening (may remove trunk spare tire pan, undecided)
- All rear interior panels/trim pieces
- Remove spare tire
- Remove emergency tools
- Carpets
- Front bumper beam damper
- Front subframe damper
- Automatic transmission wire harness removal
- Audio system removed
- Deka ETX14 battery
- VIS carbon fiber hood
--------------------------------THE STORY--------------------------
My current 1998 Honda Accord started life as an automatic. Since then I've done some pretty standard things: 5-speed conversion, 5-bolt conversion, 4-piston brakes, race seats, turbo, LSD install. As of last summer, I ended up making 220whp and 214 wtq on a DynoJet roller dyno.
Now, most Accord owners would be happy with what I've done any time of day, but an opportunity presented itself where I can park the car and do some more work to it without having to worry about putting it back together to get to work the next day, so plans were drafted up . . .
Introducing Steverino's Road Race car
So what's the fuss about? Well this is an opportunity to budget-build a race car that will be competitive in the local CSCS Time Attack series in Street class. The car won't be driven on the streets save to get to/from the track, so comfort and noise considerations can be neglected. I won't say no expense will be spared because there is obviously a budget limit to how much I want to put down on such a non-road-race-oriented platform.
My power goals will be in the neighbourhood of 280whp and 280wtq with 10psi and water/methanol injection. Again I'm not going for crazy HP #'s as with my previous goal, because I want something with a kickass powerband, manageable and reliable. A key consideration is the fact that stock F23A1 motors are $300 at the local junkyard. I would much rather blow up a $300 motor than a $2000 built motor. And we all know how well >300whp on a FWD handles in something OTHER than a straight-line.
For fun, here are some pics of what the car used to look like, back in its heyday as a street queen:
Last edited:


![Prelude%201[1] (2)
Our 1987 Lude](/forums/data/xfmg/thumbnail/2/2347-5f46eff3826879eb84d94f6d15d7ac10.jpg?1695467880)