

crossfire
Well-Known Member
Here's my DIY on doing a clean rearview camera install.
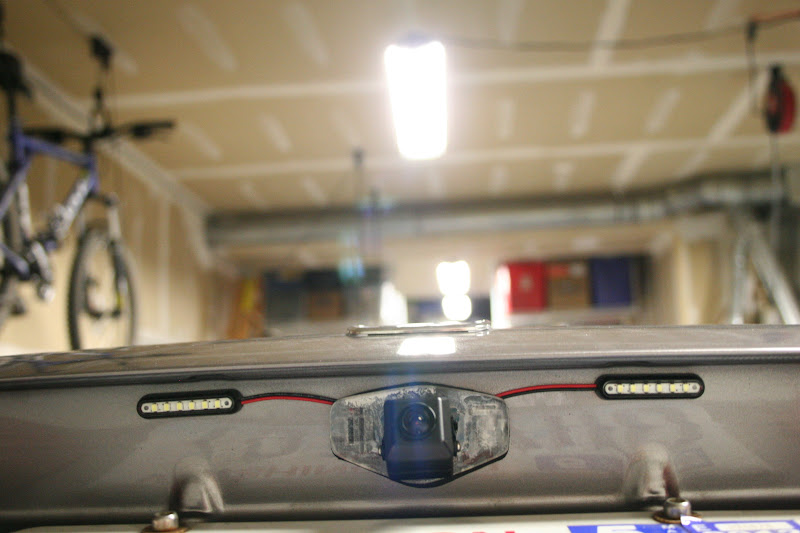
The finished product should look something like this:

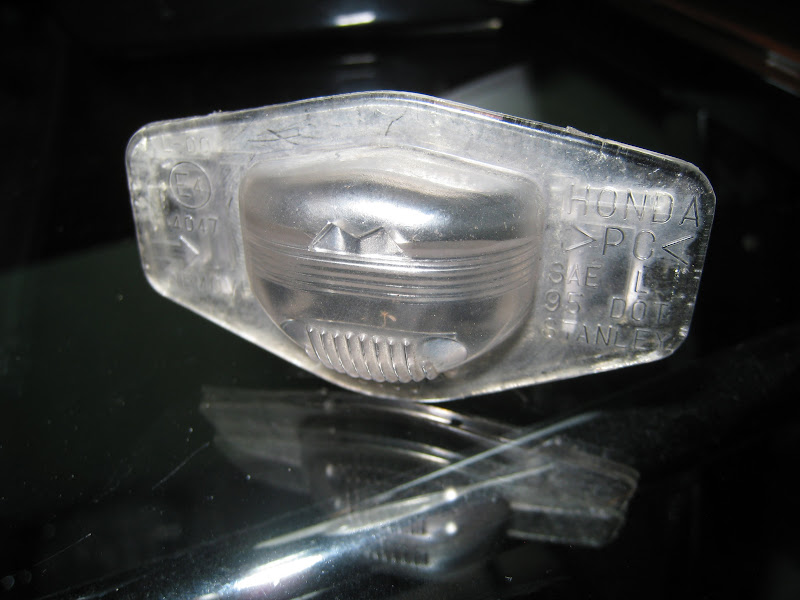
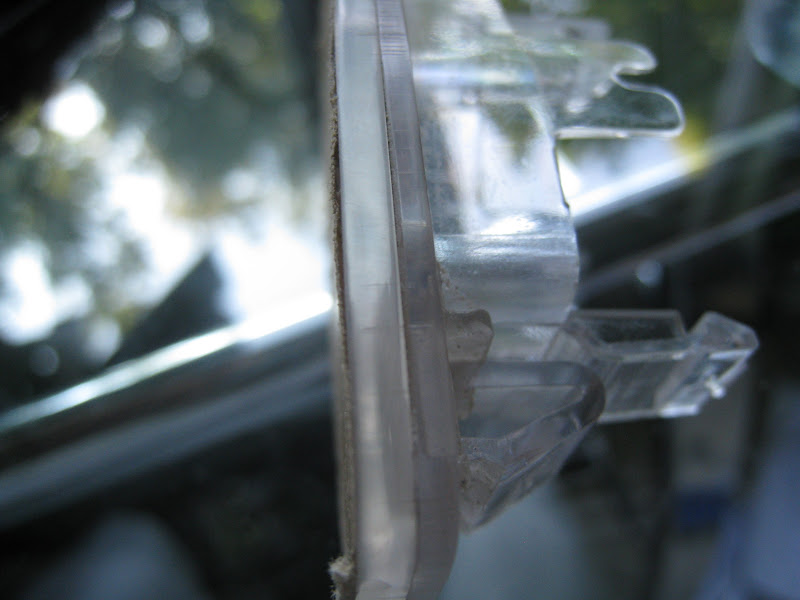
So to start you will need to remove your license plate light. I'm going to assume you all know how to do that. It should look like this once it's out.
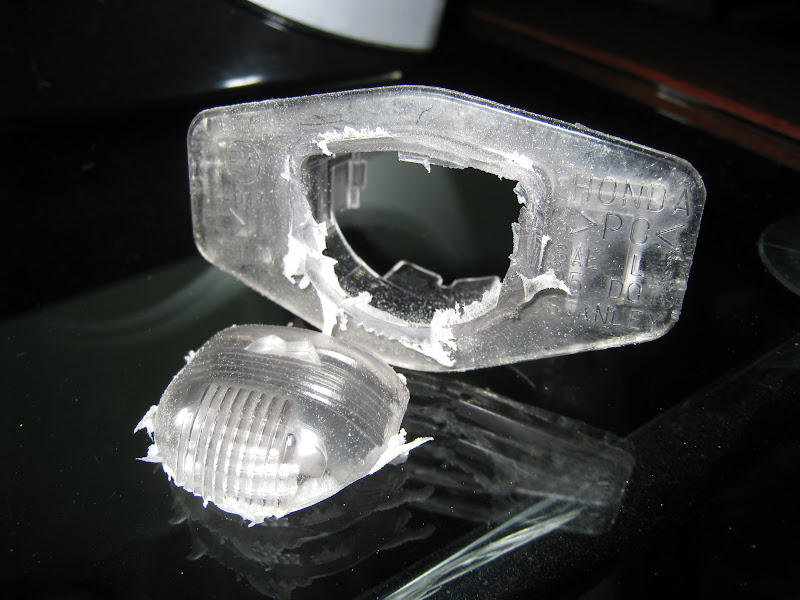
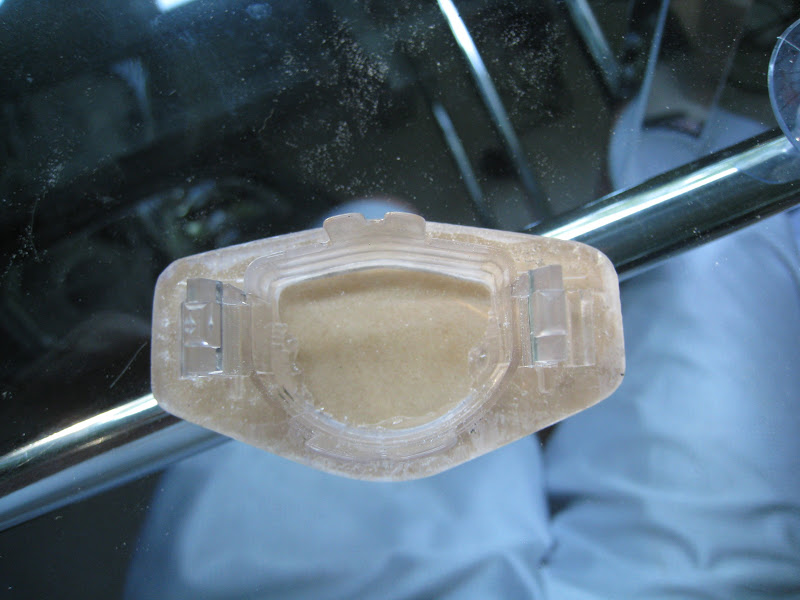
Then you are going to want to cut the bubble part off. I cut most of it off and then finished it off with a belt sander.
Cut with dremel
After sanding
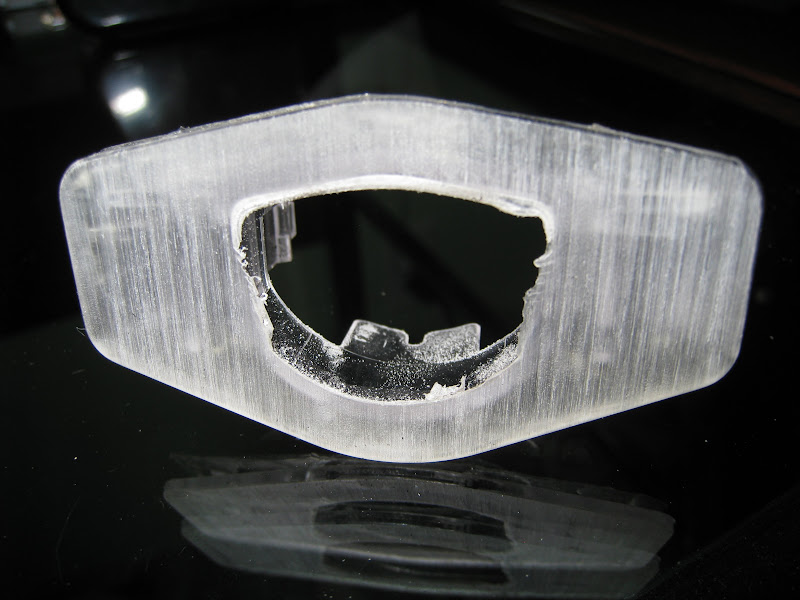
Be sure to sand this side to get it flat and create a surface to adhere to.
Now take a piece of plexiglass and roughly cut it to shape
Traced
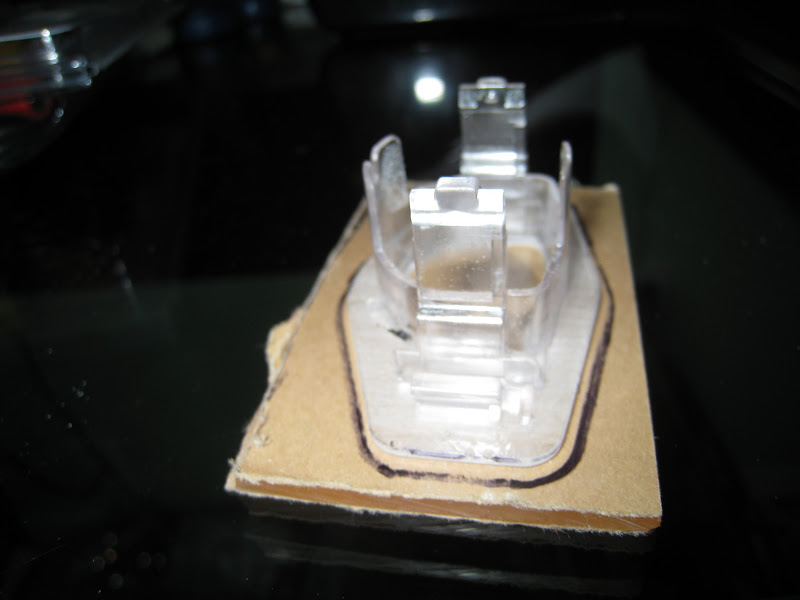
Once you have roughly fit the plexiglass you are going to want to glue it to the surface you sanded earlier. I used plumbers goop because it is supposed to dry clear. It take 24 hours to dry though. You could always use a clear epoxy too. Be sure to clamp while the adhesive cures.
After you should have something like this with glue coming out of the edges. This is good because it insures a waterproof seal.
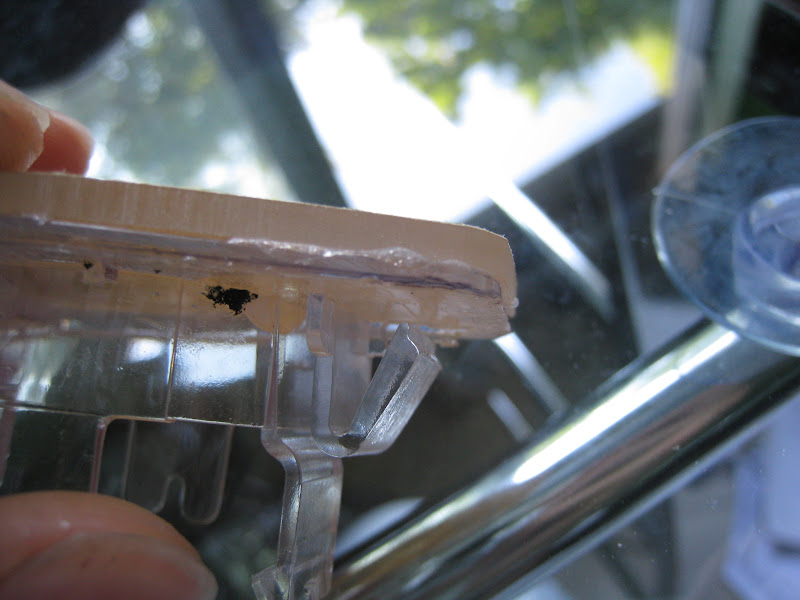
Then take it back to the belt sander and sand until the adhesive it gone. I even went a little further in to make the transition between the license plate light piece and the plexi look better.
Sanding marks
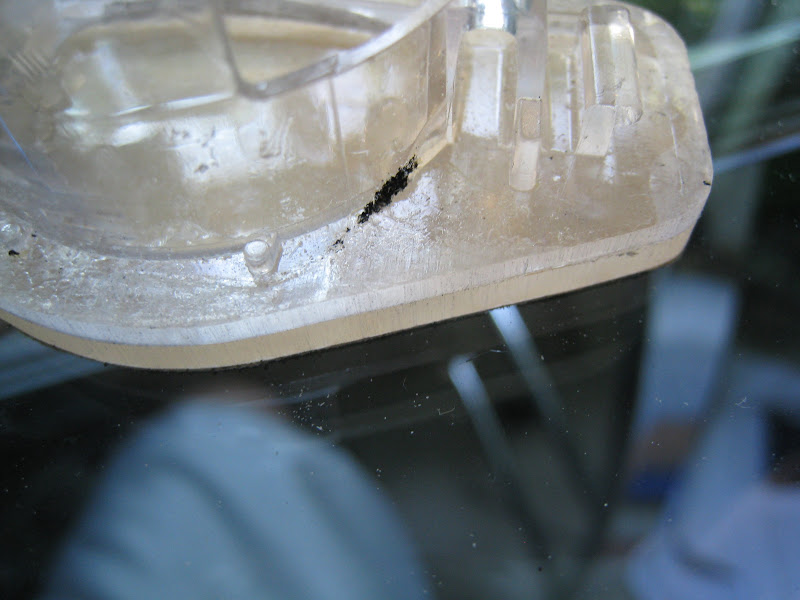
Then I wetsanded the sanding marks just for the heck of it. I used 600 grit sandpaper. It helped clean up the sanding marks.
Then drill the holes for mounting the camera and the camera wire and slap that sucker back in!
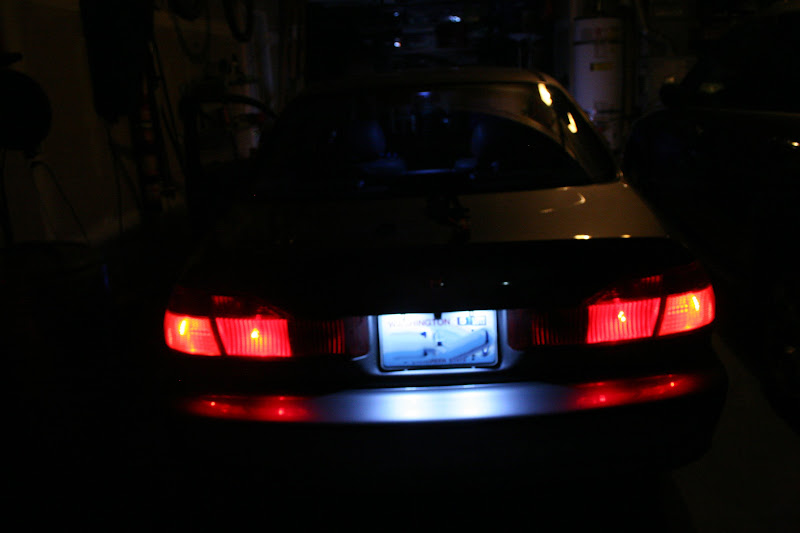
By doing it this way you don't have to drill into you trunk and the only piece you'd have to replace to revert to stock is the license plate light cover. Also, it looks way better and the camera is centered on the car. I myself took the opportunity to install license plate LEDs. They look like this.
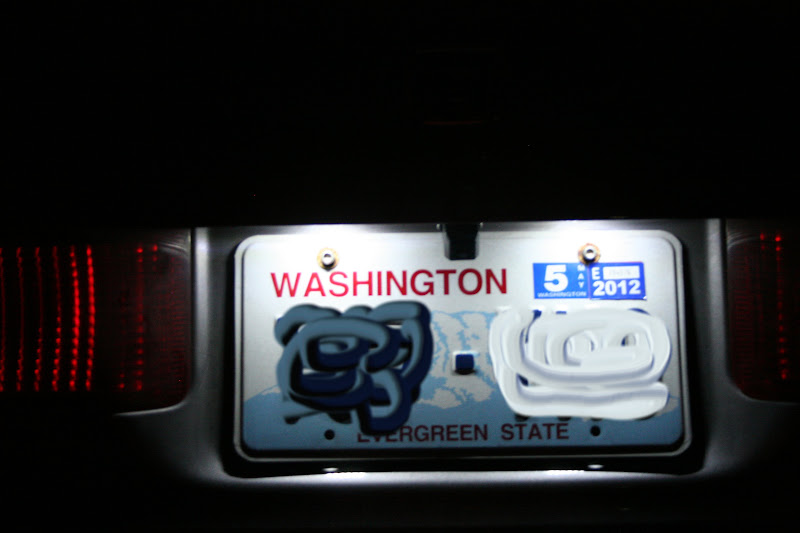
This shows the camera's final position as well as the license plate LEDs
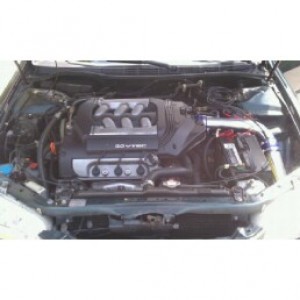
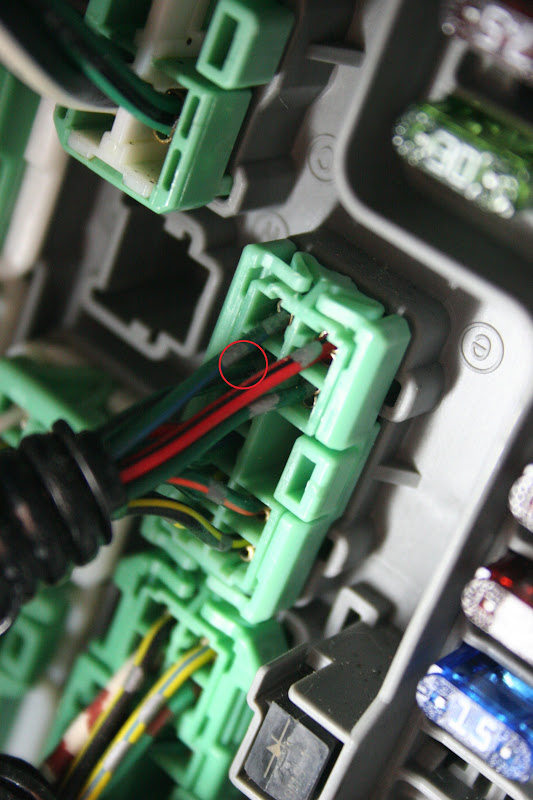
For those who are looking for the reverse wire to connect to your headunit it can be found of the drivers side fuse box.
The finished product should look something like this:
So to start you will need to remove your license plate light. I'm going to assume you all know how to do that. It should look like this once it's out.
Then you are going to want to cut the bubble part off. I cut most of it off and then finished it off with a belt sander.
Cut with dremel
After sanding
Be sure to sand this side to get it flat and create a surface to adhere to.
Now take a piece of plexiglass and roughly cut it to shape
Traced
Once you have roughly fit the plexiglass you are going to want to glue it to the surface you sanded earlier. I used plumbers goop because it is supposed to dry clear. It take 24 hours to dry though. You could always use a clear epoxy too. Be sure to clamp while the adhesive cures.
After you should have something like this with glue coming out of the edges. This is good because it insures a waterproof seal.
Then take it back to the belt sander and sand until the adhesive it gone. I even went a little further in to make the transition between the license plate light piece and the plexi look better.
Sanding marks
Then I wetsanded the sanding marks just for the heck of it. I used 600 grit sandpaper. It helped clean up the sanding marks.
Then drill the holes for mounting the camera and the camera wire and slap that sucker back in!
By doing it this way you don't have to drill into you trunk and the only piece you'd have to replace to revert to stock is the license plate light cover. Also, it looks way better and the camera is centered on the car. I myself took the opportunity to install license plate LEDs. They look like this.
This shows the camera's final position as well as the license plate LEDs
For those who are looking for the reverse wire to connect to your headunit it can be found of the drivers side fuse box.
Last edited:
")