goldenchamp's '01 EX Sedan (5MT)

goldenchamp

Well-Known Member
Joined
Jun 16, 2014
Posts
51
Reaction score
0
Location
Portland, OR
Good start, I like the future plans.

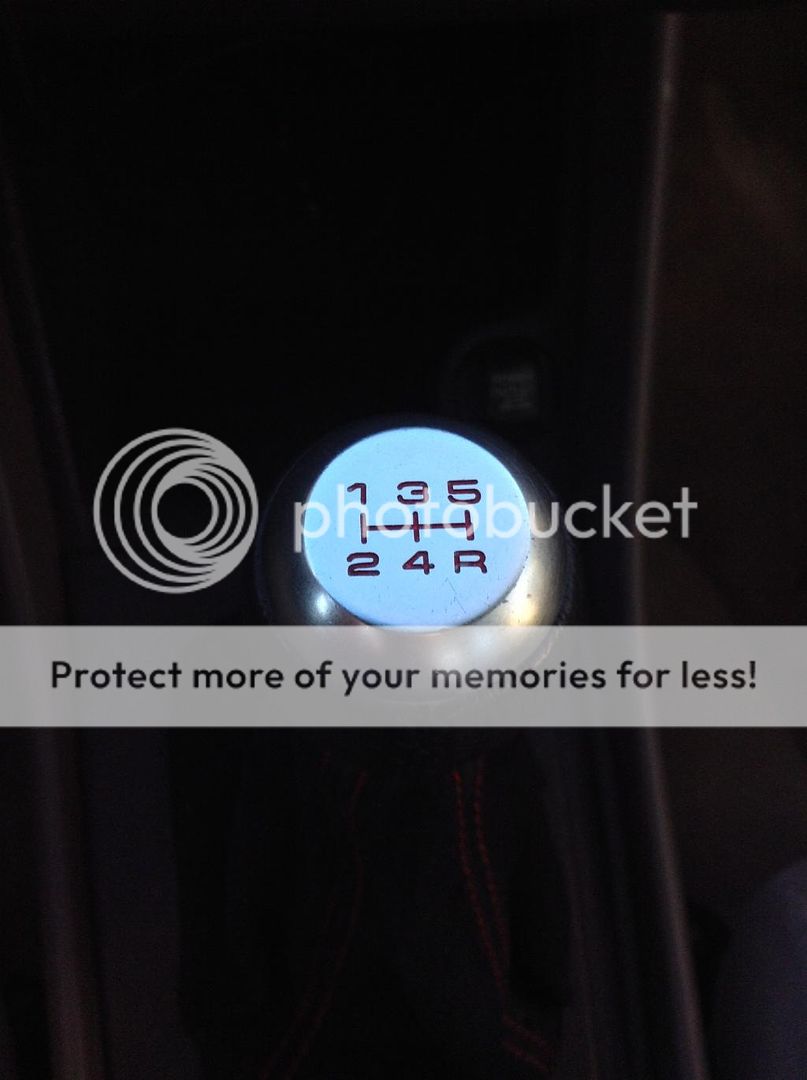
Save the stick decal :thumbsup:

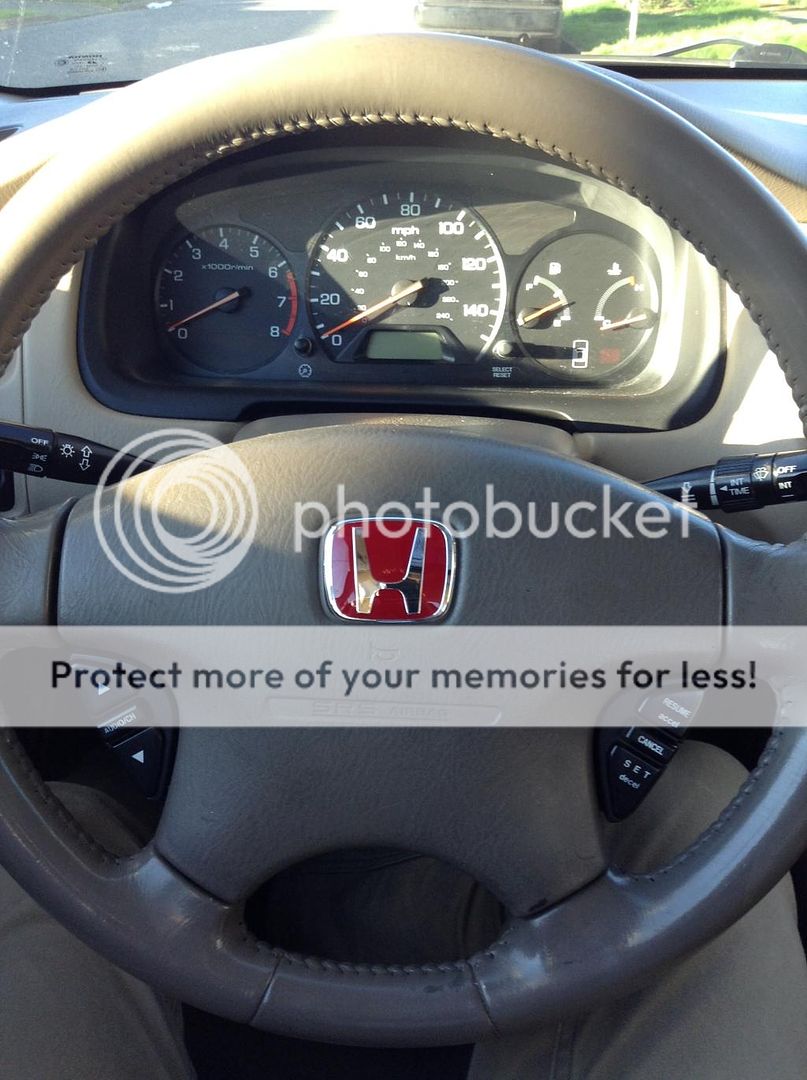
Thanks! That means a lot. Gotta rep the stick! :)


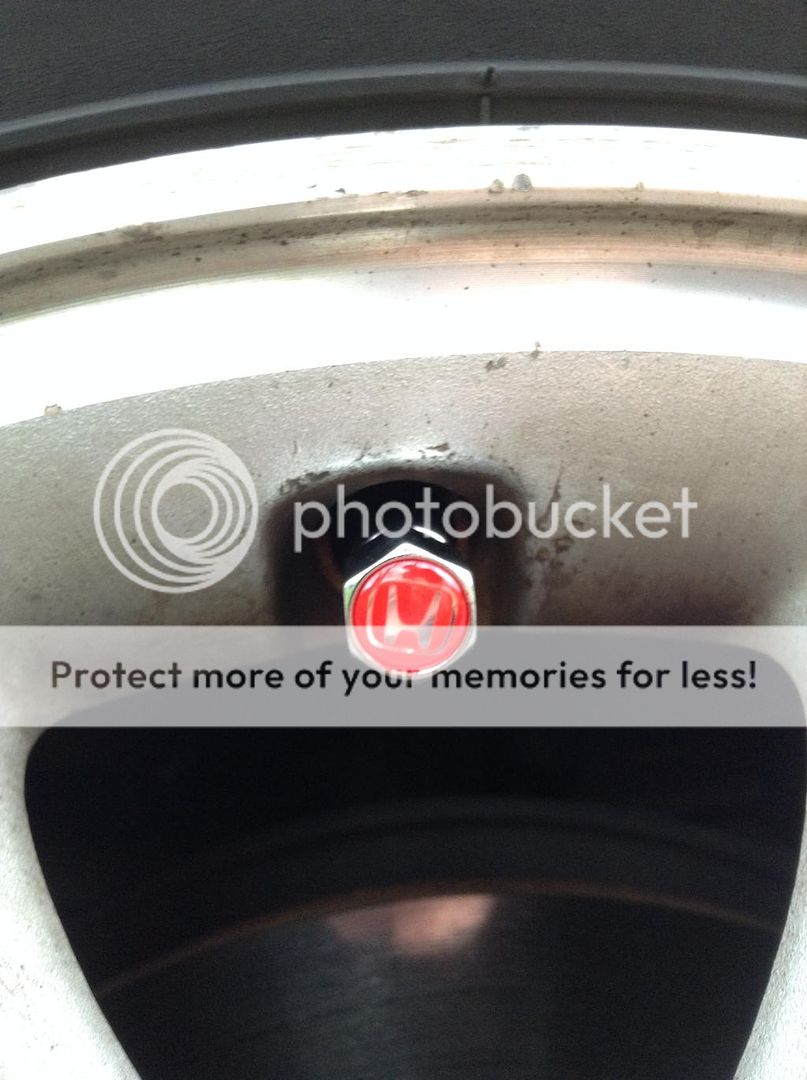
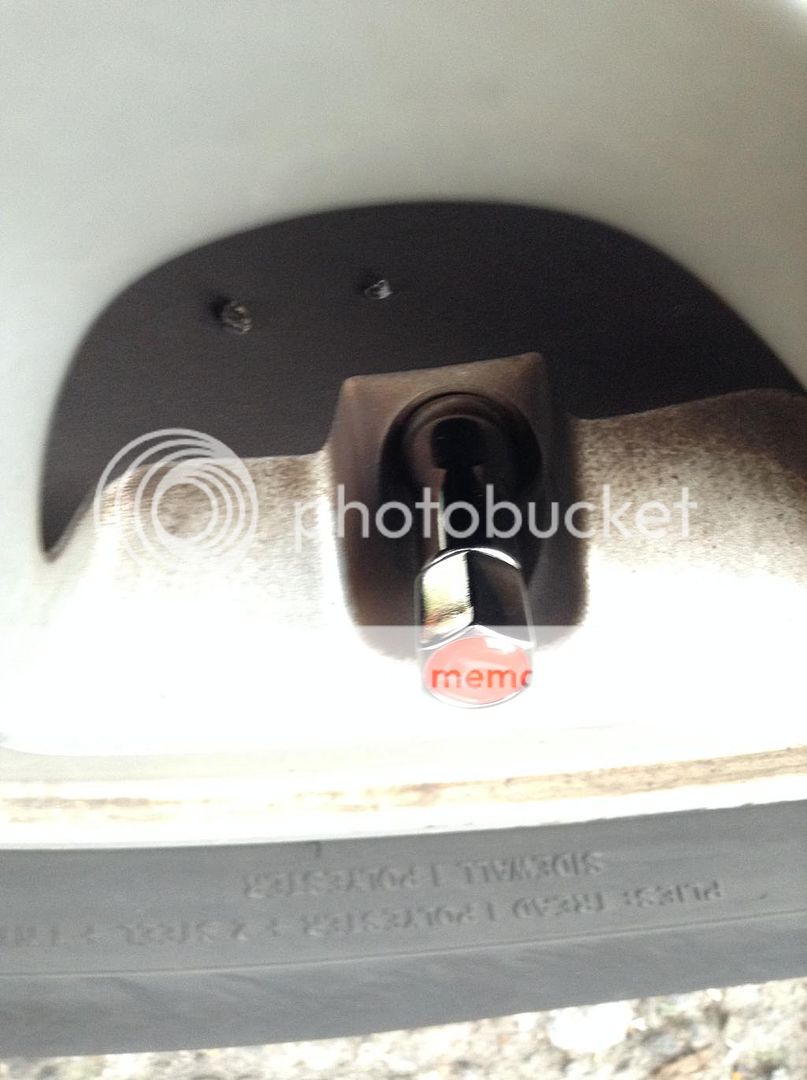
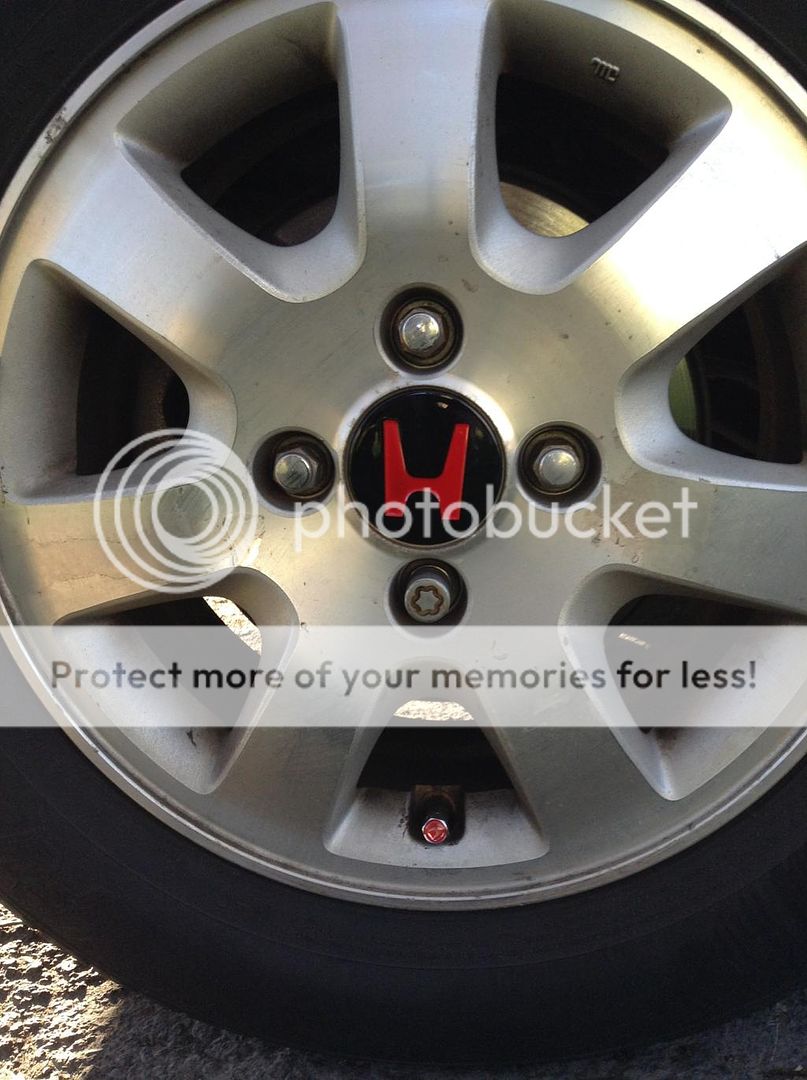
I've also added red "H" tire caps with chrome stem sleeves. The Sleeves themselves are juuuuust a little long for the cap threads, but the tire caps seem to be secure.

B16AAE5D-C36C-412B-A4BA-F831B31B2F84_zpsgy5evwmm.jpg


9A997741-00FC-485E-9381-C551FE38D54A_zpswtuhaybs.jpg
 
Last edited:

goldenchamp

Well-Known Member
Joined
Jun 16, 2014
Posts
51
Reaction score
0
Location
Portland, OR
I got more stuff in the mail today :D

Black and red "H" center caps

IMG_2382_zpsbbafkphk.jpg


I think they add a subtle pop to the car.

IMG_2381_zpsohzpfyrt.jpg


They'll definitely look better once I get these wheels

acura-cl-wheels.jpg


I also got a red "H" for the steering wheel..and I love it!

IMG_2385_zps1n1sj3y6.jpg


It's a nice touch to the interior

IMG_2384_zpscaa585rs.jpg


While I'm at it, I'll post a couple pics of my suede shift boot...

IMG_2388_zpsceeo1gl5.jpg


....and my S2000 style shift knob

IMG_2387_zps5besl15a.jpg


Oh, and I hit 175K this morning!

26345566-FB49-4186-8A19-ACF5D709DD48_zpsj0kd0ug9.jpg
 
Last edited:

goldenchamp

Well-Known Member
Joined
Jun 16, 2014
Posts
51
Reaction score
0
Location
Portland, OR
Got something new in the mail! After working long and hard to finish it, I now have a switchblade key thanks to the DIY in this forum. A word of caution: don't just take this key anywhere. Take this to a LOCKSMITH that specializes in AUTOMOTIVE keys! I almost ruined the key blade by taking it to Ace.

C3DC1846-F447-4069-84B3-74B690A23243_zpsielwirs6.jpg


I had to get the red emblem :)

3CA214FB-F6DA-425B-8731-876BF8EF0D28_zpshuhnx9vh.jpg
 
Last edited:

RedRyder

Save the manuals
Joined
Sep 5, 2008
Posts
19,517
Reaction score
118
Location
Fawking, OH
All about that red emblem lol.

Congrats on the switchblade conversion. Where did you get the little red H decal for it?
 

goldenchamp

Well-Known Member
Joined
Jun 16, 2014
Posts
51
Reaction score
0
Location
Portland, OR
All about that red emblem lol.

Congrats on the switchblade conversion. Where did you get the little red H decal for it?

I found it on eBay from a guy in Canada, but he isn't selling them anymore. :( It's too bad, he could have really gotten some good business from the 6GA guys trying out this conversion!
 

goldenchamp

Well-Known Member
Joined
Jun 16, 2014
Posts
51
Reaction score
0
Location
Portland, OR
Here's a preview of some cosmetic changes to come!

This is an exact size fit for the rear trunk badge on the '01-'02 Sedans
A040F1AE-CCCD-4A16-80B5-0B56411D73FC_zpsc1jitb5w.jpg


A few weeks ago, she started randomly losing hydraulic pressure in the clutch when not pressed hard enough, which makes me think that air is in the system somewhere. I don't think it's the clutch master cylinder or clutch slave cylinder mainly because they were replaced in the last 18 months. The default is for the clutch to be engaged, so I haven't worried about it, but a trip to the dealer for an oil change and 175K service revealed that the clutch fluid is almost black! I'm hoping a simple fluid flush will cure the hydraulic pressure issue.
 

goldenchamp

Well-Known Member
Joined
Jun 16, 2014
Posts
51
Reaction score
0
Location
Portland, OR
I got my red rear emblem in the mail a couple days ago and decided to install it today. Part number 75701-S1A-E11ZB is the exact same size as the old rear emblem on the '01-'02 Sedans.

Apologies for the crappy photos...

The old emblem has two pins that hold it in place. As per the Honda recommended technique shown here, I used some dental floss to get the old badge off. The new badge simply sticks on with 3M tape.
IMG_2412_zpslupinsn3.jpg


The result is nice and subtle.
IMG_2410_zpsjuygmb4l.jpg


The only down side is that the trunk is ever so slightly curved, so I'm still trying to figure out how to get the entire thing to stick.
IMG_2413_zpsqojvixbi.jpg
 

xci.ed6

Well-Known Member
Joined
Sep 5, 2007
Posts
2,909
Reaction score
9
Location
Tampa Bay
peel it off, clean it up, Then re-stick it with a double layer of tape. The extra area to flex usually helps it seat.

You do get a bit of thickness, before I've colored the edges with a sharpie, black. After sticking the tape on the emblem, before pulling the back to stick the emblem on the car.

I've even used this on emblems that were bolt-on type to fill any gaps, with the bolts also.
 

RedRyder

Save the manuals
Joined
Sep 5, 2008
Posts
19,517
Reaction score
118
Location
Fawking, OH
You could use a thicker tape toward the outer edges where the badge is not making full contact with the trunk lid. Or the better thing to do may be to try a smaller badge.
 

goldenchamp

Well-Known Member
Joined
Jun 16, 2014
Posts
51
Reaction score
0
Location
Portland, OR
You could use a thicker tape toward the outer edges where the badge is not making full contact with the trunk lid. Or the better thing to do may be to try a smaller badge.

I'm gonna order some 3M automotive tape at some point and add a layer on the bottom.

I'm kicking myself for this next part. My clutch hydraulics started losing hydraulic pressure a couple months ago when the clutch pedal was held down. I was pretty sure that it wasn't the clutch master cylinder or clutch slave cylinder, since they had been recently replaced. I thought maybe a clutch flush would cure the problem, but it didn't. (wasted $85 on that one :banghead: ) I called the mechanic that did the cmc and csc repair 18 months ago, and he said that he would take a look at it, but it would have been nice to have seen it with the old fluid. What this means is that I probably won't get anything from the failed parts, and will probably have to drop over $600 again to fix this.

Luckily the car is drivable as it is with no clutch slipping.
 
Back
Top