

Ay yo.
Since I spun my turbo 180 degrees, down, and back in my engine bay, the exhaust side had pretty considerable heat radiation on the cold-side of my intake tubing, so my intercooler efforts were being thwarted. With inspiration from the Supra guys, I built a stainless steel turbo heat shield to re-direct the heat.
Without futher ado, on to the pizorz. Comments/critiques whalecum, as always.
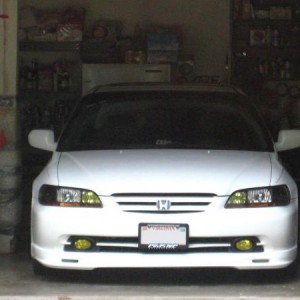
A quick snapshot of the bay I'm working with:

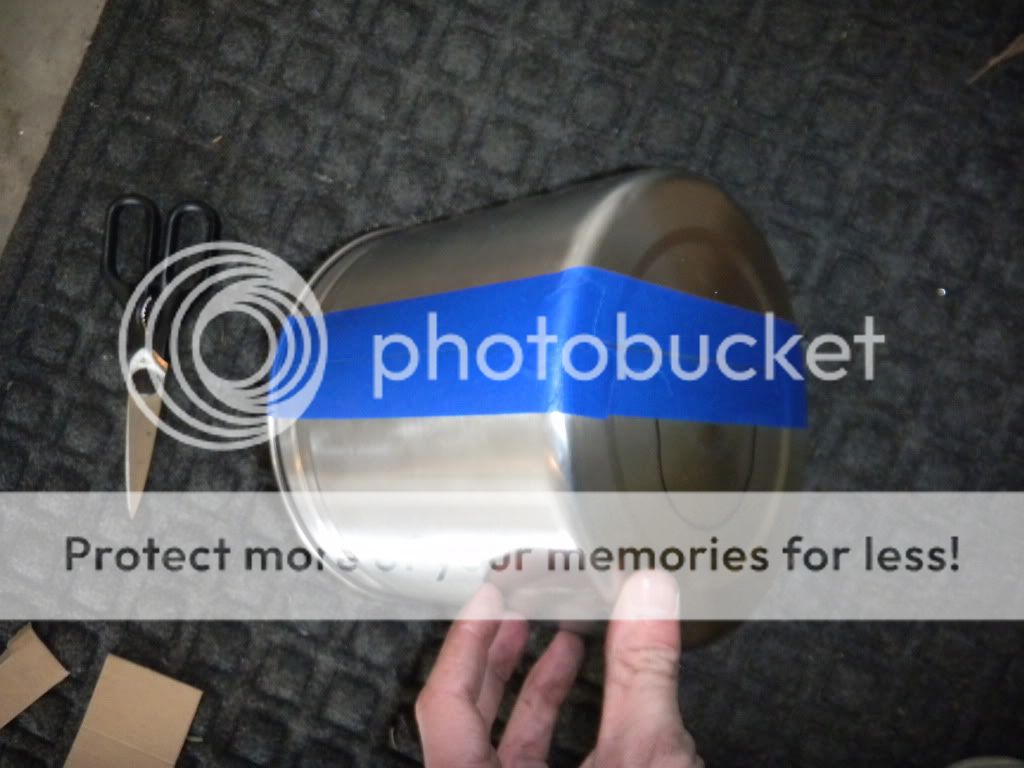
1. I started with a stainless steel pot. I chose the brushed look to match my brushed strut bar, brushed aluminum coolant overflow tank, and brushed P2R plenums.

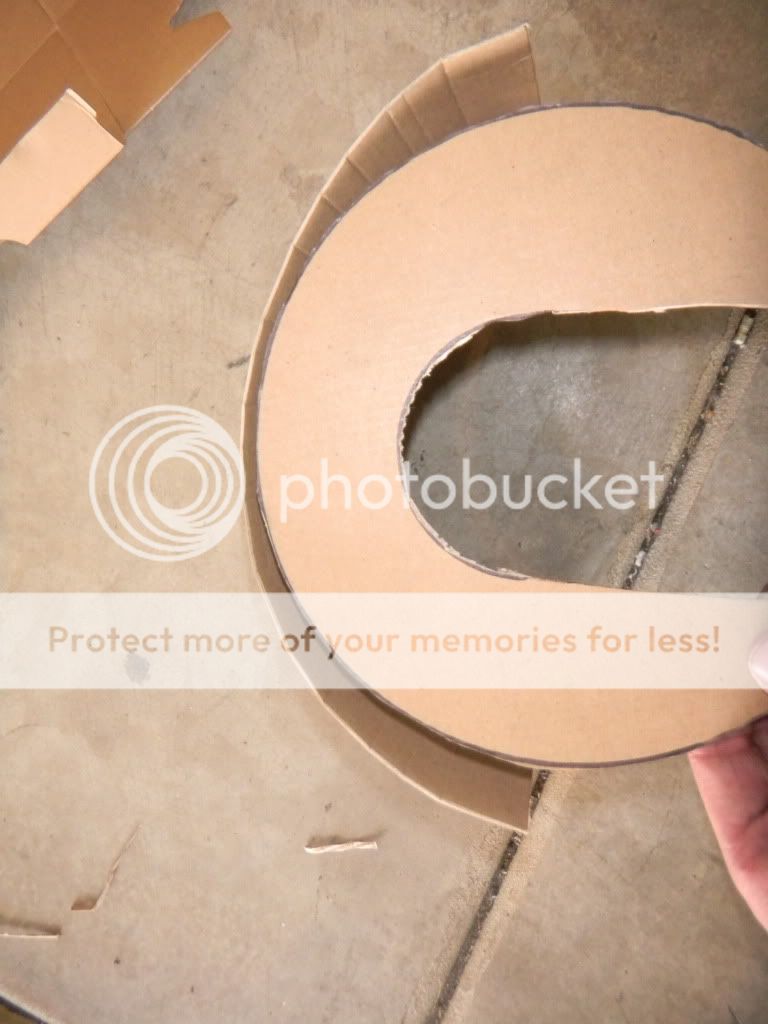
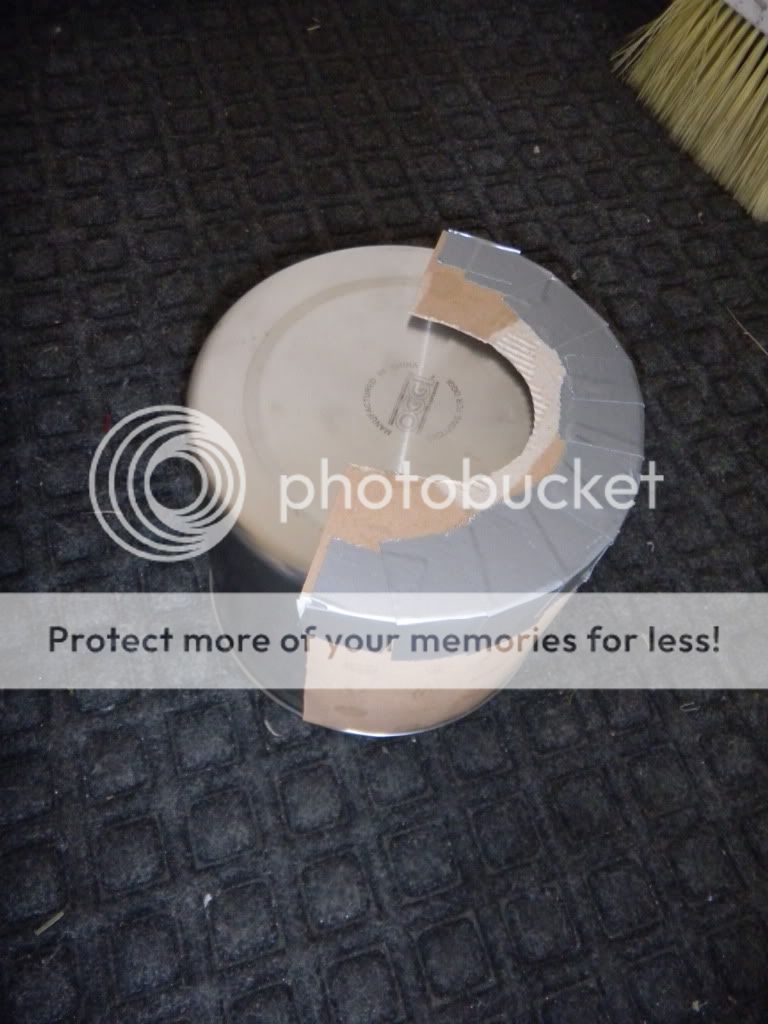
2. To start, I traced the circumference of the pot onto a cardboard box, then used a razor blade to cut the circle.

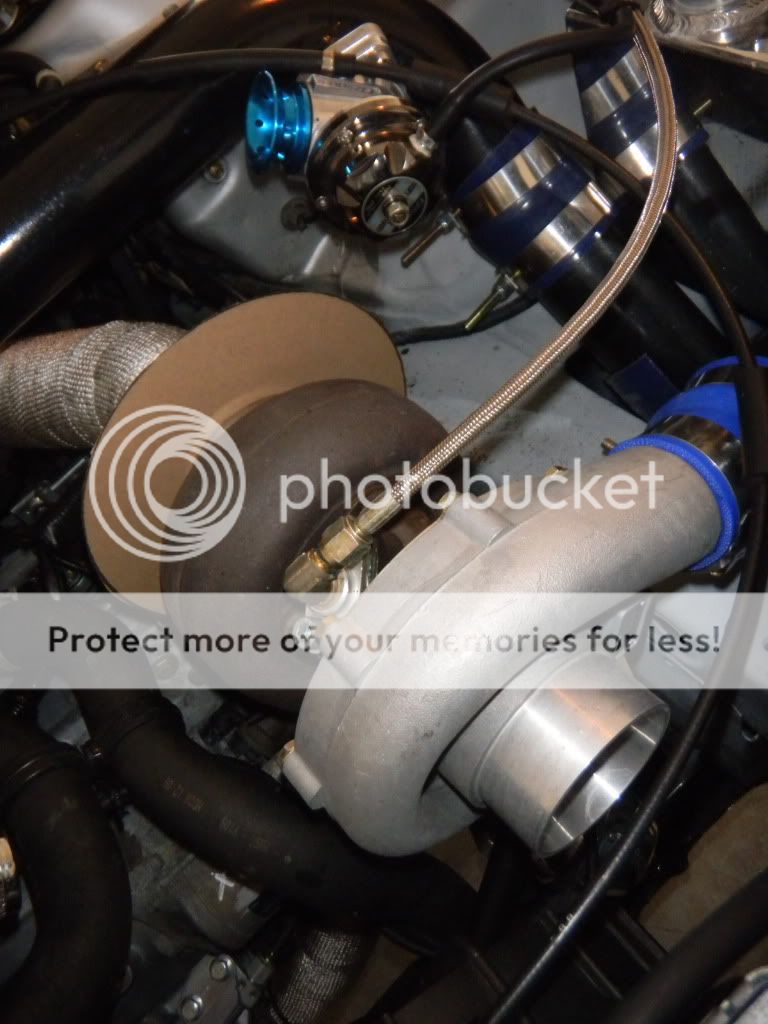
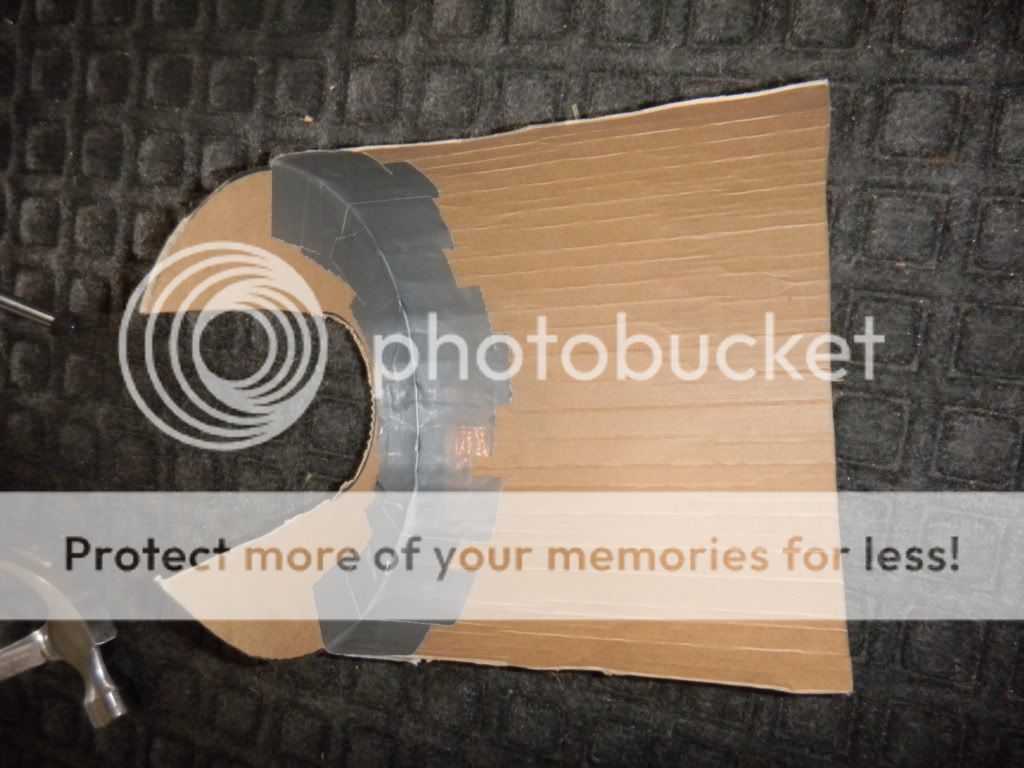
3. Since the purpose of the shield is to direct heat AWAY from the intake piping, the closed end of the shield will be facing the firewall. This end of the shield will rest on the vband flange on my downpipe. In order to get the size correct, I just grabbed a piece of 3" exhaust scrap and centered it up. Trace, then cut. Bada-bing.


4. Once the end-cap template was cut, I placed it on the turbo to ensure that the tolerances were where I wanted them. During this step, I did some trimming to ensure that the top and sides of the shield would meet perfectly flush with the compressor side of the turbo. Measure ten times, cut once.
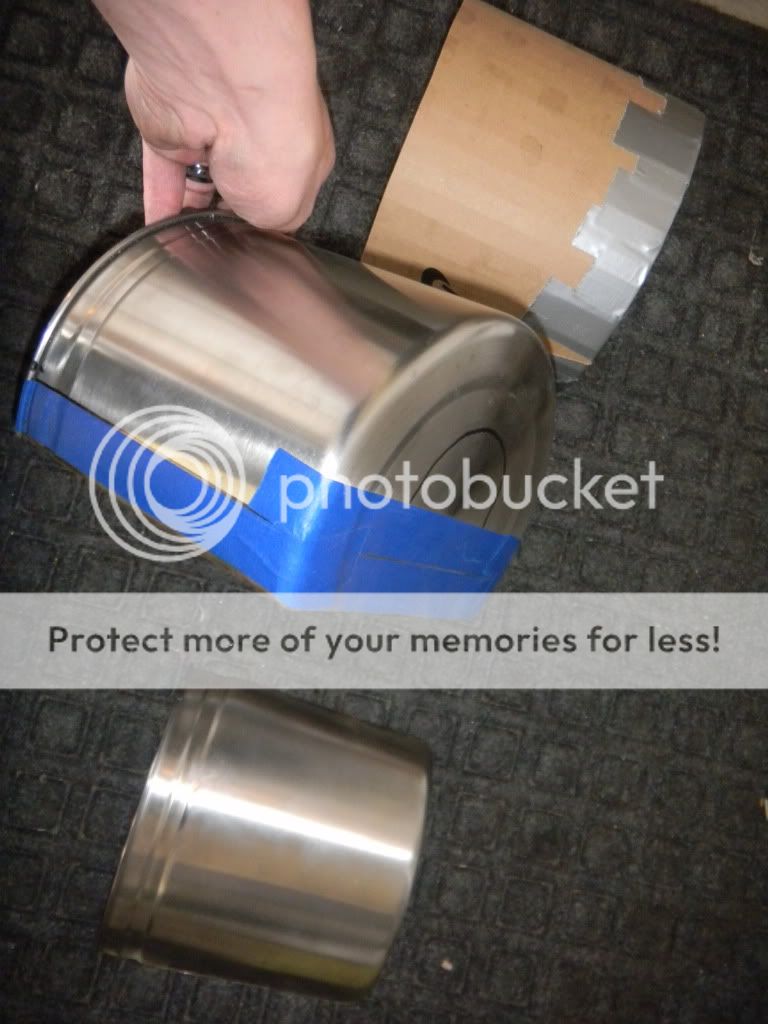
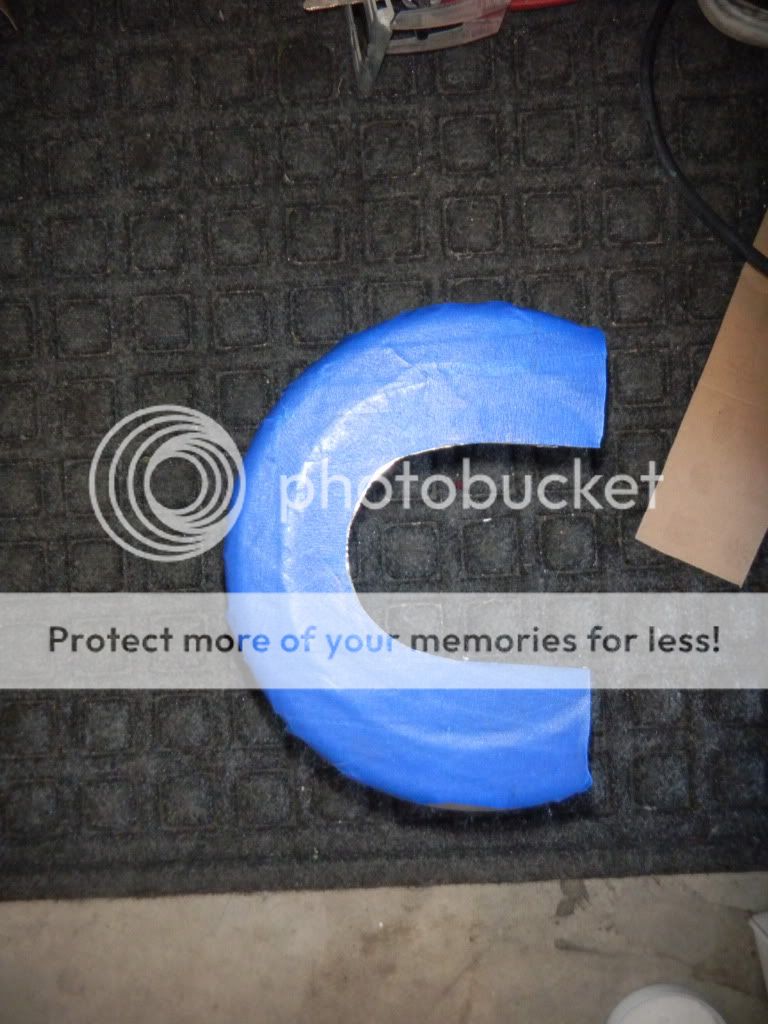
5. With the end-cap template complete, I trimmed a bonnet comparable in depth to the actual pot. Once the correct size, I taped it up.

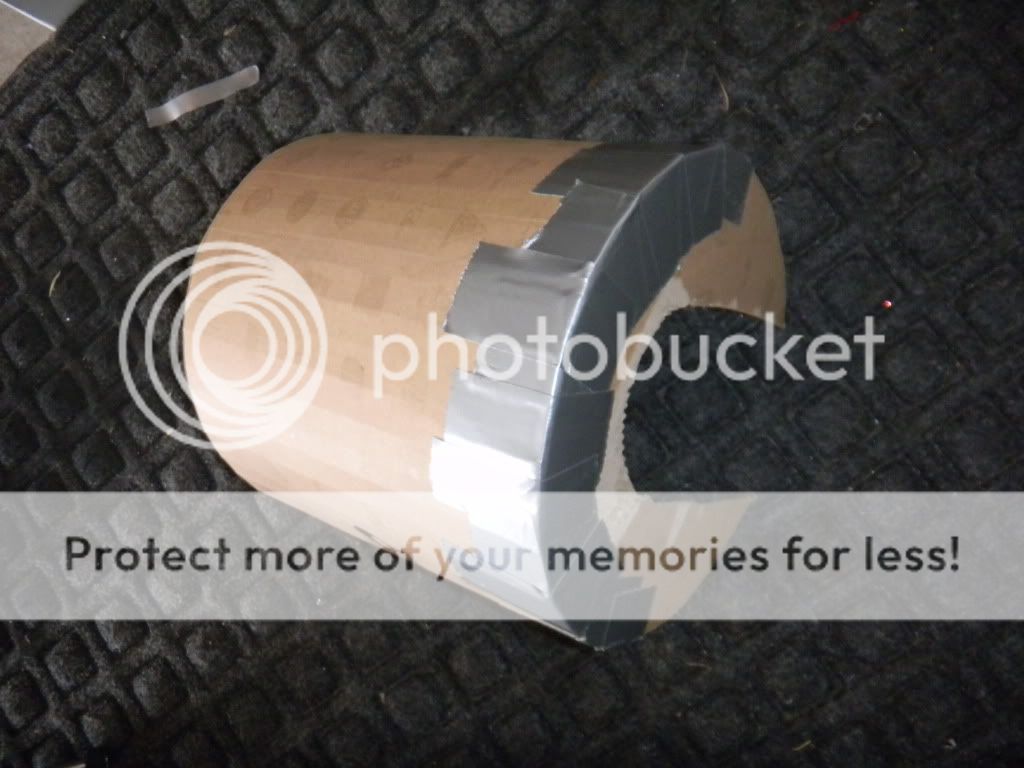
6. Test fit. Trim here, there, and everywhere for the perfect fitment.
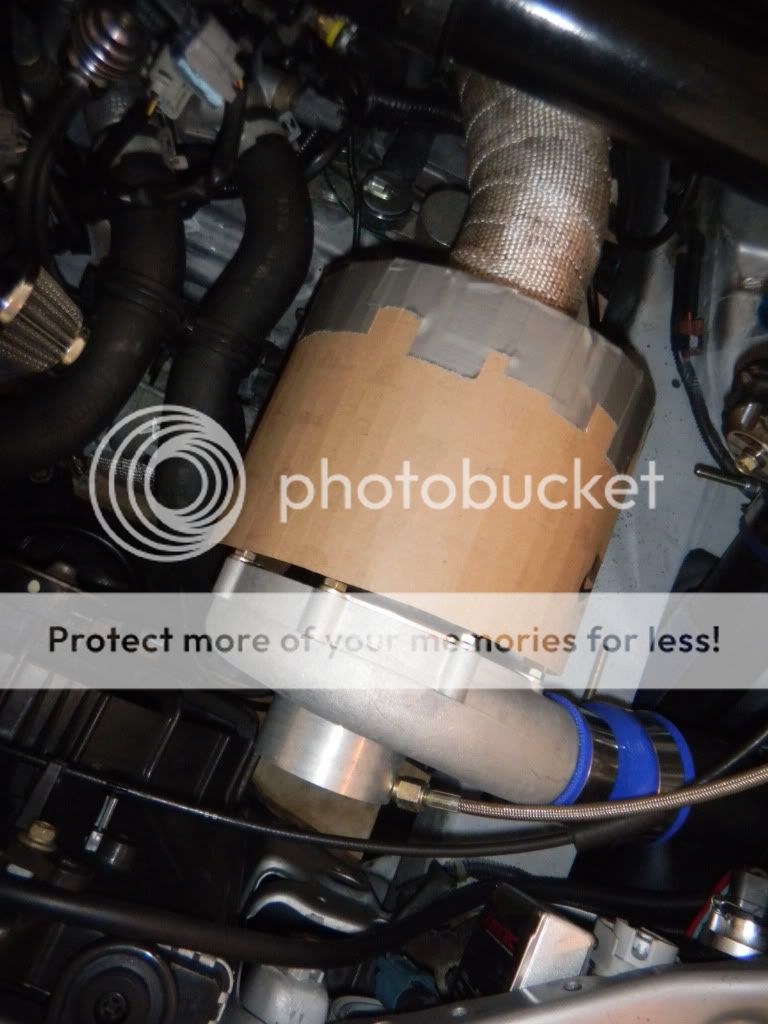
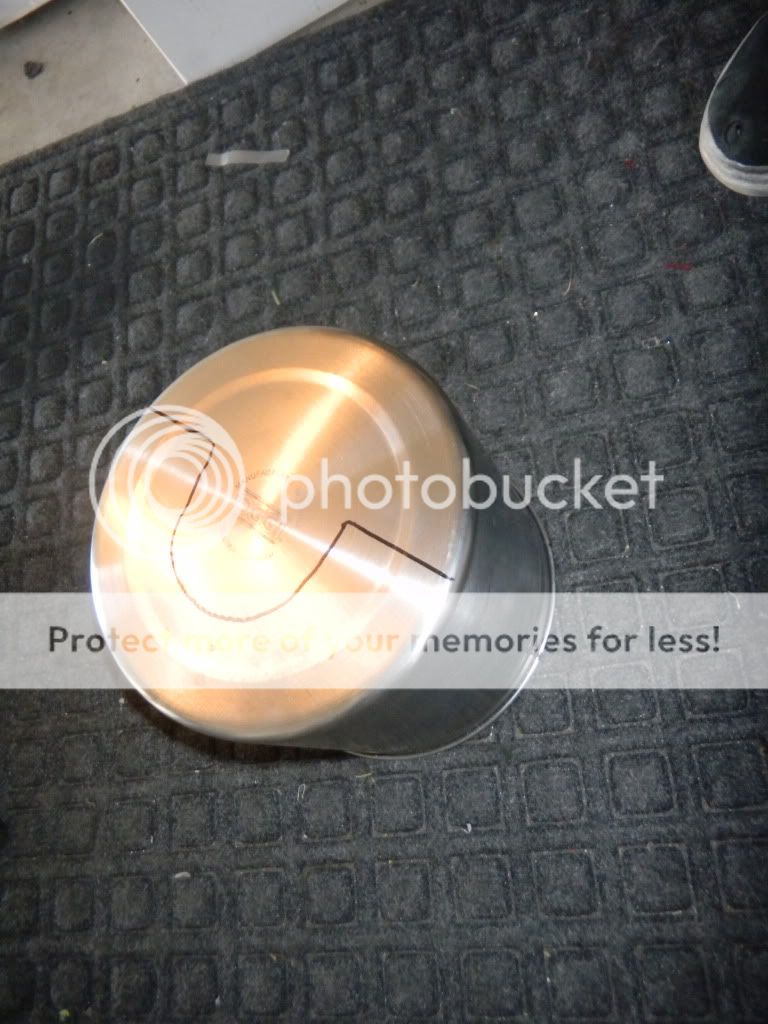
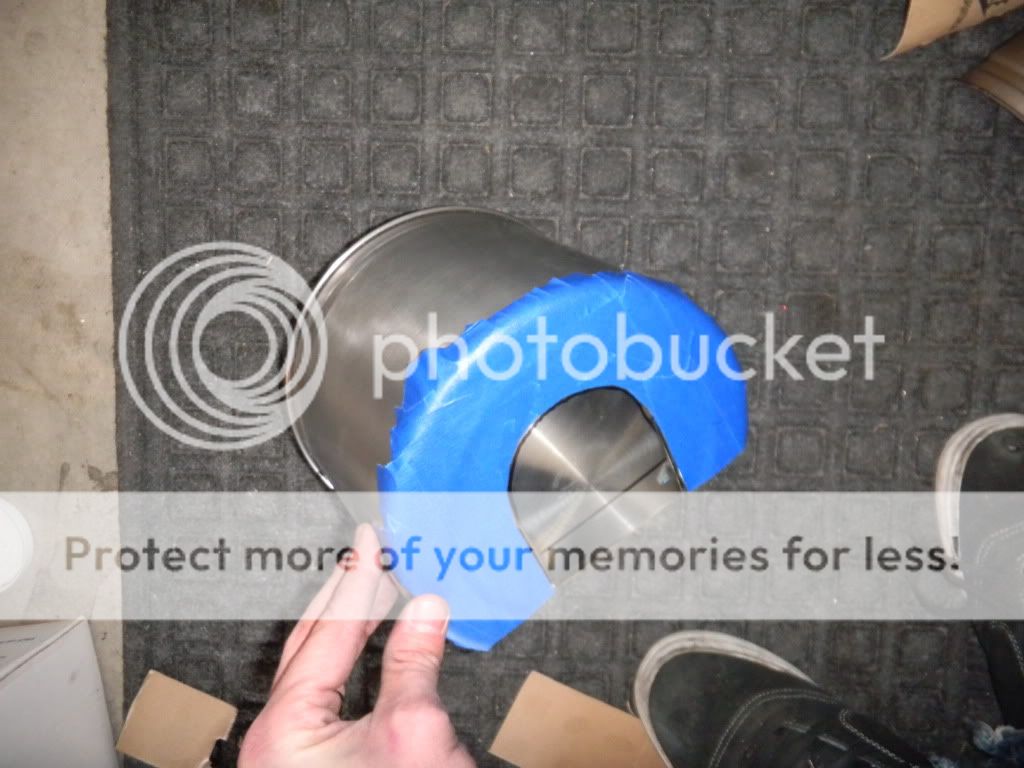
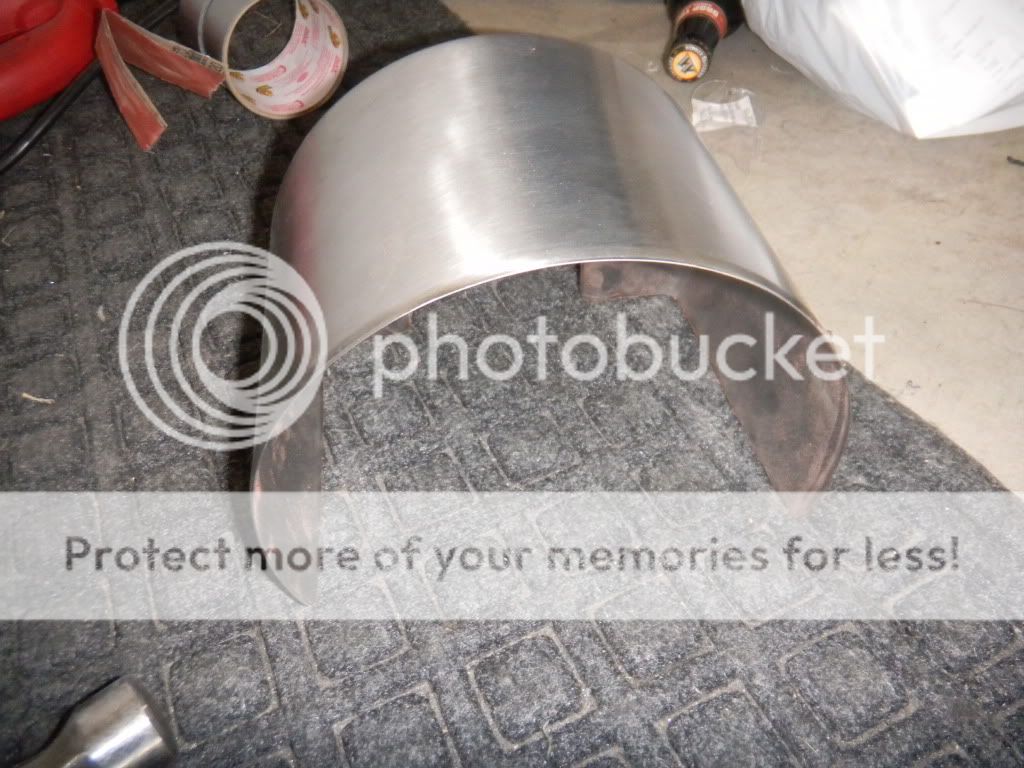
7. Once I was happy with the template, I layed it over the $28 pot and traced it. With blue masking tape as my cut line (as well as to protect the pot from damage),I went ahead and cut it with a cutoff disc/jigsaw. This was tough though, because I didn't want to heat the stainless to a point where it would have heat penetration marks and or/warpage. I used an ice water soaked rag to cool every cut I made.
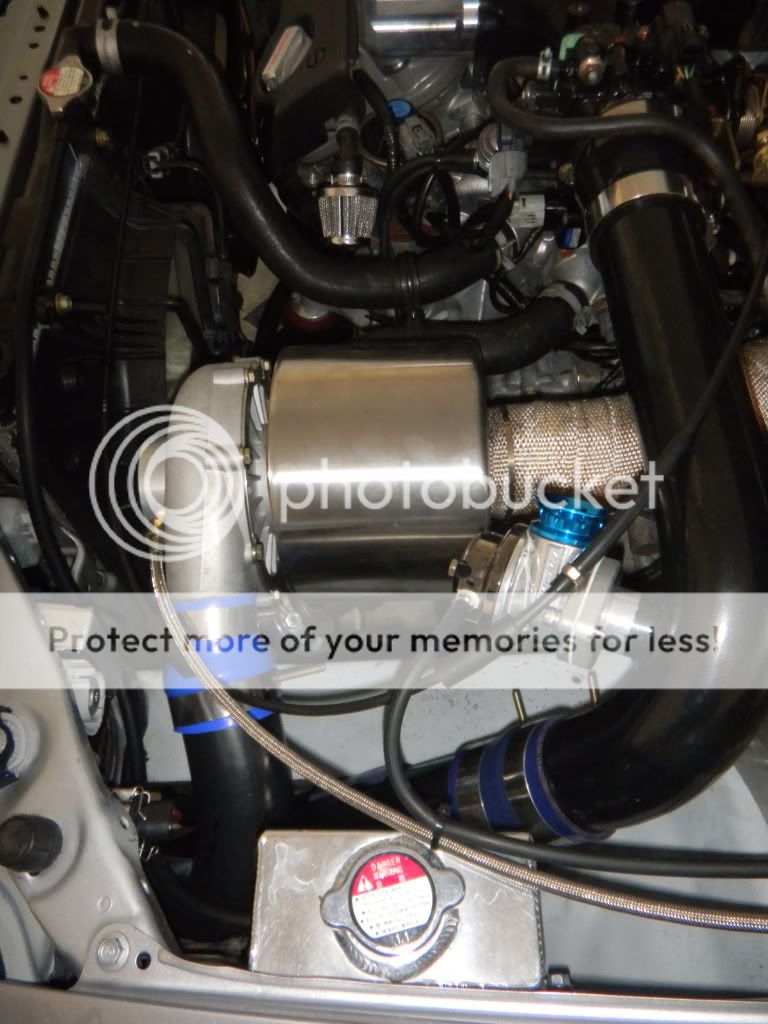
8. Test fit. Trim here, there, and everywhere for the perfect fitment. In this case, I had to torque the oil-feed fitting on my turbo to move it out of the way of the shield.

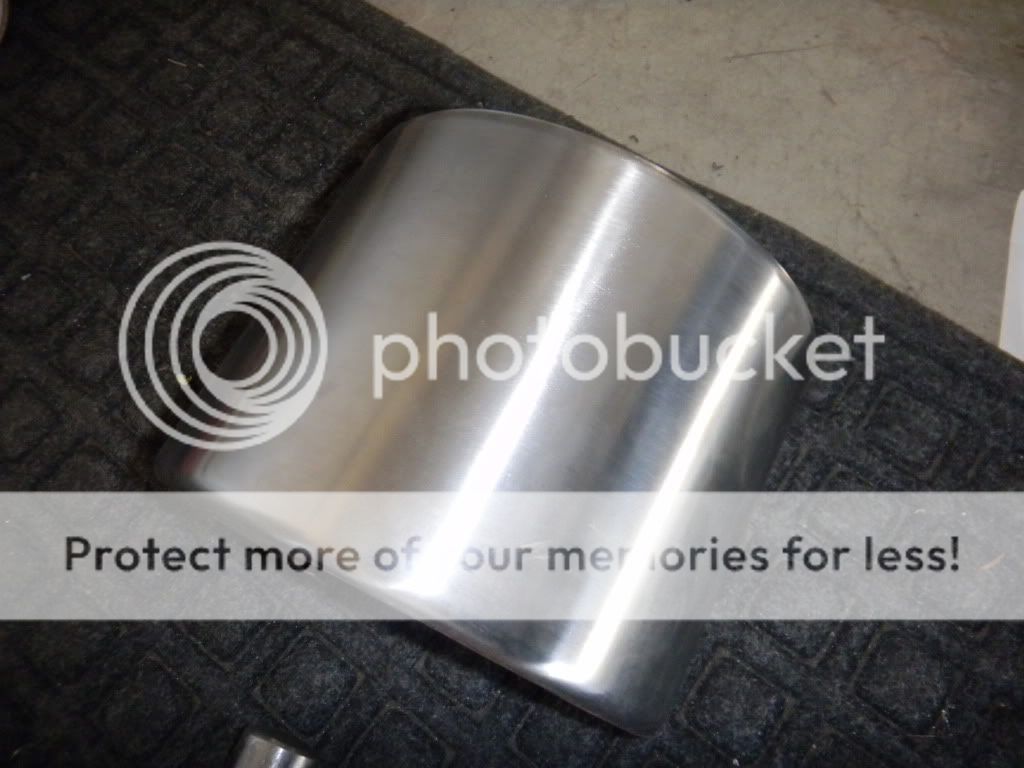
9. Once the shield fit to my liking, I went back and hand-sanded the edges to give it a perfect, finished look.
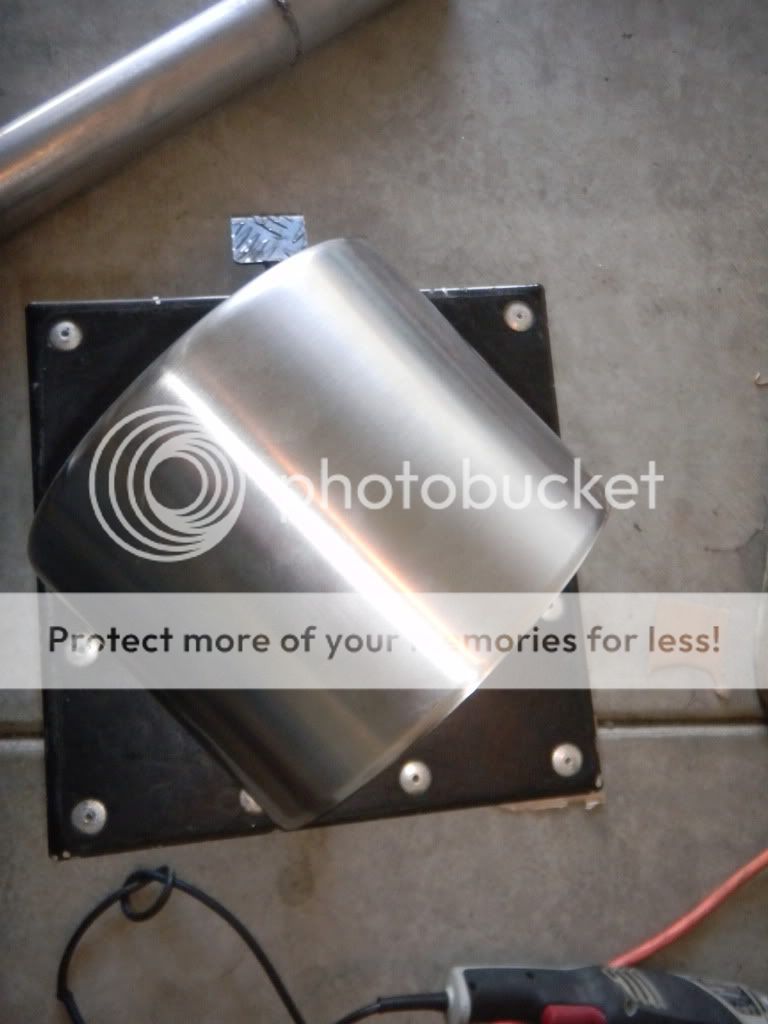
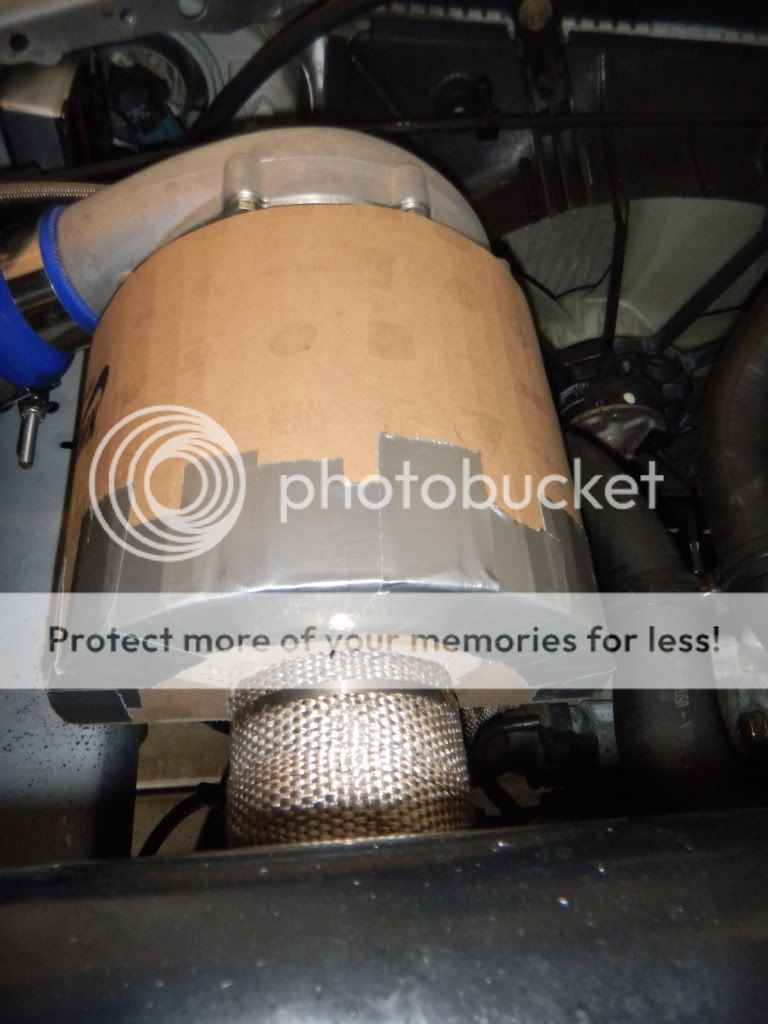
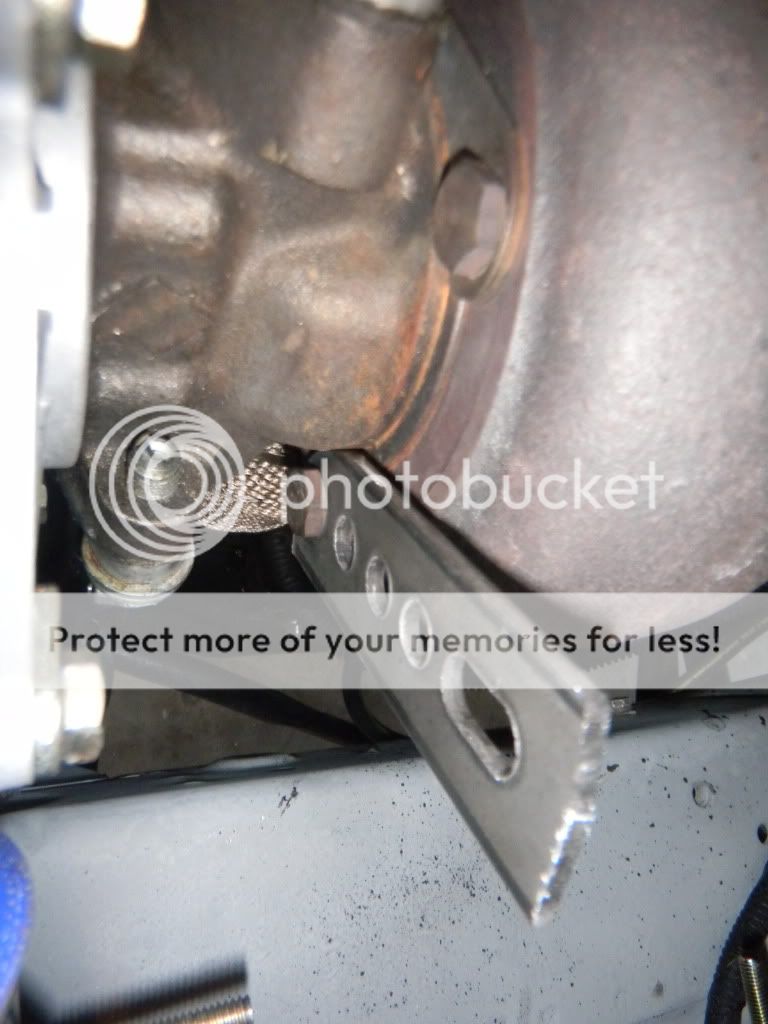
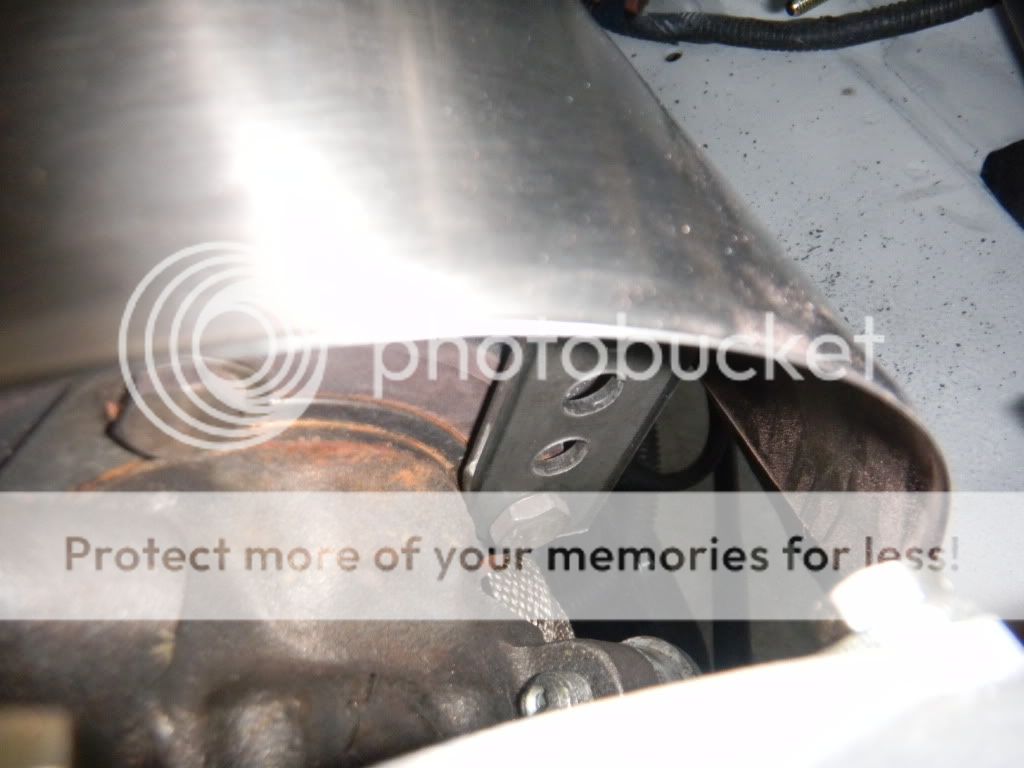
10. At this point, the shield itself was done. To mount it, I built two brackets from bolts on the exhaust side of the turbo. Once these were perfect, I tacked them from behind (again, with ice water soaked rags on the opposite side of the shield to prevent heat penetration damage in the finish).
11. Bada-bing. A turbo heat shield that fits/looks better than most/all of the aftermarket units available. Nobody will ever know this thing was once intended to cook spagetti.
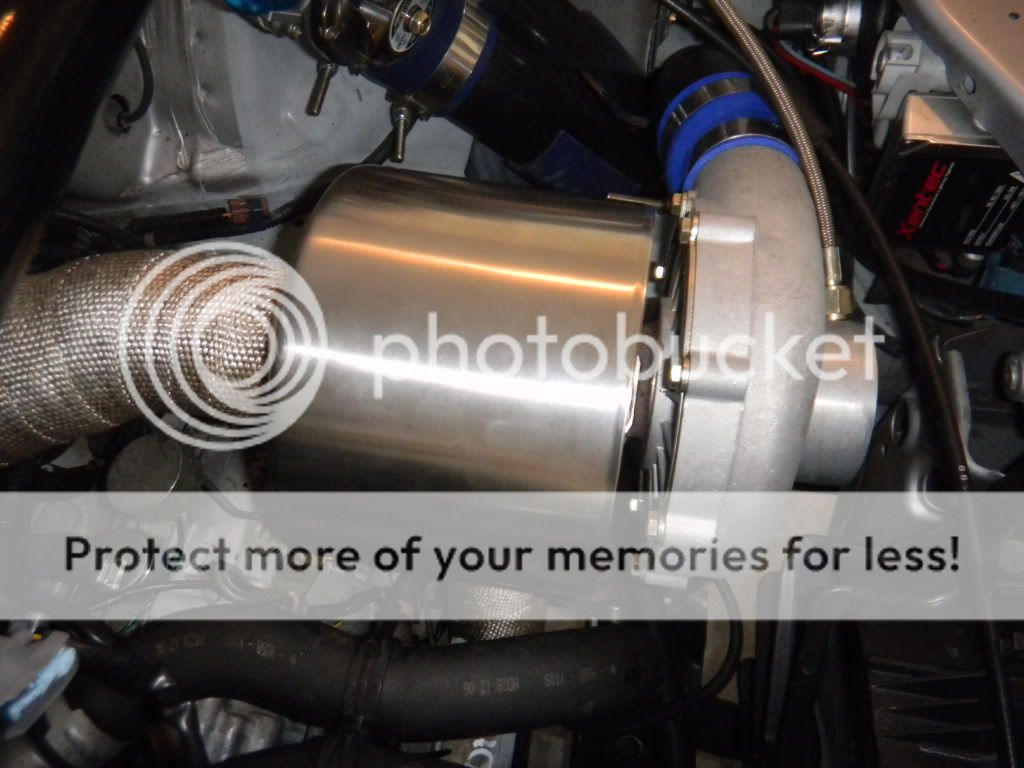
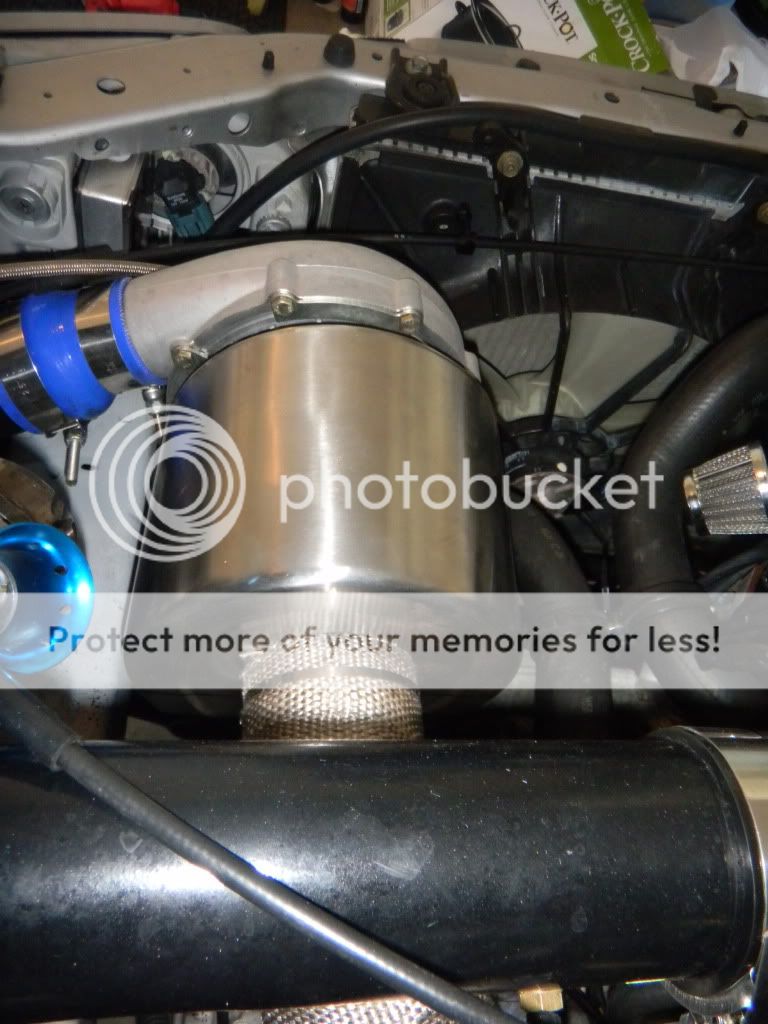
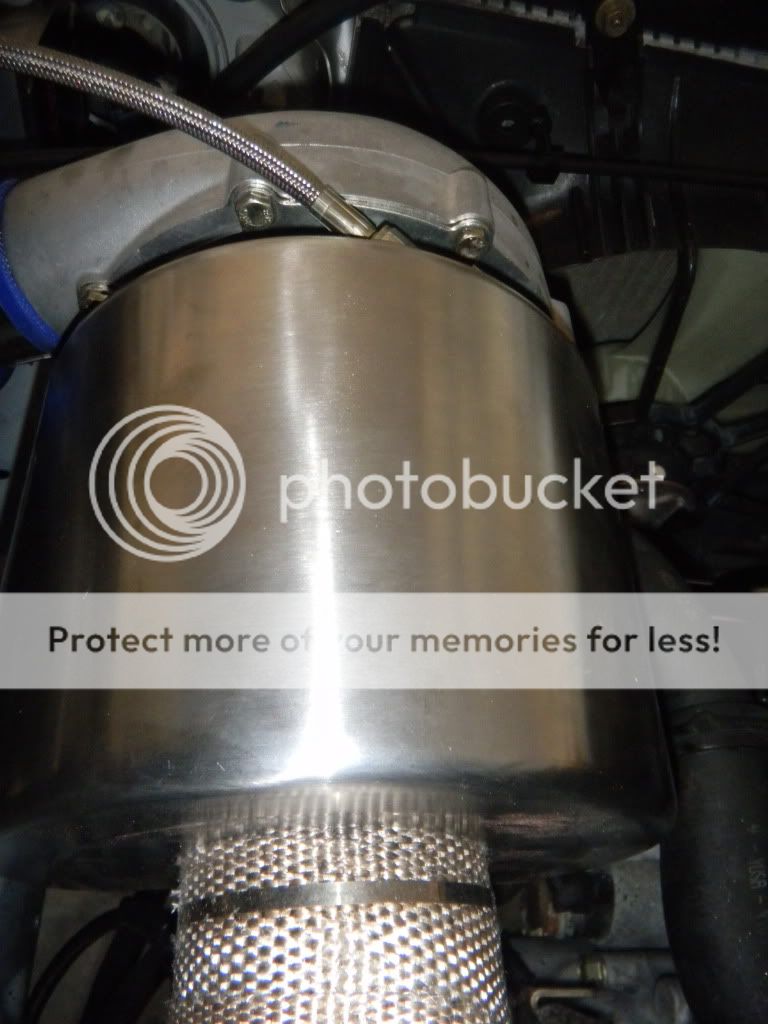
12. Total cost: ~$30 and two hours of labor. It works beautifully as well, the intake piping is ice-cold again! Nom nom. Nom. I have a peice of the unused pot being engraved at a local trophy shop so that I can tack a "brand" on the topside. Should be dope!
Since I spun my turbo 180 degrees, down, and back in my engine bay, the exhaust side had pretty considerable heat radiation on the cold-side of my intake tubing, so my intercooler efforts were being thwarted. With inspiration from the Supra guys, I built a stainless steel turbo heat shield to re-direct the heat.
Without futher ado, on to the pizorz. Comments/critiques whalecum, as always.
A quick snapshot of the bay I'm working with:
1. I started with a stainless steel pot. I chose the brushed look to match my brushed strut bar, brushed aluminum coolant overflow tank, and brushed P2R plenums.
2. To start, I traced the circumference of the pot onto a cardboard box, then used a razor blade to cut the circle.
3. Since the purpose of the shield is to direct heat AWAY from the intake piping, the closed end of the shield will be facing the firewall. This end of the shield will rest on the vband flange on my downpipe. In order to get the size correct, I just grabbed a piece of 3" exhaust scrap and centered it up. Trace, then cut. Bada-bing.
4. Once the end-cap template was cut, I placed it on the turbo to ensure that the tolerances were where I wanted them. During this step, I did some trimming to ensure that the top and sides of the shield would meet perfectly flush with the compressor side of the turbo. Measure ten times, cut once.
5. With the end-cap template complete, I trimmed a bonnet comparable in depth to the actual pot. Once the correct size, I taped it up.
6. Test fit. Trim here, there, and everywhere for the perfect fitment.
7. Once I was happy with the template, I layed it over the $28 pot and traced it. With blue masking tape as my cut line (as well as to protect the pot from damage),I went ahead and cut it with a cutoff disc/jigsaw. This was tough though, because I didn't want to heat the stainless to a point where it would have heat penetration marks and or/warpage. I used an ice water soaked rag to cool every cut I made.
8. Test fit. Trim here, there, and everywhere for the perfect fitment. In this case, I had to torque the oil-feed fitting on my turbo to move it out of the way of the shield.
9. Once the shield fit to my liking, I went back and hand-sanded the edges to give it a perfect, finished look.
10. At this point, the shield itself was done. To mount it, I built two brackets from bolts on the exhaust side of the turbo. Once these were perfect, I tacked them from behind (again, with ice water soaked rags on the opposite side of the shield to prevent heat penetration damage in the finish).
11. Bada-bing. A turbo heat shield that fits/looks better than most/all of the aftermarket units available. Nobody will ever know this thing was once intended to cook spagetti.
12. Total cost: ~$30 and two hours of labor. It works beautifully as well, the intake piping is ice-cold again! Nom nom. Nom. I have a peice of the unused pot being engraved at a local trophy shop so that I can tack a "brand" on the topside. Should be dope!
Last edited: