minituck04
Well-Known Member
this will take you roughly about an hour. depending on how much you drink and how fast. also if your friends are there and are being lazy aSSes
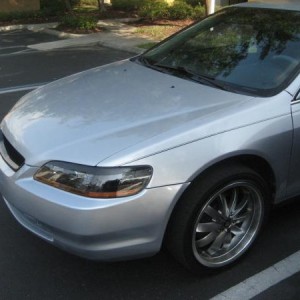
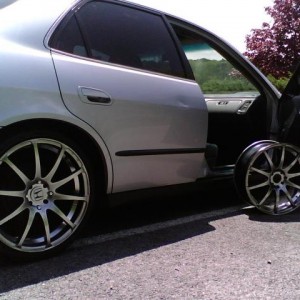
my 99 cg5. you will need one of these to put on the camber kit. putting on the rear camber kit so i can get an alignment. first begin by placing the rear of the car on jackstands, chock blocks up front and a jack under the subframe just in case. dont want your car fallin on your head. cuz aleve wont fix that.
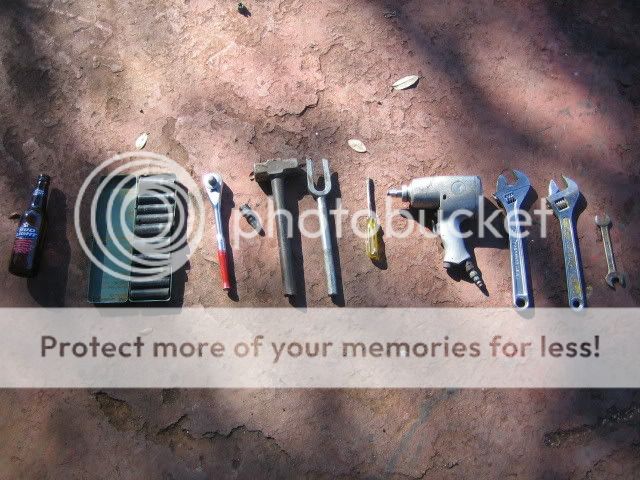
tools you will need. in order of importance from left to right. beer(i chose budlight but you can subsitute for you fave beer), impact sockets, rachet wrench, your wheel key if you have it, hammer, ball joint seperator, screwdriver or needle nose pliers for cotter pin, impact gun, 2 adjustable wrenches for the camber kit and a 15mm wrench. jack and jackstands too

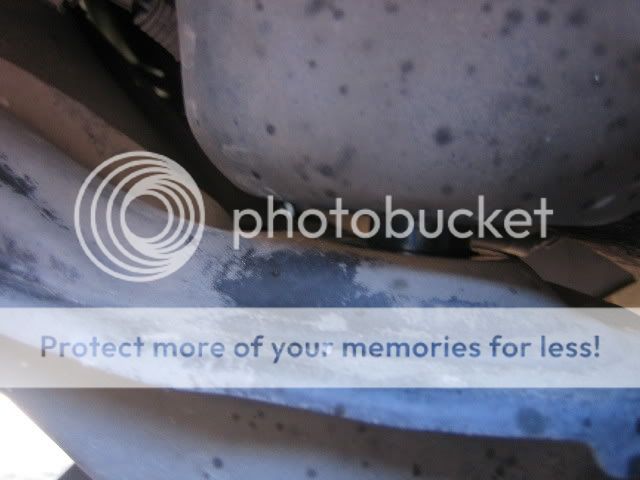
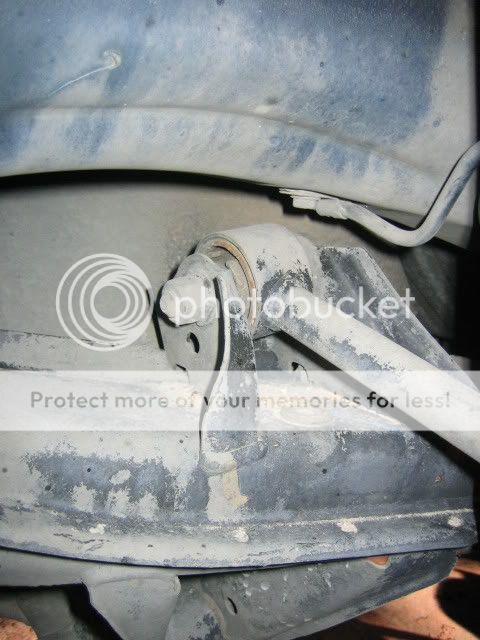
the piece you will be replacing. if your wondering its the upper bar that straight not at an angle.

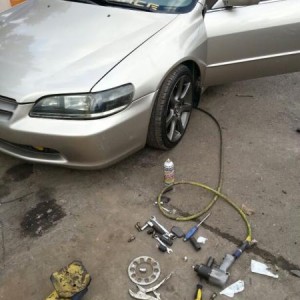
because of clearence problems with the bolt. i had to loosen the bolts on the sub frame. drop it like 1/2 inch also helped me with clearance problems with the fender lip. ill explain later. also if you dont wanna lose your lugnuts put them on the wheel studs. also helps in not getting yoru clothes or skin snagged on them.
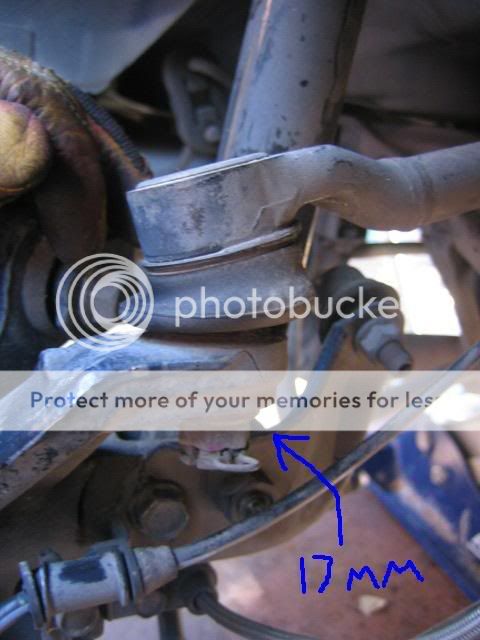
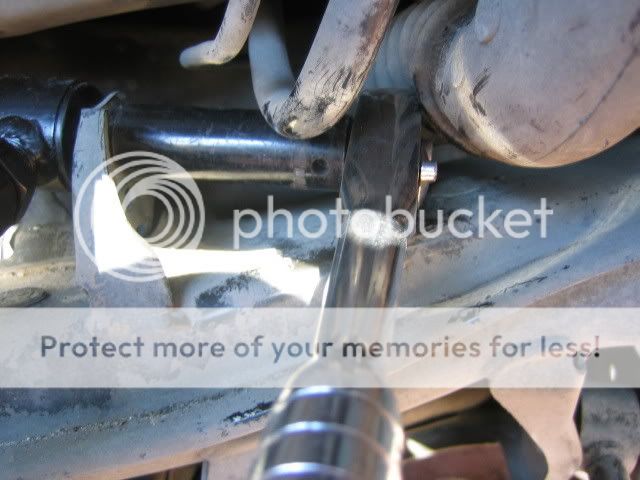
first take your 17mm socket and loosen the castle nut. then take your balljoint seperator and separte the ball joint from the spindle. may take some effort on this part
you will need a 17mm socket for the nut. and a 15mm for the bolt. use a ratchet wrench on the 17mm along with a cheater bar or some pipe or something of that nature. and a 15mm wrench. nothing else will fit. i tried with no luck
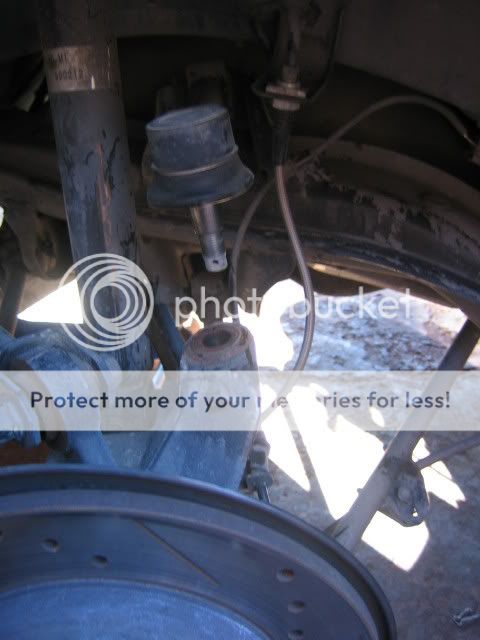
reason i dropped the subframe. not to much space to work with. this is the drivers side. all pics taken were on the passengers side. those are the gas tank hoses and filler neck tube
here you see what i was talking bout. this is after i dropped the subframe. made it alot easier to get in there.
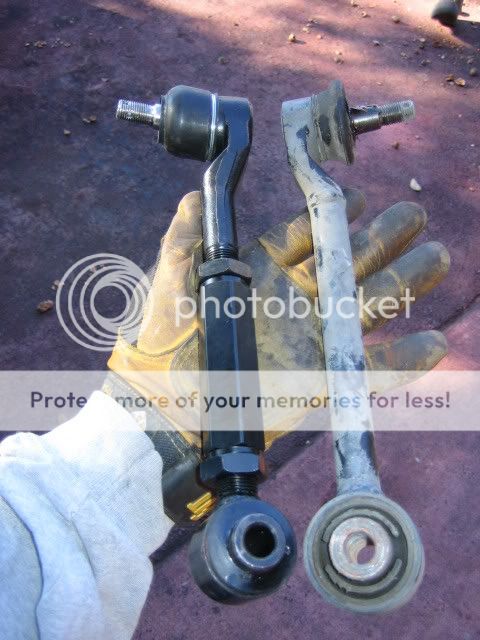
heres a look at the stock arm next to the adjustable one. once you have the stock one in your hand place the new one next to it and adjust it out to where they are the same size from center of the balljoint (look at the ring up top) to the center of the whole.
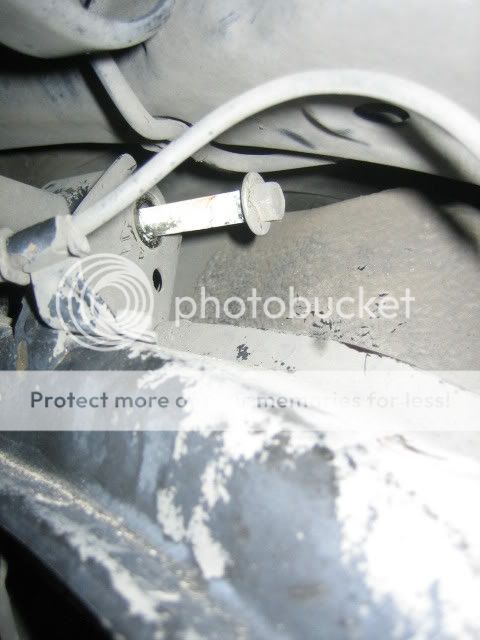
here it is installed. and you can see clearly in this pic the ring i was talking bout.

this is what i was refering to earlier. my left side rubbed like a mo fo. so i trimmed almost the whole fender lip and the right side stayed untouched. so what i did when i lowered the subframe was to pull it as far right of the car as i could. there is 1/4" of play. hey something is better than nothing. i think now it may clear the lil tab that holds the bumper to the body so i wont have to shave it down any more.
tighten everything back up. the instructions say to put the weight of the car on the suspension then tighten. so just take the jack and lift up from under the link bars and then tighten. then go back and recheck what you just tighten just incase you forgot one. its your suspension your talking bout. dont want to end up in the wall cuz your **** fell apart.
reinstall your wheels and tighten lugnuts! almost done. set the car down. and go grab a beer and drink it. thanks for your time in checkin out my diy. hope this helps you guys. if not its still cool. thought i would contribute to the forum.
me, my beer and the shocker.
my 99 cg5. you will need one of these to put on the camber kit. putting on the rear camber kit so i can get an alignment. first begin by placing the rear of the car on jackstands, chock blocks up front and a jack under the subframe just in case. dont want your car fallin on your head. cuz aleve wont fix that.
tools you will need. in order of importance from left to right. beer(i chose budlight but you can subsitute for you fave beer), impact sockets, rachet wrench, your wheel key if you have it, hammer, ball joint seperator, screwdriver or needle nose pliers for cotter pin, impact gun, 2 adjustable wrenches for the camber kit and a 15mm wrench. jack and jackstands too
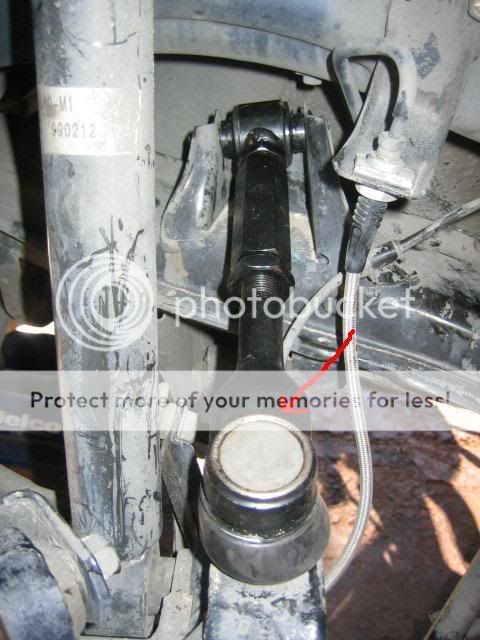
the piece you will be replacing. if your wondering its the upper bar that straight not at an angle.
because of clearence problems with the bolt. i had to loosen the bolts on the sub frame. drop it like 1/2 inch also helped me with clearance problems with the fender lip. ill explain later. also if you dont wanna lose your lugnuts put them on the wheel studs. also helps in not getting yoru clothes or skin snagged on them.
first take your 17mm socket and loosen the castle nut. then take your balljoint seperator and separte the ball joint from the spindle. may take some effort on this part
you will need a 17mm socket for the nut. and a 15mm for the bolt. use a ratchet wrench on the 17mm along with a cheater bar or some pipe or something of that nature. and a 15mm wrench. nothing else will fit. i tried with no luck
reason i dropped the subframe. not to much space to work with. this is the drivers side. all pics taken were on the passengers side. those are the gas tank hoses and filler neck tube
here you see what i was talking bout. this is after i dropped the subframe. made it alot easier to get in there.
heres a look at the stock arm next to the adjustable one. once you have the stock one in your hand place the new one next to it and adjust it out to where they are the same size from center of the balljoint (look at the ring up top) to the center of the whole.
here it is installed. and you can see clearly in this pic the ring i was talking bout.
this is what i was refering to earlier. my left side rubbed like a mo fo. so i trimmed almost the whole fender lip and the right side stayed untouched. so what i did when i lowered the subframe was to pull it as far right of the car as i could. there is 1/4" of play. hey something is better than nothing. i think now it may clear the lil tab that holds the bumper to the body so i wont have to shave it down any more.
tighten everything back up. the instructions say to put the weight of the car on the suspension then tighten. so just take the jack and lift up from under the link bars and then tighten. then go back and recheck what you just tighten just incase you forgot one. its your suspension your talking bout. dont want to end up in the wall cuz your **** fell apart.
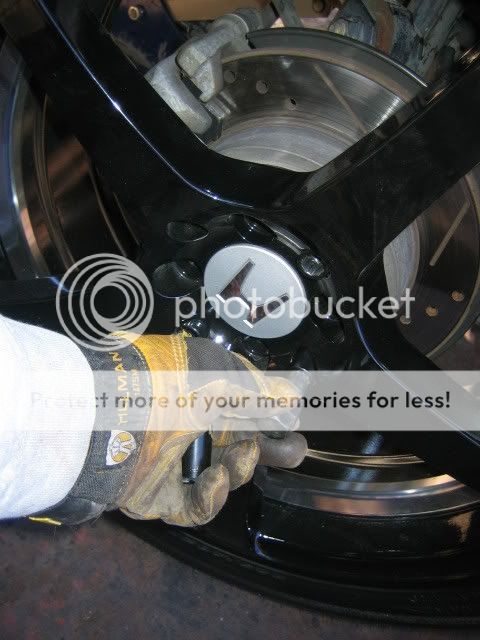
reinstall your wheels and tighten lugnuts! almost done. set the car down. and go grab a beer and drink it. thanks for your time in checkin out my diy. hope this helps you guys. if not its still cool. thought i would contribute to the forum.
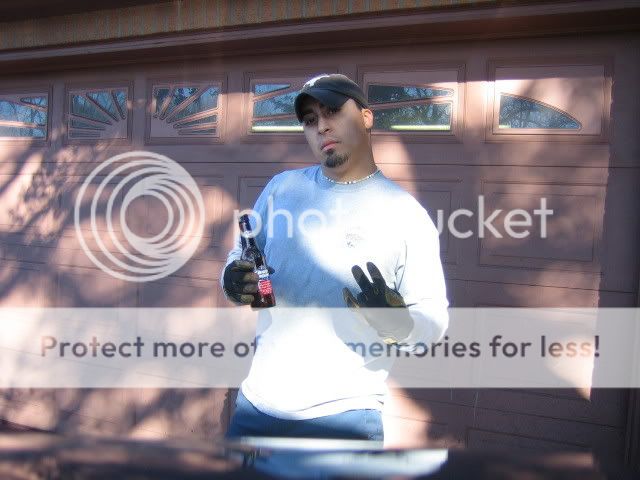
me, my beer and the shocker.
Last edited: