

I think this is the right forum for this info.
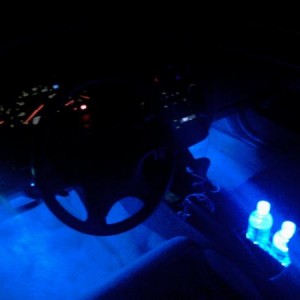
I had changed to LED brake bulbs from Super Bright a while back. I knew I'd run into the constant brake light indicator (under the temp/fuel gauge). Since my inspection is around the corner, I didn't want any extra lights on the dash; especially ones that might raise questions.
I found info online that all it took was grounding one wire from the brake light failure sensor connector. So I tracked down a Honda 6 pin male connector, pigtails and other connectors to ground that wire. As it turns out, grounding the wire made the brake light sensor stay on even before I pressed the brake pedal.
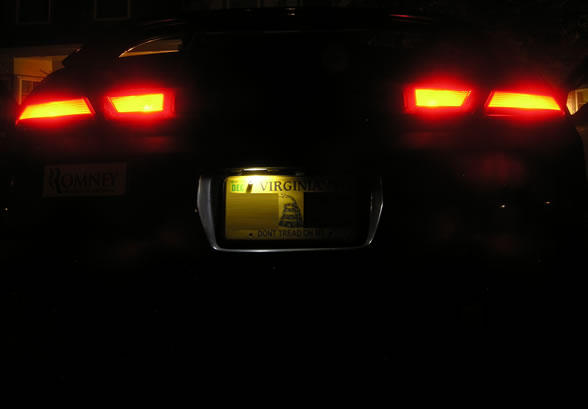
Just for the fun of it, I disconnected the wire altogether (i.e. no ground). I am now using LED brake bulbs, no load resistors and the brake light indicator is not on. Brake lights operate as normal.
Here's what I did (of course, no guarantees, not responsible for any damage, etc.) It is suggested that the battery be disconnected whenever messing with wiring.
Not only does the brake light indicator remain off when using my brakes, it continues to operate as if I were using regular bulbs. In other words, when I first turn the key, the indicator lights and then goes off when starting the car.
I had changed to LED brake bulbs from Super Bright a while back. I knew I'd run into the constant brake light indicator (under the temp/fuel gauge). Since my inspection is around the corner, I didn't want any extra lights on the dash; especially ones that might raise questions.
I found info online that all it took was grounding one wire from the brake light failure sensor connector. So I tracked down a Honda 6 pin male connector, pigtails and other connectors to ground that wire. As it turns out, grounding the wire made the brake light sensor stay on even before I pressed the brake pedal.
Just for the fun of it, I disconnected the wire altogether (i.e. no ground). I am now using LED brake bulbs, no load resistors and the brake light indicator is not on. Brake lights operate as normal.
Here's what I did (of course, no guarantees, not responsible for any damage, etc.) It is suggested that the battery be disconnected whenever messing with wiring.
- Locate the brake light failure sensor. This is a small black box (about 3"x3") attached to the trunk wall on the driver's side behind the trunk carpet. Essentially on the other side of the trunk wall from the driver's side brake light. Note that I have a coupe so I'm not sure if it's different for sedans.
- Remove the 6 pin connector from sensor.
- Carefully the "secondary lock" from the connector. Directly to the right of the white w/ black stripe wire below, you can see the clip that holds the lock in place. There is one lock on each side.
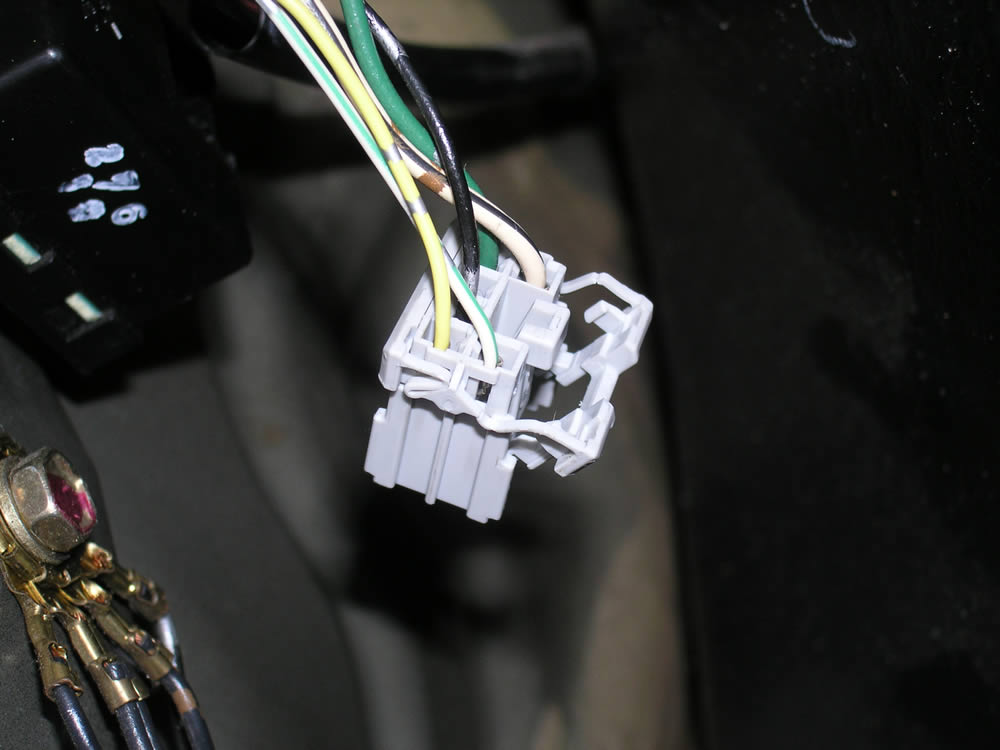
- Remove the white (w/ green stripe) wire from the connector. Each wire is held by a small plastic tab. When looking at the front end of the connector you'll see a series of tabs towards the middle of the connector. Carefully lift the tab for the white (w/ green stripe) wire and gently pull the wire out. I used a small jeweler's screwdriver for this.
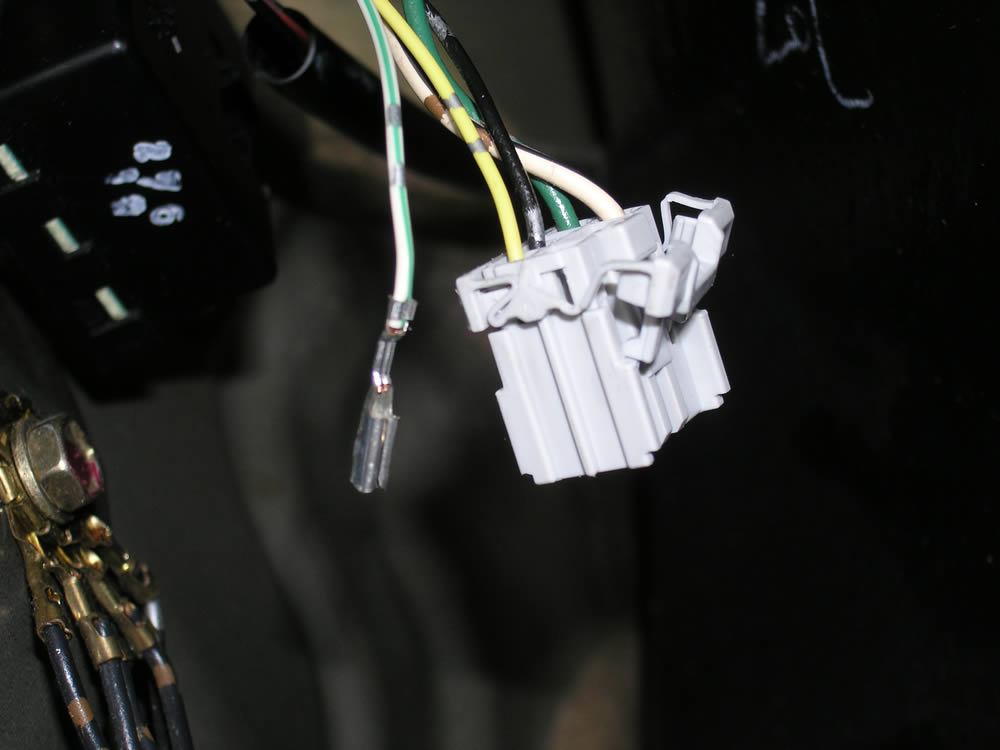
- Isolate the end of the wire. You can use shrink wrap, electrical tape or another means. I just used an extra connector that I had bought (since I thought I'd need to ground the cable and it wasn't worth returning).
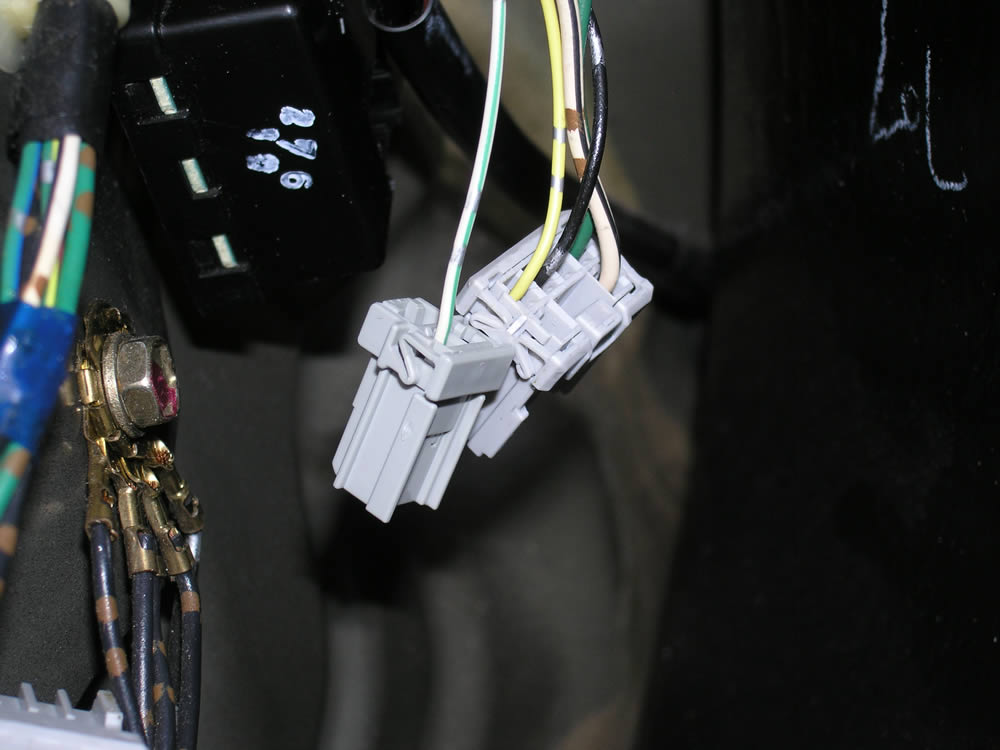
- Plug the 6 pin connector back into the brake light failure sensor.
Not only does the brake light indicator remain off when using my brakes, it continues to operate as if I were using regular bulbs. In other words, when I first turn the key, the indicator lights and then goes off when starting the car.


") ...sorry for the quality of the pictures. I didn't want to use a flash and did a quick job with the tripod.
...sorry for the quality of the pictures. I didn't want to use a flash and did a quick job with the tripod.