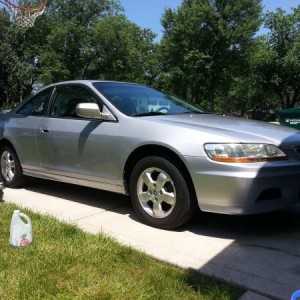
DIY Heated/Manual Folding Mirrors for Coupes

dbruskla

Member
Joined
Dec 8, 2014
Posts
18
Reaction score
1
Location
Washington
Coupe DIY Heated/Manual Folding Mirrors:

*This is intended for educational purposes for what is possible, I am not responsible in any way for any damage or injury that may occur to persons or property when attempting this kind of work*

Parts Needed:
  • 1999-2002 Honda Accord Coupe Mirrors (Manual Folding Style)
  • 1999-2001 Acura TL Mirror Motors (5-Wire)
  • 1999-2001 Acura TL Mirror Glass Set (Left and Right)
  • 1999-2001 Acura TL Mirror Motor Plug with small length of wires (Vehicle Door Harness Side) (Optional)

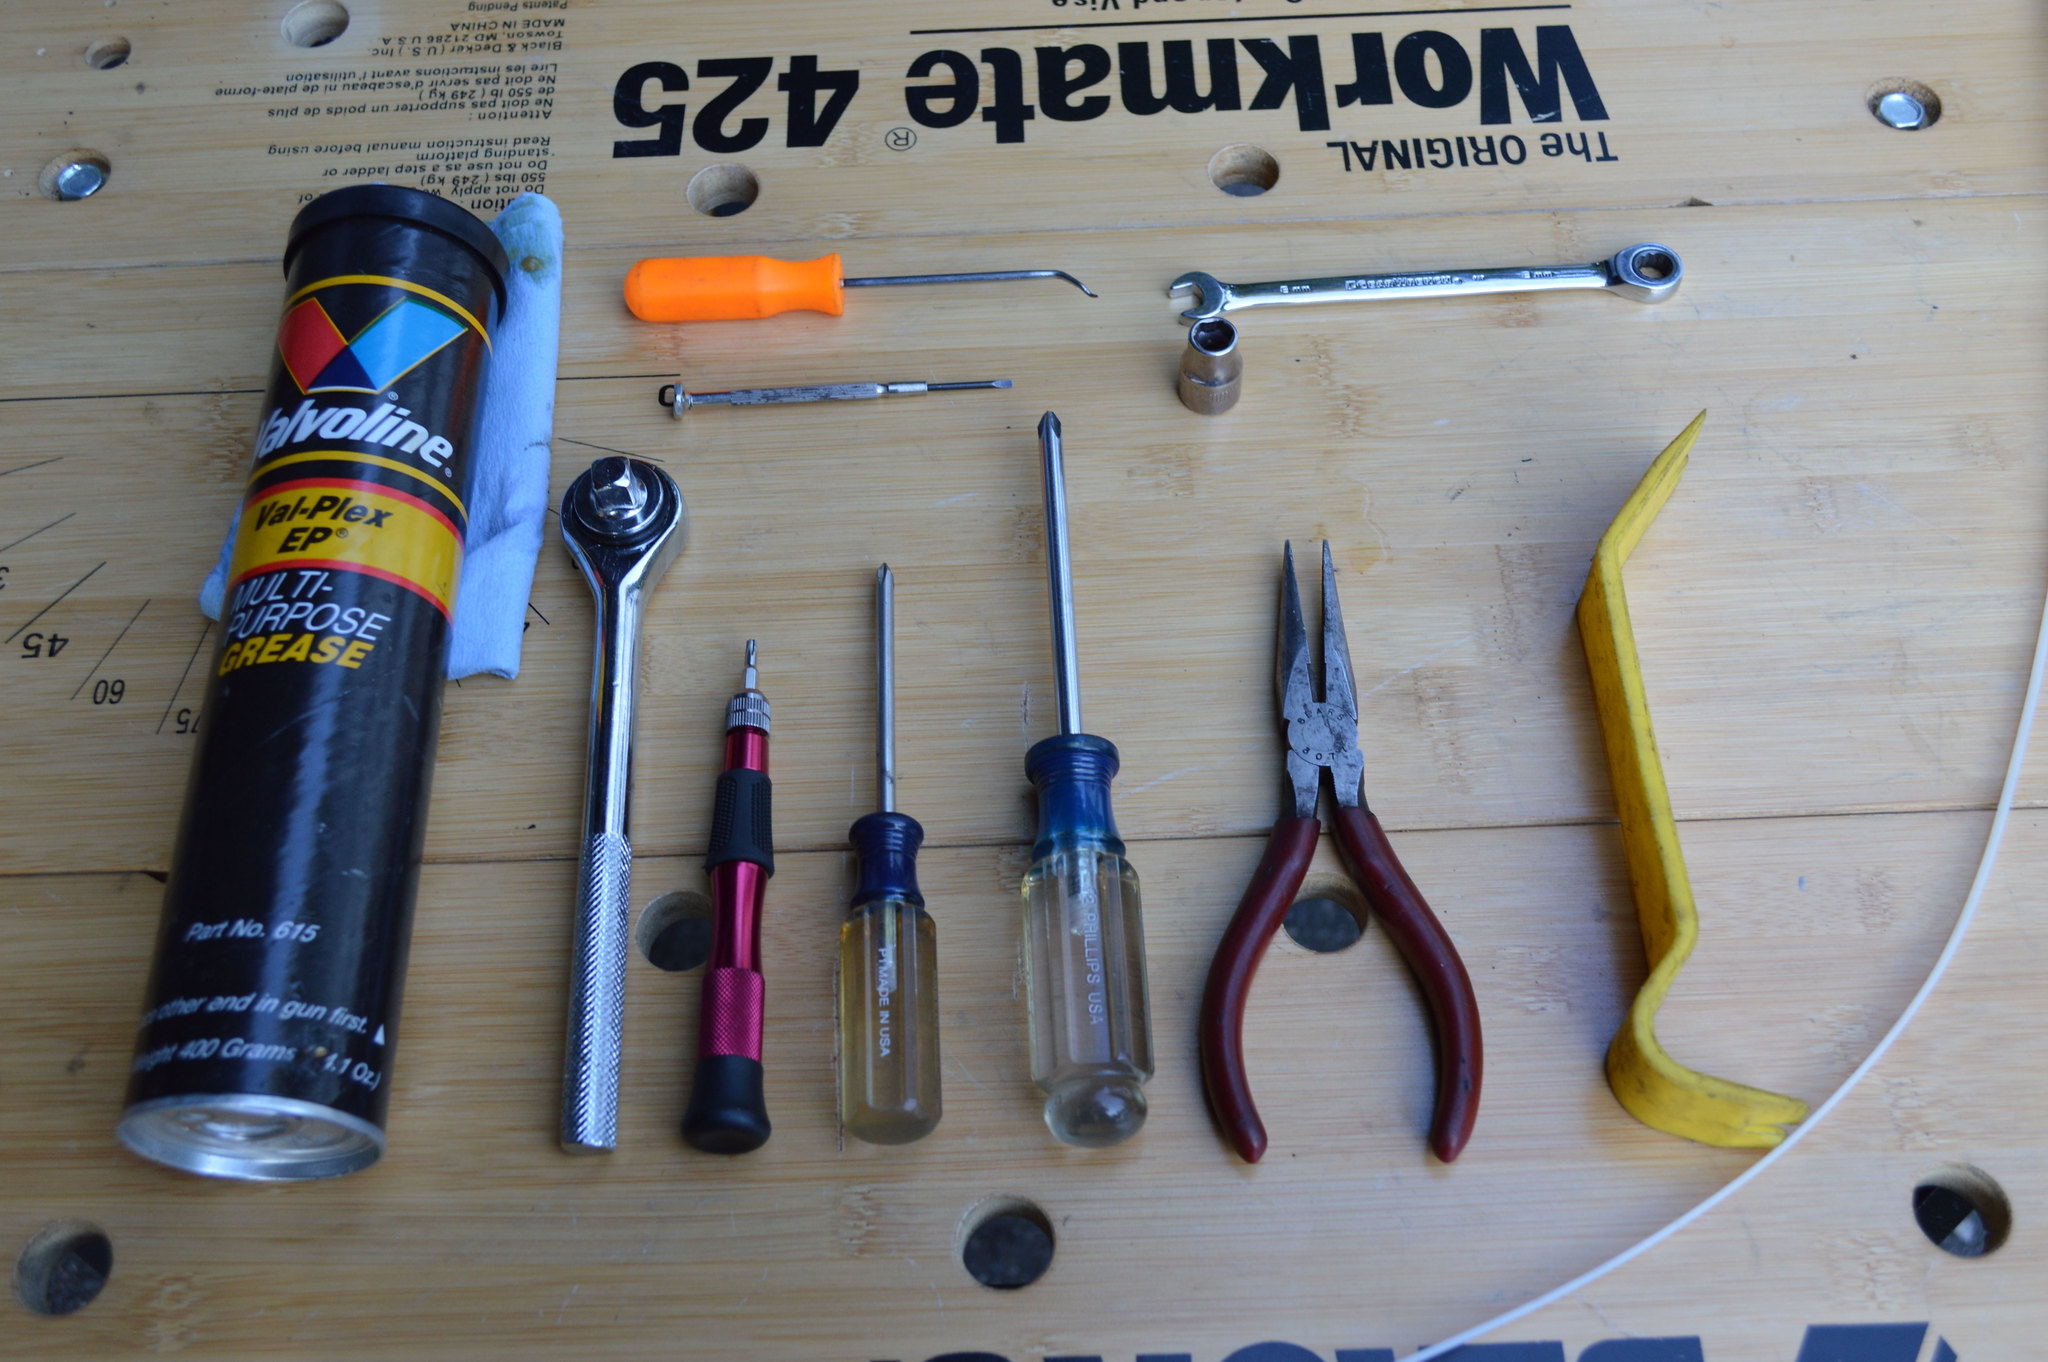
Tools Needed:
  • Phillips #1 Screwdriver
  • Phillips #2 Screwdriver
  • 8MM Open-End Box Wrench/8MM Socket
  • 9MM Socket
  • T-10 Torx Bit/Screwdriver
  • Needle Nose Pliers
  • 3/8” or 1/4” Ratchet Wrench
  • Plastic Trim Panel Tool
  • Precision Screwdriver/De-Pinning Tool
  • Pick Tool
  • Long Zip-Tie/Wire Fishing Tool
  • All-Purpose Automotive Grease
48541528782_2441192563_k.jpg


Step 1:
Remove Sail Panel/Mirror Trim and Door Panel:
  • Sail Plastic Panel on Inside of Mirror has (2) Clips
  • Then, use #2 Phillips to remove screw in door pocket handle in armrest
  • Next, use pick tool to open flap behind chrome door handle, remove #1 Phillips screw
  • Push door handle and lock switch assembly towards front of car
  • Use small screwdriver to undo door latch actuator rod from handle clip, unplug lock switch
  • Remove door panel clip (below mirror)
  • Remove door panel (starting from bottom, working up) (trim panel tool helps) and respective wiring plugs
Step 2: Remove Mirrors from Car:
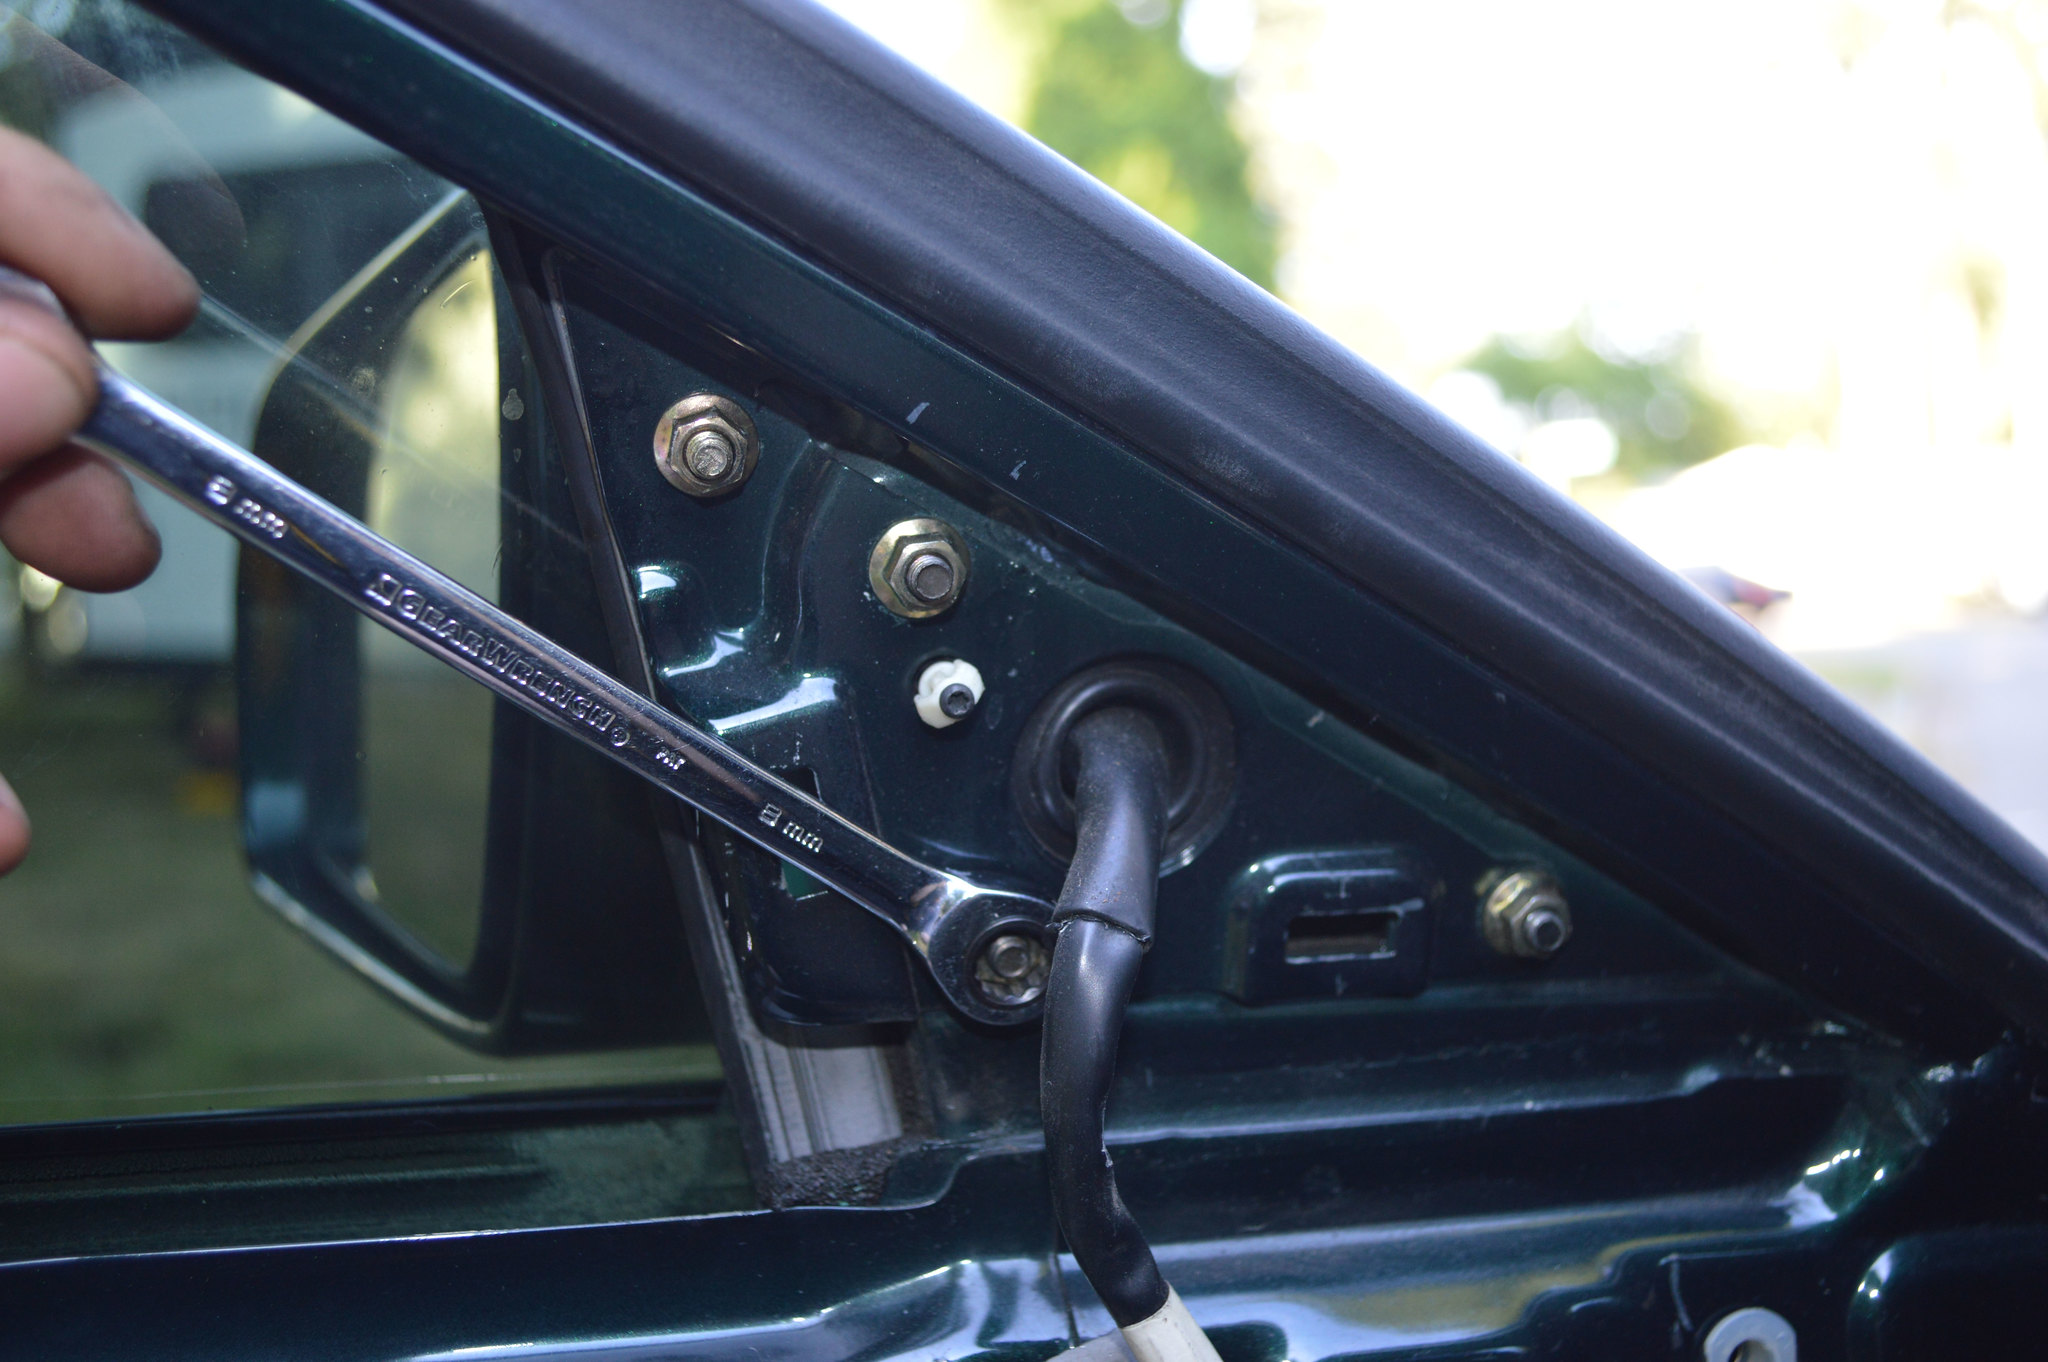
  • (3) 8MM Nuts (1998 Non-Folding)/8MM Bolts (1999-2002 Folding), NOT the top left one closest to window, that holds the window track in place
48541380741_3040578c27_k.jpg

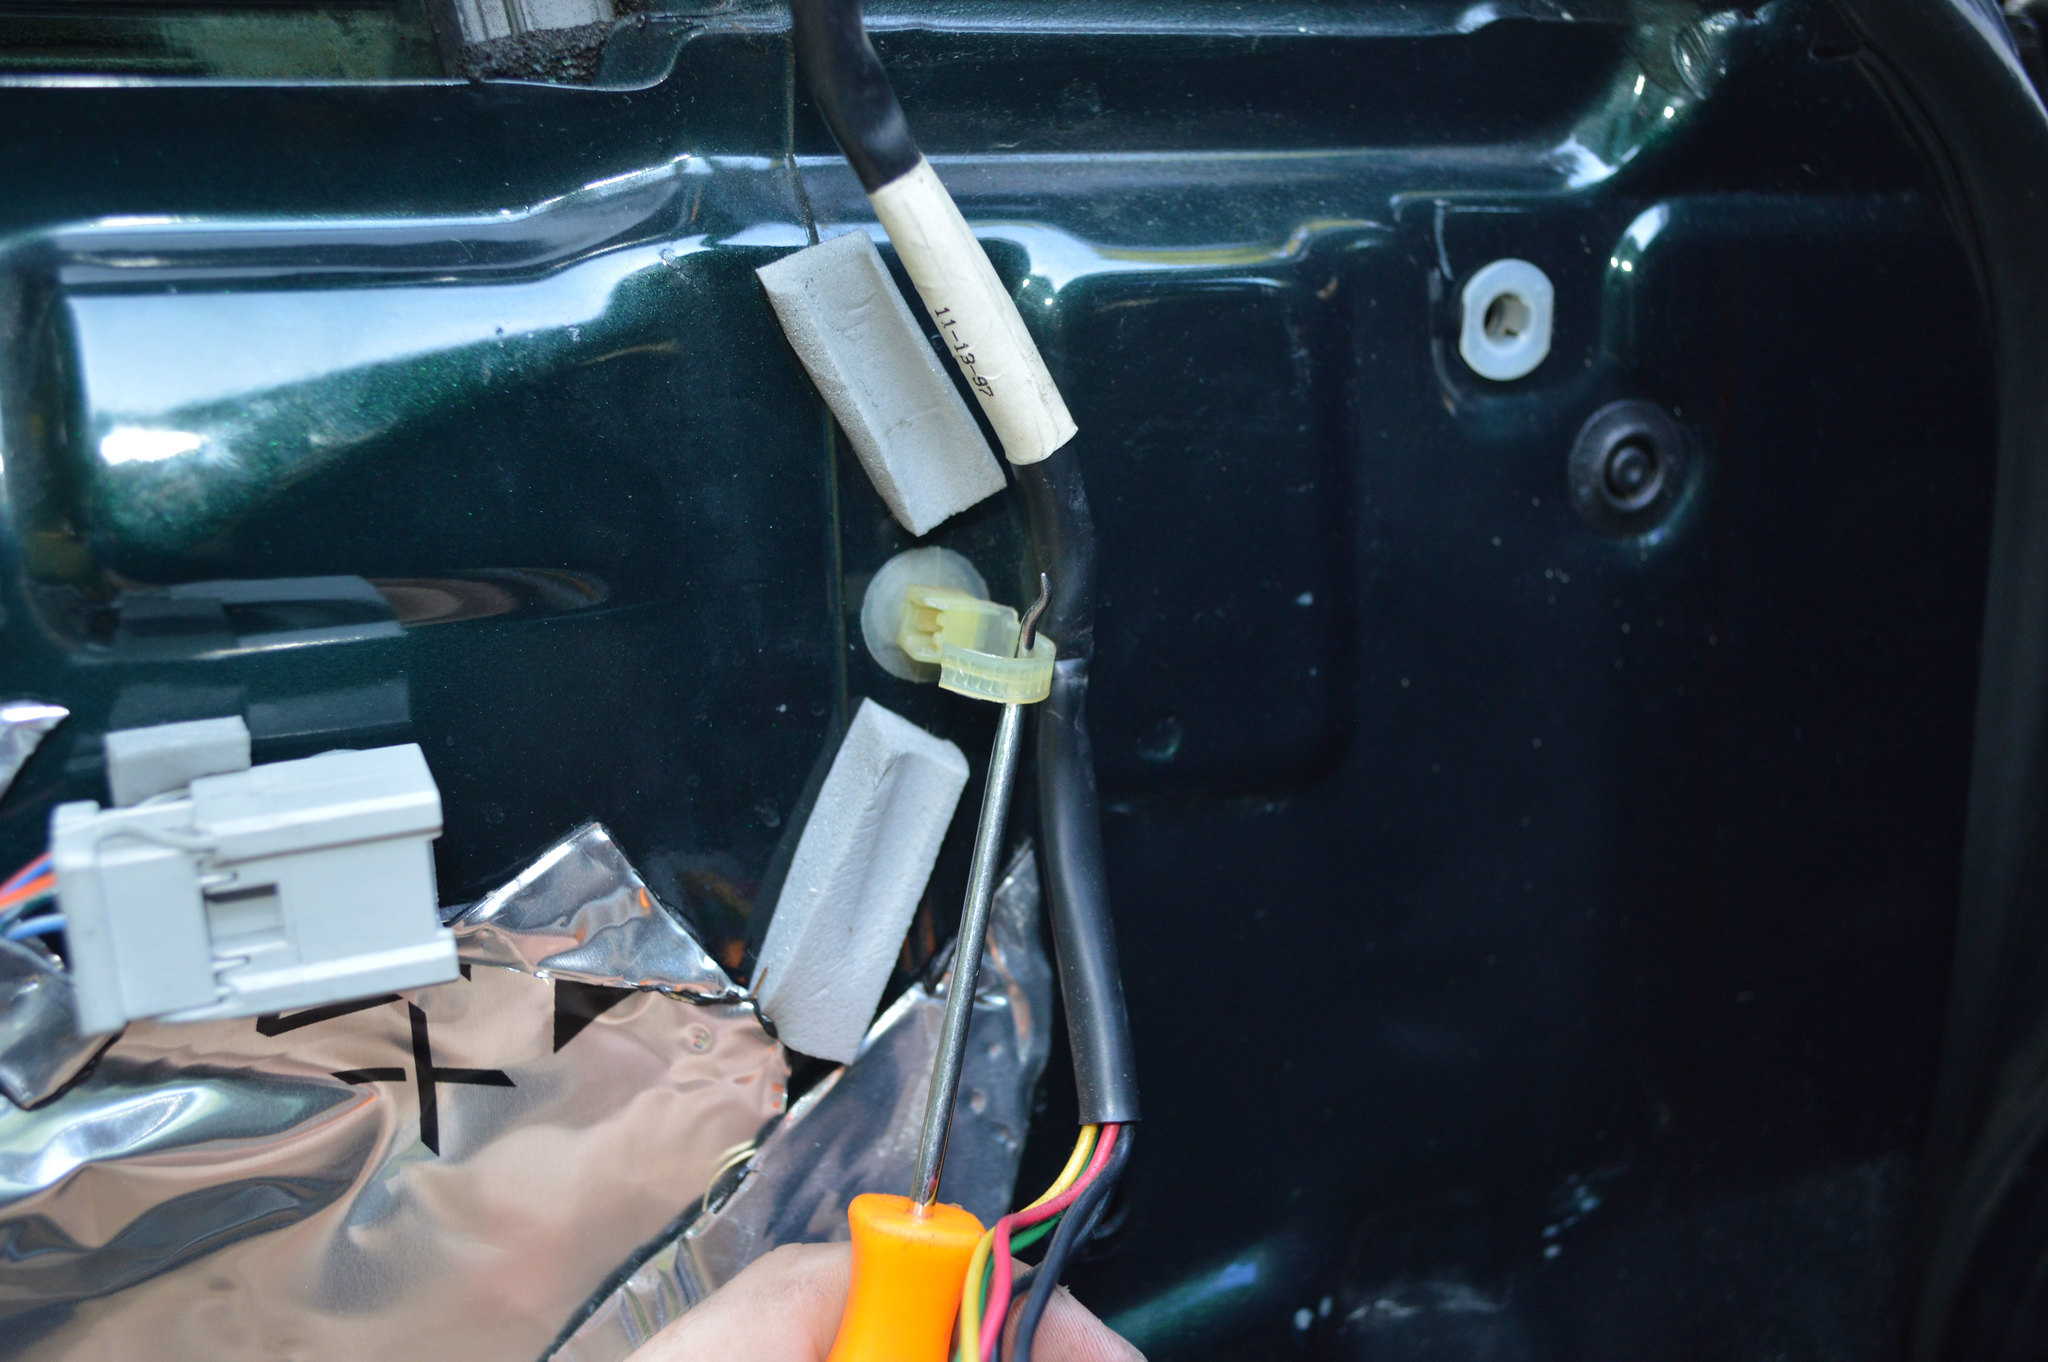
  • Un-clip the mirror harness plug, undo harness retaining clip from door
48541529137_ffddfcb94c_k.jpg


Step 3: De-Pin Mirror Wire Harness Plugs from Mirrors:
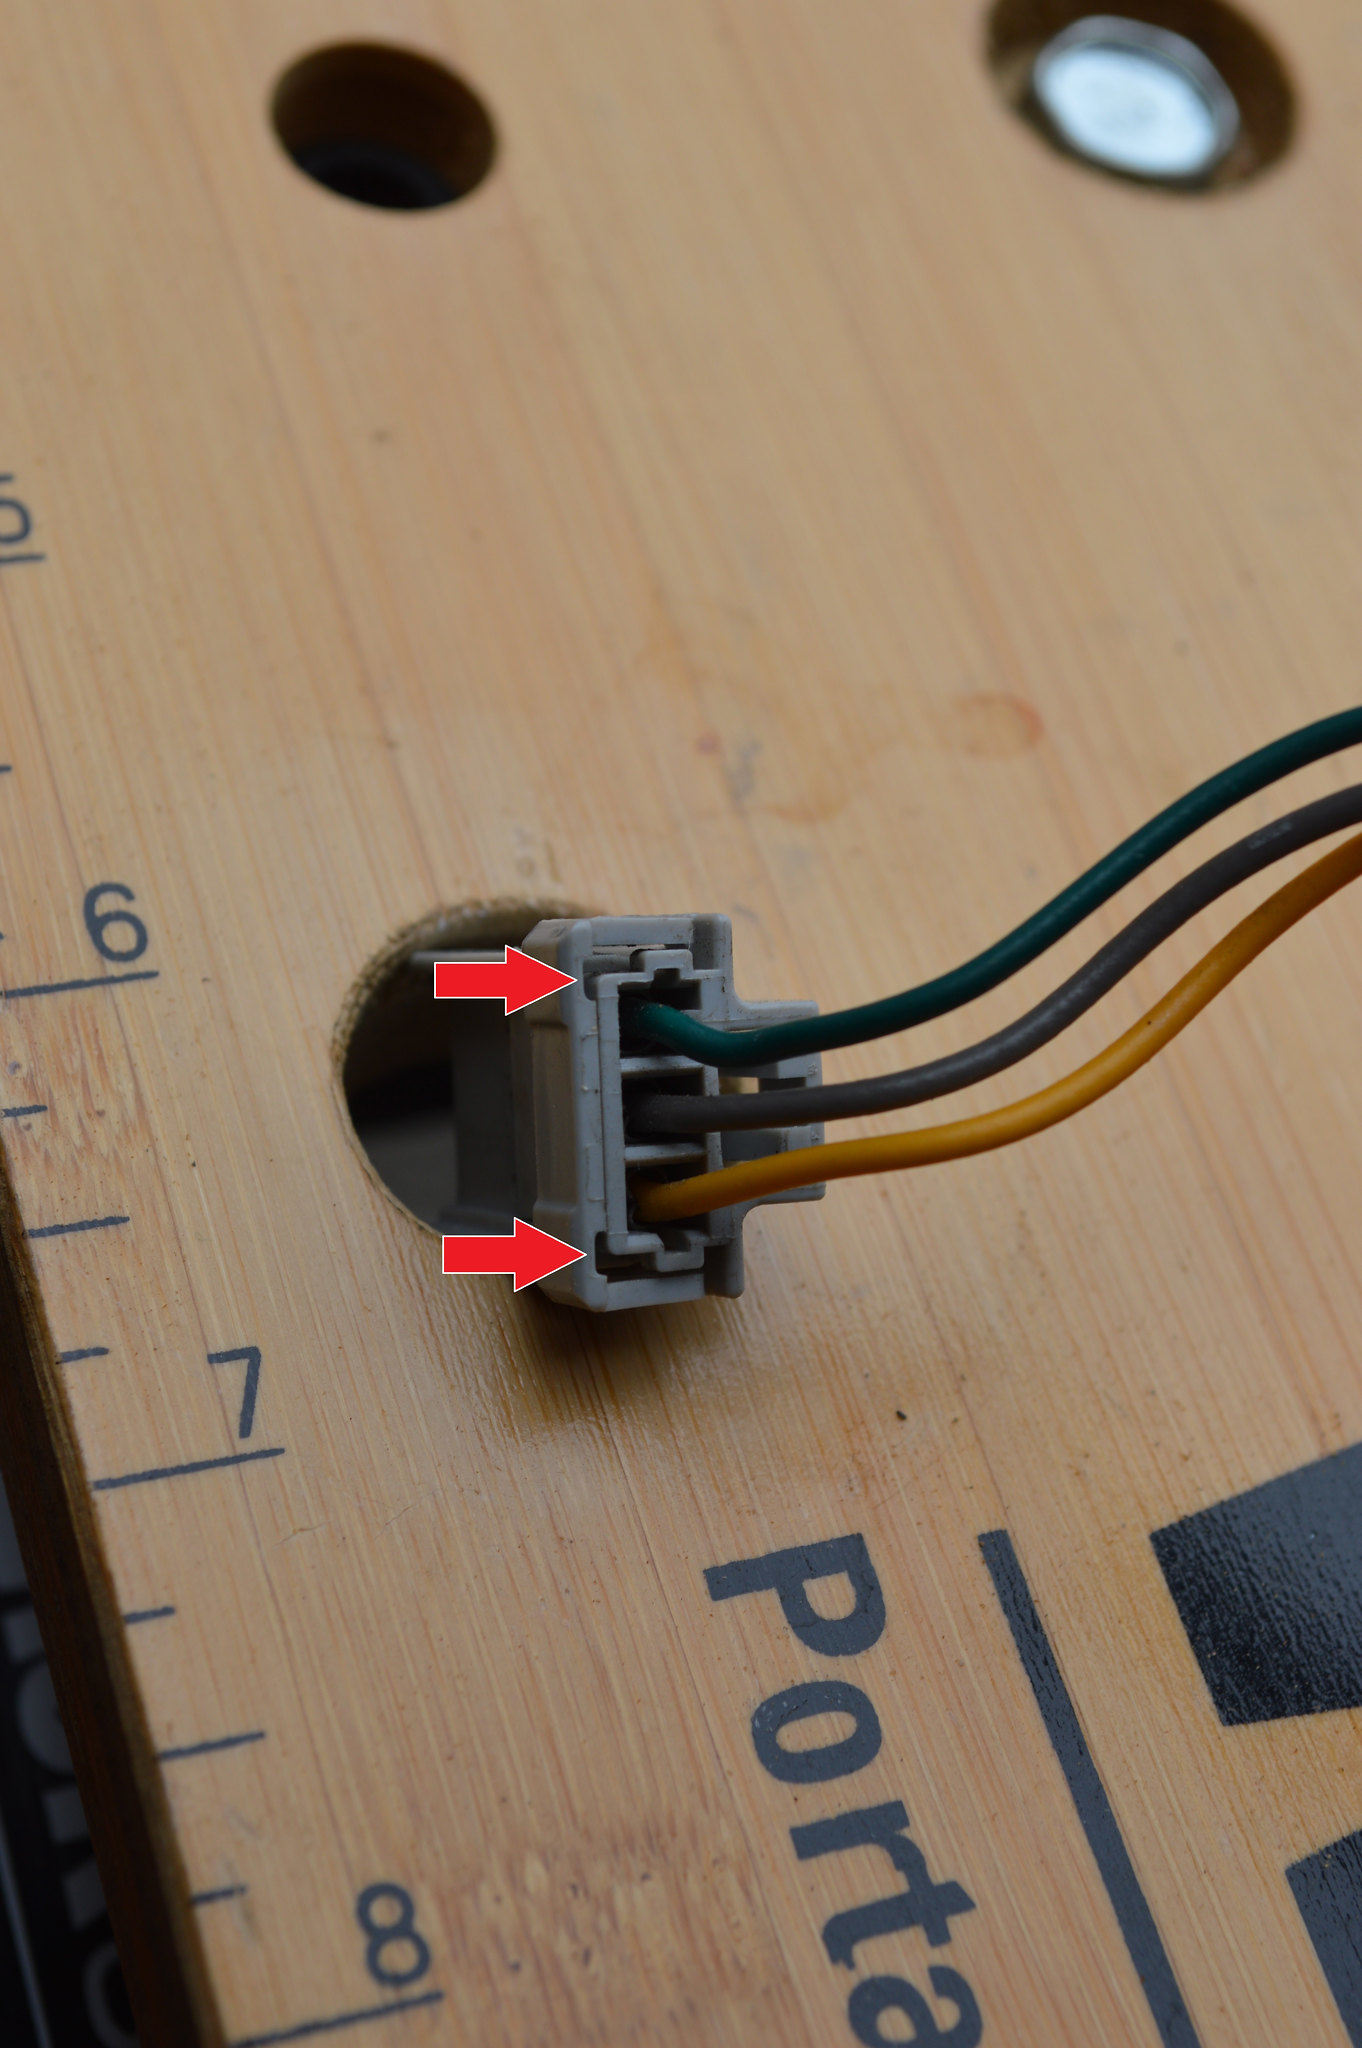
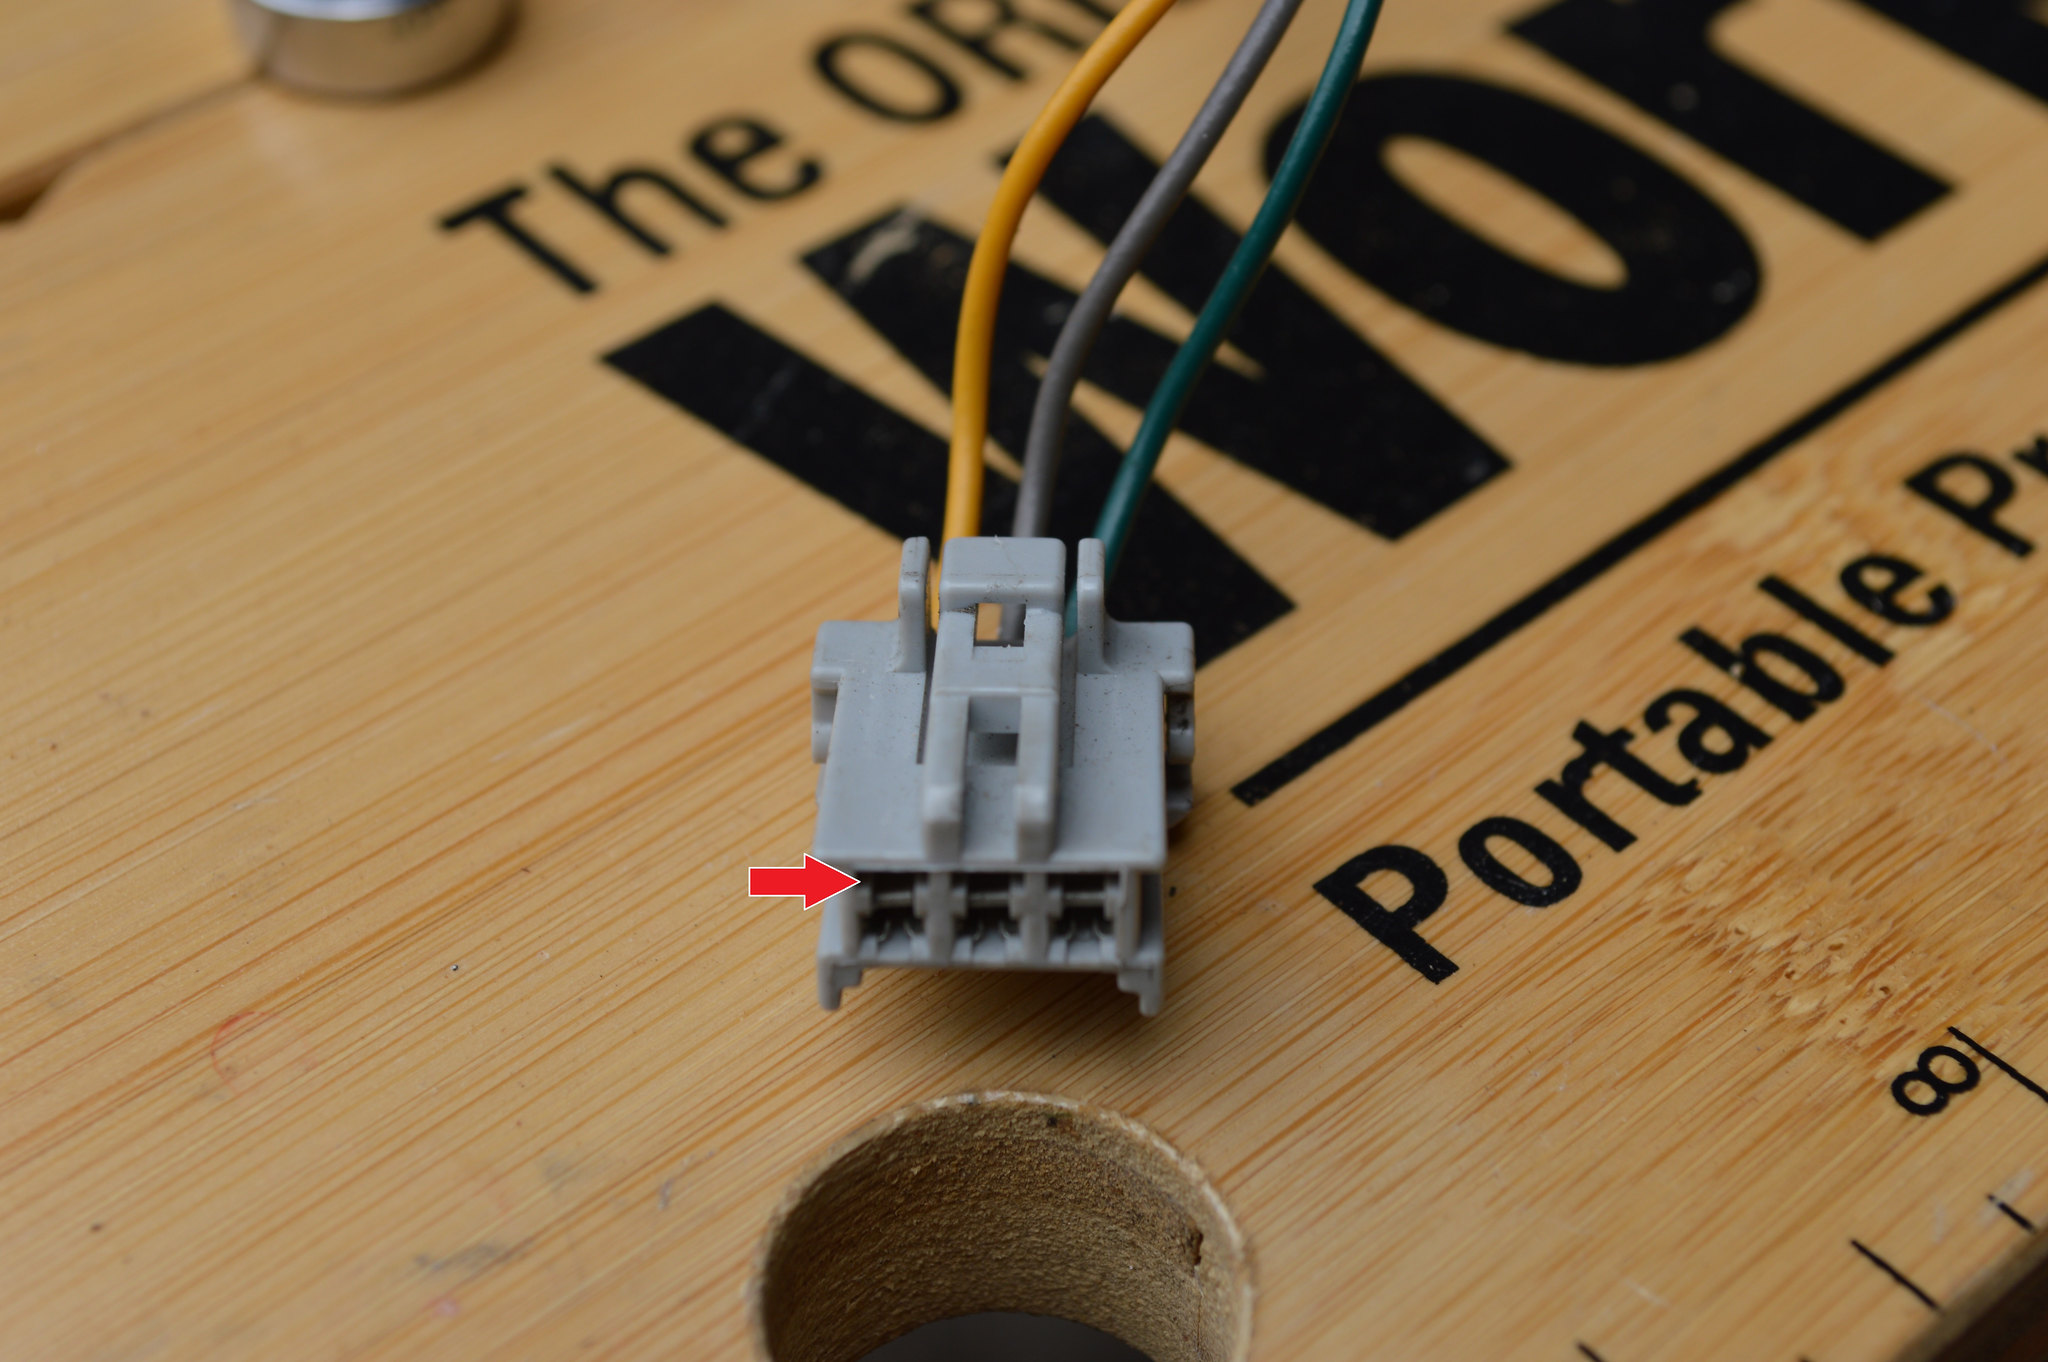
  • Un-clip Locking Tab holding wire terminal pins in clip using precision screw driver, carefully prying in each point below:
48541529317_e2ccbb42df_k.jpg

  • In each of the gaps above each wire pin, there is a plastic tab that will need to be pried up to release pin. Use either a precision flat-head screwdriver or wire de-pinning tool to gently pry up on tab while pulling each respective wire out.
48541381361_de01ecb9f2_k.jpg

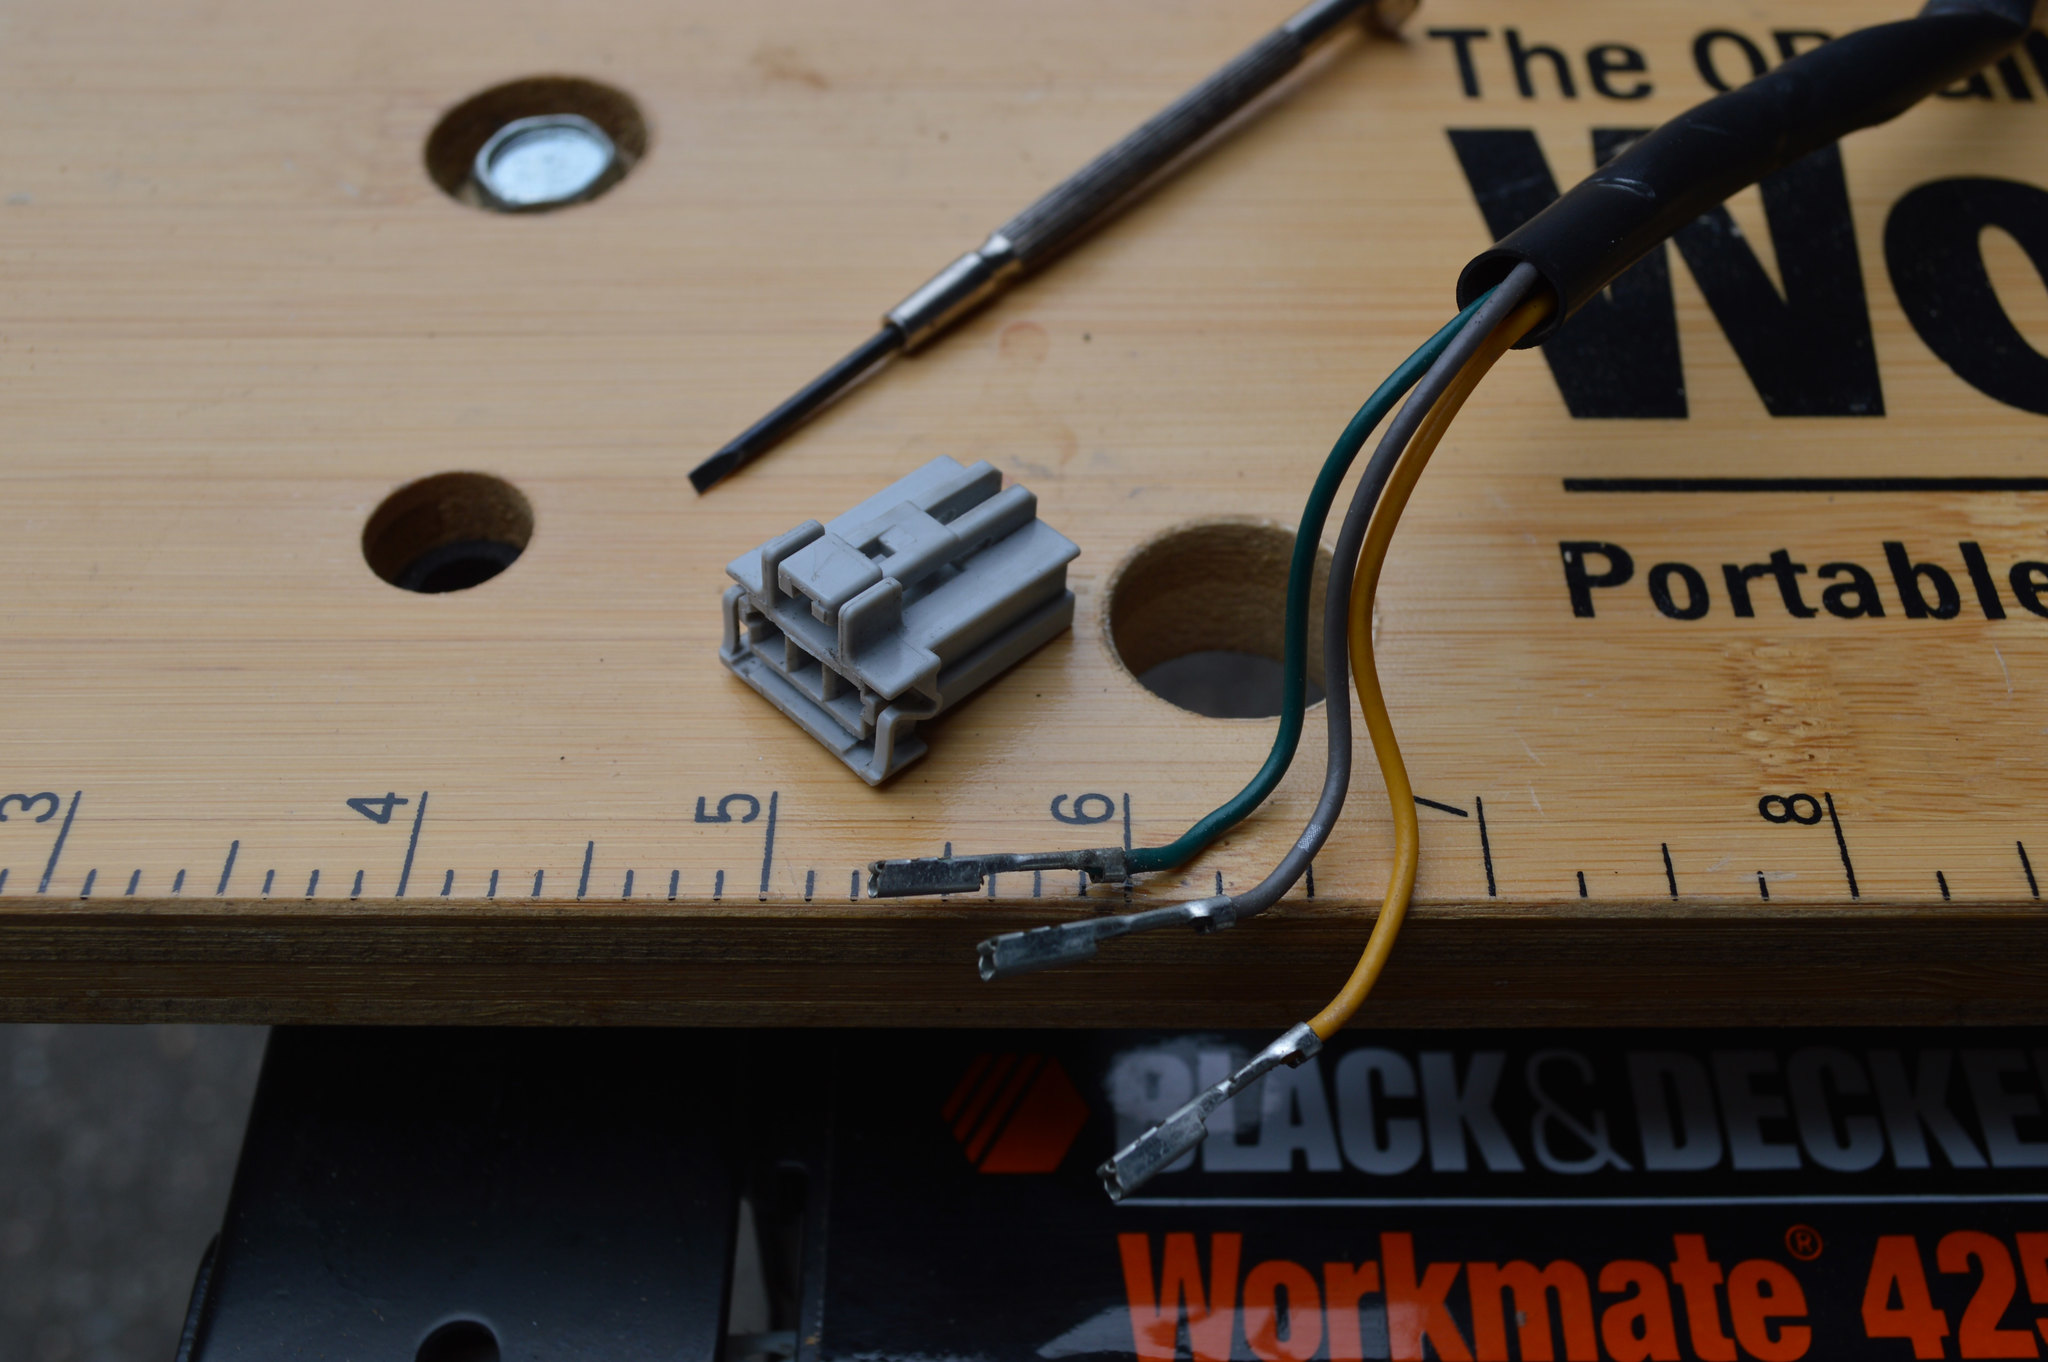
  • Once all pins are removed, it should look like this:
48541381611_1f54bac571_k.jpg


Step 4:
Remove Rubber Seal from Mirror:
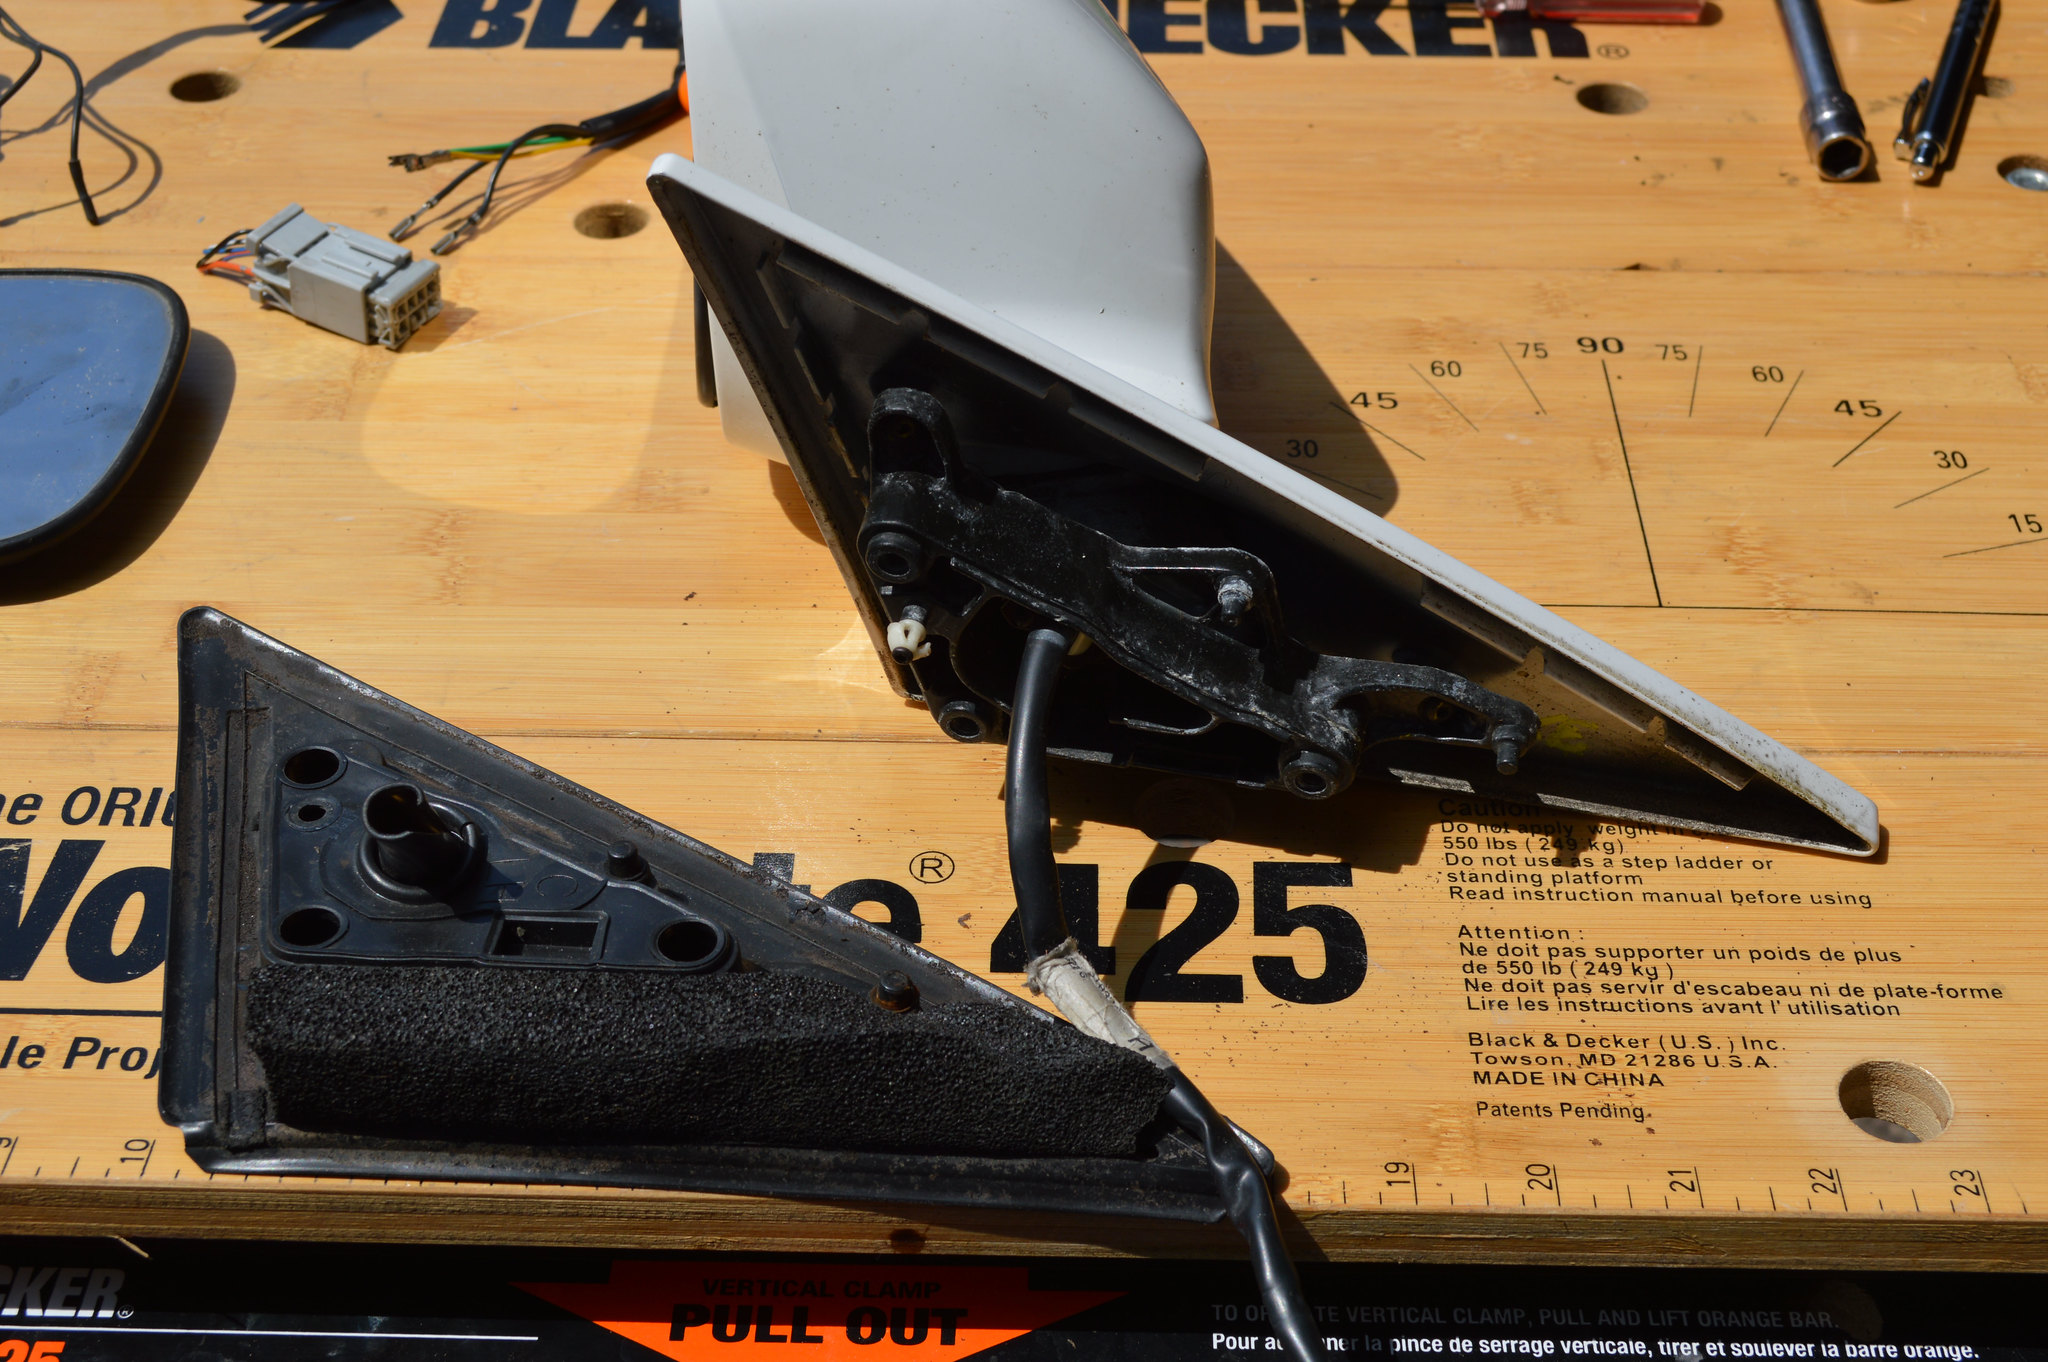
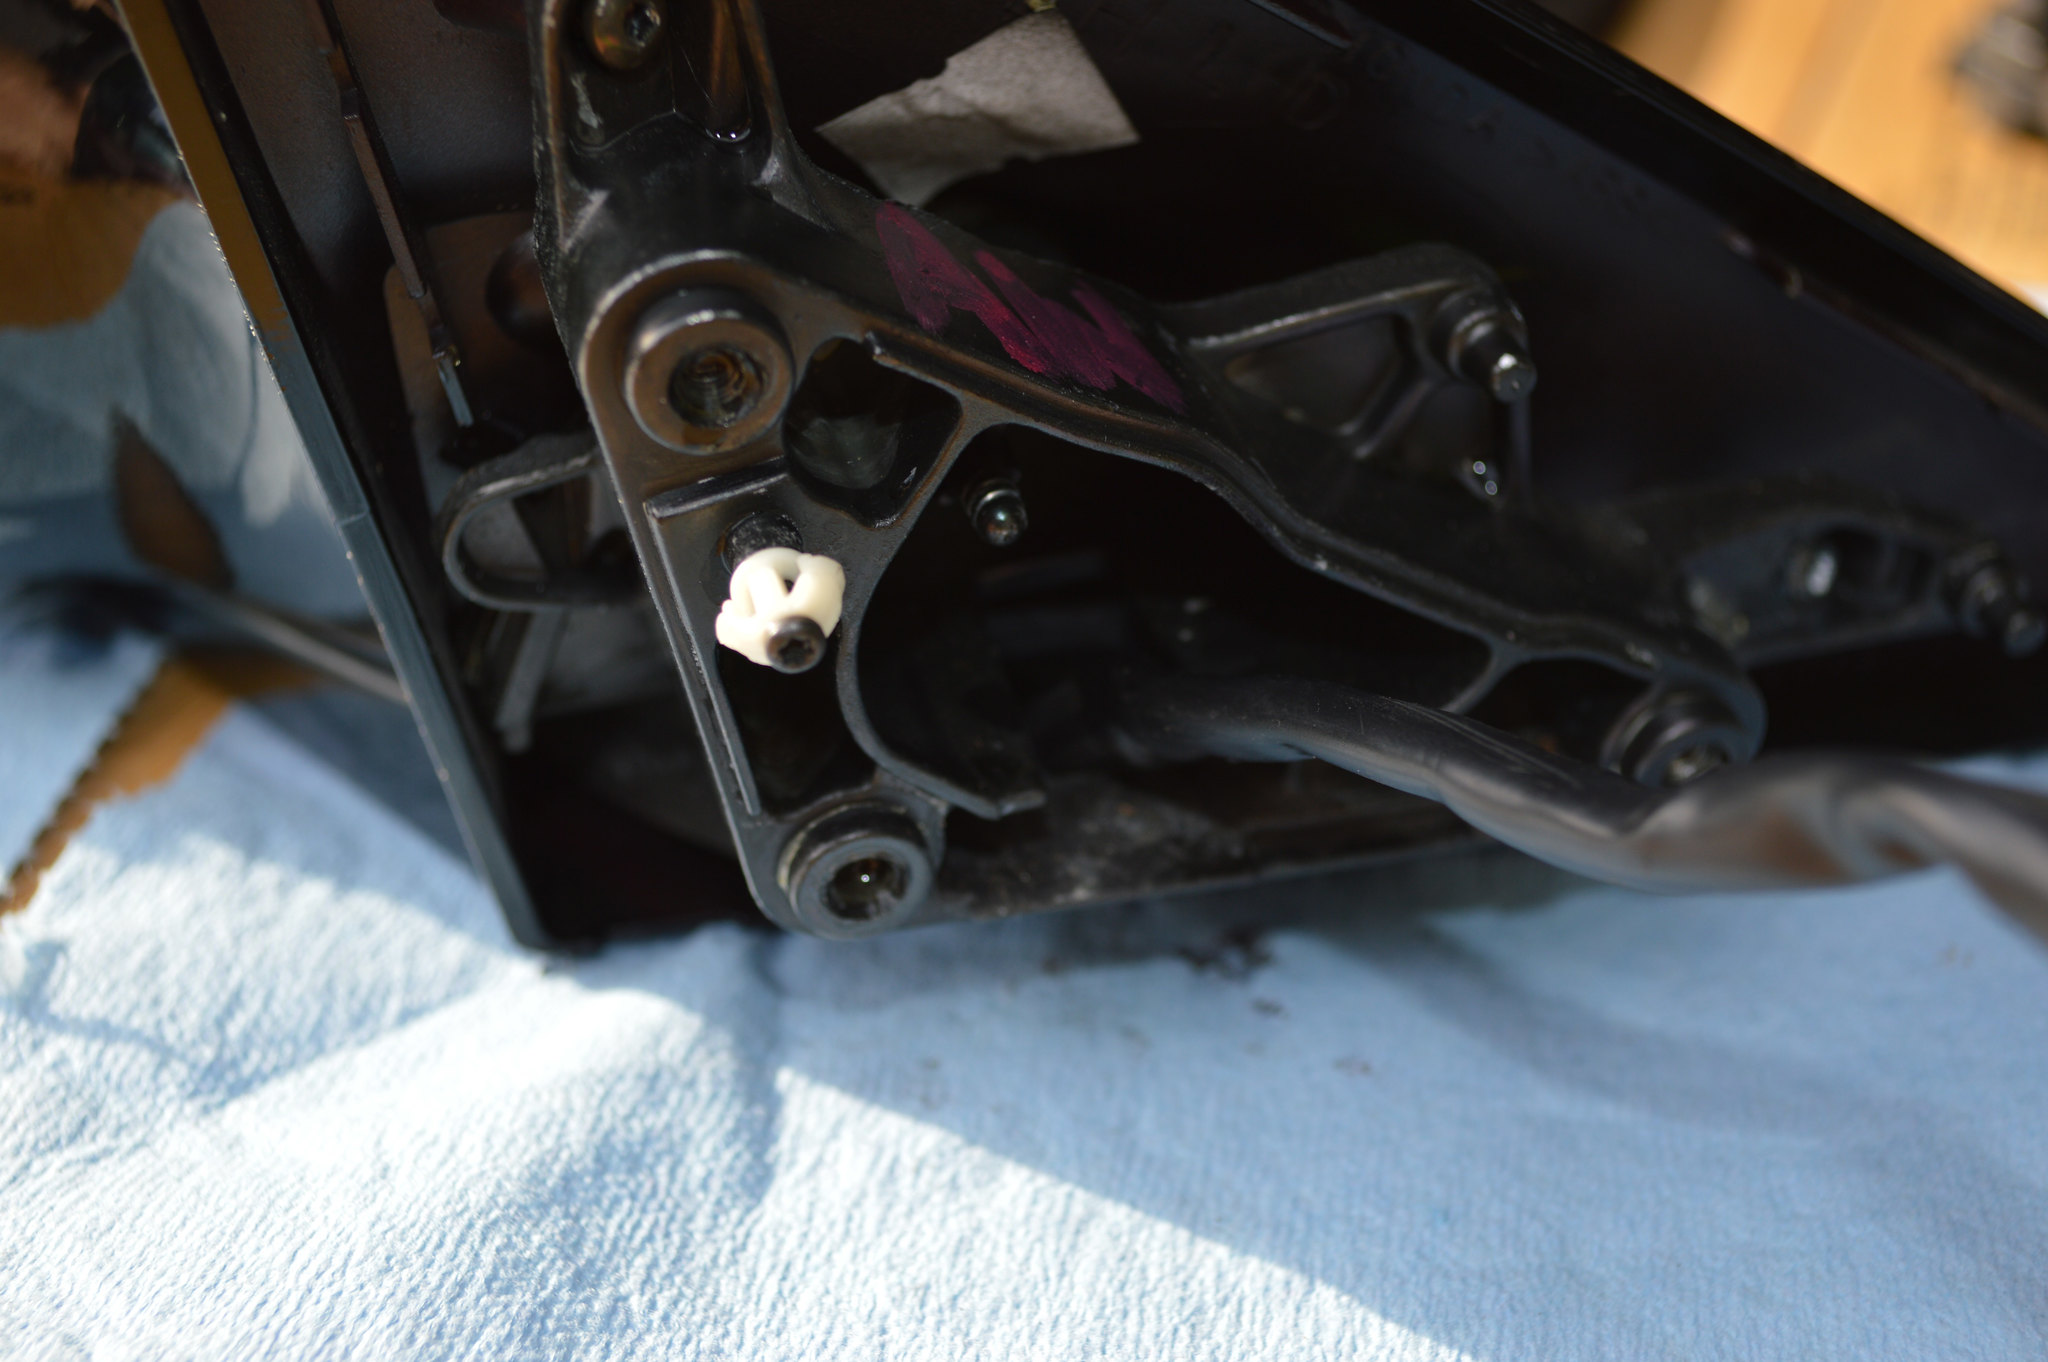
  • Careful to not break white plastic clip, needle nose pliers help to squeeze tab while feeding it through seal
48541381886_9359382fce_k.jpg


Step 5:
Remove Harness Retaining Clip:
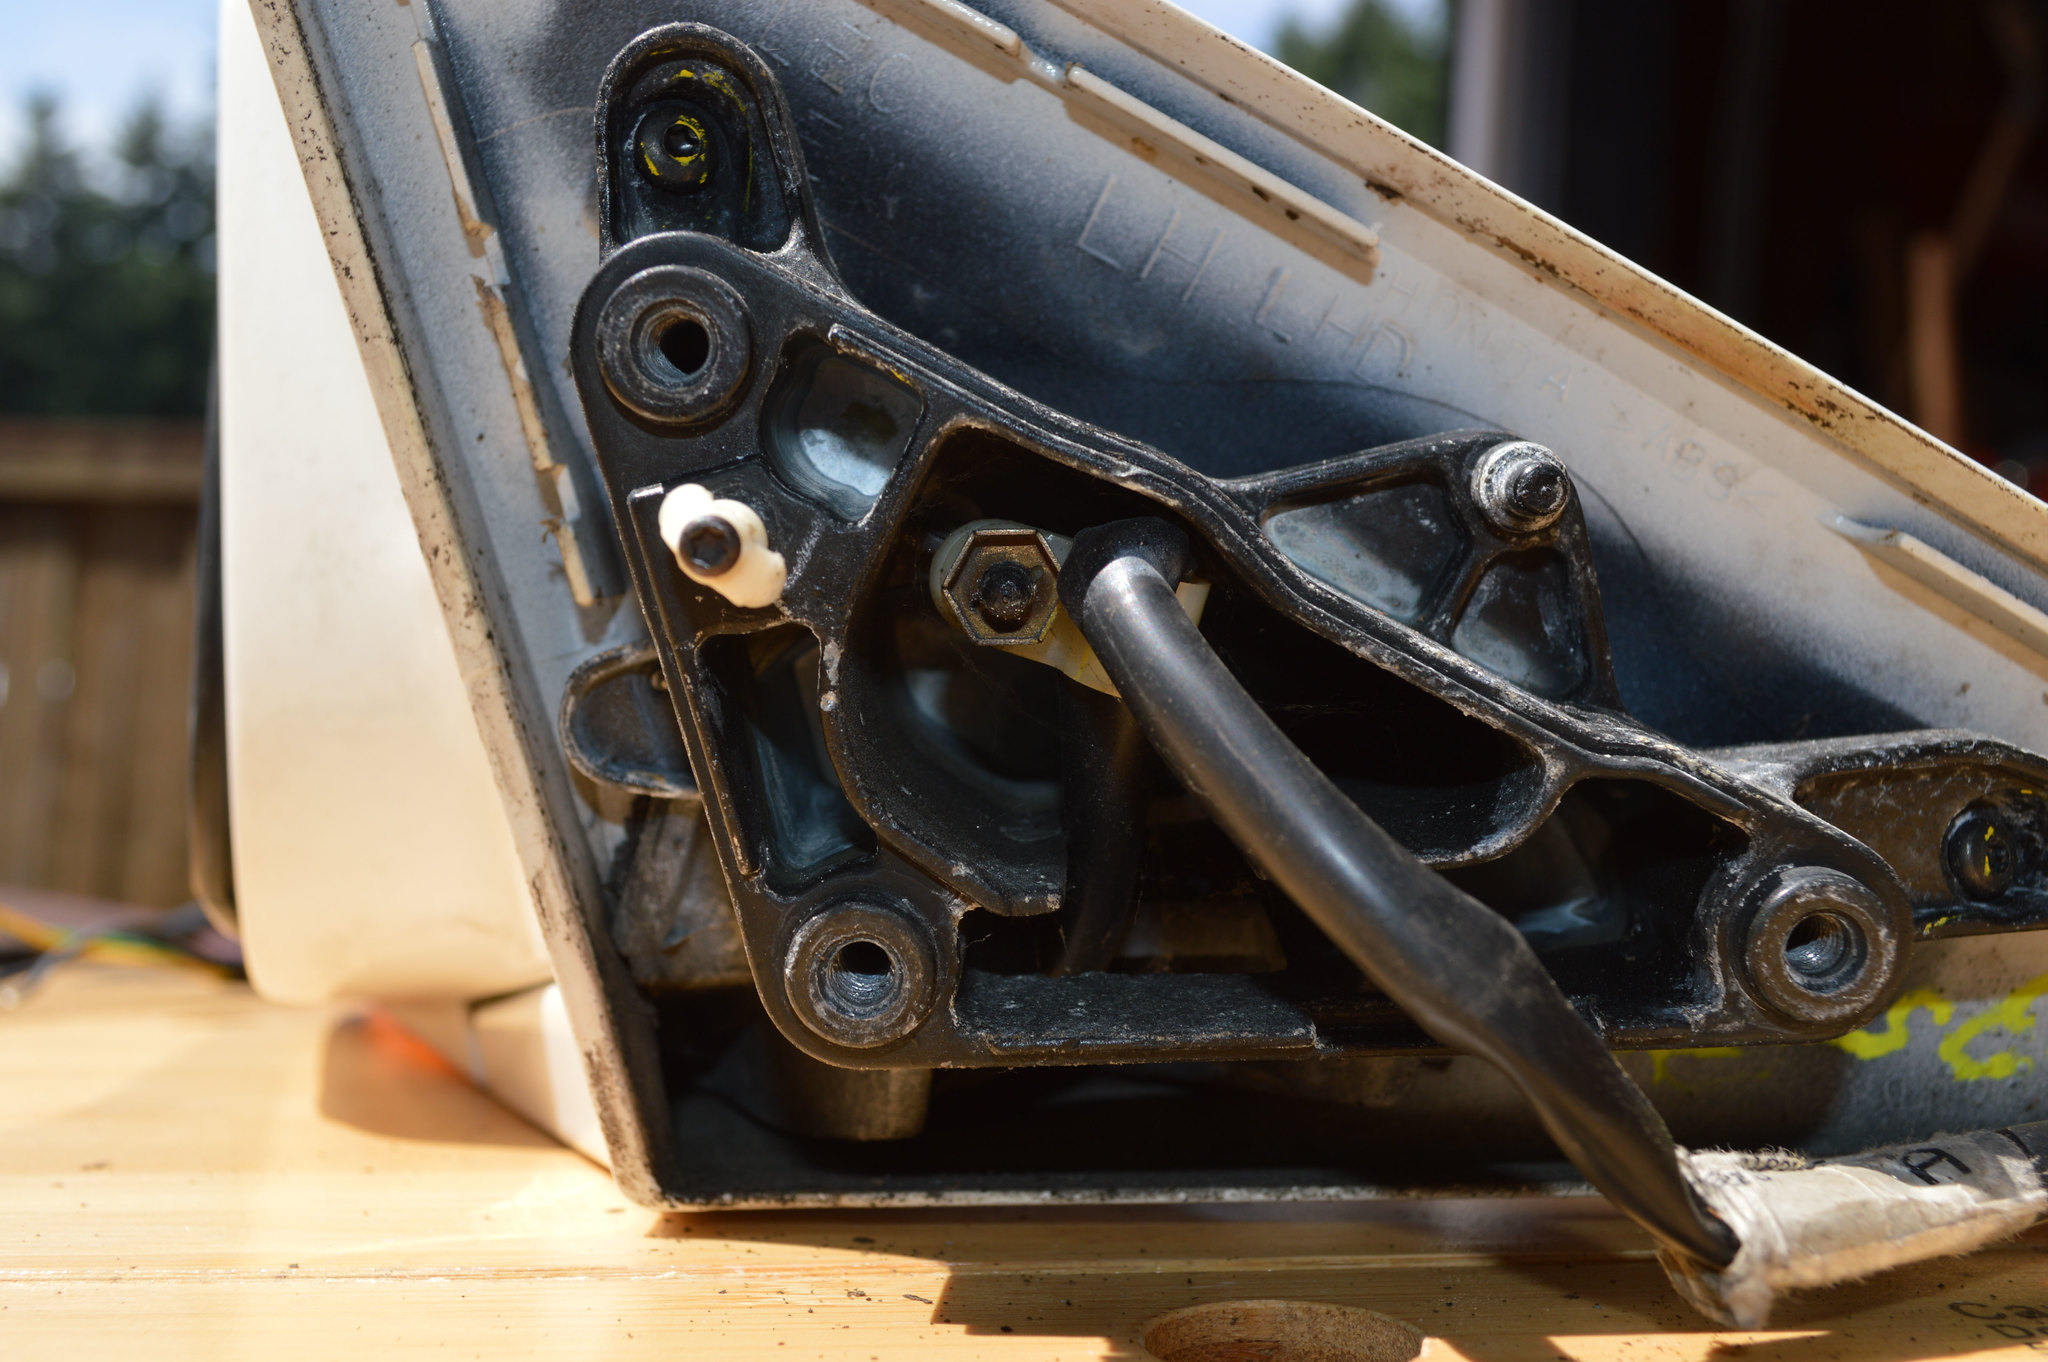
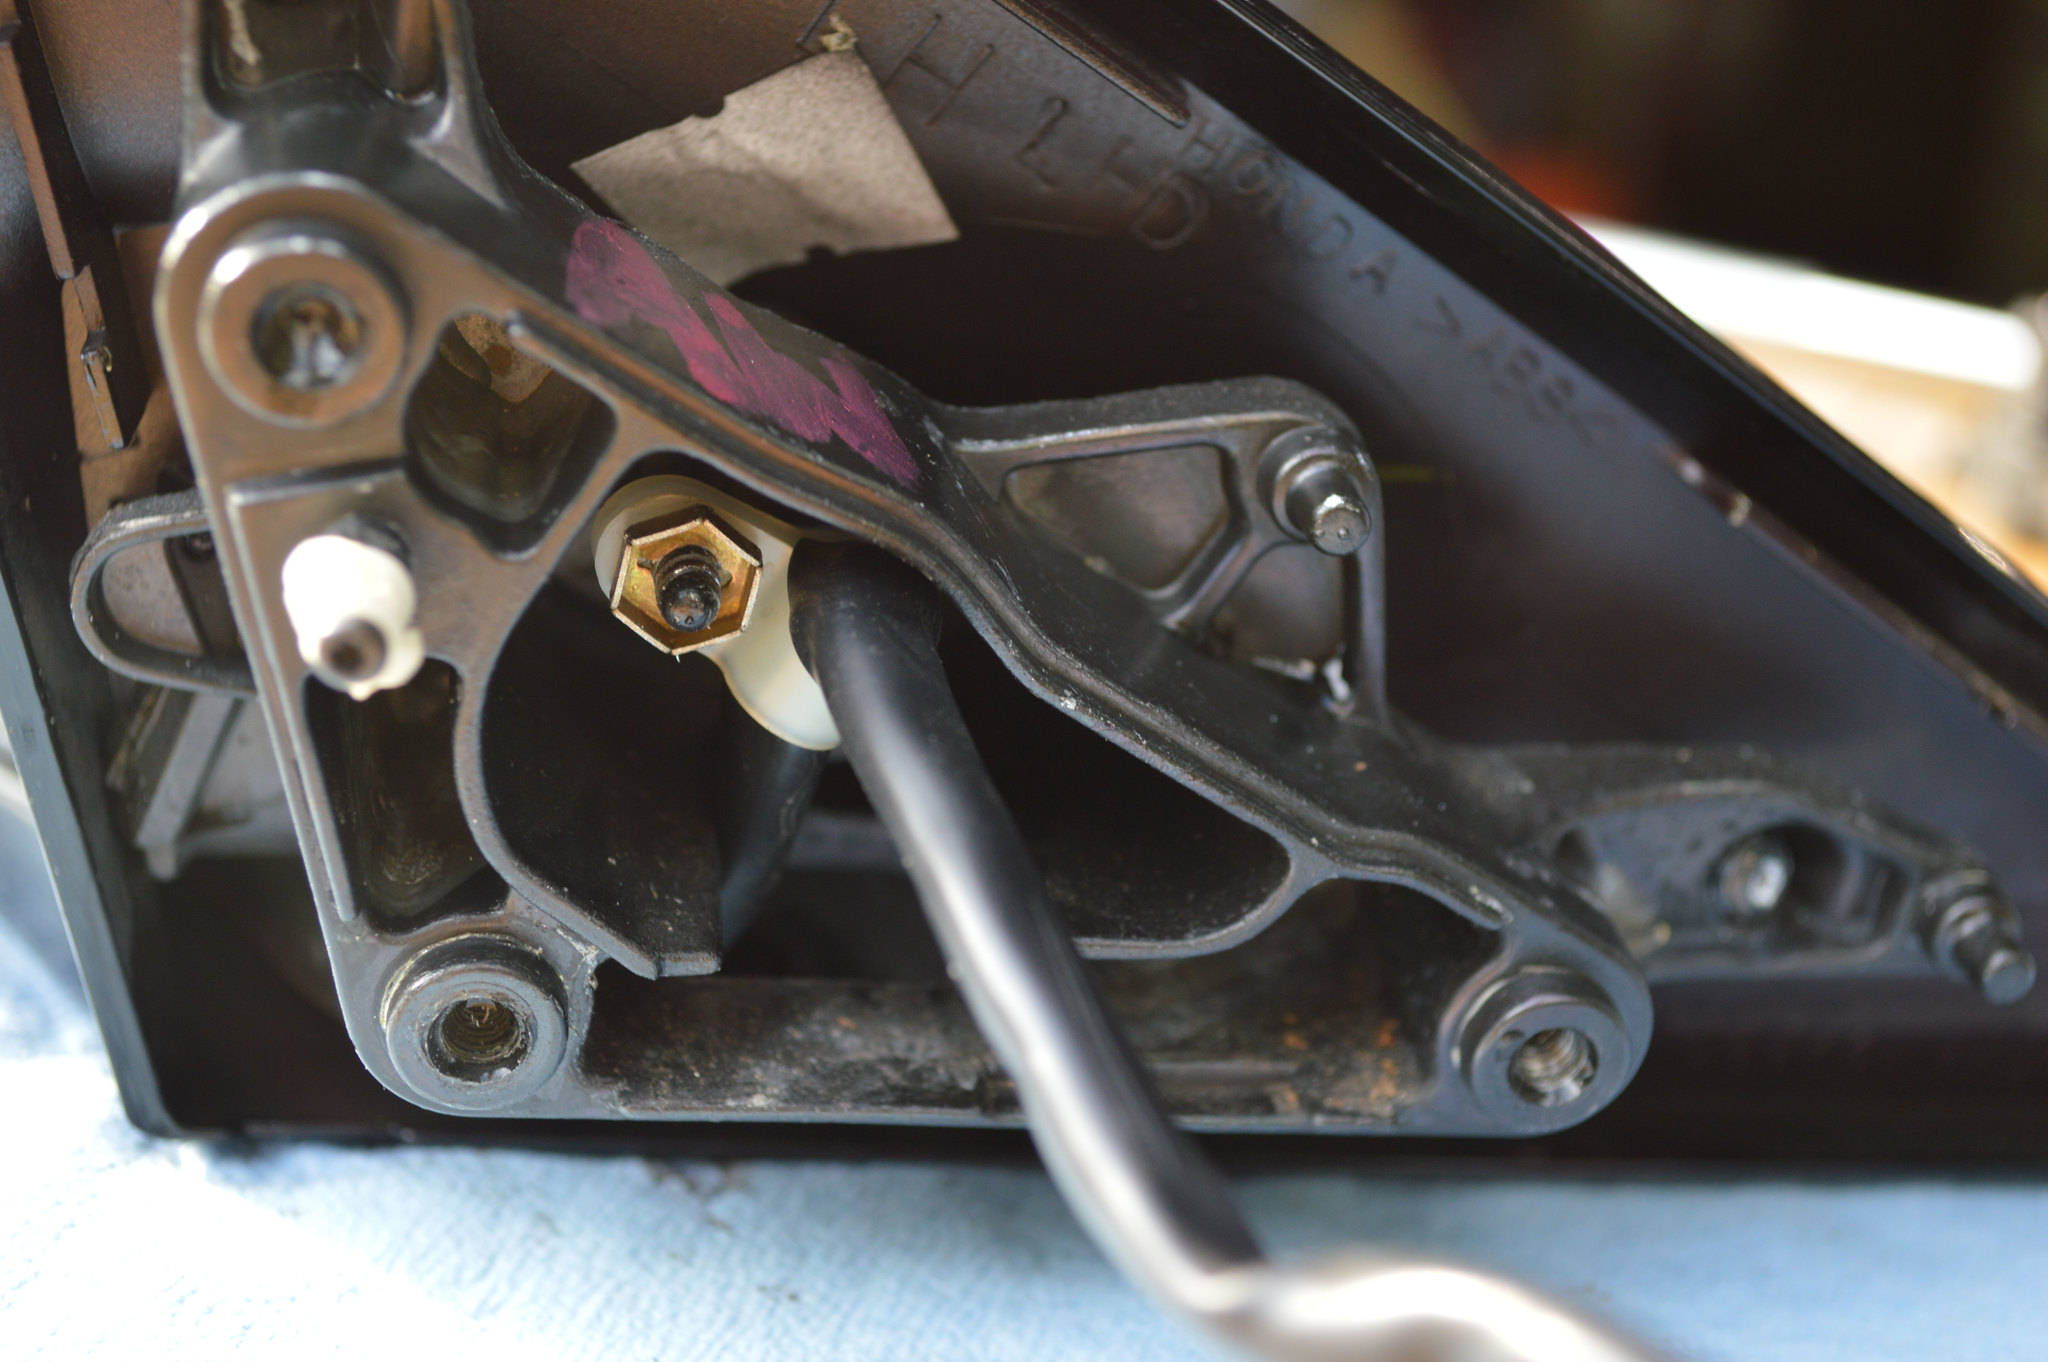
  • There is a 9MM Nut, Loosen to remove harness clip from stud
48541530187_3b3457768e_k.jpg

  • Remove plastic clip from harness
48541528602_b2ef2362f7_k.jpg


Step 6:
Remove Mirror Glass from Mirror Assembly:
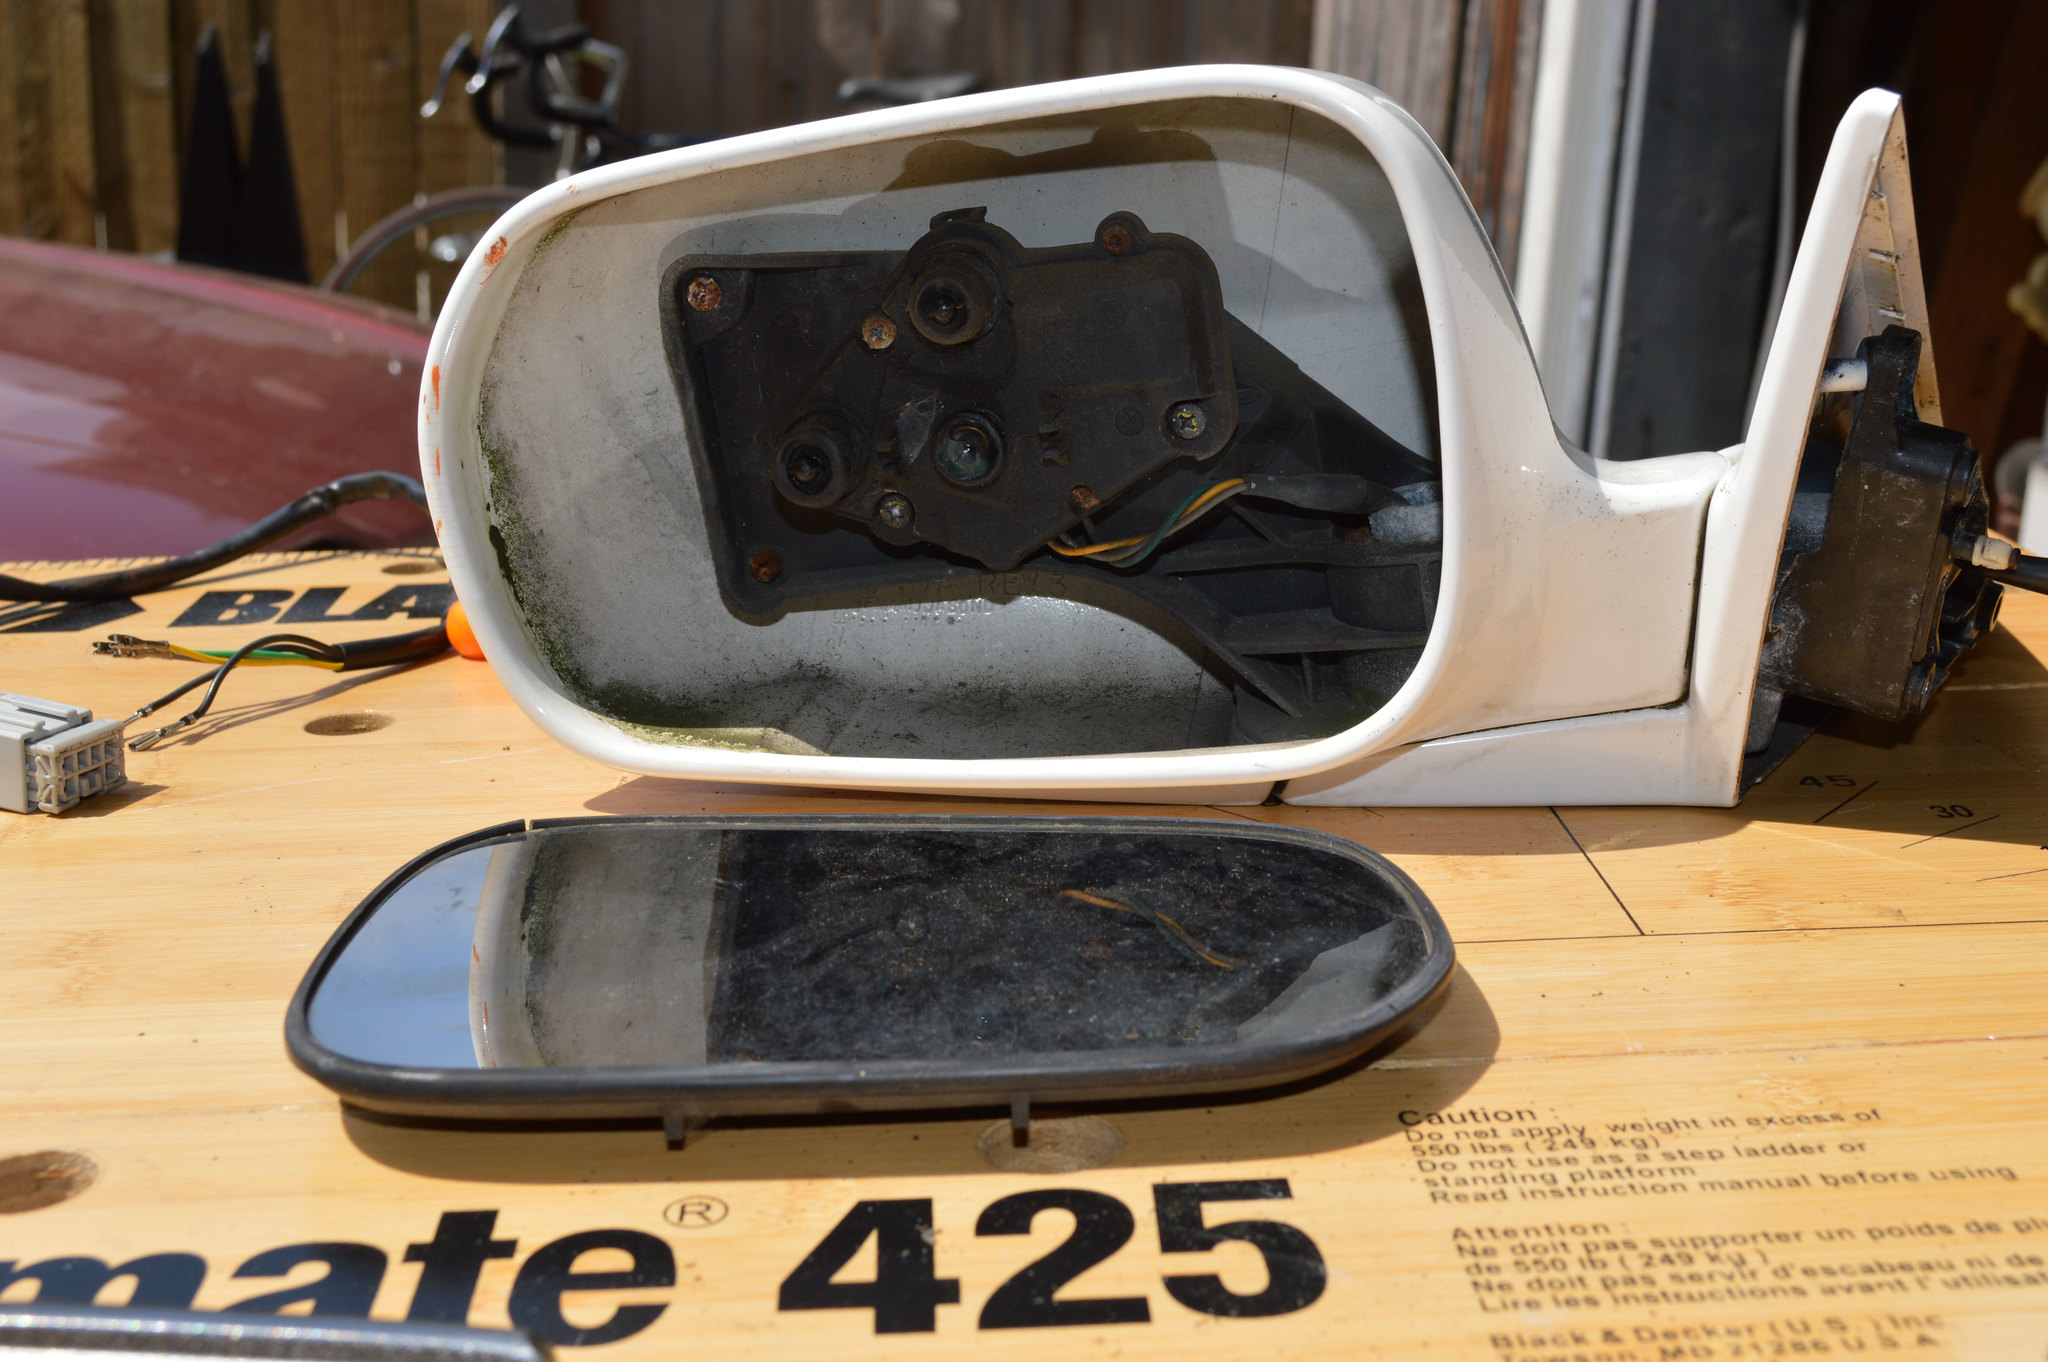
  • I found it easiest to grab from bottom of glass and pry upwards first, then the side to release
  • Don’t be alarmed if motor actuator pegs come off with glass, this is normal
48541530492_b23c9abbb9_k.jpg


Step 7:
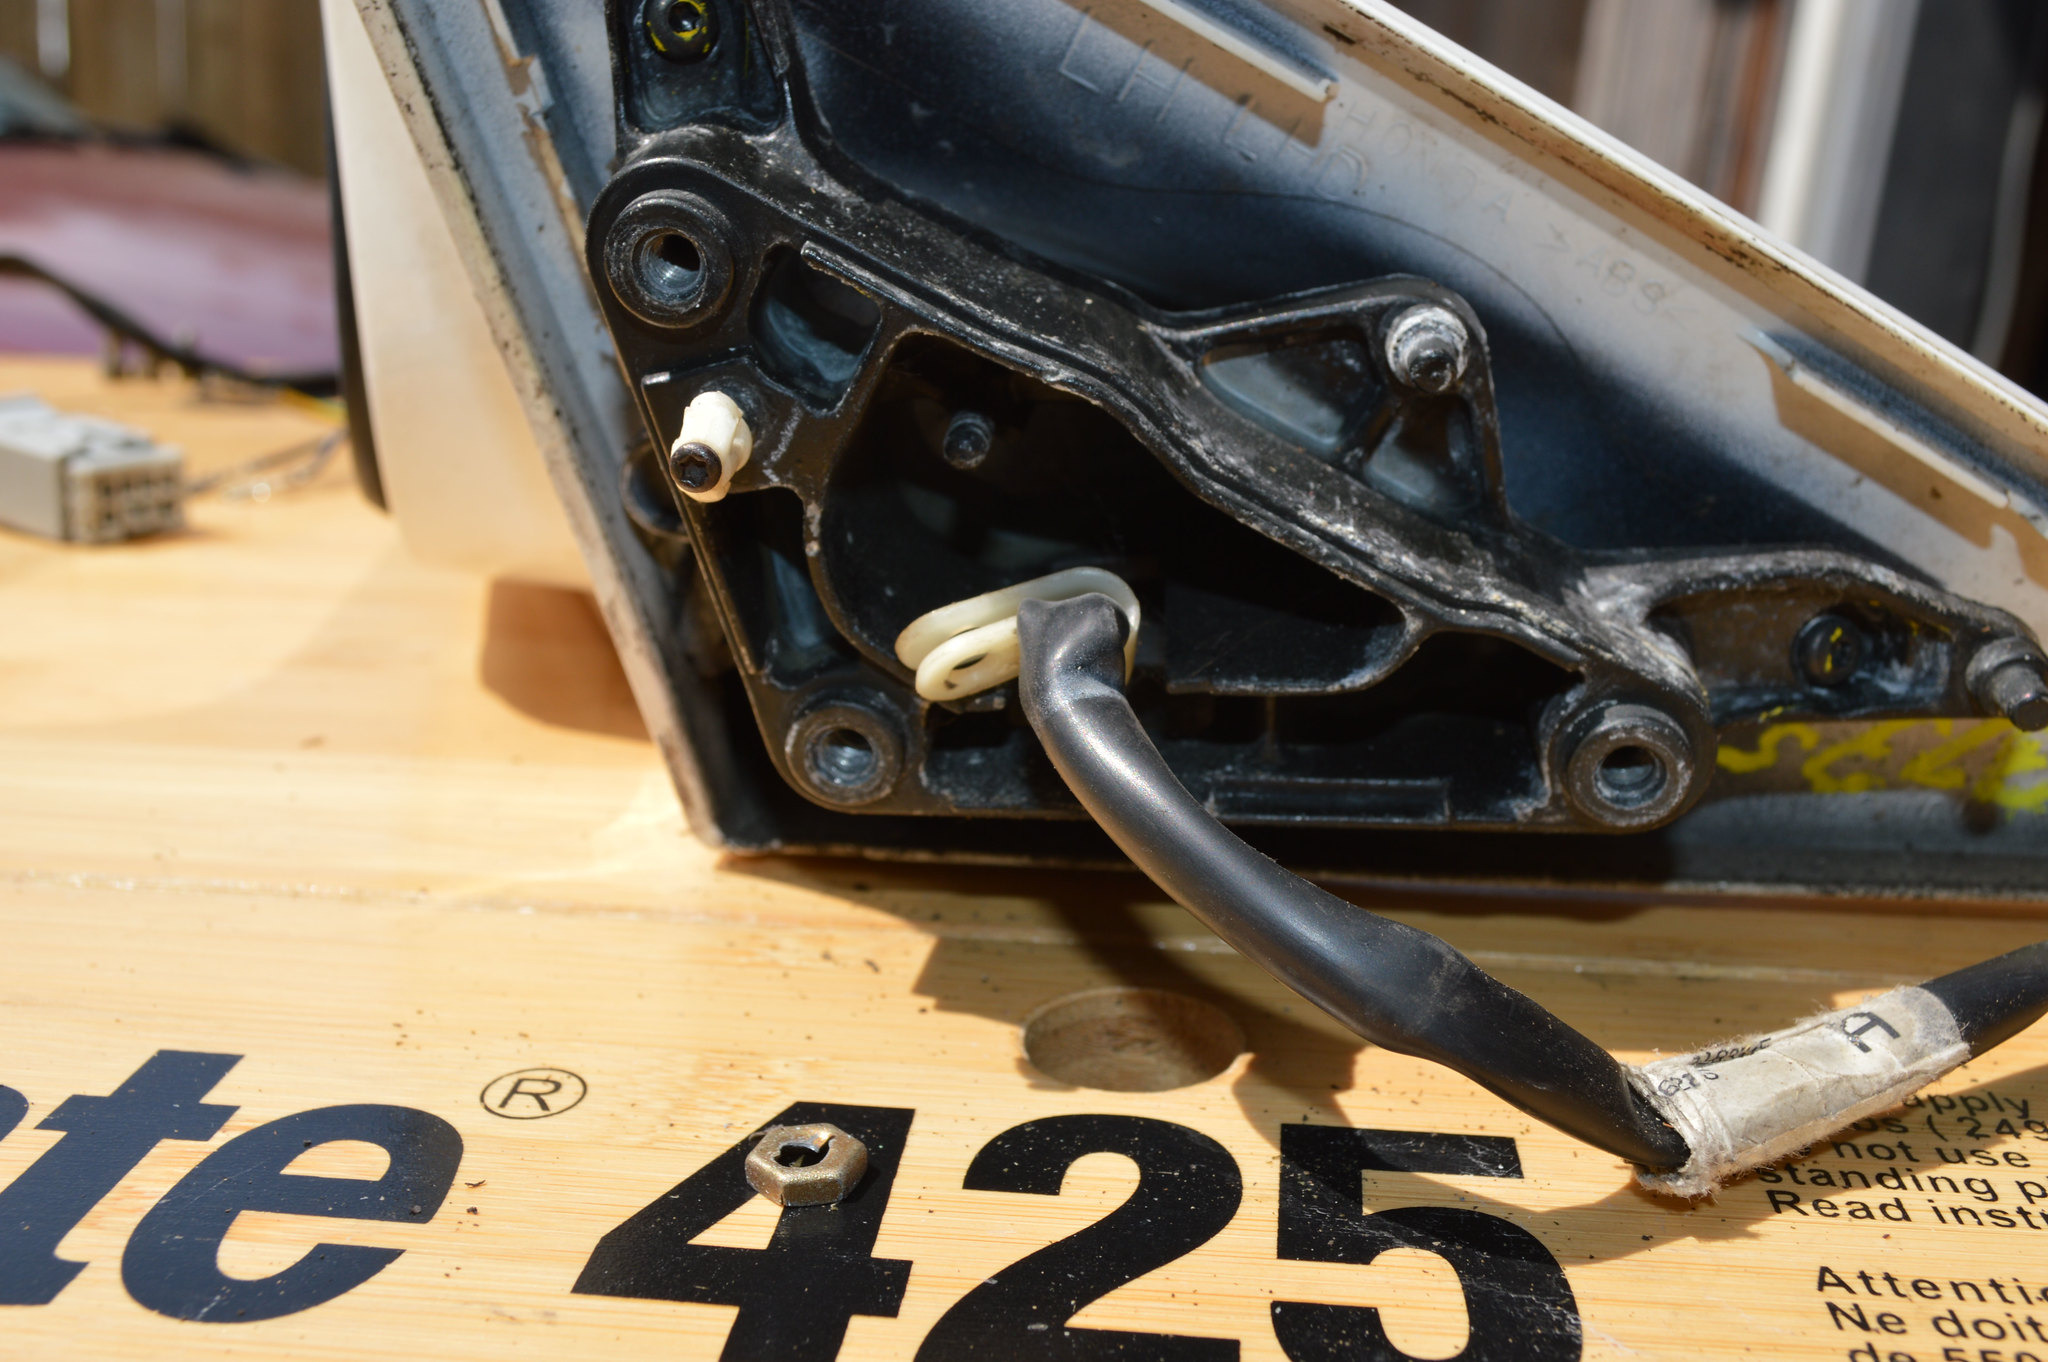
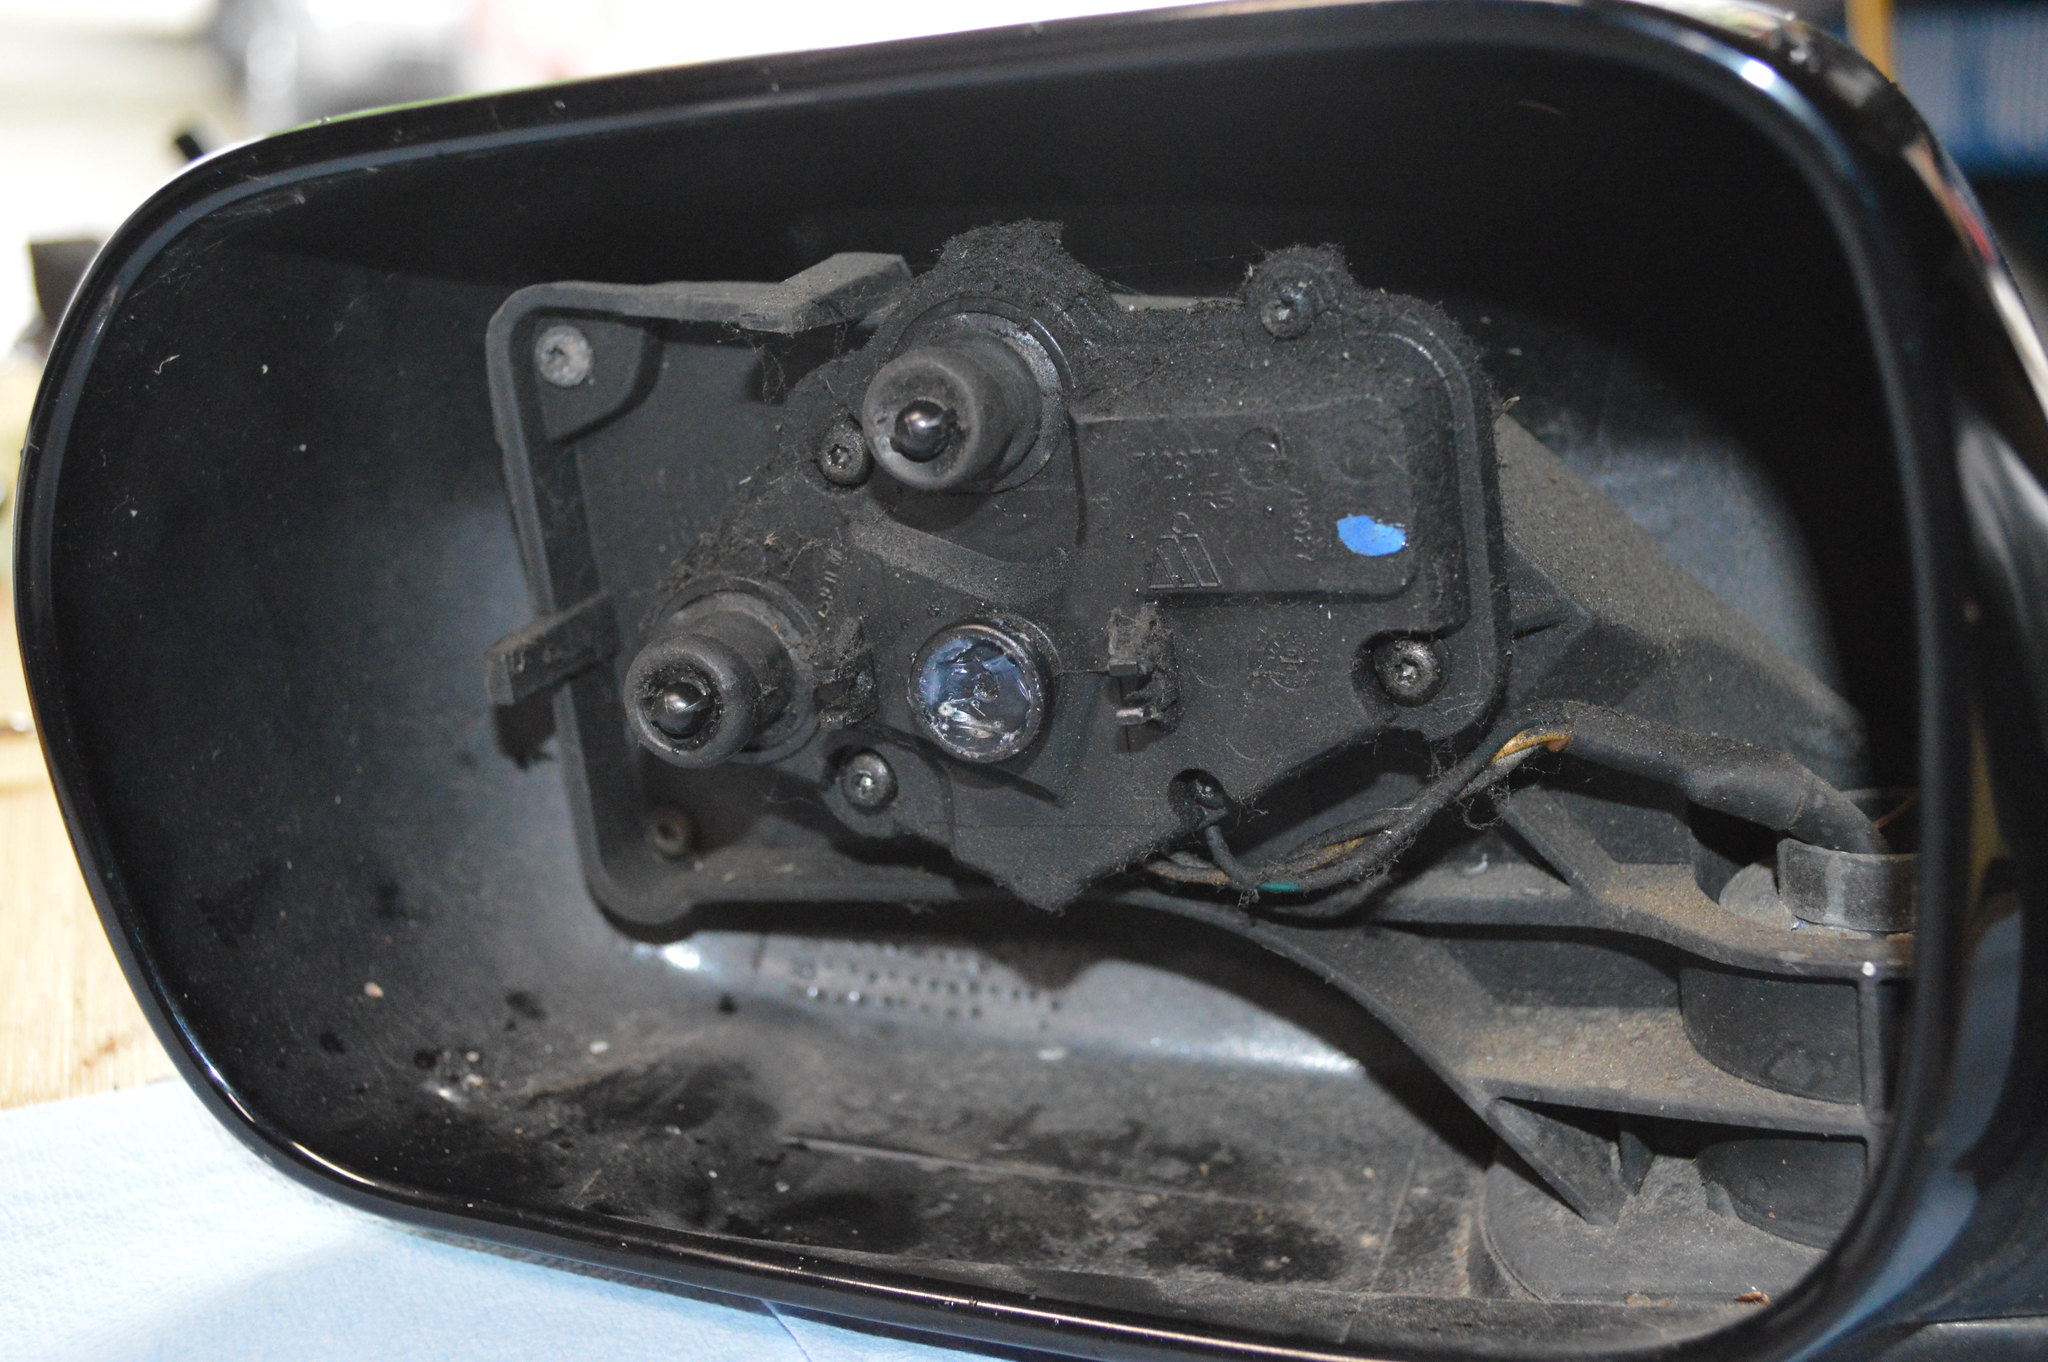
Remove (3) #1 Phillips Screws OR (3) T-10 Torx Screws that mount Mirror Motor:
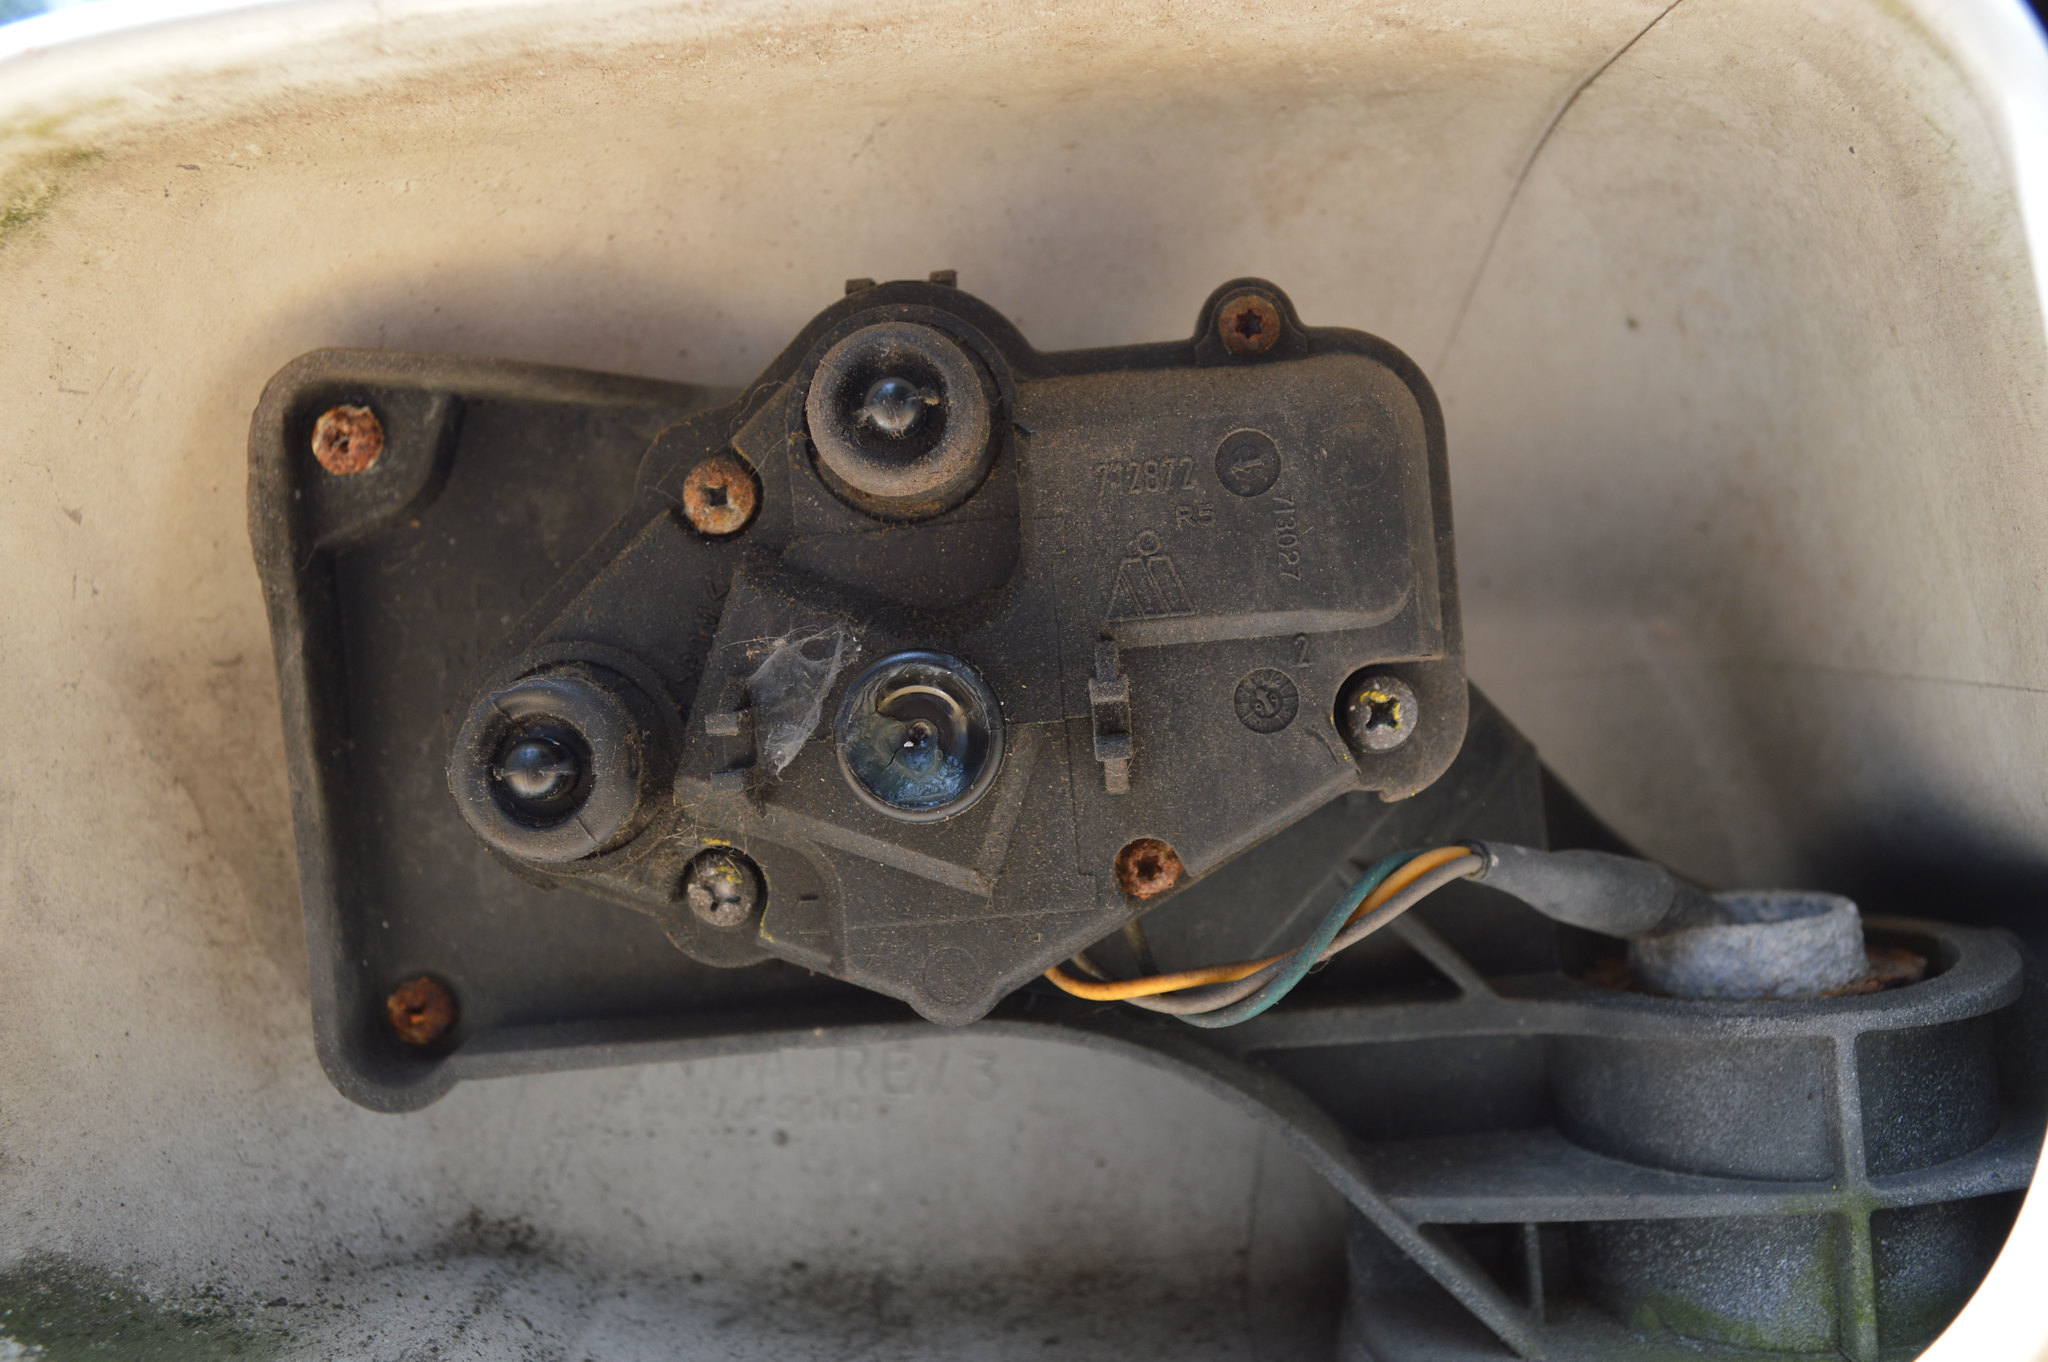
  • WARNING: in my experience, the Phillips screws LOVE to rust… WD-40 or other penetrating oil MIGHT save you
48541530662_b7f44783cf_k.jpg

  • One screw snapped…
48541530812_4d0c1257ac_k.jpg

  • SO…. One more trip to the local junk yard and found another mirror with the Torx Screws:
48541527972_6edfbb31ac_k.jpg


Step 8:
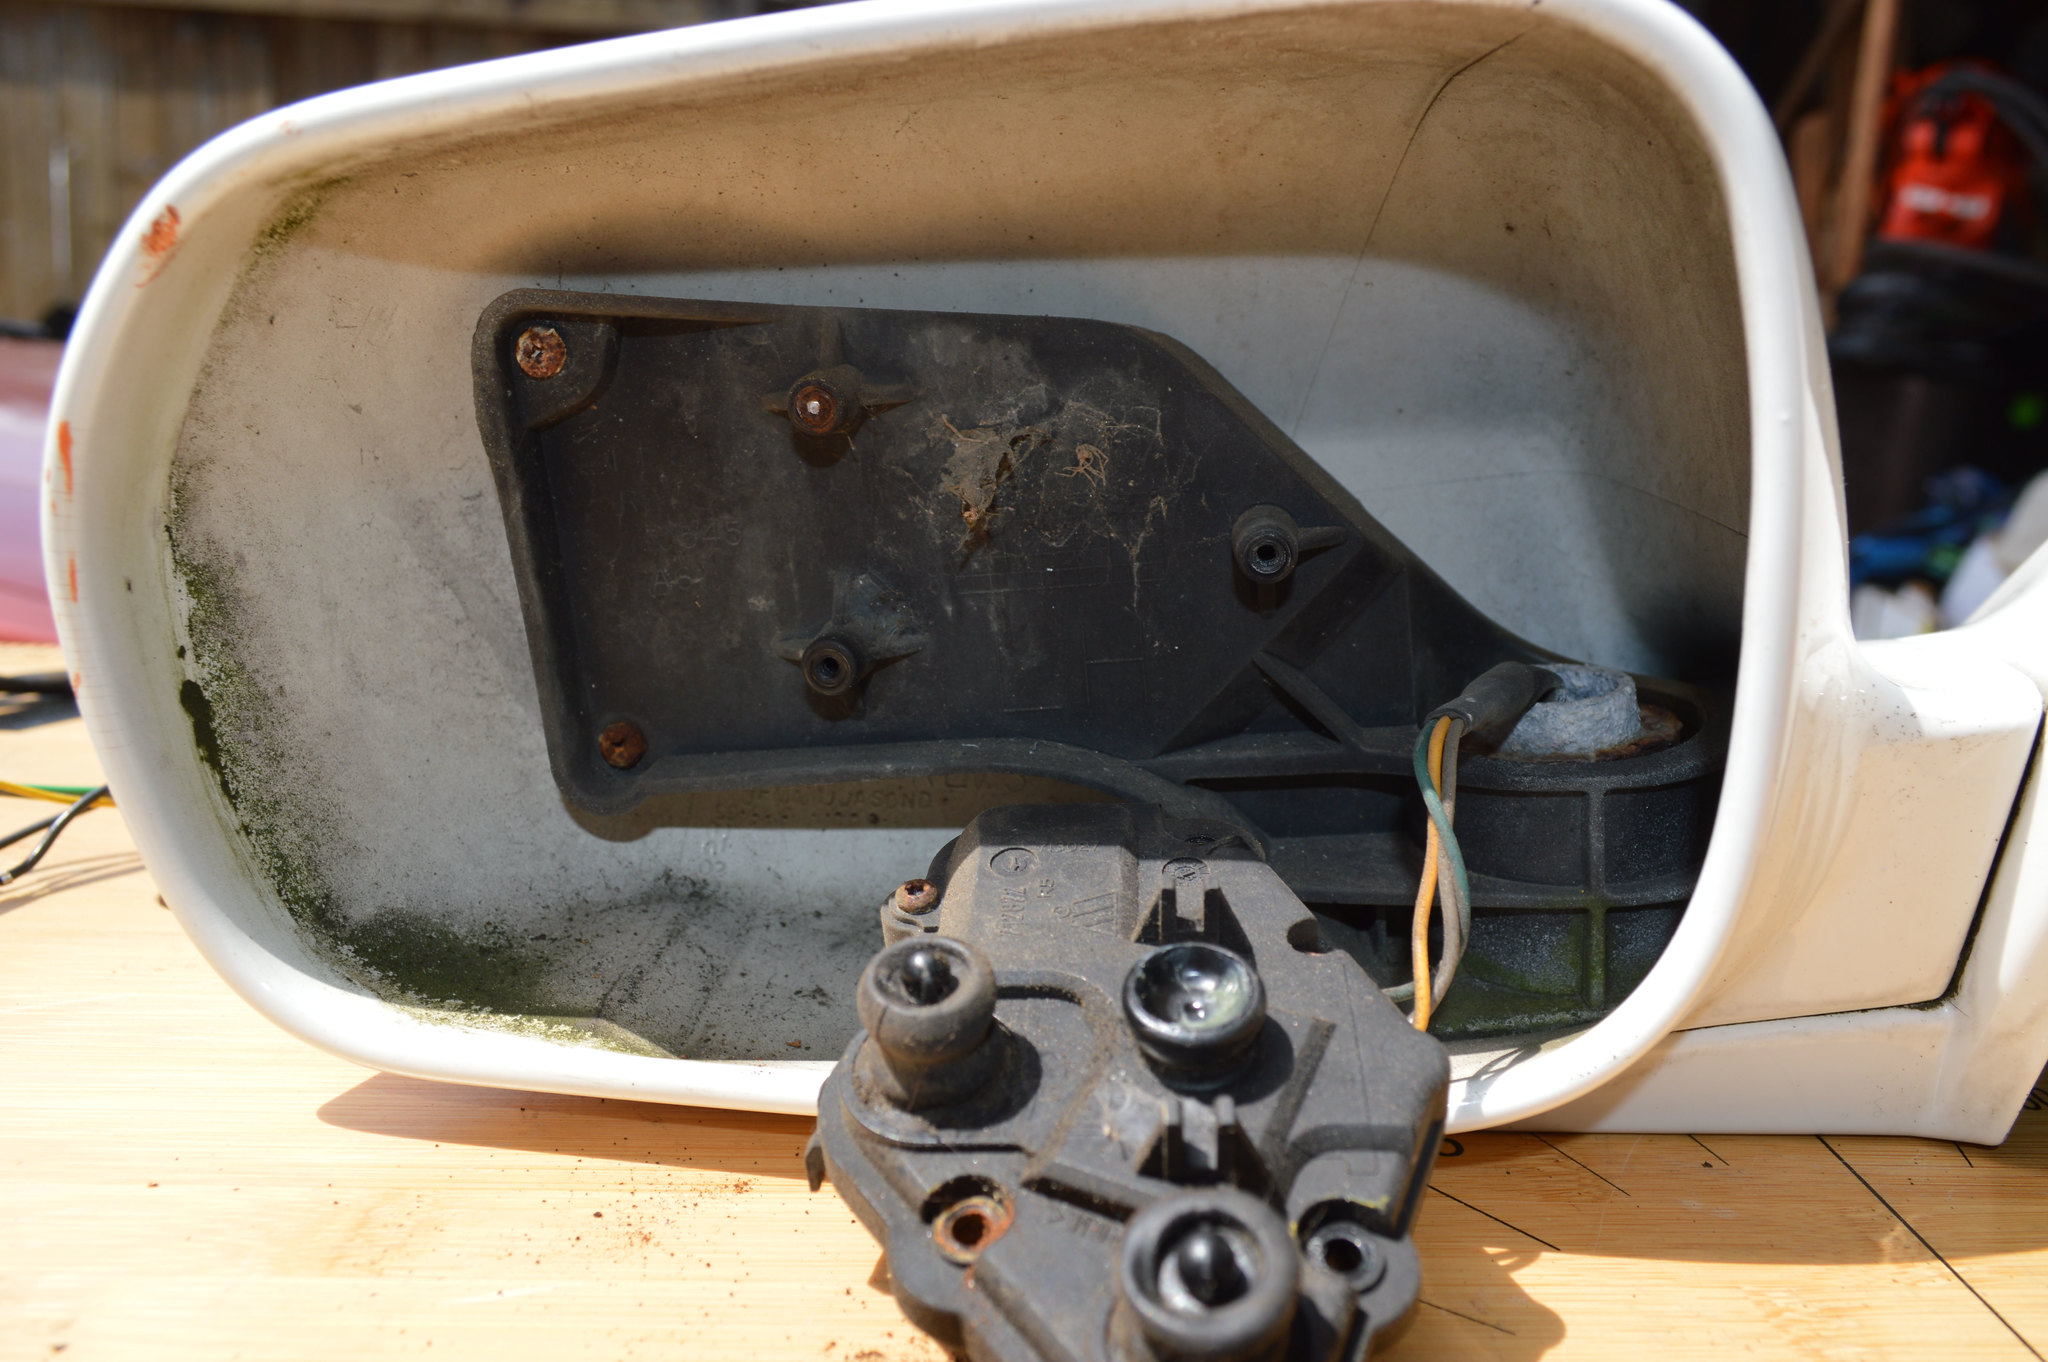
Pull Mirror Motor and Harness out of Mirror Assembly:
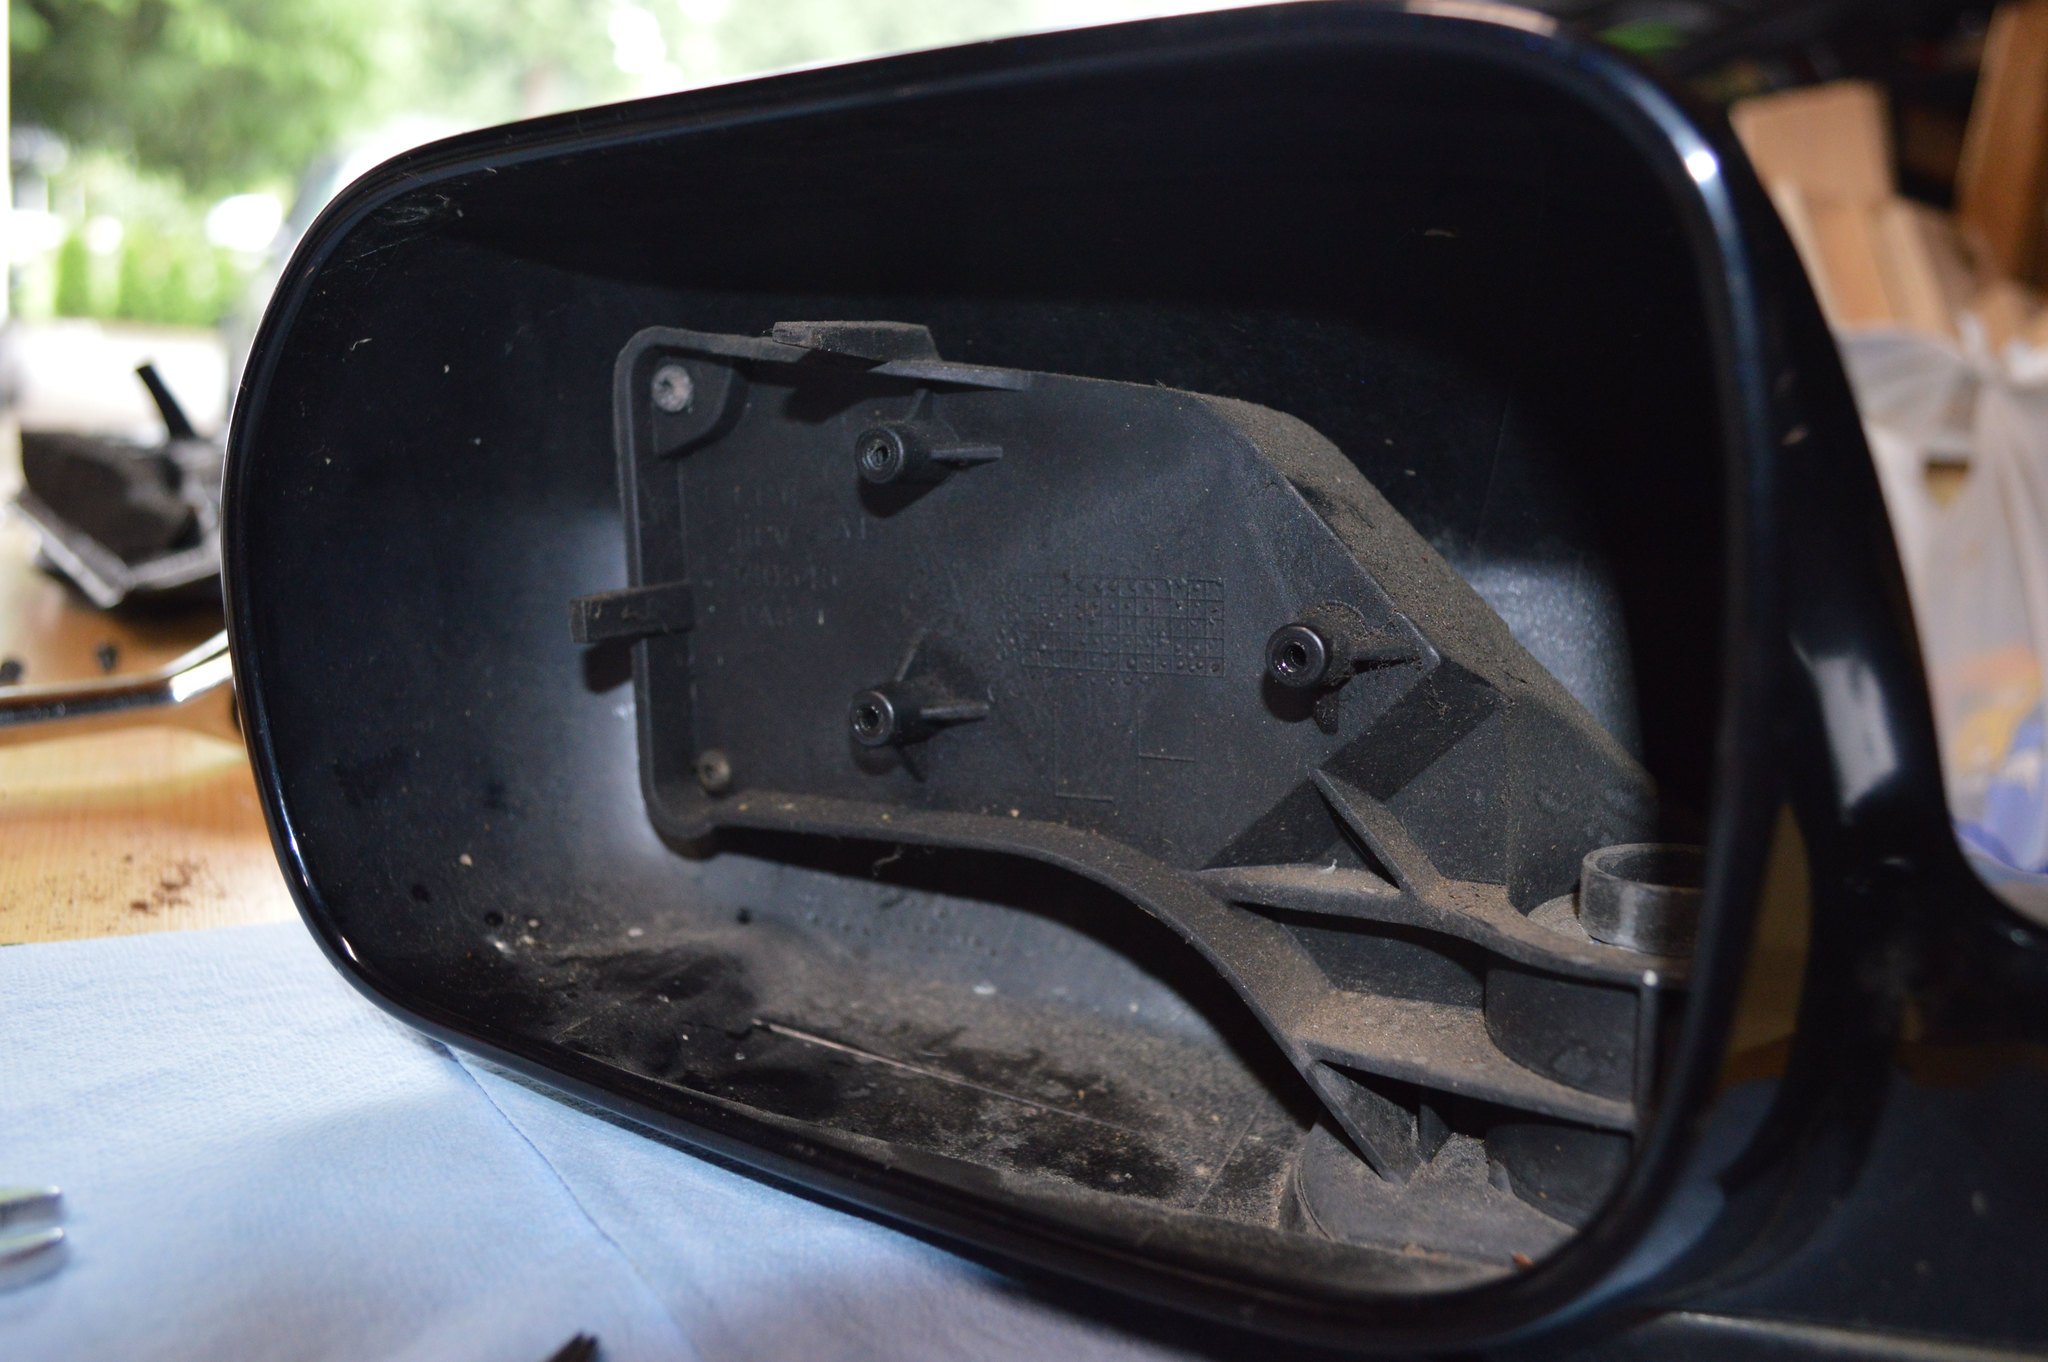
  • Pulling harness out may require moderate force
  • Should look like this when done, no snapped screws!
48541531057_0c72475268_k.jpg


Step 9:
Prep Mirror Motors:
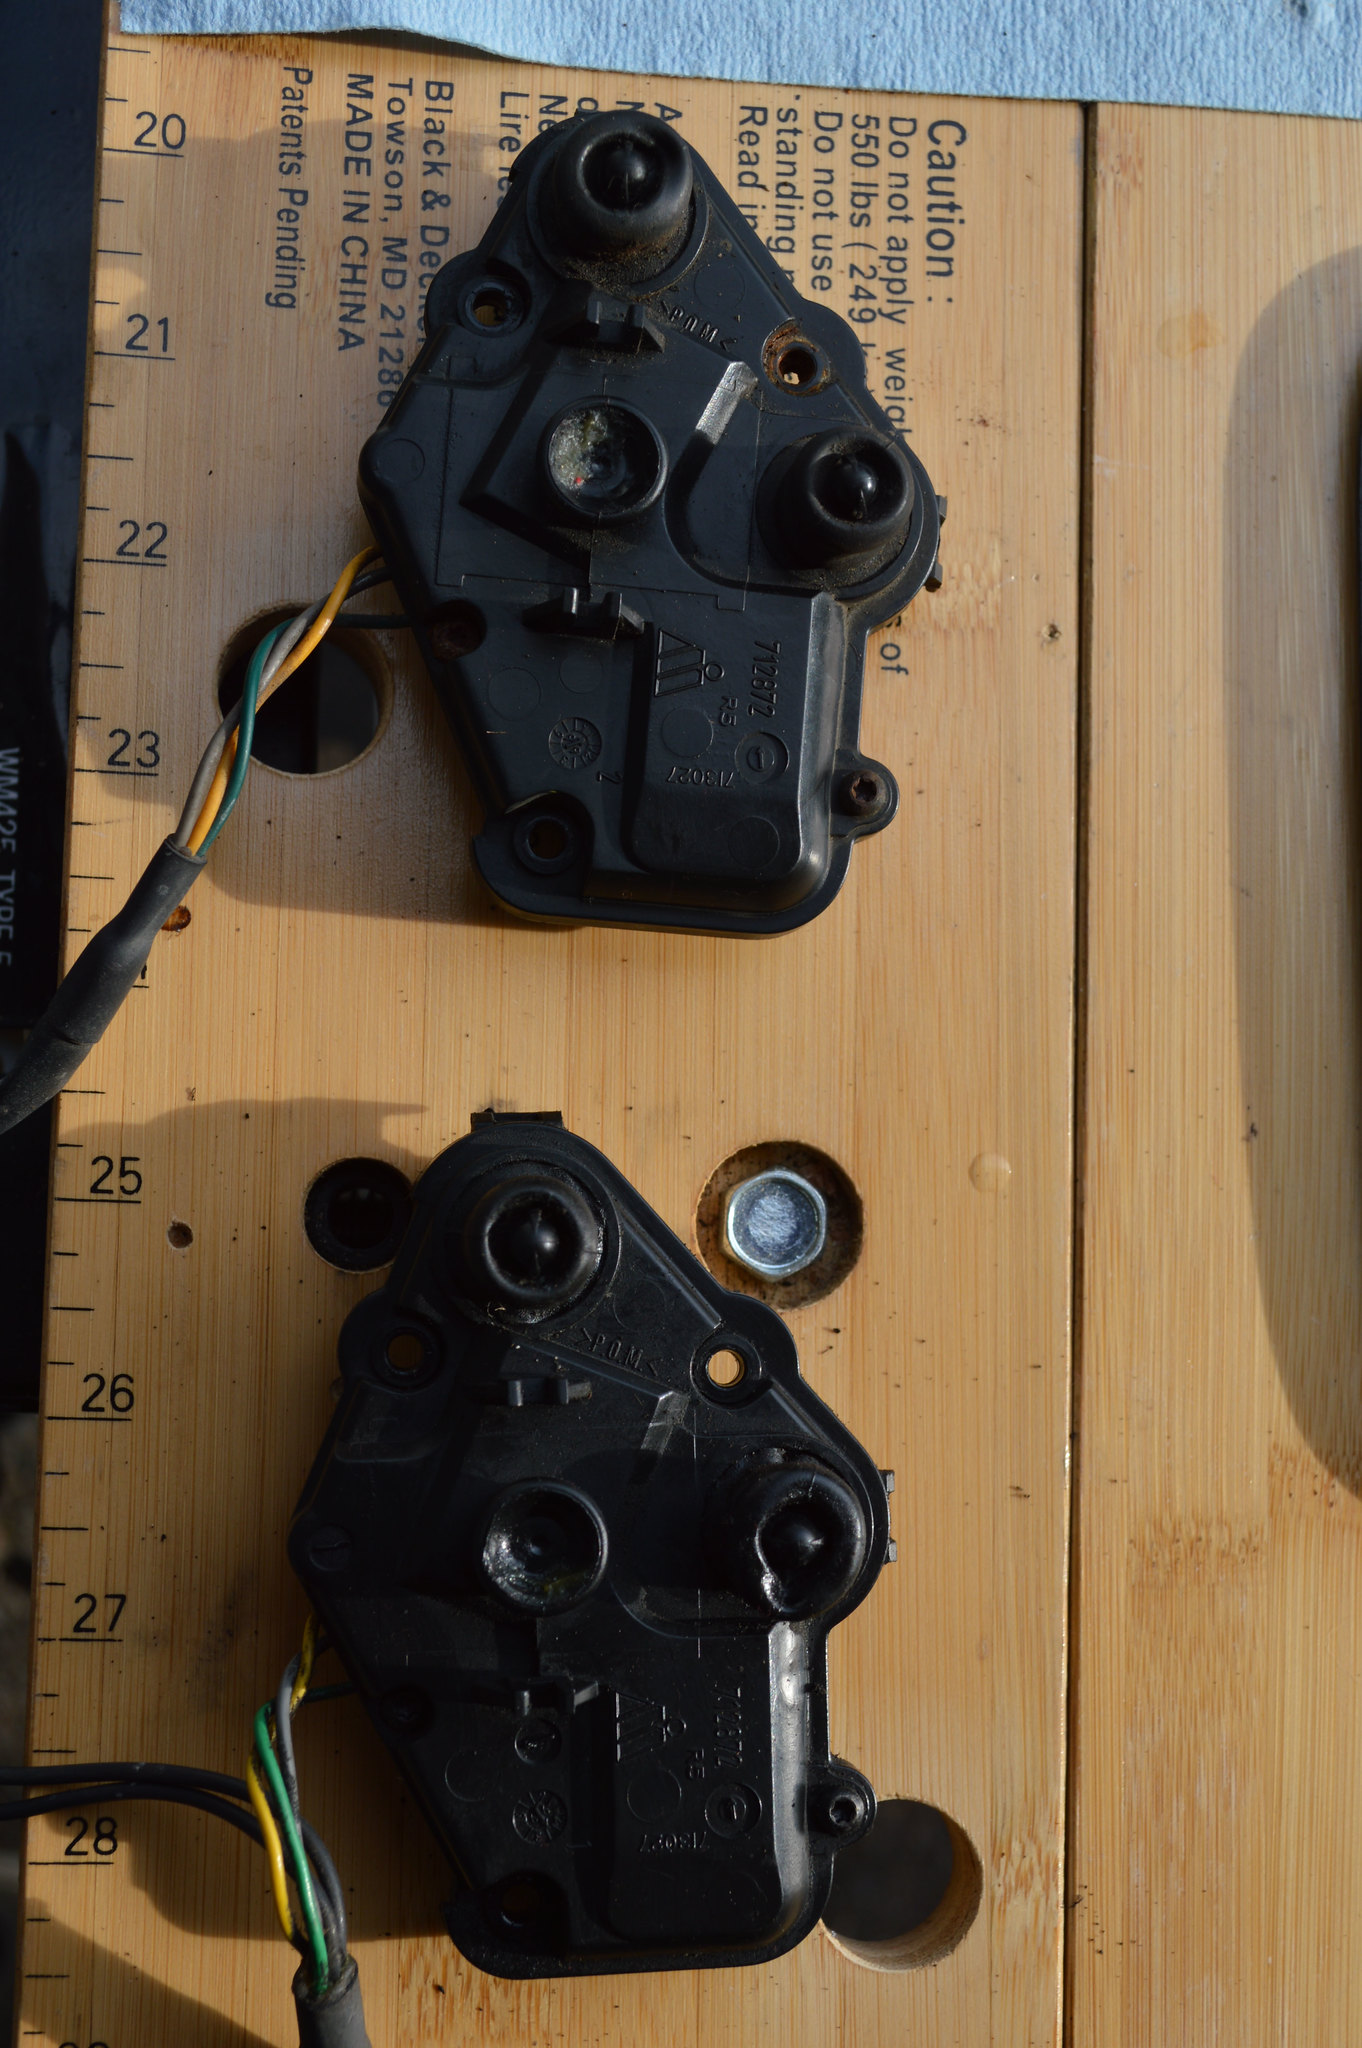
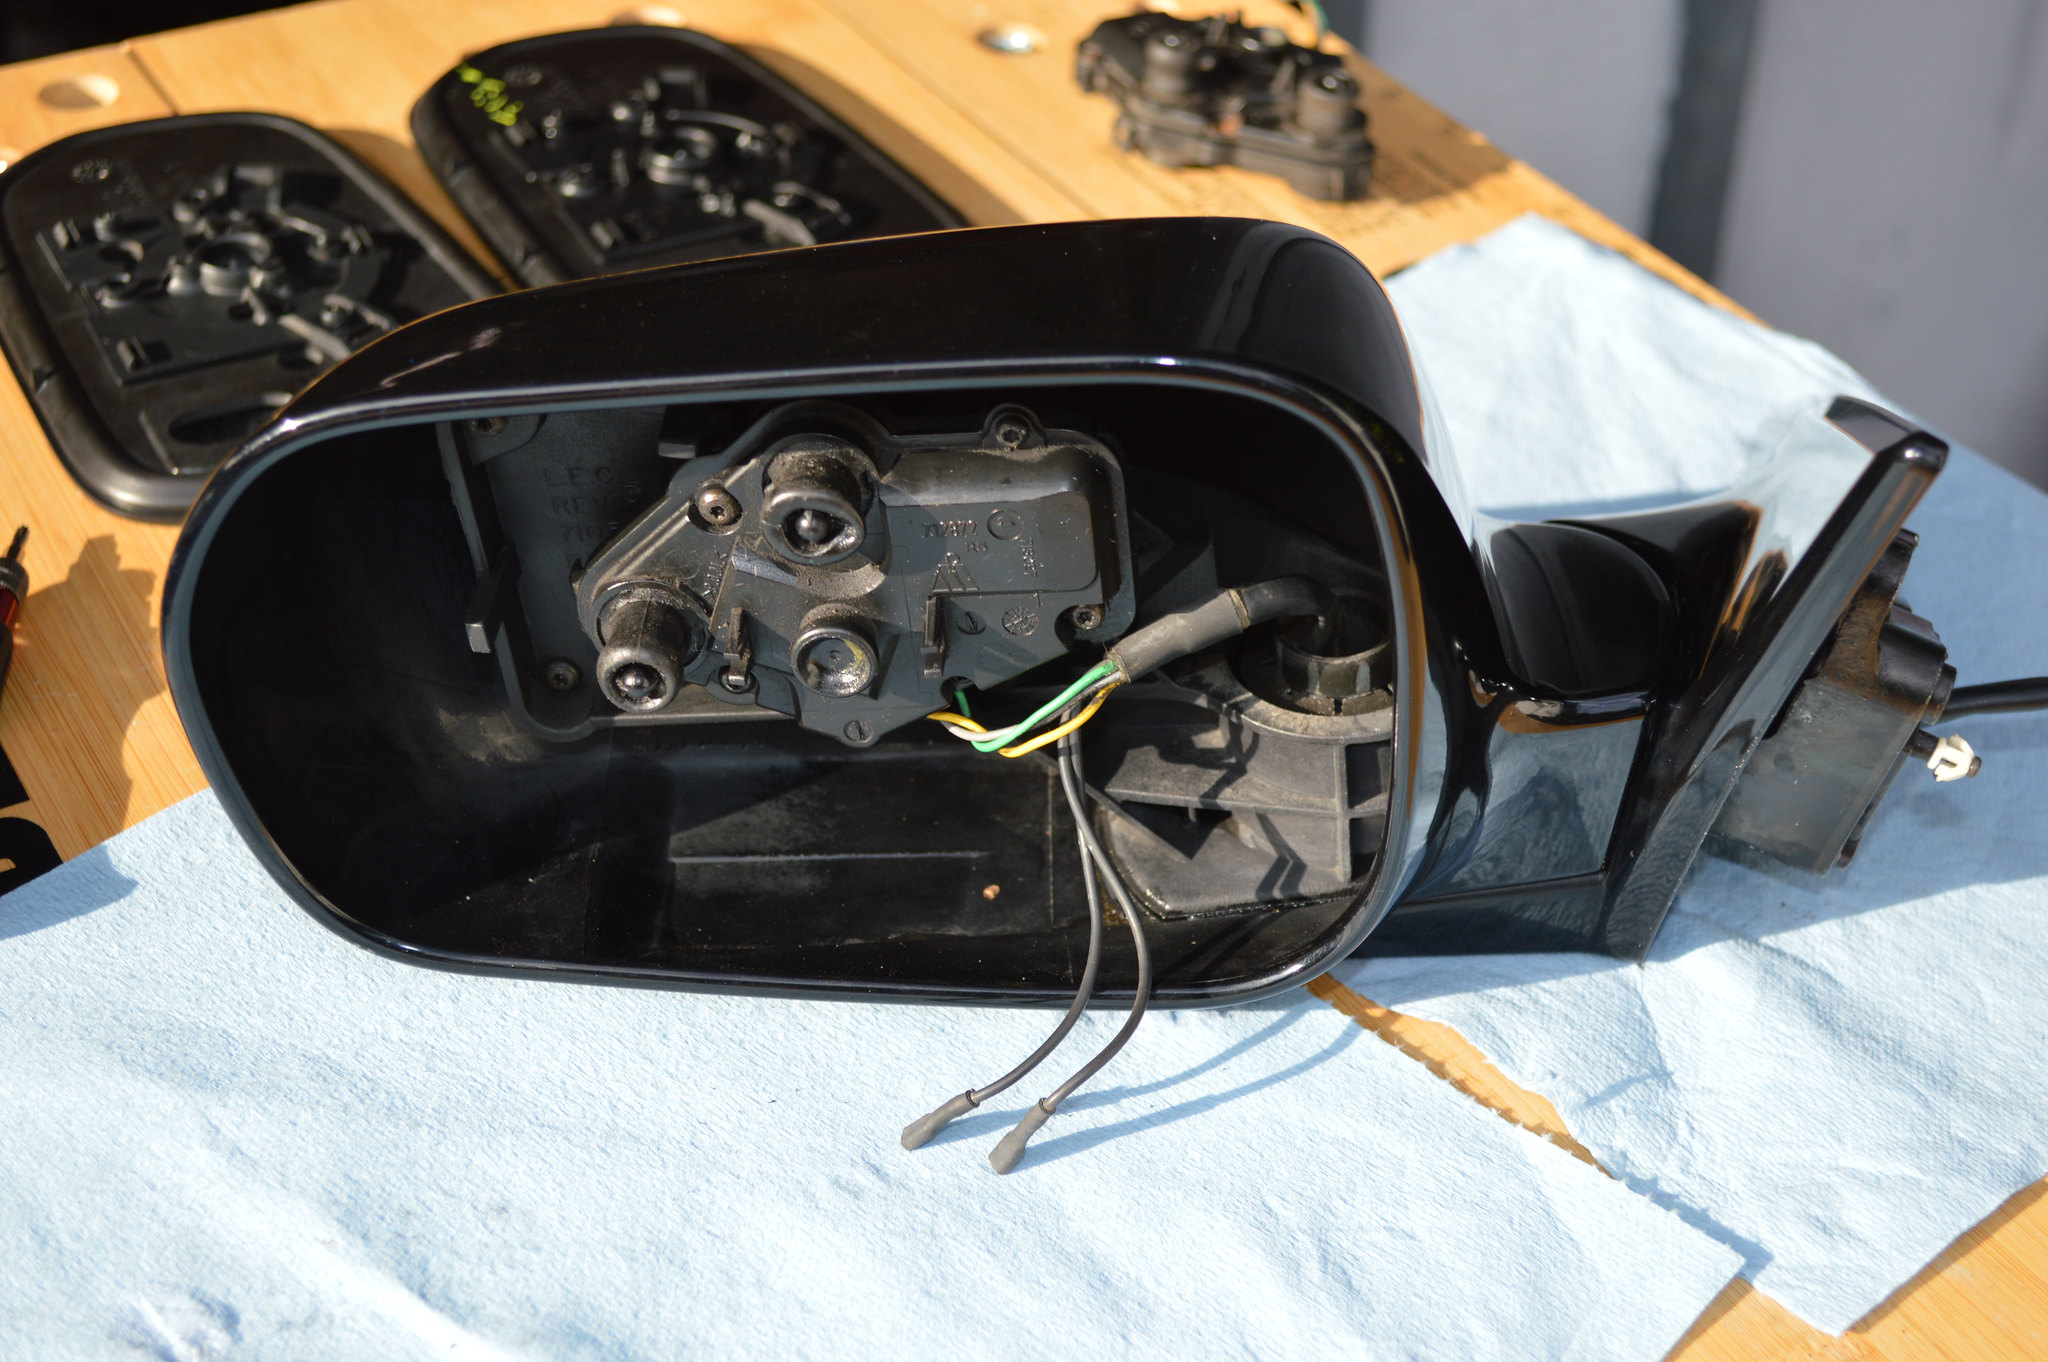
  • Compare Mirror Motors:
48541531297_01fb0d824b_k.jpg
 
Last edited:

dbruskla

Member
Joined
Dec 8, 2014
Posts
18
Reaction score
1
Location
Washington
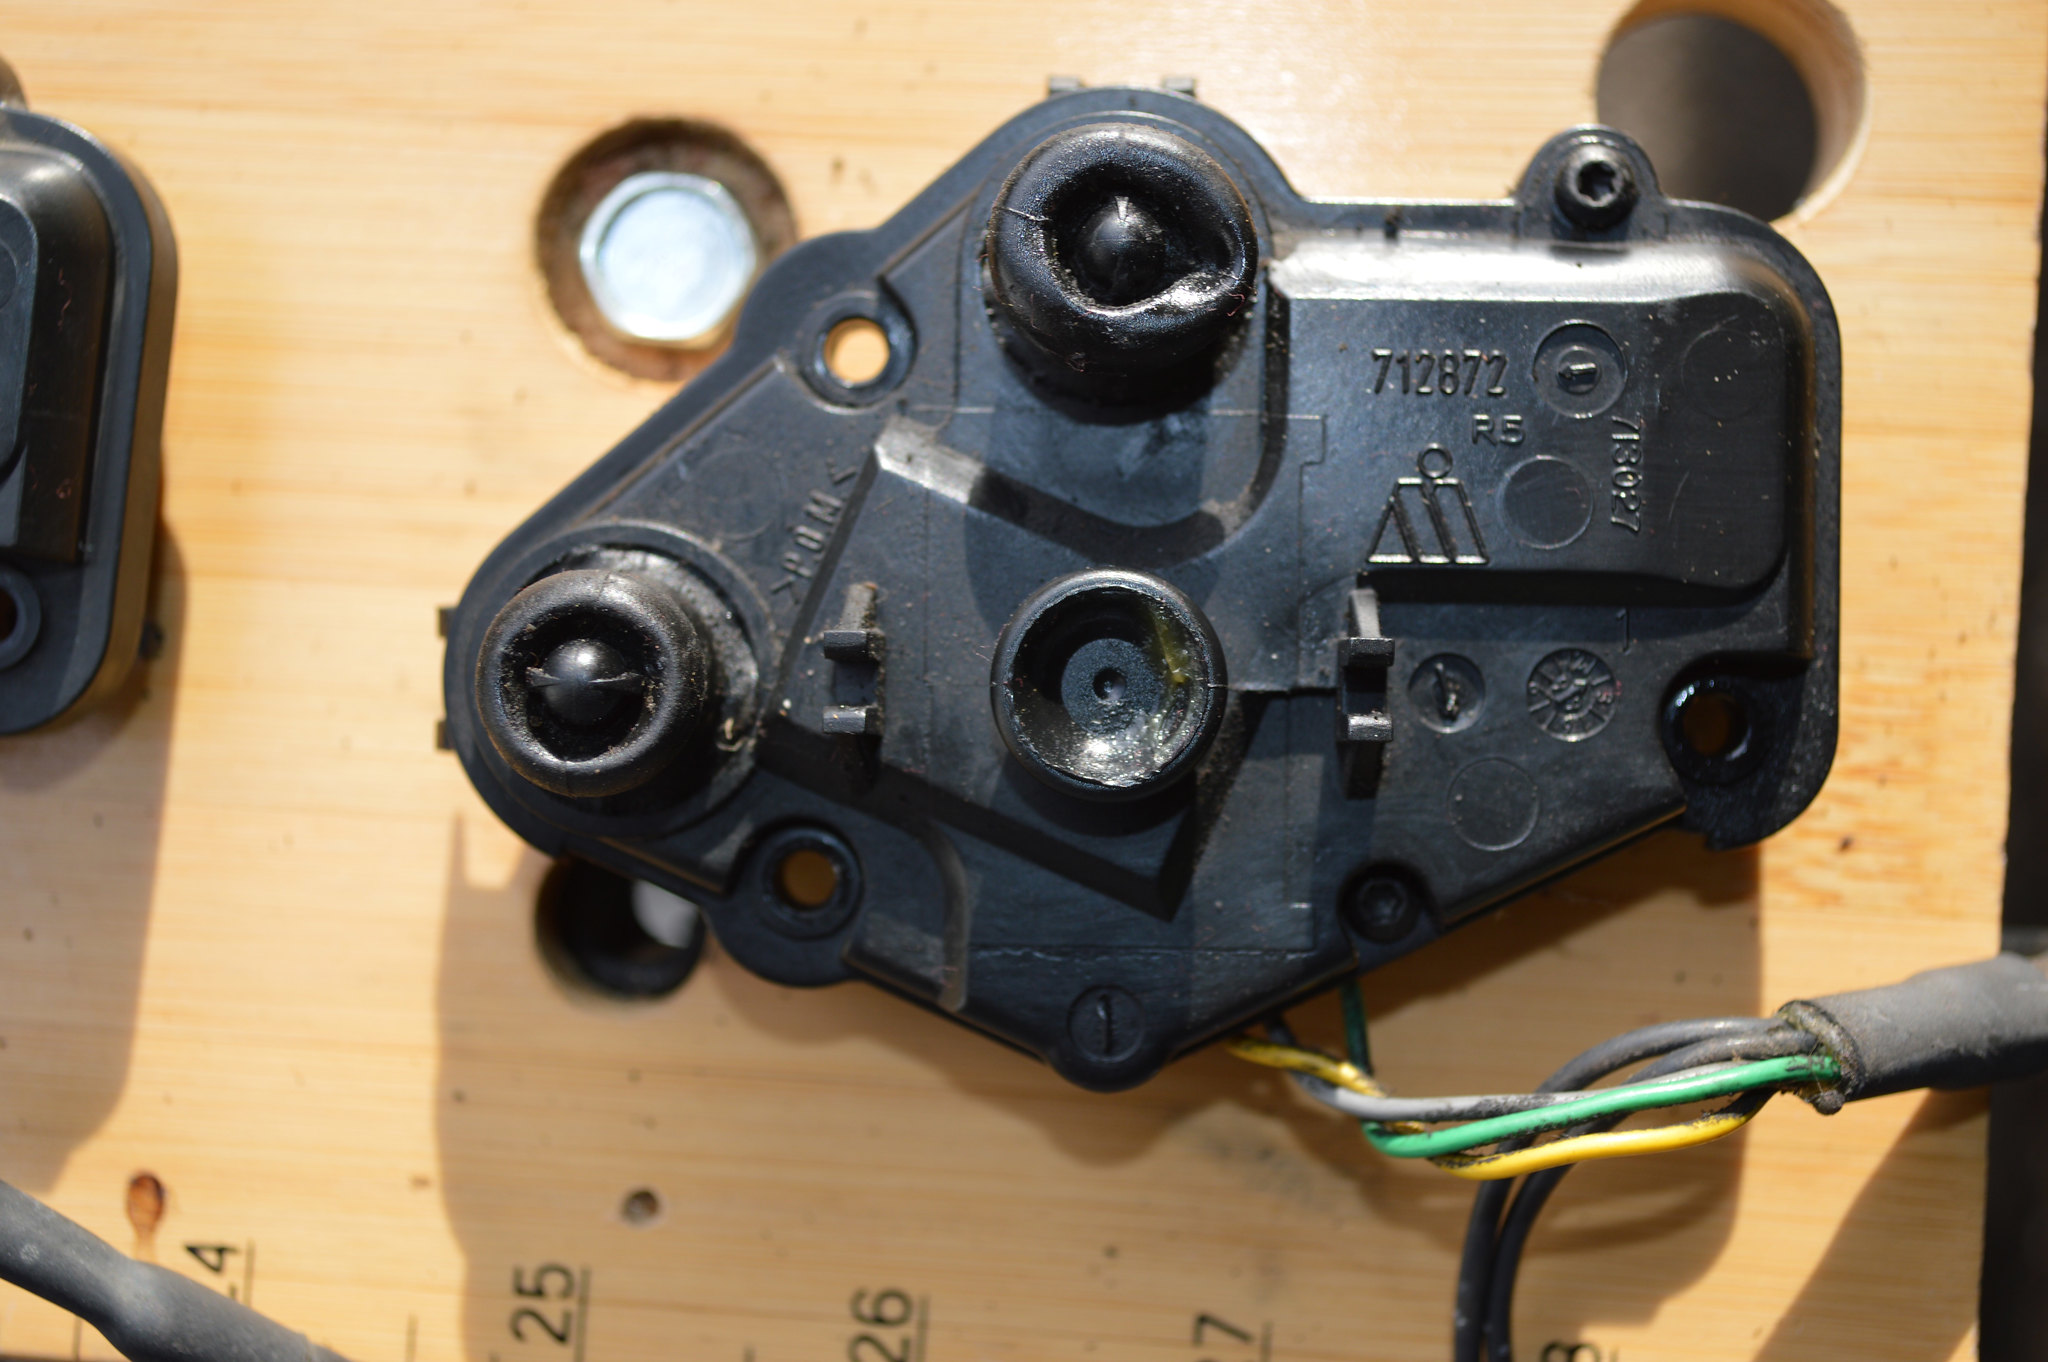
  • Non-Heated Accord Mirror Motor:
48541383301_ef29a2a127_k.jpg

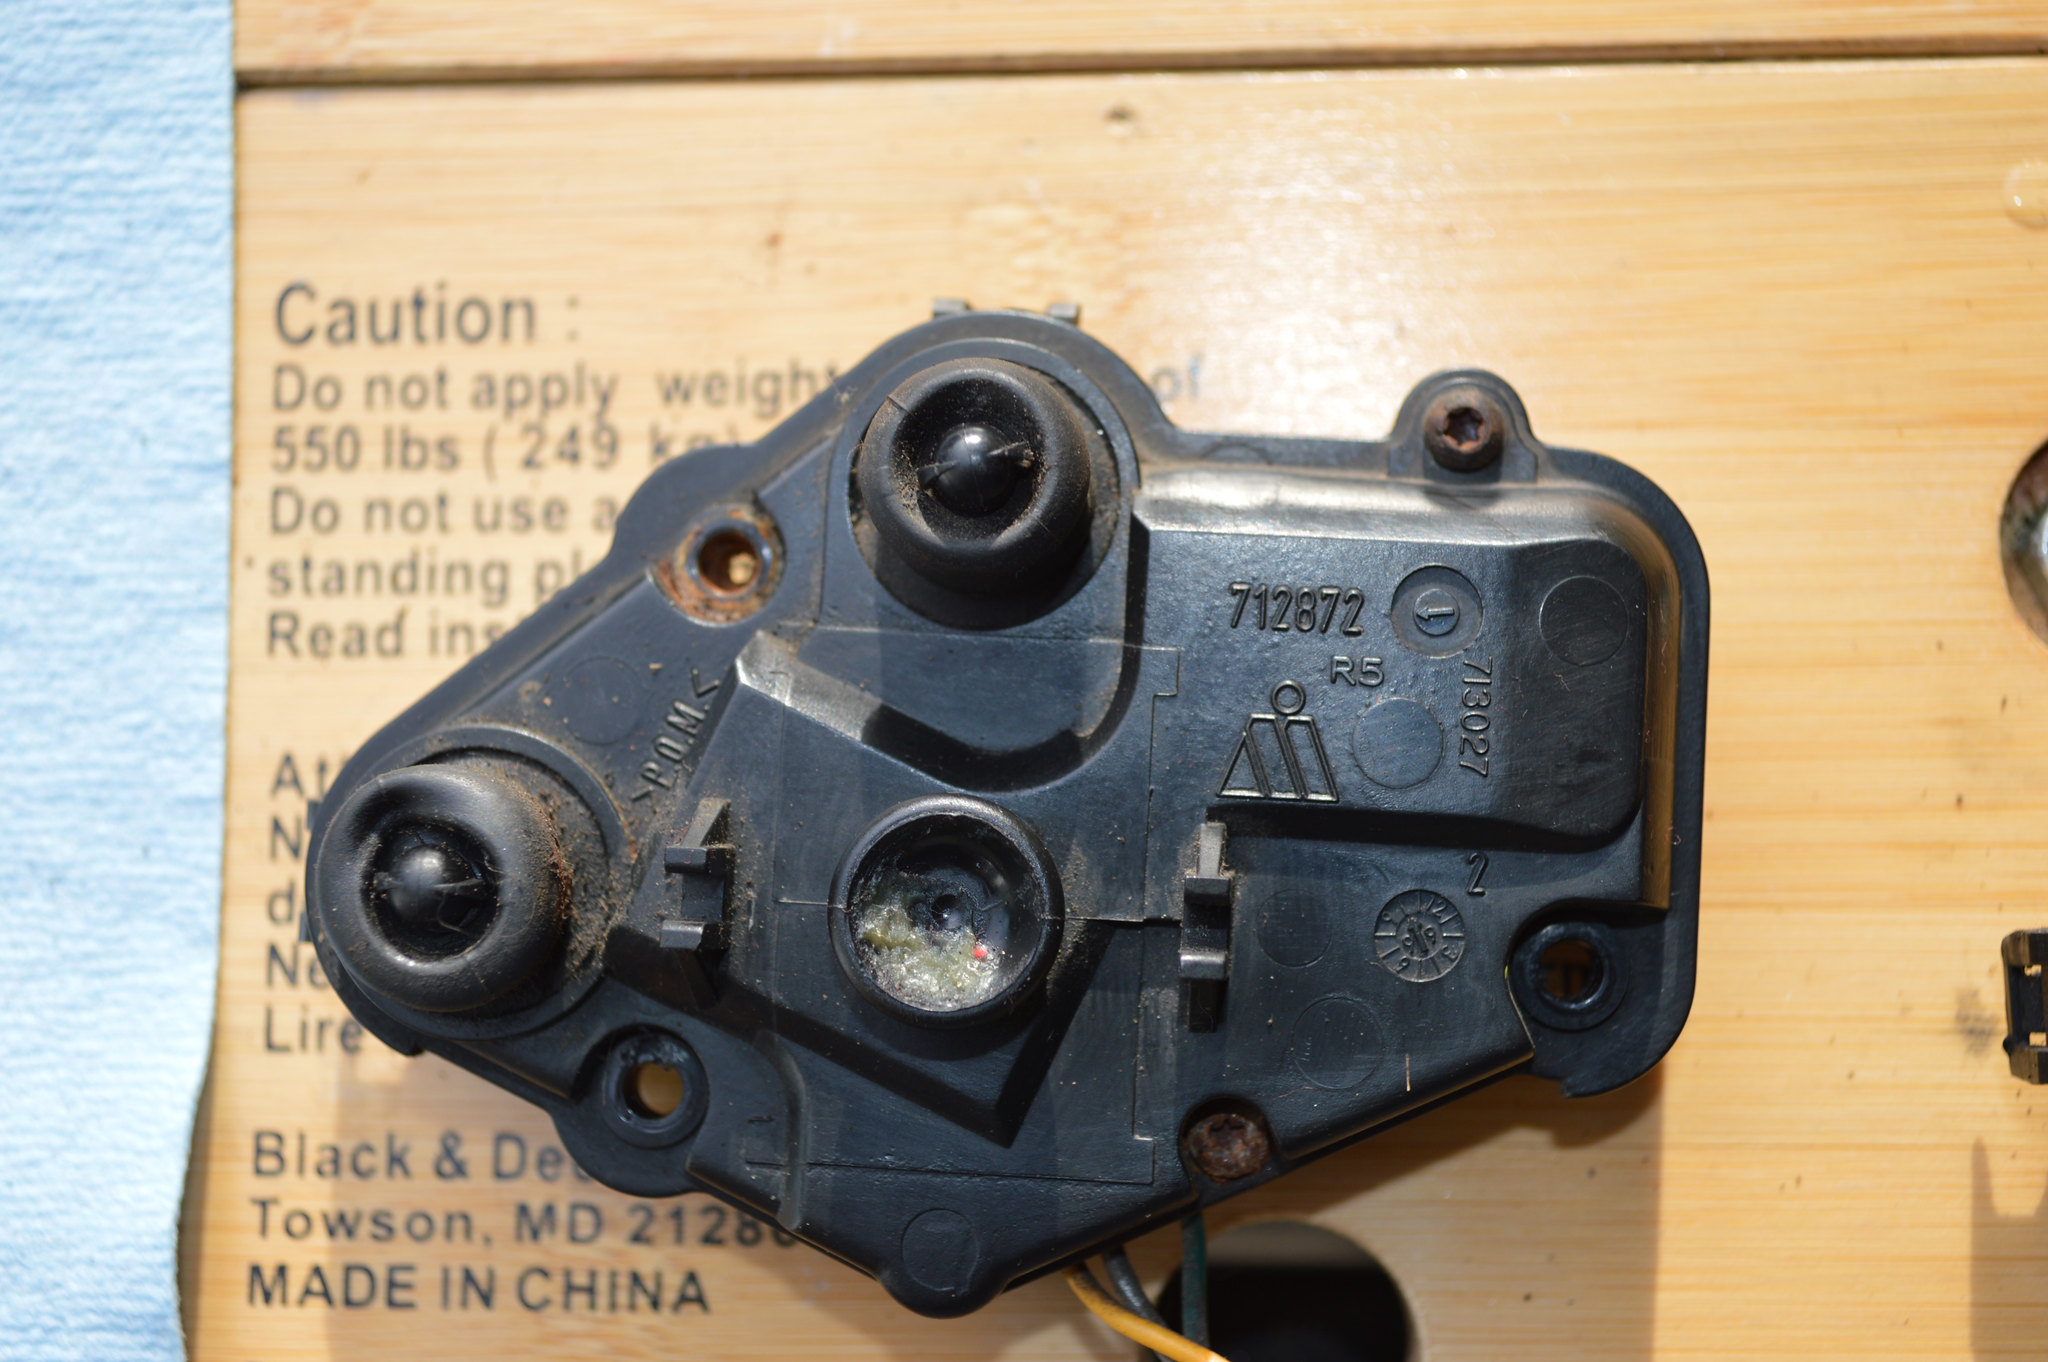
  • TL Mirror Motor:
48541383551_f45e247cd7_k.jpg

  • Notice, Both the Accord and TL Physical Motors are identical, down to the numbers cast in the plastic casing. The only difference being the TL Mirror harness has (2) extra wires for the mirror heating element.
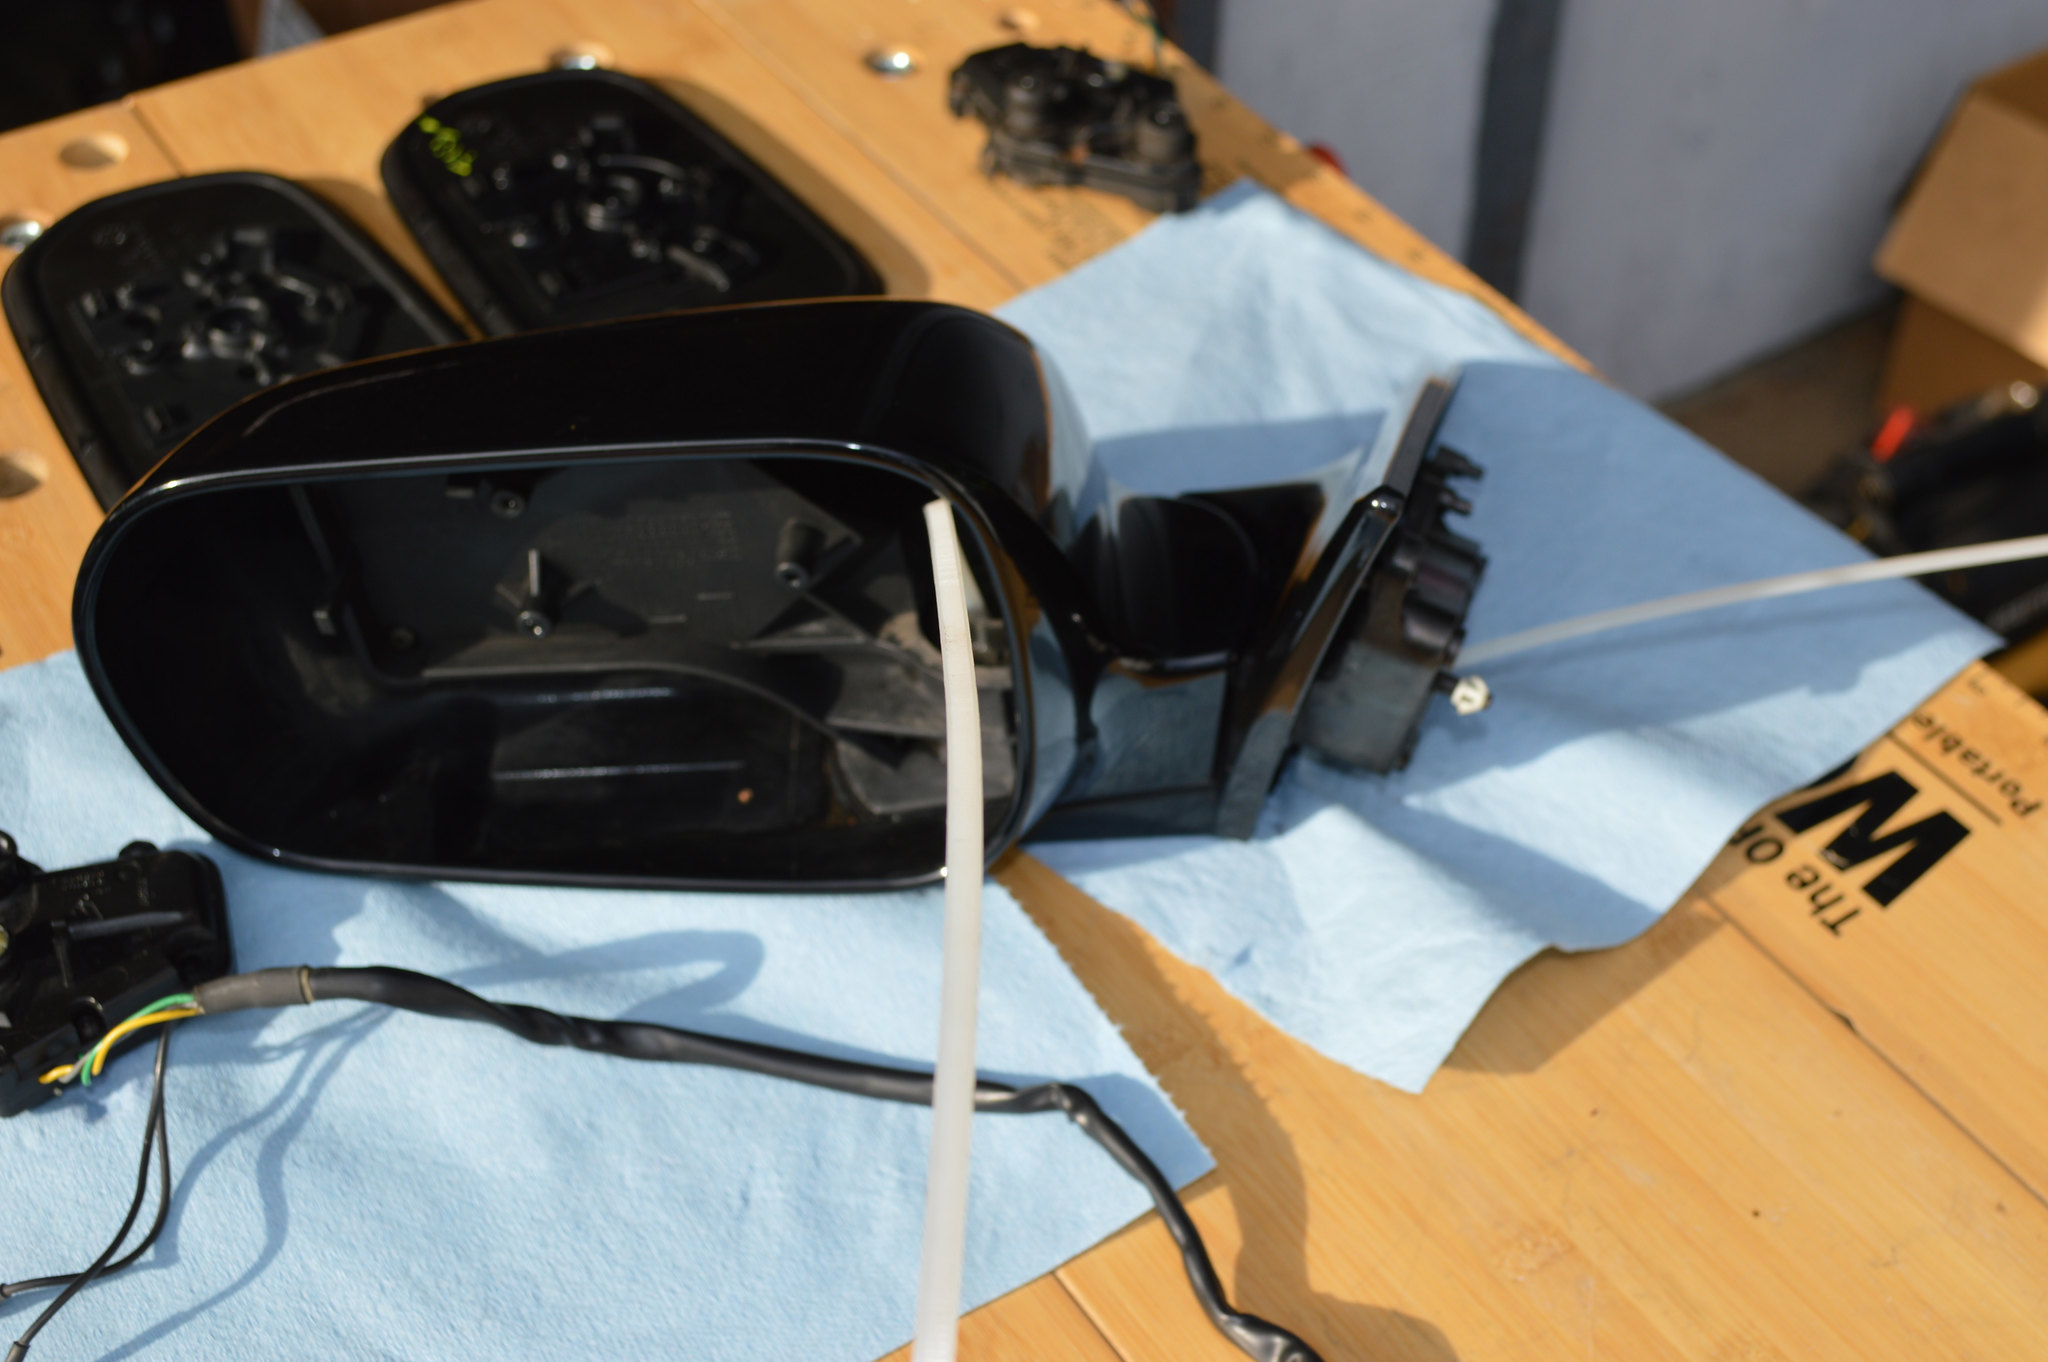
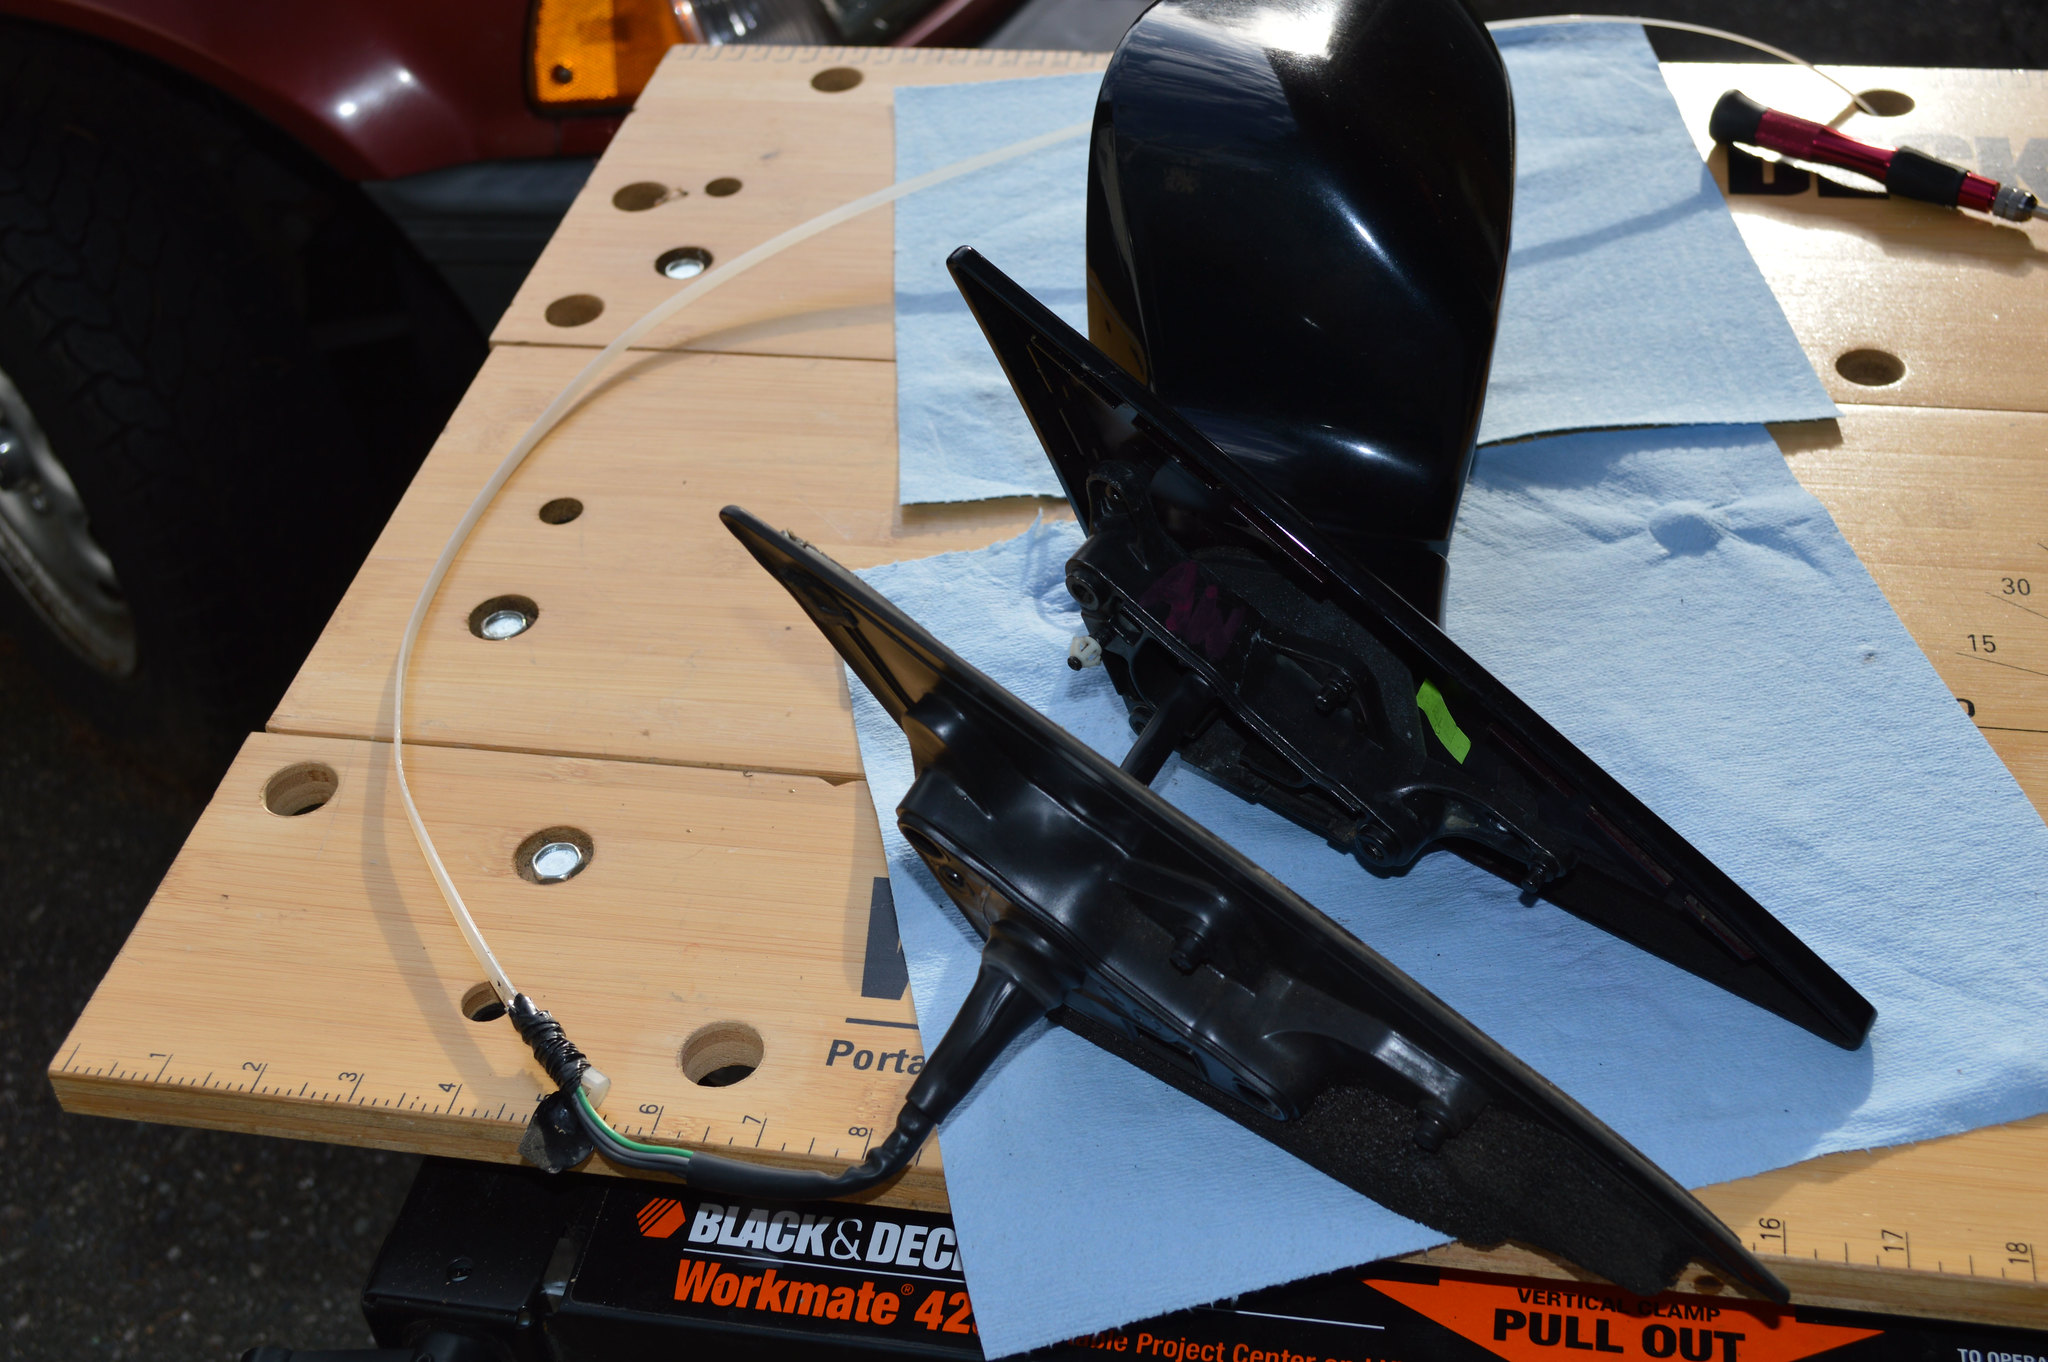
  • Tape wire pin end of TL Mirror Harness to end of zip-tie or fishing tool, then fish through mirror assembly:
48541532102_ca432261db_k.jpg

  • Make sure you route wire harness through opening in mirror frame:
48541532292_47da78a675_k.jpg


Step 10:
Mount Mirror Motor to Mirror Assembly with either Phillips #1 OR T-10 Torx Screws:

48541532667_6804abf182_k.jpg


Step 11: Pull harness semi-snugly through mirror assembly, leaving a little slack for when the mirror is folded. Then, re-attach plastic harness retaining clip and 9MM Nut:

48541528112_4b437e2df8_k.jpg


Step 12: Route Harness through rubber seal for mirror, slide cover over white clip and against mirror body.

48541385986_ae76eb4d41_k.jpg


Step 13: Prep Mirror Glass:
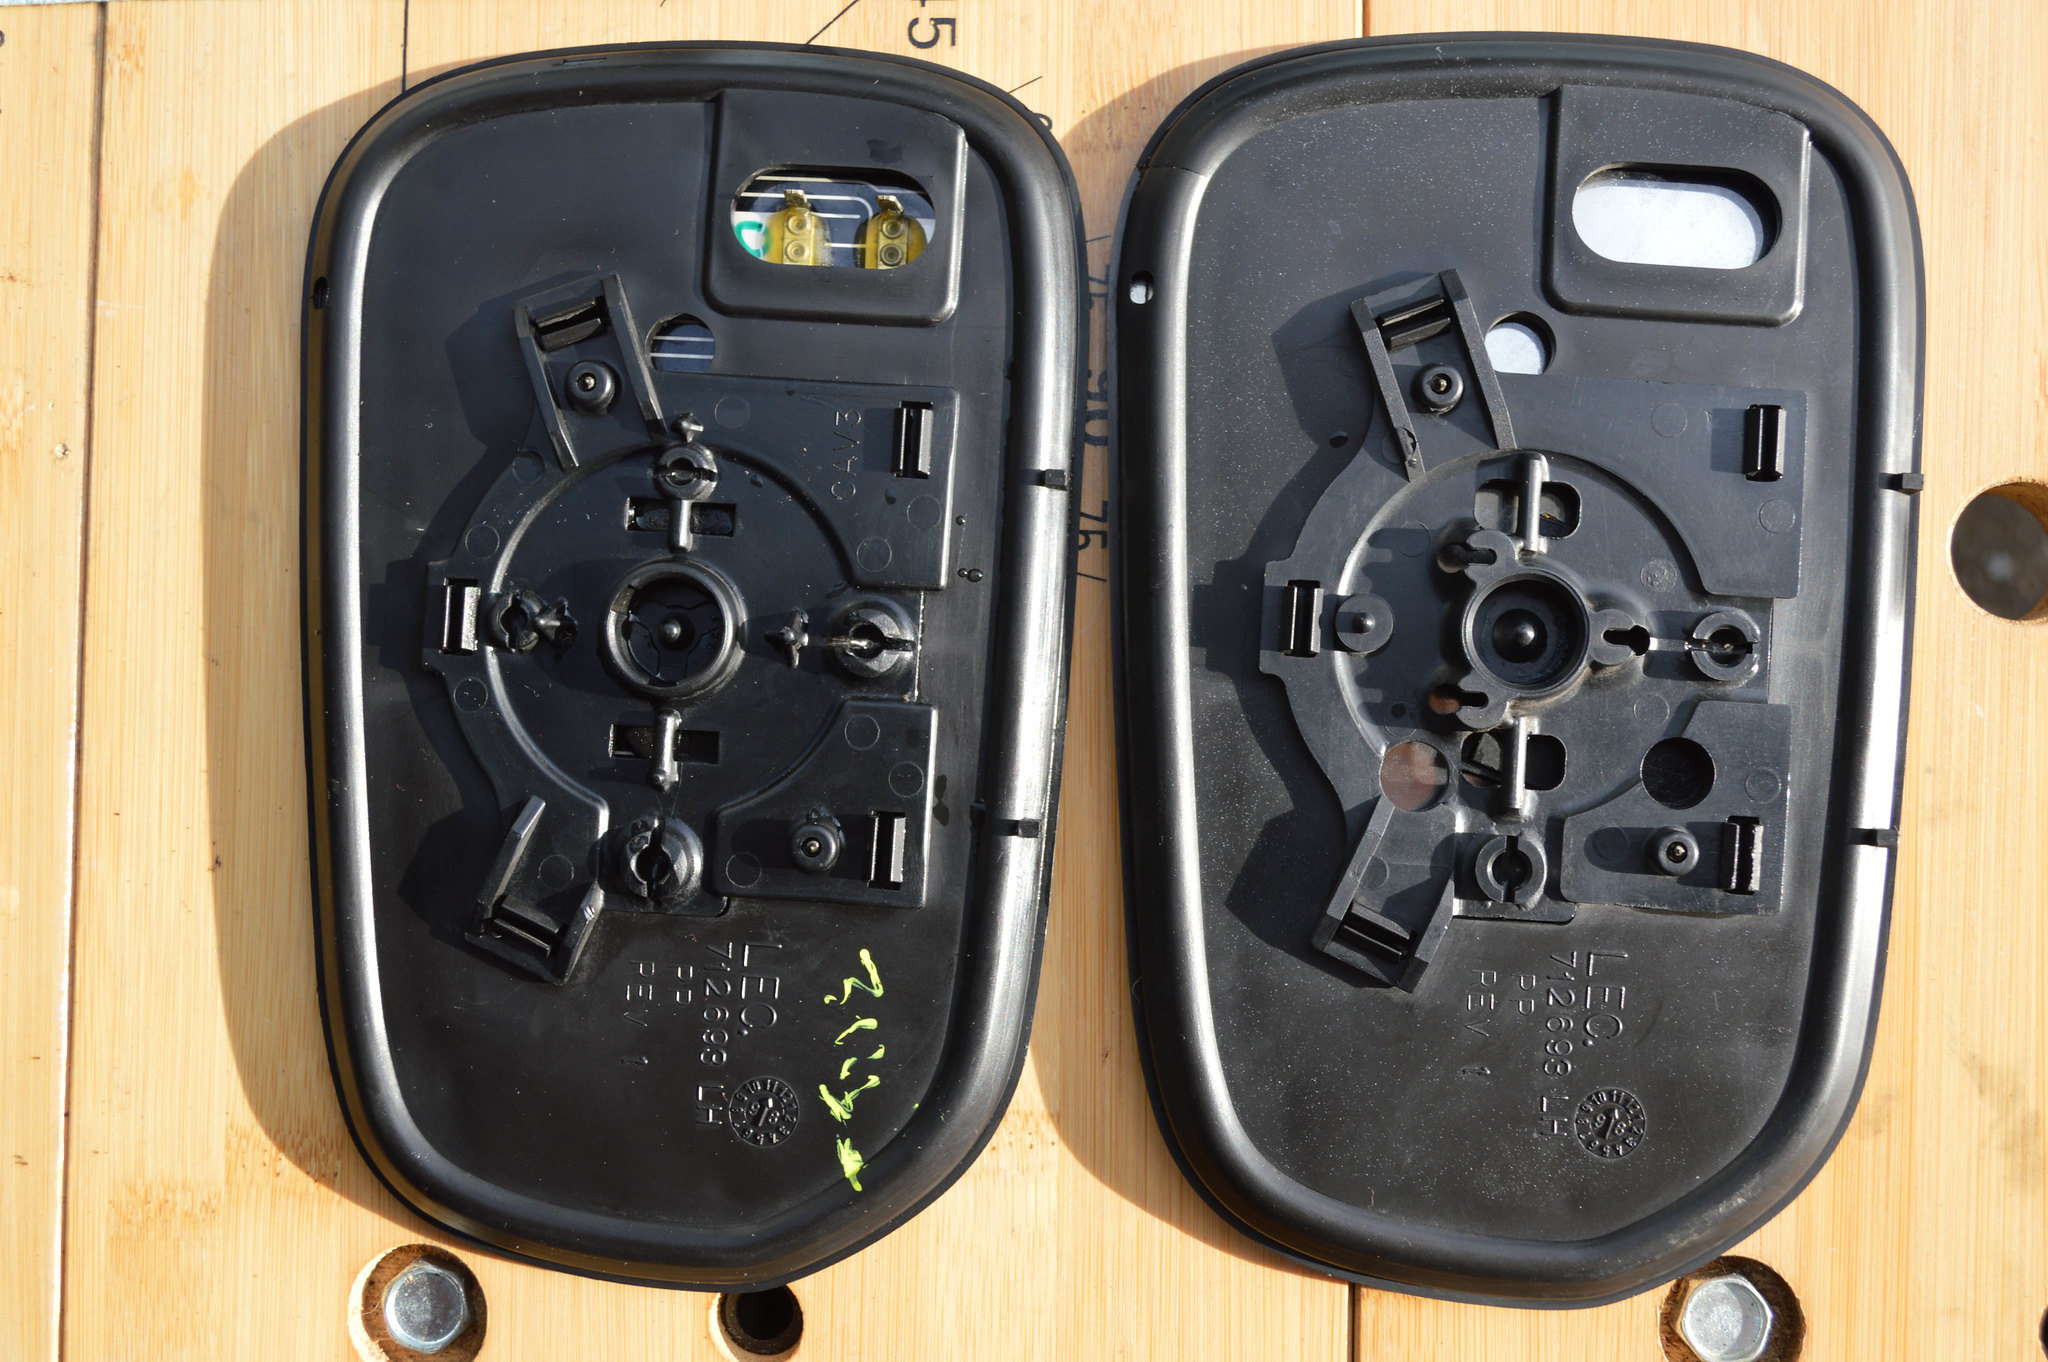
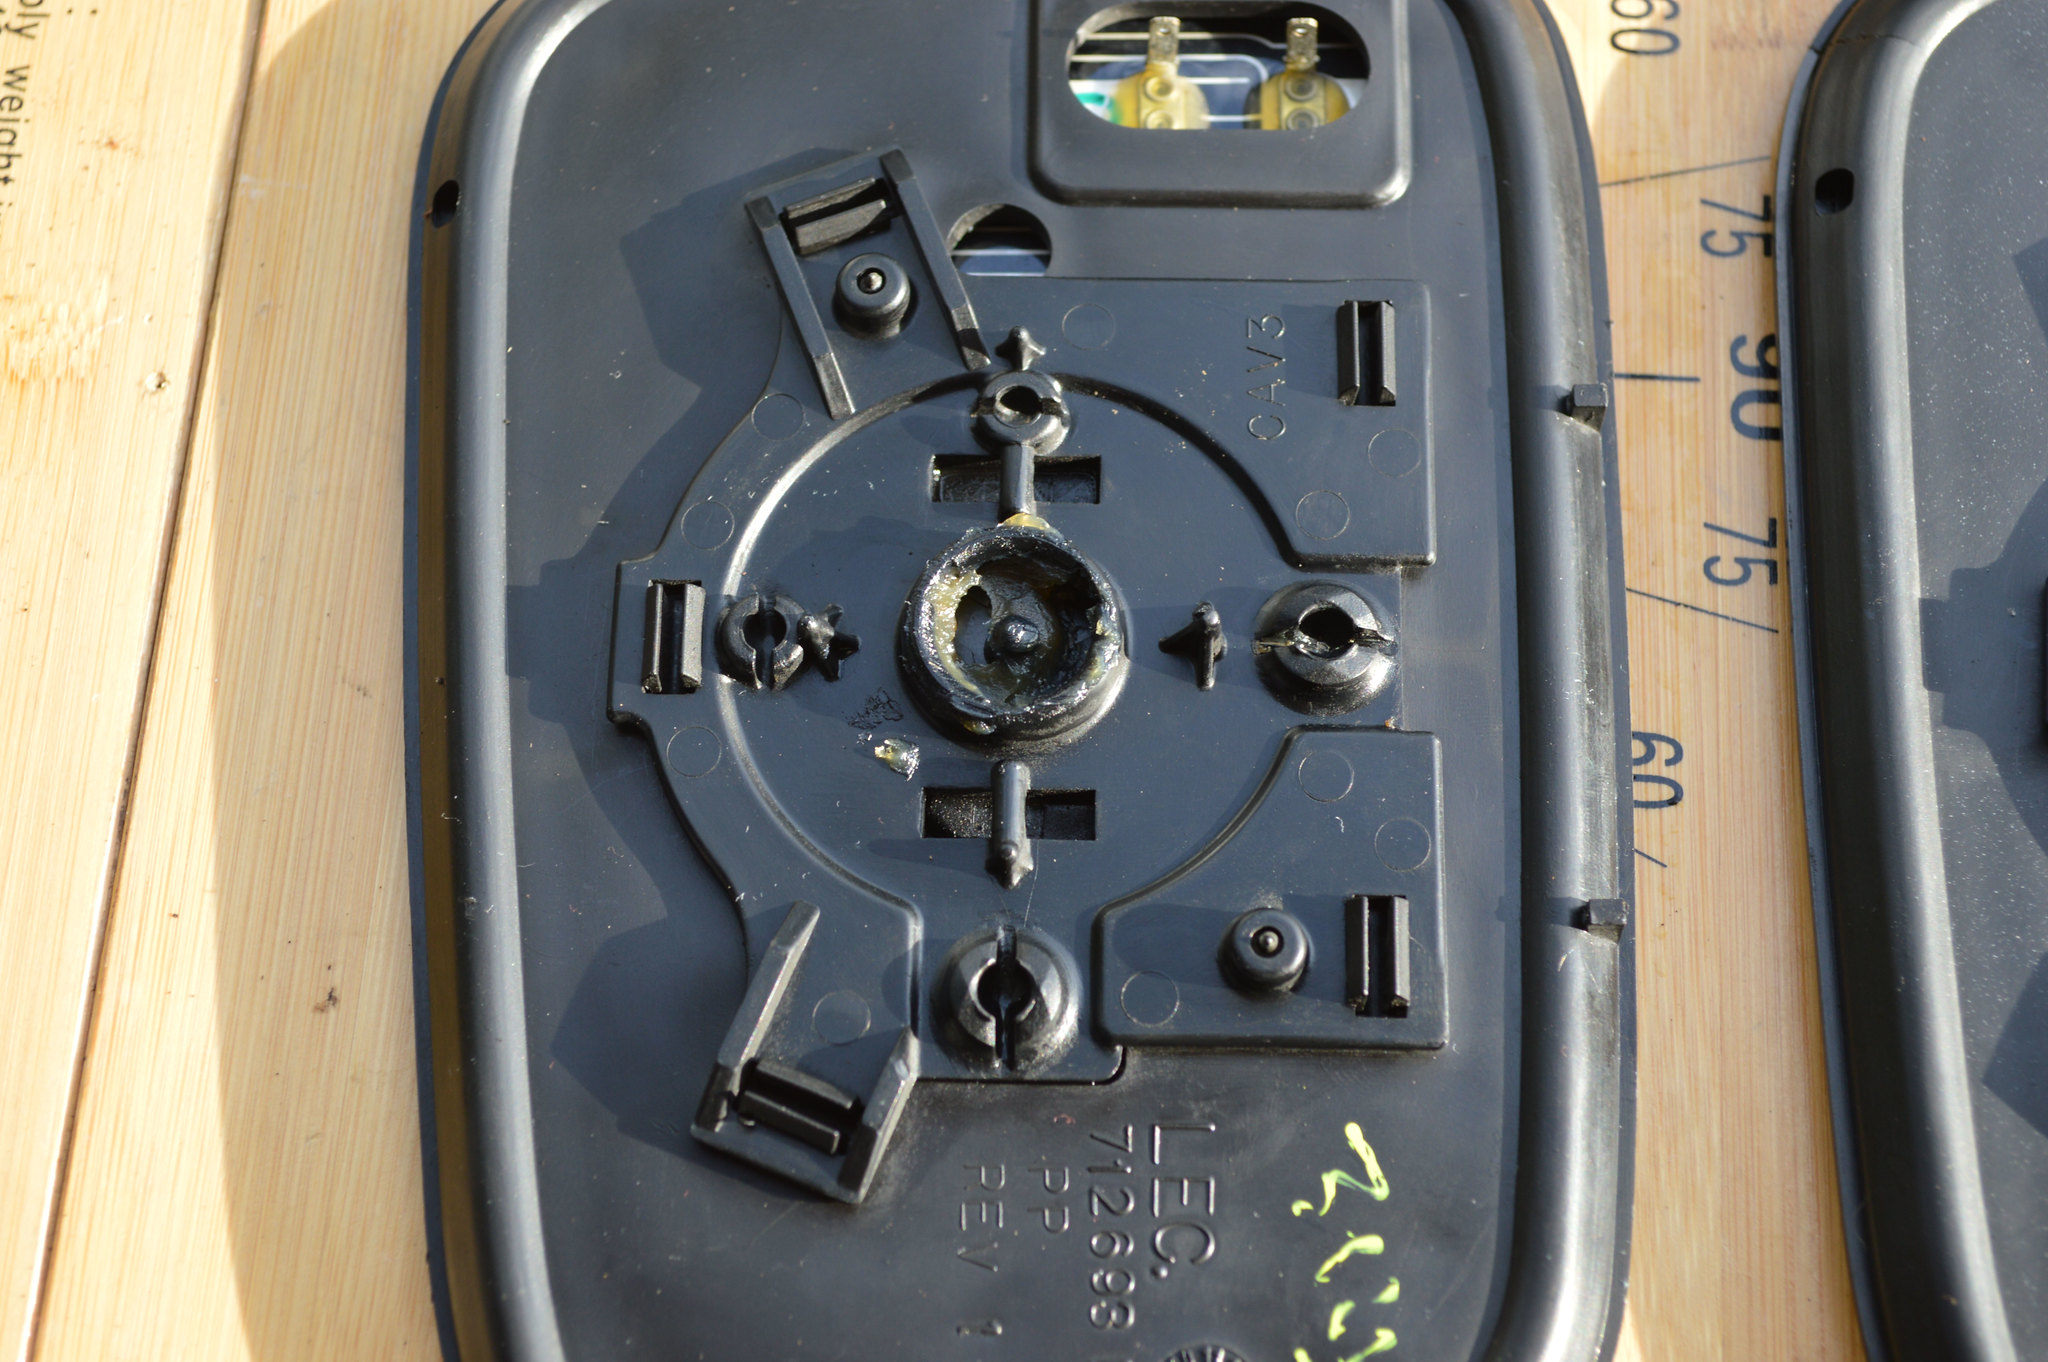
  • Left is the TL Mirror Glass, Right is the Accord Mirror Glass. Again, both are the same shape, same mounting positions, and the numbers on the plastic backing all match.
48541380166_9f8bcd23f5_k.jpg

  • Re-grease the center relief where the main mounting/pivot post will go:
48541384946_14ddcbd100_k.jpg

  • Next, grab the (2) Mirror Motor posts that snap on the mirror on the top and outside. Grease the sockets and snap onto the mirror backing (right and bottom sockets above).
Step 14: Install Mirror Glass on Mirror Assembly:
  • First, grease the (2) posts you just snapped on the back of the mirror where they will go into the mirror motor.
  • Then, align posts with their respective openings on the mirror motor, careful to align them properly so they snap into place
  • Lastly, push with even but firm pressure in center of mirror to snap the main center pivot into the mirror backing. It would probably be easier to do this with the mirror mounted on the vehicle, but if you lay the mirror face up and support the back on a table, you can do it.
48541533492_a78398c3ff_k.jpg


Step 15: Remove mirror (if you didn’t use your originals previously) from the vehicle
  • Follow the above procedure if you need it again
Step 16: Re-Pin the Mirror Motor Harness:
  • Option 1: Re-Pin 3-pin connector and run custom wires and switch to the (2) heater element wires per side. Re-Pin the stock 3-pin Accord connector onto harness (use picture from de-pinning for reference) OR
  • Option 2: Re-Pin the 6-Pin (one is left empty) TL mirror connector (mirror and door harness sides if USDM, if equipped with heated mirrors for Canadian models, TL mirror motor is plug and play)
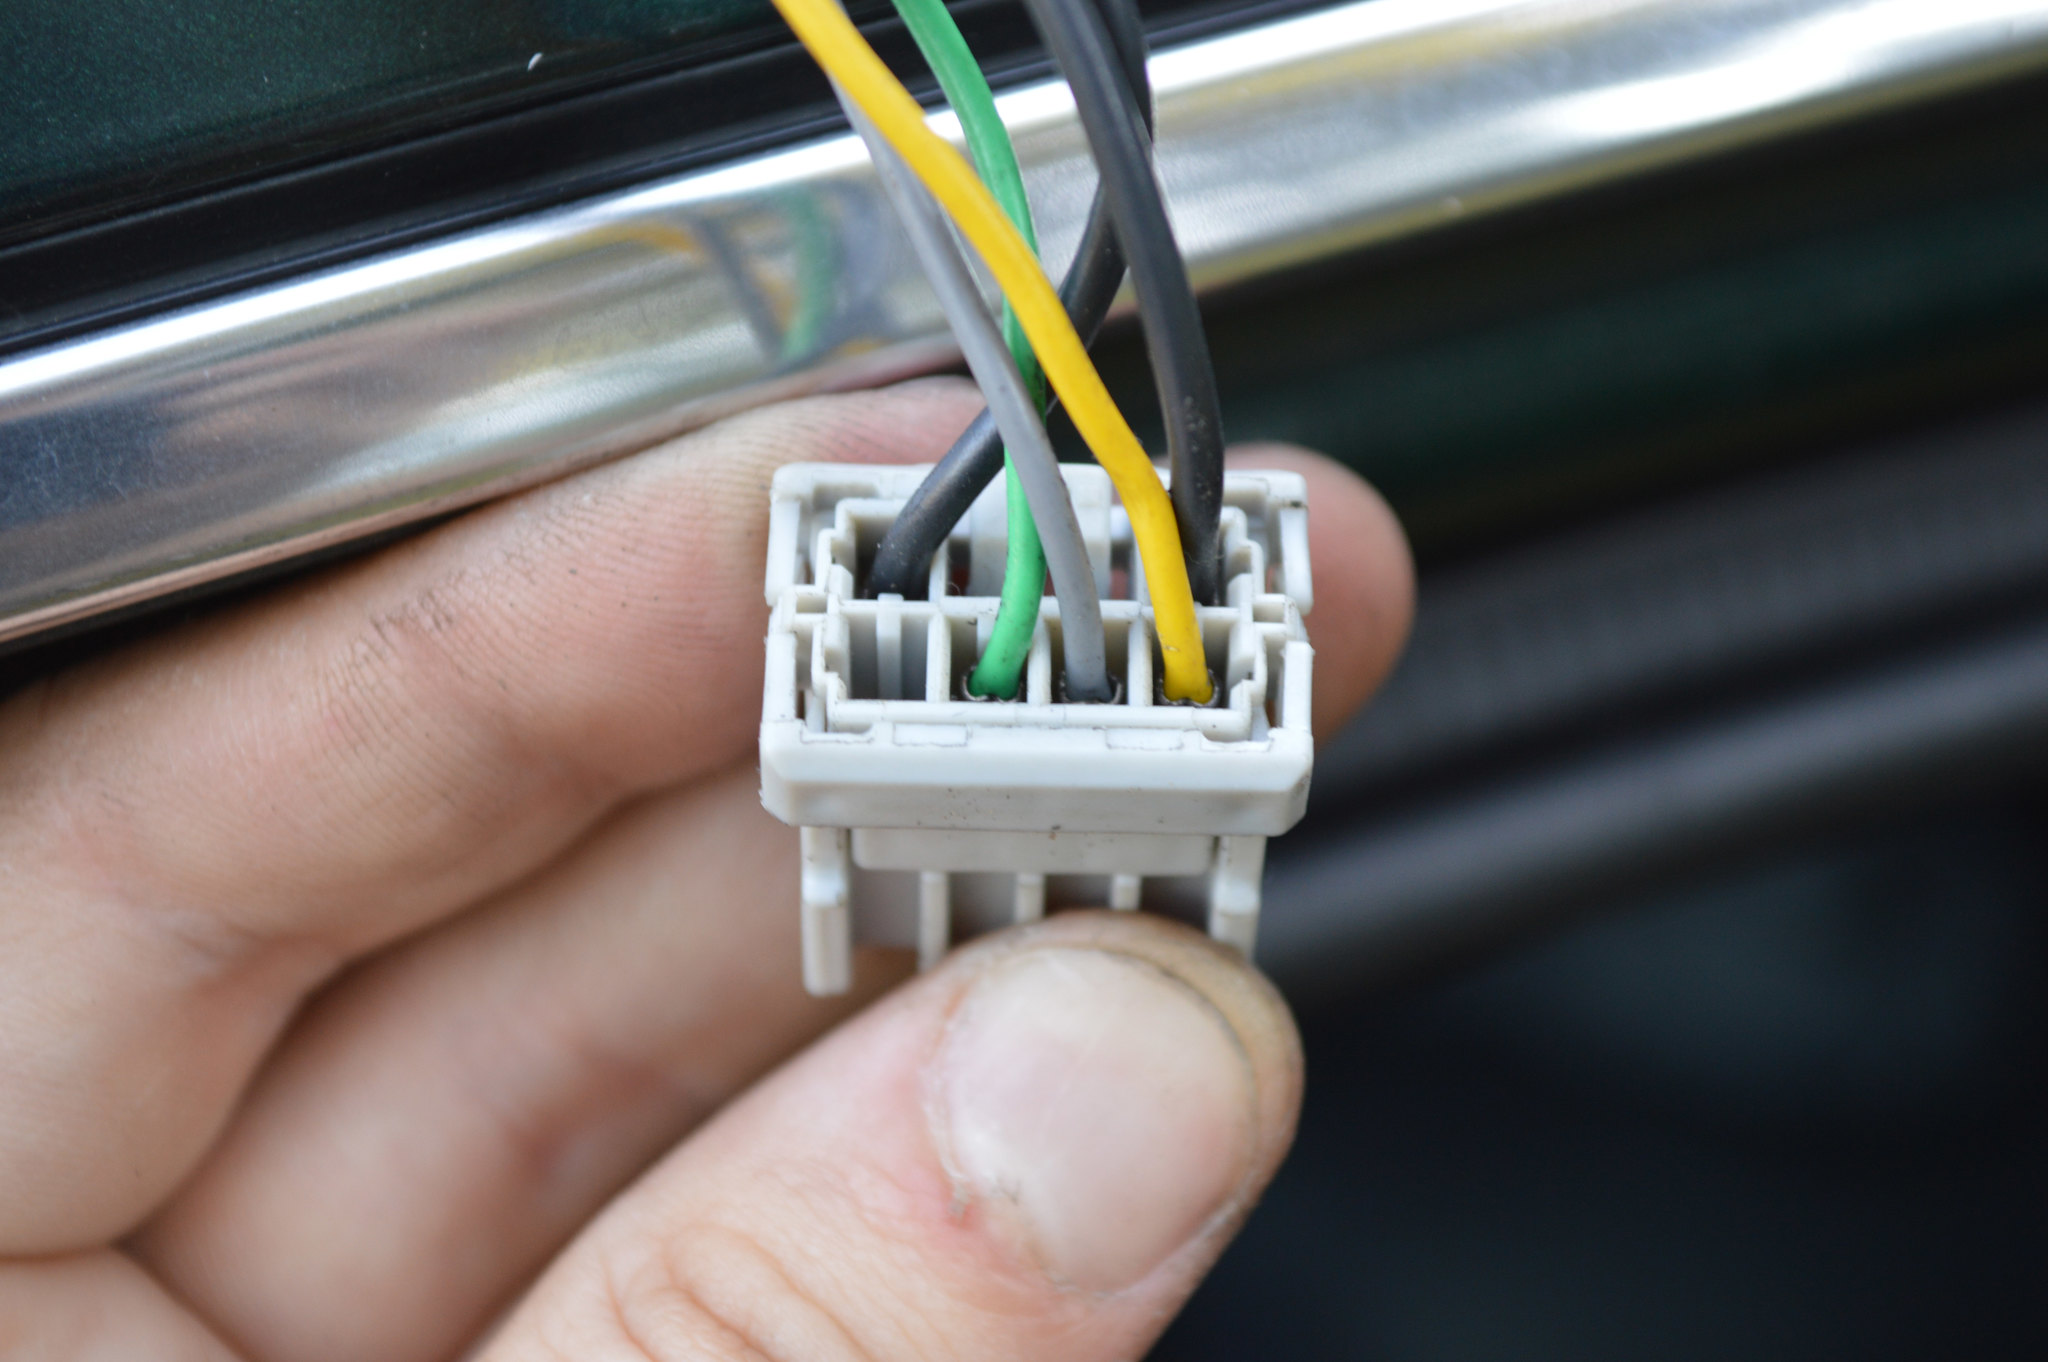
  • Pictured below will be the finished product, top of connector in the picture has the release tab for the plug, bottom is bottom of connector.
48541385456_2dcb2014f8_k.jpg

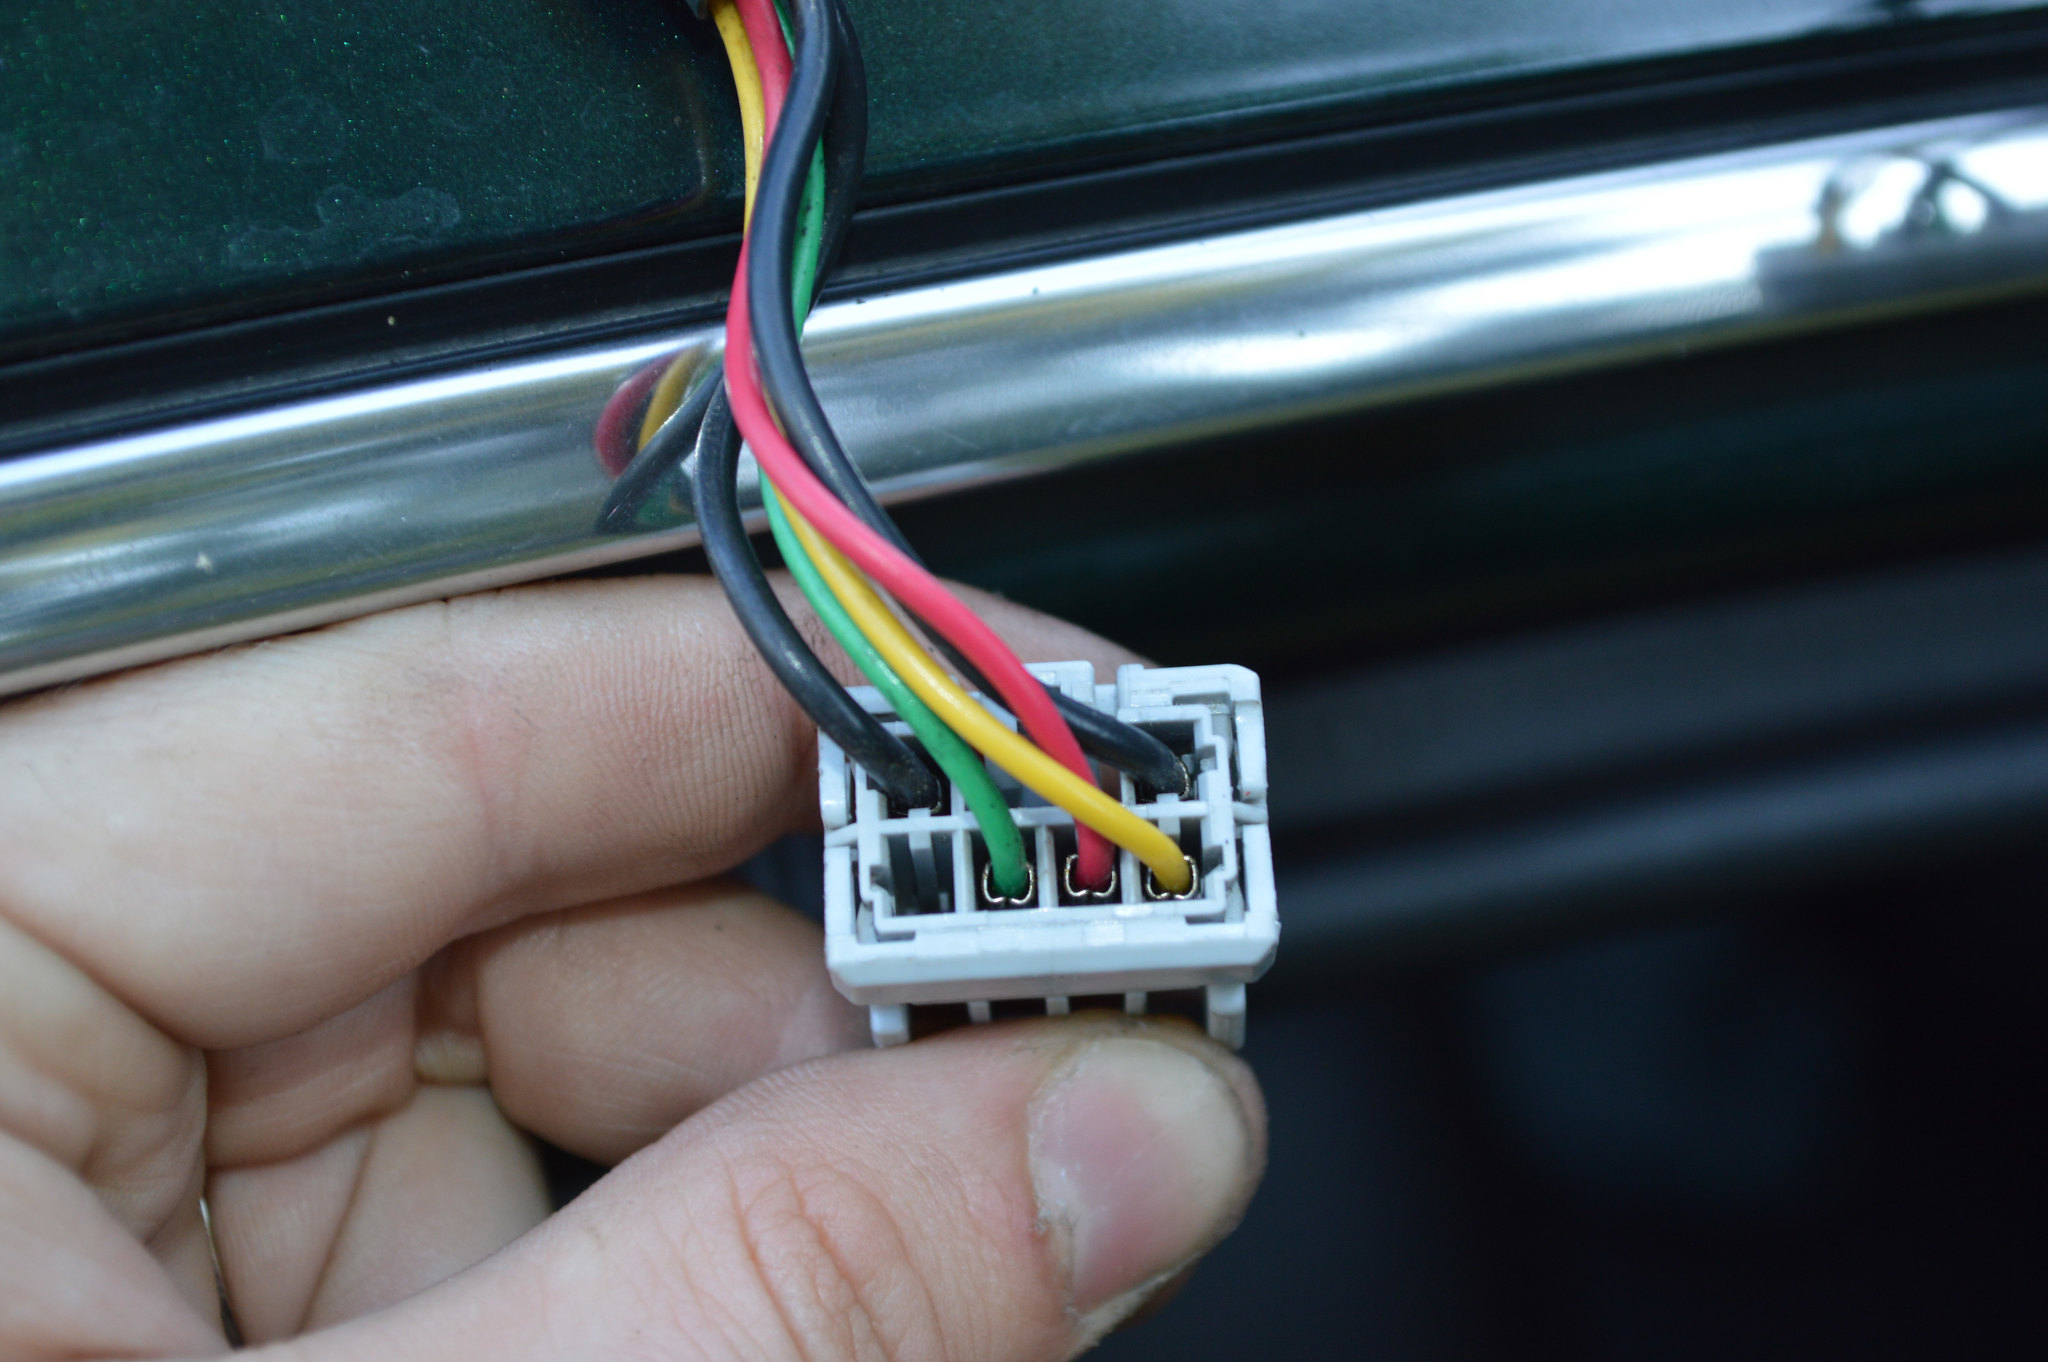
  • Interesting observation, I have a Canadian 1998 model that came stock with heated mirrors, the grey wire in the USDM Accords and TLs appears to be red in the Canadian version of the mirror-side harness:
48541386166_f2e4db9ff6_k.jpg

  • I apologize for not having the pinouts for the USDM door-side harness, maybe you guys can help out for that side of reference for wiring in either an aftermarket switch or figuring out how to wire in an OEM Honda/Acura heated mirror switch.
  • If you grabbed the TL door-side plug, the black and orange wires are the ones to splice into for the heating element of the mirror.

Step 17: Admire the finished product!

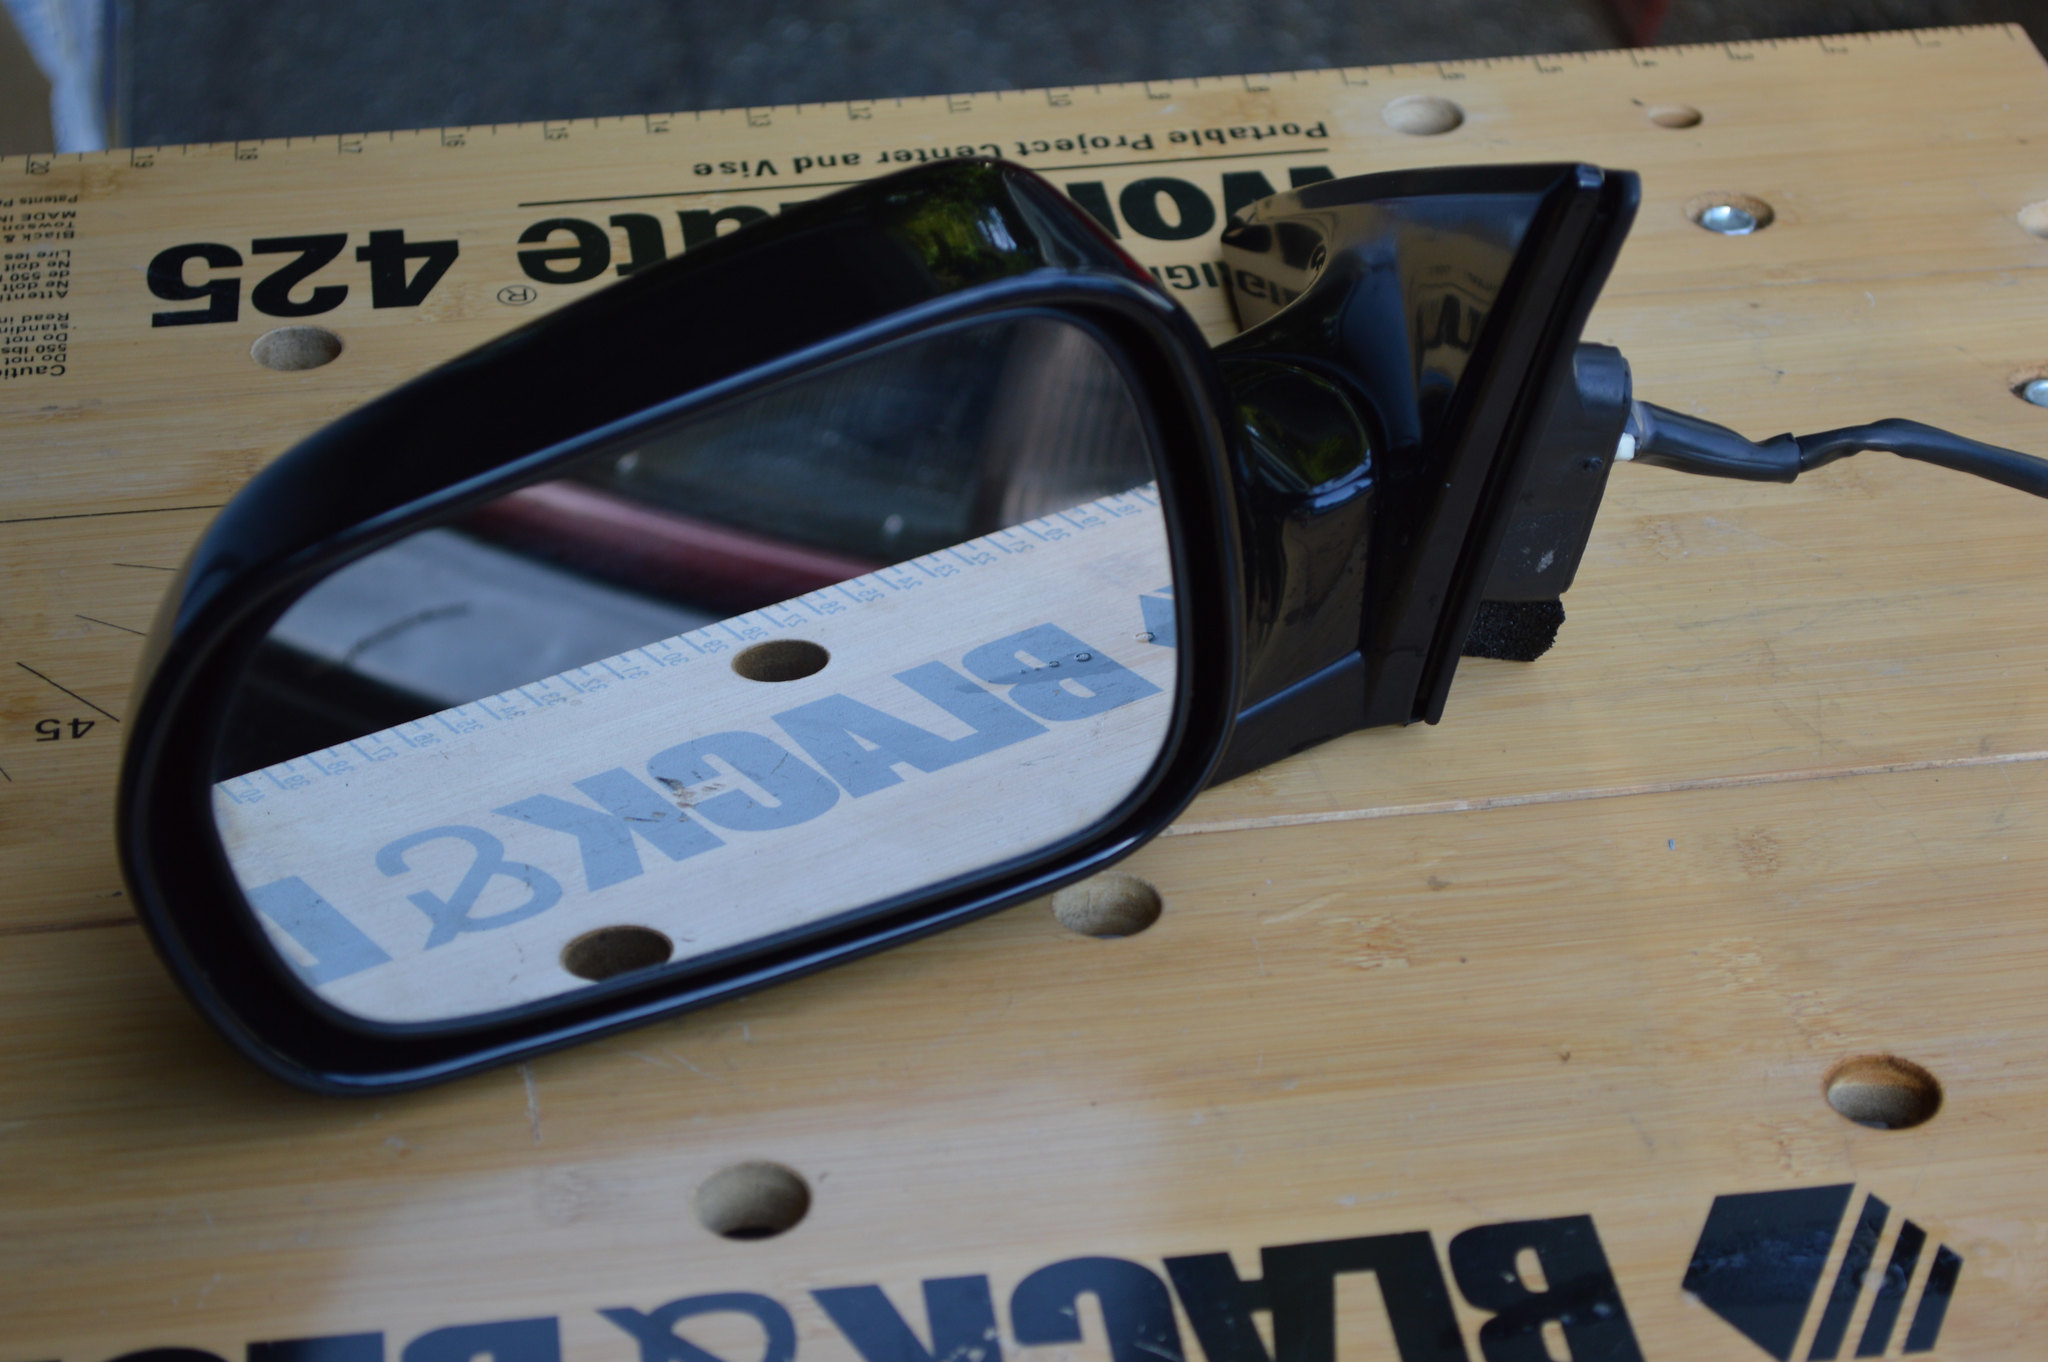
48541534487_cad8104d8c_k.jpg


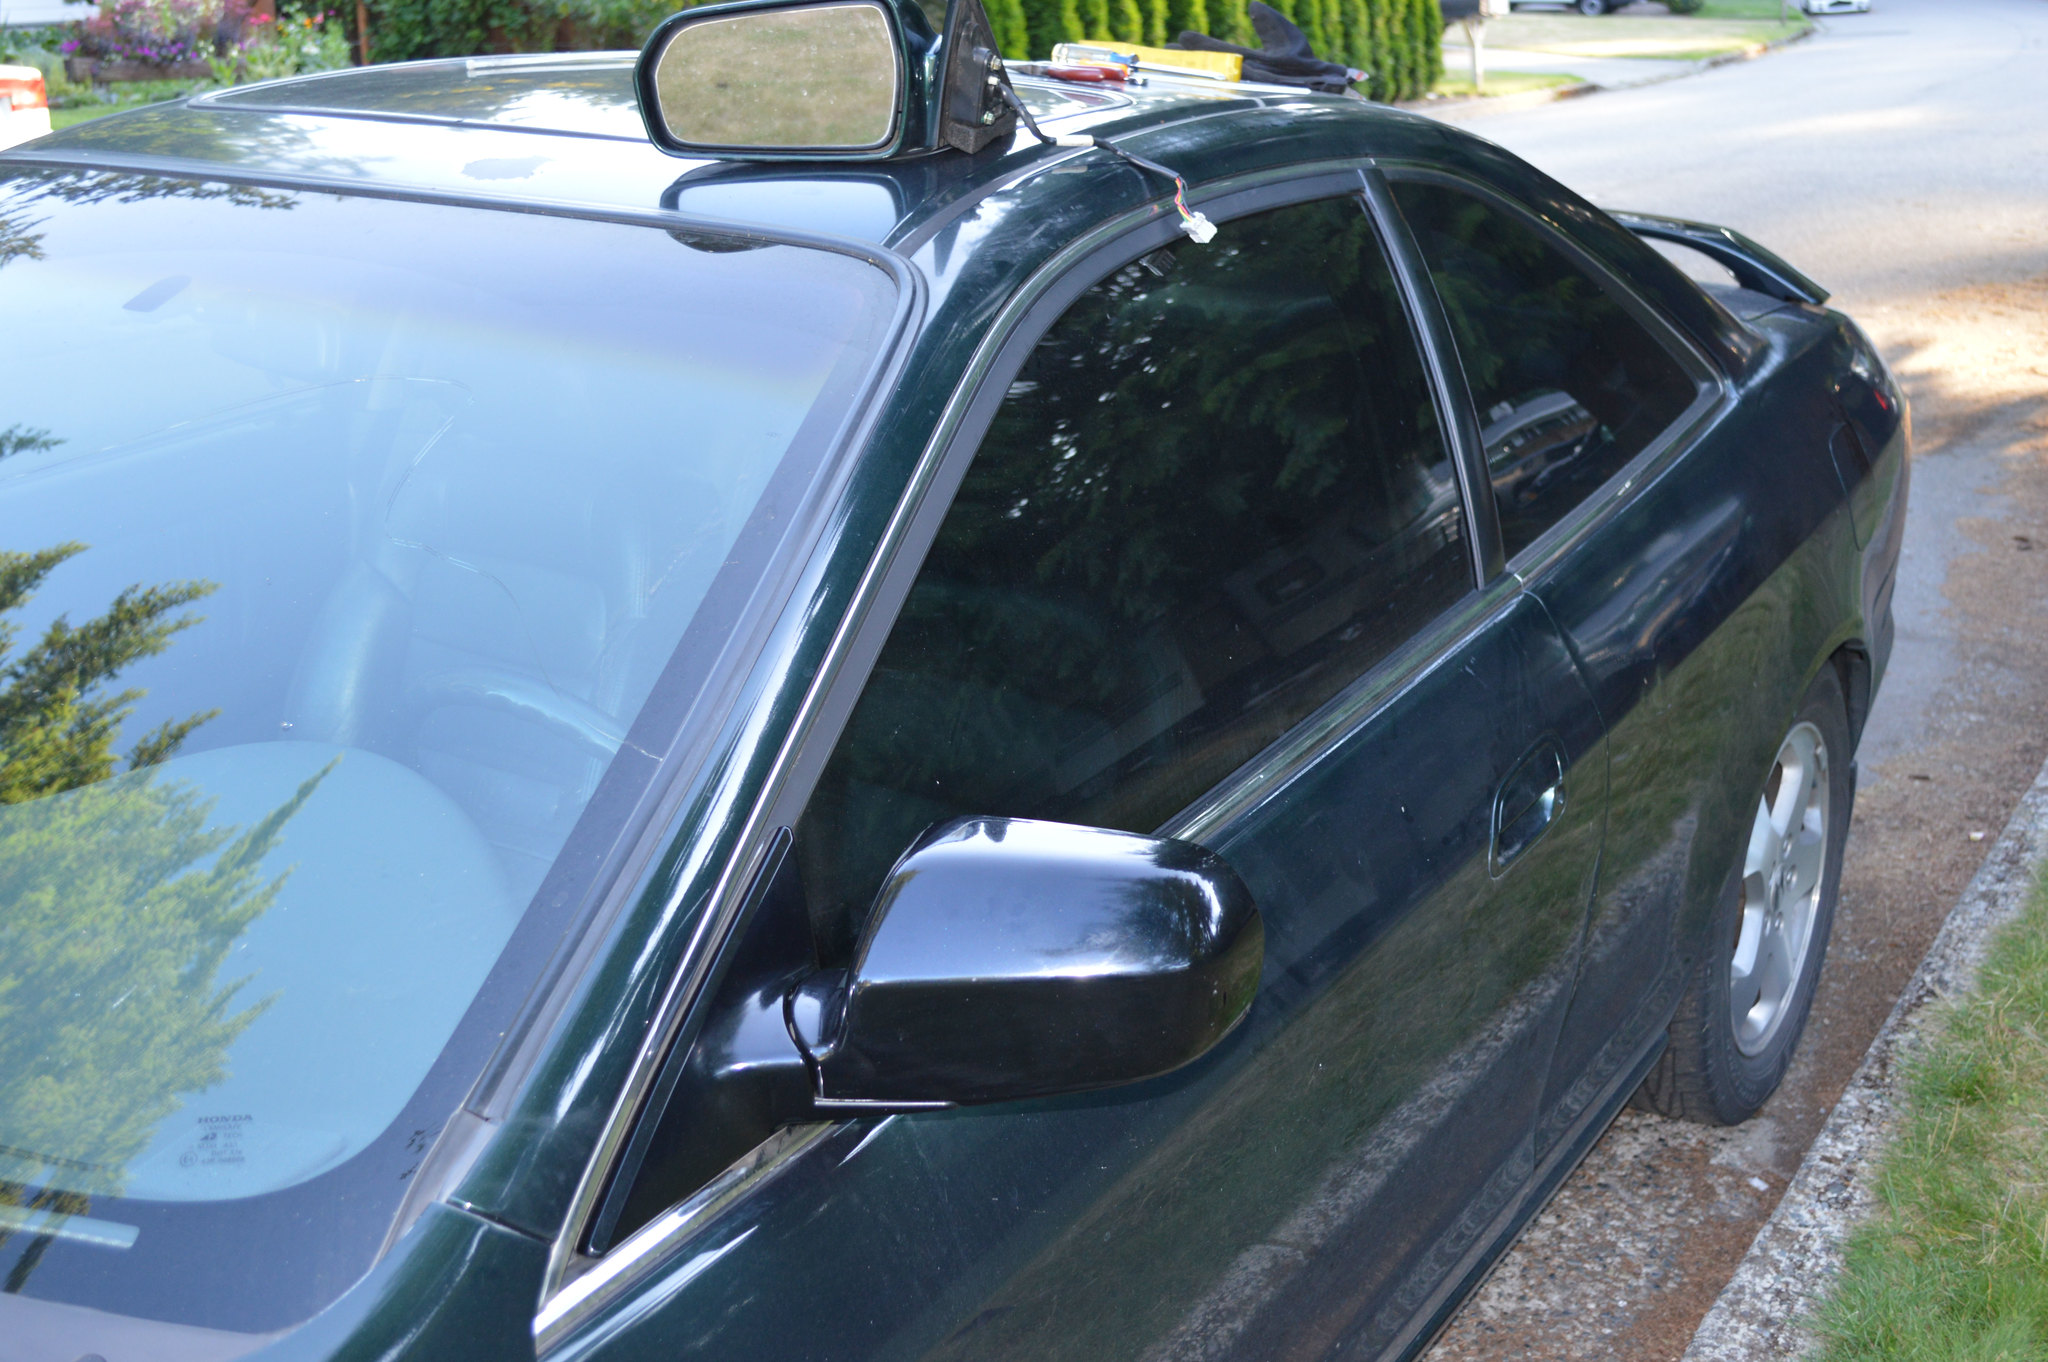
The non-folding coupe mirrors take a completely different mirror glass, so when my original passenger side one got damaged, I had to get creative in getting my heated mirrors functional again. Hopefully this helps some of you, as I did not find any information out there that this could be done. I piloted this with the passenger side mirror, the write-up is using the drivers mirror only.
 
Last edited:

RedRyder

Save the manuals
Joined
Sep 5, 2008
Posts
19,517
Reaction score
118
Location
Fawking, OH
Great DIY, thanks for contributing! Btw you can use 1999-2002 Honda Accord Coupe Mirrors, since the manual folding feature was added in 1999. I think there are pinout diagrams here somewhere for the door harness, I did some custom mirrors along with member FNCONE and I think the diagrams were probably posted in our discussion somewhere. If I find that I'll add it here.

A big annoyance having a USDM Accord is trying to fish the heat signal wires through the rubber door tube and trying to get a hand on them through the dash. At least that is what I was trying to do so I could splice them into the rear defrost switch.

Anyway, added to DIY Master list, thanks again. :thumbsup:
 

dbruskla

Member
Joined
Dec 8, 2014
Posts
18
Reaction score
1
Location
Washington
Thank you! Yeah I know how much of a pain that is to pull wires through the rubber door tubes when I pulled my 14 gauge speaker wire through... I found it easiest to pull the boot loose from both the door and body side, use a very long zip tie (3 foot is what I had) to fish it through, keeping the door boot as straight as possible during this process. Definitely had to unbolt the door stopper though to get my hands in there. The zip tie was key to snaking it through the body and finding it in the dash, especially on the passenger side.

Interesting, I updated the original post with the 1999 model year coupe mirrors, did not know that! When I get a chance, I will take a look at my door harnesses for the pinouts for the Canadian models as well to add to this thread.
 
Last edited:
Back
Top