1NonlyAccord
Well-Known Member
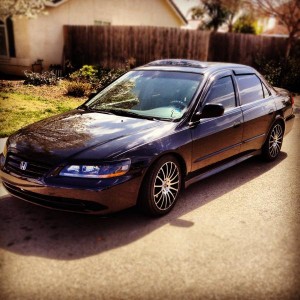
Goal was to keep this retro as clean and OEM plug and play as possible..I think I have managed it.This is a DIY mainly for Bi-Xenon function.
Tools Needed:
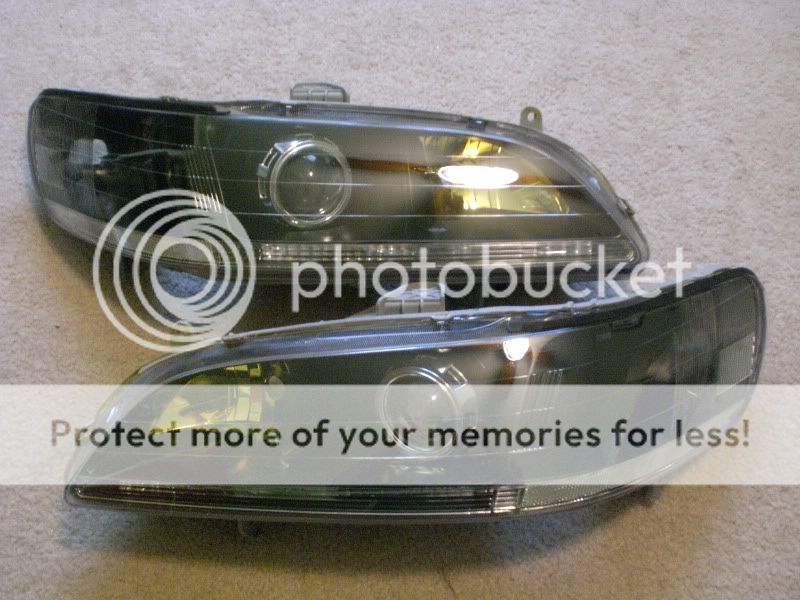
Morimoto Retrofit headlights(with Bi-Xenon harness)
Old set of 9005 bulbs
dremal/cut off wheel
Wire strippers
JB weld
4-Female connectors or "D-Sub" connectors found at Radioshack
Electrical tape
test light
Difficulty:8-Takes time,Precision and creativity with electrical know how.

1)Grab old set of 9005 Bulbs:
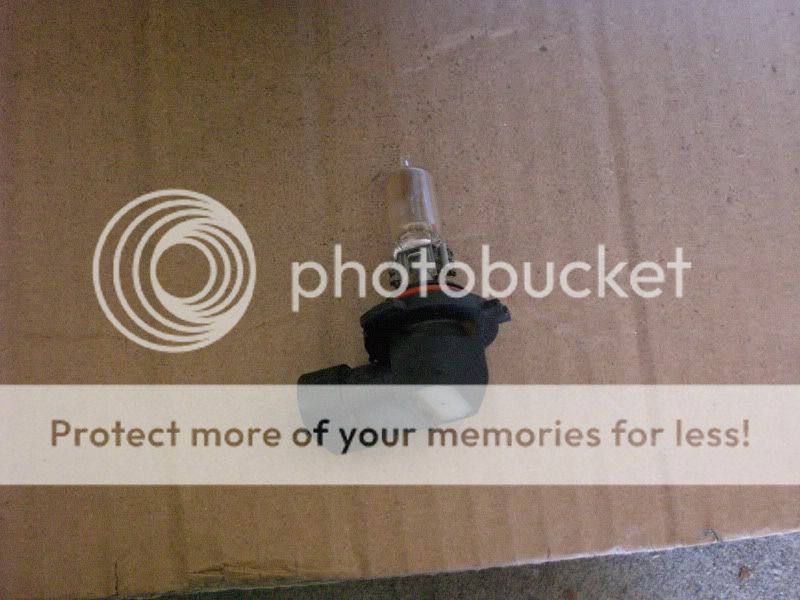
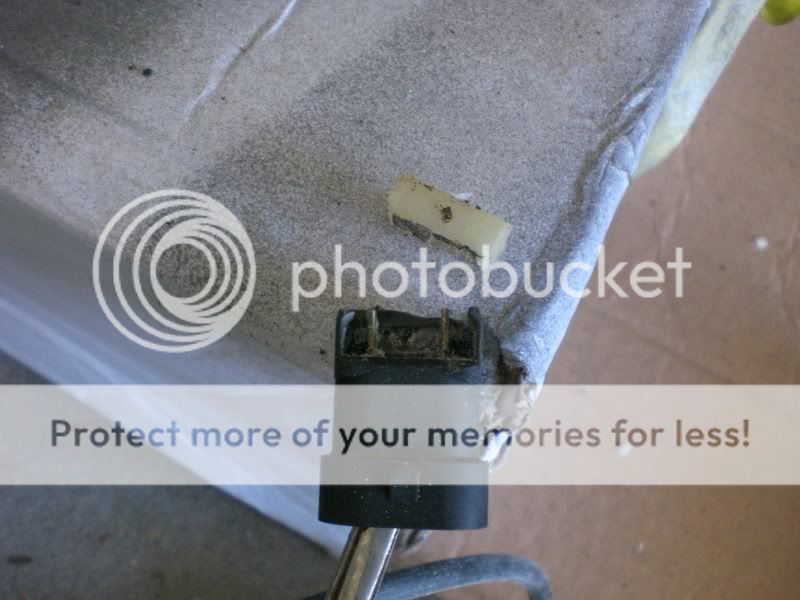
2)Cut the Bulb/glass part off using cutoff wheel:
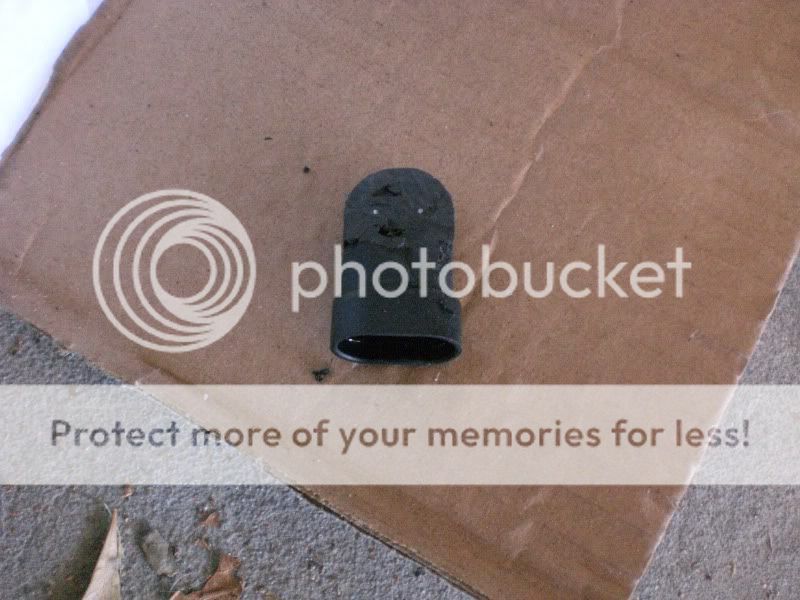
3)Cut once again along top the "white" area of the bulb.pop off and set aside.Clean the silicone gunk out from in between the power posts.
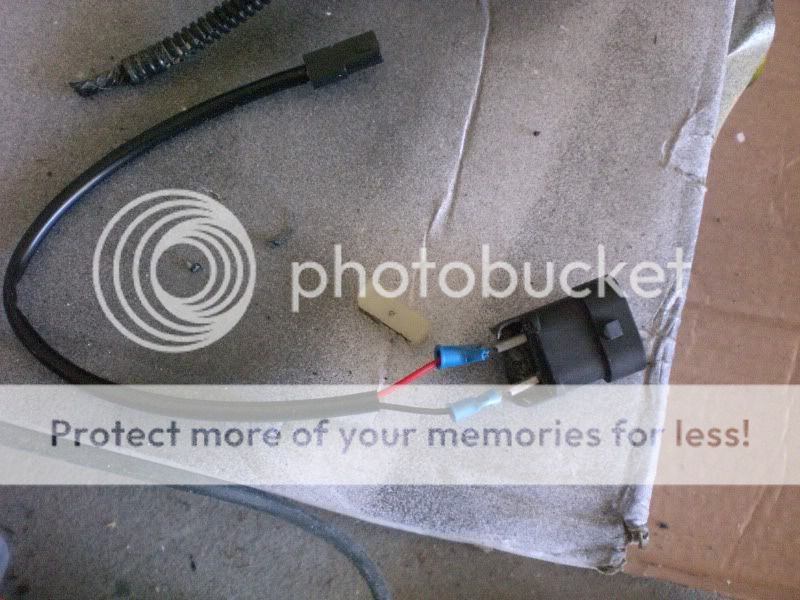
4)get your femal connectors(can use D-Sub connectors for ease,But i didnt want to take a trip to radioshack)
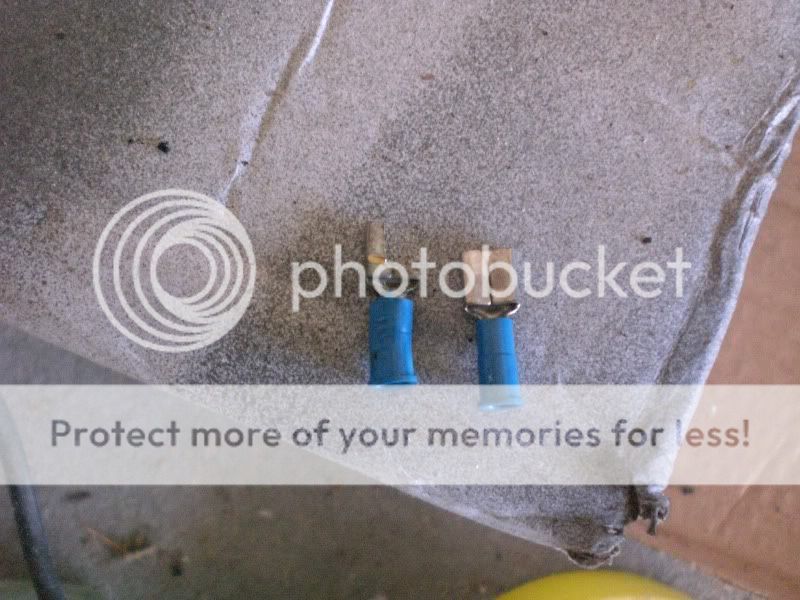
5)Using the picture above,Cut half of the connector off as shown ^.
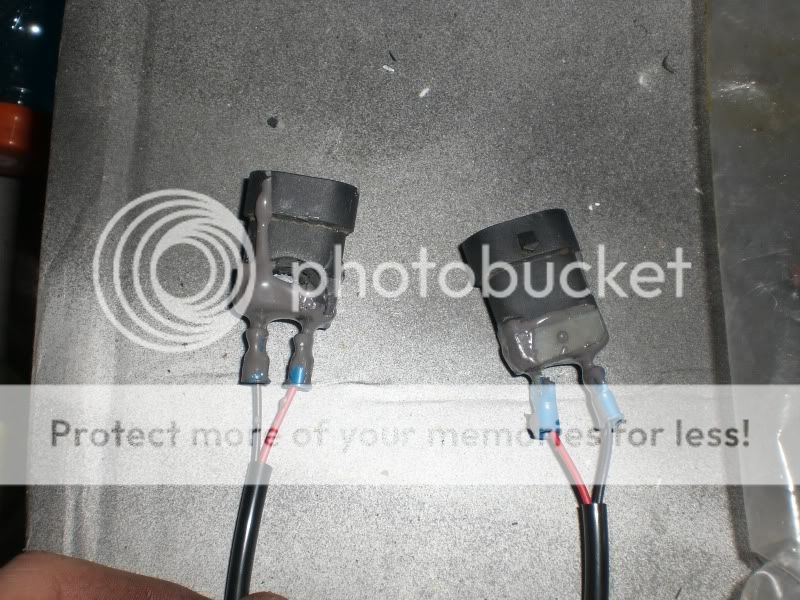
6)slide the connectors onto the posts in the bulb plug.
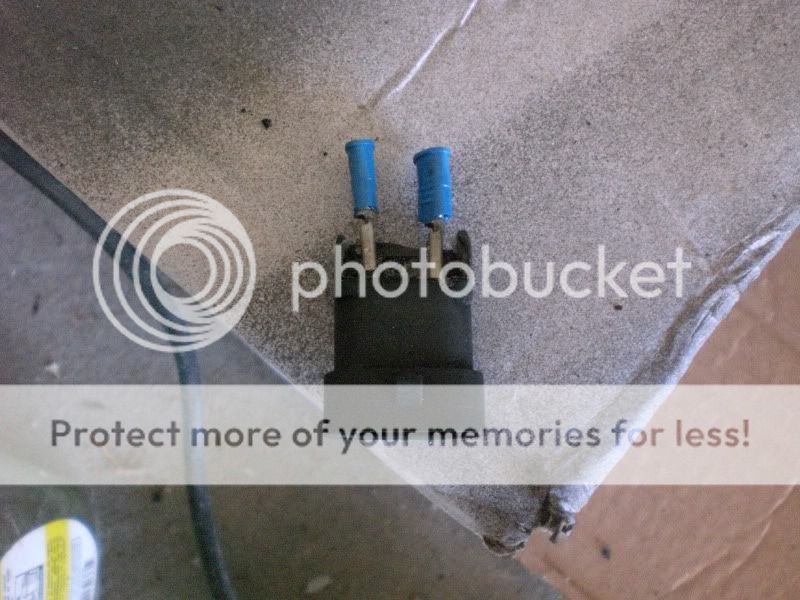
7)Unplug factory high beam and plug this into its place,Turn on the highbeam and use a test light to determine the postive/negative post.
8)once determined the power situation,crimp the Bi-Xenon harness into it matching positive/negative corresponding previous step.
9)mix up some jb weld and put inbetween the posts,then pop that white clip back into place(not needed,but looks nice) and let it dry.
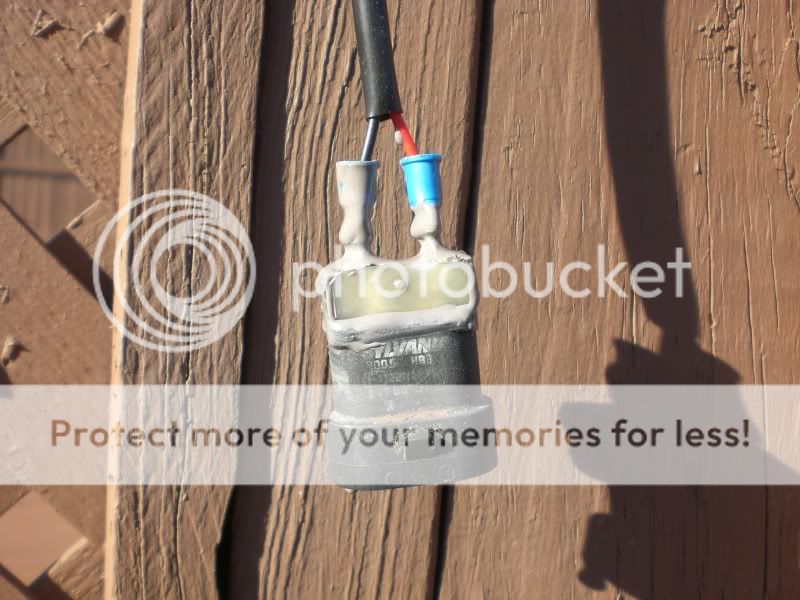
10)all dry:
11)Make it look OEM so wrap some electrical tape over the plug:
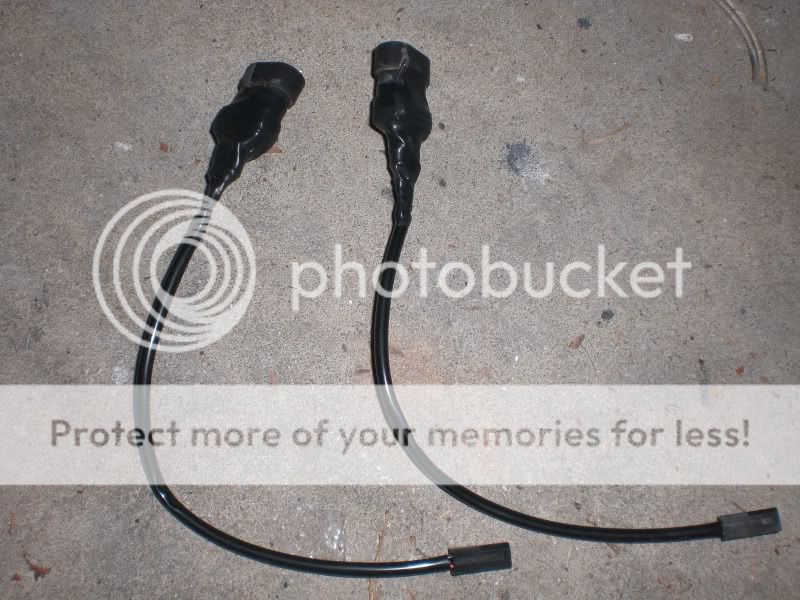
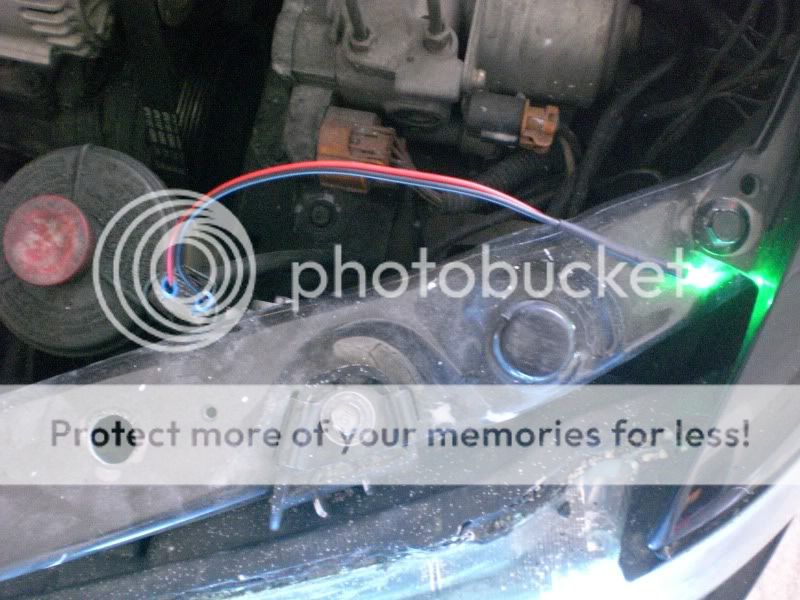
12)plug into factory Highbeam socket and the Bi-Xenon socket from the projector.
Congrats,You now have a factory looking Bi-Xenon retrofit headlight assembly's,pretty close to plug and play.
Results:


High beam on-(Cant notice alot due to the street lamps)

lowbeam with my DRL/Fog mod:


Tools Needed:
Morimoto Retrofit headlights(with Bi-Xenon harness)
Old set of 9005 bulbs
dremal/cut off wheel
Wire strippers
JB weld
4-Female connectors or "D-Sub" connectors found at Radioshack
Electrical tape
test light
Difficulty:8-Takes time,Precision and creativity with electrical know how.
1)Grab old set of 9005 Bulbs:
2)Cut the Bulb/glass part off using cutoff wheel:
3)Cut once again along top the "white" area of the bulb.pop off and set aside.Clean the silicone gunk out from in between the power posts.
4)get your femal connectors(can use D-Sub connectors for ease,But i didnt want to take a trip to radioshack)
5)Using the picture above,Cut half of the connector off as shown ^.
6)slide the connectors onto the posts in the bulb plug.
7)Unplug factory high beam and plug this into its place,Turn on the highbeam and use a test light to determine the postive/negative post.
8)once determined the power situation,crimp the Bi-Xenon harness into it matching positive/negative corresponding previous step.
9)mix up some jb weld and put inbetween the posts,then pop that white clip back into place(not needed,but looks nice) and let it dry.
10)all dry:
11)Make it look OEM so wrap some electrical tape over the plug:
12)plug into factory Highbeam socket and the Bi-Xenon socket from the projector.
Congrats,You now have a factory looking Bi-Xenon retrofit headlight assembly's,pretty close to plug and play.
Results:
High beam on-(Cant notice alot due to the street lamps)
lowbeam with my DRL/Fog mod:
Last edited: