"Big Three / Grounding Kit" - Improving your electrical grounds

bagoon316

Well-Known Member
Joined
May 27, 2011
Posts
284
Reaction score
1
Location
Orlando, FL
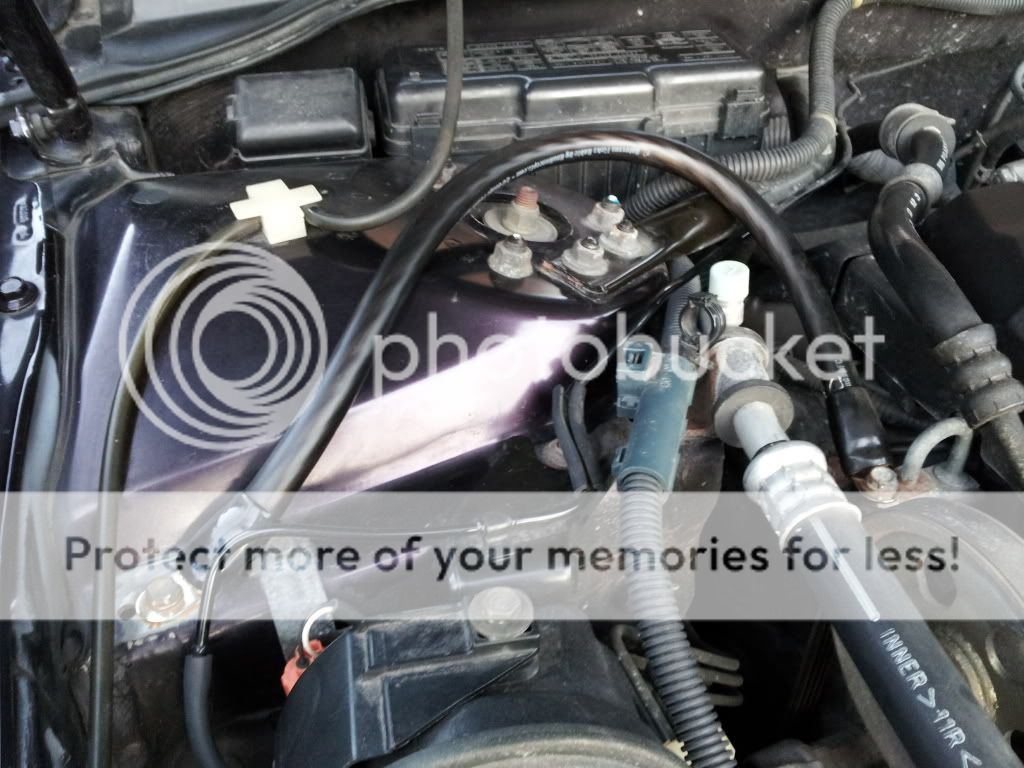
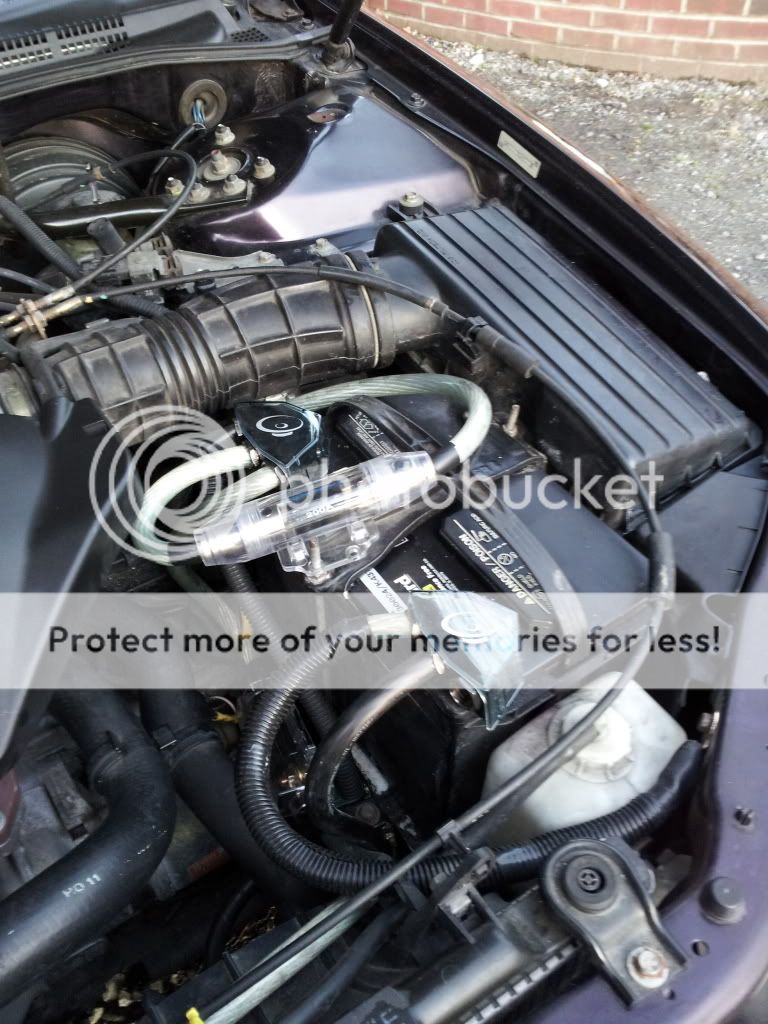
IIRC doesnt the alternator positive post run straight to the fuse box? then from battery to fuse box? I am almost positive thats the routing. so what is the point in upgrading the wire direct from alternator to battery with a fuse if you arent going to do the other 2? or 3 for that matter, since a wire also runs right to the starter off the battery? I guess i dont fully understand the point, unless like previously stated, you have a HO Alt and then its def required. all i see is that youre charging the battery from the same location in 2 diff directions, and if thats the case, you need to use the same size fuse thats in the fuse box.

can someone please provide me with input on this? only thing i can think of, when upgrading to a bigger wire, since the same amperage would be running through it, is that voltage drop would be reduced since the circ mils of the wire is larger.
 
Last edited:

Bax

Well-Known Member
Joined
Apr 26, 2010
Posts
3,422
Reaction score
18
Location
Ohio
Okay, since nobody wants to make a detailed set of pictures for the v6 model, I took matters into my own hands. It's not rocket science, but it is very frustrating for there to be no references as to where to bolt on new ground wires. So I hope this will help somebody. I used black (for keeping the oem look, i think the colored wires look tacky) 1/0 gauge wire.

And Wildman if you want to add my pictures to the OP as a reference to the V6 models, I would be thrilled. :D

Okay on to pics.

Okay I bought the terminals linked in the OP (I bought the ground AND positive terminal, but only put on the ground for right now. It was too hot outside for my give a **** to work.) Here is a picture of the new terminal and the ground wire.
0806111249.jpg

another angle.
0806111249a.jpg

As you can see here, i only upgraded the wire that goes to the frame of the car. I might upgrade that wire later, but at the moment, I really didn't care.
0806111254.jpg


Okay so this is a picture of the OLD ground wire from the engine.
0806111259.jpg

and this is the new one.
0806111337.jpg

0806111337a.jpg

0806111323.jpg


(pics on how i made above wire) Got to use my new clamp. :)
I honestly do not know how some of you guys got that terminal on there securely (if it even IS on there securely) without a clamp. I tried numerous sets of pliers, and i just couldn't do much. and i'm not a weak guy. So I highly recommend using a clamp like this if you have opportunity to use one. It made it 100 times easier to attach the terminal.
0806111304.jpg

Heat shrink tubing added of course.
0806111309.jpg

Final product:
0806111320.jpg


Feel free to pass out the reps ;)
:peace:
 
Last edited:

JV6

Well-Known Member
Joined
Jul 29, 2007
Posts
509
Reaction score
2
Location
Vancouver BC
I just completed upgrading everything to 1/0 gauge, car runs like a champ! Thanks for the DIY

1z4a83b.jpg
 

Mikey

Well-Known Member
Joined
Jul 24, 2010
Posts
3,362
Reaction score
28
Location
Middle America
I hate that you have to use a big fuse like that. Looks tacky IMO. And of course, there's no other way of doing it.

Bax, thanks for the pics. +1

I can probably round up wire, if not pre-made cables from somewhere Im sure, and do 2 of the 3 on my next day off.
 
Back
Top