

deucescorner
Well-Known Member
Sucks about the bulb and wiring problems.. I'm sure I'll run into wiring difficulties with mine as well.
About the gap, please post a picture of it. Maybe I can help you fix it...
thanks man, i'll post pics tomorow morning i gotta get up early to go looking for switches, the right light bulb and sealant for my headlight.
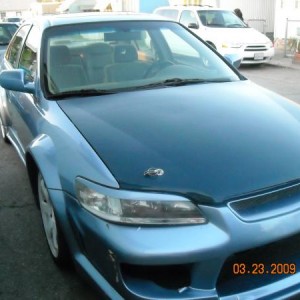
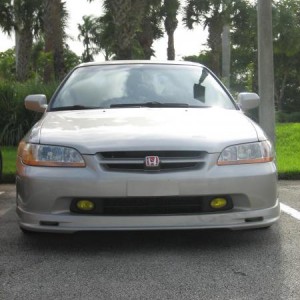
i just saw some pics of your car, it's looking noice, hopefully you can help me get my fogs to look as flush as yours, looks like a professional job
Last edited:

")
 let me know.