

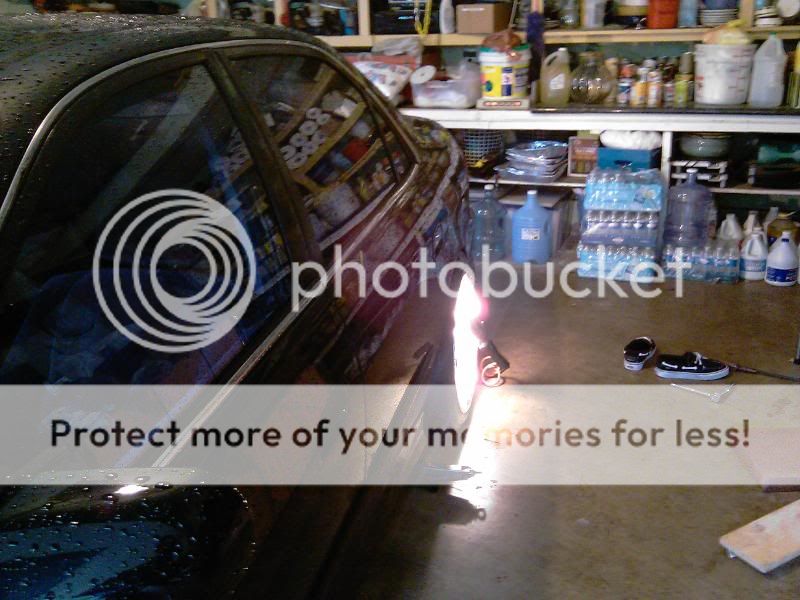
So I recently got new wheels, as most of you know, I also had the fenders rolled, but neglected the fact that I needed to relocate my bumper tab (the part that holds the bumper to the fender) and guess what.. SCRAAAAAAAAPE it was the most annoying sound ever ..
REMINDER: ALWAYS WEAR EYE PROTECTION WHEN GRINDING OR DRILLING. AND KEEP YOUR MOUTH CLOSED TOO!
I am not responsible for anything that happens to you, or your vehicle when you attempt this DIY. I have made this DIY according to how I did it, and it came out fine. In other words, if you mess up, it's all on you.
Estimated Time: It took me a total of 2 hours with a bunch of breaks in between cuz I got sidetracked and whatnot
Difficulty: 4/10
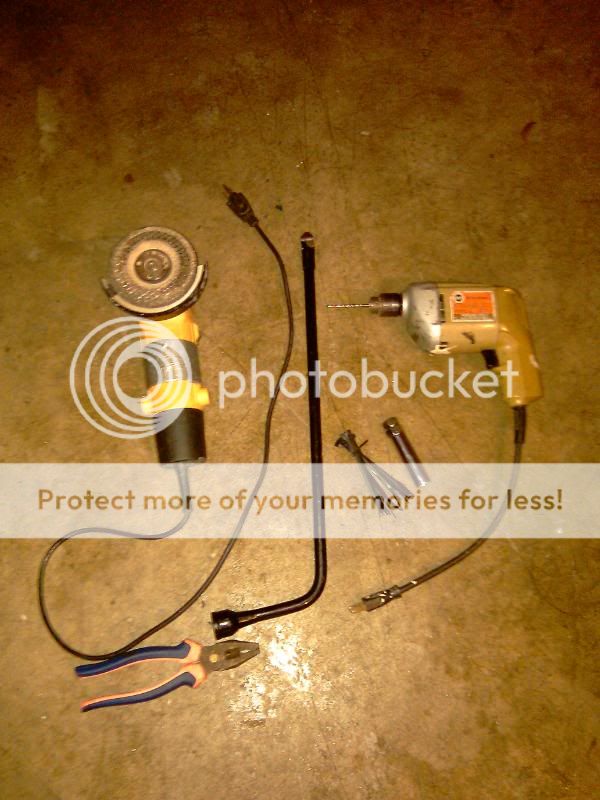
Tools Required:
-Angle Grinder
-Drill
-Pliers
-Screw Driver
-Screws/Zip Ties
-Tire Iron or 19mm socket
-Floor Jack
1) If you haven't already, you're going to need to locate exactly where your tires are rubbing/scraping on the bumper/bumper tab. To do this, you can take a piece of tape, preferably blue/yellow/or any bright color, stick it around the wheel well and take a drive. When the tire rubs, it'll make a mark on the piece of tape where it rubbed. I don't have pics of this because my paint is fresh, and it was rubbing off the clearcoat/paint so I knew exactly what was rubbing =/

2) So apparently, you're going to need to take off your wheel in order to get to the bumper tab. Use the tire iron/19mm socket and loosen your lug nuts. Then use your floor jack and lift up the car via the jacking point, or from the rear.
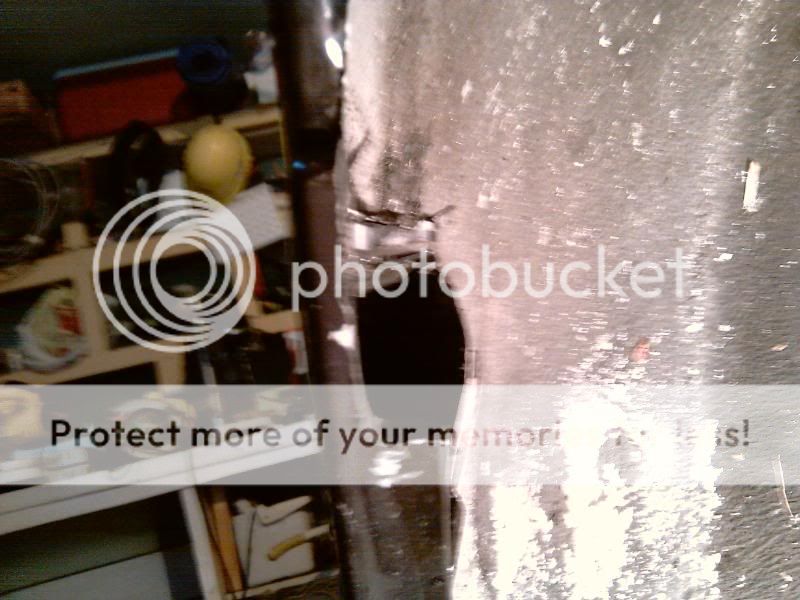
3) Once you have the wheel off, check and see where exactly it was rubbing from.
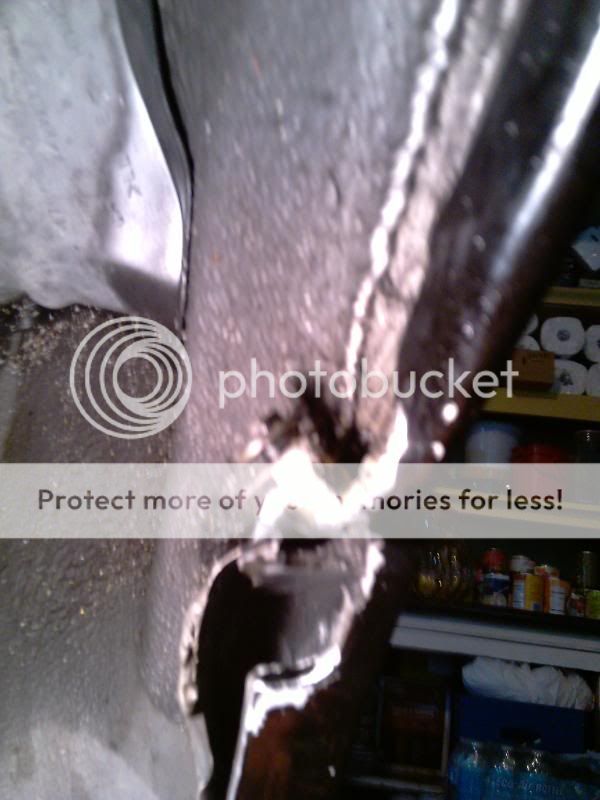
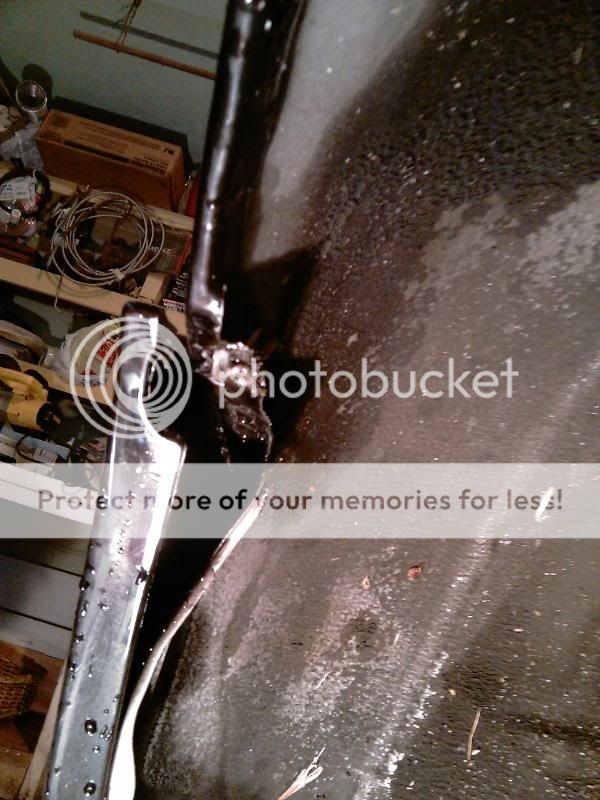
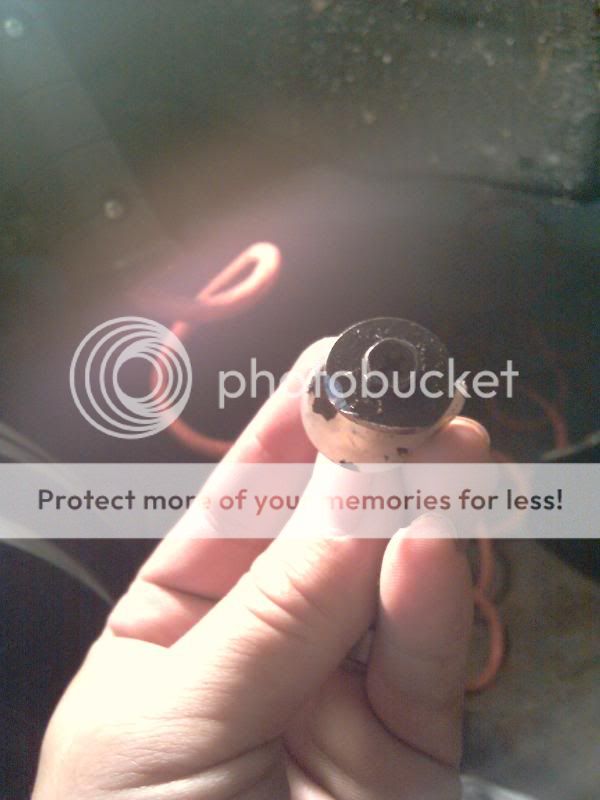
3.1) If yours is still on there, like mine, unscrew the screw that use to hold the bumper to the fender, and once you have the screw out, yank that plastic holder out of there.
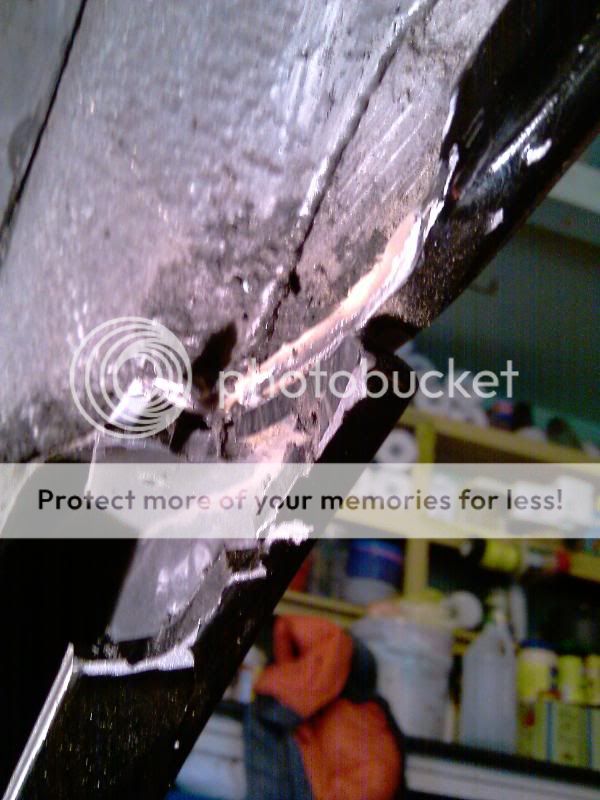
4) If your tires are rubbing on part of your bumper, use the angle grinder and slowly grind away pieces of the bumper that it's rubbing on. Remember not to put too much pressure, or leave it on there for too long. You do not want to heat up the paint on the bumper.REMINDER: ALWAYS WEAR EYE PROTECTION WHEN GRINDING OR DRILLING. AND KEEP YOUR MOUTH CLOSED TOO!
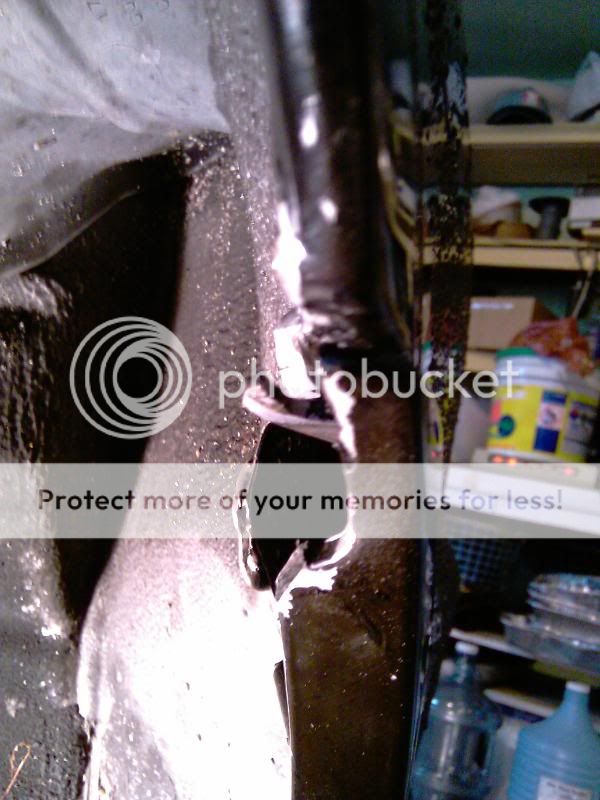


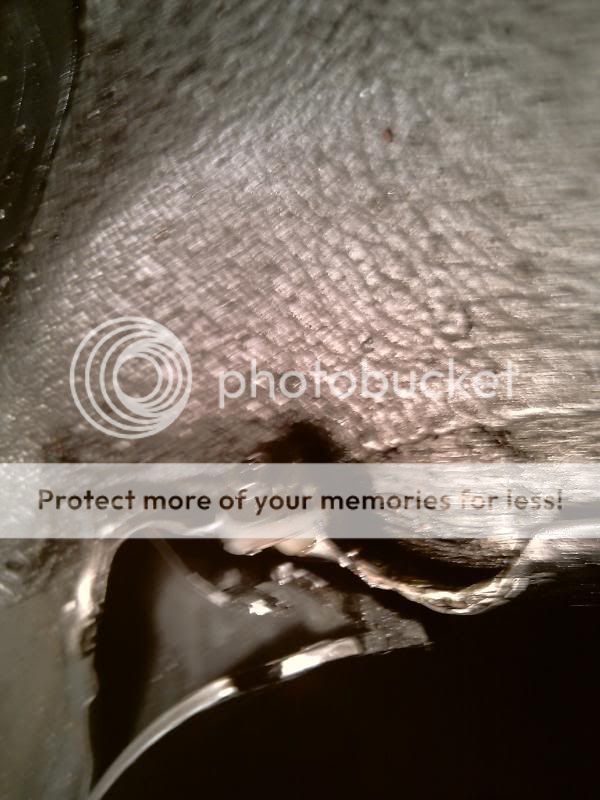
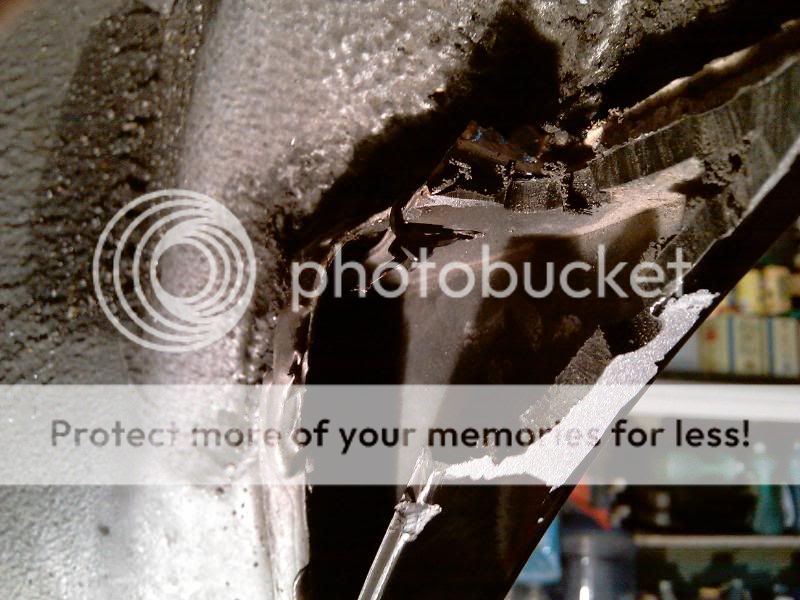
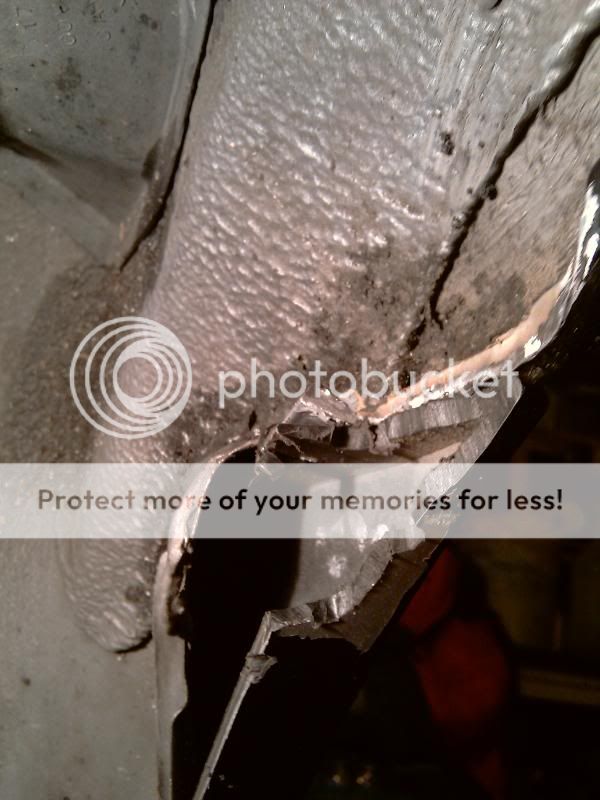
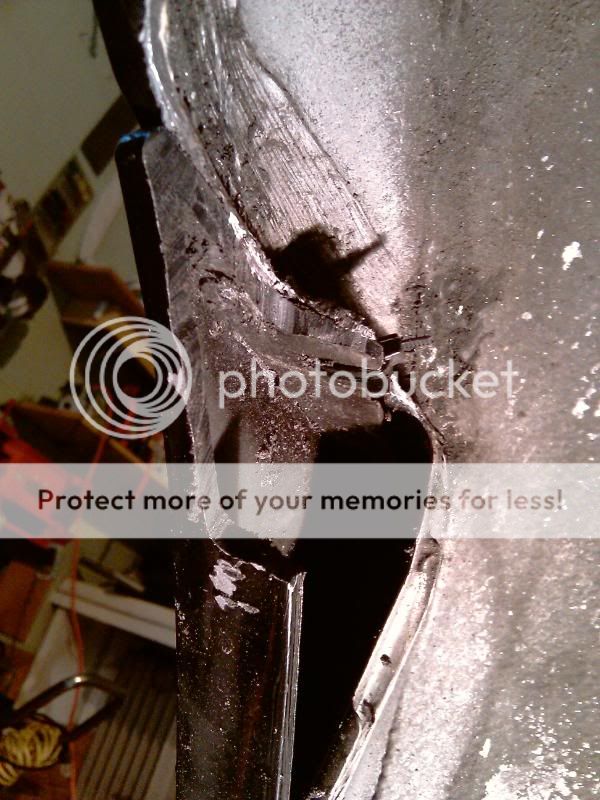
5) Next, you're going to need to use the angle grinder again, but this time you're going to have to grind off the actual metal bumper tab, the one that's on the fender that holds down the bumper to the fender. REMINDER: ALWAYS WEAR EYE PROTECTION WHEN GRINDING OR DRILLING. AND KEEP YOUR MOUTH CLOSED TOO!
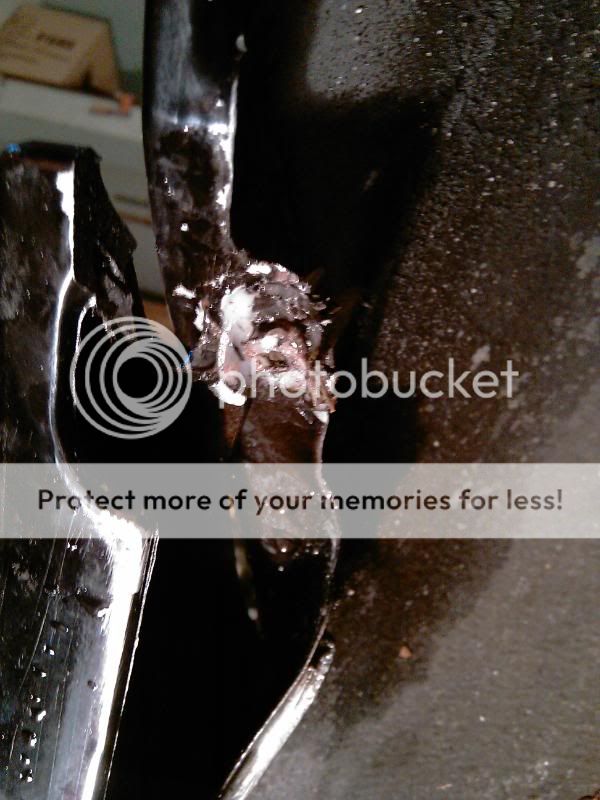
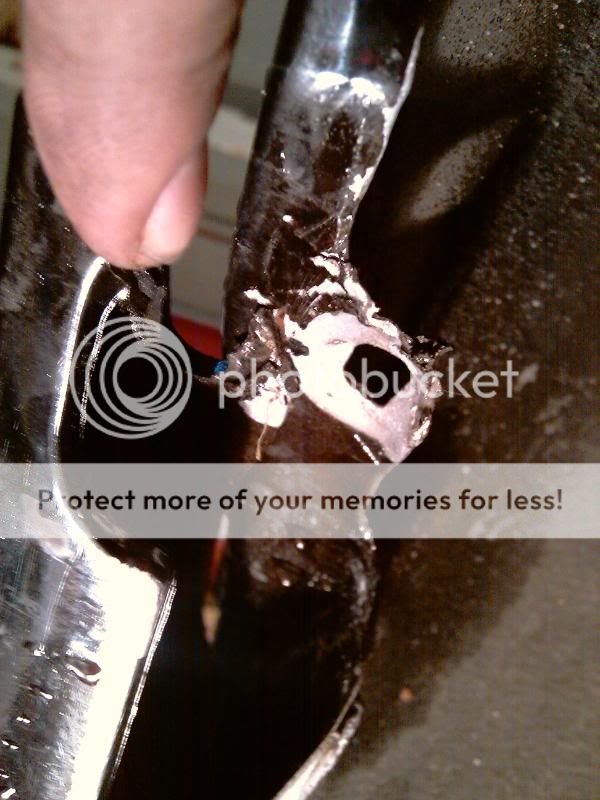
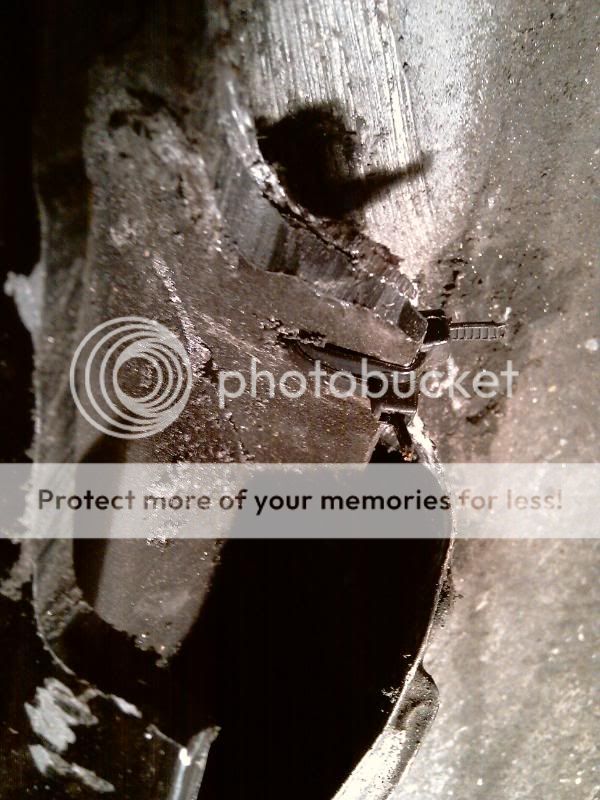
6) Once you've ground away the bumper tab, drill a hole (the hole size is up to you and what screw you want to use) about half an inch away from where the old screw use to be. Keep in mind, that while you're drilling, place your hand firmly on the outside of the bumper, and fender in order to keep the bumper and fender FLUSH with each other, so as you're drilling the hole, it will come out straight, and the bumper will be flush with the fender.REMINDER: ALWAYS WEAR EYE PROTECTION WHEN GRINDING OR DRILLING. AND KEEP YOUR MOUTH CLOSED TOO!
(Look for the red circle.)

7) Once you've got your hole, put on your screw through the new hole you've just drilled, and it's optional, but before you put on the screw, you can put one of those spikey thingies that go on before the screw that holds the screw in place... Dunno what they're called exactly. But once you have the screw in, put a locking nut on the other side and tighten them both up tight. (In my case, I didn't have any screws or locking nuts so I opted with Zip Ties for now.)
8) After you're done, put your wheel back on, take your car off the jack, and start on the other side When you're done with both sides, take your car out for a test drive to make sure that there is no more rubbing.
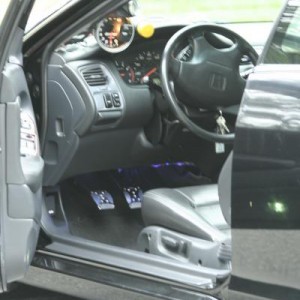
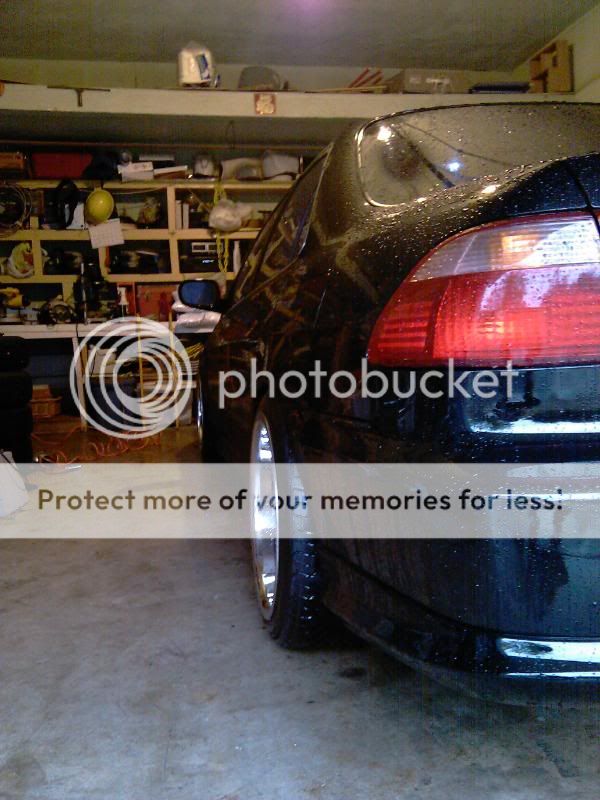
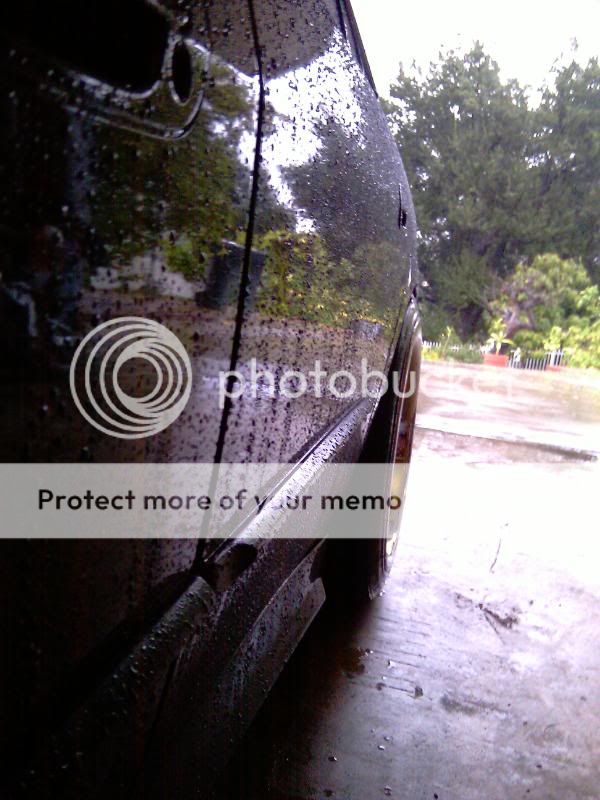
Here's some wouldbe pr0n for you guys.
REMINDER: ALWAYS WEAR EYE PROTECTION WHEN GRINDING OR DRILLING. AND KEEP YOUR MOUTH CLOSED TOO!
I am not responsible for anything that happens to you, or your vehicle when you attempt this DIY. I have made this DIY according to how I did it, and it came out fine. In other words, if you mess up, it's all on you.
Estimated Time: It took me a total of 2 hours with a bunch of breaks in between cuz I got sidetracked and whatnot
Difficulty: 4/10
Tools Required:
-Angle Grinder
-Drill
-Pliers
-Screw Driver
-Screws/Zip Ties
-Tire Iron or 19mm socket
-Floor Jack
1) If you haven't already, you're going to need to locate exactly where your tires are rubbing/scraping on the bumper/bumper tab. To do this, you can take a piece of tape, preferably blue/yellow/or any bright color, stick it around the wheel well and take a drive. When the tire rubs, it'll make a mark on the piece of tape where it rubbed. I don't have pics of this because my paint is fresh, and it was rubbing off the clearcoat/paint so I knew exactly what was rubbing =/
2) So apparently, you're going to need to take off your wheel in order to get to the bumper tab. Use the tire iron/19mm socket and loosen your lug nuts. Then use your floor jack and lift up the car via the jacking point, or from the rear.
3) Once you have the wheel off, check and see where exactly it was rubbing from.
3.1) If yours is still on there, like mine, unscrew the screw that use to hold the bumper to the fender, and once you have the screw out, yank that plastic holder out of there.
4) If your tires are rubbing on part of your bumper, use the angle grinder and slowly grind away pieces of the bumper that it's rubbing on. Remember not to put too much pressure, or leave it on there for too long. You do not want to heat up the paint on the bumper.REMINDER: ALWAYS WEAR EYE PROTECTION WHEN GRINDING OR DRILLING. AND KEEP YOUR MOUTH CLOSED TOO!
5) Next, you're going to need to use the angle grinder again, but this time you're going to have to grind off the actual metal bumper tab, the one that's on the fender that holds down the bumper to the fender. REMINDER: ALWAYS WEAR EYE PROTECTION WHEN GRINDING OR DRILLING. AND KEEP YOUR MOUTH CLOSED TOO!
6) Once you've ground away the bumper tab, drill a hole (the hole size is up to you and what screw you want to use) about half an inch away from where the old screw use to be. Keep in mind, that while you're drilling, place your hand firmly on the outside of the bumper, and fender in order to keep the bumper and fender FLUSH with each other, so as you're drilling the hole, it will come out straight, and the bumper will be flush with the fender.REMINDER: ALWAYS WEAR EYE PROTECTION WHEN GRINDING OR DRILLING. AND KEEP YOUR MOUTH CLOSED TOO!
(Look for the red circle.)
7) Once you've got your hole, put on your screw through the new hole you've just drilled, and it's optional, but before you put on the screw, you can put one of those spikey thingies that go on before the screw that holds the screw in place... Dunno what they're called exactly. But once you have the screw in, put a locking nut on the other side and tighten them both up tight. (In my case, I didn't have any screws or locking nuts so I opted with Zip Ties for now.)
8) After you're done, put your wheel back on, take your car off the jack, and start on the other side
When you're done with both sides, take your car out for a test drive to make sure that there is no more rubbing.Here's some wouldbe pr0n for you guys.
Last edited: