

LeBirdNest
Titleist
This is done on a 98 EX 6cyl Sedan. This is a direct hard-wire kit that i bought from PepBoys. It has a positive terminal (for power) a negative terminal (to ground) and a negative ground and positive power cable for the light inside. I spliced the two grounds (light and voltmeter) wires together as well as the two power cables together just for simplicity. OK. So what you need is some wire strippers or scissors, your voltmeter, a phillips head screw driver and a flat head screw driver, electrical tape, and a drill if your mounting to the dash or elsewhere.
First things first. You must take off the panel covering your shifter. I used a flat head screw driver to pop it up. (it pops in and out of place). This is the location where i decided to pull from.
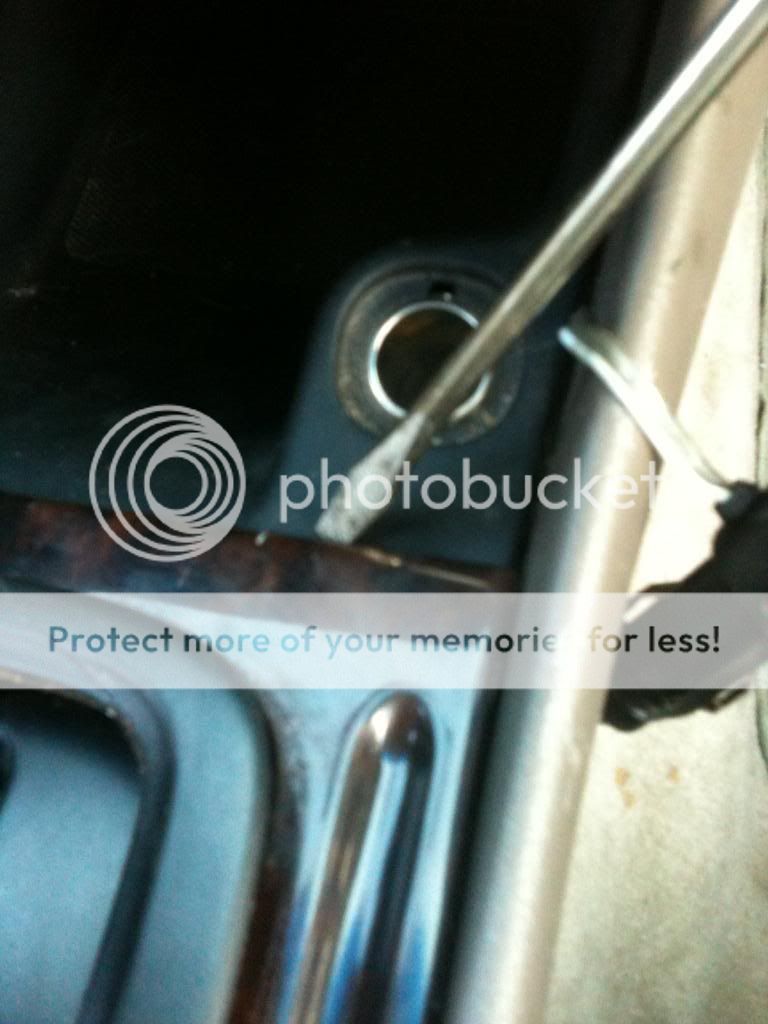
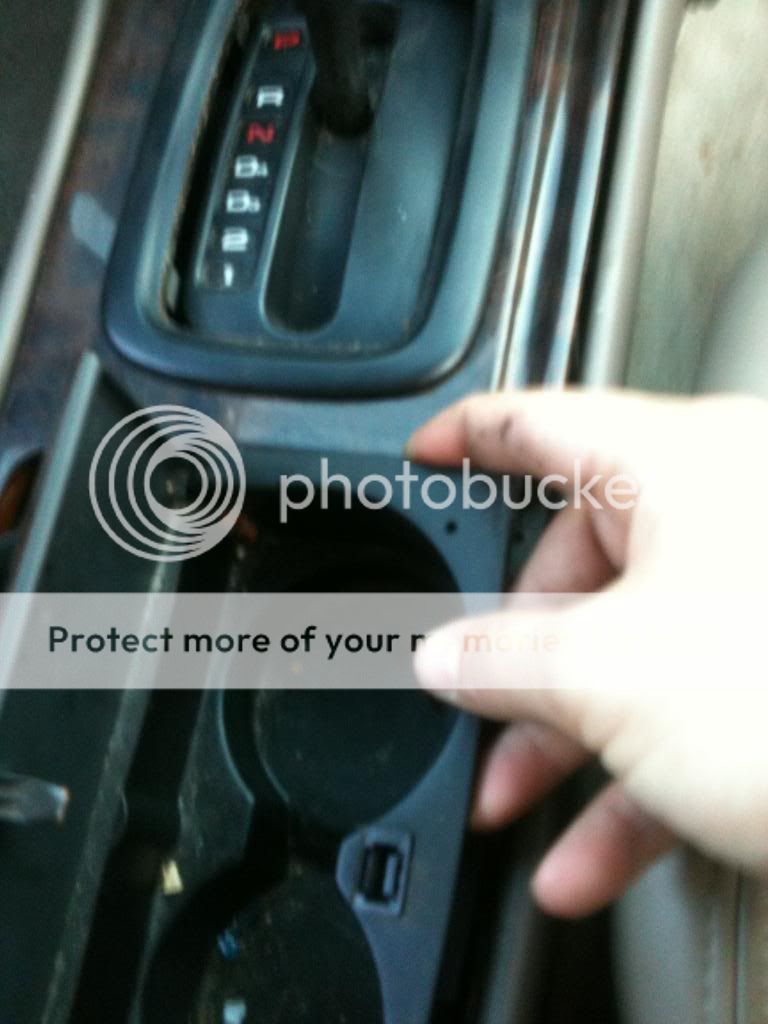
The cup holder is attached to this piece and it comes up with it. You might need to put your shifter in different gears to slid it up and over it. Parking brake up too.
Now, disconnect the negative terminal to your battery. You don't want to tap into any live wires and shock yourself.
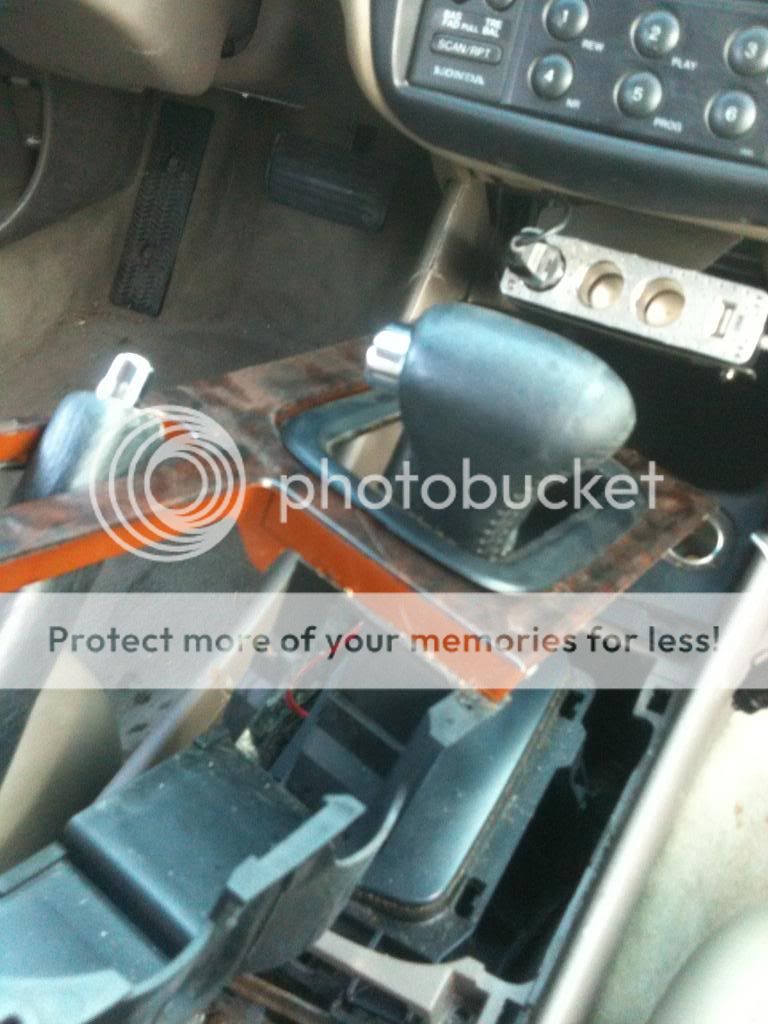
Next, you need to locate the two screws holding the cubby that houses the cigarette lighter port down. They are located directly underneath where you popped the shift panel out of.

Once you remove these two screws you can carefully pull the cubby out of its place not to pull to hard on the cigarette lighter wires.
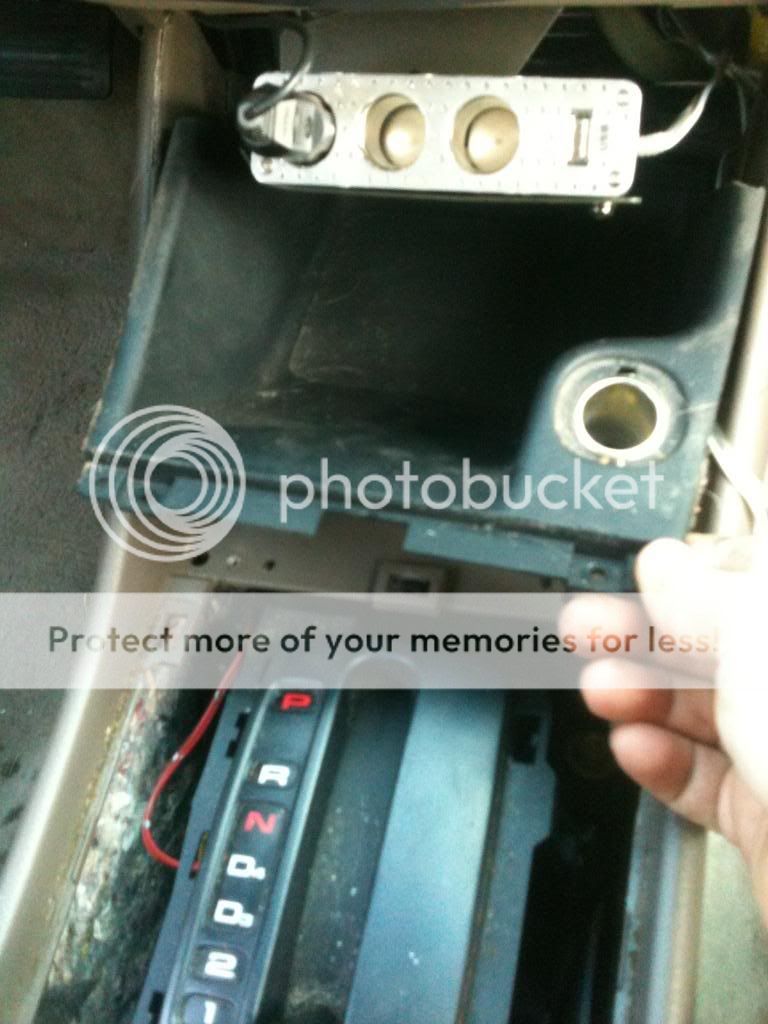
Once you have pulled the cubby out, hang it over into the passenger side floor bored. You will see two wires. One that is red/white and one that is black. The red/white one is your power. The black one is your ground.
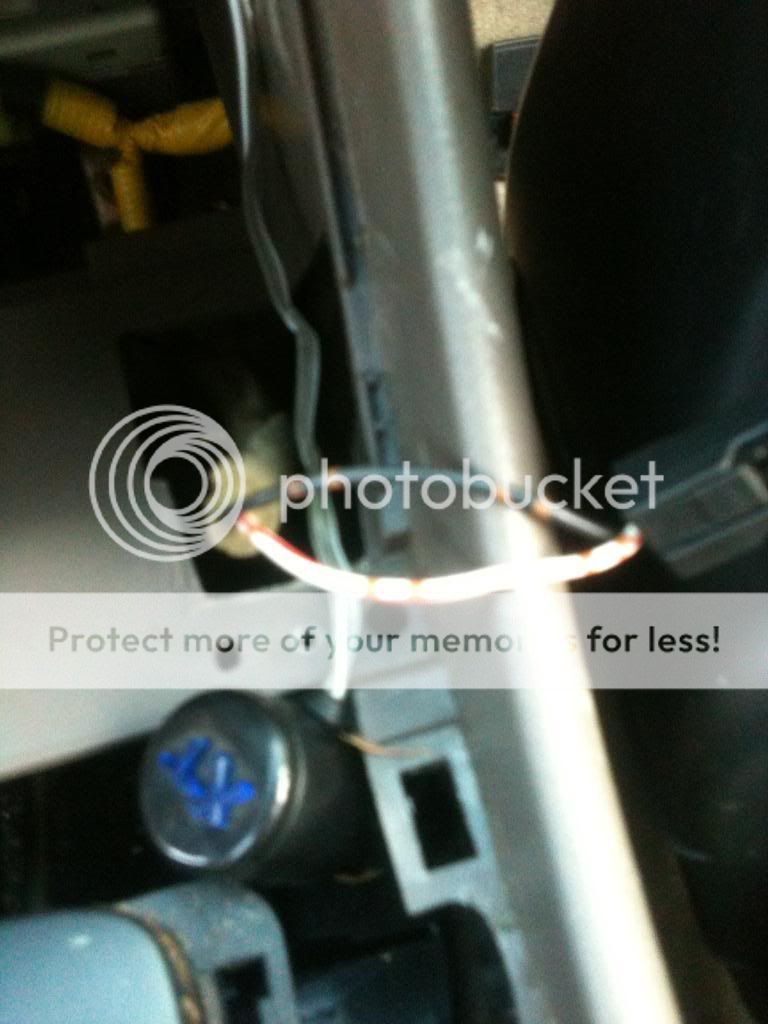
NOW*******double check you battery and make sure the negative terminal is disconnected. Once you've checked and made sure... you can now cut into the power wire (white/red), and strip about half and inch off to expose the copper wiring.
Now, this is what the back of MY voltmeter looks like.
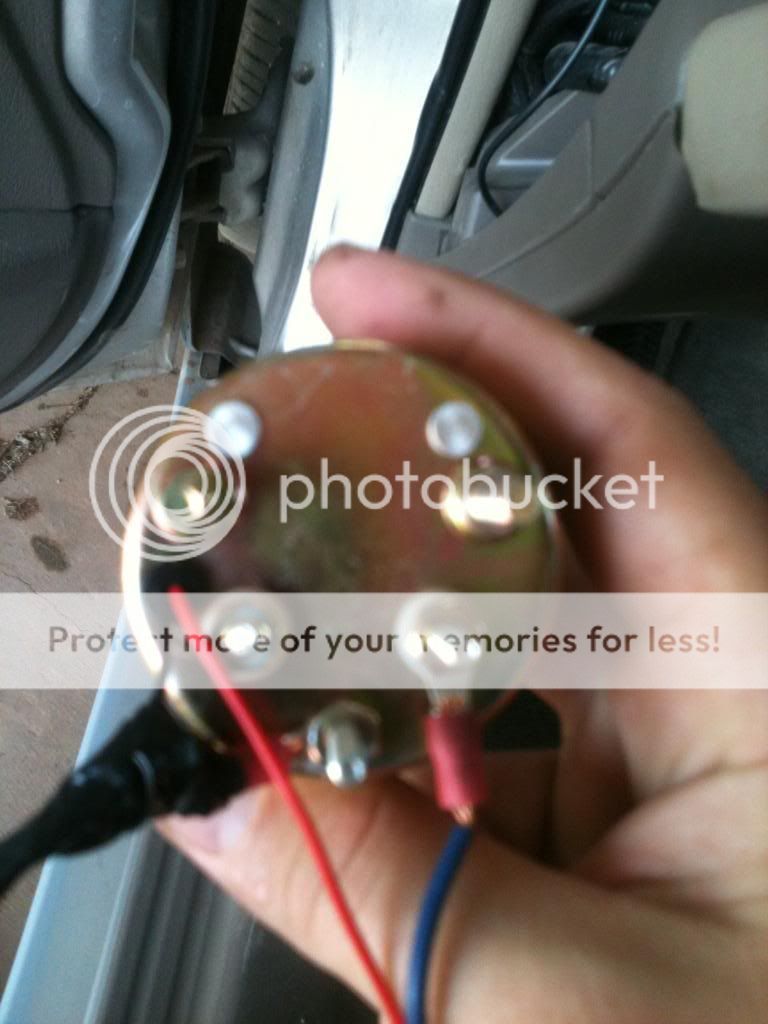
the plus sign is where you need to take some 18 gauge wire and attach it to it. Pick whichever way you want to attach your wire to it. I used 18 gauge ring terminals, but you can just wrap the wire around the gauge's terminals and tighten the bolts if you wish. just make sure you use electrical tape to cover up and insulate any exposed wires.
So, connect your 18 gauge wires to the positive and negative terminals of your Voltemeter and splice in your red and black wires of your voltmeter's light to eachother. Red to red and black to black... Yes, use black for your negative wire and red for your positive wire. its much less confusing that mine, which are both blue.
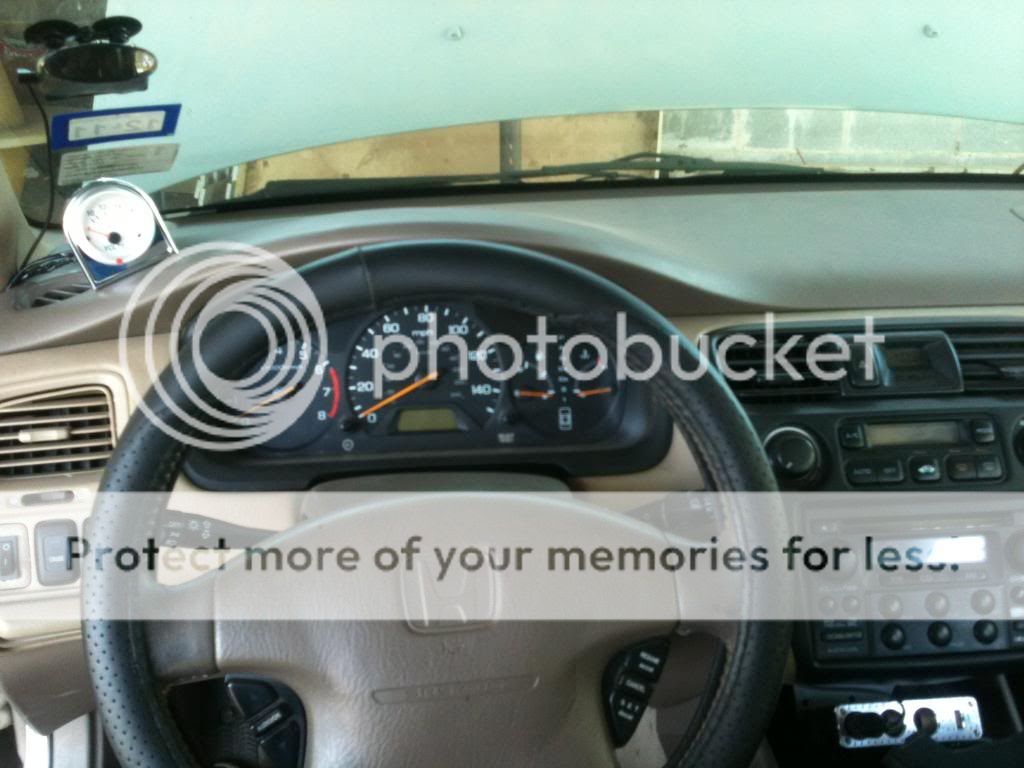
Now that you have your wiring connected to your voltmeter its time to find a place to mount it. I mounted mine on the left side of my dash. I like it. Don't hate.
Hers a close up...

I just used a drill to put two holes in my dash but once the voltmeter is on its okay. But if you ever want to take it off in the future id recomend buying a bezel for your existing gauge cluster... they have two gauge and one gauge bezels for like 30 bucks on ebay and they are all clean and looks flush.
Now that your voltmeters in place, find a route for the positive wire from your voltmeter to follow, to meet up with your cig lighter power wire. I just ran mine through up under the dash and pulled it through up under the center console cubby. Its really easy. heres a pic of where it runs.
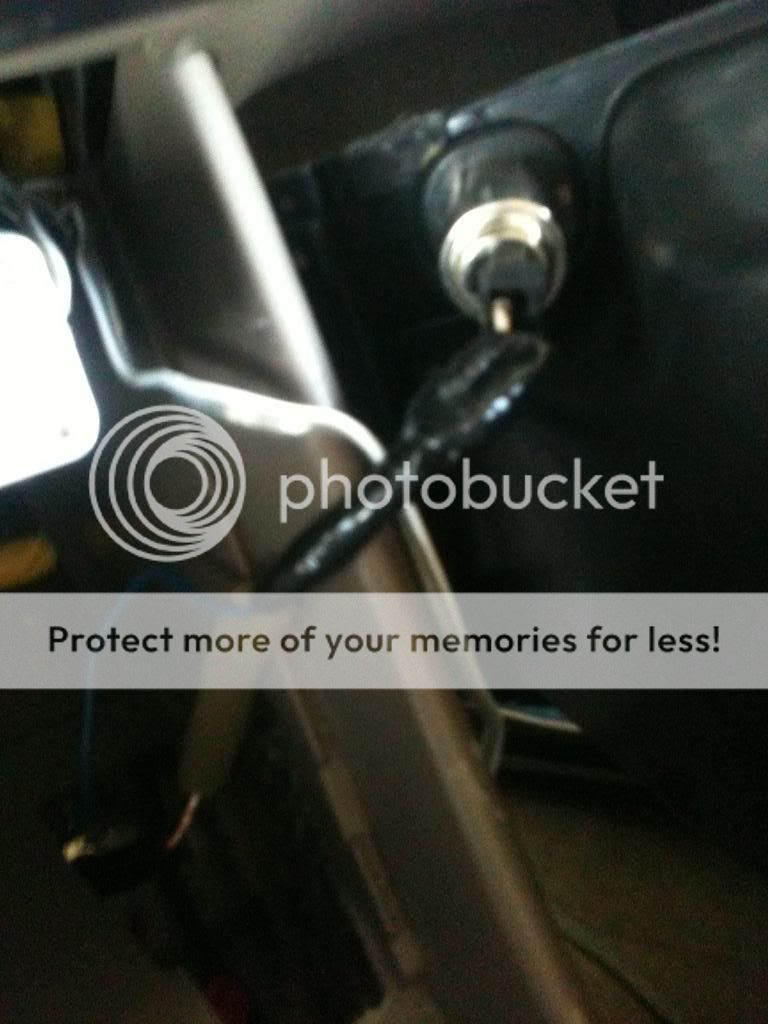
Now that the power wire is there.. just expose about a half inch from the Voltmeter power wire and twist it onto the cigarette lighter power wire. Once you have done that expose a little of the cigarette power wire that is attached to the actual lighter and twist the adjoined power wires back onto the cigarette lighter and cover with a fair amount of electrical tape for insulation. Hers the end look of it.
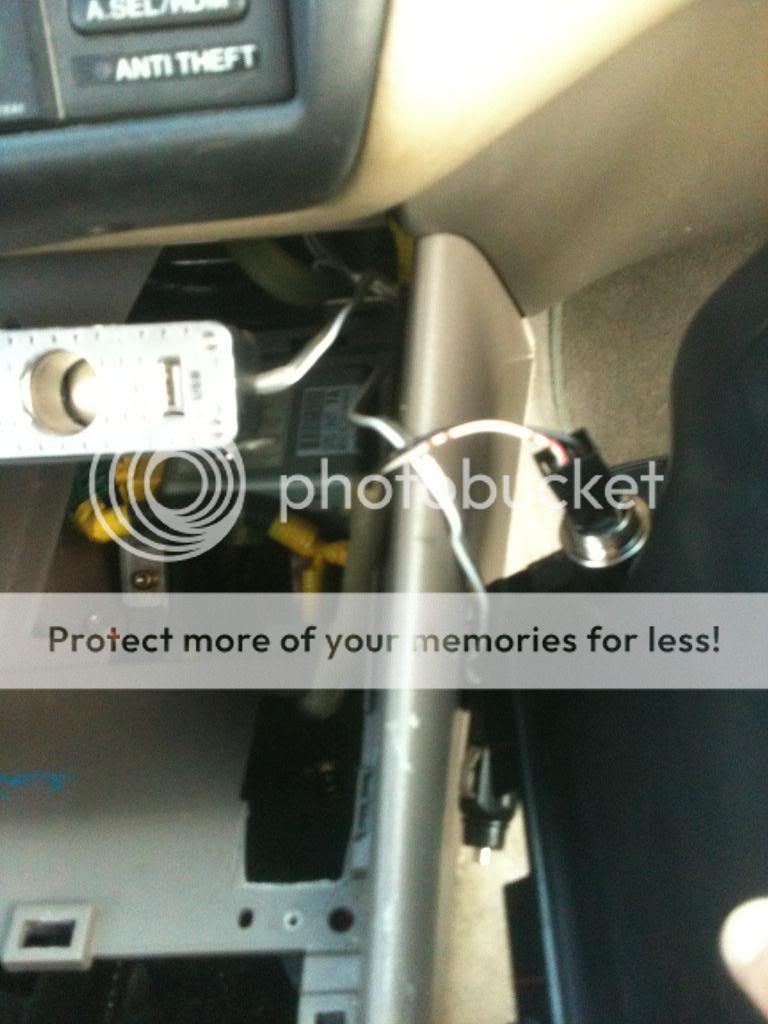
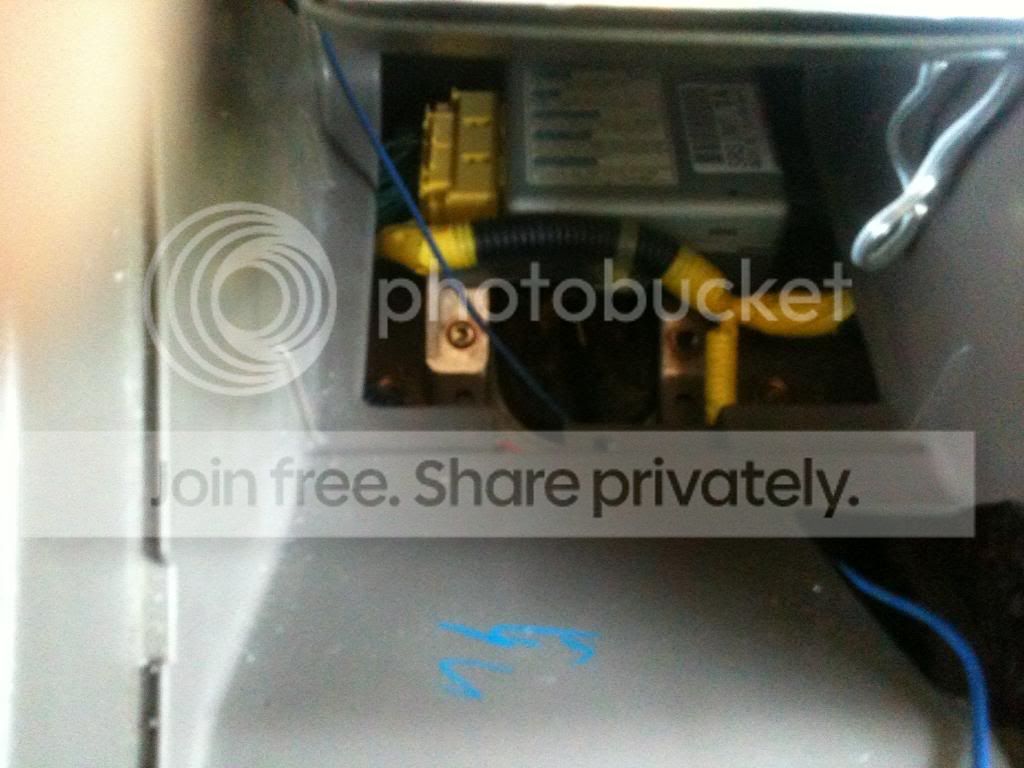
Now that the POWER is connected into the cigarette lighter you need to find an unpainted chassis bolt to connected your voltmeter's GROUND (- or negative) wire to.. this was simple as there was one located on the drivers side fusebox area.
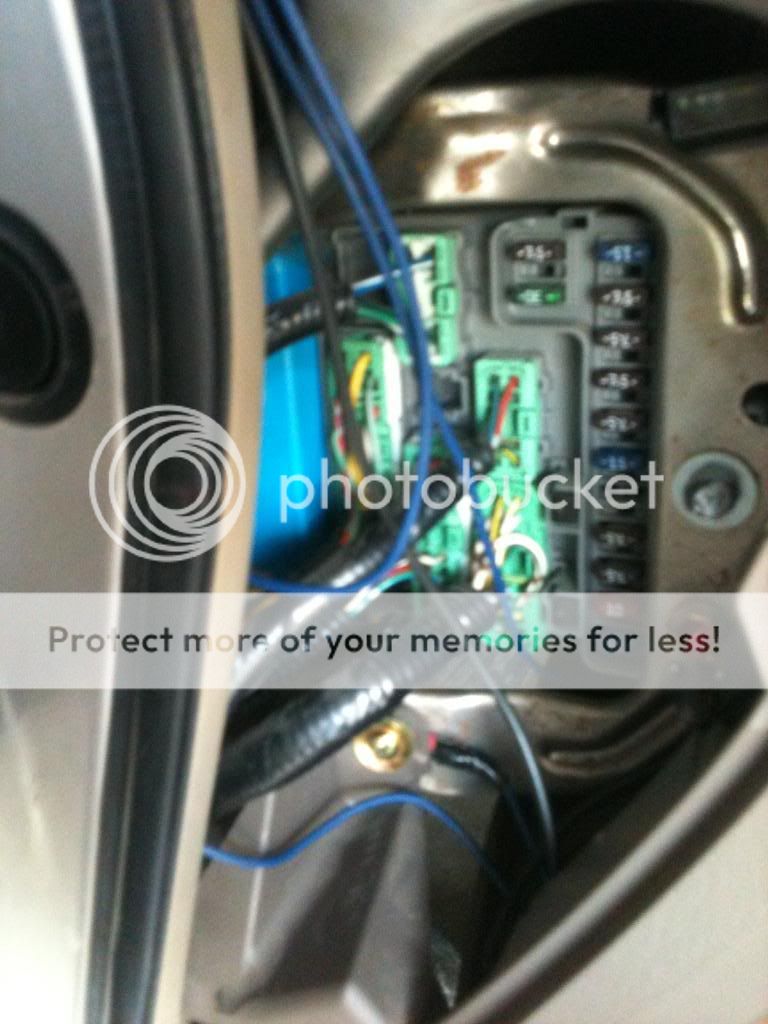
The gold bolt on the left. (not the one with red tip on the right), runs through the plastic piece also runs through unpainted metal on the chassis. So this is a good spot. Its concealed, its safe and theres also plastic insulating it when you get it bolted in. Just unscrew the bolt. Attach a ringed connector to your ground wire and then wedge it under the plastic piece aligning the holes and put your bolt back in. There... Ground. Done...
NOW. You have your power cable hooked to the cigarette lighters power source, and you've spliced the wire for your LED light in your voltmeter to that power cable running to the cigarette lighters power source cable so your light will work with your gauge meter. AND you have your ground cable running to that bolt on the chassis with your LED negative wire spliced into that wire as well ALLLL wrapped in electrical tape.. THERE SHOULD BE NO EXPOSED COPPER WIRES!!! You have MOUNTED your voltmeter on the dash or wherever you chose. You should now reconnect your battery before putting anything back in place to see if it works.
IF NOT: check your passenger side cig lighter/radio fuse to see if its blown. If your radio is not working after you put the code in, this is most likely the best option. If its blown replace with a 30a fuse instead of 20a just to handle the new addition a little better. If thats not the cause, then check your wiring. Its really quite simple. Red to red/white on your cig lighter. Black to ground on chassis. power to power, ground to metal.
IF YES: hell ya you gotta voltmeter and you can reinstall all your panels hiding all your wires up and your good to go. It might be wise of you to just go ahead and replace the 20a cig lighter/radio fuse on the passneger side fuse box with a 30a fuse anyways, just so you can be more comfortable. alright.
This is the end product of mine.

and at night.


Mine has the option for like 7 different colors by the push of a button. Currently rockin the green
Just remember, its easy. Mount your gauge, unhook battery, tap into power wire, splice into power wire, ground your ground wires, wrap your exposed wires in electrical tap, hide wires and clean up. Simple as that. GOOD LUCK, feel free to ask me any questions if you run into any stops. Thanks guys!
First things first. You must take off the panel covering your shifter. I used a flat head screw driver to pop it up. (it pops in and out of place). This is the location where i decided to pull from.
The cup holder is attached to this piece and it comes up with it. You might need to put your shifter in different gears to slid it up and over it. Parking brake up too.
Now, disconnect the negative terminal to your battery. You don't want to tap into any live wires and shock yourself.
Next, you need to locate the two screws holding the cubby that houses the cigarette lighter port down. They are located directly underneath where you popped the shift panel out of.
Once you remove these two screws you can carefully pull the cubby out of its place not to pull to hard on the cigarette lighter wires.
Once you have pulled the cubby out, hang it over into the passenger side floor bored. You will see two wires. One that is red/white and one that is black. The red/white one is your power. The black one is your ground.
NOW*******double check you battery and make sure the negative terminal is disconnected. Once you've checked and made sure... you can now cut into the power wire (white/red), and strip about half and inch off to expose the copper wiring.
Now, this is what the back of MY voltmeter looks like.
the plus sign is where you need to take some 18 gauge wire and attach it to it. Pick whichever way you want to attach your wire to it. I used 18 gauge ring terminals, but you can just wrap the wire around the gauge's terminals and tighten the bolts if you wish. just make sure you use electrical tape to cover up and insulate any exposed wires.
So, connect your 18 gauge wires to the positive and negative terminals of your Voltemeter and splice in your red and black wires of your voltmeter's light to eachother. Red to red and black to black... Yes, use black for your negative wire and red for your positive wire. its much less confusing that mine, which are both blue.
Now that you have your wiring connected to your voltmeter its time to find a place to mount it. I mounted mine on the left side of my dash. I like it. Don't hate.
Hers a close up...
I just used a drill to put two holes in my dash
but once the voltmeter is on its okay. But if you ever want to take it off in the future id recomend buying a bezel for your existing gauge cluster... they have two gauge and one gauge bezels for like 30 bucks on ebay and they are all clean and looks flush. Now that your voltmeters in place, find a route for the positive wire from your voltmeter to follow, to meet up with your cig lighter power wire. I just ran mine through up under the dash and pulled it through up under the center console cubby. Its really easy. heres a pic of where it runs.
Now that the power wire is there.. just expose about a half inch from the Voltmeter power wire and twist it onto the cigarette lighter power wire. Once you have done that expose a little of the cigarette power wire that is attached to the actual lighter and twist the adjoined power wires back onto the cigarette lighter and cover with a fair amount of electrical tape for insulation. Hers the end look of it.
Now that the POWER is connected into the cigarette lighter you need to find an unpainted chassis bolt to connected your voltmeter's GROUND (- or negative) wire to.. this was simple as there was one located on the drivers side fusebox area.
The gold bolt on the left. (not the one with red tip on the right), runs through the plastic piece also runs through unpainted metal on the chassis. So this is a good spot. Its concealed, its safe and theres also plastic insulating it when you get it bolted in. Just unscrew the bolt. Attach a ringed connector to your ground wire and then wedge it under the plastic piece aligning the holes and put your bolt back in. There... Ground. Done...
NOW. You have your power cable hooked to the cigarette lighters power source, and you've spliced the wire for your LED light in your voltmeter to that power cable running to the cigarette lighters power source cable so your light will work with your gauge meter. AND you have your ground cable running to that bolt on the chassis with your LED negative wire spliced into that wire as well ALLLL wrapped in electrical tape.. THERE SHOULD BE NO EXPOSED COPPER WIRES!!! You have MOUNTED your voltmeter on the dash or wherever you chose. You should now reconnect your battery before putting anything back in place to see if it works.
IF NOT: check your passenger side cig lighter/radio fuse to see if its blown. If your radio is not working after you put the code in, this is most likely the best option. If its blown replace with a 30a fuse instead of 20a just to handle the new addition a little better. If thats not the cause, then check your wiring. Its really quite simple. Red to red/white on your cig lighter. Black to ground on chassis. power to power, ground to metal.
IF YES: hell ya you gotta voltmeter and you can reinstall all your panels hiding all your wires up and your good to go. It might be wise of you to just go ahead and replace the 20a cig lighter/radio fuse on the passneger side fuse box with a 30a fuse anyways, just so you can be more comfortable. alright.
This is the end product of mine.
and at night.
Mine has the option for like 7 different colors by the push of a button. Currently rockin the green
Just remember, its easy. Mount your gauge, unhook battery, tap into power wire, splice into power wire, ground your ground wires, wrap your exposed wires in electrical tap, hide wires and clean up. Simple as that. GOOD LUCK, feel free to ask me any questions if you run into any stops. Thanks guys!