Blazinqwickly
Well-Known Member
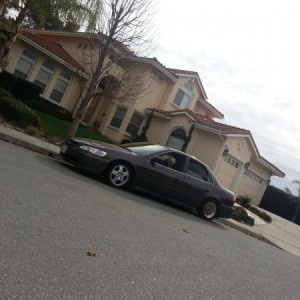
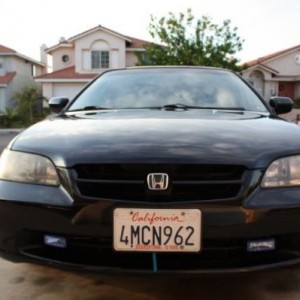
Well I had a very eventful day working on "Anna Belle" as we now call her, ran in to a few snags and had to come up with a solution to get the car back together before dark because we have possible bad weather coming our way today.
So first thing is first, I started noticing a really ruff noise from the CV joint on the passenger side, I could not see any damage to the shaft or CV boot right away, but upon further inspection I noticed grease had been slung every where in the wheel well in a 360* fashion.
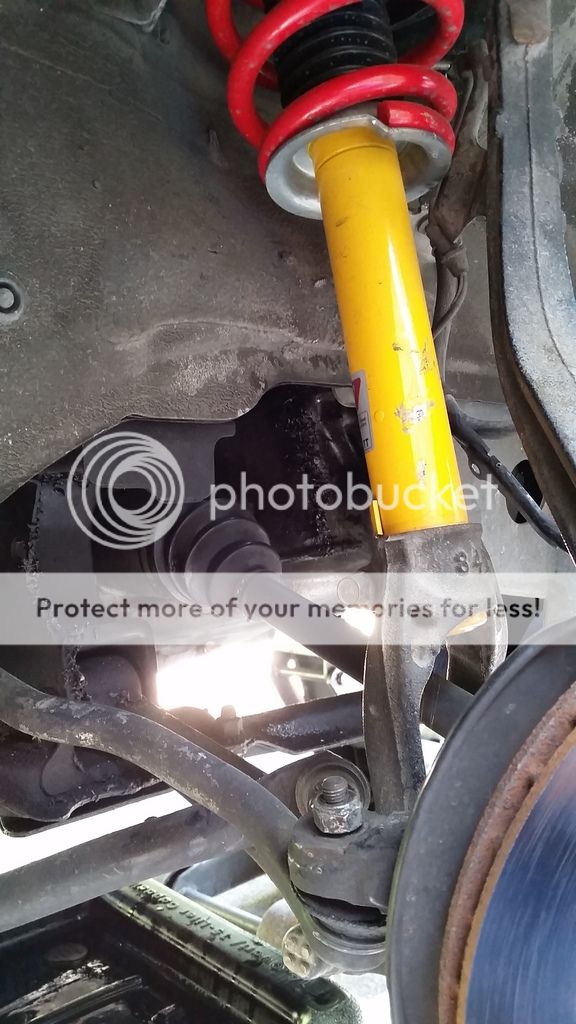
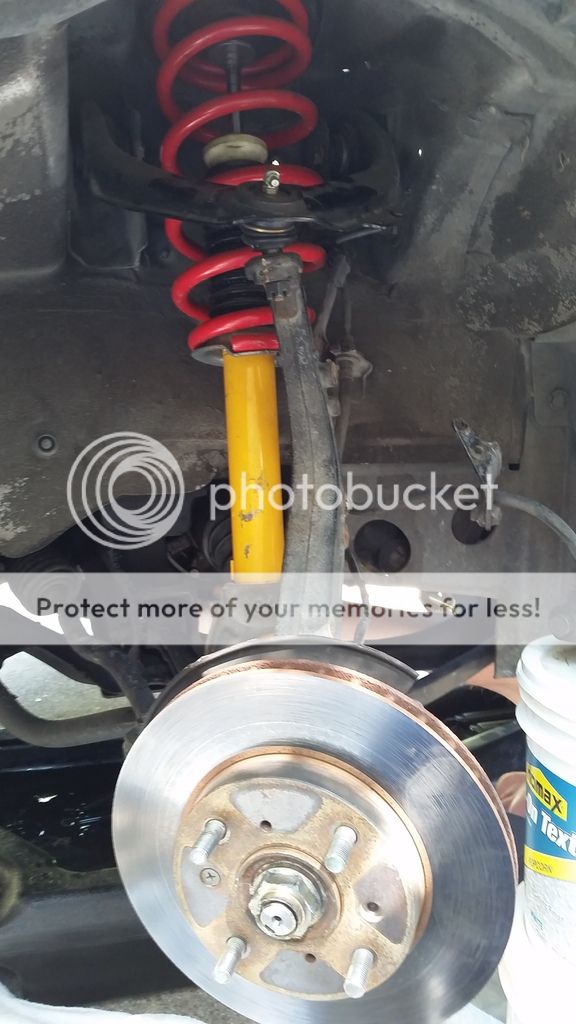
So I started by disassembling the ABS lines and getting them tucked safely out of the way
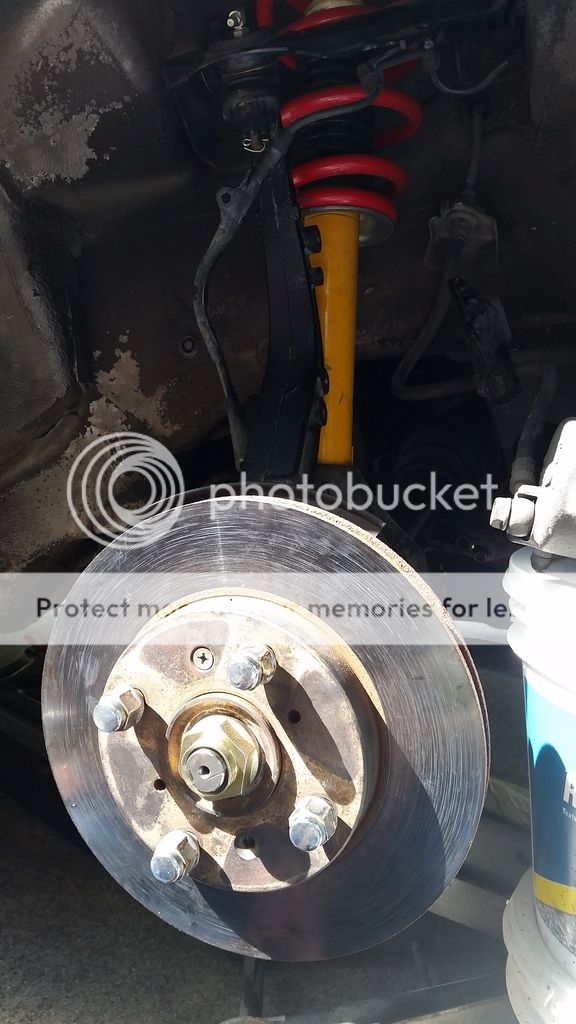
Then removed the caliper itself and propped it up so there was of course no stress on the brake line and turned the wheel in order to allow more room and to see what the heck you are working on.

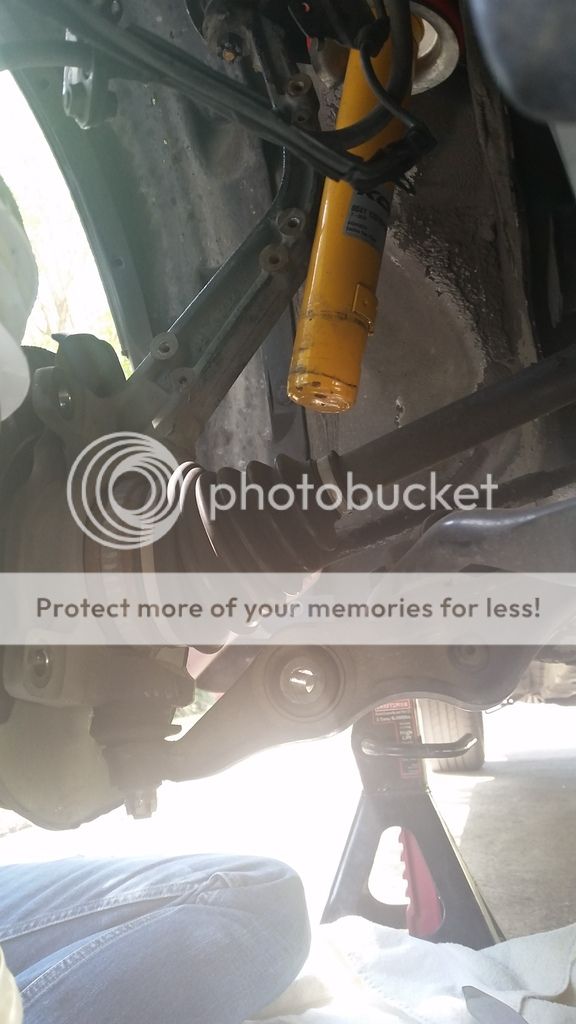
The next thing I started removing the lower strut fork in order to have clearance to get the axles CV joint out as if will not fit threw the fork in any fashion , but no problem, only 2 little bolts holding it in place.
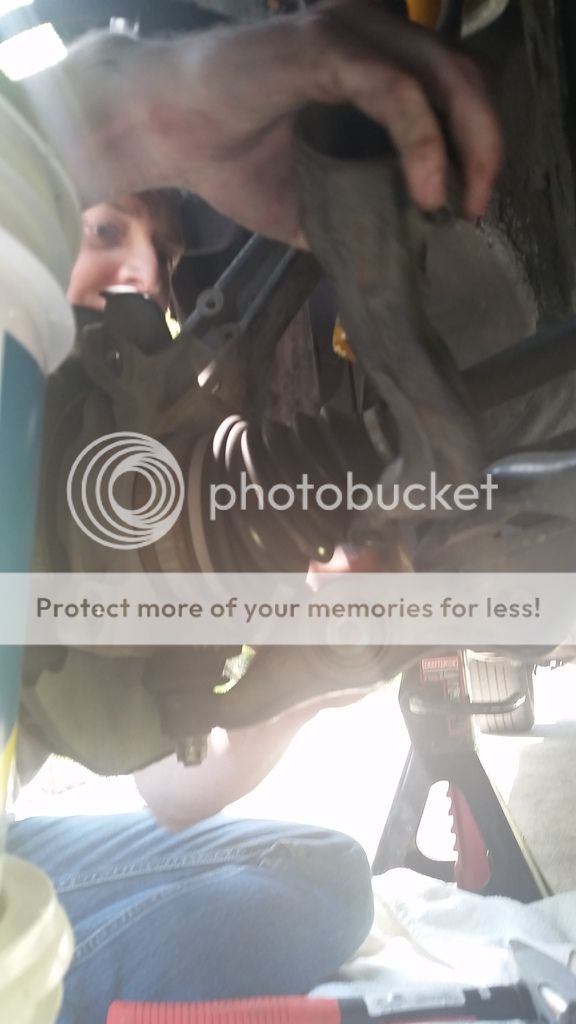
This is the part where I knocked the upper control arm ball joint lose, thankfully not hard as I have replaced this not long ago so it had no chance to seize up on me.
Now this is where things got a little frustrating, I have have had some stubborn ball joints, but this ball joint had a love story with the lower control arm and would not let go.
I never recommend a pickle fork unless you are positive the lower ball joint is trash any ways and in which that case it does not even matter if you use it obviously cause it's getting replaced like this one was.
I spent 35 min hammering and using P.B. blaster and then putting a jack stand under the control arm to allow enough pressure and it finally let go.

More hammering, I'm sure the neighbors loved that crap for as long as it went on yesterday.

So finally the lower arm finally separated from it's love story with the lower ball joint.

Next after making sure I had drained the transmission fluid, I then removed the axel from the car.


I then took the front knuckle over to the work bench and checked for a snap ring which there was not, so I proceeded to let my sludge hammer and ball joint talk out their differences till they parted ways.

Sorry old O.E. ball joint but this is where your love story with the lower control arm ends.

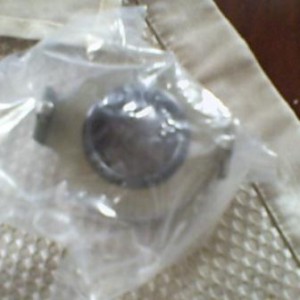
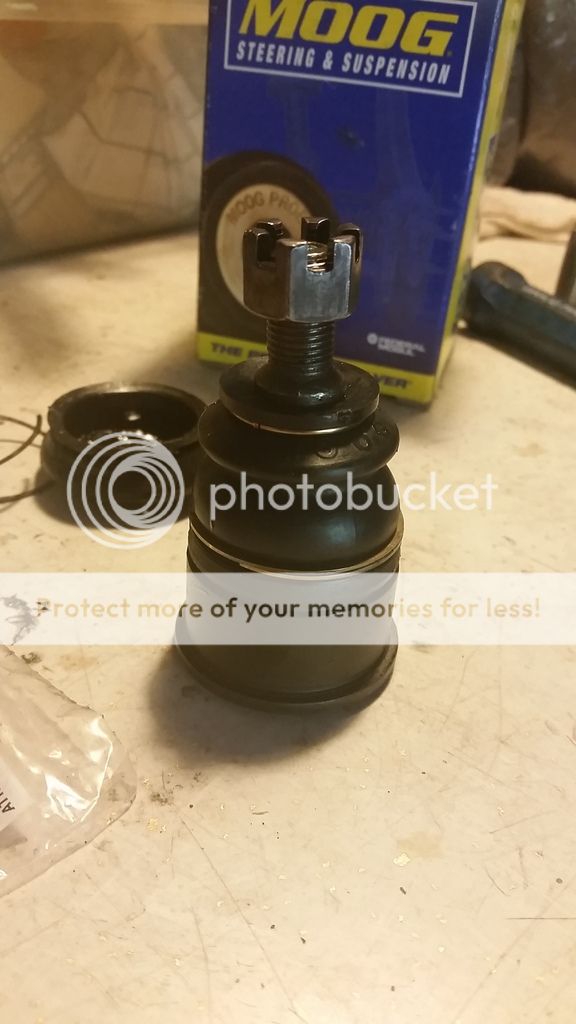
So the new relationship with lower control arm begins with the Problem Solver ball joint from Moog, I have had great luck with these in the past so I always stick with what has good success with daily abuse.
Now here is where I am going to give some of you guys out there a good tip who don't have enough money to rent or afford to buy a proper ball joint press kit.
As many of you know, those kits can be pricey and over half the time you fight the kit trying to make it fit and I'm too old and crotchety for dealing with that crap anymore
My solution, grab a 32mm forged socket and mate it flat on the outer race of the ball joint and with the knuckle firmly in the vice you can start hammering it in nice and slow for a even but true result of driving it home properly.

You too good for your home ball joint? Naaahhh your cool look at you resting in there all peacefully now lol.

Then after reassuring everything was good to go the snap ring was installed and brought back to it's proper resting place in the wheel well.
I thought after that I would start taking apart the other side cause I like to replace everything in pairs when doing jobs on the car.
That was not the case yesterday, the last time I had the Accord apart I let my wife button up the other side by putting on the wheel and tightening the lugs and I guess when she was tightening down the wheel lugs she cross threaded them.
When I went to remove the lugs to start the job on that side, I already could tell what had happen, a bit stressful , but I do realize cars are still some what new to my wife and I realize accidents do happen.
So with perfect timing my friend and his wife show up and this is now a perfect time to send the girls to the parts store to grab some new wheel lugs and new wheel studs while me and my buddy fought on getting the wheel studs out of the hub itself.
For those of you who have not done this, there is two options you can do in this case... You can either buy a new well hub bearing with the studs already pressed into it and do a crap ton more work. Or.. You can use a cutting wheel to trim the quarter inch of dust shield and cut a relief in the stud itself and then it can be hammered out safely clearing everything.
The new studs will need a tiny relief cut on the flat face of the stud itself to clear everything easily and not cause damage to the hubs race while pushing them threw.
I wish I had pictures of this, but the girls were sent on errands as my buddy and I finished the job because we were starting to cut our day light hours short after struggling to get the old studs lose.
Now, I do not recommend hammering them back in as this can do damage to the wheel bearing, what I would recommend is finding a open faced nut and then tightening that down once the new stud is in place and it will pull the stud threw and seat it onto the hub.
Saving you precious money in the long run if your wheel bearing has not crapped the bed too, if the wheel bearing had play in it, then plan on spending a few more hours doing that job and replacing it all together.
So anyways that was all the fun I had time for yesterday, after we get a new set of tires on the car soon I will go ahead and do the inner and outer tie rods then and take it to the alignment shop for the most accurate reading I can get to bring all the geometry back into spec properly.
So first thing is first, I started noticing a really ruff noise from the CV joint on the passenger side, I could not see any damage to the shaft or CV boot right away, but upon further inspection I noticed grease had been slung every where in the wheel well in a 360* fashion.

So I started by disassembling the ABS lines and getting them tucked safely out of the way

Then removed the caliper itself and propped it up so there was of course no stress on the brake line and turned the wheel in order to allow more room and to see what the heck you are working on.

The next thing I started removing the lower strut fork in order to have clearance to get the axles CV joint out as if will not fit threw the fork in any fashion , but no problem, only 2 little bolts holding it in place.


This is the part where I knocked the upper control arm ball joint lose, thankfully not hard as I have replaced this not long ago so it had no chance to seize up on me.

Now this is where things got a little frustrating, I have have had some stubborn ball joints, but this ball joint had a love story with the lower control arm and would not let go.
I never recommend a pickle fork unless you are positive the lower ball joint is trash any ways and in which that case it does not even matter if you use it obviously cause it's getting replaced like this one was.
I spent 35 min hammering and using P.B. blaster and then putting a jack stand under the control arm to allow enough pressure and it finally let go.

More hammering, I'm sure the neighbors loved that crap for as long as it went on yesterday.

So finally the lower arm finally separated from it's love story with the lower ball joint.

Next after making sure I had drained the transmission fluid, I then removed the axel from the car.


I then took the front knuckle over to the work bench and checked for a snap ring which there was not, so I proceeded to let my sludge hammer and ball joint talk out their differences till they parted ways.

Sorry old O.E. ball joint but this is where your love story with the lower control arm ends.

So the new relationship with lower control arm begins with the Problem Solver ball joint from Moog, I have had great luck with these in the past so I always stick with what has good success with daily abuse.

Now here is where I am going to give some of you guys out there a good tip who don't have enough money to rent or afford to buy a proper ball joint press kit.
As many of you know, those kits can be pricey and over half the time you fight the kit trying to make it fit and I'm too old and crotchety for dealing with that crap anymore
My solution, grab a 32mm forged socket and mate it flat on the outer race of the ball joint and with the knuckle firmly in the vice you can start hammering it in nice and slow for a even but true result of driving it home properly.

You too good for your home ball joint? Naaahhh your cool look at you resting in there all peacefully now lol.

Then after reassuring everything was good to go the snap ring was installed and brought back to it's proper resting place in the wheel well.
I thought after that I would start taking apart the other side cause I like to replace everything in pairs when doing jobs on the car.
That was not the case yesterday, the last time I had the Accord apart I let my wife button up the other side by putting on the wheel and tightening the lugs and I guess when she was tightening down the wheel lugs she cross threaded them.
When I went to remove the lugs to start the job on that side, I already could tell what had happen, a bit stressful , but I do realize cars are still some what new to my wife and I realize accidents do happen.
So with perfect timing my friend and his wife show up and this is now a perfect time to send the girls to the parts store to grab some new wheel lugs and new wheel studs while me and my buddy fought on getting the wheel studs out of the hub itself.
For those of you who have not done this, there is two options you can do in this case... You can either buy a new well hub bearing with the studs already pressed into it and do a crap ton more work. Or.. You can use a cutting wheel to trim the quarter inch of dust shield and cut a relief in the stud itself and then it can be hammered out safely clearing everything.
The new studs will need a tiny relief cut on the flat face of the stud itself to clear everything easily and not cause damage to the hubs race while pushing them threw.
I wish I had pictures of this, but the girls were sent on errands as my buddy and I finished the job because we were starting to cut our day light hours short after struggling to get the old studs lose.
Now, I do not recommend hammering them back in as this can do damage to the wheel bearing, what I would recommend is finding a open faced nut and then tightening that down once the new stud is in place and it will pull the stud threw and seat it onto the hub.
Saving you precious money in the long run if your wheel bearing has not crapped the bed too, if the wheel bearing had play in it, then plan on spending a few more hours doing that job and replacing it all together.
So anyways that was all the fun I had time for yesterday, after we get a new set of tires on the car soon I will go ahead and do the inner and outer tie rods then and take it to the alignment shop for the most accurate reading I can get to bring all the geometry back into spec properly.
Last edited:

")