

danmccormick87
Well-Known Member
Lowered your car? Having rubbing issues with your mounting tabs? Broke those tabs from bottoming out and pushing the bumper skywards? Don't feel like forking out anywhere from $45 and upwards, only to have to wait for shipping? Have no fear, here is a simple DIY that you can perform to save you time and money, and most these parts come from your local hardware store.
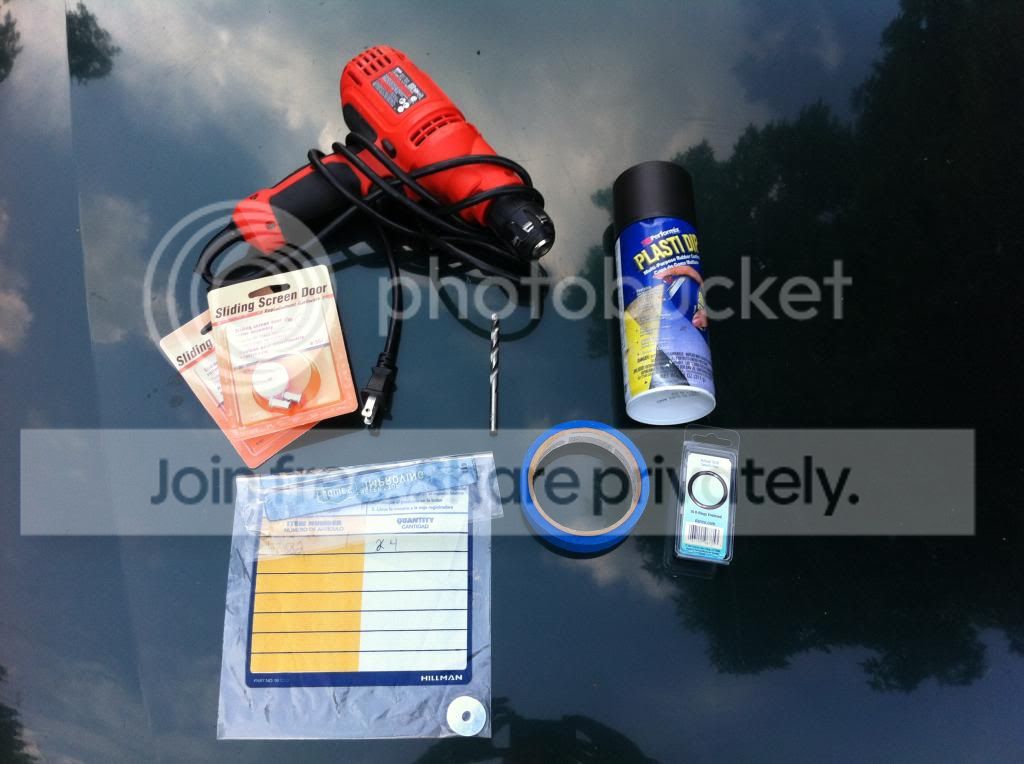
Essential Items Needed
2 Sliding Screen Door Roller Assembly (Part #B-551 at Lowes, $2.13 each)
8 1/4” hole x 1” wide Washer (Part #68882 at Lowes, $0.13 each)
1 1 3/16” O.D. x 15/16” I.D. X 1/8” O-Ring (Part # 96735, #18 at Lowes, $2.99)
1 Plasti-Dip Black Matte Spray Paint (Performix at Lowes, $5.98)
1 Painters/Masking Tape (Any retail store with a hardware section, averages $3.00)
Tools Needed
Philips Screw Driver
Pliers
Powered Drill
1/4” Drill Bit Driver
Suggested Extras
Loctite (Use on screws to guarantee they don't back out)
Needle Steel File (Use on drilled holes to smooth out metal)
Dremel Tool w/accessories (Utilize to cut off tabs on front to prevent rubbing/future breakage)
Now on to the install!
WARNING: DO THIS INSTALL AT YOUR OWN RISK. I AM IN NO WAY RELIABLE FOR ANY DAMAGE THAT MAY COME FROM THIS.
Step 1: Gather all items listed above (Suggested at your preference) and have placed with reach
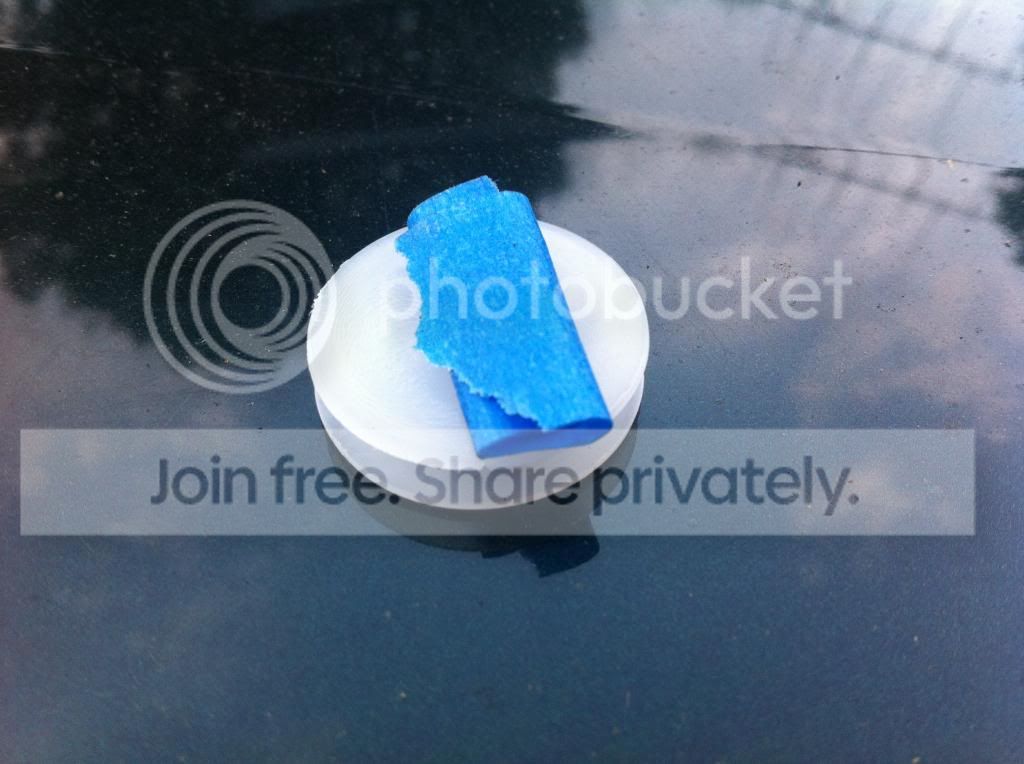
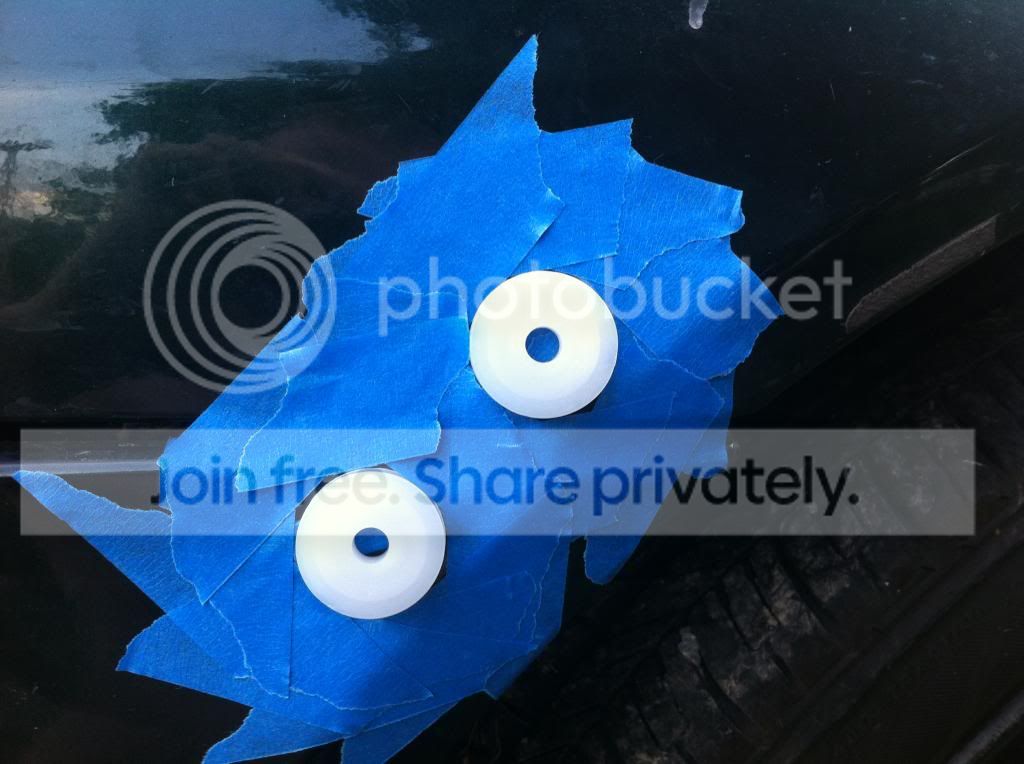
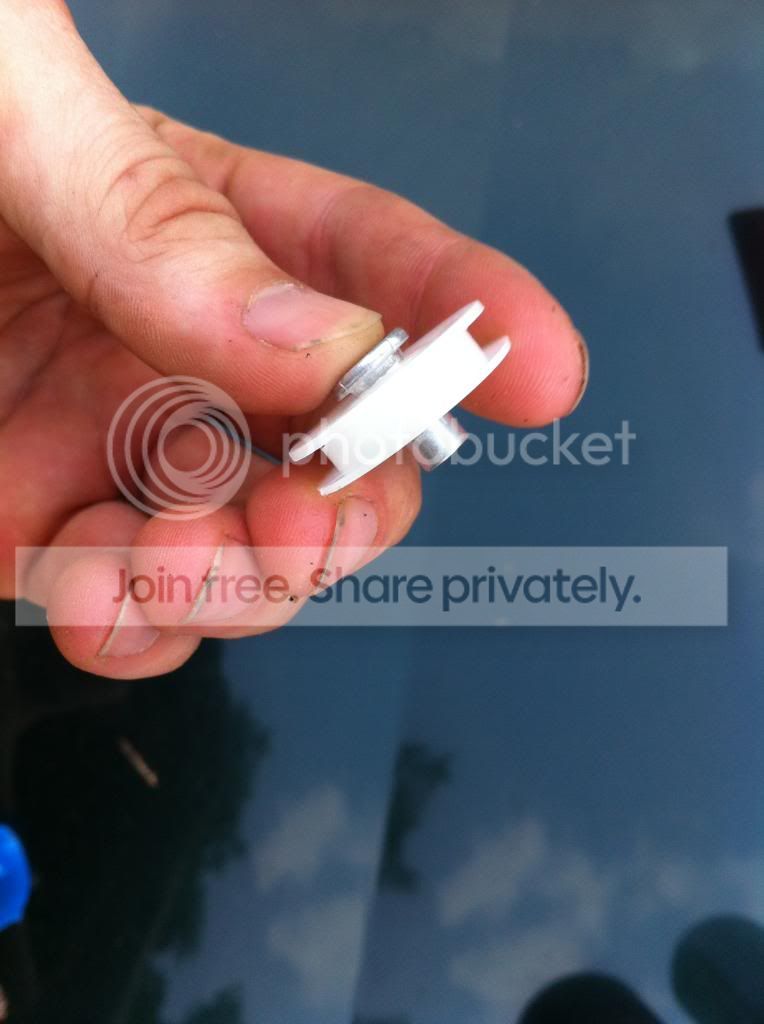
Step 2: Open your roller assemblies, take out the assemblies, and place tape folded over onto itself on one side of the roller assemblies
Step 3: Place roller assemblies on the fender and bumper. (I utilized the round edges and placed it as close as possible along the horizontal and vertical lines with having any overhang)
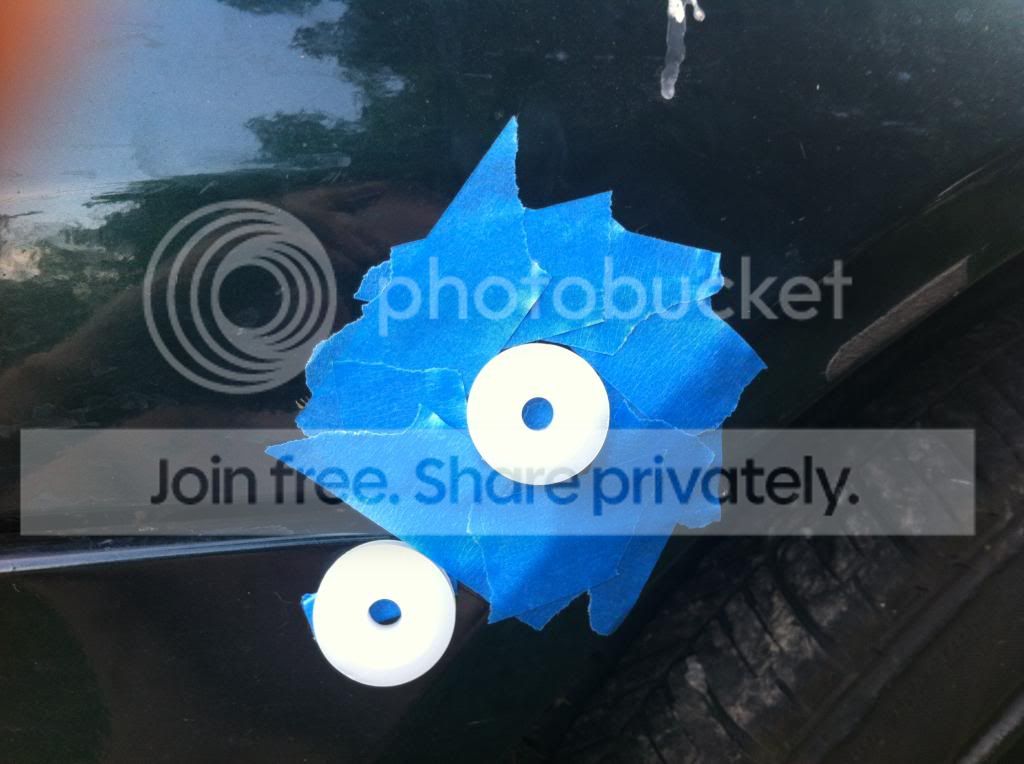
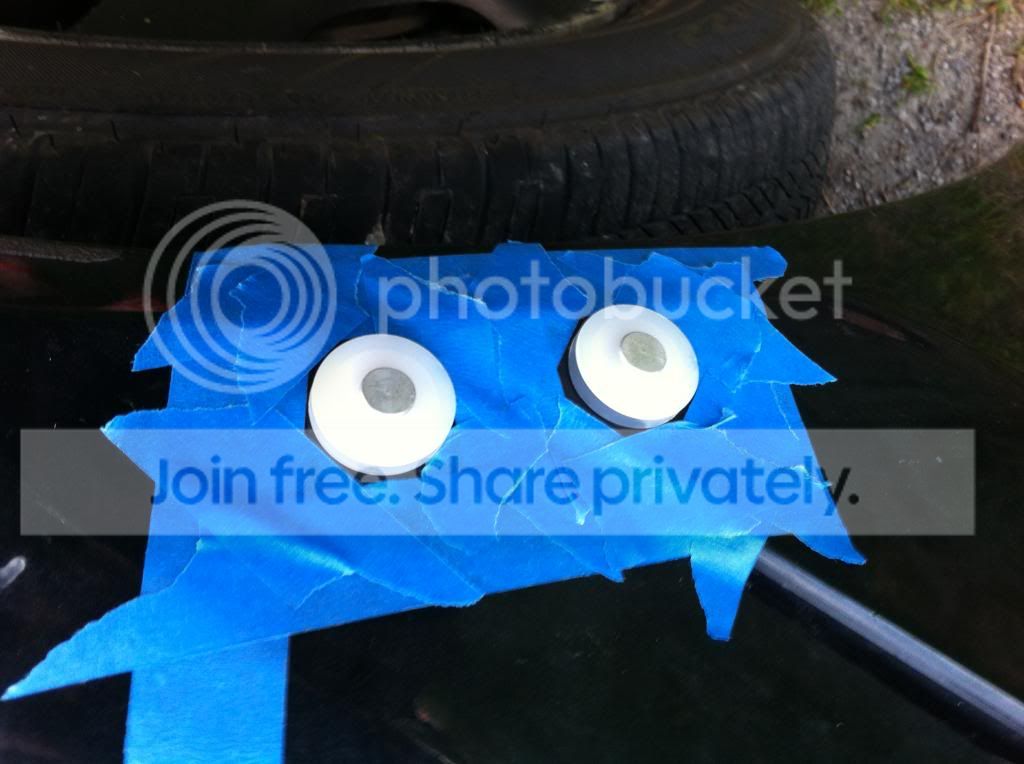
Step 4: Mask off the surrounding area around the assemblies with a tape of your choosing. This will help negate any scratches from metal shaving and also allow painting further along in the install.

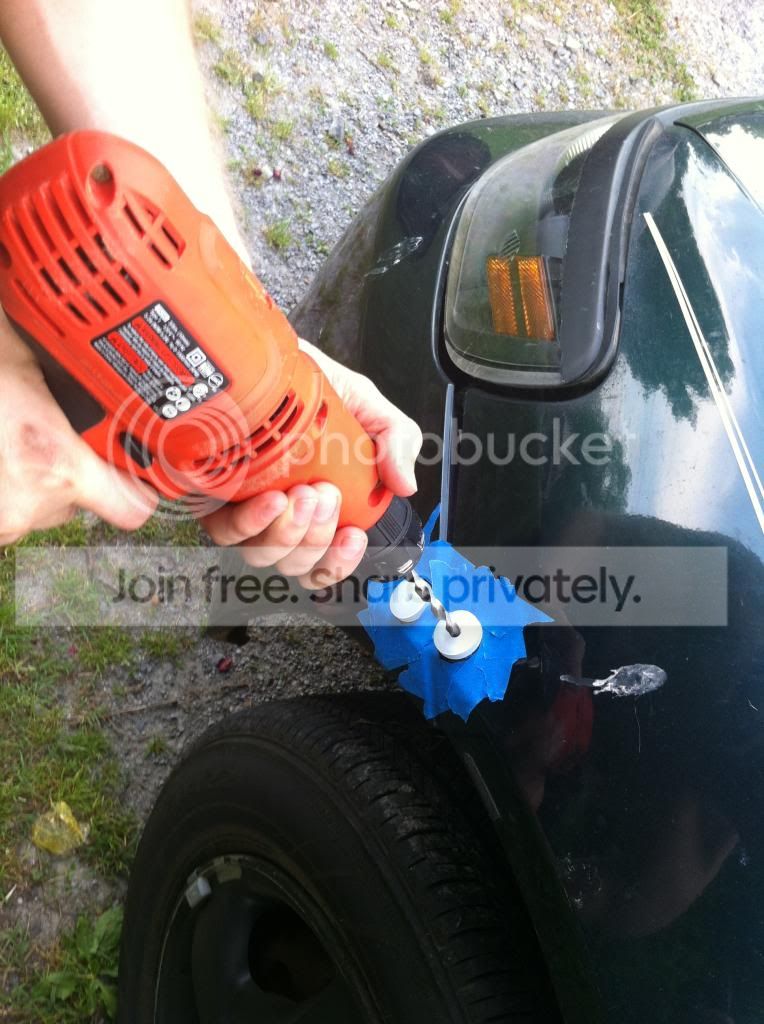
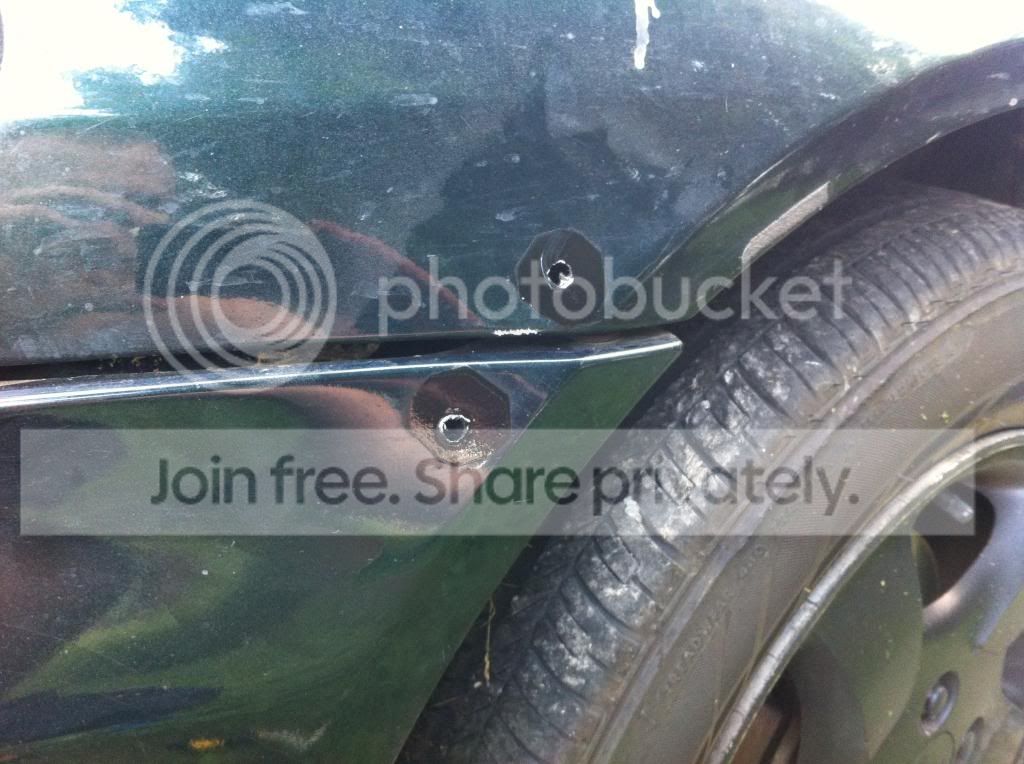
Step 5: (WARNING: If you haven't removed your fender liners, do so before continuing on with this DIY!) If you haven't done so already, plug in your drill and place the 1/4” drill bit driver in the drill. Align the drill bit over the assembly hole, and place the drill bit THROUGH the assembly hole. Carefully asserting pressure, start to drill your hole, keeping the drill bit at the proper level and keeping the assembly from moving. Note: The assemblies may end up working their way down the drill bit. Do not worry, as long as you have the hole started and keep from moving the driver, you can remove these once done.
Step 6: After all four holes have been drilled on both sides, remove the assemblies if they haven't already come off. (At this time, you may gently utilize the suggested file to smooth out any jagged edges along the hole.)
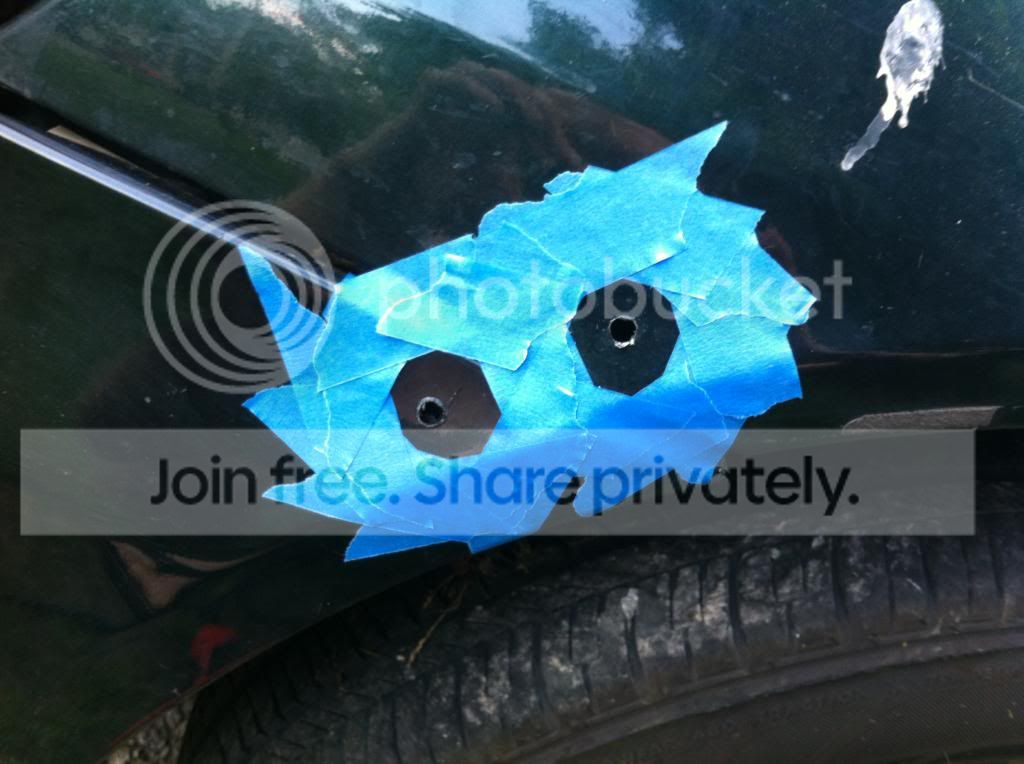
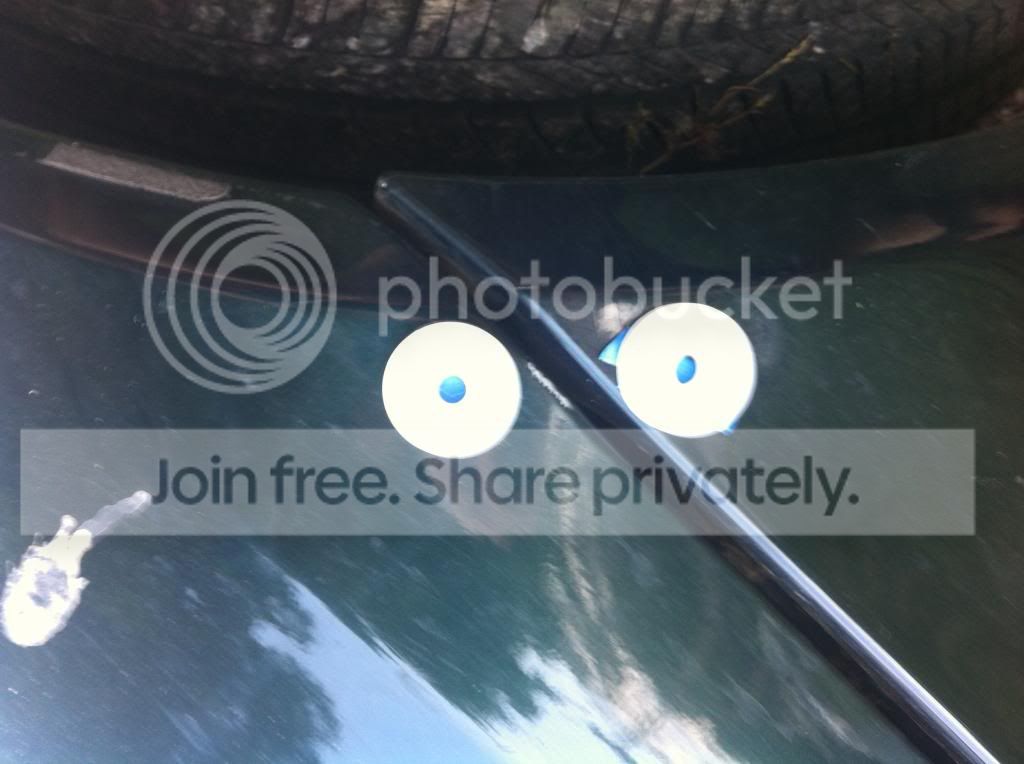
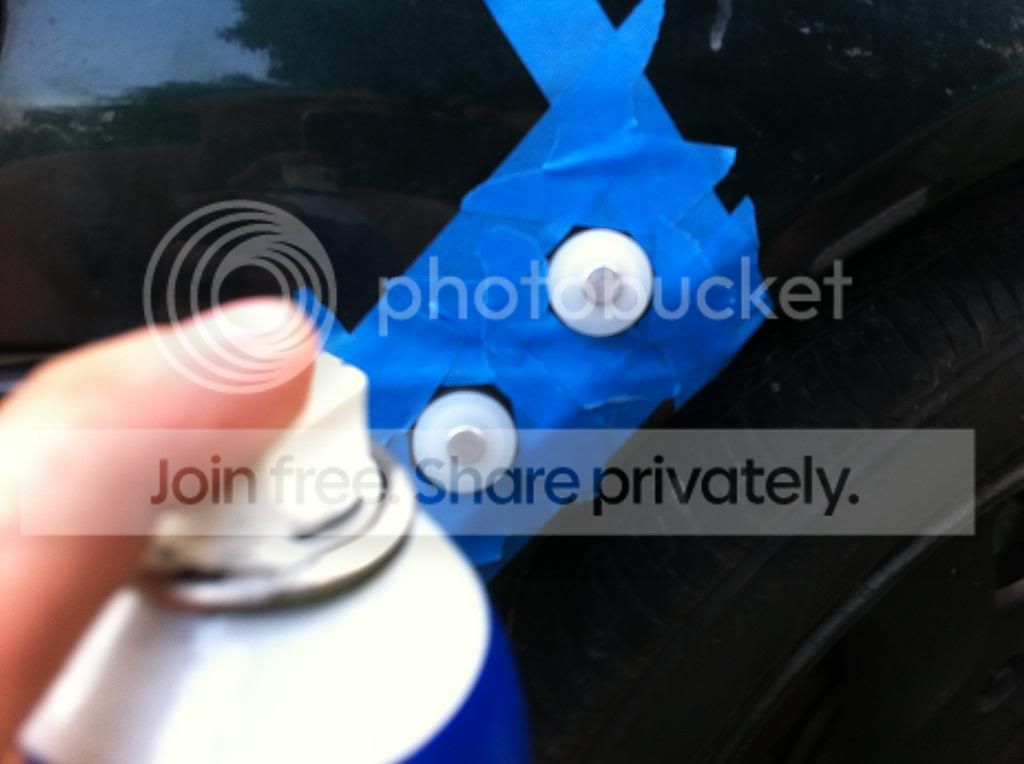
Step 7: Uncap your Plasti-Dip, and holding 4” to 6” away from the tape, apply a light coat where the circles from the assemblies were. (This step helps protect the paint, and is even suggested to also spray the inside to help prevent paint flaking/rust.) Allow to dry and repeat if needed.
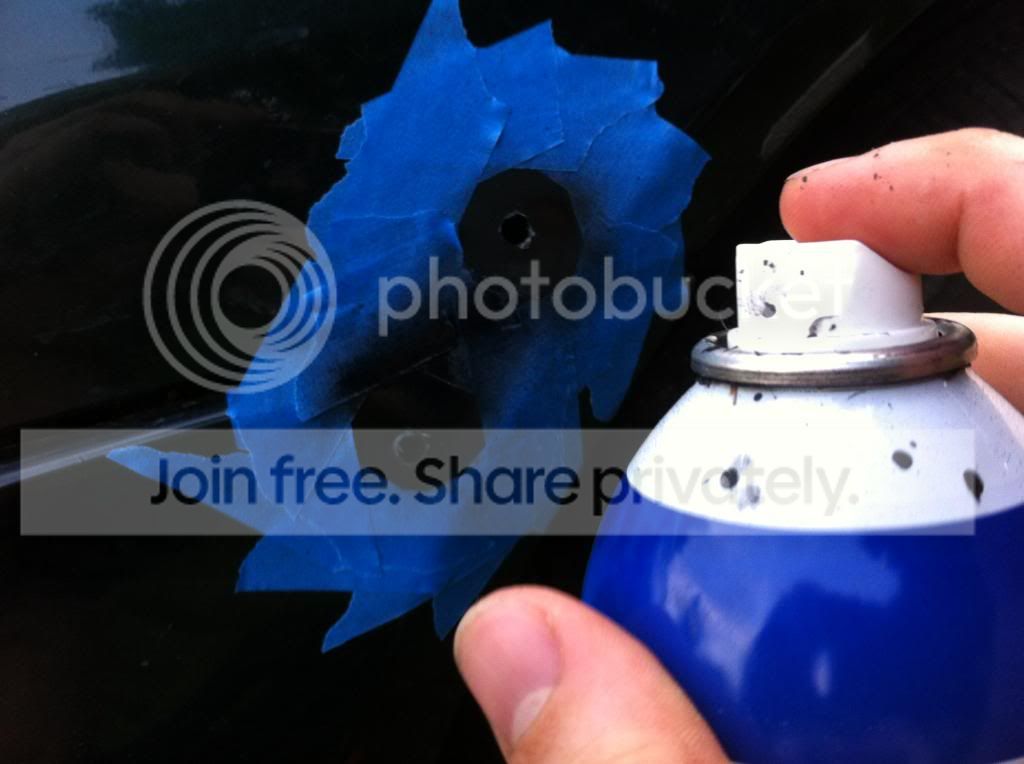
This is a picture showing what it should look like when done, but I highly advise against removing the tape until later steps.
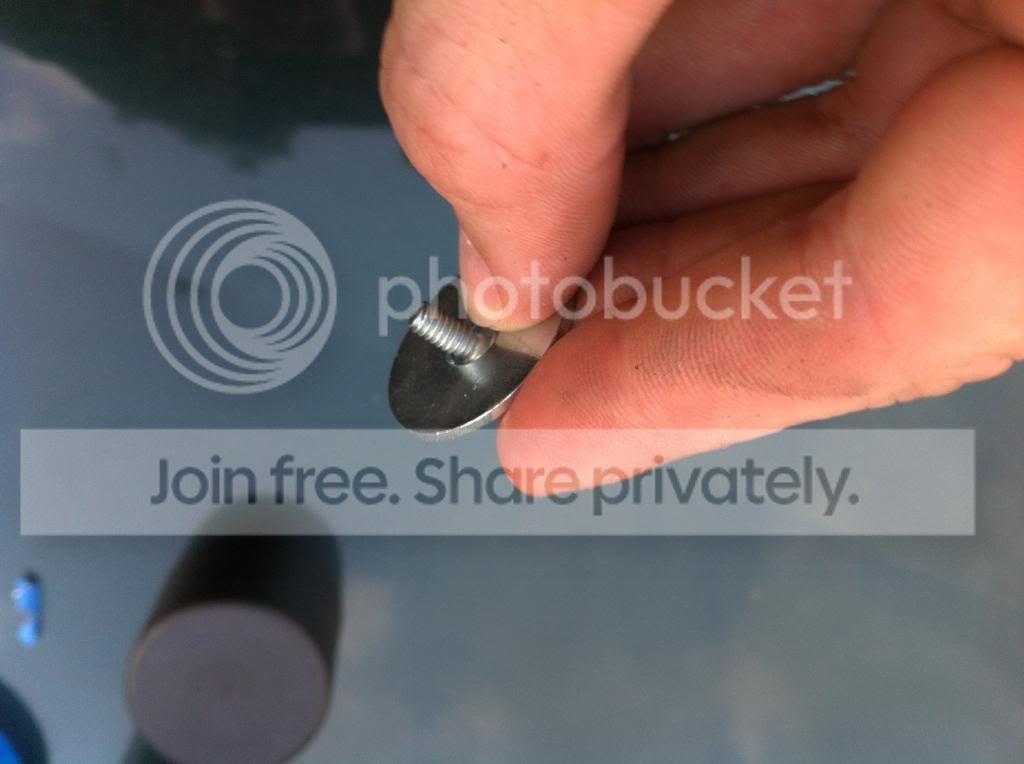
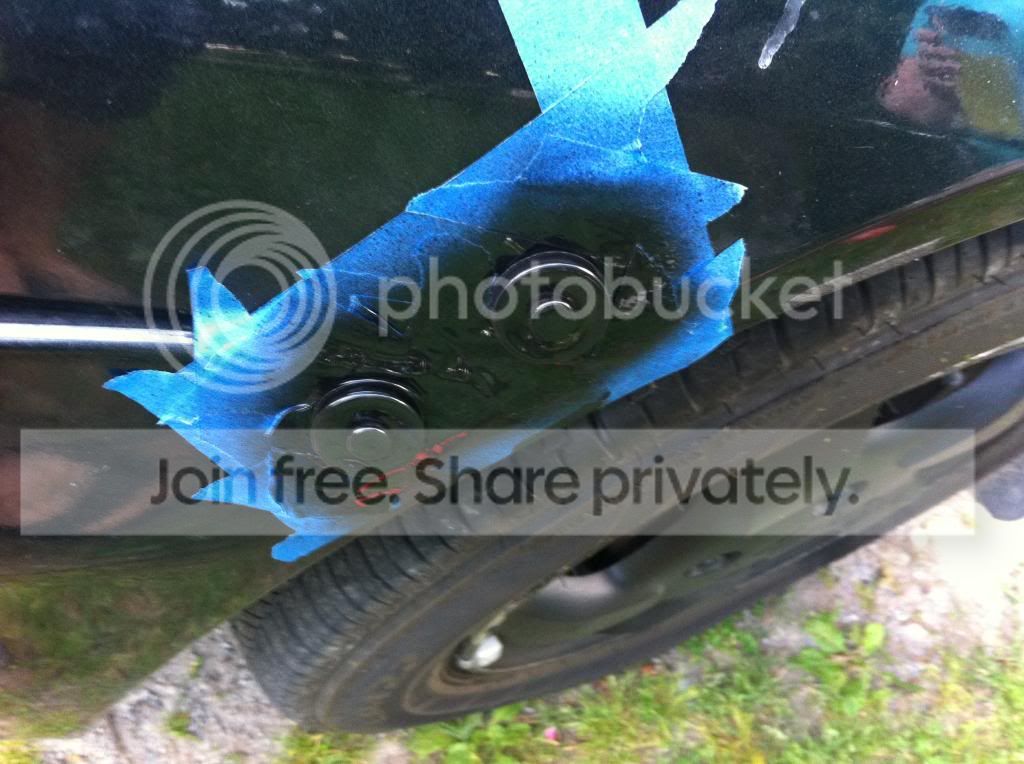
Step 8: Taking your hardware that was included with the assemblies and your washers, thread the outer piece through the assembly and push through the hole you previously drilled. (Make sure that your screw is on the inside of your fender/bumper to prevent potential tampering.) Taking your washer and screw, secure the outer assembly to the fender/bumper. Due to thickness variation between the fenders and bumper, one washer is needed for the lower portion on the bumper and three washers are needed for the upper portion on the fender. (At this time, you may utilized the suggested Loctite on your screws to prevent them from backing out over time.) Tighten securely down with the pliers and Philips screw driver, making sure to avoid over-tightening and stripping the hardware.
Step 9: Again, uncap your Plasti-Dip, and holding 4” to 6” away from the tape/installed assemblies, apply a light coat over the assemblies. Allow to dry, and apply another coat, repeating until the assemblies are blacked out.
Step 10: After the installed assemblies have dried, remove your tape.
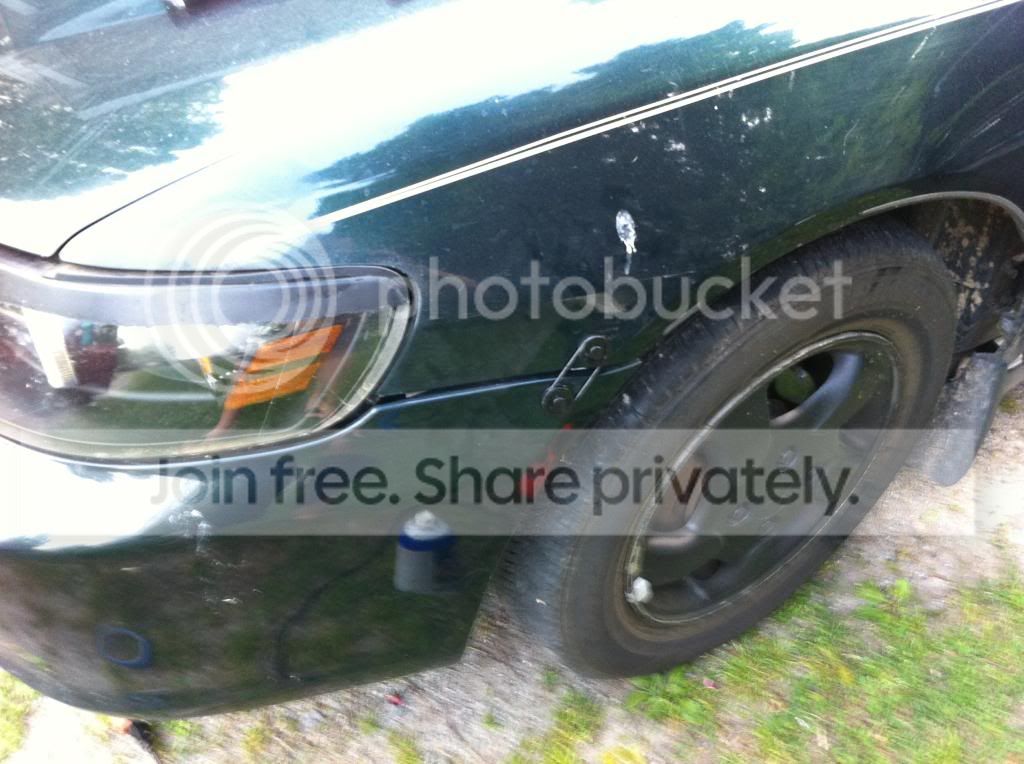
Step 11: Open your O-Ring package and using one O-Ring per side, and stretch over the assemblies until they are banded together.

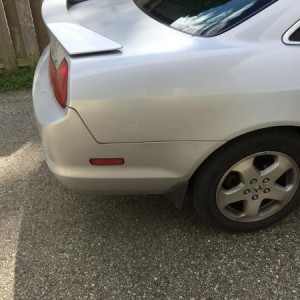
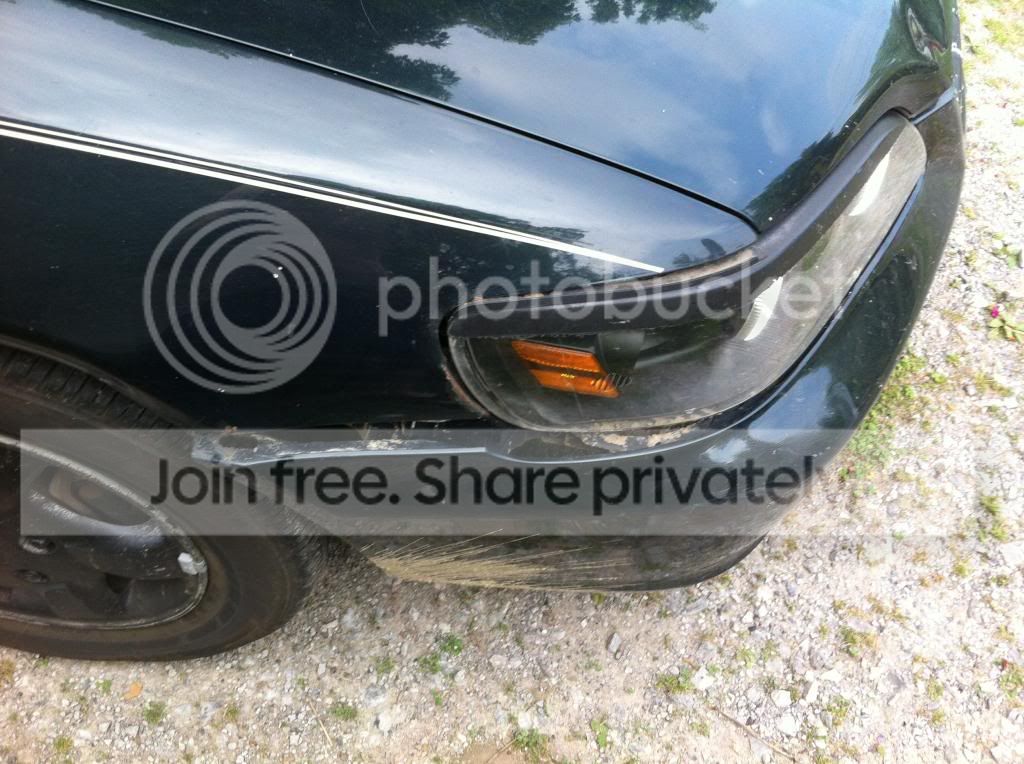
After following those steps, take a second to admire your handy work! After this is completed, I suggest you taking the suggested Dremel tool w/accessories and cutting the front tab shown in the first photo of this DIY. Doing this will prevent breaking the middle tabs on your bumper and will also allow those with coilovers/airbags to prevent scraping those mounts. Hopefully you've enjoyed this install and feel free to ask any questions.

Essential Items Needed
2 Sliding Screen Door Roller Assembly (Part #B-551 at Lowes, $2.13 each)
8 1/4” hole x 1” wide Washer (Part #68882 at Lowes, $0.13 each)
1 1 3/16” O.D. x 15/16” I.D. X 1/8” O-Ring (Part # 96735, #18 at Lowes, $2.99)
1 Plasti-Dip Black Matte Spray Paint (Performix at Lowes, $5.98)
1 Painters/Masking Tape (Any retail store with a hardware section, averages $3.00)
Tools Needed
Philips Screw Driver
Pliers
Powered Drill
1/4” Drill Bit Driver
Suggested Extras
Loctite (Use on screws to guarantee they don't back out)
Needle Steel File (Use on drilled holes to smooth out metal)
Dremel Tool w/accessories (Utilize to cut off tabs on front to prevent rubbing/future breakage)
Now on to the install!
WARNING: DO THIS INSTALL AT YOUR OWN RISK. I AM IN NO WAY RELIABLE FOR ANY DAMAGE THAT MAY COME FROM THIS.
Step 1: Gather all items listed above (Suggested at your preference) and have placed with reach

Step 2: Open your roller assemblies, take out the assemblies, and place tape folded over onto itself on one side of the roller assemblies

Step 3: Place roller assemblies on the fender and bumper. (I utilized the round edges and placed it as close as possible along the horizontal and vertical lines with having any overhang)

Step 4: Mask off the surrounding area around the assemblies with a tape of your choosing. This will help negate any scratches from metal shaving and also allow painting further along in the install.


Step 5: (WARNING: If you haven't removed your fender liners, do so before continuing on with this DIY!) If you haven't done so already, plug in your drill and place the 1/4” drill bit driver in the drill. Align the drill bit over the assembly hole, and place the drill bit THROUGH the assembly hole. Carefully asserting pressure, start to drill your hole, keeping the drill bit at the proper level and keeping the assembly from moving. Note: The assemblies may end up working their way down the drill bit. Do not worry, as long as you have the hole started and keep from moving the driver, you can remove these once done.

Step 6: After all four holes have been drilled on both sides, remove the assemblies if they haven't already come off. (At this time, you may gently utilize the suggested file to smooth out any jagged edges along the hole.)

Step 7: Uncap your Plasti-Dip, and holding 4” to 6” away from the tape, apply a light coat where the circles from the assemblies were. (This step helps protect the paint, and is even suggested to also spray the inside to help prevent paint flaking/rust.) Allow to dry and repeat if needed.

This is a picture showing what it should look like when done, but I highly advise against removing the tape until later steps.

Step 8: Taking your hardware that was included with the assemblies and your washers, thread the outer piece through the assembly and push through the hole you previously drilled. (Make sure that your screw is on the inside of your fender/bumper to prevent potential tampering.) Taking your washer and screw, secure the outer assembly to the fender/bumper. Due to thickness variation between the fenders and bumper, one washer is needed for the lower portion on the bumper and three washers are needed for the upper portion on the fender. (At this time, you may utilized the suggested Loctite on your screws to prevent them from backing out over time.) Tighten securely down with the pliers and Philips screw driver, making sure to avoid over-tightening and stripping the hardware.


Step 9: Again, uncap your Plasti-Dip, and holding 4” to 6” away from the tape/installed assemblies, apply a light coat over the assemblies. Allow to dry, and apply another coat, repeating until the assemblies are blacked out.


Step 10: After the installed assemblies have dried, remove your tape.
Step 11: Open your O-Ring package and using one O-Ring per side, and stretch over the assemblies until they are banded together.

After following those steps, take a second to admire your handy work! After this is completed, I suggest you taking the suggested Dremel tool w/accessories and cutting the front tab shown in the first photo of this DIY. Doing this will prevent breaking the middle tabs on your bumper and will also allow those with coilovers/airbags to prevent scraping those mounts. Hopefully you've enjoyed this install and feel free to ask any questions.

 No time to wash her up, but I agree she does need a bath