

metrick1235
Well-Known Member
Ok So I have been asked to do a write up about my Dash and climate controls... I got all my bulbs from www.Superbrightleds.com and as usual im not responsible for anyone that messes their car up, as all DIY its your own risk... This is fairly straight forward. Also through out this tutorial I will try to do the best I can step by step, If you dont know how to “turn a bulb” or know how to use a screw driver.. I dont suggest this.. because you will doing it a lot.... Also if the bulb doesnt work in either side (like when it doesnt work one way and your turn it around, still doesnt work) check to make sure they metal tabs are making good contact.. this will save you aggravation thinking your bulb may be bad.
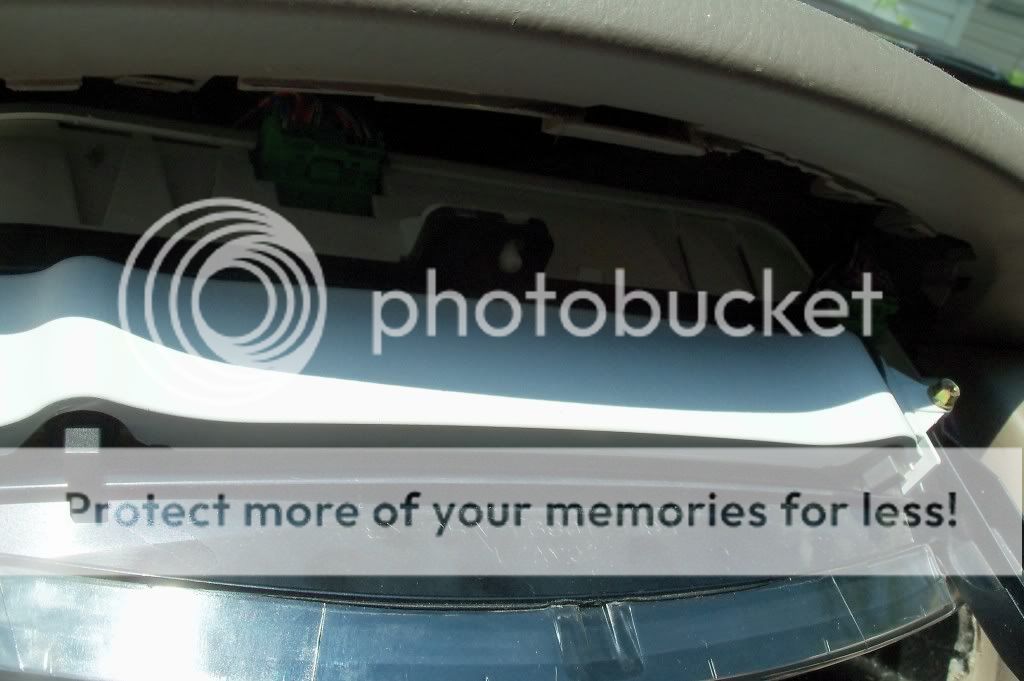
I am going to skip the gauge cluster part because it has been done already and im not going to double post how to do a cluster bulbs.. But I will add to this one... http://www.6thgenaccord.com/forums/showthread.php?t=34729 on page one (great easy write up btw) There is also two bulbs at the top of your cluster that can be changed also.. easy twist out and they are bulb number 74...
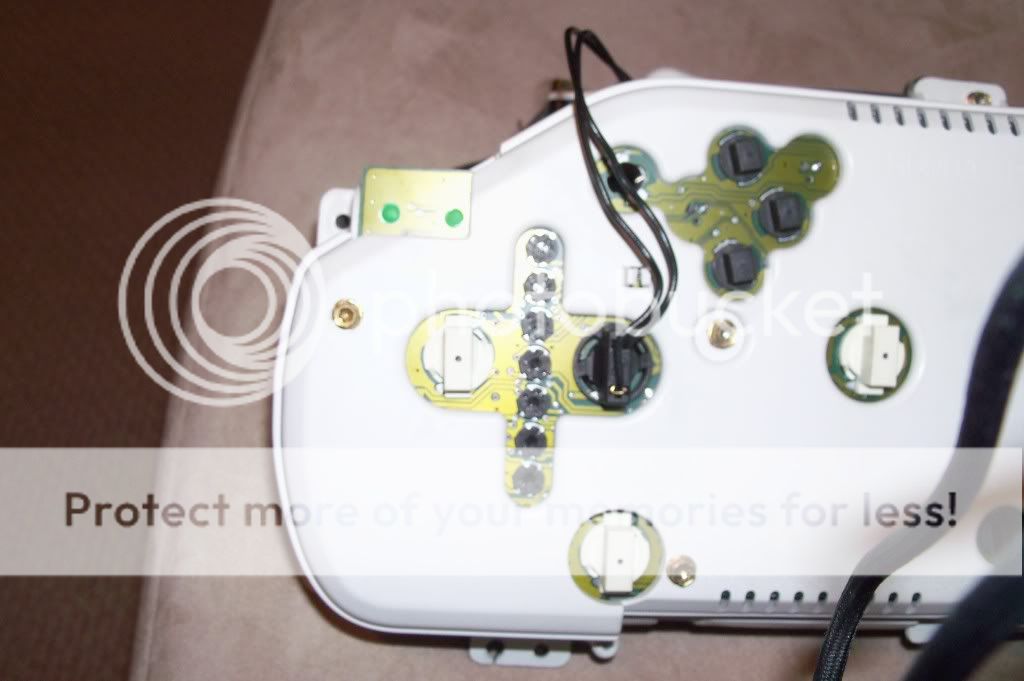
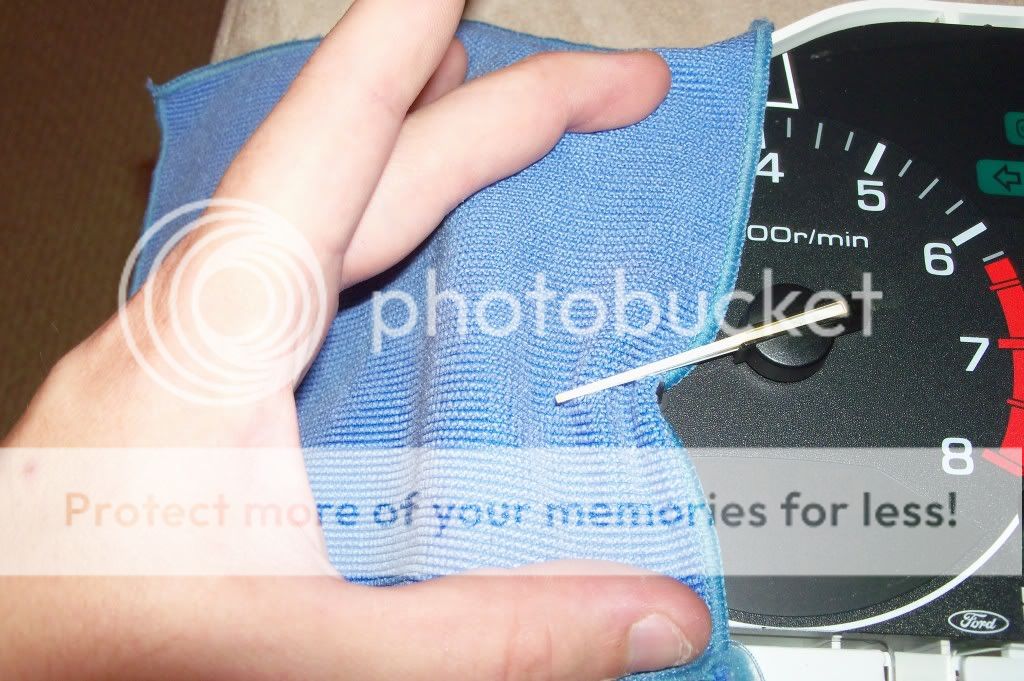
While you still have the cluster out, if you want to get rid of the yellow on your needles, you will take the cluster, and remove the two torex screws that are on the Clear Plastic lens, then the three Torex on the back that are at the top, facing you... not on the tip top... Once removed all, you can then remove the clear lens. I would not suggest removing the needles. I did this and it is a pain in the a$$ to get everything back to the correct settings. Get a few q-tips and some alcohol rub. Rub your needles.. I also suggest putting a paper towel or small microfiber cloth under your needle while doing this, it will save you from accidentally getting it on your gauge faces. Once you have removed the yellow that you didnt want they should be white. There is also a layer of yellow on the bottom of the needles...
in case you didnt know our gauges are made by ford..

Now as far as color because I have been asked, once white they will be the color of your bulbs, white bulbs=white needles.. Red Bulbs= red needles..... mine are blue..(guess what color they are).There is someone around that has done specific bulbs for the needles but thats too much like work for me... There is also transparent paint you can use on them.. does it work.. I dont know..never used it... But use your color wheel you learned in school and realize that red bulbs will not shine through a blue needles...
Once your are done and happy with your work, go in reverse order.
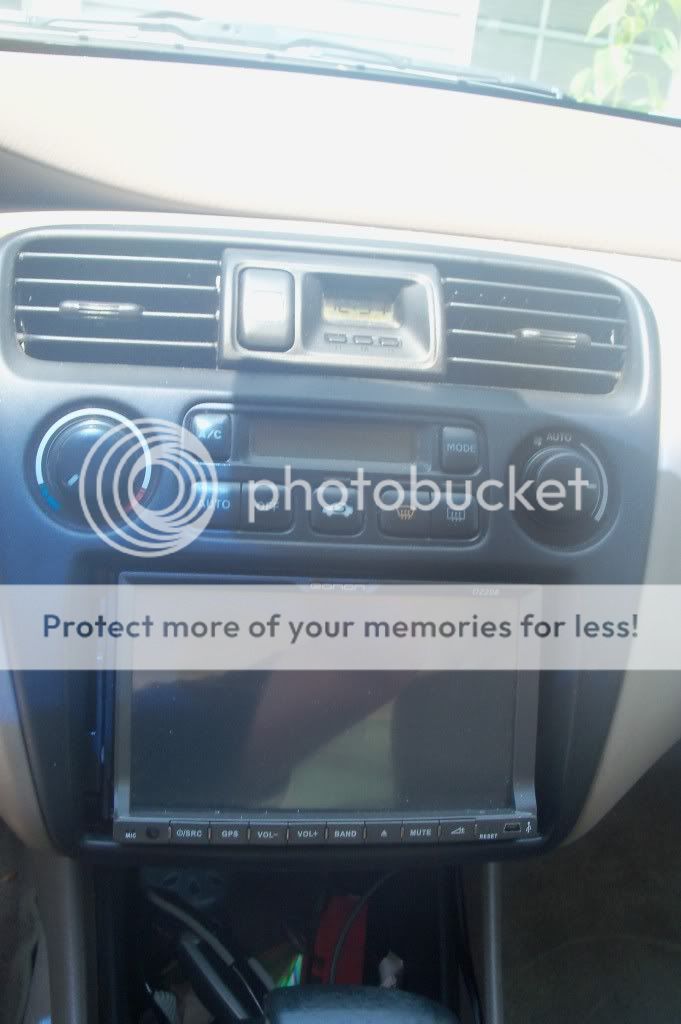
Now the Climate controls...
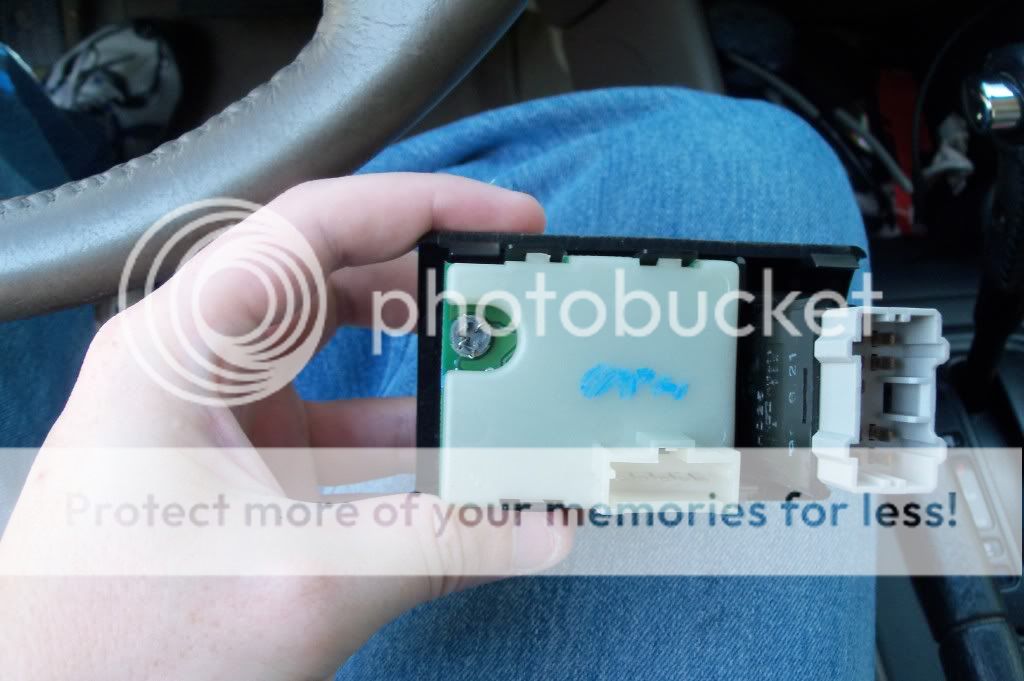
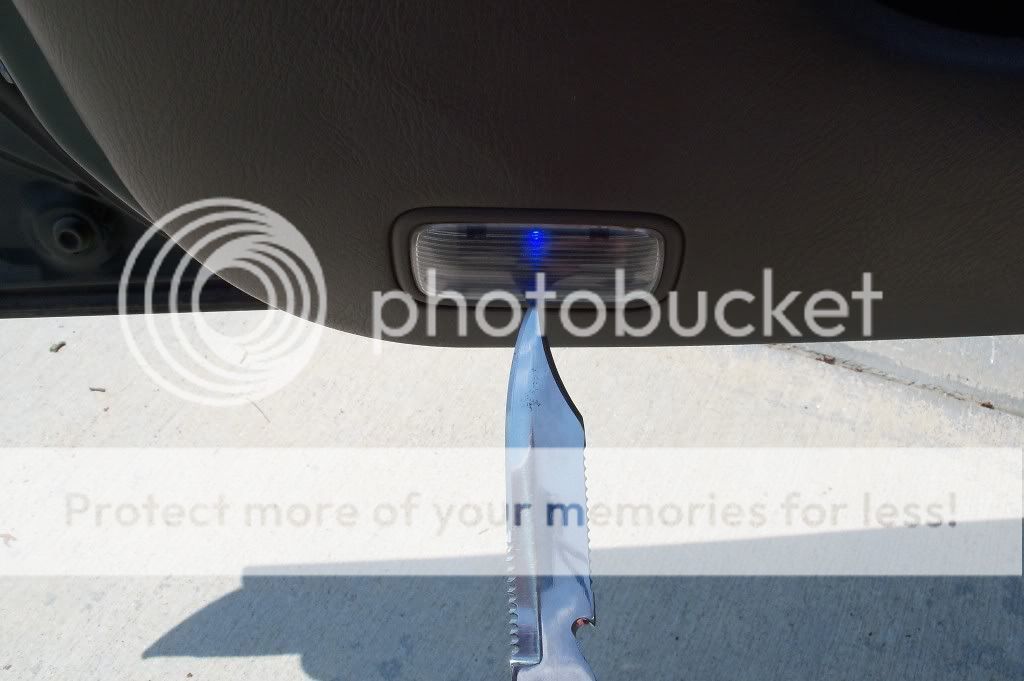
There are two Screws at the bottom near your shifter and one behind your clock. Remove all of these. To remove your clock get a flat head screw driver or knife and cover it in eletrical tape so not to scratch your panel. Pop the clock from the bottom and then unplug the clock. This is your first bulb, Small twist type from Superbright LED (3mm).
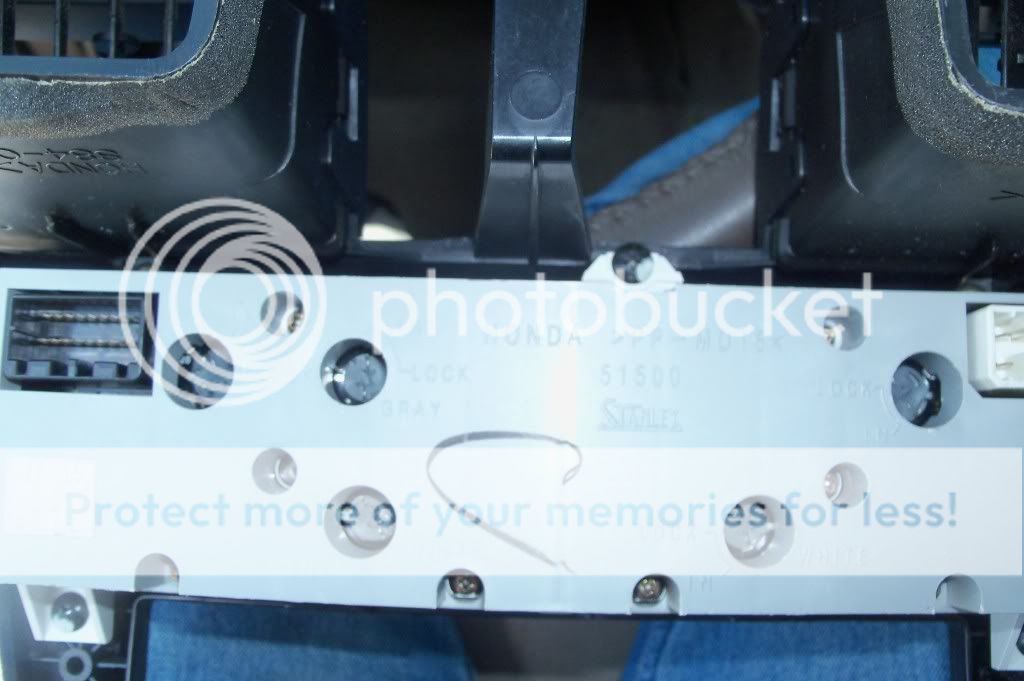
Then remove the Panel, be careful so you dont break the retaining clips.
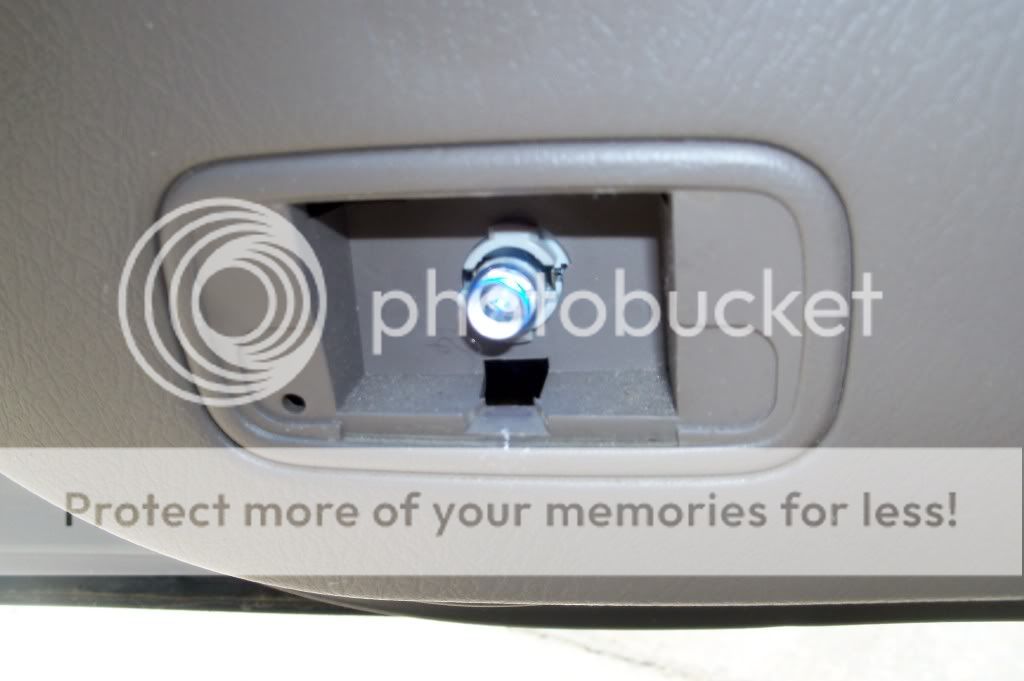
Turn over and get your screw driver and twist the bulbs out.. there are 3 (4mm) and 3 (5mm) Twist out the bulbs and replace with the LED ones. Again use your towel to check the lights by plugging it back in and turning your lights on.. Reverse the bulbs if they do not light up. Once all bulbs work put back in reverse order.
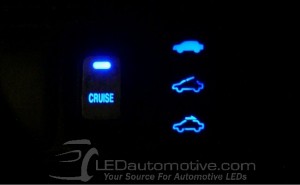
Cruise Control, Sunroof,Fog Lights (3mm twist lock bulbs) (2 for Cruise, 2 for Sunroof)
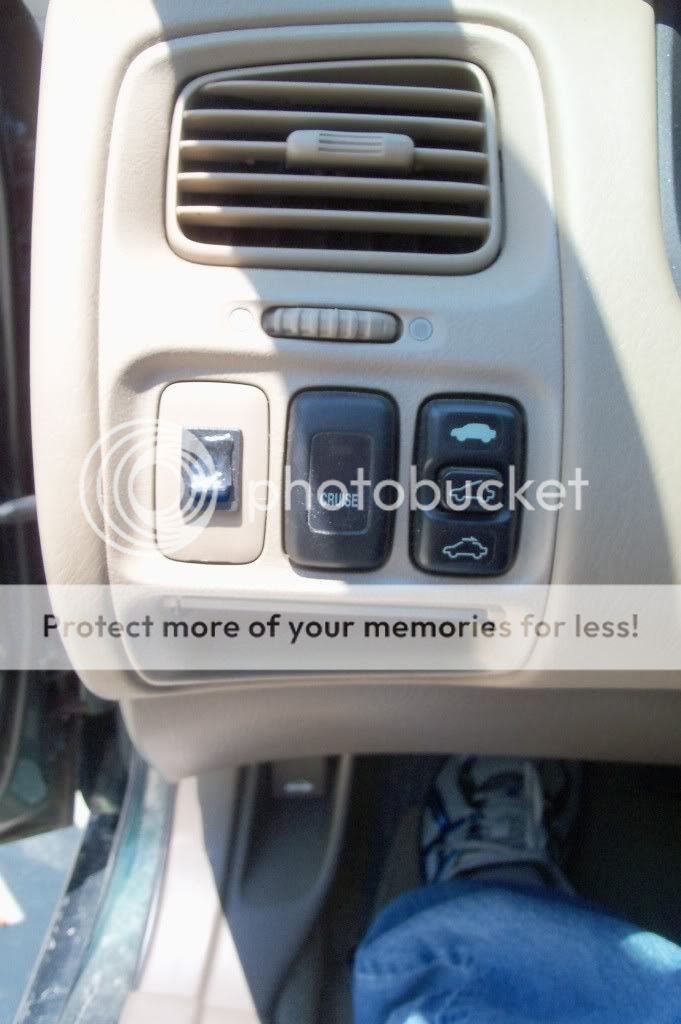
Remove your ash tray.. just pull it out..duh... There will be two screws behind it remove those and you can remove the bezel for the switches. Unplug the switches so you can take the unit out. There are clips that hold the switches in. I used a flat head screwdriver to push them down, the switch will come out the front. The switches have bulbs on the side of them that are all the small twist type. Change those and check ... (use your towel again)

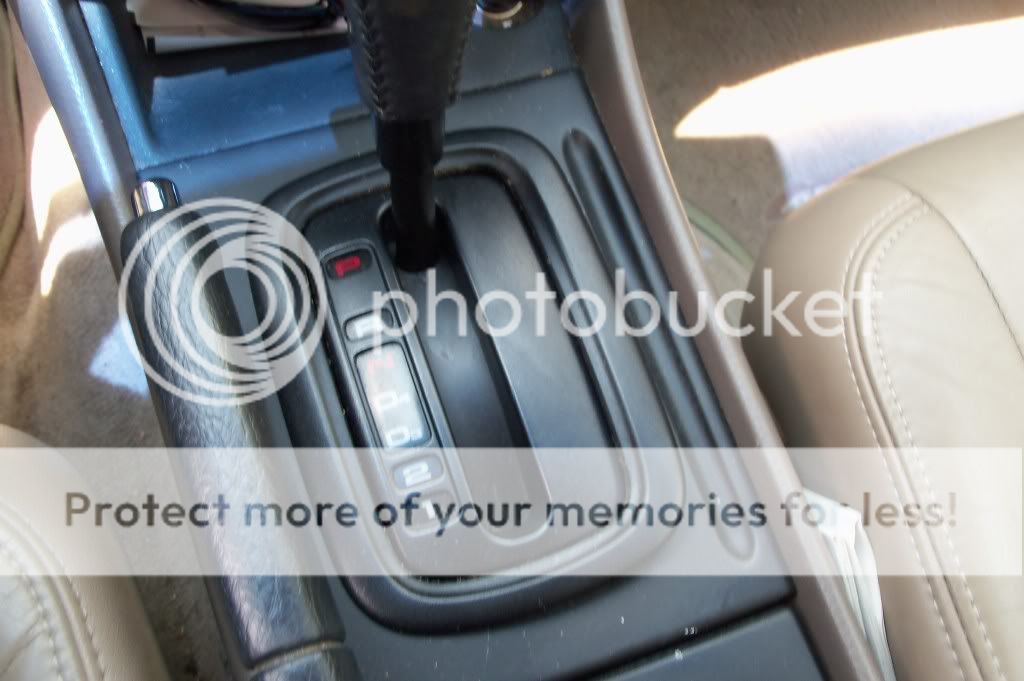
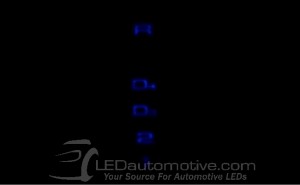
Auto Gear Shifter (74)
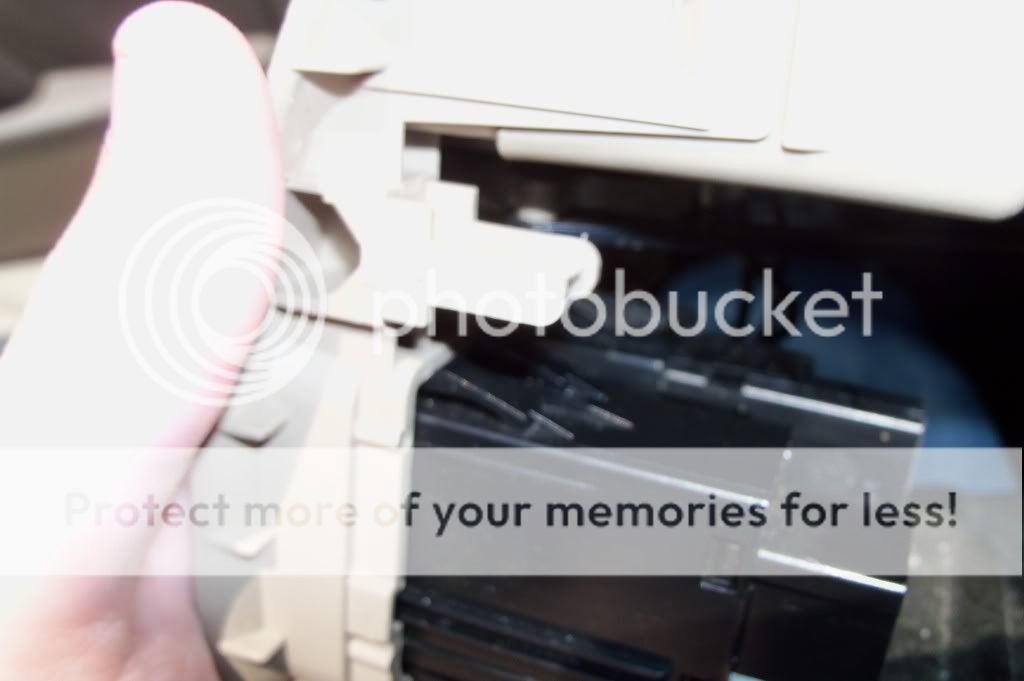
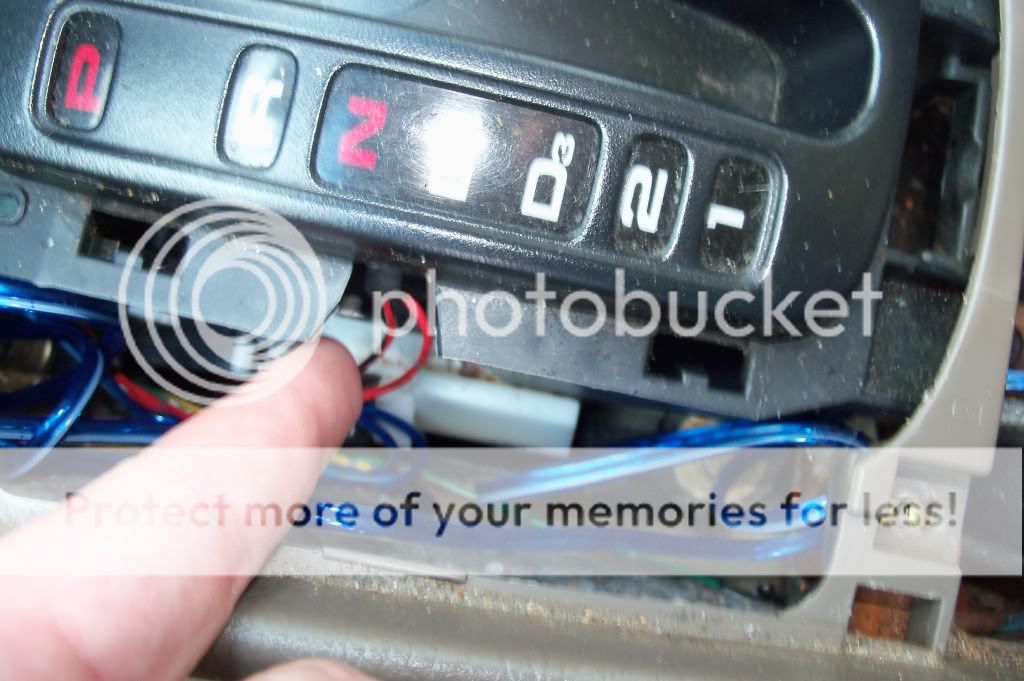
Take Plastic bezel out from around the shifter, remove the bezel around the entire console ..it is sometimes difficult because of the plastic pins that hold it on.. I broke one of mine... then once you have that off you can twist the bulb out.. (its the black and red wire.. dont worry about the blue one.. dumb idea i had at one point) Change the bulb, Test and then put everything back together..
Doors (194)
Take a flat head screw driver or knife,I used my big knife haha, Put it in the hole and pop the plastic off, Change bulb, put back together....
Prices from SuperbrightLEDs.com
3mm, 4mm, 5mm Twist Type LEDs-$1.29 each-- Buttons/climate control
(194/168 type) with 90 or 120 degree $0.79 each --- I put these in my doors and trunk
12 VDC 5-LED Wedge Base bulb (194/168 type) $2.99 each-- Put in my Gauges
Small Wedge Base LED bulb (74 type)~ 2 lumen – 1.19 each-- gauges/ Shifter
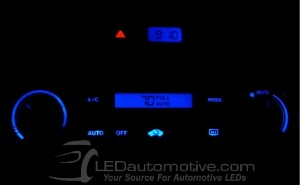
Following Pics from LEDautomotive.com Its cheaper to DIY... This is what mine looks like at night i just didnt have my camera at night..
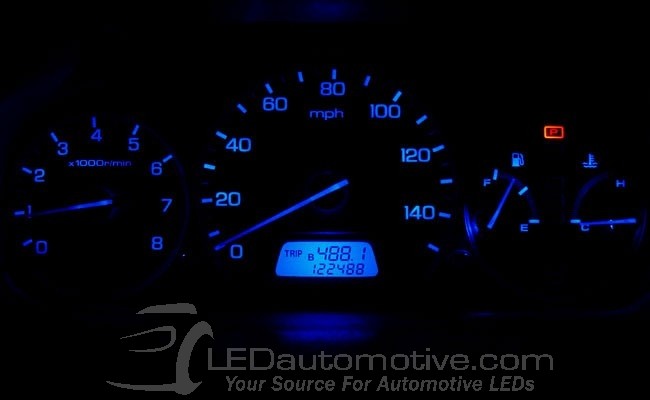
I am going to skip the gauge cluster part because it has been done already and im not going to double post how to do a cluster bulbs.. But I will add to this one... http://www.6thgenaccord.com/forums/showthread.php?t=34729 on page one (great easy write up btw) There is also two bulbs at the top of your cluster that can be changed also.. easy twist out and they are bulb number 74...
While you still have the cluster out, if you want to get rid of the yellow on your needles, you will take the cluster, and remove the two torex screws that are on the Clear Plastic lens, then the three Torex on the back that are at the top, facing you... not on the tip top... Once removed all, you can then remove the clear lens. I would not suggest removing the needles. I did this and it is a pain in the a$$ to get everything back to the correct settings. Get a few q-tips and some alcohol rub. Rub your needles.. I also suggest putting a paper towel or small microfiber cloth under your needle while doing this, it will save you from accidentally getting it on your gauge faces. Once you have removed the yellow that you didnt want they should be white. There is also a layer of yellow on the bottom of the needles...
in case you didnt know our gauges are made by ford..
Now as far as color because I have been asked, once white they will be the color of your bulbs, white bulbs=white needles.. Red Bulbs= red needles..... mine are blue..(guess what color they are).There is someone around that has done specific bulbs for the needles but thats too much like work for me... There is also transparent paint you can use on them.. does it work.. I dont know..never used it... But use your color wheel you learned in school and realize that red bulbs will not shine through a blue needles...
Once your are done and happy with your work, go in reverse order.
Now the Climate controls...
There are two Screws at the bottom near your shifter and one behind your clock. Remove all of these. To remove your clock get a flat head screw driver or knife and cover it in eletrical tape so not to scratch your panel. Pop the clock from the bottom and then unplug the clock. This is your first bulb, Small twist type from Superbright LED (3mm).
Then remove the Panel, be careful so you dont break the retaining clips.
Turn over and get your screw driver and twist the bulbs out.. there are 3 (4mm) and 3 (5mm) Twist out the bulbs and replace with the LED ones. Again use your towel to check the lights by plugging it back in and turning your lights on.. Reverse the bulbs if they do not light up. Once all bulbs work put back in reverse order.
Cruise Control, Sunroof,Fog Lights (3mm twist lock bulbs) (2 for Cruise, 2 for Sunroof)
Remove your ash tray.. just pull it out..duh... There will be two screws behind it remove those and you can remove the bezel for the switches. Unplug the switches so you can take the unit out. There are clips that hold the switches in. I used a flat head screwdriver to push them down, the switch will come out the front. The switches have bulbs on the side of them that are all the small twist type. Change those and check ... (use your towel again)
Auto Gear Shifter (74)
Take Plastic bezel out from around the shifter, remove the bezel around the entire console ..it is sometimes difficult because of the plastic pins that hold it on.. I broke one of mine... then once you have that off you can twist the bulb out.. (its the black and red wire.. dont worry about the blue one.. dumb idea i had at one point) Change the bulb, Test and then put everything back together..
Doors (194)
Take a flat head screw driver or knife,I used my big knife haha, Put it in the hole and pop the plastic off, Change bulb, put back together....
Prices from SuperbrightLEDs.com
3mm, 4mm, 5mm Twist Type LEDs-$1.29 each-- Buttons/climate control
(194/168 type) with 90 or 120 degree $0.79 each --- I put these in my doors and trunk
12 VDC 5-LED Wedge Base bulb (194/168 type) $2.99 each-- Put in my Gauges
Small Wedge Base LED bulb (74 type)~ 2 lumen – 1.19 each-- gauges/ Shifter
Following Pics from LEDautomotive.com Its cheaper to DIY... This is what mine looks like at night i just didnt have my camera at night..