

patofdzb
Well-Known Member
Hey well after doing this mod, and seeing some ppl were having problems, i decided to post up this DIY.
I chose to tape instead of soldering becase i dont have a soldering iron, and i would be afraid of belting the Vtec wire
Steps: 20
Time: 10-15 Minutes
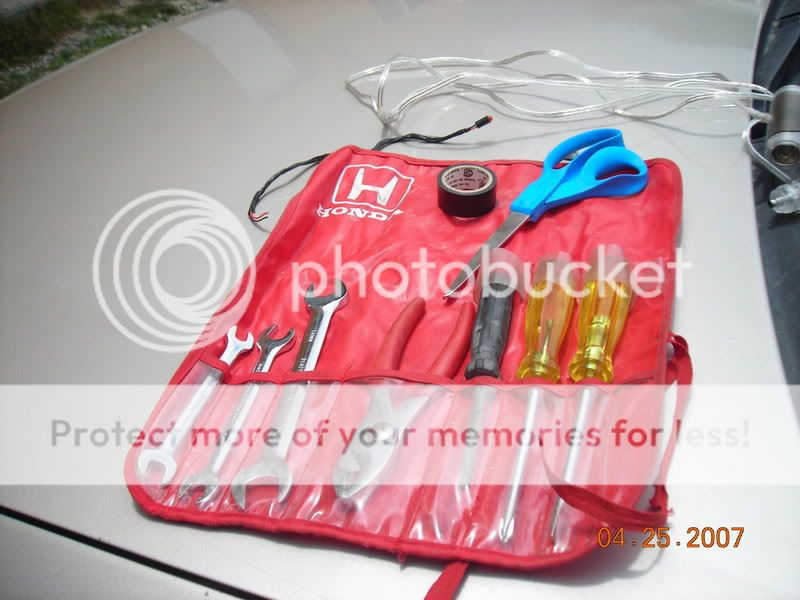
Materials:
- 1 Led of your choice
- 1 Resistor ( i used a 330 ohm 1/4 watt)
- 2-5 ft of wire/ speaker cable
- Scissors
- wrench or pliers
- black/electrical tape
Optional Materials:
- Soldering Iron
- Wire Tap-in
- Butt Conectors
- Drill
- Enough gas to go test it
- 6 pack of beer
resistor not shown*
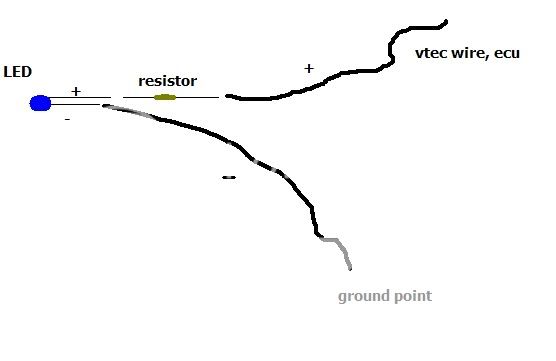
Step 1: Solder/tape led, reistor, and wire.
Step 2: Unplug your battery, just in case.
Step 3: Mount your led wherever you want

Step 4: Pull the carpet back from the Paaengers left foot
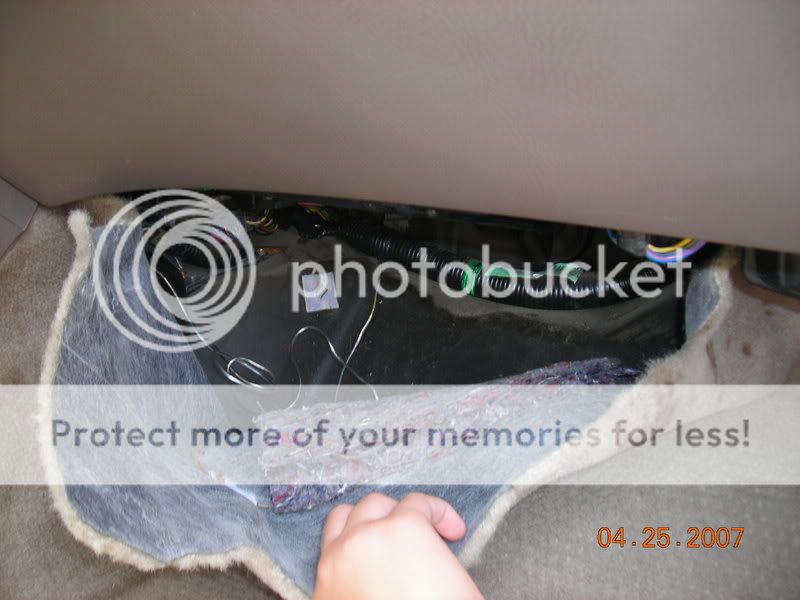
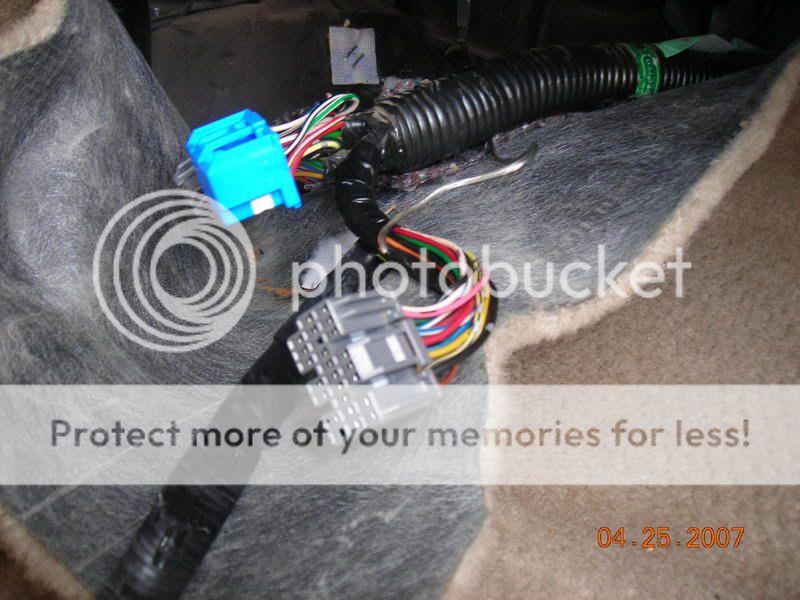
Step 5: Locate the ECU.
Step 6: Unplug 3 of the connectors.
Step 7: Cut the HUGE zip tie so you can pull the wires closer to you.
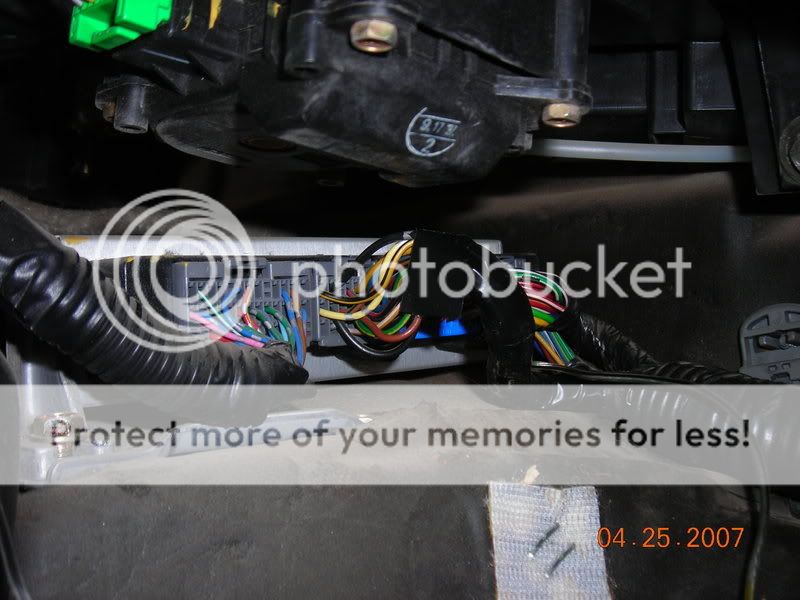
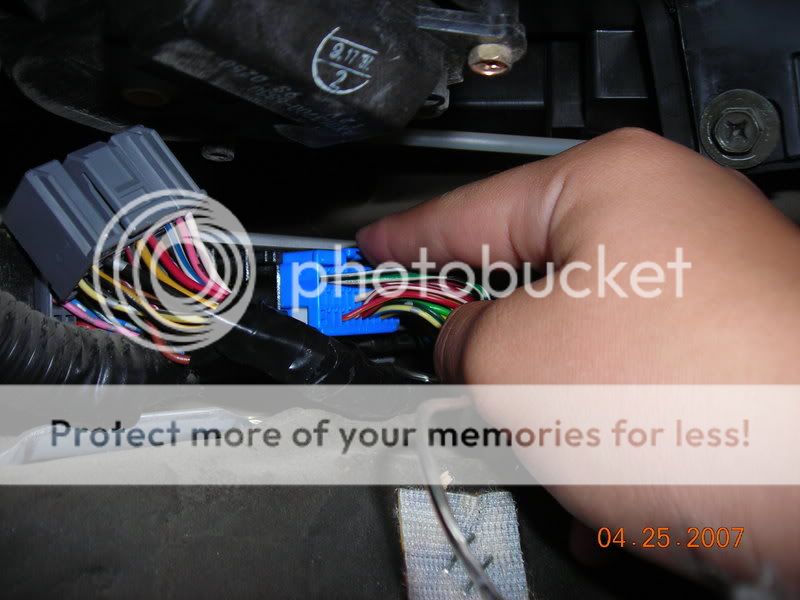
Step 8: Take the black tape off of the Big grey connector
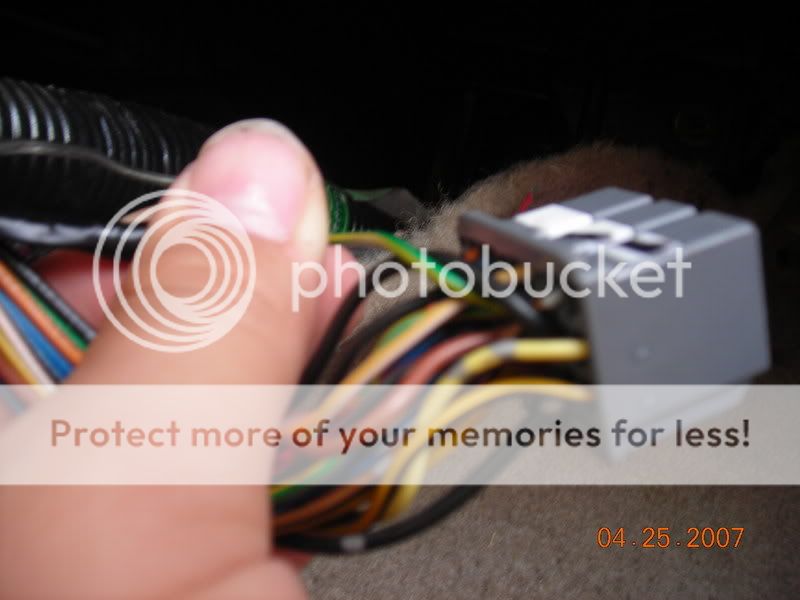
Step 9: Locate the Vtec wire
WARNING there are 2 green and yellow wires on that same connector
green with a yellow stripe ( vtec wire )
yellow with a green stripe (not vtec)
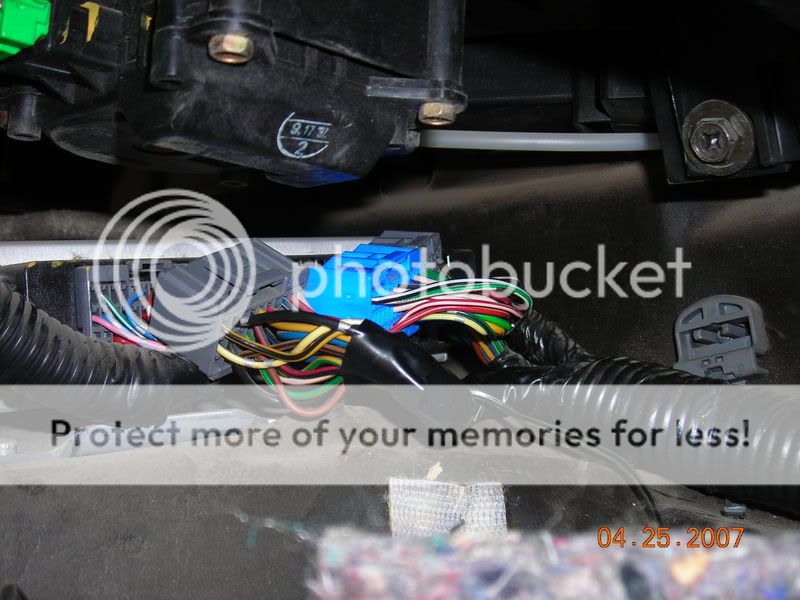
Step 10: Splice the vtec wire, and attach the wire to the led.

Step 11: Tape/Solder both wires together
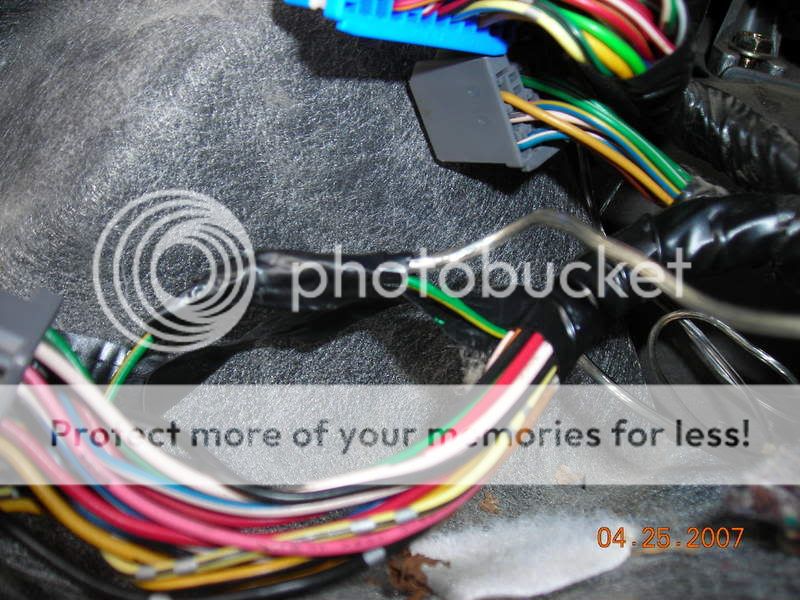
Step 12: Tape all of the wires from that connector together;
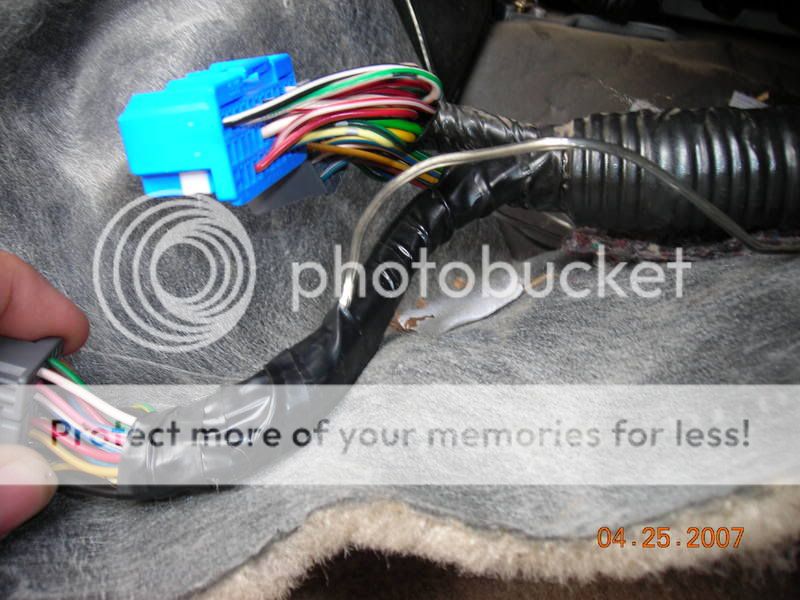
Step 13: Plug back in all 3 connectors on to the ECU.
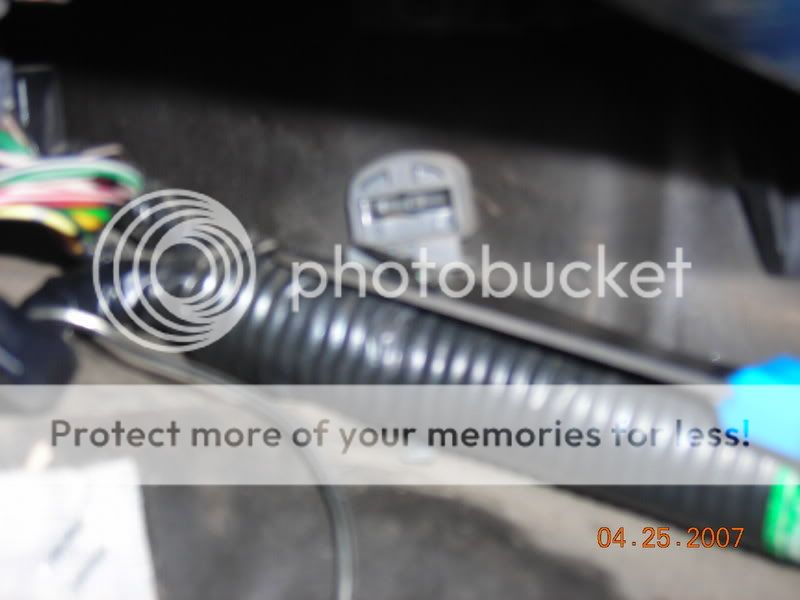
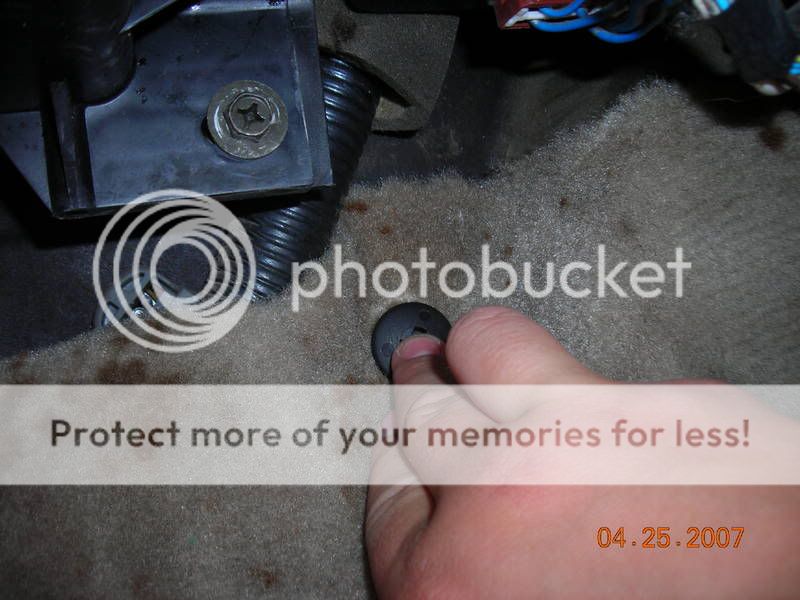
Step 14: Put the carpet back on, and dont forget this little guy.
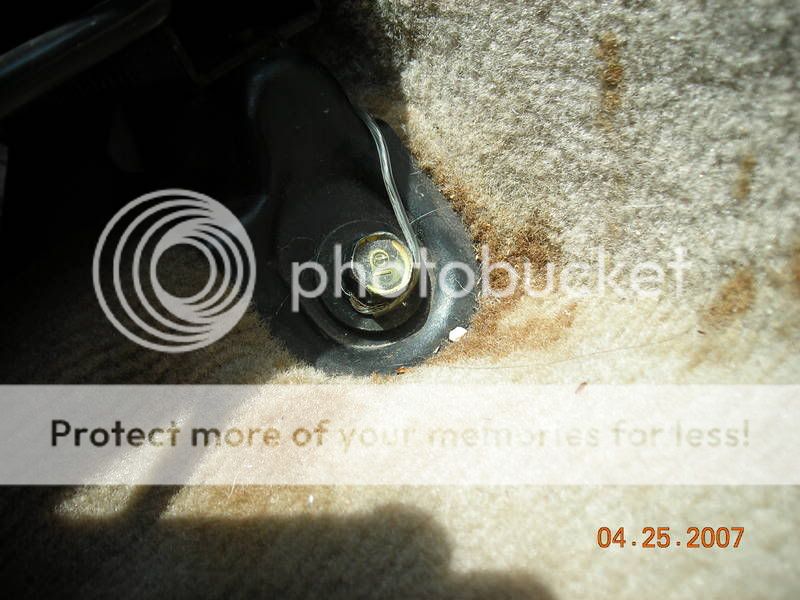
Step 15: Now choose a ground point, run the wire, and ground it.
I chose the seat bracket.
Step 16: Put up all the mess you've made.
Step 17: Give yourself a pat on the back for doin a good job.
Step 18: Get in the car and turn on the engine.
Step 19: Test it!
Step 20: If it works, then your done!
I chose to tape instead of soldering becase i dont have a soldering iron, and i would be afraid of belting the Vtec wire
Steps: 20
Time: 10-15 Minutes
Materials:
- 1 Led of your choice
- 1 Resistor ( i used a 330 ohm 1/4 watt)
- 2-5 ft of wire/ speaker cable
- Scissors
- wrench or pliers
- black/electrical tape
Optional Materials:
- Soldering Iron
- Wire Tap-in
- Butt Conectors
- Drill
- Enough gas to go test it
- 6 pack of beer
resistor not shown*
Step 1: Solder/tape led, reistor, and wire.
Step 2: Unplug your battery, just in case.
Step 3: Mount your led wherever you want
Step 4: Pull the carpet back from the Paaengers left foot
Step 5: Locate the ECU.
Step 6: Unplug 3 of the connectors.
Step 7: Cut the HUGE zip tie so you can pull the wires closer to you.
Step 8: Take the black tape off of the Big grey connector
Step 9: Locate the Vtec wire
WARNING there are 2 green and yellow wires on that same connector
green with a yellow stripe ( vtec wire )
yellow with a green stripe (not vtec)
Step 10: Splice the vtec wire, and attach the wire to the led.
Step 11: Tape/Solder both wires together
Step 12: Tape all of the wires from that connector together;
Step 13: Plug back in all 3 connectors on to the ECU.
Step 14: Put the carpet back on, and dont forget this little guy.
Step 15: Now choose a ground point, run the wire, and ground it.
I chose the seat bracket.
Step 16: Put up all the mess you've made.
Step 17: Give yourself a pat on the back for doin a good job.
Step 18: Get in the car and turn on the engine.
Step 19: Test it!
Step 20: If it works, then your done!
Last edited: