

lmazing86
Member
Hey guys. First post on the forum but I've been lurking on here for a bit. I'll give you a bit of a backstory on myself and the car.
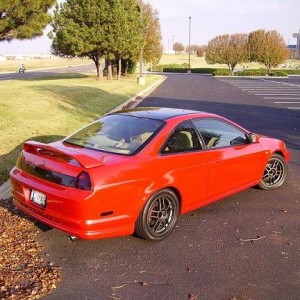
I drive a 2005 RSX Type S. My fiancée drives the 98 Accord LX. She just recently moved in with me, so maintenance on the Accord has fallen on me. Unfortunately the car was pretty poorly maintained by her and her mom's b/f prior to moving in and was in pretty rough shape. $1200 worth of maintenance at the shop because the timing belt hadn't been properly installed, the distributor was failing, the valves were out of adjustment....etc etc (2200 mile trip from Wisconsin to Nevada and the car needed to be up for it). Now with the car running properly it's time to start doing some work on the appearance of the vehicle.
Here's the list of things I've done or plan to do, and I hope to have some posts on most of them:
Restore the Headlights
Install MH1 projectors and HID kit (planning a big DIY on this although there are already a couple on this forum that have proved to be very helpful)
Replace the parking brake sensor (brake warning light on the dash is always illuminated)
Fix the taillights
Replace the clock light (big thanks to a few DIYs here to realize how easy it was)
Replace the right rear sway bar link
Her headlight lenses weren't terrible but they were bad enough that they would have ruined the nice look of the projectors I'm planning on installing soon.
Anyone looking to restore headlights, especially ones in rough shape, should consider one of two options.
1) Either buy multiple sandpaper grits (1000-3000 grit), buy polish and buy sealant and watch an instrutable such as: http://www.instructables.com/id/DIY-Headlight-Restoration/
2) Buy a kit which has everything included and end up doing the same process.
Since I'm on a long term work trip and don't have a garage to store stuff, I went with route two. I used Meguiar's Two Step Headlight Restoration Kit which I purchased locally.
I have to say, this stuff works great. The kit includes a 1000 grit sandpaper pad, a 3000 grit sandpaper pad, a foam handle for actually using the sandpaper, a bottle of PlastX, a bottle of plastic sealer and a drill pad. It cost roughly $25 and would probably be good for 2-4 sets of headlights, depending on how bad they are.
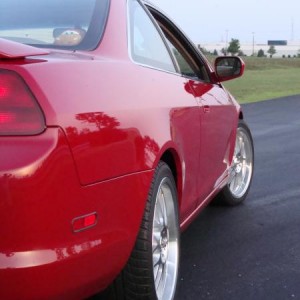
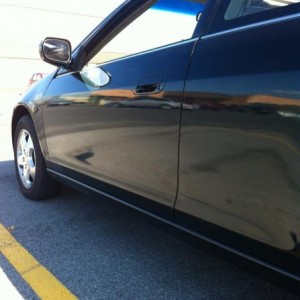
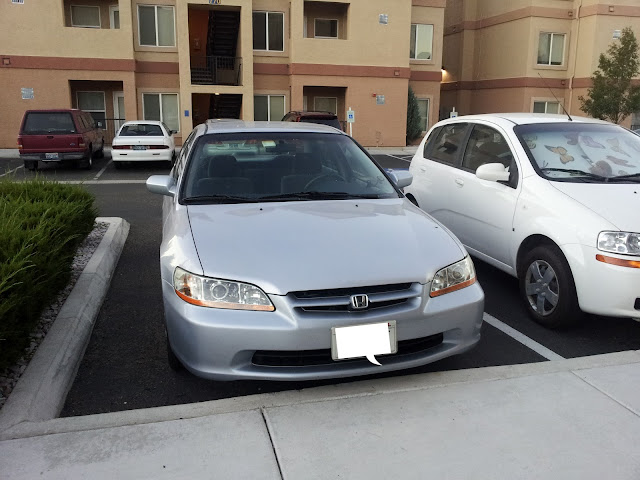
The process is simple but time consuming. Start by taping off the headlight, as you can see in the first picture. Starting with the 1000 grit sandpaper, wetsand the headlight horizontally. Take your time and make sure you have a consistent finish, and make sure the sandpaper doesn't dry out. With the headlight uniformly sanded, move on to the 3000 grit pad and wetsand the headlight again, this time going vertically. Continue sanding until you can't feel any noticeable grooves in the headlight. The 3000 grit step is the most important as you are removing all the scratches from the 1000 grit sandpaper and if you don't accomplish that you won't have a clear headlight. Wipe the headlight off with a towel. Attach the drill pad to a drill (preferably cordless) and put a dime sized amount of PlastX on the drill pad. Work the headlight with the drill/pad, adding more PlastX as needed and wiping the headlight off occasionally. When you are happy with the results, use the sealer to prevent future oxidation. If you did it right (and it's hard to do it wrong if you take your time) you'll end up with something like this:
It's been 2 weeks since I did this to her headlights, and with the exception of some bugs who gave their lives trying to stop the car....they still look great. In addition, the amount of light coming out of the headlights is greatly improved due to the lenses being perfectly clear. If you aren't happy with your headlights I highly recommend this as a first step.
So, thanks for reading. This forum has given me a ton of useful info over the last month+ and I want to do my part to give back, even a small bit. I'll add new DIYs as I work to chip away at the checklist of things that need to be done on the car.
Edit 9-10:
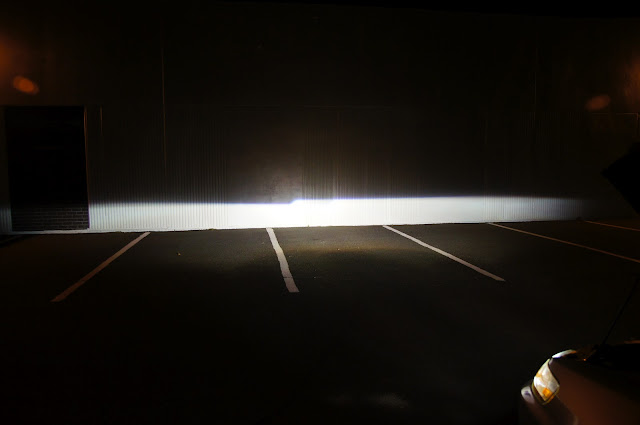
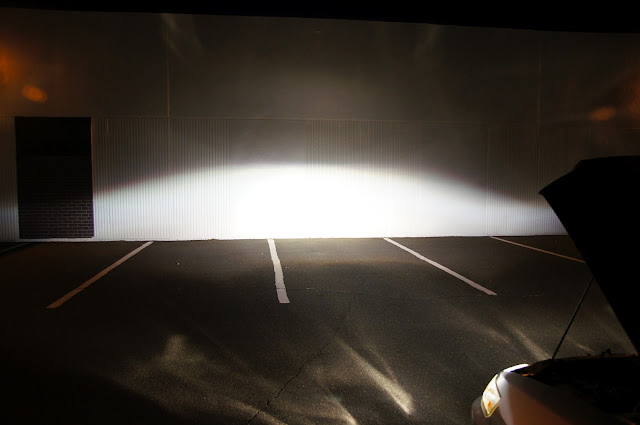
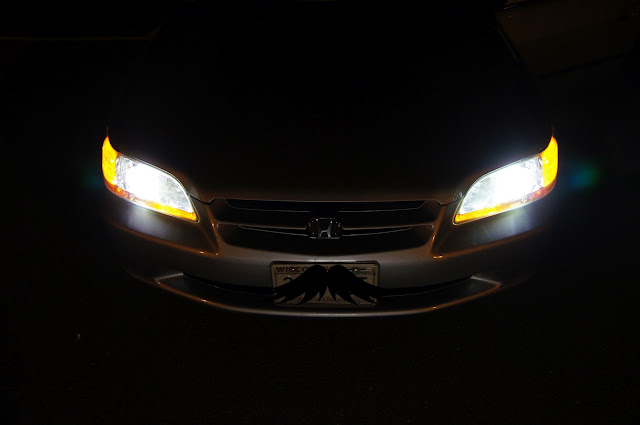
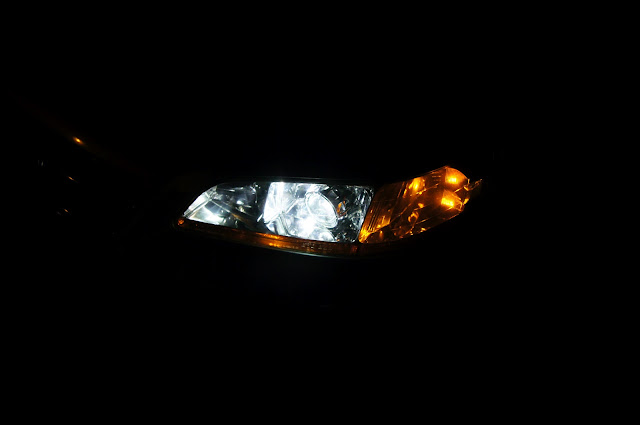
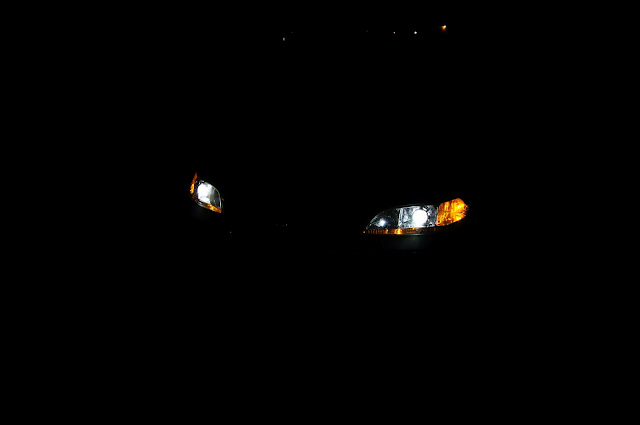
Thought I'd update this post, as the main reason for restoring these headlights was in preparation for installing a HID retrofit kit with MH1 projectors. The Mini H1 (MH1) projector is one of the smallest bi-xenon projectors, which allows for an easy retrofit. Infact, the back of the projector is a threaded post that is specifically designed to fit through a 9006 or equivalent socket hole. I got my full retrofit kit from theretrofitcsource.com on a group buy (25% off for group buys if you're interested.....great deal). The entire retrofit from bumper off to bumper on took me 10 hours, and that included watching the Packers lose. I've never taken a bumper off before....so if you know what you're doing there and have a fully setup work area (I used a kitchen table in an apartment) you could probably be done in ~5 hours. The retrofit is increadibly easy considering what you're doing and the light output on the MH1 projectors is wonderful compared to a normal 9006 bulb. Best part is the headlight reflector is unmolested, so if for some reason you ever had to go back to stock, it would be completely possible. See below for pictures. The output picture shows that my passenger projector still needs to be tweaked ever so slightly. That picture was taken with a DSLR camera 25 feet from a wall.....so use it as a reference only. If you are looking for a DIY, check out http://www.6thgenaccord.com/forums/showthread.php?t=31166&highlight=MH1 as he did a wonderful DIY. My only difference was using mini gatling gun shrouds, which required minimal sanding compared to his Apollo shrouds. Enjoy.
I drive a 2005 RSX Type S. My fiancée drives the 98 Accord LX. She just recently moved in with me, so maintenance on the Accord has fallen on me. Unfortunately the car was pretty poorly maintained by her and her mom's b/f prior to moving in and was in pretty rough shape. $1200 worth of maintenance at the shop because the timing belt hadn't been properly installed, the distributor was failing, the valves were out of adjustment....etc etc (2200 mile trip from Wisconsin to Nevada and the car needed to be up for it). Now with the car running properly it's time to start doing some work on the appearance of the vehicle.
Here's the list of things I've done or plan to do, and I hope to have some posts on most of them:
Restore the Headlights
Install MH1 projectors and HID kit (planning a big DIY on this although there are already a couple on this forum that have proved to be very helpful)
Replace the parking brake sensor (brake warning light on the dash is always illuminated)
Fix the taillights
Replace the clock light (big thanks to a few DIYs here to realize how easy it was)
Replace the right rear sway bar link
Her headlight lenses weren't terrible but they were bad enough that they would have ruined the nice look of the projectors I'm planning on installing soon.
Anyone looking to restore headlights, especially ones in rough shape, should consider one of two options.
1) Either buy multiple sandpaper grits (1000-3000 grit), buy polish and buy sealant and watch an instrutable such as: http://www.instructables.com/id/DIY-Headlight-Restoration/
2) Buy a kit which has everything included and end up doing the same process.
Since I'm on a long term work trip and don't have a garage to store stuff, I went with route two. I used Meguiar's Two Step Headlight Restoration Kit which I purchased locally.
I have to say, this stuff works great. The kit includes a 1000 grit sandpaper pad, a 3000 grit sandpaper pad, a foam handle for actually using the sandpaper, a bottle of PlastX, a bottle of plastic sealer and a drill pad. It cost roughly $25 and would probably be good for 2-4 sets of headlights, depending on how bad they are.
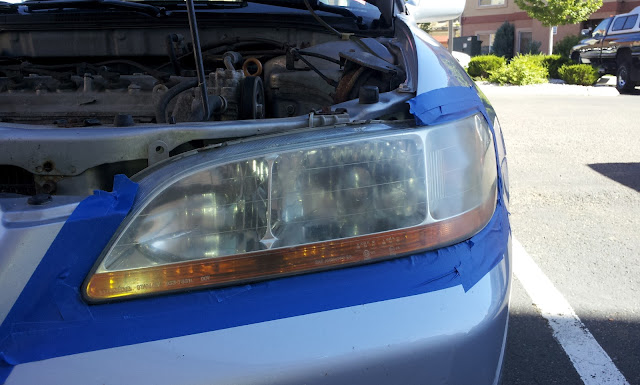
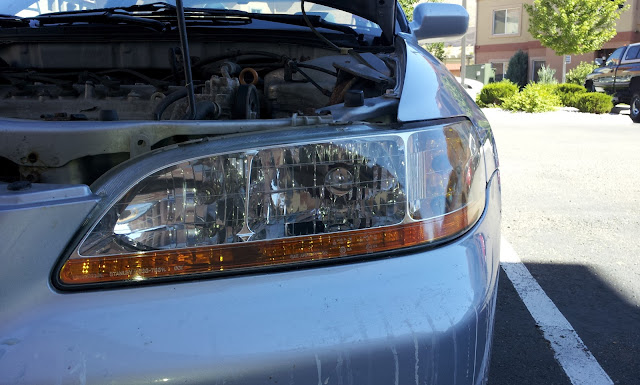
The process is simple but time consuming. Start by taping off the headlight, as you can see in the first picture. Starting with the 1000 grit sandpaper, wetsand the headlight horizontally. Take your time and make sure you have a consistent finish, and make sure the sandpaper doesn't dry out. With the headlight uniformly sanded, move on to the 3000 grit pad and wetsand the headlight again, this time going vertically. Continue sanding until you can't feel any noticeable grooves in the headlight. The 3000 grit step is the most important as you are removing all the scratches from the 1000 grit sandpaper and if you don't accomplish that you won't have a clear headlight. Wipe the headlight off with a towel. Attach the drill pad to a drill (preferably cordless) and put a dime sized amount of PlastX on the drill pad. Work the headlight with the drill/pad, adding more PlastX as needed and wiping the headlight off occasionally. When you are happy with the results, use the sealer to prevent future oxidation. If you did it right (and it's hard to do it wrong if you take your time) you'll end up with something like this:
It's been 2 weeks since I did this to her headlights, and with the exception of some bugs who gave their lives trying to stop the car....they still look great. In addition, the amount of light coming out of the headlights is greatly improved due to the lenses being perfectly clear. If you aren't happy with your headlights I highly recommend this as a first step.
So, thanks for reading. This forum has given me a ton of useful info over the last month+ and I want to do my part to give back, even a small bit. I'll add new DIYs as I work to chip away at the checklist of things that need to be done on the car.
Edit 9-10:
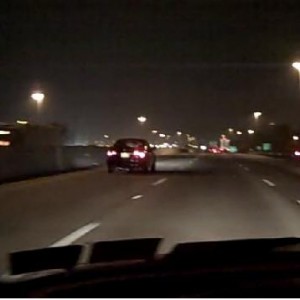
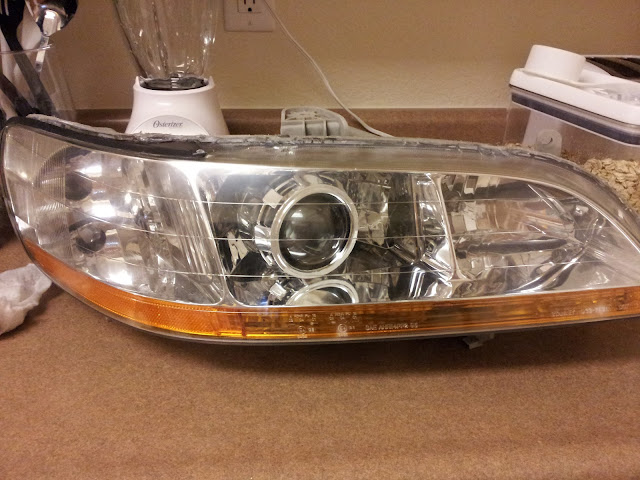
Thought I'd update this post, as the main reason for restoring these headlights was in preparation for installing a HID retrofit kit with MH1 projectors. The Mini H1 (MH1) projector is one of the smallest bi-xenon projectors, which allows for an easy retrofit. Infact, the back of the projector is a threaded post that is specifically designed to fit through a 9006 or equivalent socket hole. I got my full retrofit kit from theretrofitcsource.com on a group buy (25% off for group buys if you're interested.....great deal). The entire retrofit from bumper off to bumper on took me 10 hours, and that included watching the Packers lose. I've never taken a bumper off before....so if you know what you're doing there and have a fully setup work area (I used a kitchen table in an apartment) you could probably be done in ~5 hours. The retrofit is increadibly easy considering what you're doing and the light output on the MH1 projectors is wonderful compared to a normal 9006 bulb. Best part is the headlight reflector is unmolested, so if for some reason you ever had to go back to stock, it would be completely possible. See below for pictures. The output picture shows that my passenger projector still needs to be tweaked ever so slightly. That picture was taken with a DSLR camera 25 feet from a wall.....so use it as a reference only. If you are looking for a DIY, check out http://www.6thgenaccord.com/forums/showthread.php?t=31166&highlight=MH1 as he did a wonderful DIY. My only difference was using mini gatling gun shrouds, which required minimal sanding compared to his Apollo shrouds. Enjoy.
Last edited:
")