

OKAY! Time for some update. as you can see from the pictures before. i used way too much bondo. not only that, the first coat of bondo was not dry at all! and so it was easily peeled off. so today! i decided to redo the bondo and this time, 3rd time, would be a charm.
i'm still decided whether to sand my whole bumper to make it to smooth but keep the paint. (basically take out the clear coat and respray a new clearcoat). OR strip out the old paint and do a new painting process all over again?

here is what it looked like when i peeled the bondo before. you could see, only the bondo was only holding on the outer circle. which it didn't feel into the crack.

another angle of the bondo before. you could slightly see the crack and a lump on it.

here, i sand it down so the bondo would actually stick to the bumper.

now you could see the lump from the crack.

and another view from a short distance.

here is the first coat of bondo when it's sanded down. everything was smooth besides the left side which has some small wrinkles. and so i added more bondo to make it flat.

second coat of bondo. you could actually see how it's really flat now.

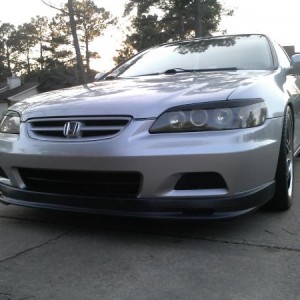
a distance view. it's been sanded to make it smooth which it's now done!

and here's the final picture of a close up. now it's time for paint!
i'm still decided whether to sand my whole bumper to make it to smooth but keep the paint. (basically take out the clear coat and respray a new clearcoat). OR strip out the old paint and do a new painting process all over again?
here is what it looked like when i peeled the bondo before. you could see, only the bondo was only holding on the outer circle. which it didn't feel into the crack.
another angle of the bondo before. you could slightly see the crack and a lump on it.
here, i sand it down so the bondo would actually stick to the bumper.
now you could see the lump from the crack.
and another view from a short distance.
here is the first coat of bondo when it's sanded down. everything was smooth besides the left side which has some small wrinkles. and so i added more bondo to make it flat.
second coat of bondo. you could actually see how it's really flat now.
a distance view. it's been sanded to make it smooth which it's now done!
and here's the final picture of a close up. now it's time for paint!
 i say keep the white lights. i was going to paint mine the color of my car, but couldnt find a match in high temp.