

F23A1AT
Well-Known Member
This DIY will display how to rebuild a set of Honda Legend dual piston calipers. The process for rebuilding a disc brake caliper is pretty much universal with a few exceptions somewhere I'm sure. Most of the brake calipers in use today are a single piston design where these are a two piston design. Because of this there is slightly more frustration involved but nothing that isn't manageable.
There aren't many things that can go wrong with this but just in case you break it, or get hurt, do not turn to me for blame.
You will need access to compressed air and a somewhat large supply of it. Don't try this without it.
Step one:
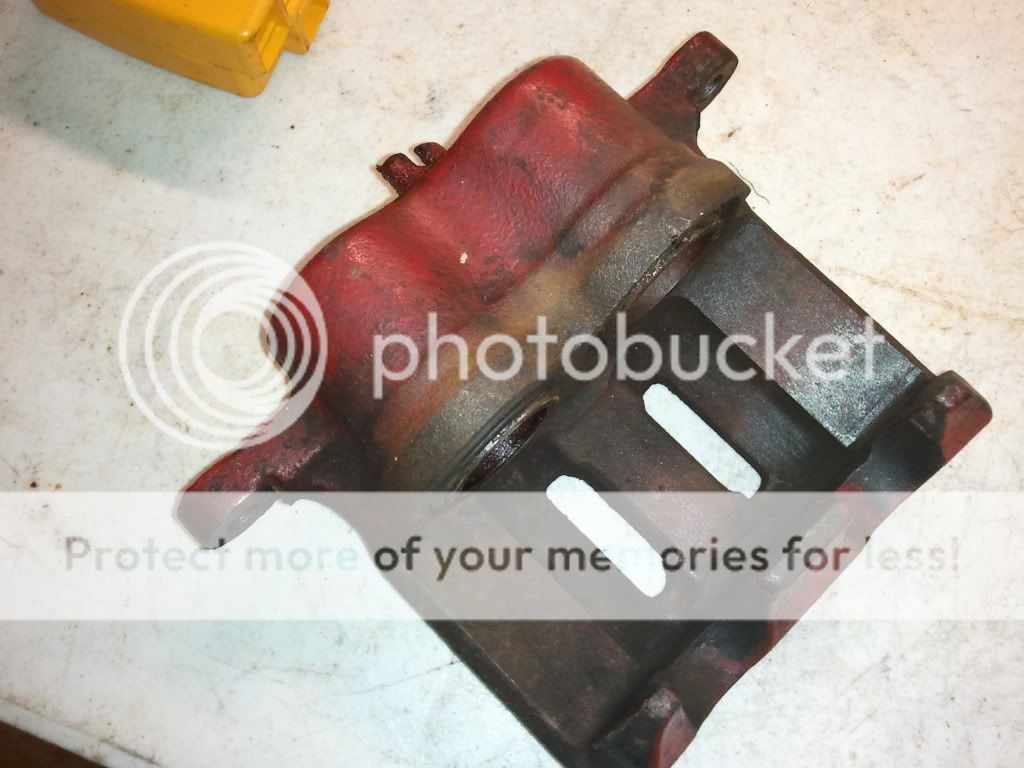
Take your cleaned brake caliper to a comfortable place to work in.
Step two:
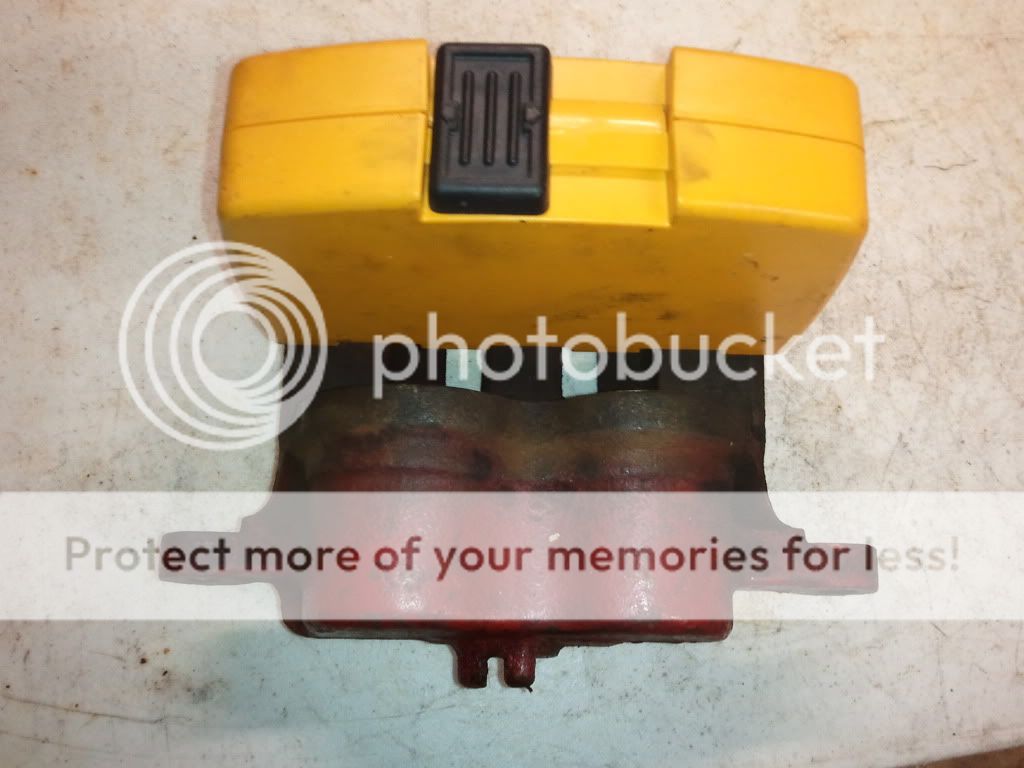
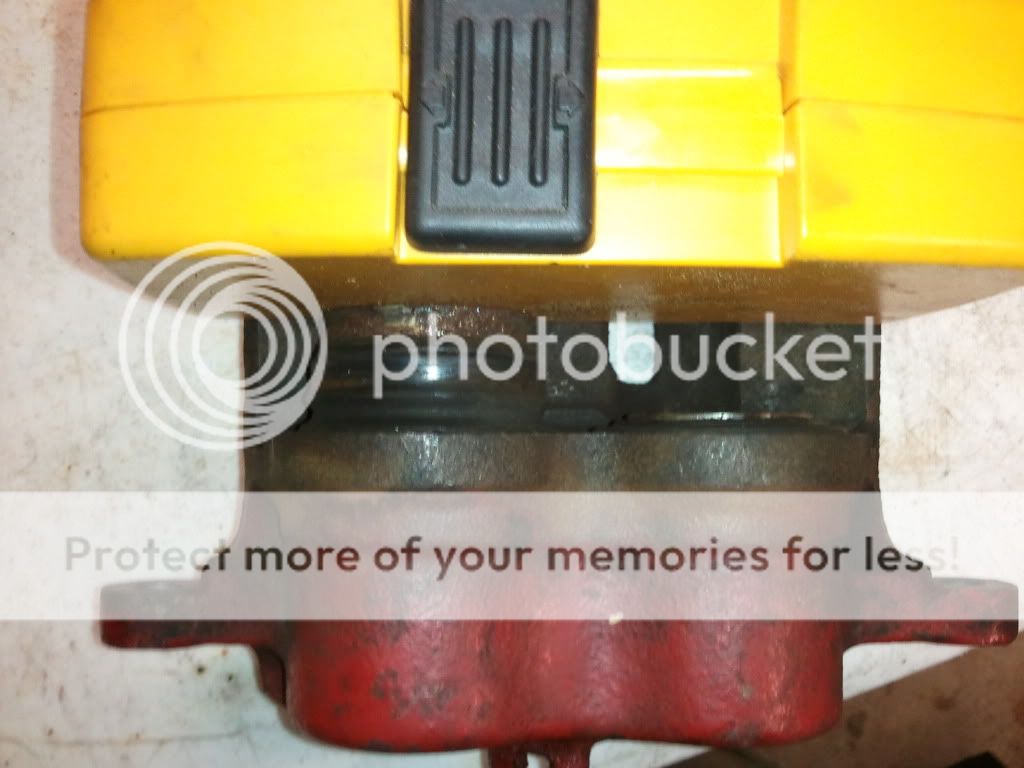
Use a thin block of wood or whatever you can find to stop the piston(s) from flying out of their bore(s). I had a small DeWalt drill bit box in sight and found it to fit the bill.
Step three:
Wear safety glasses or some sort of shielding. The pistons will come out with a lot of force and will be spraying brake fluid with them. Perhaps drape a shop rag over them to contain spraying brake fluid and prevent it from getting on everything since it will damage paint. Also keep your fingers out of the way.
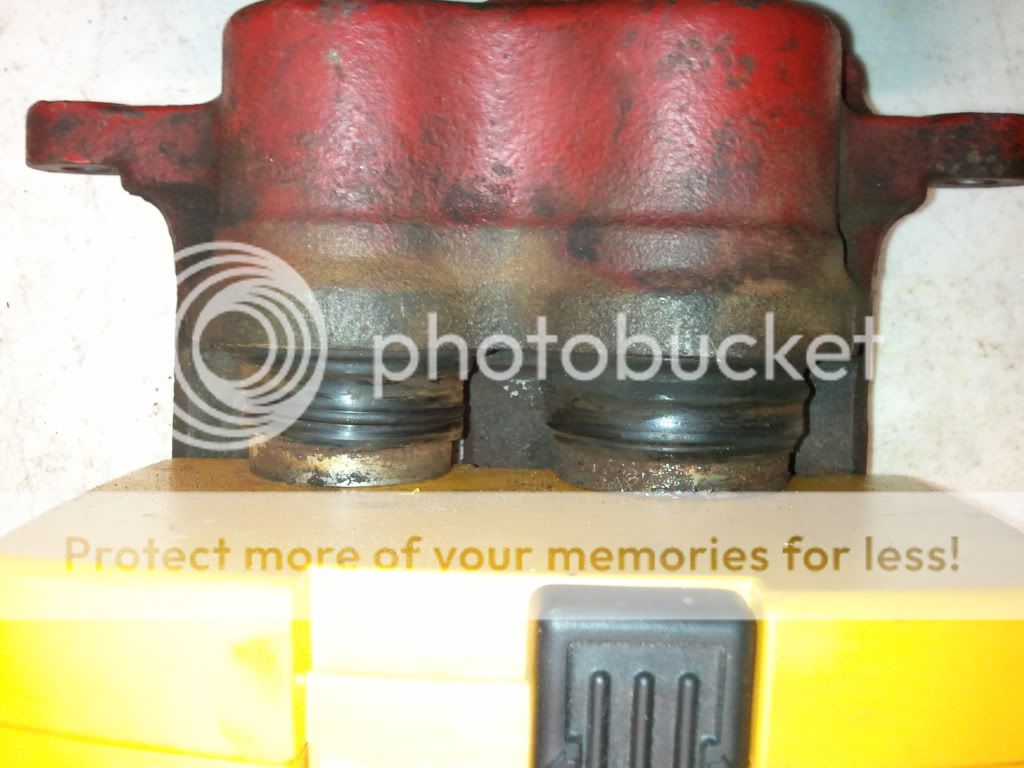
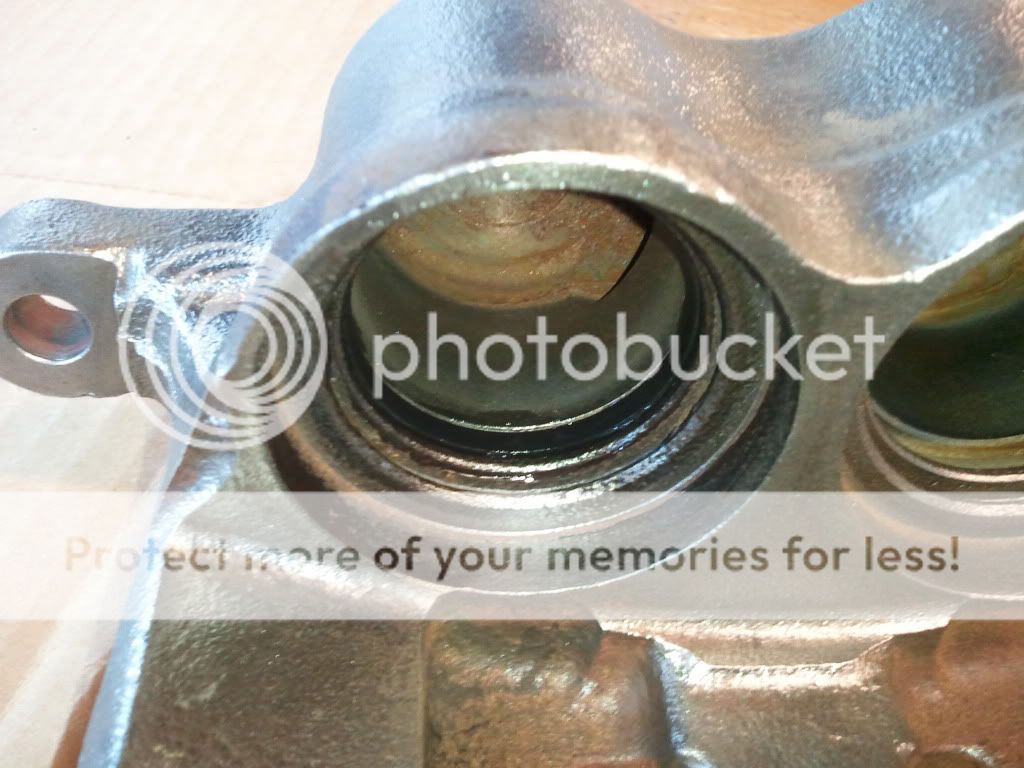
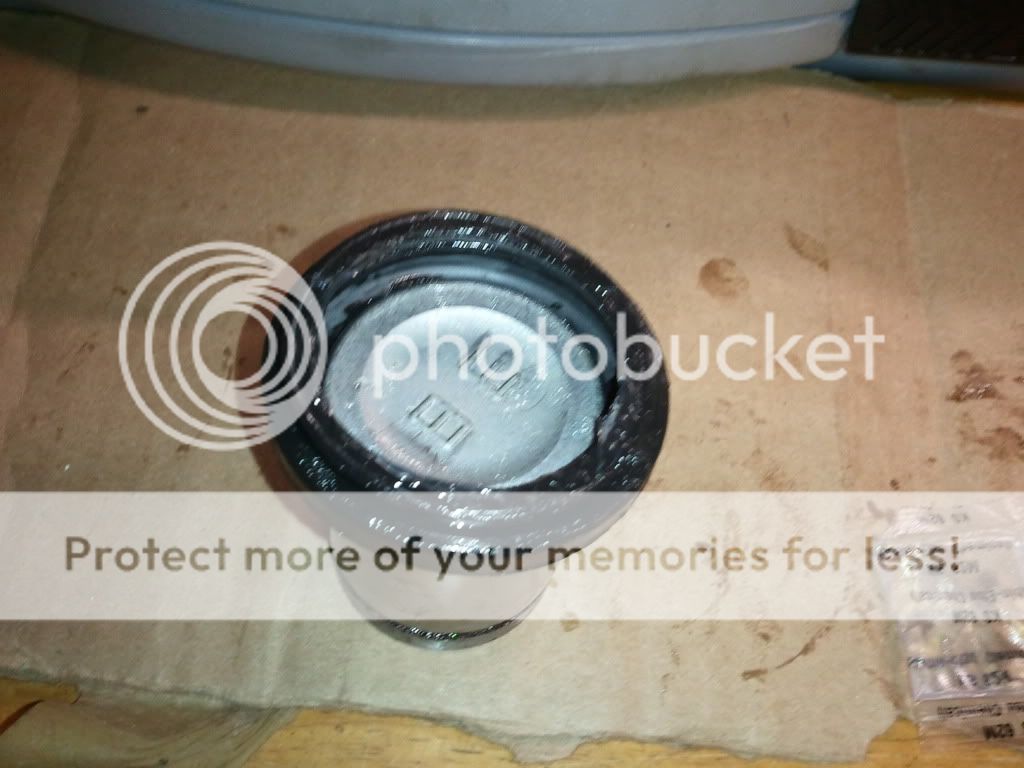
Apply compressed air through the brake line hole. I wasn't able to get a picture of this since I only have two hands. But this will be your end result. Ideally both pistons will come out together but that didn't happen. With a single piston this won't be a problem.
Step four:
Since this is a dual piston setup and because of the way the fluid transfers between the two chambers you need to leave the first one in and not break the seal it has any more than you already have. Keep applying the air pressure the second piston will eventually yield.
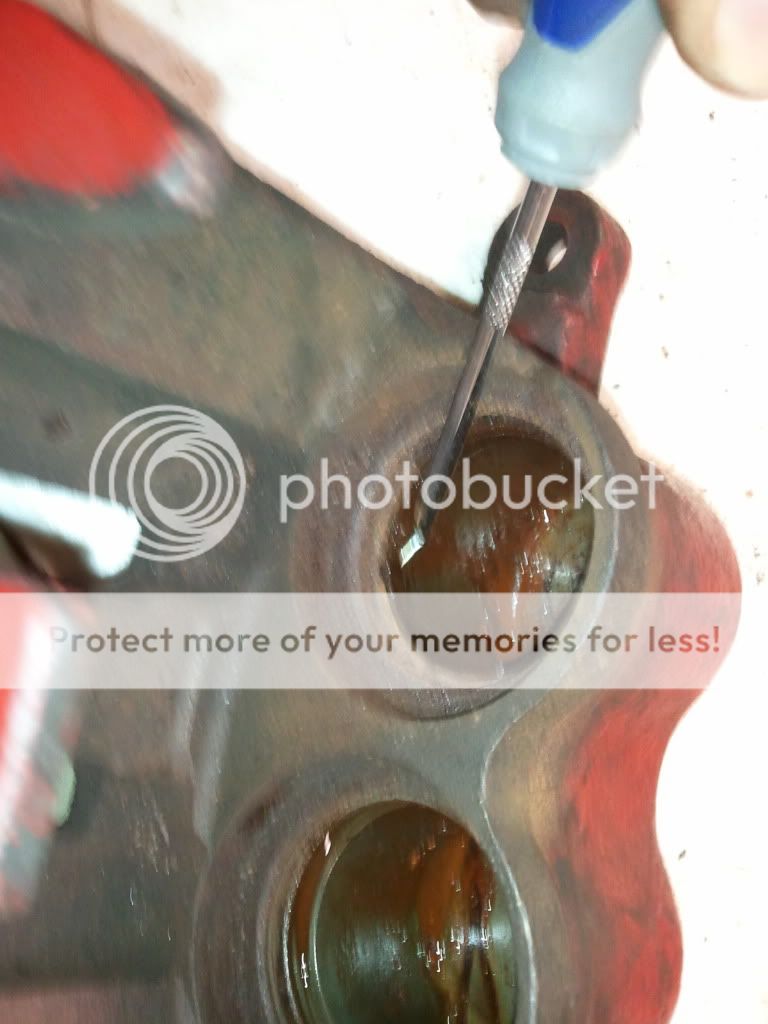
Occasionally you will get a piston that needs a little more persuasion. A large flat headed screw driver will come in handy, however you must take extreme caution to not scratch the piston or its bore.
Step five:
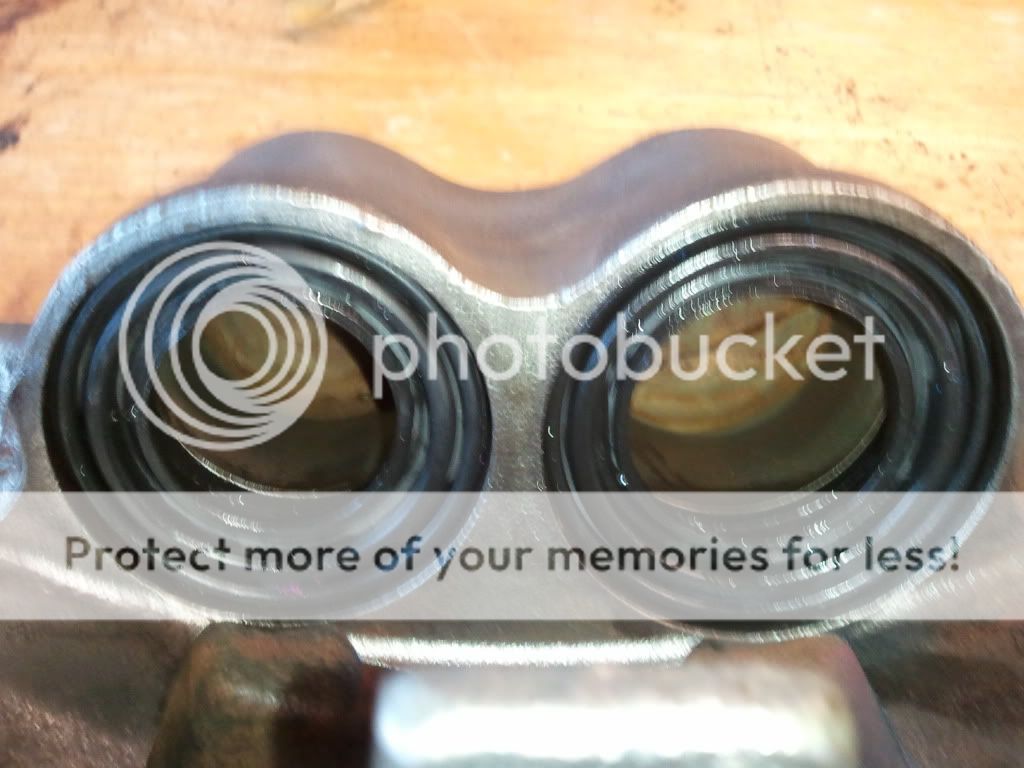
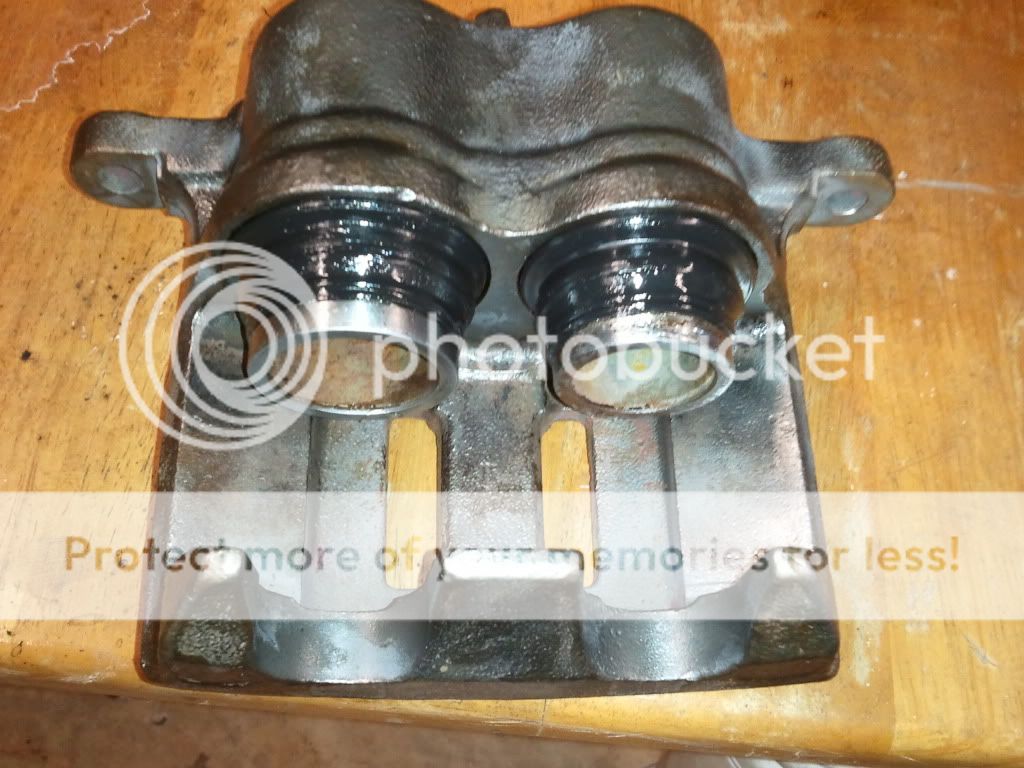
Now comes the time to remove the inner seals. Again taking extreme caution to not scratch the bores remove the seals. Something that every American should own can do this. Zip ties, yep clicky duct tape sticks. Rather than using those though I had another tool left over from repinning my Nissans wiring harness.
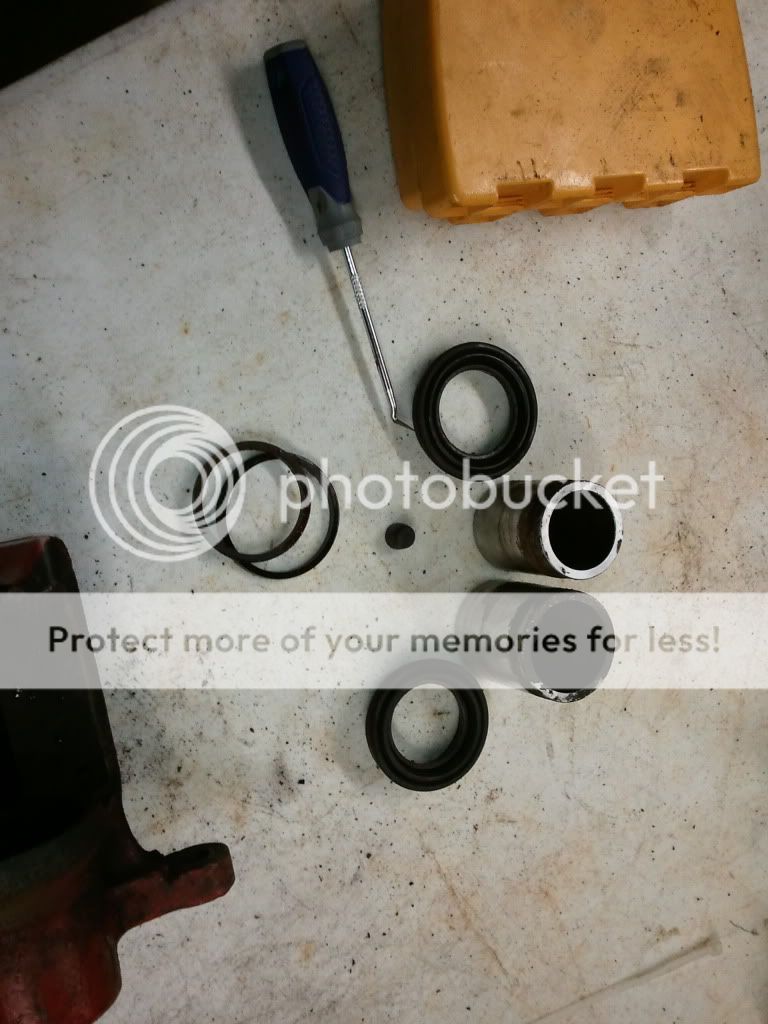
These will be the pieces you take out: two seals, two dust boots, bleeder cap (if applicable) and two pistons.
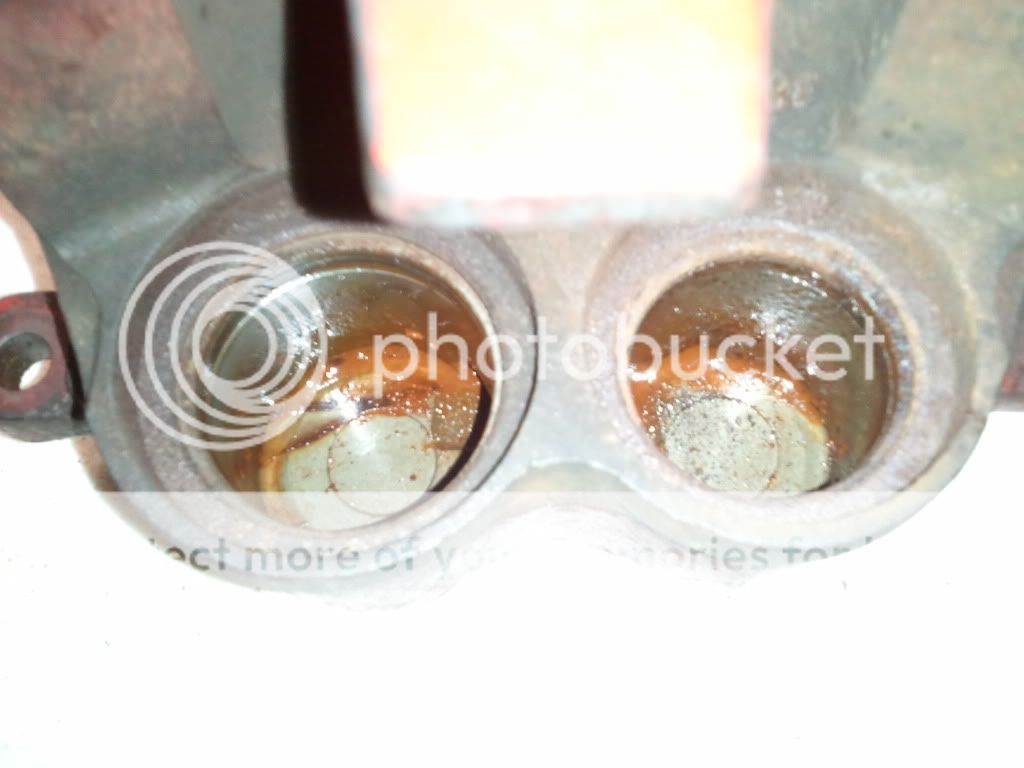
As we can see here no shits were given by the previous owner, these must have been left out in the weather.
Total teardown couldn't have been more than 10 minutes, including filling of the air compressor.
This thread will be finished up in a few weeks with re-assembly. I have to order my rebuild kits at 20 each. So until then don't start the job lol.
Re-assembly
Step one:
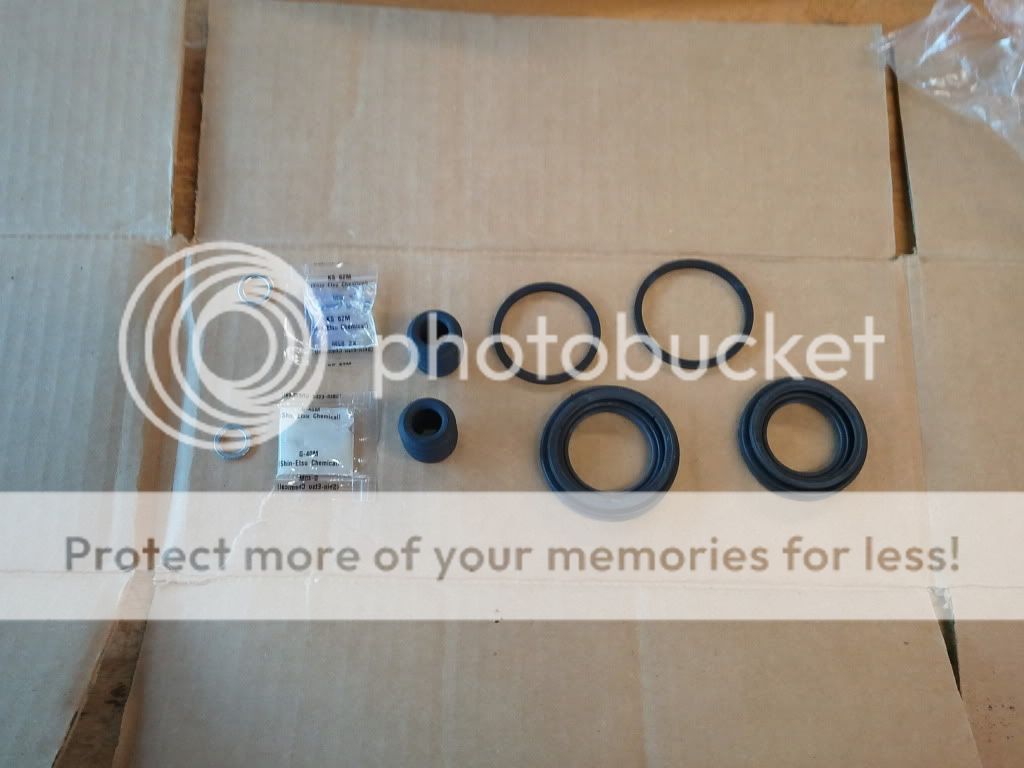
These are the things you should get in your rebuild kits. They are sold per caliper. Two seals, two dust boots, two slider pin boots, two crush washers, assembly lube (clear) and slider pin lube (milky)
Step two:
Lube up the oil seal and the groove in the the piston bore, be liberal with the lube you don't want to tear the seal.
Step three-A:
There are a couple of methods to installing the dust boot seals around the piston and in the caliper. If you have a dual piston like these this will be difficult to do. Basically you set the piston in front of the installed boot and use low flowing pressurized air to inflate the boot via the brake line bolt hole. This will make it possible to just slide the piston in and the boot will go over it.
Step three-B:
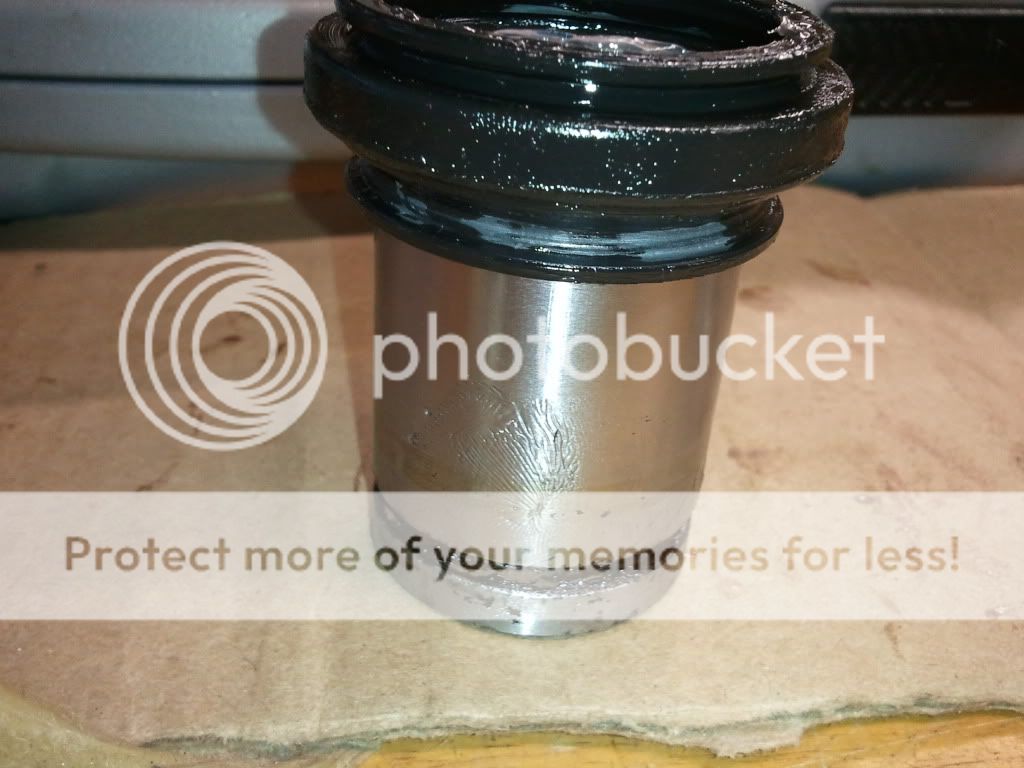
For these particular ones you'll have to install the boot on the piston and slide it all the way down to the bottom. Lube the piston up really good for this step. The boot must go on a certain way so make sure the boot seats are oriented the proper way. Slide it all the way down to the bottom and extend it over the bottom of the piston.
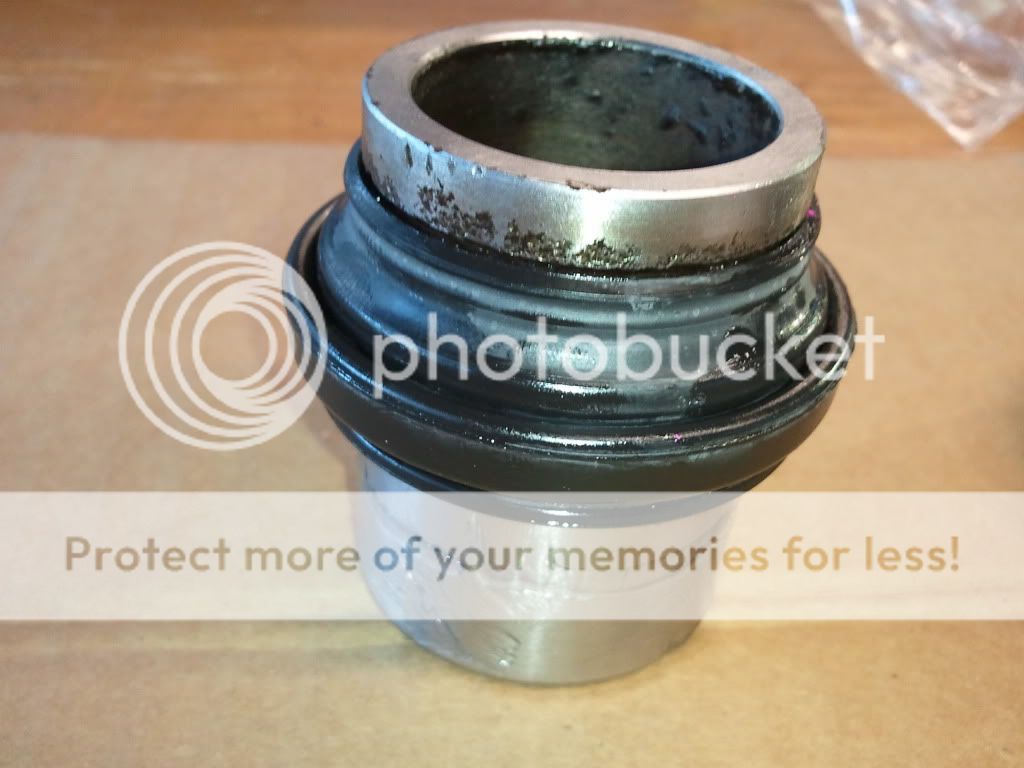
The piston is upside down*
Step four:
Set the boot edge in it's groove and work it in. A soft edged flat screwdriver can help get the boot seated. No picture of this step sorry.
Step six:
After the boot is seated, just push the piston all the way down to the bottom. Be sure to push it down squarely or the piston will bind.
Step five
I used compressed air to push the pistons out some to double check the seating on the boots.
That's it, good luck with the rebuild. Set time aside for the job though.
There aren't many things that can go wrong with this but just in case you break it, or get hurt, do not turn to me for blame.
You will need access to compressed air and a somewhat large supply of it. Don't try this without it.
Step one:
Take your cleaned brake caliper to a comfortable place to work in.
Step two:
Use a thin block of wood or whatever you can find to stop the piston(s) from flying out of their bore(s). I had a small DeWalt drill bit box in sight and found it to fit the bill.
Step three:
Wear safety glasses or some sort of shielding. The pistons will come out with a lot of force and will be spraying brake fluid with them. Perhaps drape a shop rag over them to contain spraying brake fluid and prevent it from getting on everything since it will damage paint. Also keep your fingers out of the way.
Apply compressed air through the brake line hole. I wasn't able to get a picture of this since I only have two hands. But this will be your end result. Ideally both pistons will come out together but that didn't happen. With a single piston this won't be a problem.
Step four:
Since this is a dual piston setup and because of the way the fluid transfers between the two chambers you need to leave the first one in and not break the seal it has any more than you already have. Keep applying the air pressure the second piston will eventually yield.
Occasionally you will get a piston that needs a little more persuasion. A large flat headed screw driver will come in handy, however you must take extreme caution to not scratch the piston or its bore.
Step five:
Now comes the time to remove the inner seals. Again taking extreme caution to not scratch the bores remove the seals. Something that every American should own can do this. Zip ties, yep clicky duct tape sticks. Rather than using those though I had another tool left over from repinning my Nissans wiring harness.
These will be the pieces you take out: two seals, two dust boots, bleeder cap (if applicable) and two pistons.
As we can see here no shits were given by the previous owner, these must have been left out in the weather.
Total teardown couldn't have been more than 10 minutes, including filling of the air compressor.
This thread will be finished up in a few weeks with re-assembly. I have to order my rebuild kits at 20 each. So until then don't start the job lol.
Re-assembly
Step one:
These are the things you should get in your rebuild kits. They are sold per caliper. Two seals, two dust boots, two slider pin boots, two crush washers, assembly lube (clear) and slider pin lube (milky)
Step two:
Lube up the oil seal and the groove in the the piston bore, be liberal with the lube you don't want to tear the seal.
Step three-A:
There are a couple of methods to installing the dust boot seals around the piston and in the caliper. If you have a dual piston like these this will be difficult to do. Basically you set the piston in front of the installed boot and use low flowing pressurized air to inflate the boot via the brake line bolt hole. This will make it possible to just slide the piston in and the boot will go over it.
Step three-B:
For these particular ones you'll have to install the boot on the piston and slide it all the way down to the bottom. Lube the piston up really good for this step. The boot must go on a certain way so make sure the boot seats are oriented the proper way. Slide it all the way down to the bottom and extend it over the bottom of the piston.
The piston is upside down*
Step four:
Set the boot edge in it's groove and work it in. A soft edged flat screwdriver can help get the boot seated. No picture of this step sorry.
Step six:
After the boot is seated, just push the piston all the way down to the bottom. Be sure to push it down squarely or the piston will bind.
Step five
I used compressed air to push the pistons out some to double check the seating on the boots.
That's it, good luck with the rebuild. Set time aside for the job though.
Last edited: