Garage Build for Auto Detailing(UPDATED 5/2 PG11)

CG6Lemon

Detailing Enthusiast
Joined
Jun 6, 2008
Posts
7,715
Reaction score
45
Location
S.F Bay Area, CA
Re: Garage Build for Auto Detailing(UPDATED 5/9 PG9)Walls finally completed!

At long last, the walls are finally complete! The first time around painting the walls I was not happy with the results at all. It just did not look right and it gave off a very uncomfortable feeling/setting. I decided to lighten up the gray color, and darken up the blue color for contrast. I will let the pictures speak for itself. Feel free to let me know if you guys like it or dislike it. My next project will be to redo half/the whole center garage concrete floors. I will most likely hire people to smash it and fill it and smooth it with all 4 corners slopping down towards the center of the drain to make washing cars in the garage acceptable.


Walls going up on other side


Left side done. Before and after


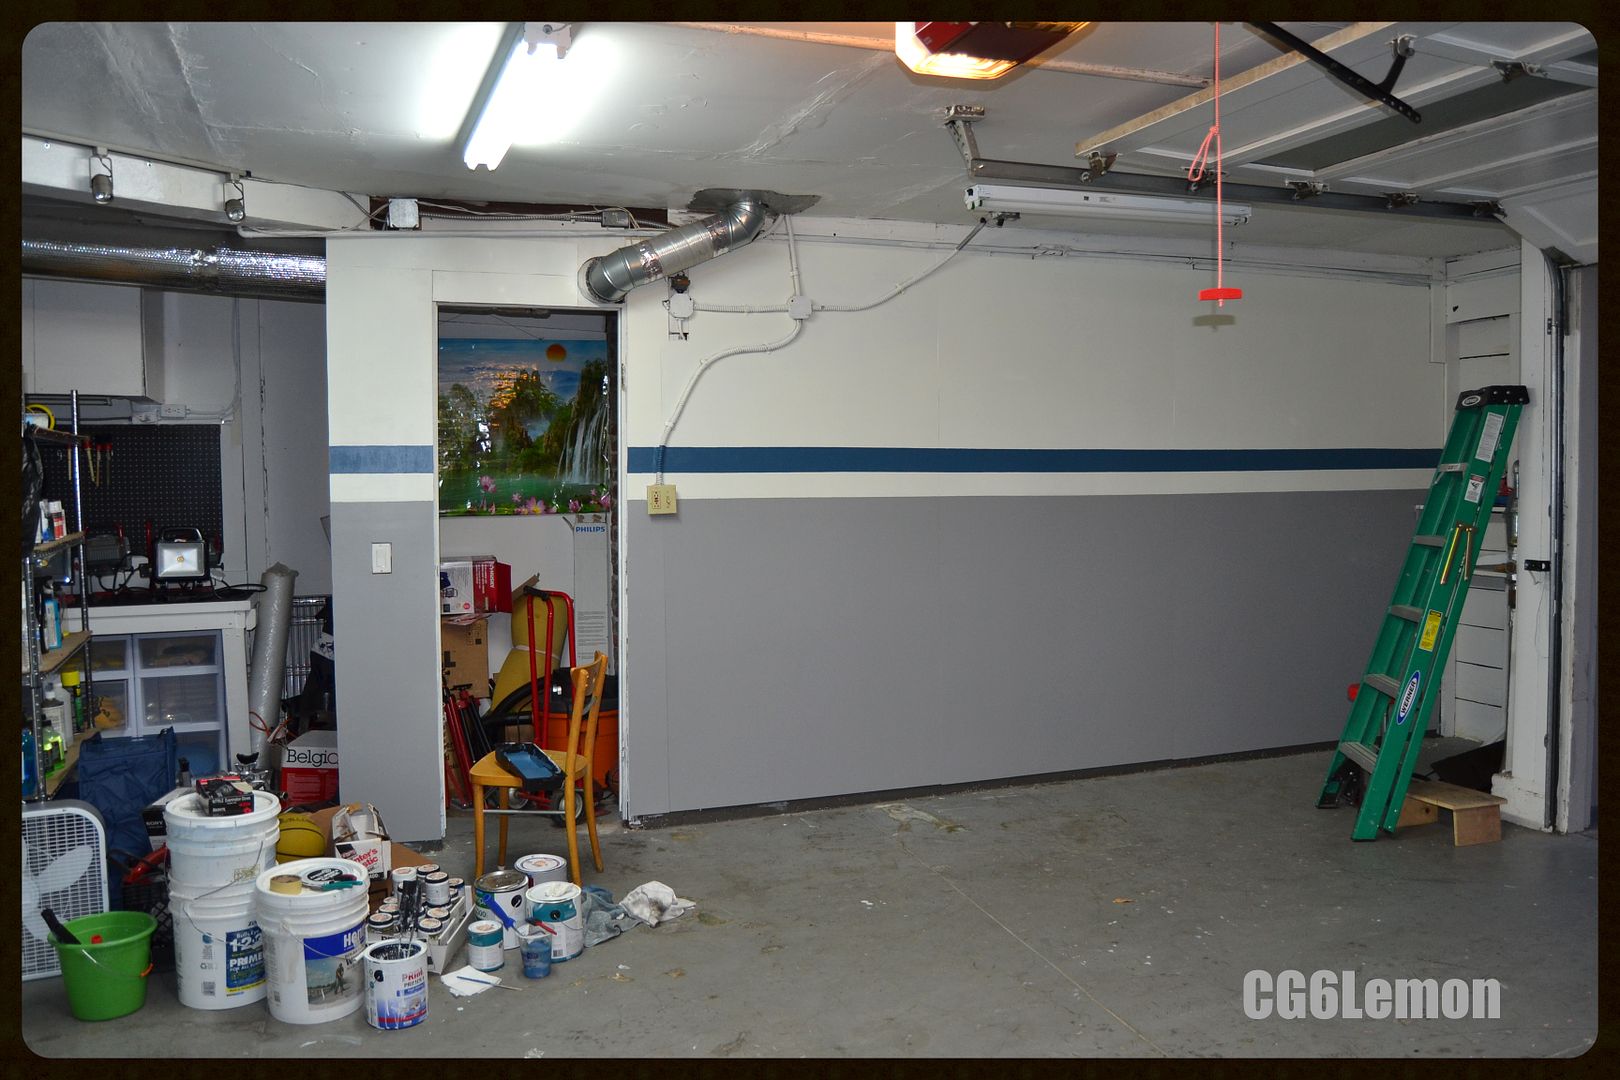
Right side done. Before and after


Shot from looking outside of street from inside of garage


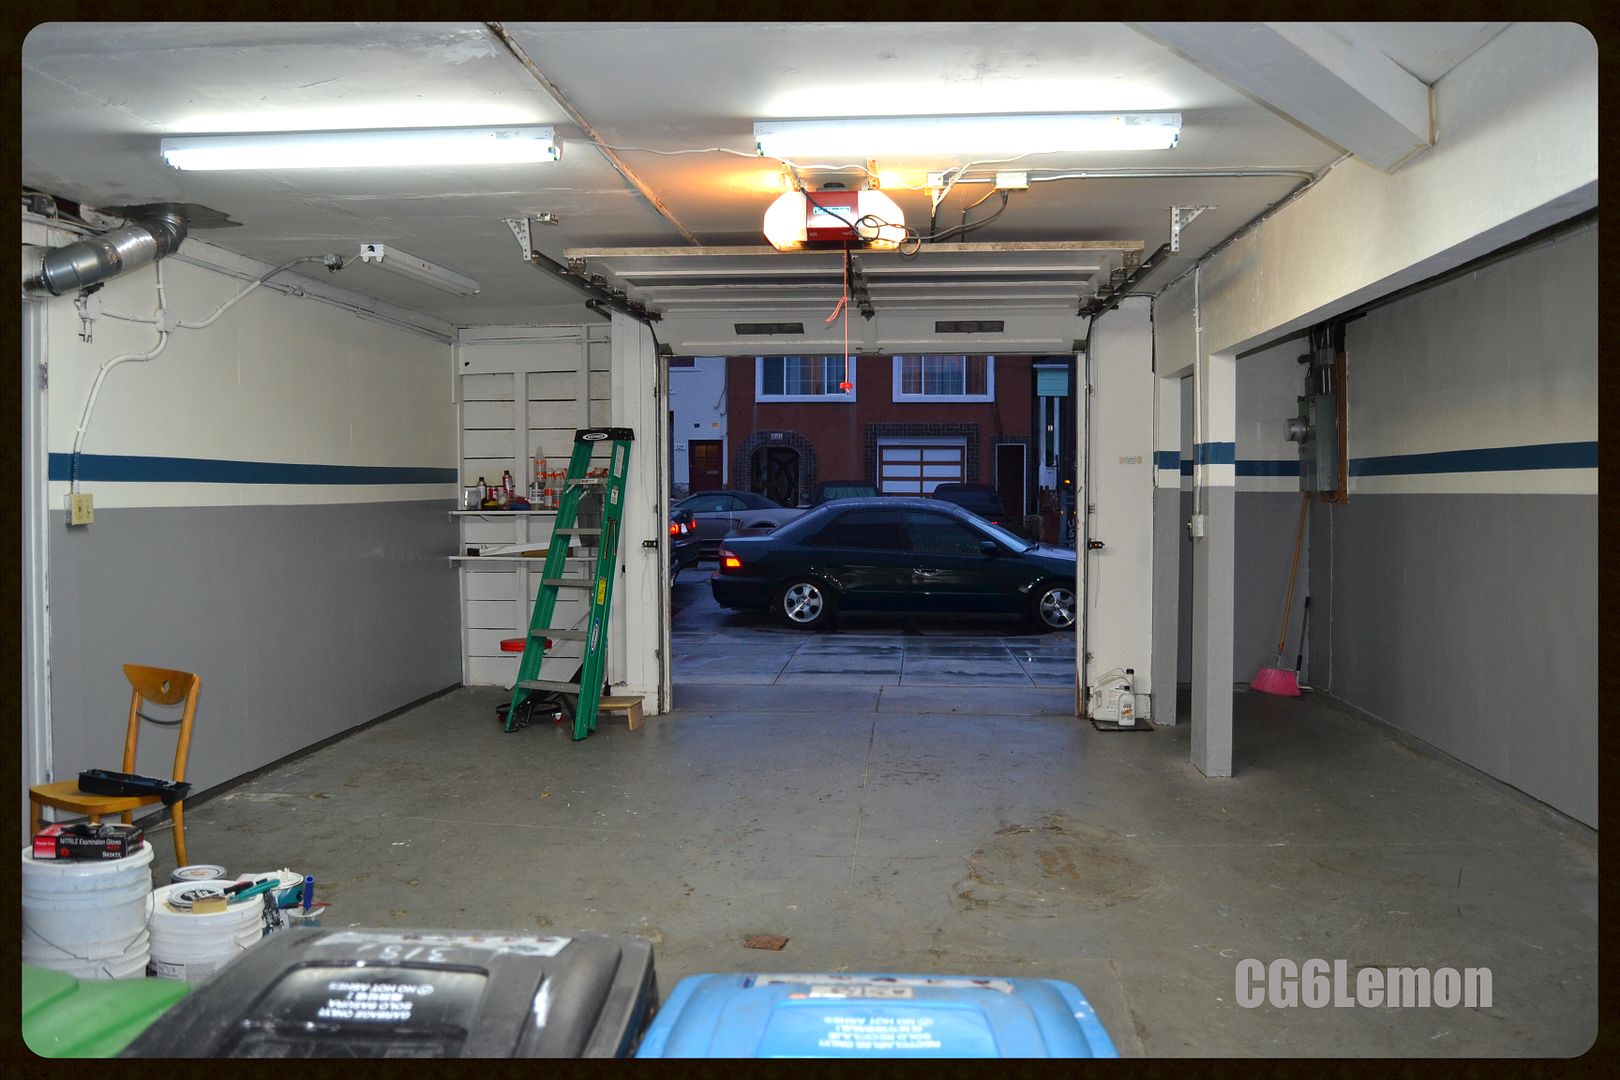
Shot of inside of garage from looking inward from street


CG6Lemon

Detailing Enthusiast
Joined
Jun 6, 2008
Posts
7,715
Reaction score
45
Location
S.F Bay Area, CA
Re: Garage Build for Auto Detailing(UPDATED 2/16 PG10)Electric pressure washer set up

It's been a while since I've updated this thread. I have been focusing on myself hence the reason for the lack of updates on the garage. I am able to put aside a bit more money now so hopefully things will progress at a faster rate....


I recently stepped up my washing set up game and purchased a foam cannon and a electric pressure washer.


My old set up with one faucet, hose nozzle, shut off valve


Purchase a high flow Y connector with 2 shut off valves


The reason why I opted for a high flow one is because most valves inside are very restricted and that will slow down the water pressure. I needed one to not restrict as much water flow as possible. Pictures of the valves.


Installed and tested both shut off valves at the same time


The shut off valve on the hose nozzle started to not function as well so I replaced it with a new one


Out with the old and in with the new side by side


New one in


Temporary set up until I purchase a second water hose and a hose stand


Foam cannon attached to wand. I am still waiting on a attachment from online so I don't need the extension part. I am also going to purchase a 40 ft hose feed instead of using the stock 20ft hose feed. I'm not going to drag the pressure washer around so I need more slack.


Foam cannon filled up with 2 oz soap and rest with water ready to go


Lastly, tidy up the wiring cord


Last edited:

Varnell

Well-Known Member
Joined
Mar 16, 2013
Posts
1,102
Reaction score
4
Location
Charlotte, NC
Re: Garage Build for Auto Detailing(UPDATED 2/16 PG10)Electric pressure washer setup

The garage looks great. I see you've been stepping up your game. How's business been?
 

CG6Lemon

Detailing Enthusiast
Joined
Jun 6, 2008
Posts
7,715
Reaction score
45
Location
S.F Bay Area, CA
Re: Garage Build for Auto Detailing(UPDATED 2/16 PG10)Electric pressure washer setup

The garage looks great. I see you've been stepping up your game. How's business been?


Thanks Varnell. I'm always trying my best to make improvements here and there. Baby steps is better than being still and not making any progress. Atm, I only offer my services to a close knit of people. No strangers yet until I'm more prepared to protect myself from random bull**** people try to pull...
 

CG6Lemon

Detailing Enthusiast
Joined
Jun 6, 2008
Posts
7,715
Reaction score
45
Location
S.F Bay Area, CA
Re: Garage Build for Auto Detailing(UPDATED 2/22 PG10)Phase 2 Lighting setup complete

After multiple trips to Home depot and Lowes, I finally finished phase 2 of my lighting project. I woke up at 10am and finished at 6 something with breaks in between the day. Before I took off, I compiled a list of stuff to buy in order to be more organized and efficient. But, sometimes things don't always go smoothly without any distortions in the game plan. All in all, everything is all mounted and functioning which is the primary goal at the end of the day.


Started off by buying materials


My plan was to use 4 of these, but only used 2 which I will explain later on. Went with 5k temperature.


I will be attaching one led bulb on each corner of the rails


Started with the center of the garage. Needed more outlets for phase 3 project in the future so added more outlets in the mean time


Continued with the other side. Starting point


Added a 6 way outlet


Added a wireless remote with wall switch


Added a 3 way onto the wireless remote


Testing to make sure everything works


Last edited:

CG6Lemon

Detailing Enthusiast
Joined
Jun 6, 2008
Posts
7,715
Reaction score
45
Location
S.F Bay Area, CA
Re: Garage Build for Auto Detailing(UPDATED 2/22 PG10)Phase 2 Lighting setup complete

Part 2


Started with the back end first. Lamp Clamp mounted


Zooming in on how it was mounted


Getting ready to mount the single led diode led bulb weighing in at 14 oz


Bulb installed, but due to it's weight the clamp looked like it was gonna come right off... So I had to use some zip ties to reinforce it


Due to the weight of the bulb I decided not to put them in the front 2 because of liability issues if they fall off... I went with plan B and purchased 2 led bulbs with slightly less lumens. Here is the size difference between the two...


Other side for back end mounted


Back end completed


Front 2 mounted


After wiring them up as cleanly as possible against the walls, I fired them up to test


After a hard day of work I went out for dinner and drinks with a couple of friends. Came back and took some night shots to end the night.... I still need to tweak it a bit after I put a car in to see which angles work best, but other than that it's good to go.


Last edited:

CG6Lemon

Detailing Enthusiast
Joined
Jun 6, 2008
Posts
7,715
Reaction score
45
Location
S.F Bay Area, CA
Re: Garage Build for Auto Detailing(UPDATED 2/22 PG10)Phase 2 Lighting setup complete

Small update on a couple of accessories for the pressure washer. The correct fitting came in, added a quick disconnect, added a 40ft hose, and some teflon tape to prevent leaks.


LeoY

Well-Known Member
Joined
Feb 13, 2014
Posts
79
Reaction score
0
Location
NWI
Re: Garage Build for Auto Detailing(UPDATED 2/22 PG10)Phase 2 Lighting setup complete

Just went through the whole thread, the place came a long way! Great job, and congrats on the new purchases. Love what you did to the walls, well everything really.
 

CG6Lemon

Detailing Enthusiast
Joined
Jun 6, 2008
Posts
7,715
Reaction score
45
Location
S.F Bay Area, CA
Re: Garage Build for Auto Detailing(UPDATED 2/22 PG10)Phase 2 Lighting setup complete

Just went through the whole thread, the place came a long way! Great job, and congrats on the new purchases. Love what you did to the walls, well everything really.


Appreciated you took the time to go through the entire thread.
 
Back
Top