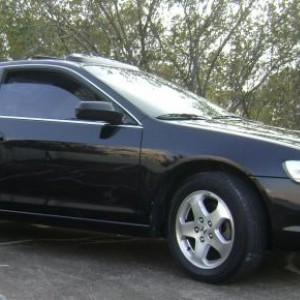
Re: Sil2DrV6's 2002 Accord Coupe EX-L V6
Went to the shop to have my Powertrix rear LCAs installed and my front coilover kits lowered to the max, since the car needed the alignment service.
Well, the shop discovered 3 problems on my suspension:
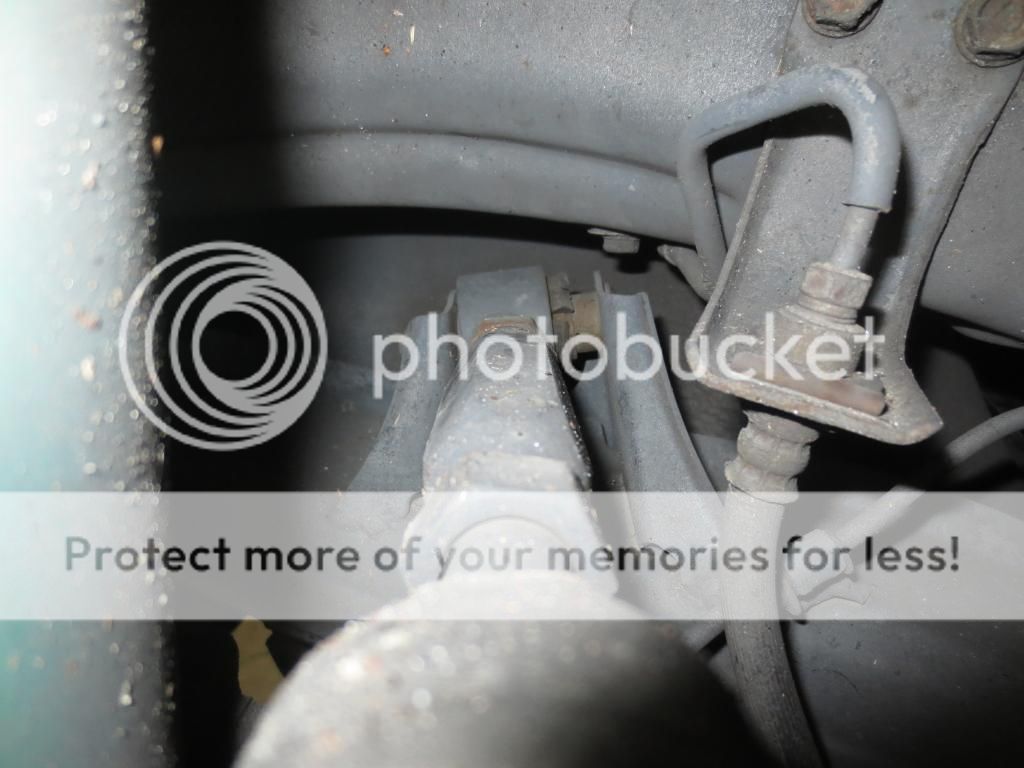
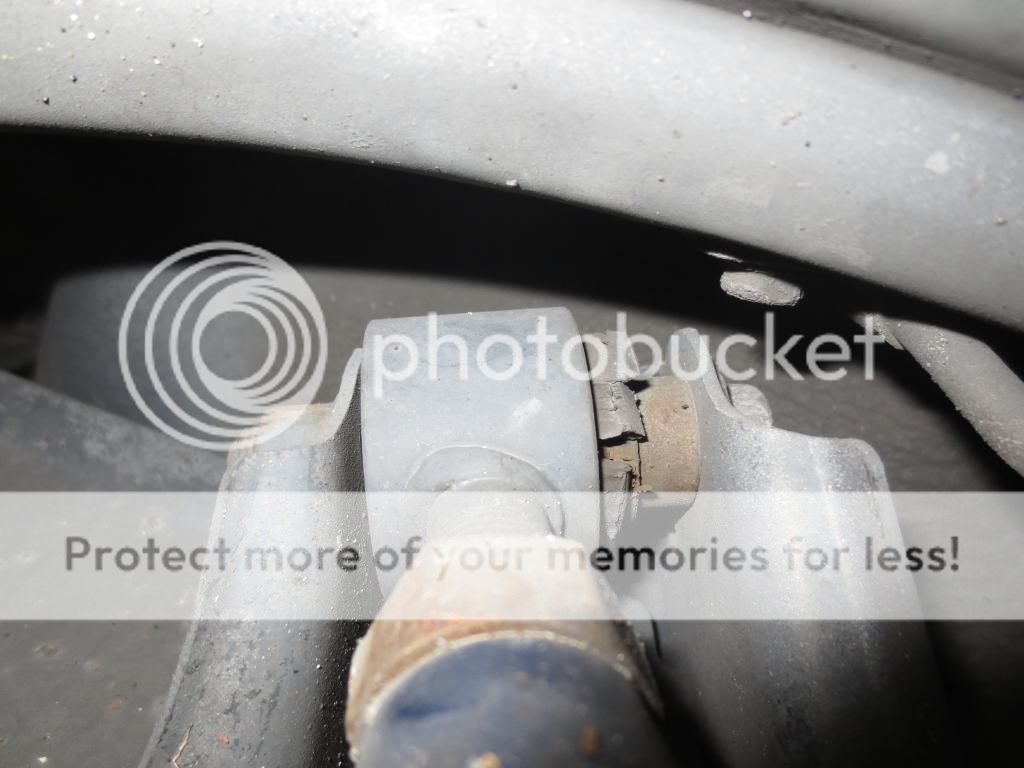
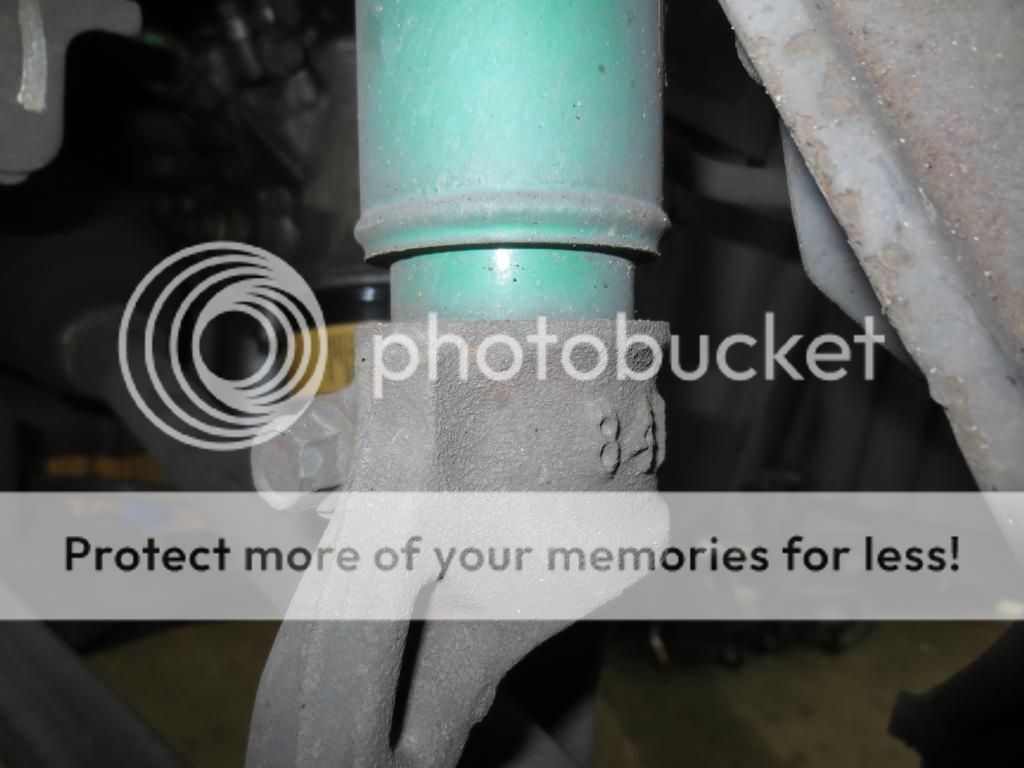
1) The alignment on my right rear upper control arm (Wicked Tuning) is way off and the bushing is pooched out and damaged.
2) The right front upper ball joint (Ingalls) has a large amount of excessive freeplay.
3) The front strut (Tein SA) to be sticking quite high out of the knuckle. They called Tein and sent them photos. Tein said “It looks like the installation was not done correctly, the lower fork bracket would have to sit more up on the damper, it would have a second groove that the lower bracket bolt can be tighten to."
At this point, the shop could only install Powertrix rear lower control 'rear' arms, but the OEM piece was rusted pretty bad into the arms so much that they had to cut all of the bolts (additional work). They did lowered the height on my front suspension "properly" but it required some disassembly work (additional work).
Now, what I need to do is:
* Get a replacement of my right front upper ball joint. Screw Ingalls... I'm getting SPC, since their products are well trusted, which I later discovered after I got Ingalls.
* Get a replacement of my right rear upper control arm. I thought Wicked Tuning was good, but maybe I wasn't lucky... I'm getting SPC's for the same reason.
Paying for the additional parts and labor. SMH... But, on the other hand, getting my rear LCA kit 50% off is helping me out now. More importantly, it is good to discover these problems before something else going wrong in a worse situation.
Last but not least, I had my coilover kits installed at one of the "Tein authorized dealers" in WA called "****** Motorsports" Japanese named shop, but they're owned by ppl somewhere not Japanese. It's not like I had a further service from them, ever since I had my Tein installed, but I will NEVER go there again. When I had their service, believed it or not, they dropped one of my coilover pieces on the ground 'n broke the entire damper. They ordered a new piece from Tein, but it delayed 1 week of the installation. Plus, their lame installation we've recently discovered LMFAO. If you are in NW region, please stay away from them. Obviously, they're certainly NOT an authorized dealer; Not on my watch for sure.


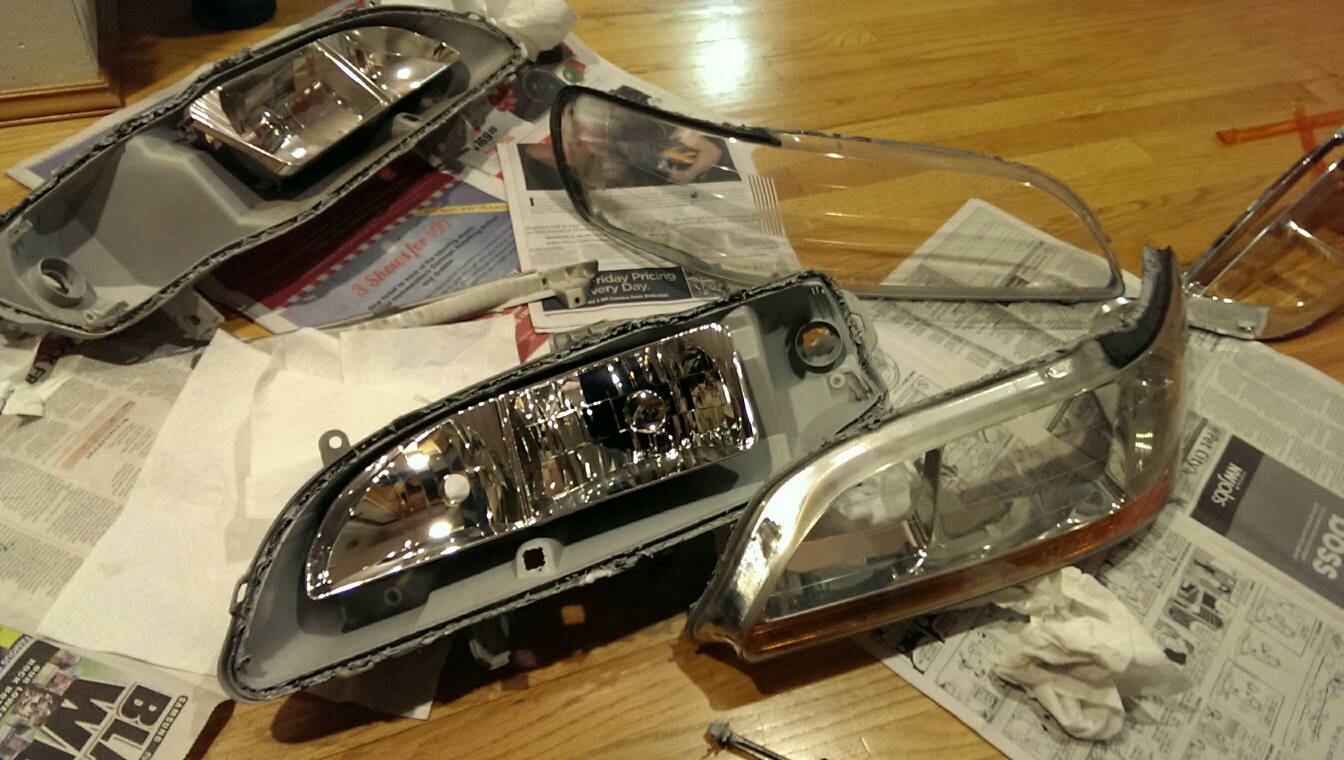
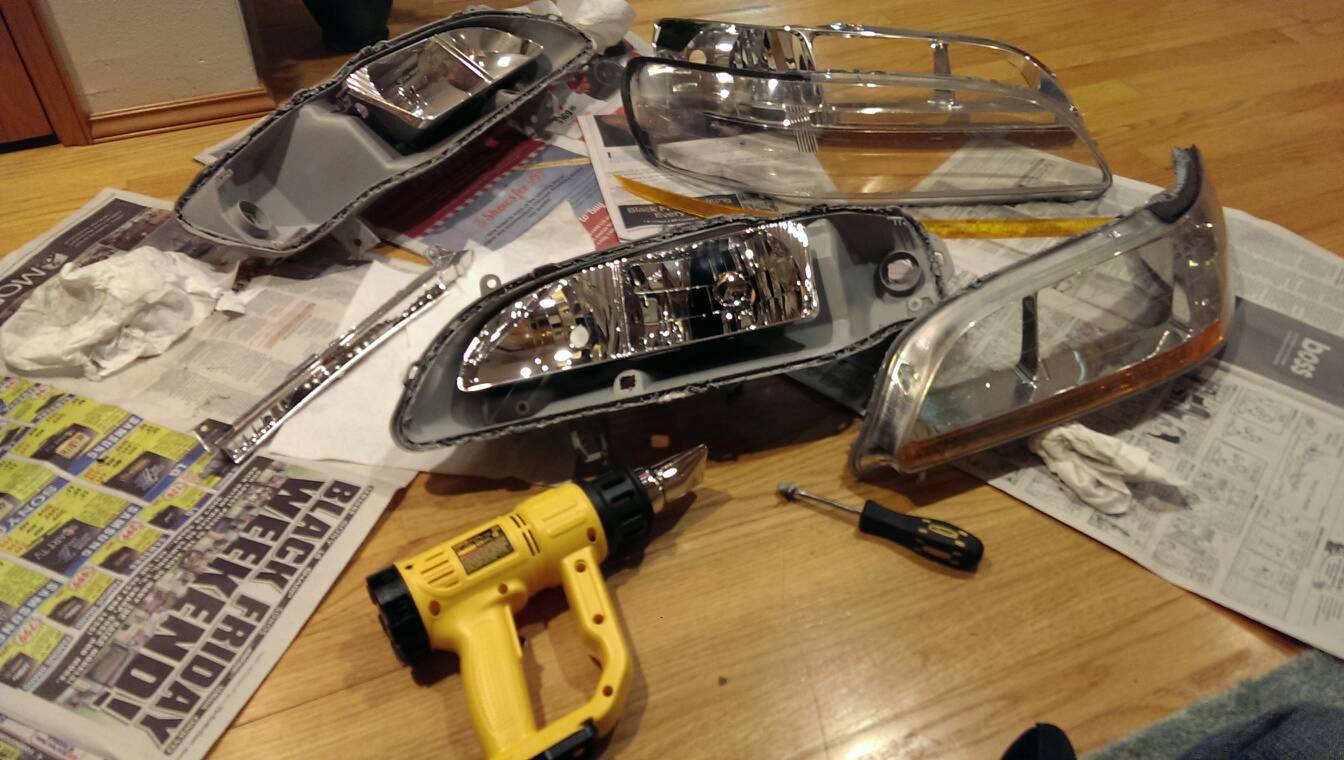
") (I thought it wouldn't hurt by going with high temp, even if I used the heat gun instead of the oven.) And, I did end up using the oven, so high temp was a good decision.
(I thought it wouldn't hurt by going with high temp, even if I used the heat gun instead of the oven.) And, I did end up using the oven, so high temp was a good decision.