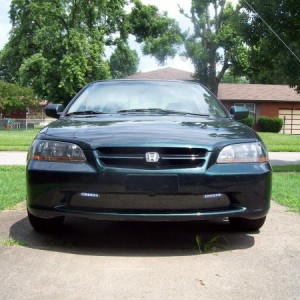
If you have a CEL and pull the code p1457 then your evap canister shut valve is either rusted the crap in either the open or closed position. The DIY is cake and only takes 10-15 from start to finish. Even if you have minimum mechanical ability, you can do this.
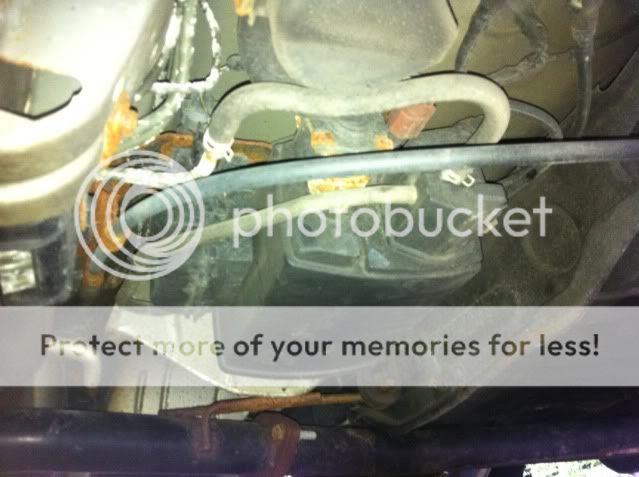
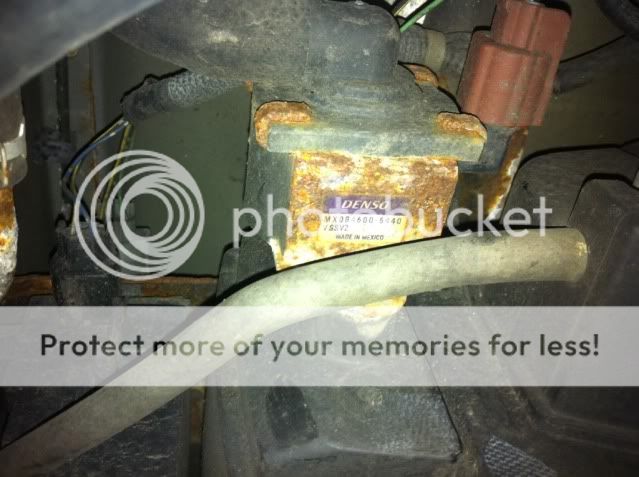
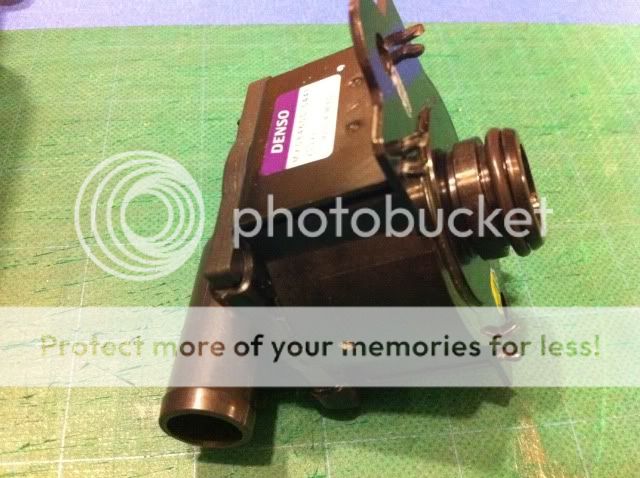
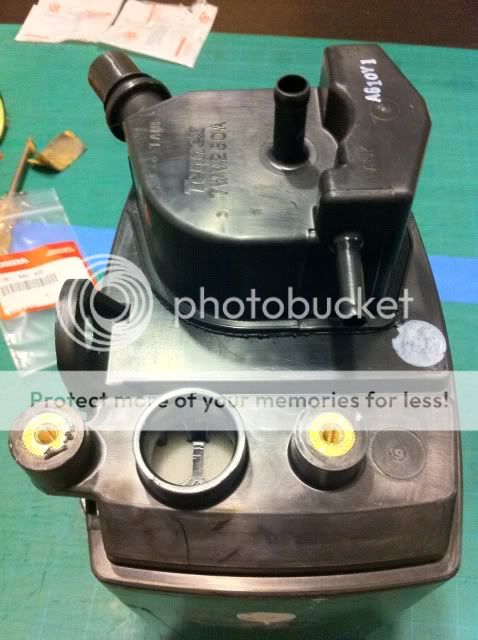
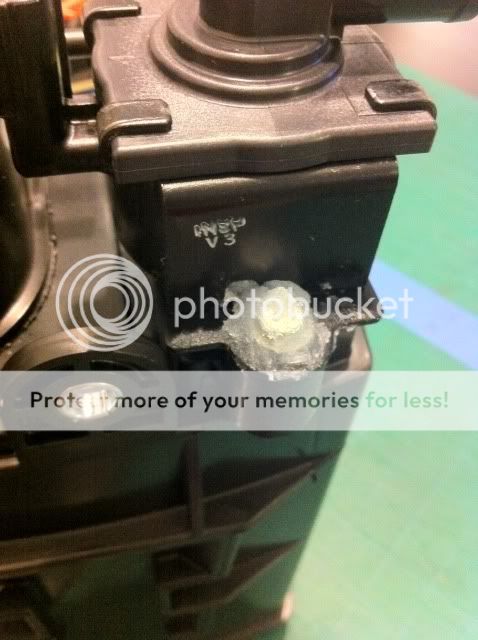
Here are pics of the canister and the shut valve looks rusted to sh!t
History:
I failed emissions because I got the code p1457 which points to evap canister. Now I know the evap canister hardly ever goes bad, it's normally the shut valve rusted open or shut. I got this code for the first time about 2+ years ago and I would normally just reset/erase the code anytime it would come on. The issue would pop up about once every 5 months or so. After a while, the the normal procedure stopped working. I figured it was time to fix it permanently. I've read, and it has been brought to my attention, HERE, that you could fry your ECU/PCM by simply resetting it every time or letting the issue go unchecked for an extended period of time. On the flip side I've read that it's a non issue. I would recommend that if you get a p1457 CEL once in a while and it doesn't come back on for months after resetting it, it may be a non issue and you can let it go for a while, but once the CEL comes on and continues to pop back up regularly after resetting it, then fix the problem.
Here's how:
Tools needed:
#12 socket
3/8" socket wrench
3/8" extension (a few inches at least)
phillip screwdriver
silicon if necessary
needle nose pliers
jack
jack stand
Parts needed:
17011-S84-A00 Canister Set #6 in the diagram
17310-S0X-A0 Canister Vent Shut Valve #8 in the diagram
93893-05010-08 (x2) Screw-Washer (5X10) #53 in the diagram

Purchased from Majestic Honda


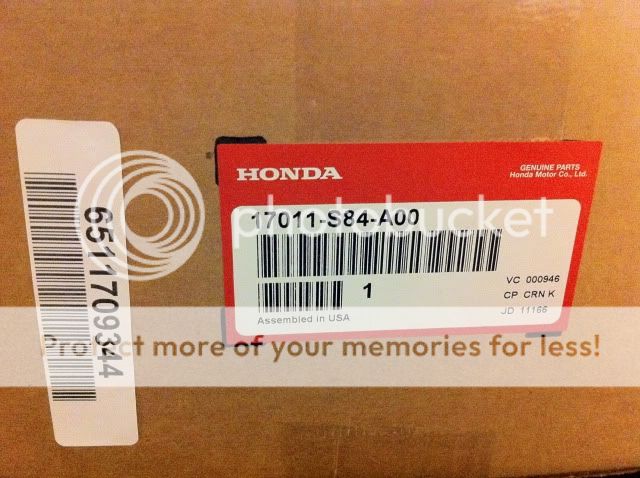
The reason for getting the canister set is because the shut valve is held in place by 2 screws and the whole assembly is mounted such that there is no protection from the elements, and in most cases the screws will be rusted on.
1. Prep the new parts for install. Screw the new shut valve to the canister. Both items come with an o-ring; the canister has it taped to the side, and the shut valve already has it in place. I added silicon around the new screws in hopes that it would prevent rusting (might be pointless but it made me feel better for some reason).


2. Jack the car up at the driver's side rear jack point. Chock the front wheels. Add jack stand for safety.
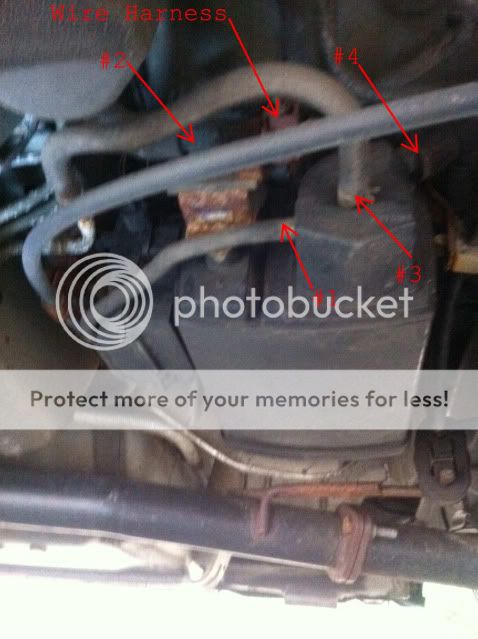
3. Locate canister. Using the new canister as reference begin removing associated hoses. (see diagram) #1, and #2 use the needle nose pliers to remove hoses. #3 has a hose clamp. #4 use your fingers and pinch sides to remove. Disconnect brown wire harness.
4. Remove #12 bolt securing the canister to the bracket. The bolt head is most likely rusted so it may take some effort to get the socket over the bolt head. After the bolt is removed slide canister toward the left of the car slightly to free it from the bracket.
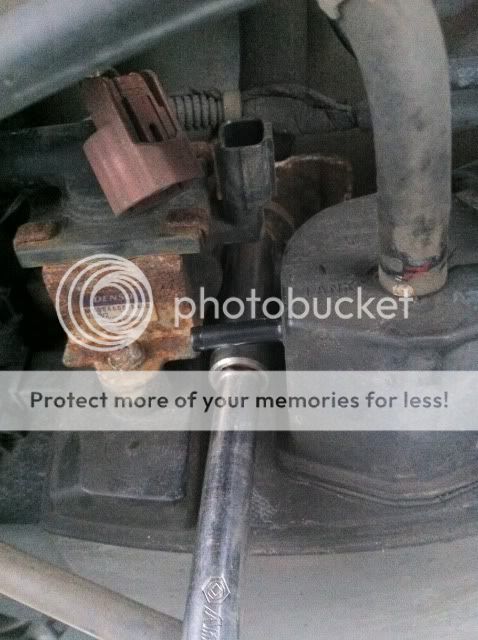

5. Install the new canister in reverse order (steps 4-2)
6. Scratch your head and think to yourself, "Damn, that was easy."
Here are pics of the canister and the shut valve looks rusted to sh!t


History:
I failed emissions because I got the code p1457 which points to evap canister. Now I know the evap canister hardly ever goes bad, it's normally the shut valve rusted open or shut. I got this code for the first time about 2+ years ago and I would normally just reset/erase the code anytime it would come on. The issue would pop up about once every 5 months or so. After a while, the the normal procedure stopped working. I figured it was time to fix it permanently. I've read, and it has been brought to my attention, HERE, that you could fry your ECU/PCM by simply resetting it every time or letting the issue go unchecked for an extended period of time. On the flip side I've read that it's a non issue. I would recommend that if you get a p1457 CEL once in a while and it doesn't come back on for months after resetting it, it may be a non issue and you can let it go for a while, but once the CEL comes on and continues to pop back up regularly after resetting it, then fix the problem.
Here's how:
Tools needed:
#12 socket
3/8" socket wrench
3/8" extension (a few inches at least)
phillip screwdriver
silicon if necessary
needle nose pliers
jack
jack stand
Parts needed:
17011-S84-A00 Canister Set #6 in the diagram
17310-S0X-A0 Canister Vent Shut Valve #8 in the diagram
93893-05010-08 (x2) Screw-Washer (5X10) #53 in the diagram

Purchased from Majestic Honda


The reason for getting the canister set is because the shut valve is held in place by 2 screws and the whole assembly is mounted such that there is no protection from the elements, and in most cases the screws will be rusted on.
1. Prep the new parts for install. Screw the new shut valve to the canister. Both items come with an o-ring; the canister has it taped to the side, and the shut valve already has it in place. I added silicon around the new screws in hopes that it would prevent rusting (might be pointless but it made me feel better for some reason).


2. Jack the car up at the driver's side rear jack point. Chock the front wheels. Add jack stand for safety.
3. Locate canister. Using the new canister as reference begin removing associated hoses. (see diagram) #1, and #2 use the needle nose pliers to remove hoses. #3 has a hose clamp. #4 use your fingers and pinch sides to remove. Disconnect brown wire harness.

4. Remove #12 bolt securing the canister to the bracket. The bolt head is most likely rusted so it may take some effort to get the socket over the bolt head. After the bolt is removed slide canister toward the left of the car slightly to free it from the bracket.


5. Install the new canister in reverse order (steps 4-2)
6. Scratch your head and think to yourself, "Damn, that was easy."


