

juicebox00
Well-Known Member
So this is a DIY for the morimoto projectors retro fit purchased from www.theretrofitsource.com
Difficulty: 6.5/10
Time: 5+ hours
tools/ supplies:
belt sander(preferred) and or dremel
assortment of screw drivers
chisel
oven/heat gun
silicone
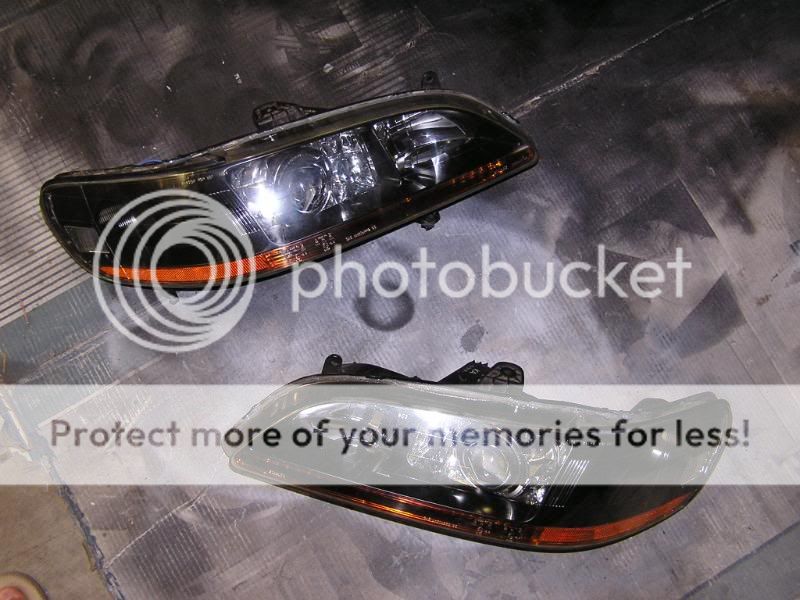
Step 1: Take off the bumper and remove the headlights from the car. then take them apart either using th oven method or a heat gun. and if you can't do that w/o pictures you shouldn't be attempting this retro fit.
oven method i use: preheat oven to 325. put a damp towel on the rack and bake for 5 minutes. while using gloves, lift up all the little tabs w/ a screw driver and then pry apart the headlight from the top using a flat head screw driver.
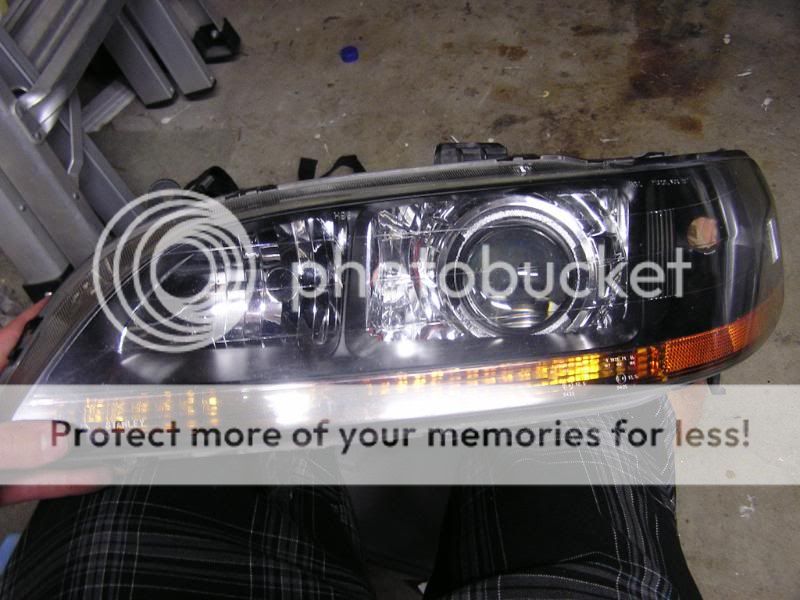
they'll look like this
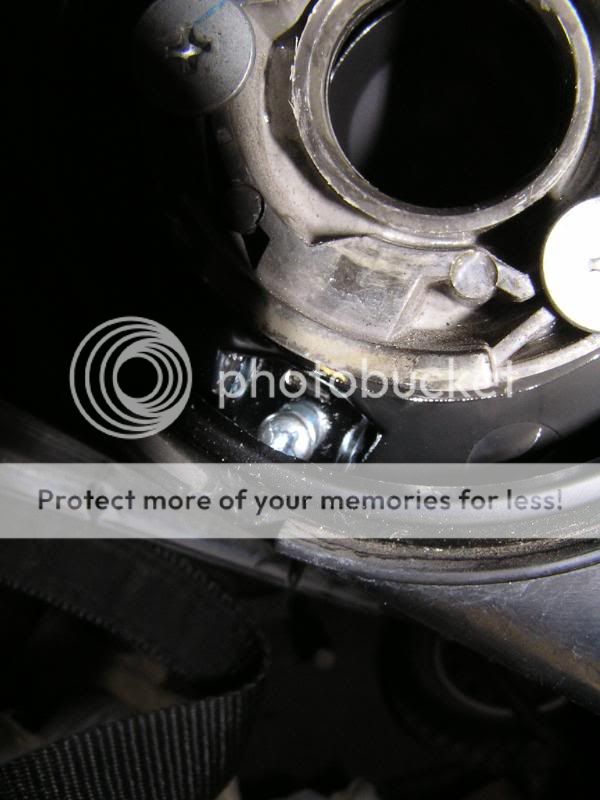
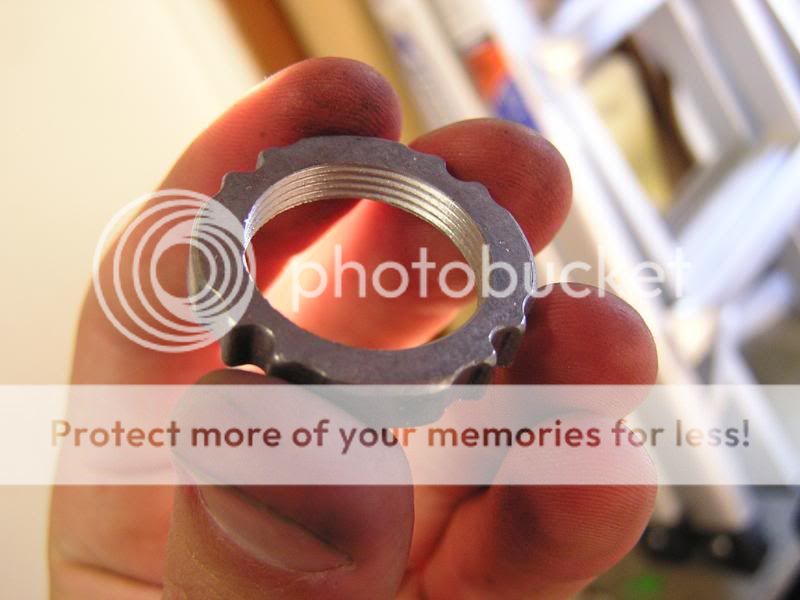
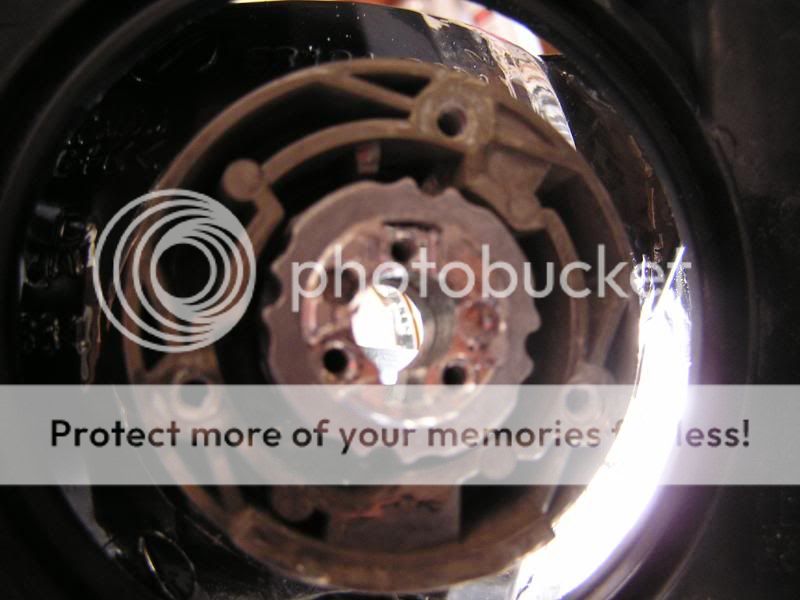
Step 2: now remove the little light reflector in the reflector bucket using a Philips screw driver.
it'll be the small screw pictured here
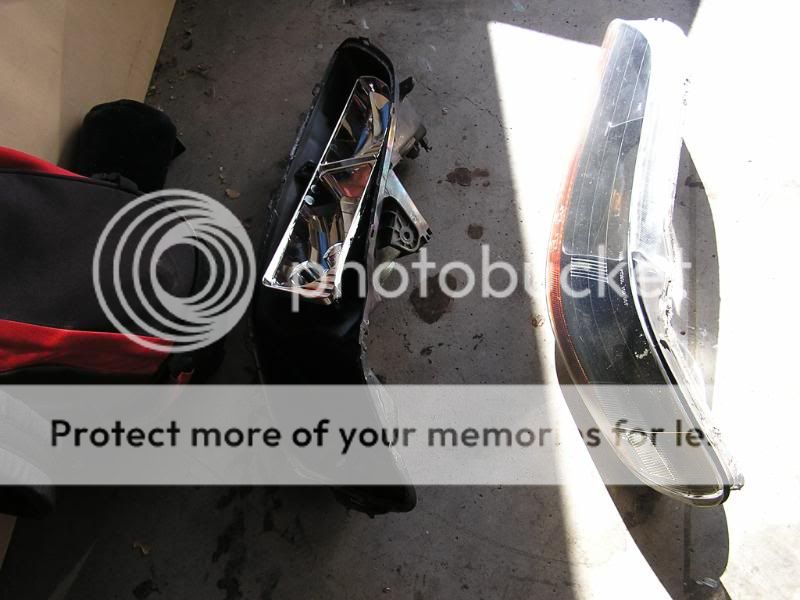
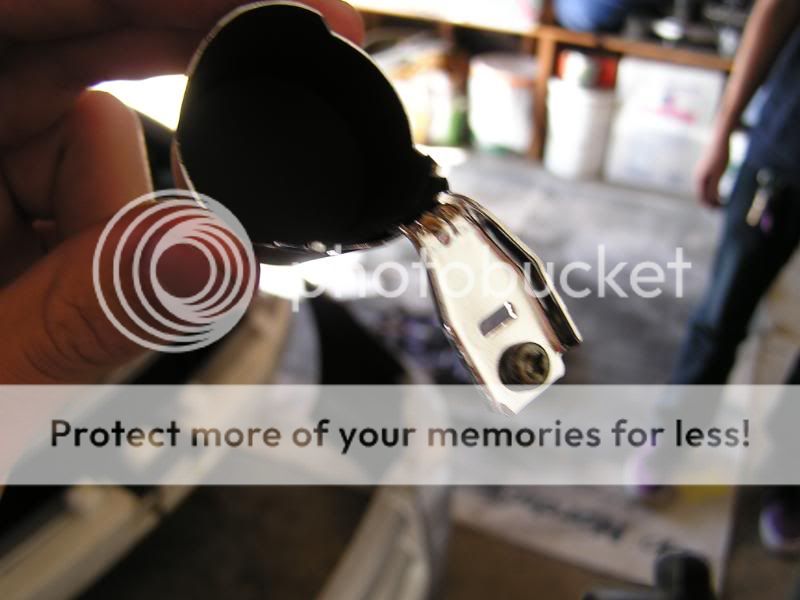
and this is the piece that shall be removed
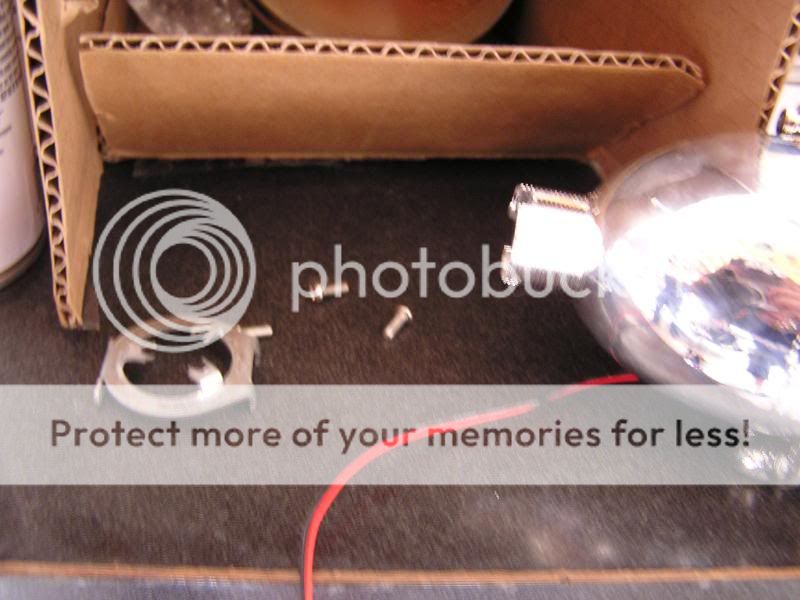
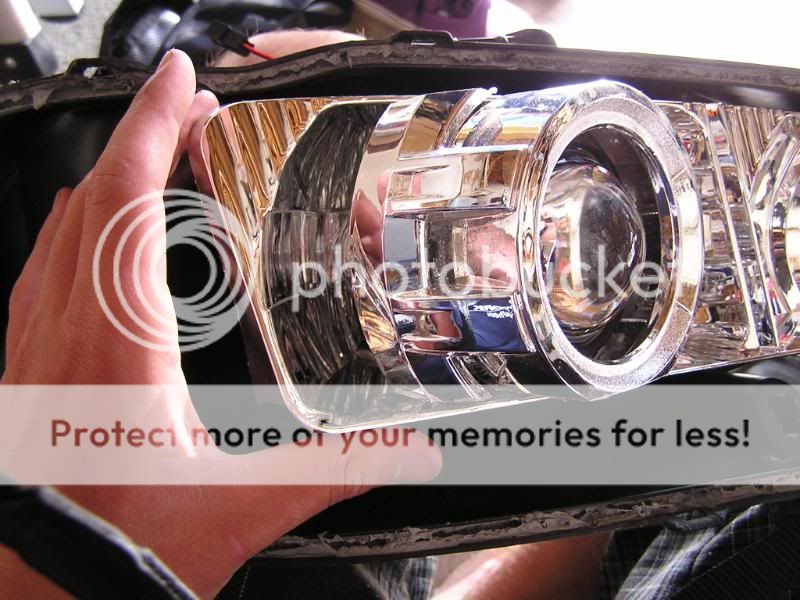
Step 3: now take your projector and remove the 3 little screw holding the bracket on the back and also remove the bracket
Step 4: take the projector and put the end if it into the low beam housing so that it's in the reflector bucket
I didn't hook up the high beam part of the projector so i tool the wire and stuck it in the hole left by the light reflector.
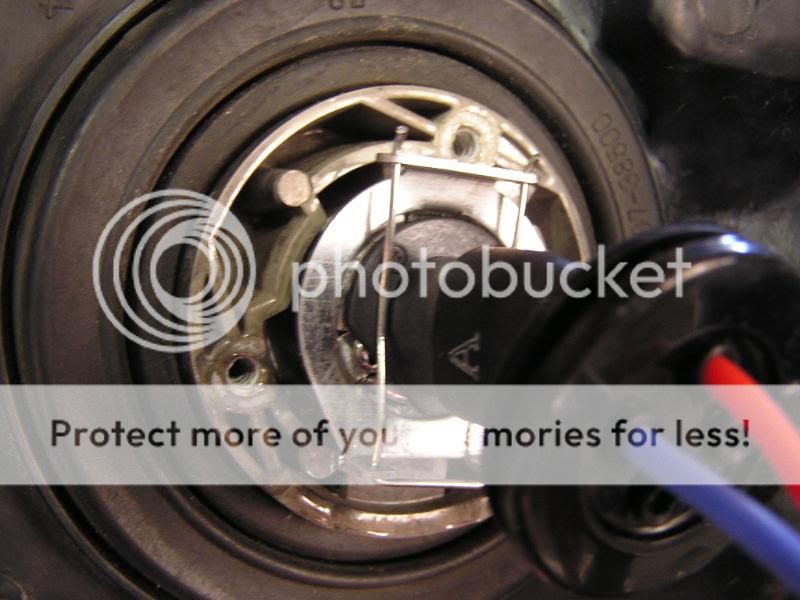
then you'll want to secure the projector using this piece and have it held on like so. use a needle nose plier to tighten the projector on and make sure it is straight and level
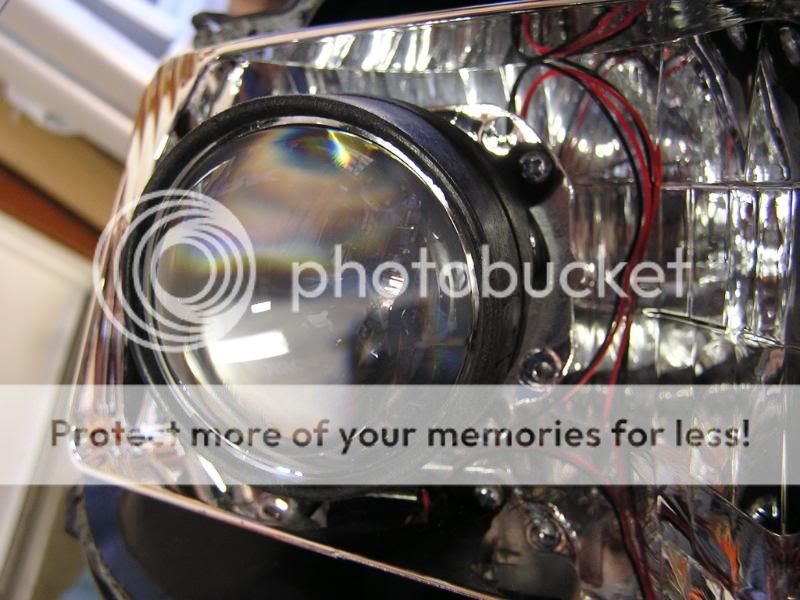
I suggest you put the 3 little screws and bracket back on and also(after checking to make sure they work) put the bulbs in.
Step 5: Next is to make the projector shroud fit into the reflector bucket. I used a belt sander to evenly fit it in. This is a step where you'll just need to keep touching it up until it fits properly into the bucket and sits far enough back to be able to close the headlight. You could also use a dremel for this part but it will make the job 5x more tedious.
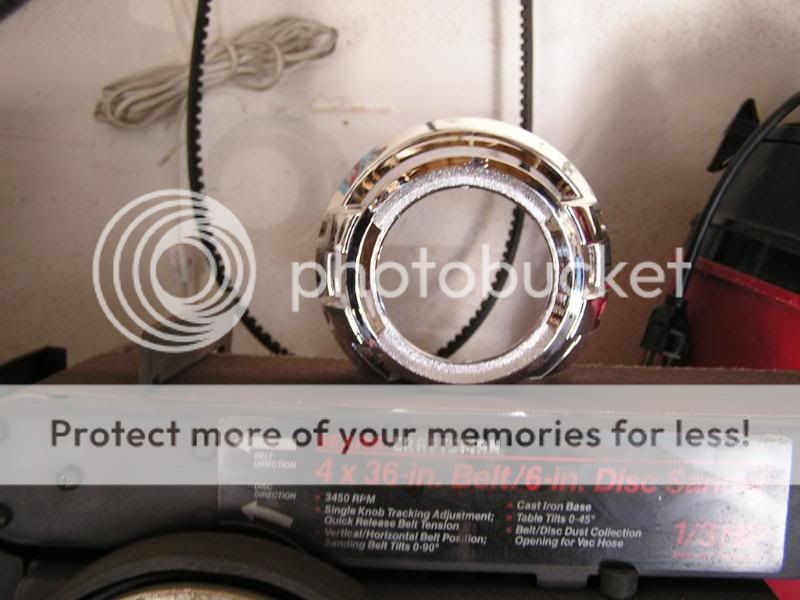
also, make sure your belt isn't 10years old so it doesn't snap on you. (always wear gloves and safety glasses too)

eventually you'll get it to fit well, and you can test it by putting on the front 1/2 to see if it fits.

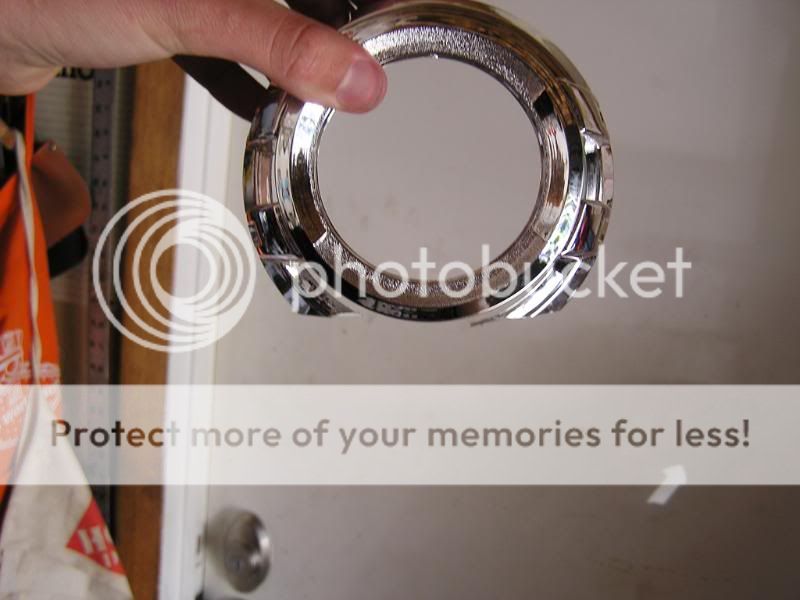
A problem you may run into is that the black housing (part you paint when black housing a headlight) may bump up against the shroud. in order to fix this problem i used a chisel on the spot on the shroud the housing was bumping up against so that it would have a grove to fit into.

Another option is to trim the housing piece like presented here from another member:


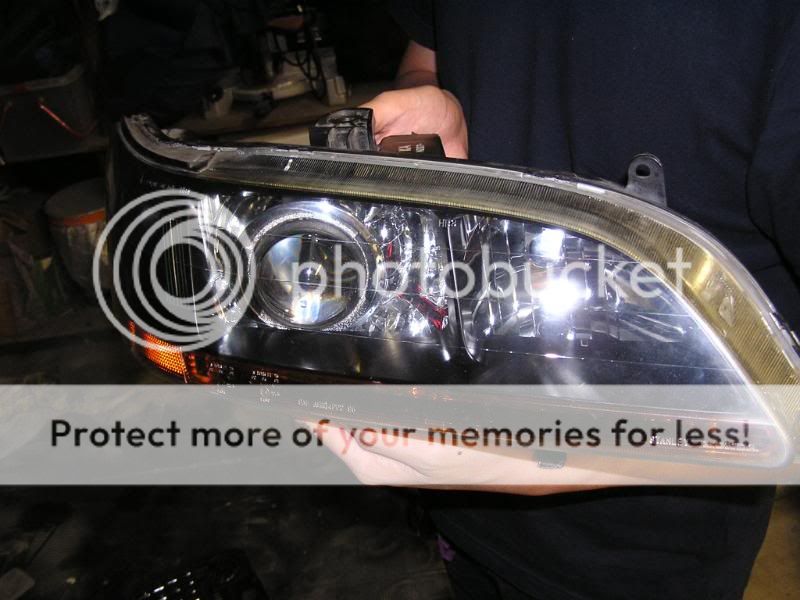
Step 6: Now take the should out and clean everything off. for this i used an air compressor and a micro fiber towel. once it is all shiny put the shroud back on and reseal it. I used a heat gun to head up the rubber cement compound and after squeezing the headlight together, i used the silicone to make an extra ring of protection around the headlight.
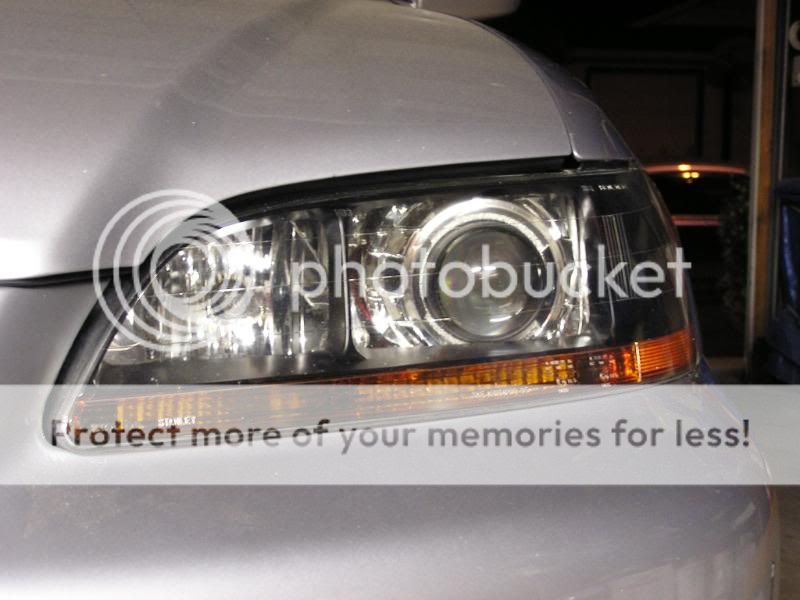
now you're done.
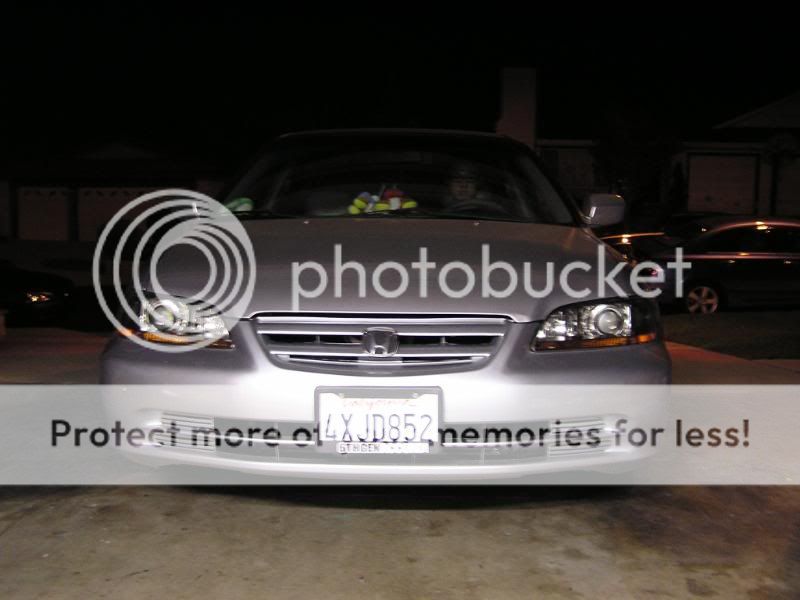
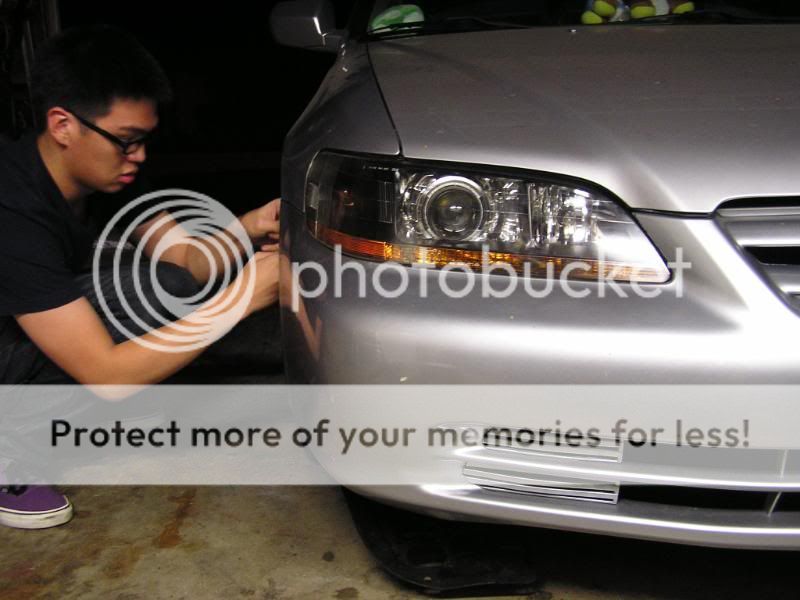
Just put them on the car and if you need to re-adjust them, just do it as if it were regular bulbs in the housing.
DIY for the full function of Bi-xenon made by 1NonlyAccord
http://www.6thgenaccord.com/forums/showthread.php?t=34744
Difficulty: 6.5/10
Time: 5+ hours
tools/ supplies:
belt sander(preferred) and or dremel
assortment of screw drivers
chisel
oven/heat gun
silicone
Step 1: Take off the bumper and remove the headlights from the car. then take them apart either using th oven method or a heat gun. and if you can't do that w/o pictures you shouldn't be attempting this retro fit.
oven method i use: preheat oven to 325. put a damp towel on the rack and bake for 5 minutes. while using gloves, lift up all the little tabs w/ a screw driver and then pry apart the headlight from the top using a flat head screw driver.
they'll look like this
Step 2: now remove the little light reflector in the reflector bucket using a Philips screw driver.
it'll be the small screw pictured here
and this is the piece that shall be removed
Step 3: now take your projector and remove the 3 little screw holding the bracket on the back and also remove the bracket
Step 4: take the projector and put the end if it into the low beam housing so that it's in the reflector bucket
I didn't hook up the high beam part of the projector so i tool the wire and stuck it in the hole left by the light reflector.
then you'll want to secure the projector using this piece and have it held on like so. use a needle nose plier to tighten the projector on and make sure it is straight and level
I suggest you put the 3 little screws and bracket back on and also(after checking to make sure they work) put the bulbs in.
Step 5: Next is to make the projector shroud fit into the reflector bucket. I used a belt sander to evenly fit it in. This is a step where you'll just need to keep touching it up until it fits properly into the bucket and sits far enough back to be able to close the headlight. You could also use a dremel for this part but it will make the job 5x more tedious.
also, make sure your belt isn't 10years old so it doesn't snap on you. (always wear gloves and safety glasses too)
eventually you'll get it to fit well, and you can test it by putting on the front 1/2 to see if it fits.
A problem you may run into is that the black housing (part you paint when black housing a headlight) may bump up against the shroud. in order to fix this problem i used a chisel on the spot on the shroud the housing was bumping up against so that it would have a grove to fit into.
Another option is to trim the housing piece like presented here from another member:
Step 6: Now take the should out and clean everything off. for this i used an air compressor and a micro fiber towel. once it is all shiny put the shroud back on and reseal it. I used a heat gun to head up the rubber cement compound and after squeezing the headlight together, i used the silicone to make an extra ring of protection around the headlight.
now you're done.
Just put them on the car and if you need to re-adjust them, just do it as if it were regular bulbs in the housing.
DIY for the full function of Bi-xenon made by 1NonlyAccord
http://www.6thgenaccord.com/forums/showthread.php?t=34744
Last edited:
")