

BLACK SUNSHINE
Well-Known Member
So since i was about to redo my interior i thought i would take a few pics as i did it to share with the crew and maybe help someone out with theirs....
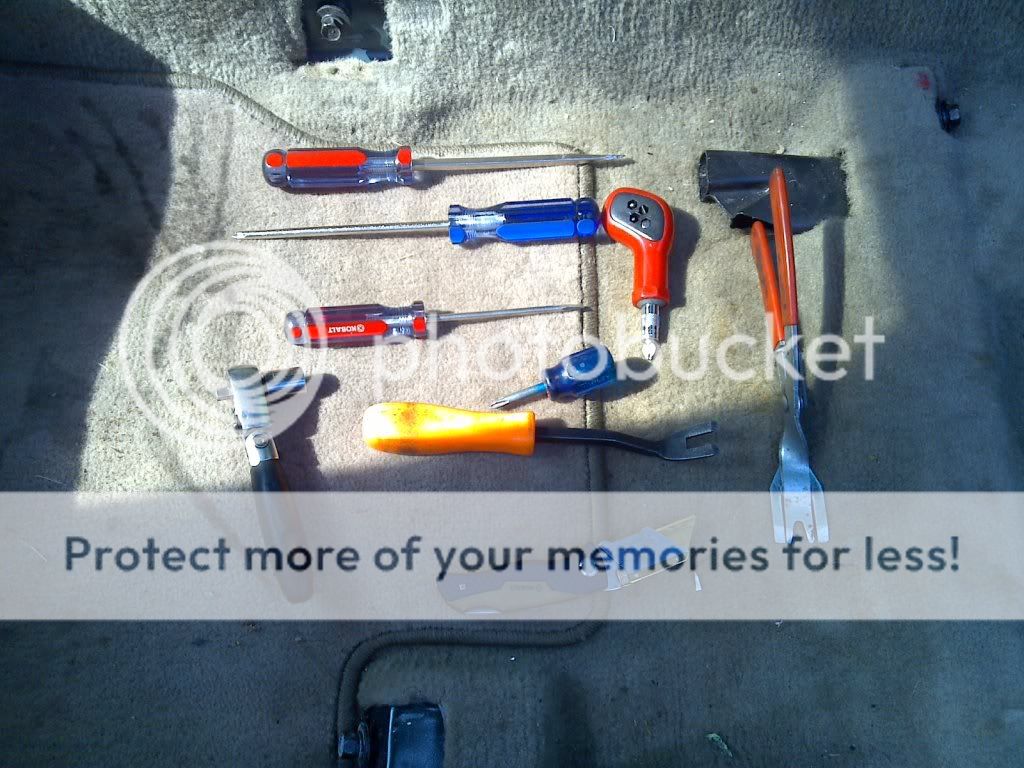
So here is a picture of most of the tools i used during the removal of the interior, a few of these are made for removing interior parts but u can still do it without them, just have to be careful not to break all the clips.....
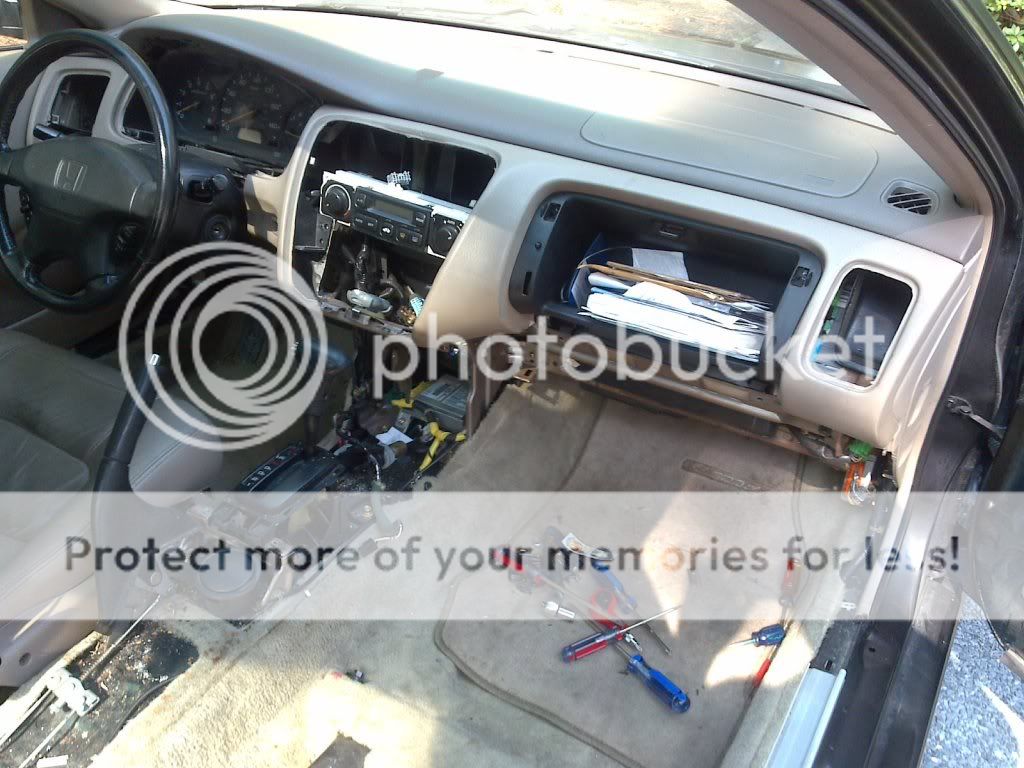
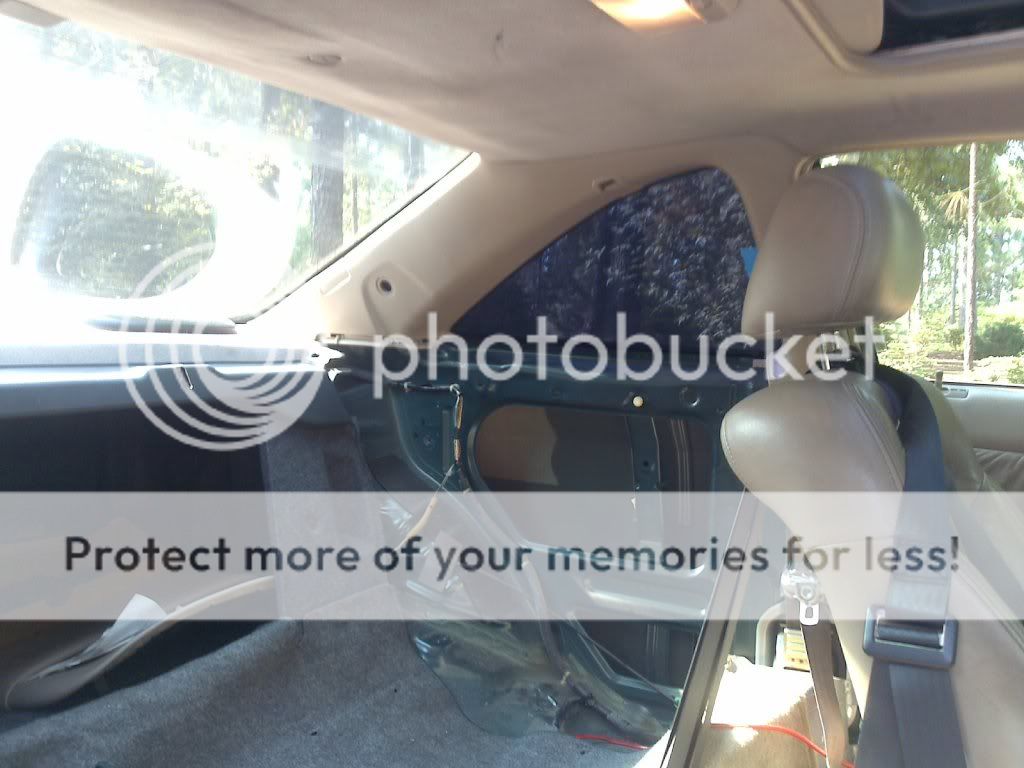
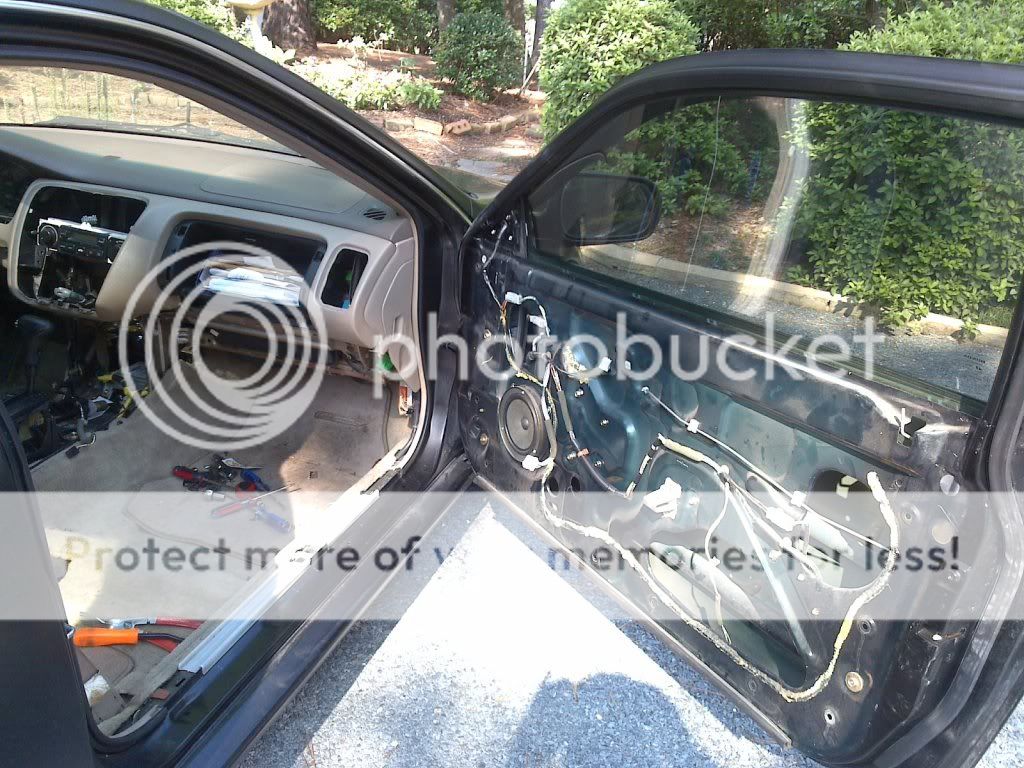
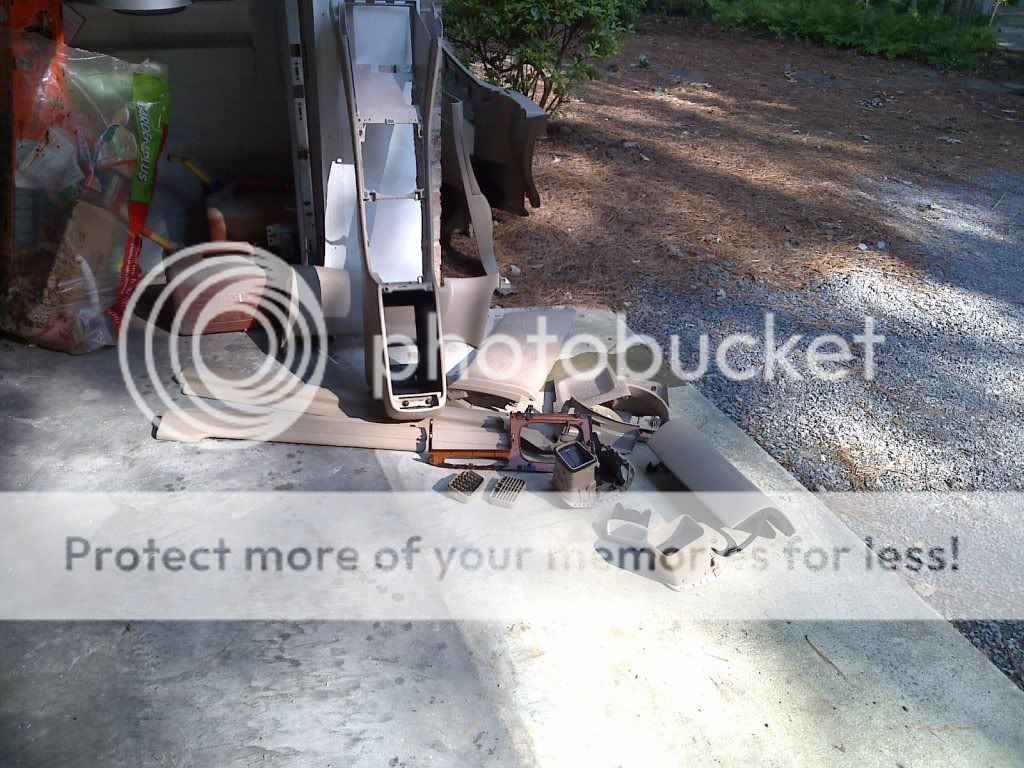
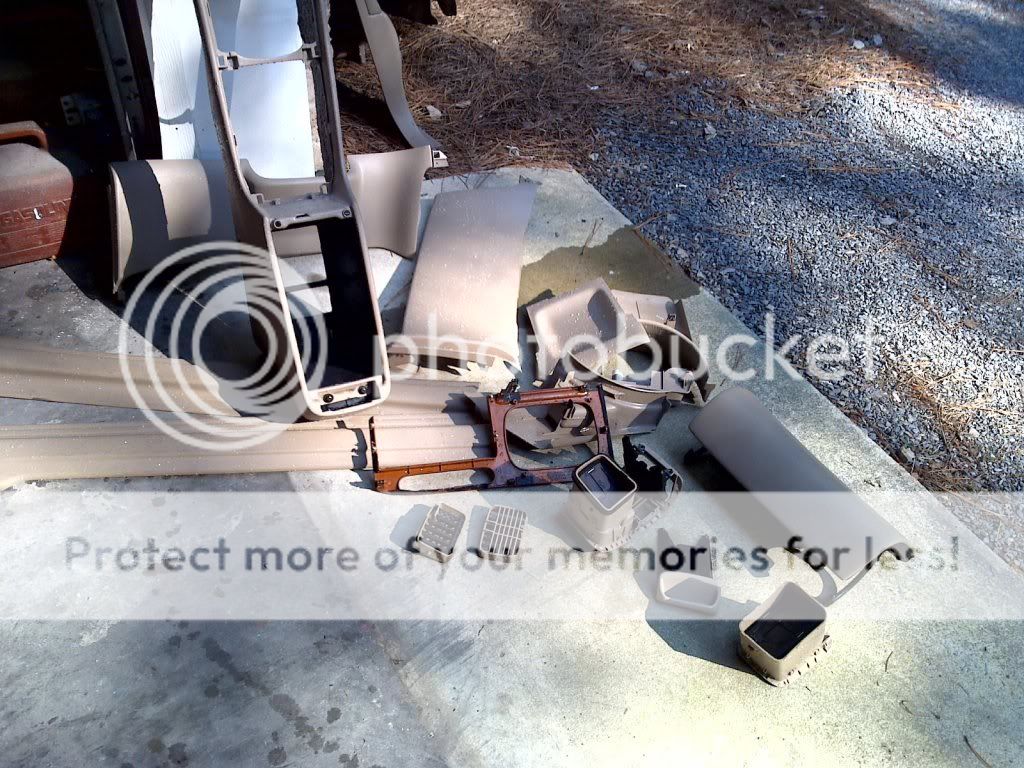
So first i started out by pulling out everything that i was going to redo, all the little peices as well, including vents, trim and everything i needed out to repaint all at once so i dont have to risk taking peices out at another time and risk scratches....
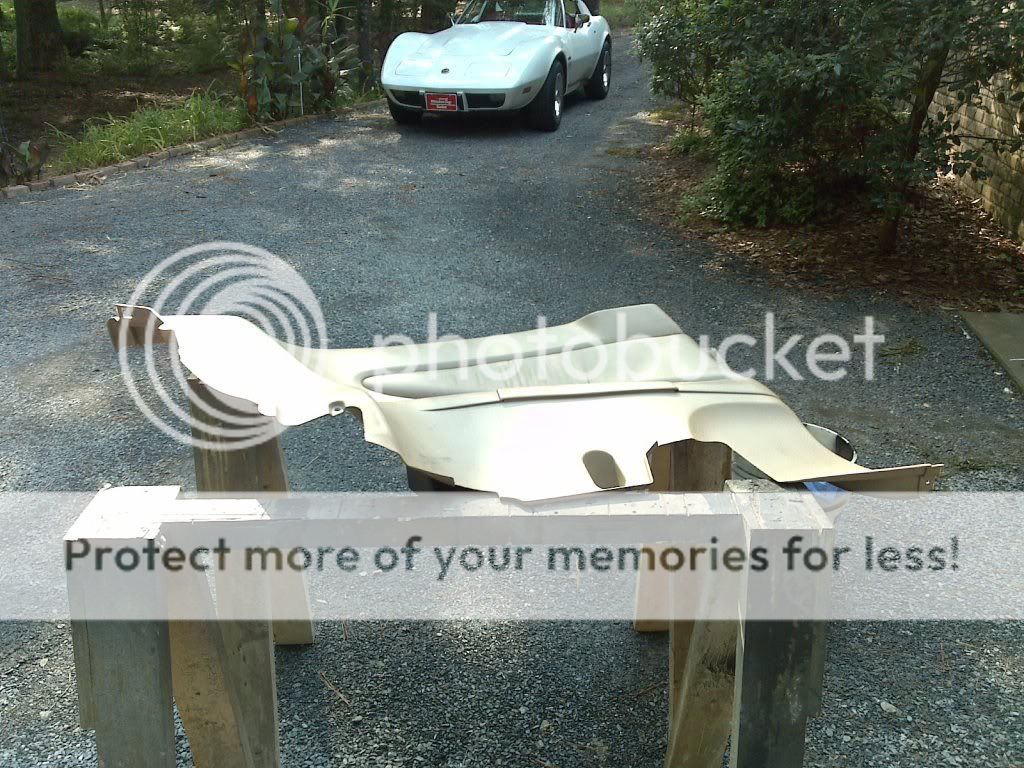
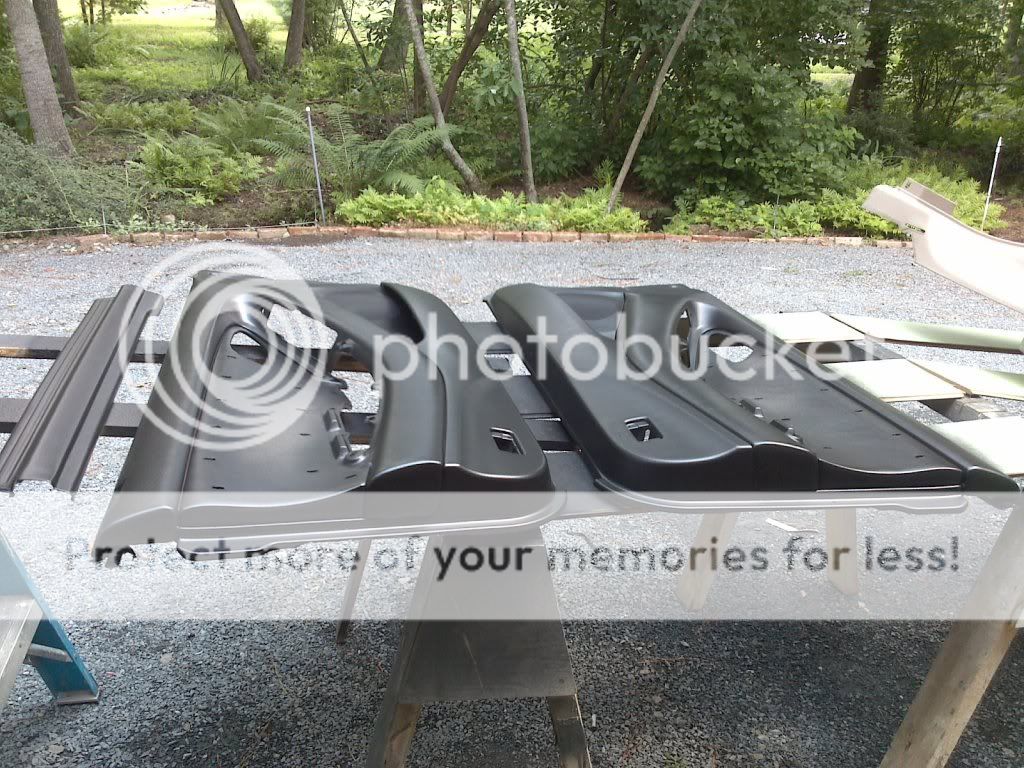
I set up a few work horse's to make working on the parts easier..
Now that i have everything i need removed i washed every part in soap and water with some type of degreaser like purple power or any type will work, i just mixed it in with the water and scrubed every part, you have to get all of the oil and grease from any armorall or any type of cleaner you may have used on the interior....
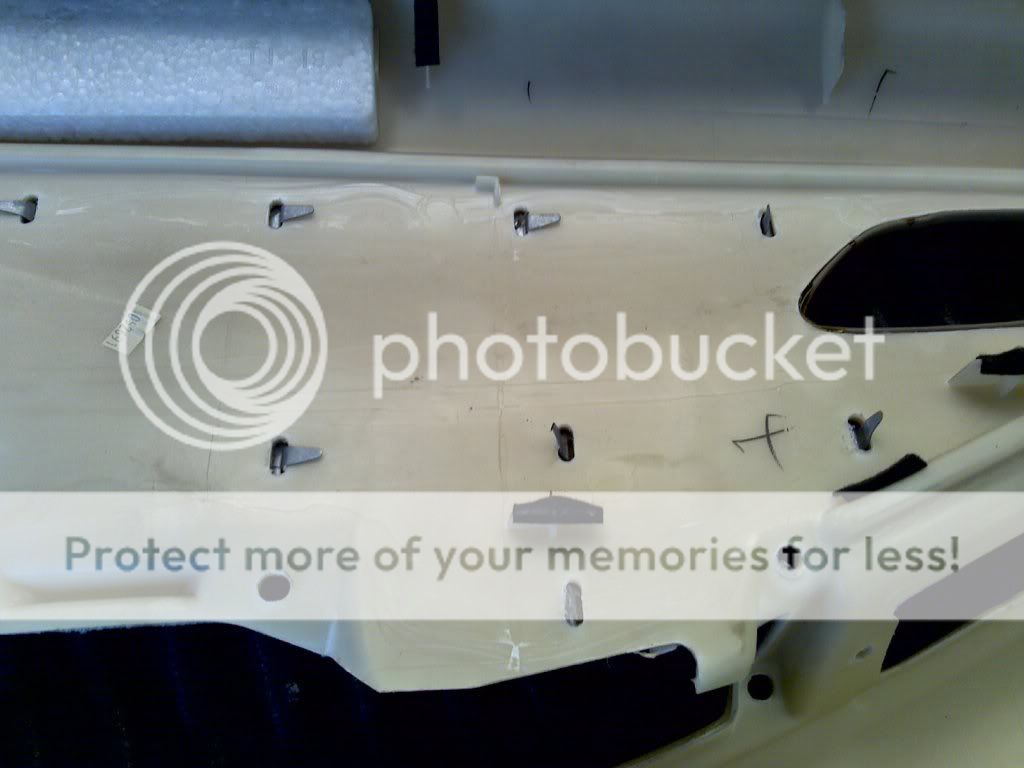
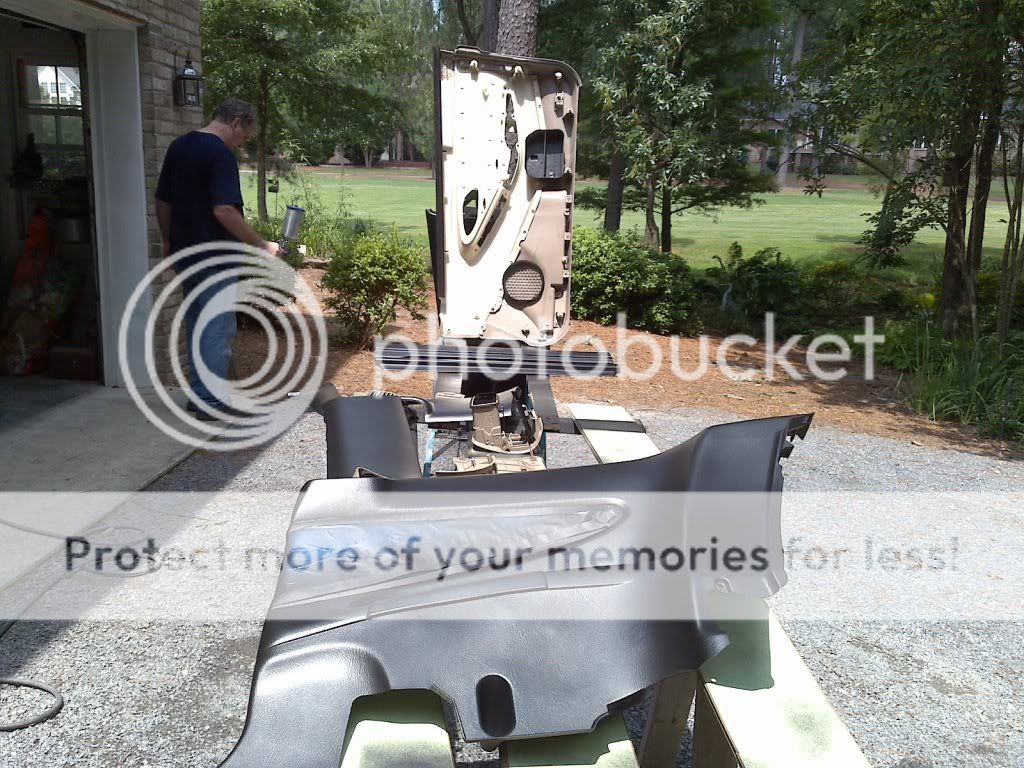
I removed any switches from any of the trim peices, and anything else i did not want to paint, i also removed the soft leather inserts from my front door panels, here is how they are removed, from the back of the panel you will see a bunch of silver metal tabs folded over just straighten them out and push them through and the leather panel will fall right out....
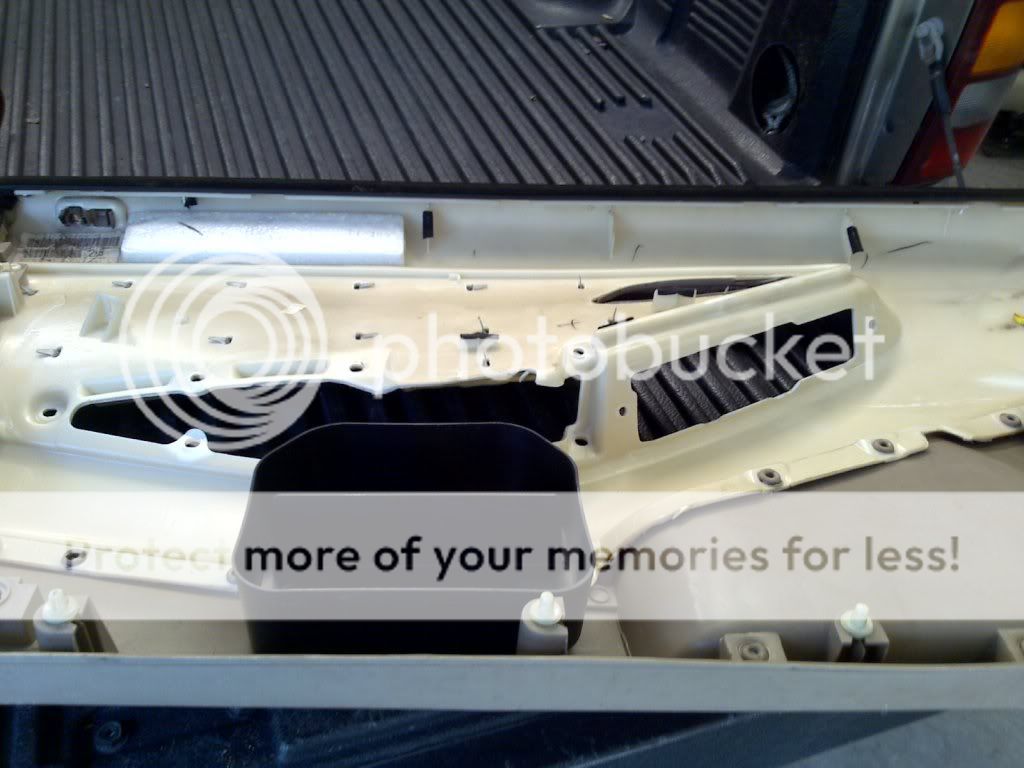
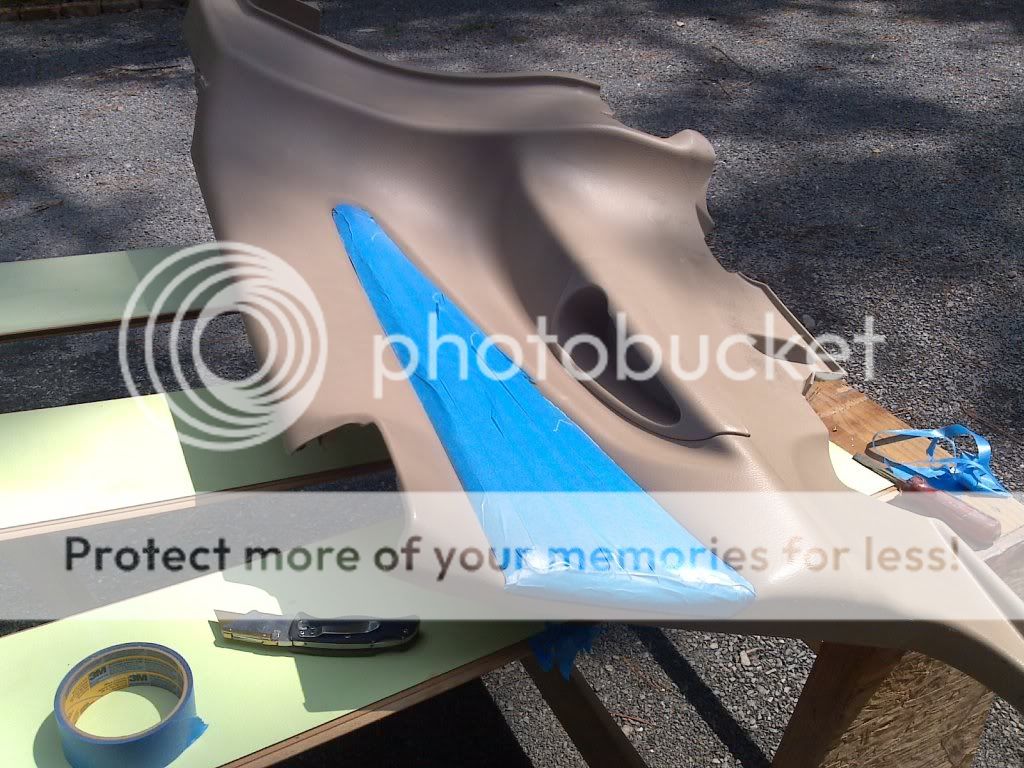
I wanted to do the same on the rear panels but those are molded in place so i had to tape those off so i could paint the rest of the panel and not cover the leather inserts...
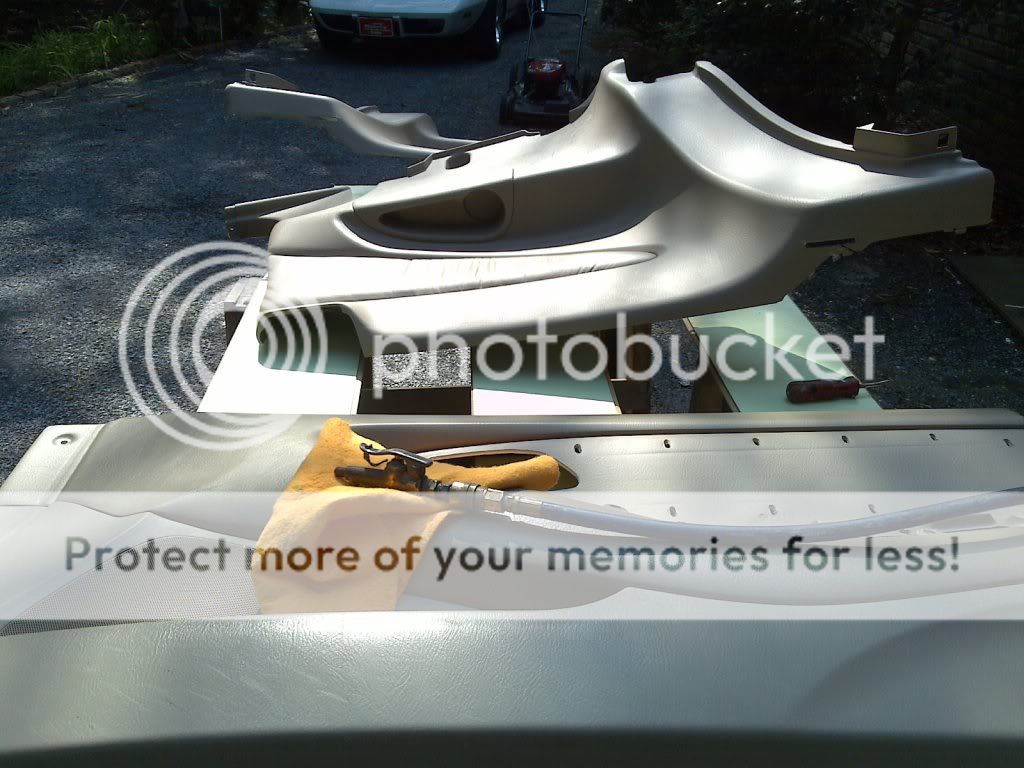
Now i have everthing washed and set out ready to paint i had to be sure everything was completly dry or that would cause the paint not to stick to the panels, so i took my air-compressor and a shammy and made sure all the panels and any pockets were completly dry....
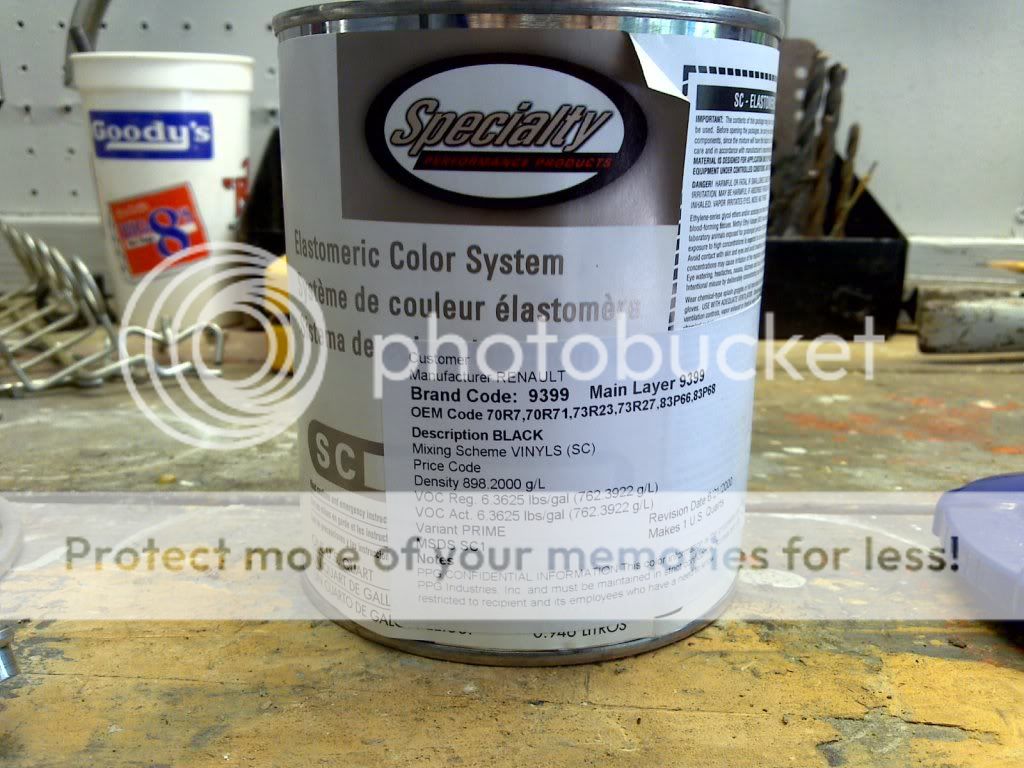
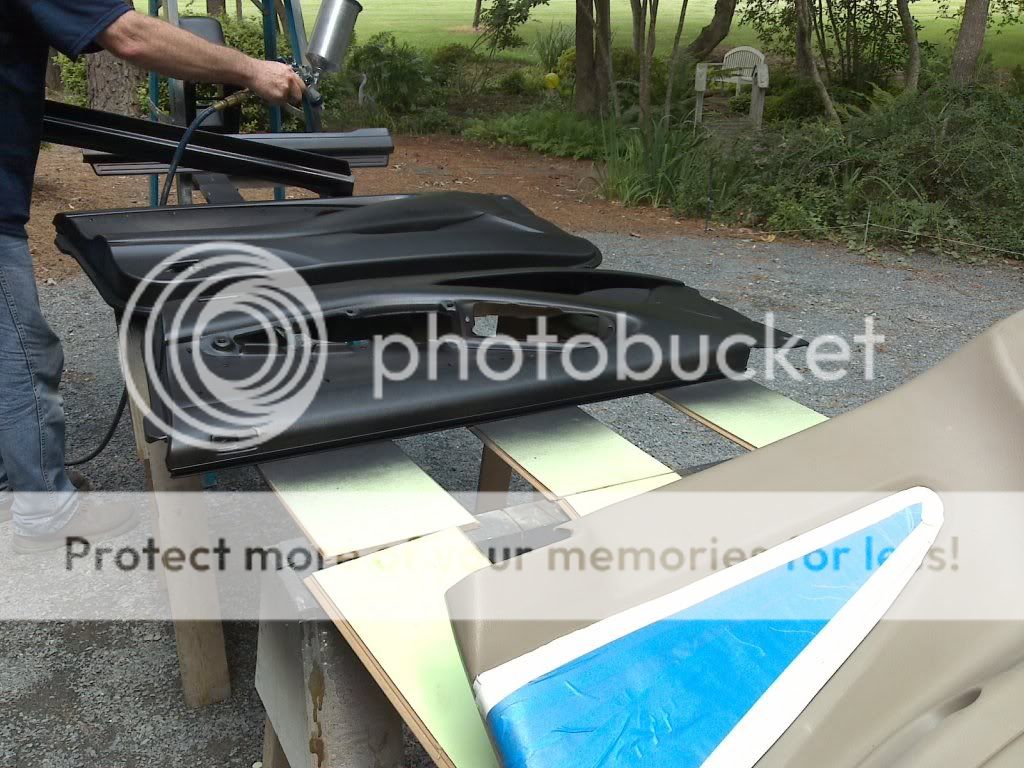
Now i am ready to lay down some color, now this paint i am using i not like regular paint it is like a dye and paint mixed, no need for any type of primer, this stuff will adhere to the panels with no problem..here is a link to the site it is actually ppg paint....http://corporateportal.ppg.com/NA/Refinish/PPGRefinish/2-0-Products/120_Specialty/EN
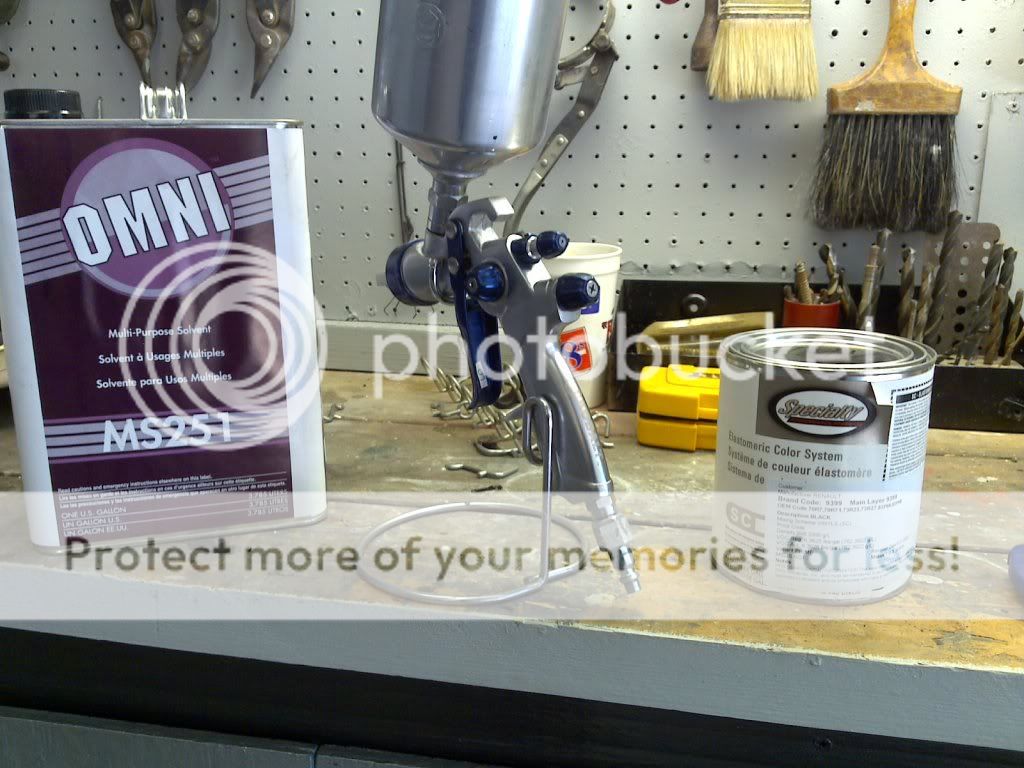
For this project i am using my spray gun but they also make this stuff in a rattle can as well....
Now i painted everything that i needed in one shot, no need for more than one good covering coat with this stuff...

Now with this paint u cant tell the diffrence between painted and a factory colored panel. you can even do leather seats with this stuff, i am doing my rear seats, this week with this, we have done 3 other sets of seats with this stuff before and to this day you cant tell a diffrence in them.....i will post up the pictures of the rear seats when we do them this week, and also a new molded carpet install as well, i hope this helped someone.....thanks jason
So here is a picture of most of the tools i used during the removal of the interior, a few of these are made for removing interior parts but u can still do it without them, just have to be careful not to break all the clips.....
So first i started out by pulling out everything that i was going to redo, all the little peices as well, including vents, trim and everything i needed out to repaint all at once so i dont have to risk taking peices out at another time and risk scratches....
I set up a few work horse's to make working on the parts easier..
Now that i have everything i need removed i washed every part in soap and water with some type of degreaser like purple power or any type will work, i just mixed it in with the water and scrubed every part, you have to get all of the oil and grease from any armorall or any type of cleaner you may have used on the interior....
I removed any switches from any of the trim peices, and anything else i did not want to paint, i also removed the soft leather inserts from my front door panels, here is how they are removed, from the back of the panel you will see a bunch of silver metal tabs folded over just straighten them out and push them through and the leather panel will fall right out....
I wanted to do the same on the rear panels but those are molded in place so i had to tape those off so i could paint the rest of the panel and not cover the leather inserts...
Now i have everthing washed and set out ready to paint i had to be sure everything was completly dry or that would cause the paint not to stick to the panels, so i took my air-compressor and a shammy and made sure all the panels and any pockets were completly dry....
Now i am ready to lay down some color, now this paint i am using i not like regular paint it is like a dye and paint mixed, no need for any type of primer, this stuff will adhere to the panels with no problem..here is a link to the site it is actually ppg paint....http://corporateportal.ppg.com/NA/Refinish/PPGRefinish/2-0-Products/120_Specialty/EN
For this project i am using my spray gun but they also make this stuff in a rattle can as well....
Now i painted everything that i needed in one shot, no need for more than one good covering coat with this stuff...
Now with this paint u cant tell the diffrence between painted and a factory colored panel. you can even do leather seats with this stuff, i am doing my rear seats, this week with this, we have done 3 other sets of seats with this stuff before and to this day you cant tell a diffrence in them.....i will post up the pictures of the rear seats when we do them this week, and also a new molded carpet install as well, i hope this helped someone.....thanks jason

 forgot about that......