Kn0x47's interior work

SykVSyx

Well-Known Member
Joined
Jan 6, 2007
Posts
13,938
Reaction score
30
Location
Tee Dot Ohh
i adjusted the color of the screen to match my stereo
DSC_1288 by Jonathan Boothe, on Flickr

OH-YOU-FANCY-HUH-.jpg


Looking forward to seeing the 7GA interior upgrade completed, Sir Jon.
 

kn0x47

Senior Member
Joined
Mar 14, 2008
Posts
3,738
Reaction score
23
Location
Birmingham, AL
Are the 7GA rear seats all installed?

https://blog.compete.com/wp-content/uploads/2012/02/OH-YOU-FANCY-HUH-.jpg

Looking forward to seeing the 7GA interior upgrade completed, Sir Jon.

oh yeah they're in. The back section is direct bolt in with the 7ga brackets. Bottom cushion doesnt snap in. I'll figure out what to do about that later.
I have 6ga grey belts to swap in too

excuse the mess. I'm working on the console swap
DSC_5490 by Jonathan Boothe, on Flickr
 

SykVSyx

Well-Known Member
Joined
Jan 6, 2007
Posts
13,938
Reaction score
30
Location
Tee Dot Ohh
I'll have to see if I can find one somewhere. Could turn into a cool project.

I think I still have my mine that I never used, actually.

Could probably pull off the tan/black look quite nicely if that is what you're going for.
 
Last edited:

RedRyder

Save the manuals
Joined
Sep 5, 2008
Posts
19,517
Reaction score
118
Location
Fawking, OH
Looks good. Guess the outer edges of the seatbacks are shaped so they overlap with the plastic panel without making them stick out. What front seats are you going with?
 

kn0x47

Senior Member
Joined
Mar 14, 2008
Posts
3,738
Reaction score
23
Location
Birmingham, AL
03 Acura CL manual console swap

Well i figured i'd make a how to...


Parts Needed:
- '03 Acura CL manual Console w/ all 3 mounting brackets
- '03 Acura CL manual Ebrake and Ebrake wire spacer thing


You'll have to drill holes for the ebrake. Luckily the car already has indentions where the holes need to be drilled. Drill at least one for the ebrake, and one for the ebrake wire spacer.
DSC_5481 by Jonathan Boothe, on Flickr
DSC_5480 by Jonathan Boothe, on Flickr


All the parts that are bolt-in are in...
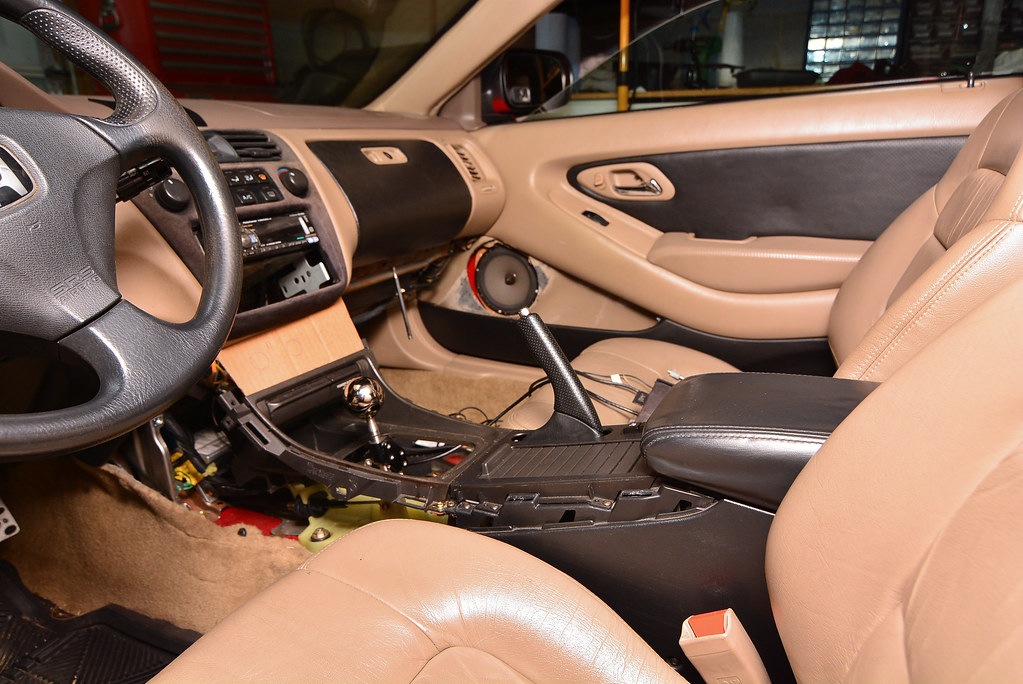
DSC_5492 by Jonathan Boothe, on Flickr


Created a bracket to connect the bracket to the bracket so everything's bracketeded
2016-02-15 00.26.21 by Jonathan Boothe, on Flickr


Initial cuts on the driver's side...
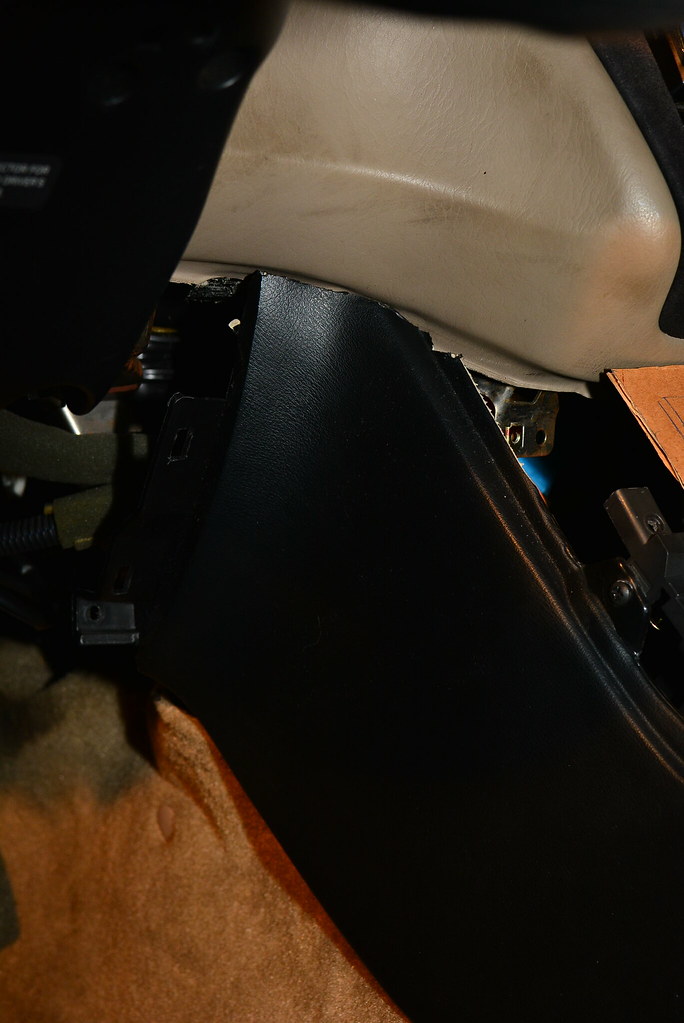
DSC_5502 by Jonathan Boothe, on Flickr


Initial cuts on the passenger's side...
DSC_5511 by Jonathan Boothe, on Flickr


Passenger trim cut...
DSC_5553 by Jonathan Boothe, on Flickr


Passenger side pretty much complete...
DSC_5560 by Jonathan Boothe, on Flickr


Now for this disgusting thing....
I decided to reupholster the CL console armrest and whatever glue they used evidently never dried so now I gotta clean up this thing.
DSC_5562 by Jonathan Boothe, on Flickr


more later
 
Last edited:

SykVSyx

Well-Known Member
Joined
Jan 6, 2007
Posts
13,938
Reaction score
30
Location
Tee Dot Ohh
Coming together swimmingly, as they say.

Jon, planning to do anything with the lower portion of your doors? I am thinking there need to be some more black like with the pocket areas, maybe.
 

kn0x47

Senior Member
Joined
Mar 14, 2008
Posts
3,738
Reaction score
23
Location
Birmingham, AL
Coming together swimmingly, as they say.

Jon, planning to do anything with the lower portion of your doors? I am thinking there need to be some more black like with the pocket areas, maybe.

Yup, the bottom half of the door will be black. The whole interior may be black eventually
 
Back
Top